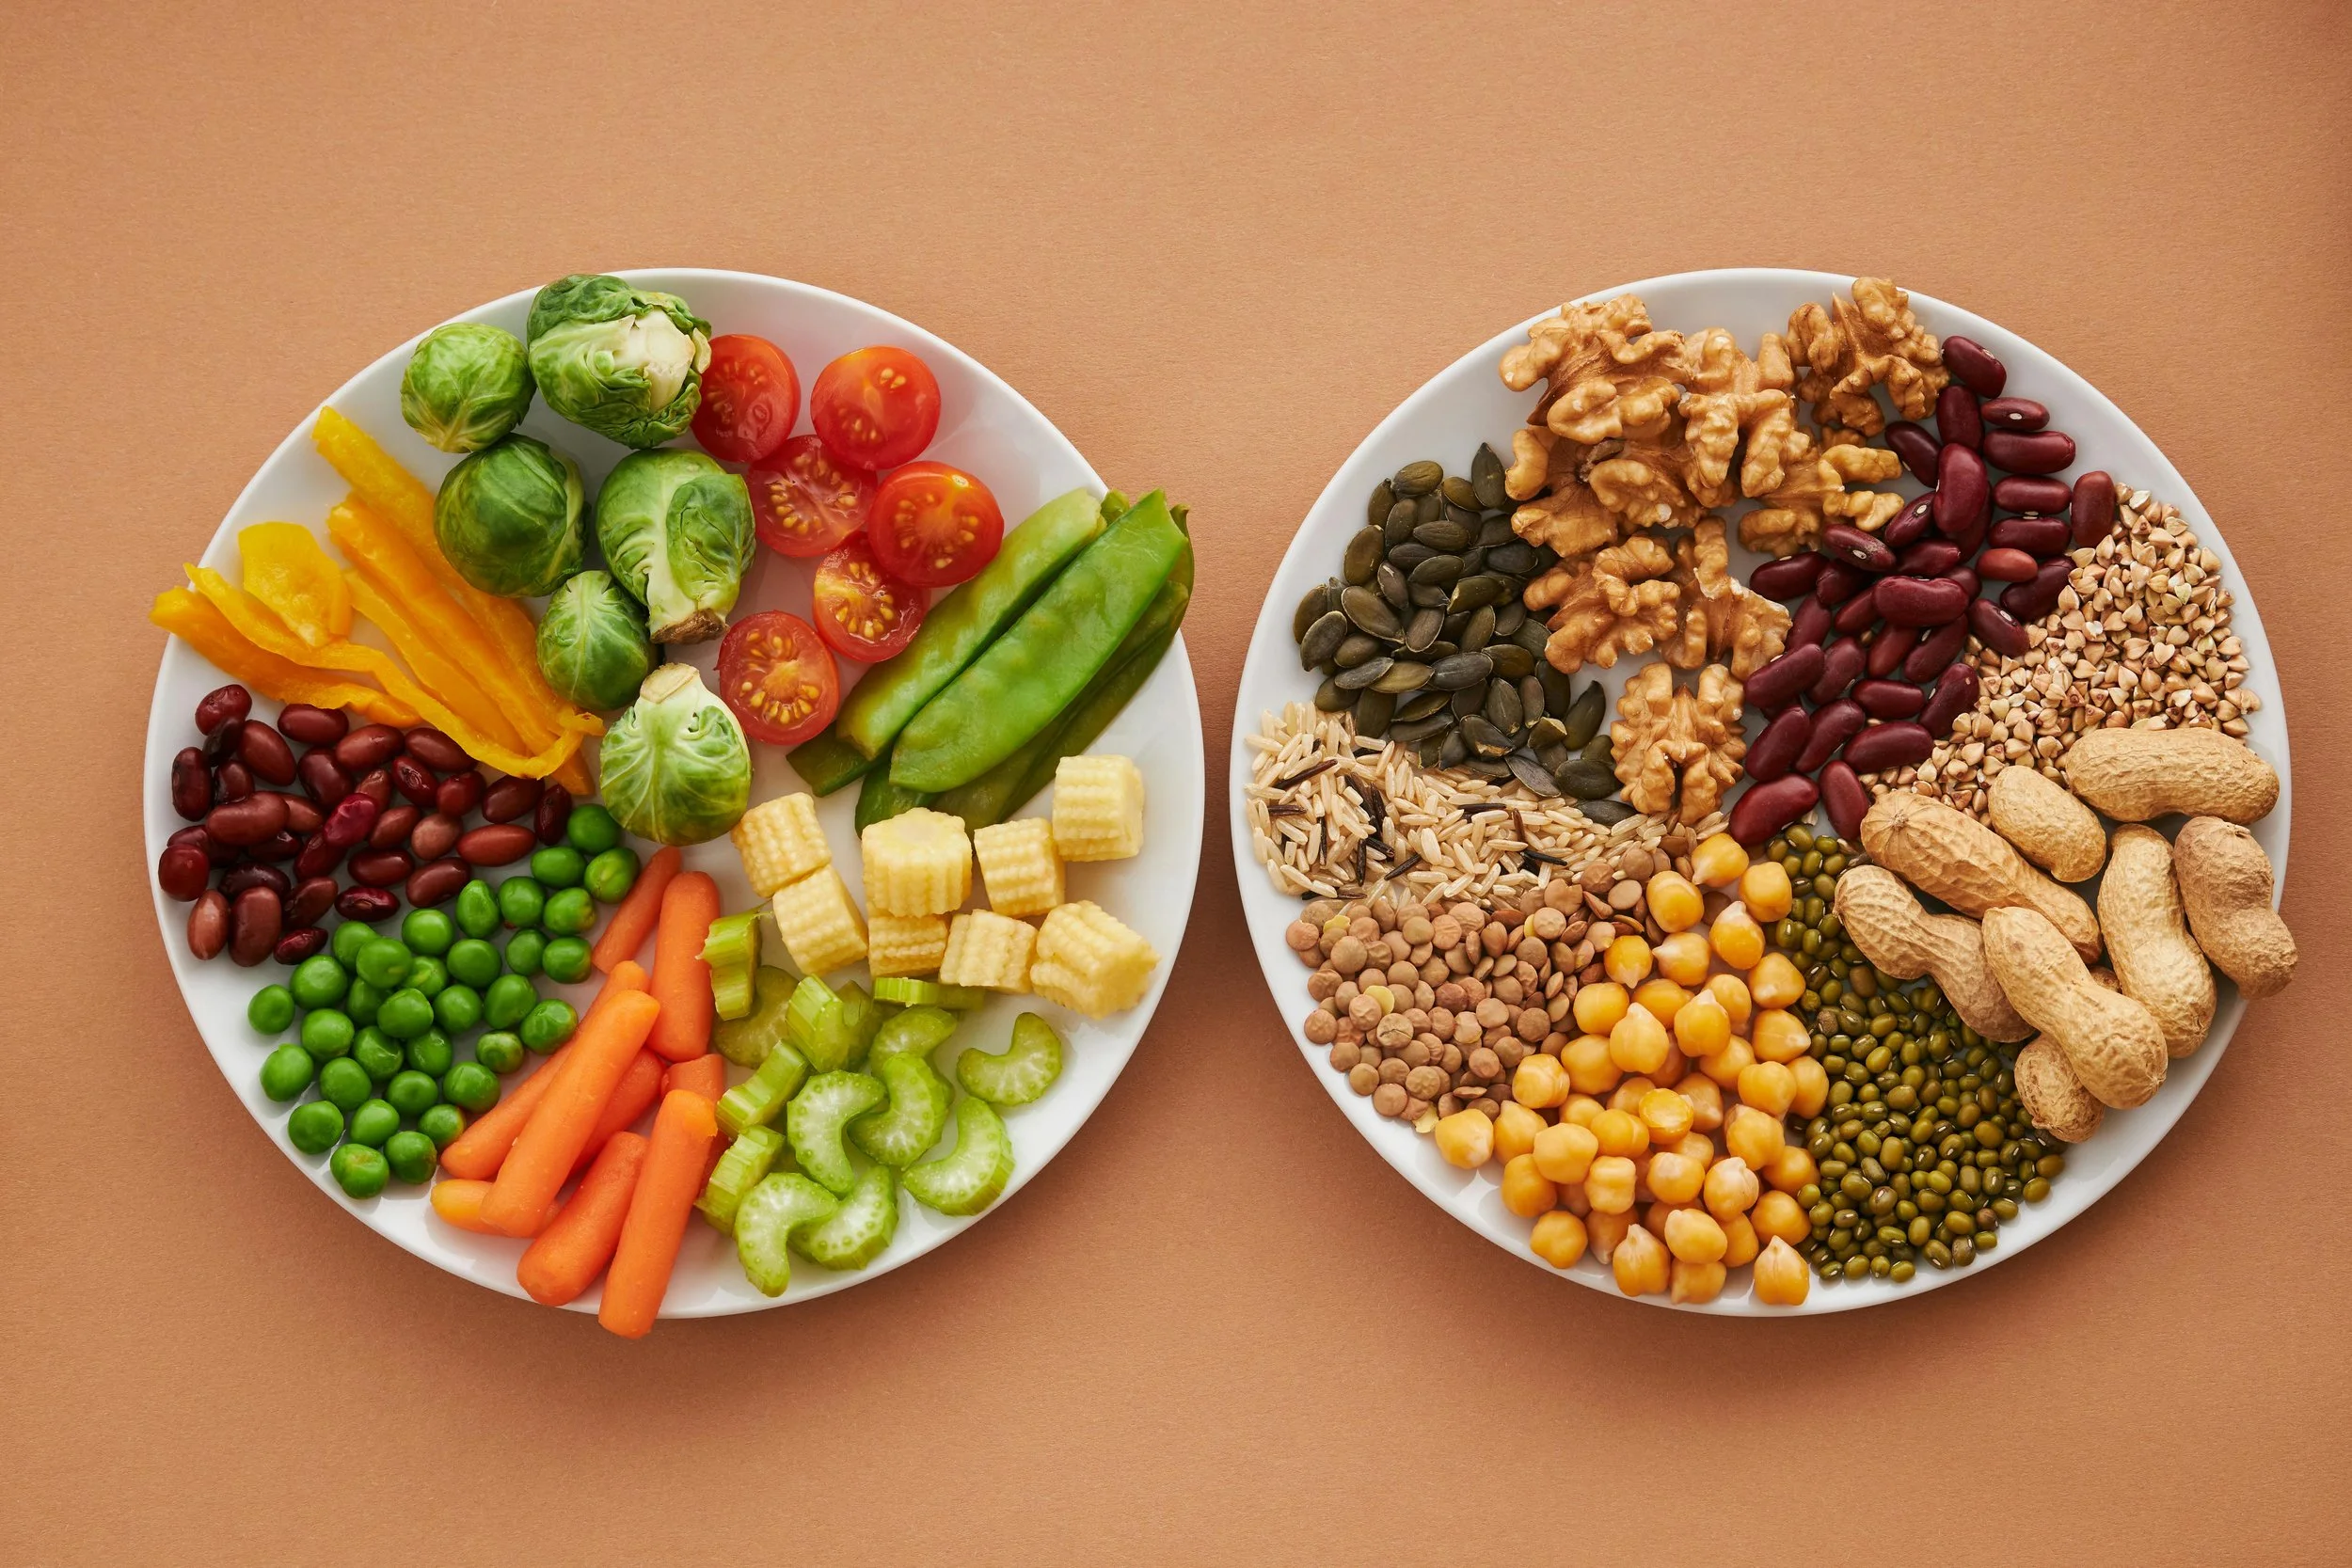
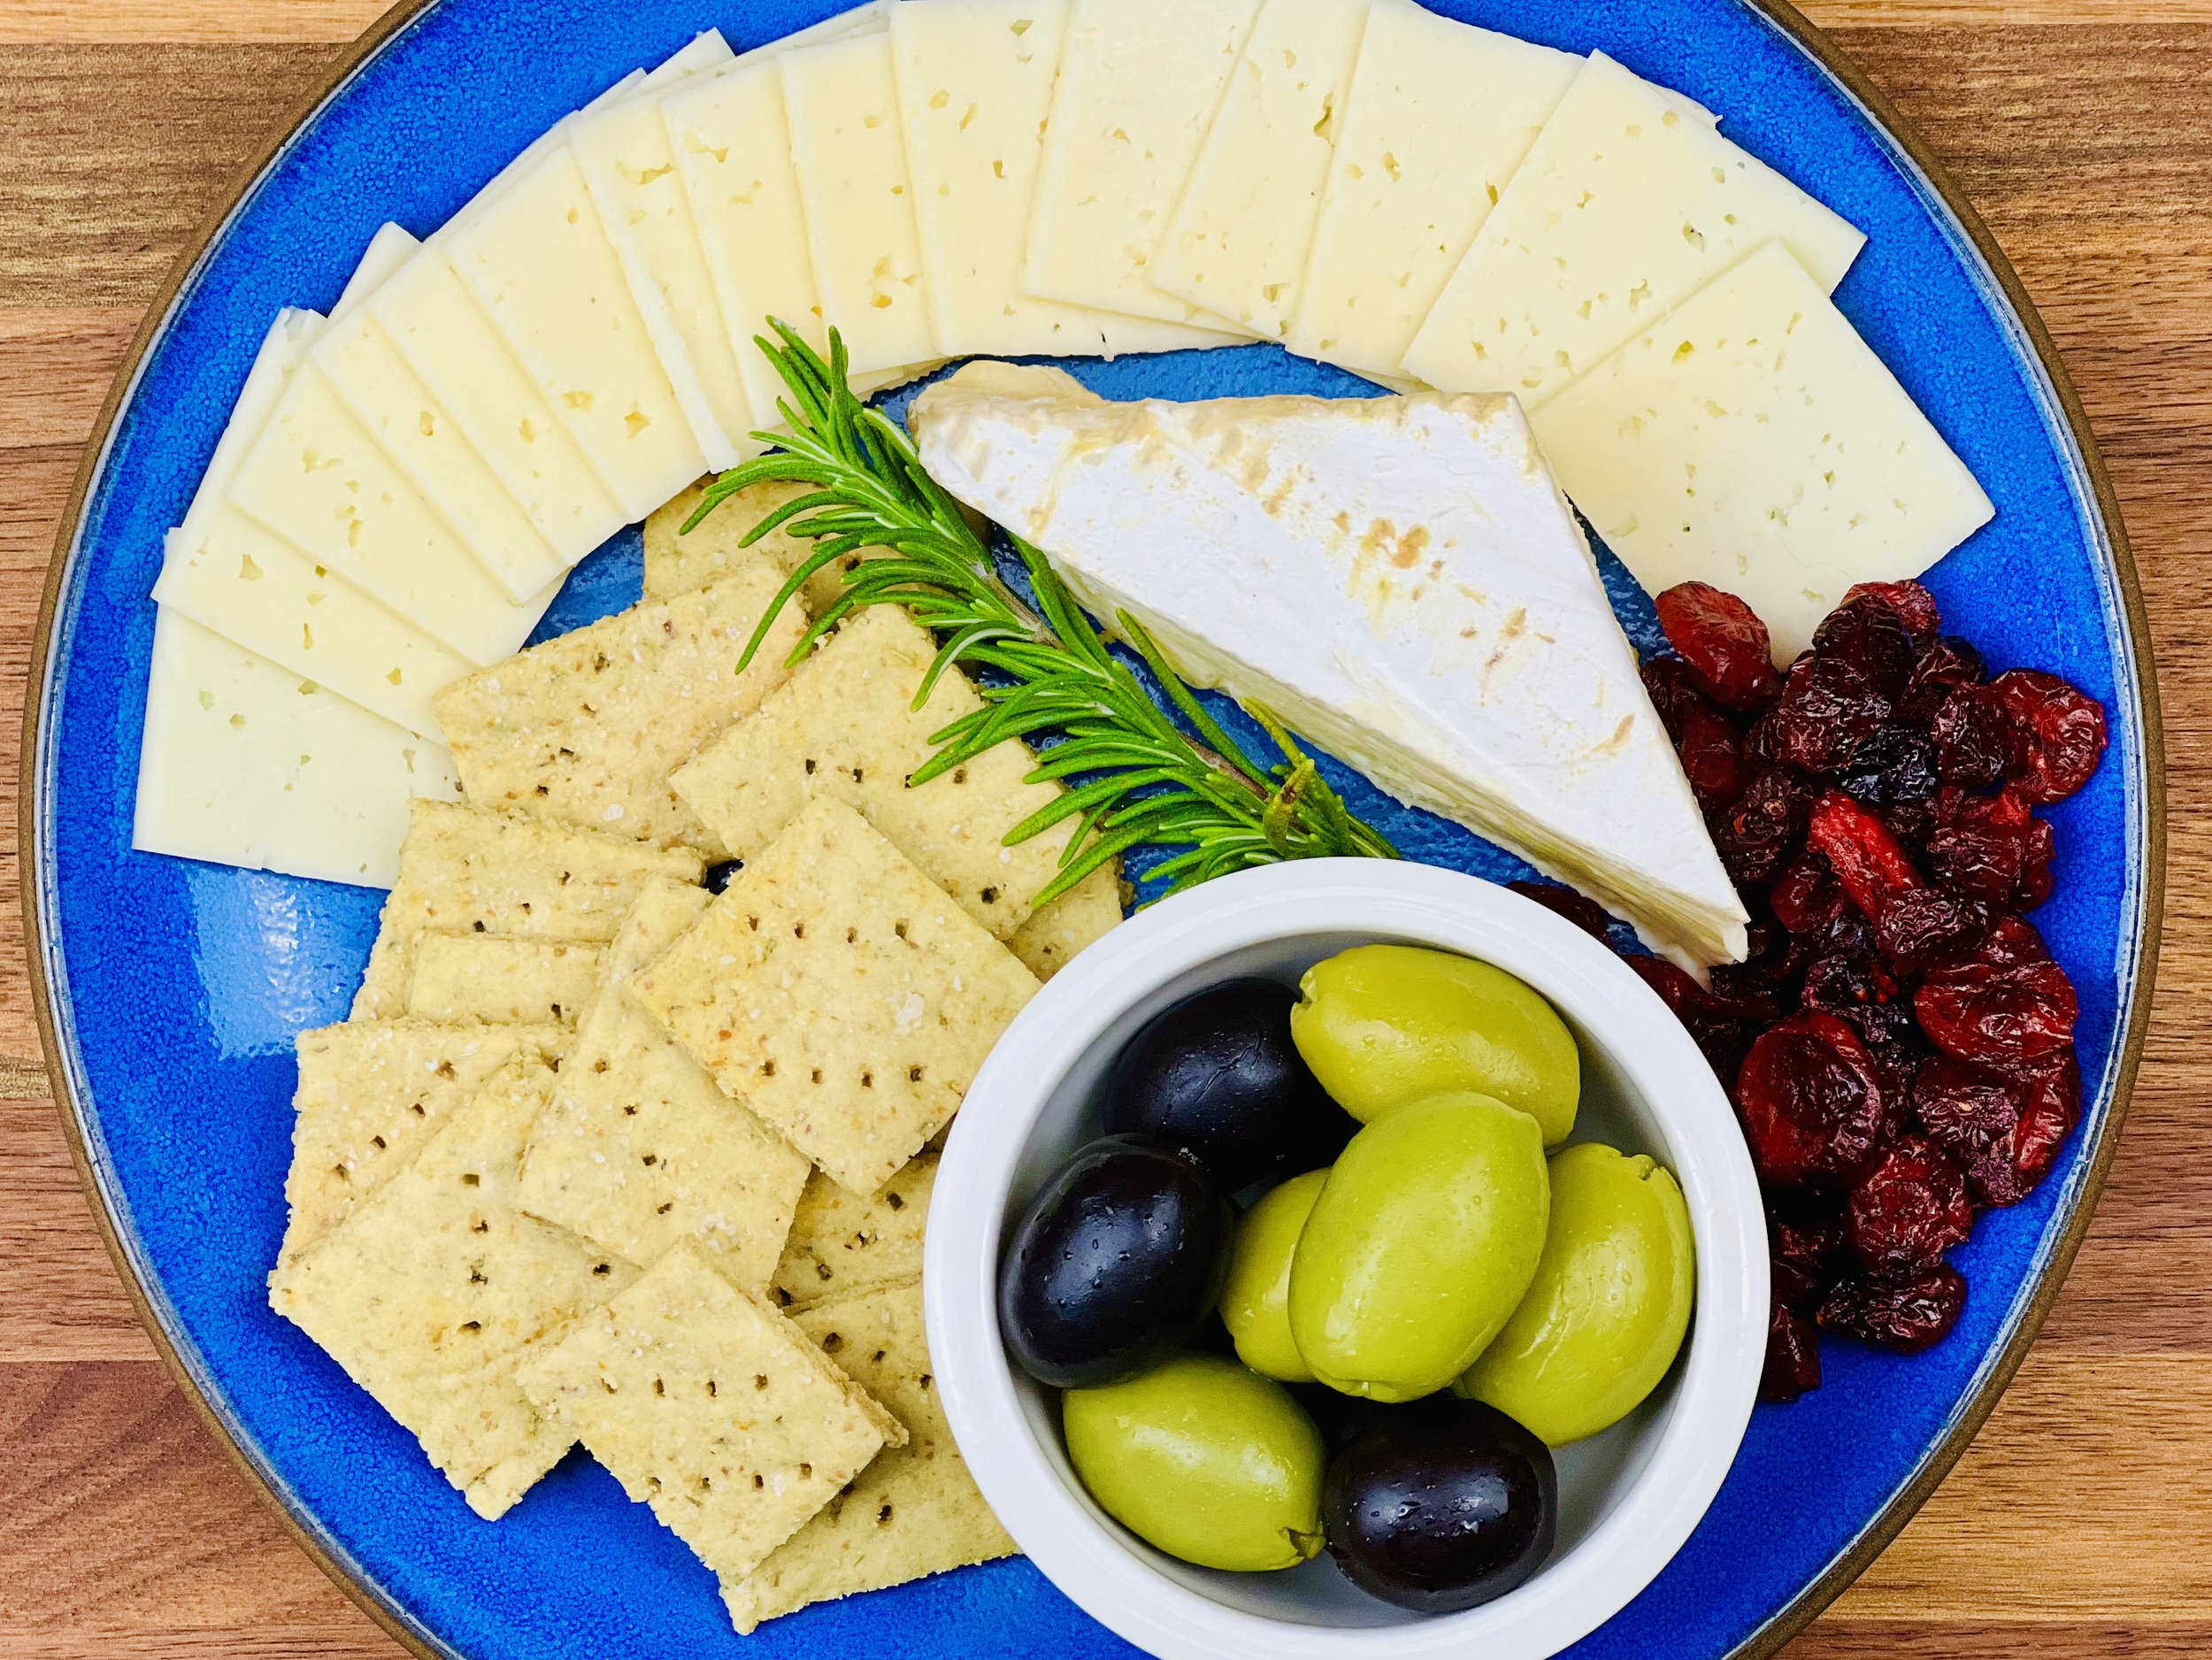
Deliciously Low FODMAP

Inspire yourself with hundreds of delicious low FODMAP recipes, tips, and tools, and enjoy the abundance that is yours even when you have IBS.
Use the buttons and filters to find something specific or browse the complete collection for inspiration.
Discover a treasure trove of recipes with my FREE recipe club! Get new ideas delivered straight to your inbox every week.
Deliciously Low FODMAP is a trademark of IBS Game Changer, LLC
Filter to find Recipes and Tools
More Filtering Options
- All 827
- Appetizer 56
- BBQ 49
- Bowl 32
- Breakfast 69
- Cocktails 13
- Collection 1 58
- Collection 10 27
- Collection 11 30
- Collection 12 27
- Collection 13 31
- Collection 14 29
- Collection 15 31
- Collection 16 34
- Collection 17 31
- Collection 18 33
- Collection 19 36
- Collection 2 32
- Collection 20 33
- Collection 21 33
- Collection 22 40
- Collection 23 63
- Collection 24 46
- Collection 3 28
- Collection 4 29
- Collection 5 30
- Collection 6 32
- Collection 7 31
- Collection 8 31
- Collection 9 32
- Condiments 6
- Crock Pot 4
- Dessert 119
- Diabetes Game Changer Exception Protocol Contains Alcohol 11
- Diabetes Game Changer Exception Protocol Contains Flour 113
- Diabetes Game Changer Exception Protocol Contains Flour AND Sugar 79
- Diabetes Game Changer Exception Protocol Contains Sugar 52
- Diabetes Game Changer First Four Weeks 405
- Dinner 371
- Drink 8
- Easter 1
- Free Guide 17
- Gluten-free 686
- Gut Microbiome 2
- Guthealth 3
- Holidays 73
- IBS Triggers 4
- Keto Friendly 178
- Lactose-Free 184
- Low Carb 22
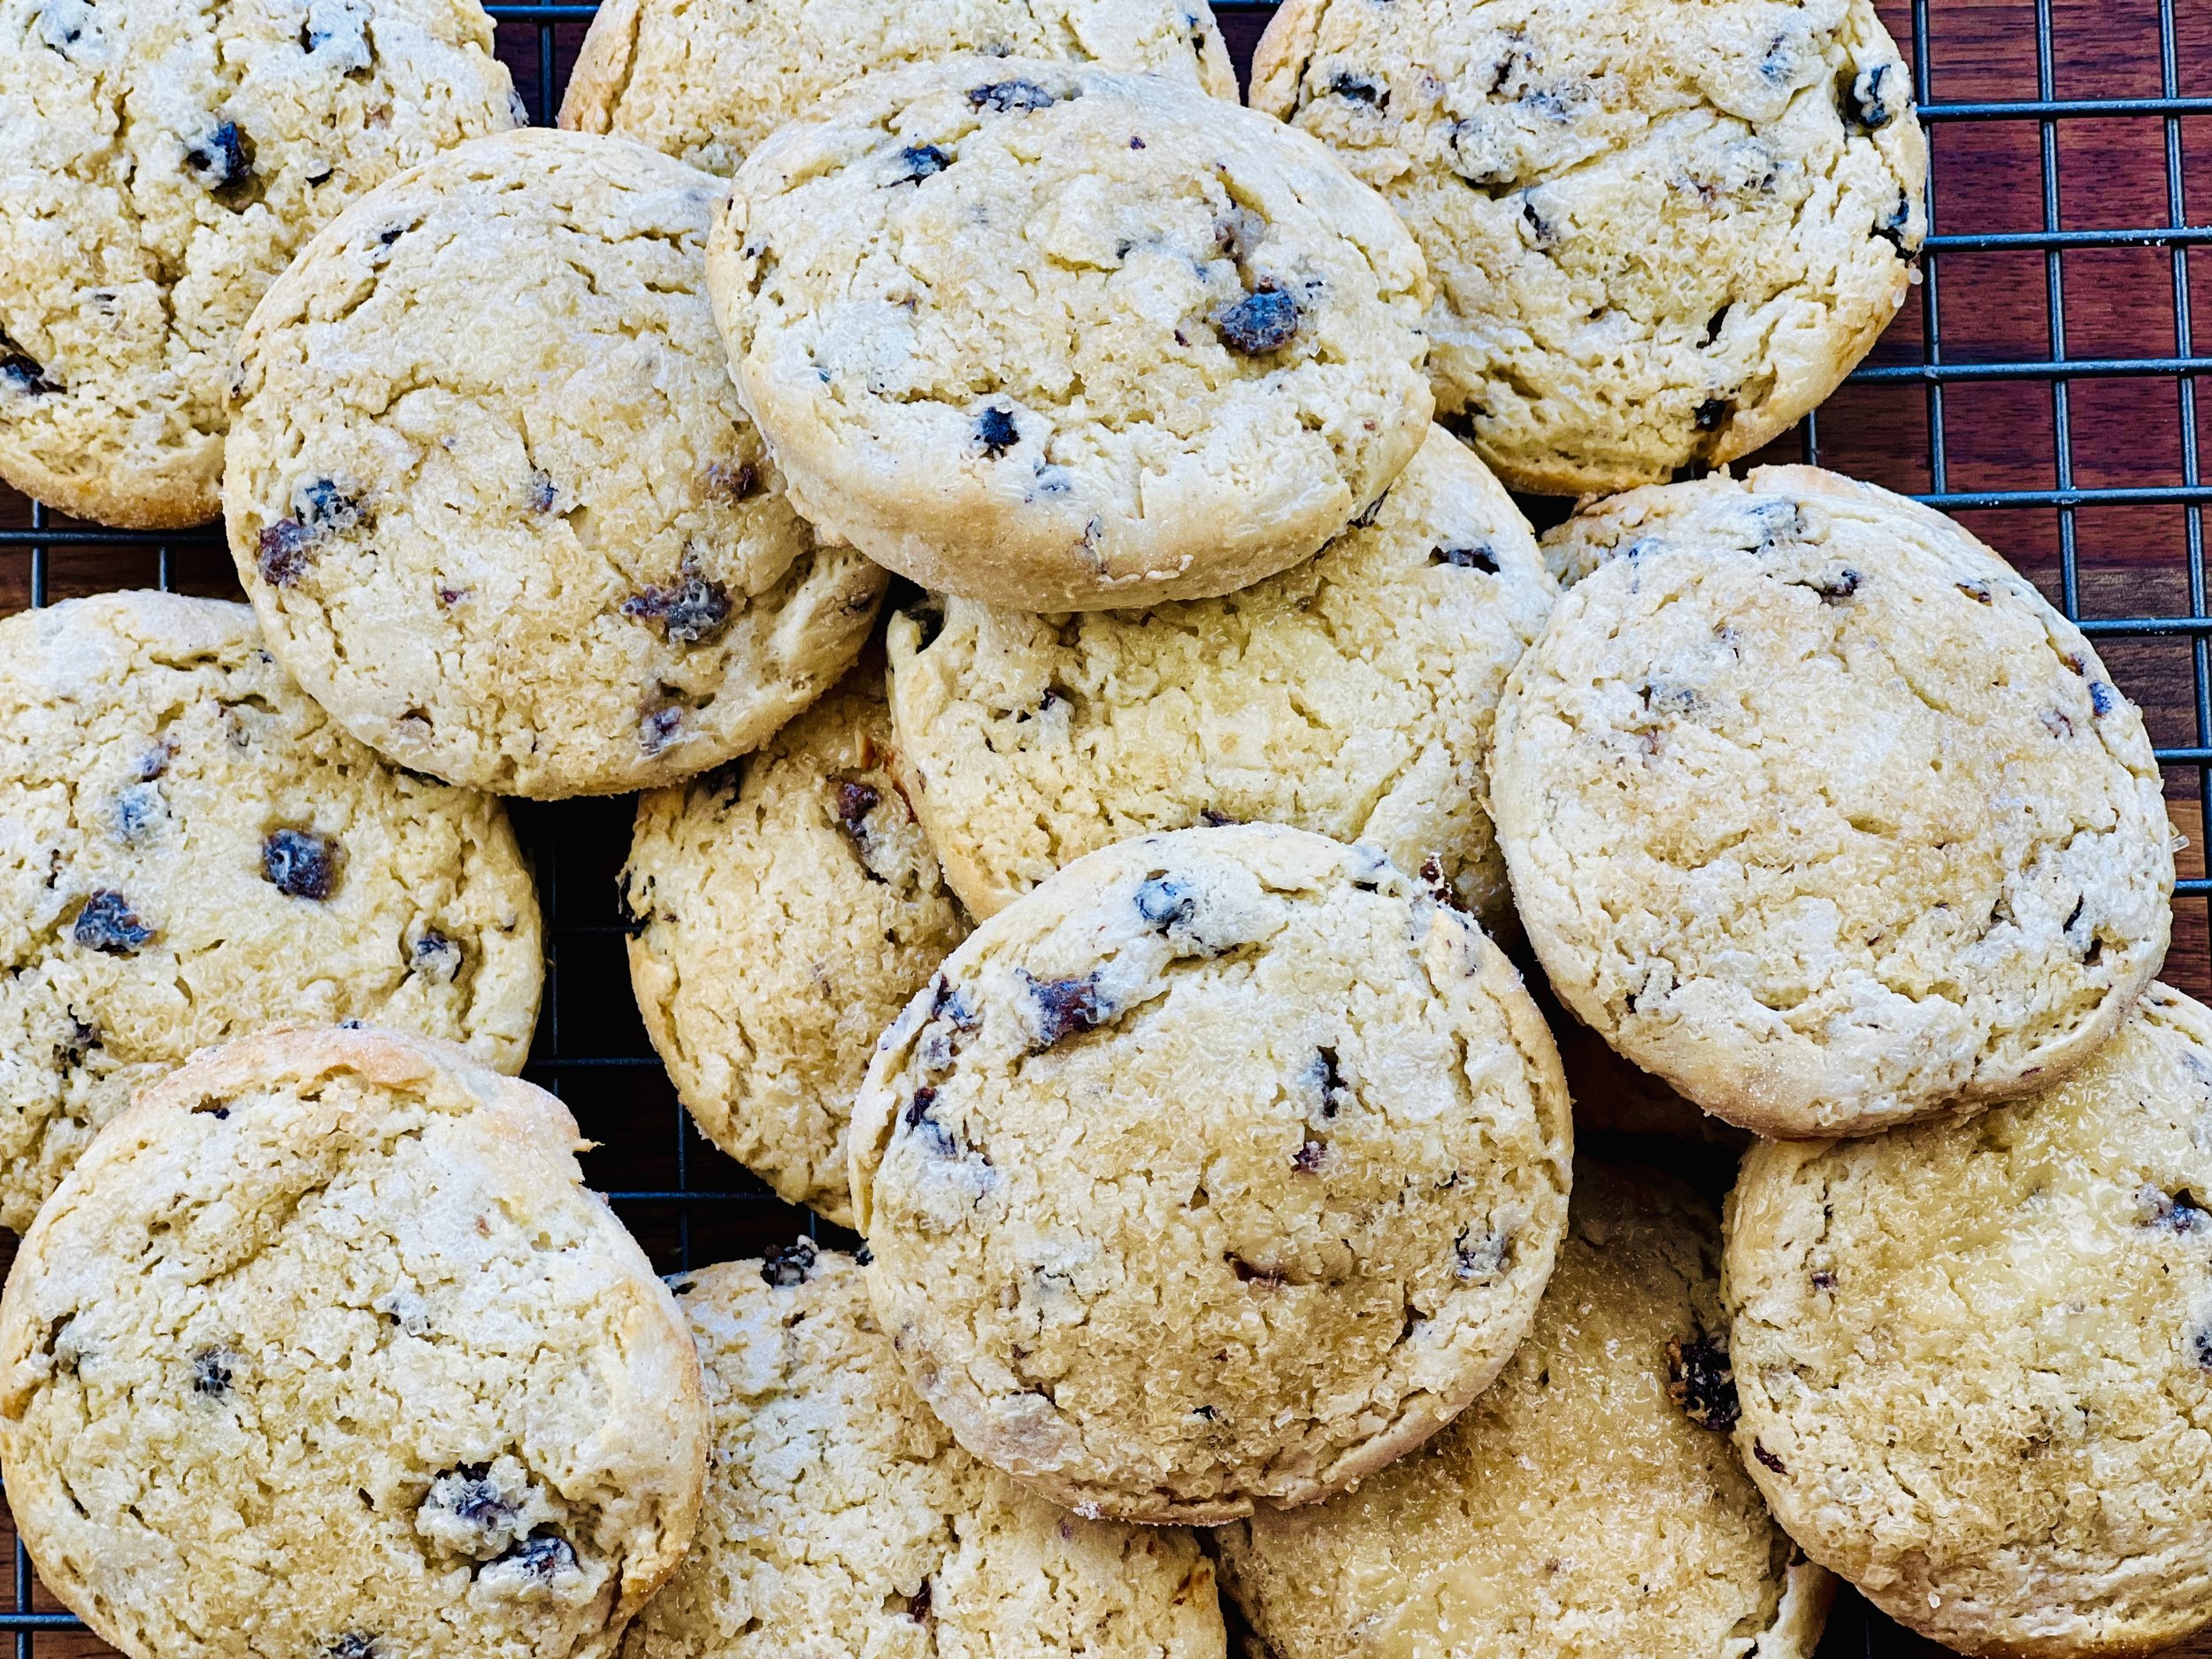
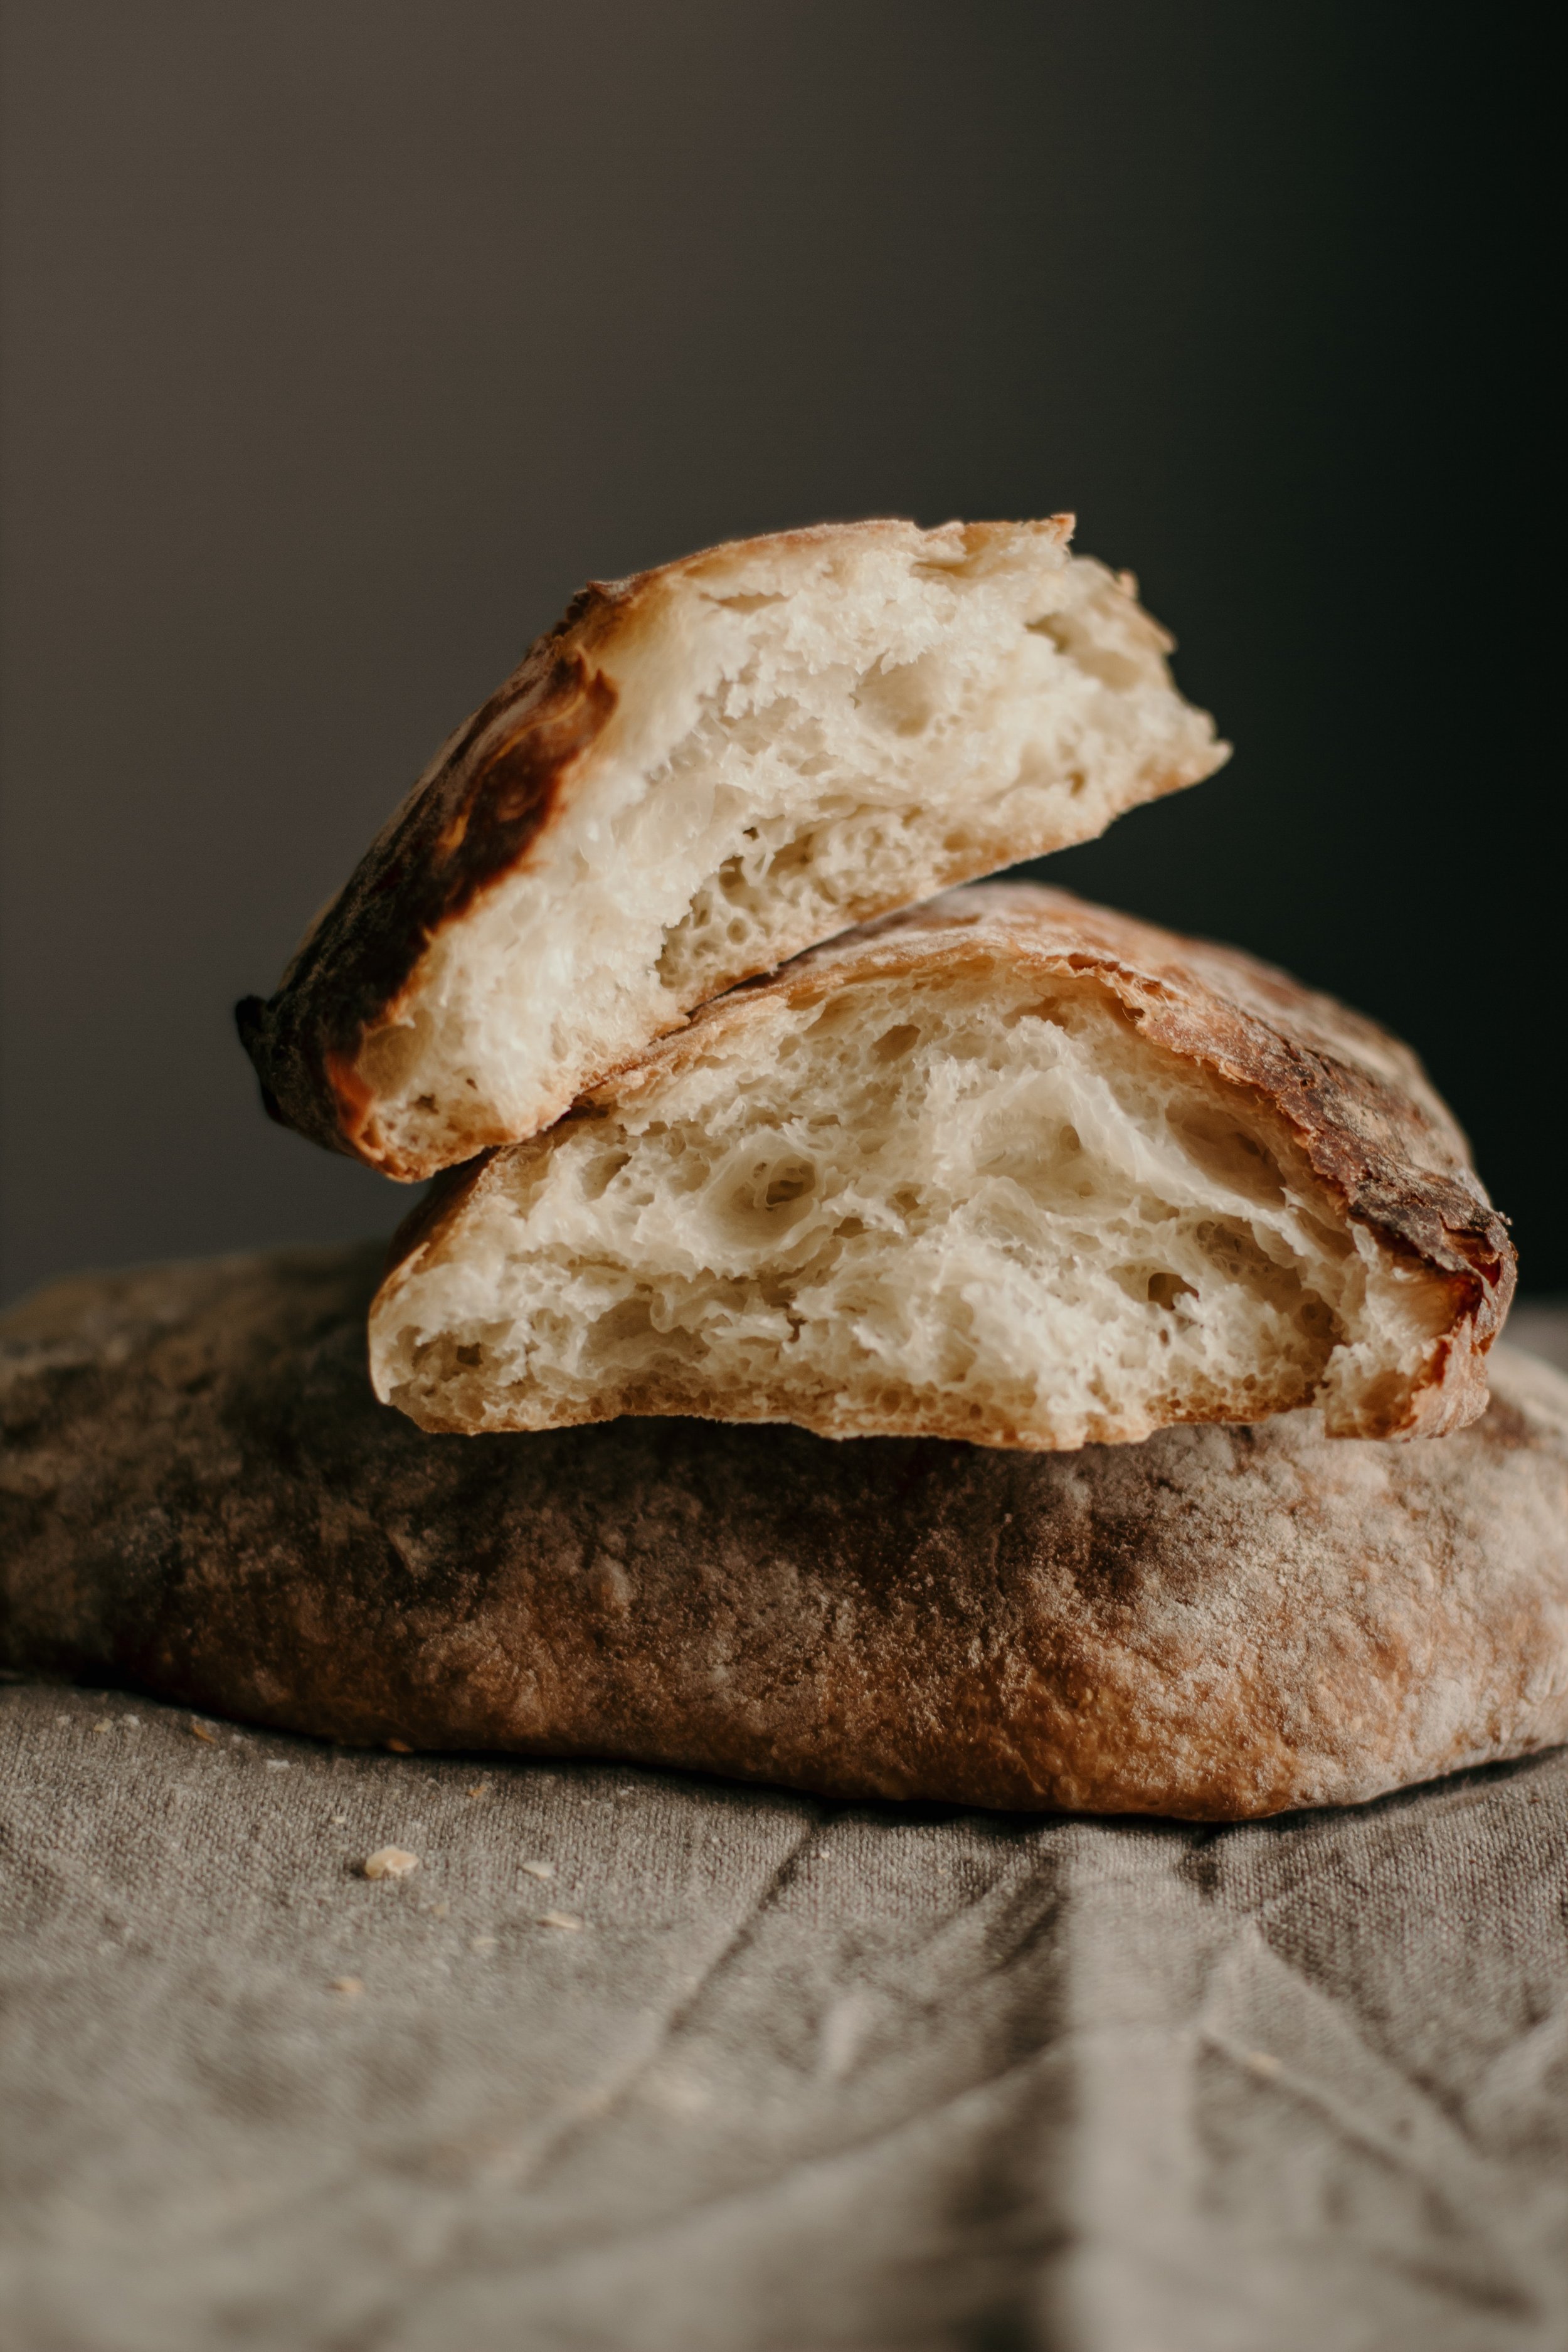
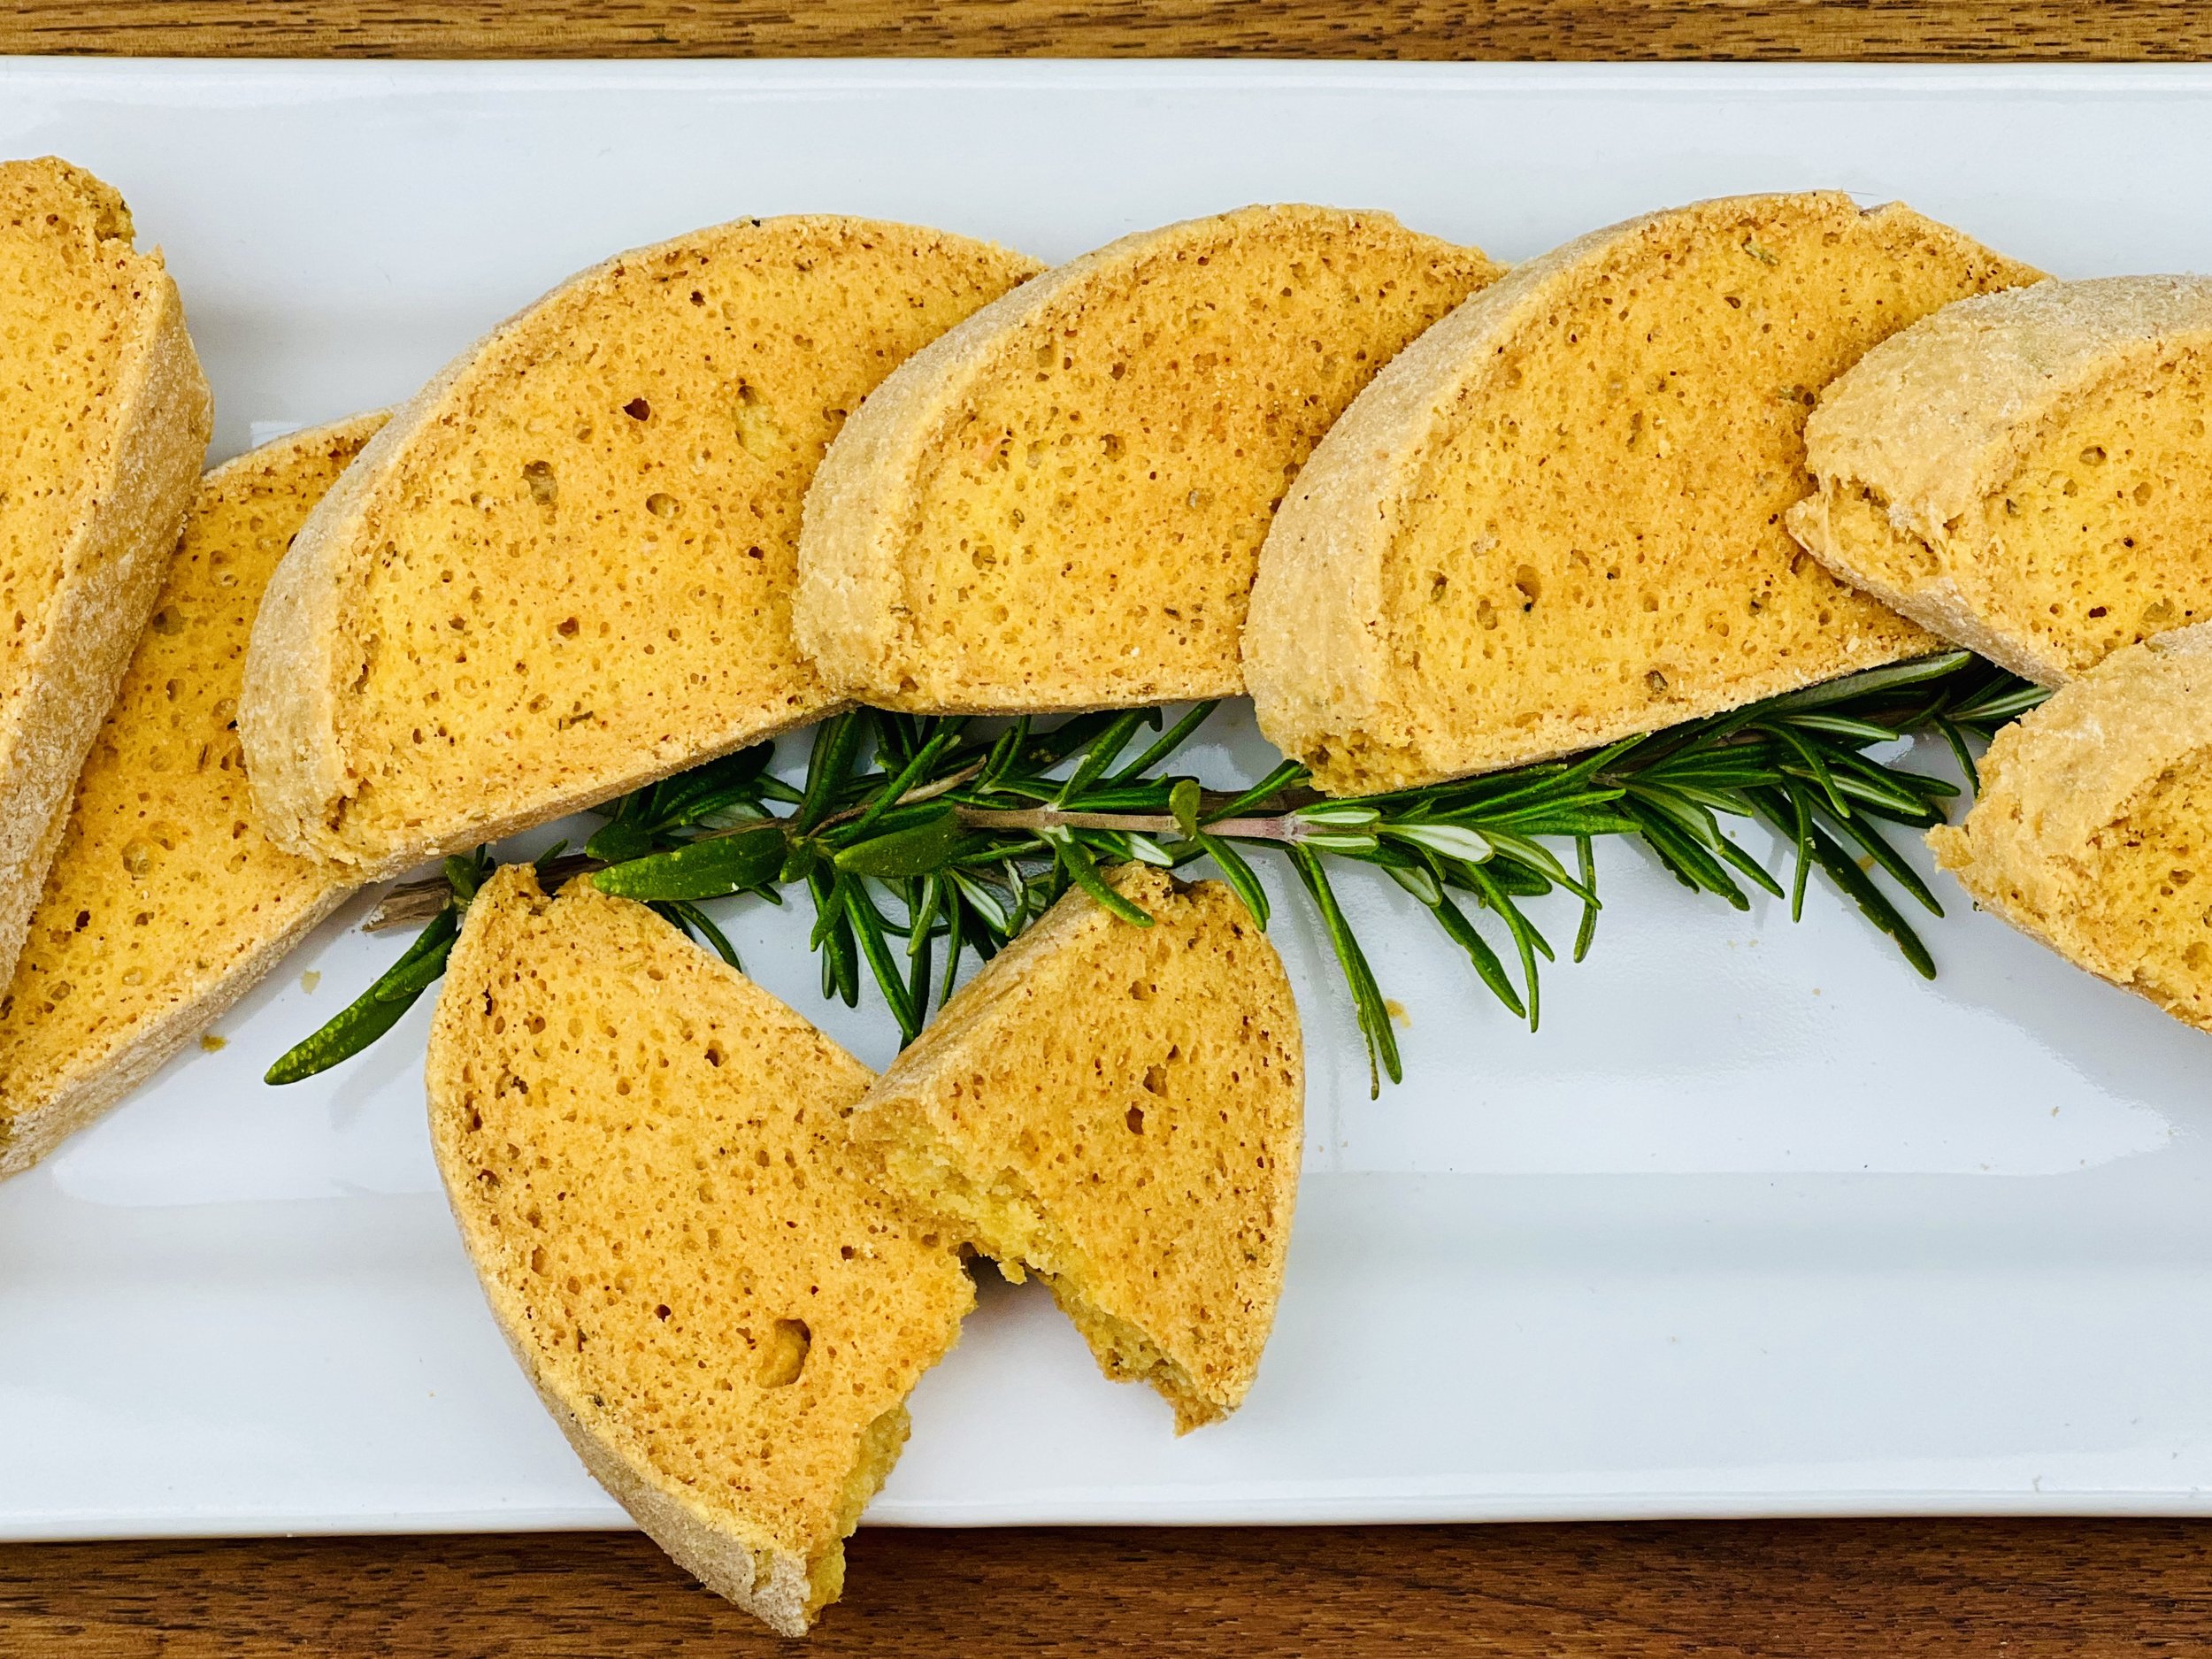
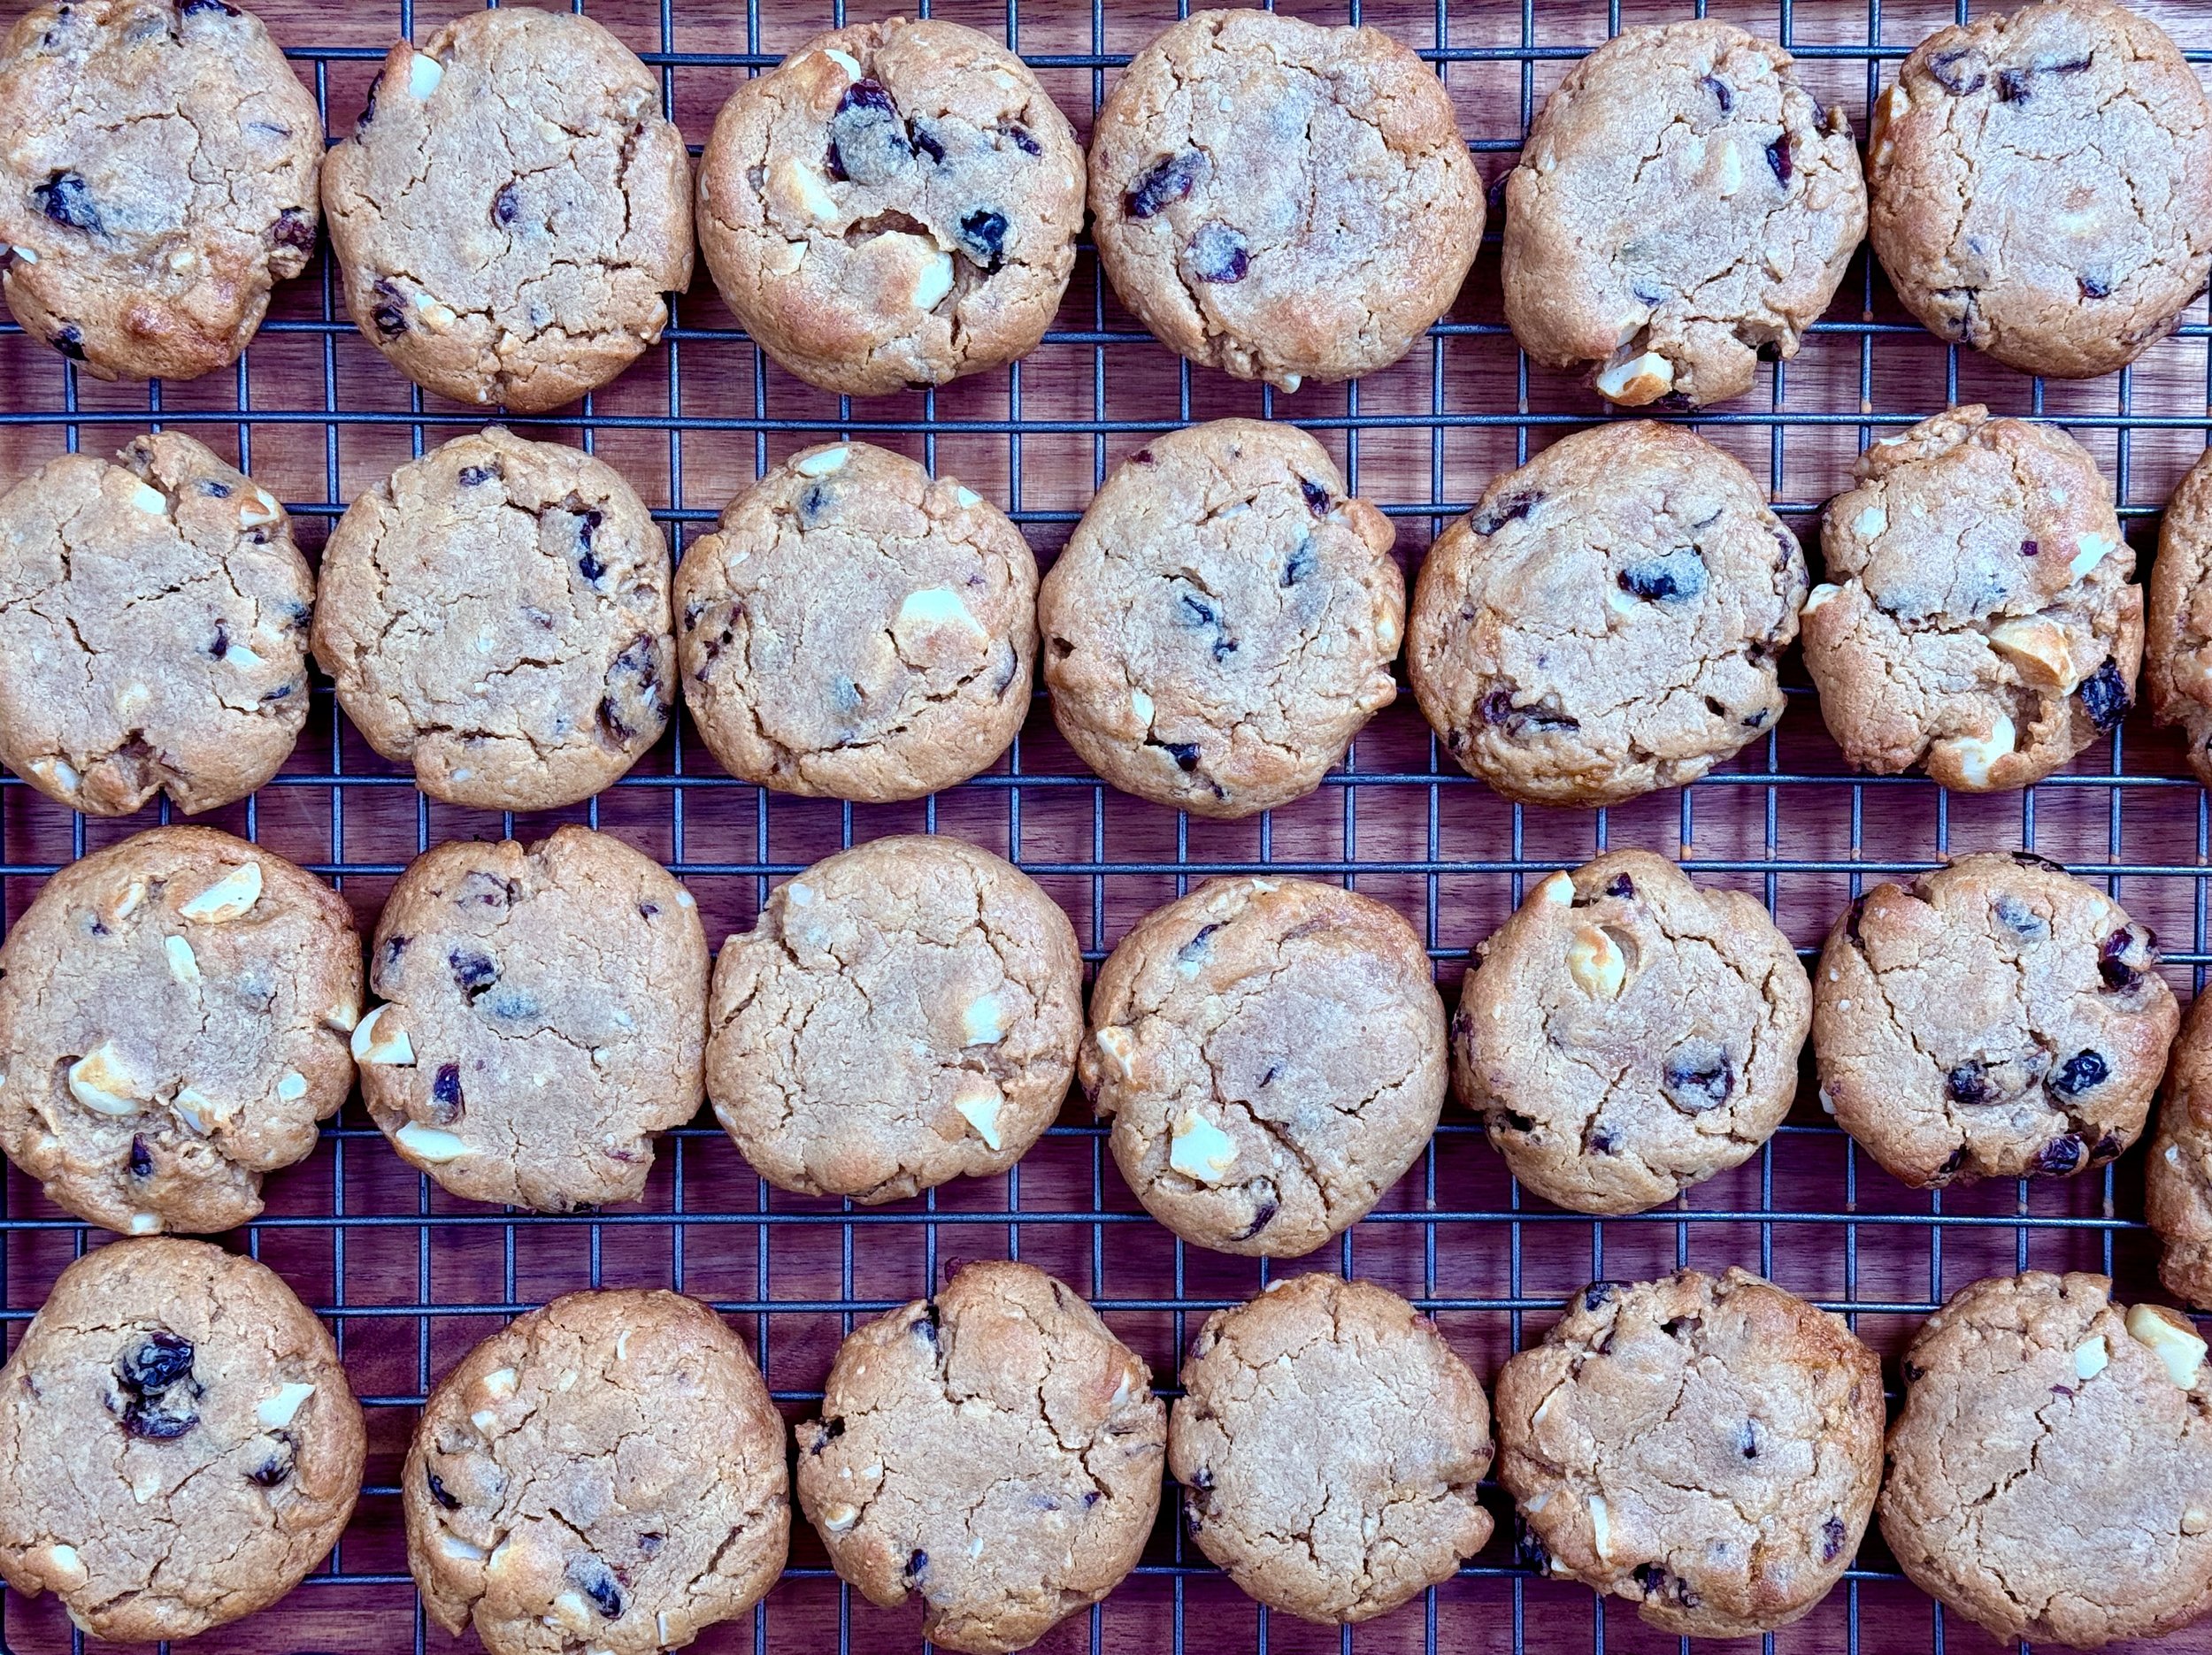
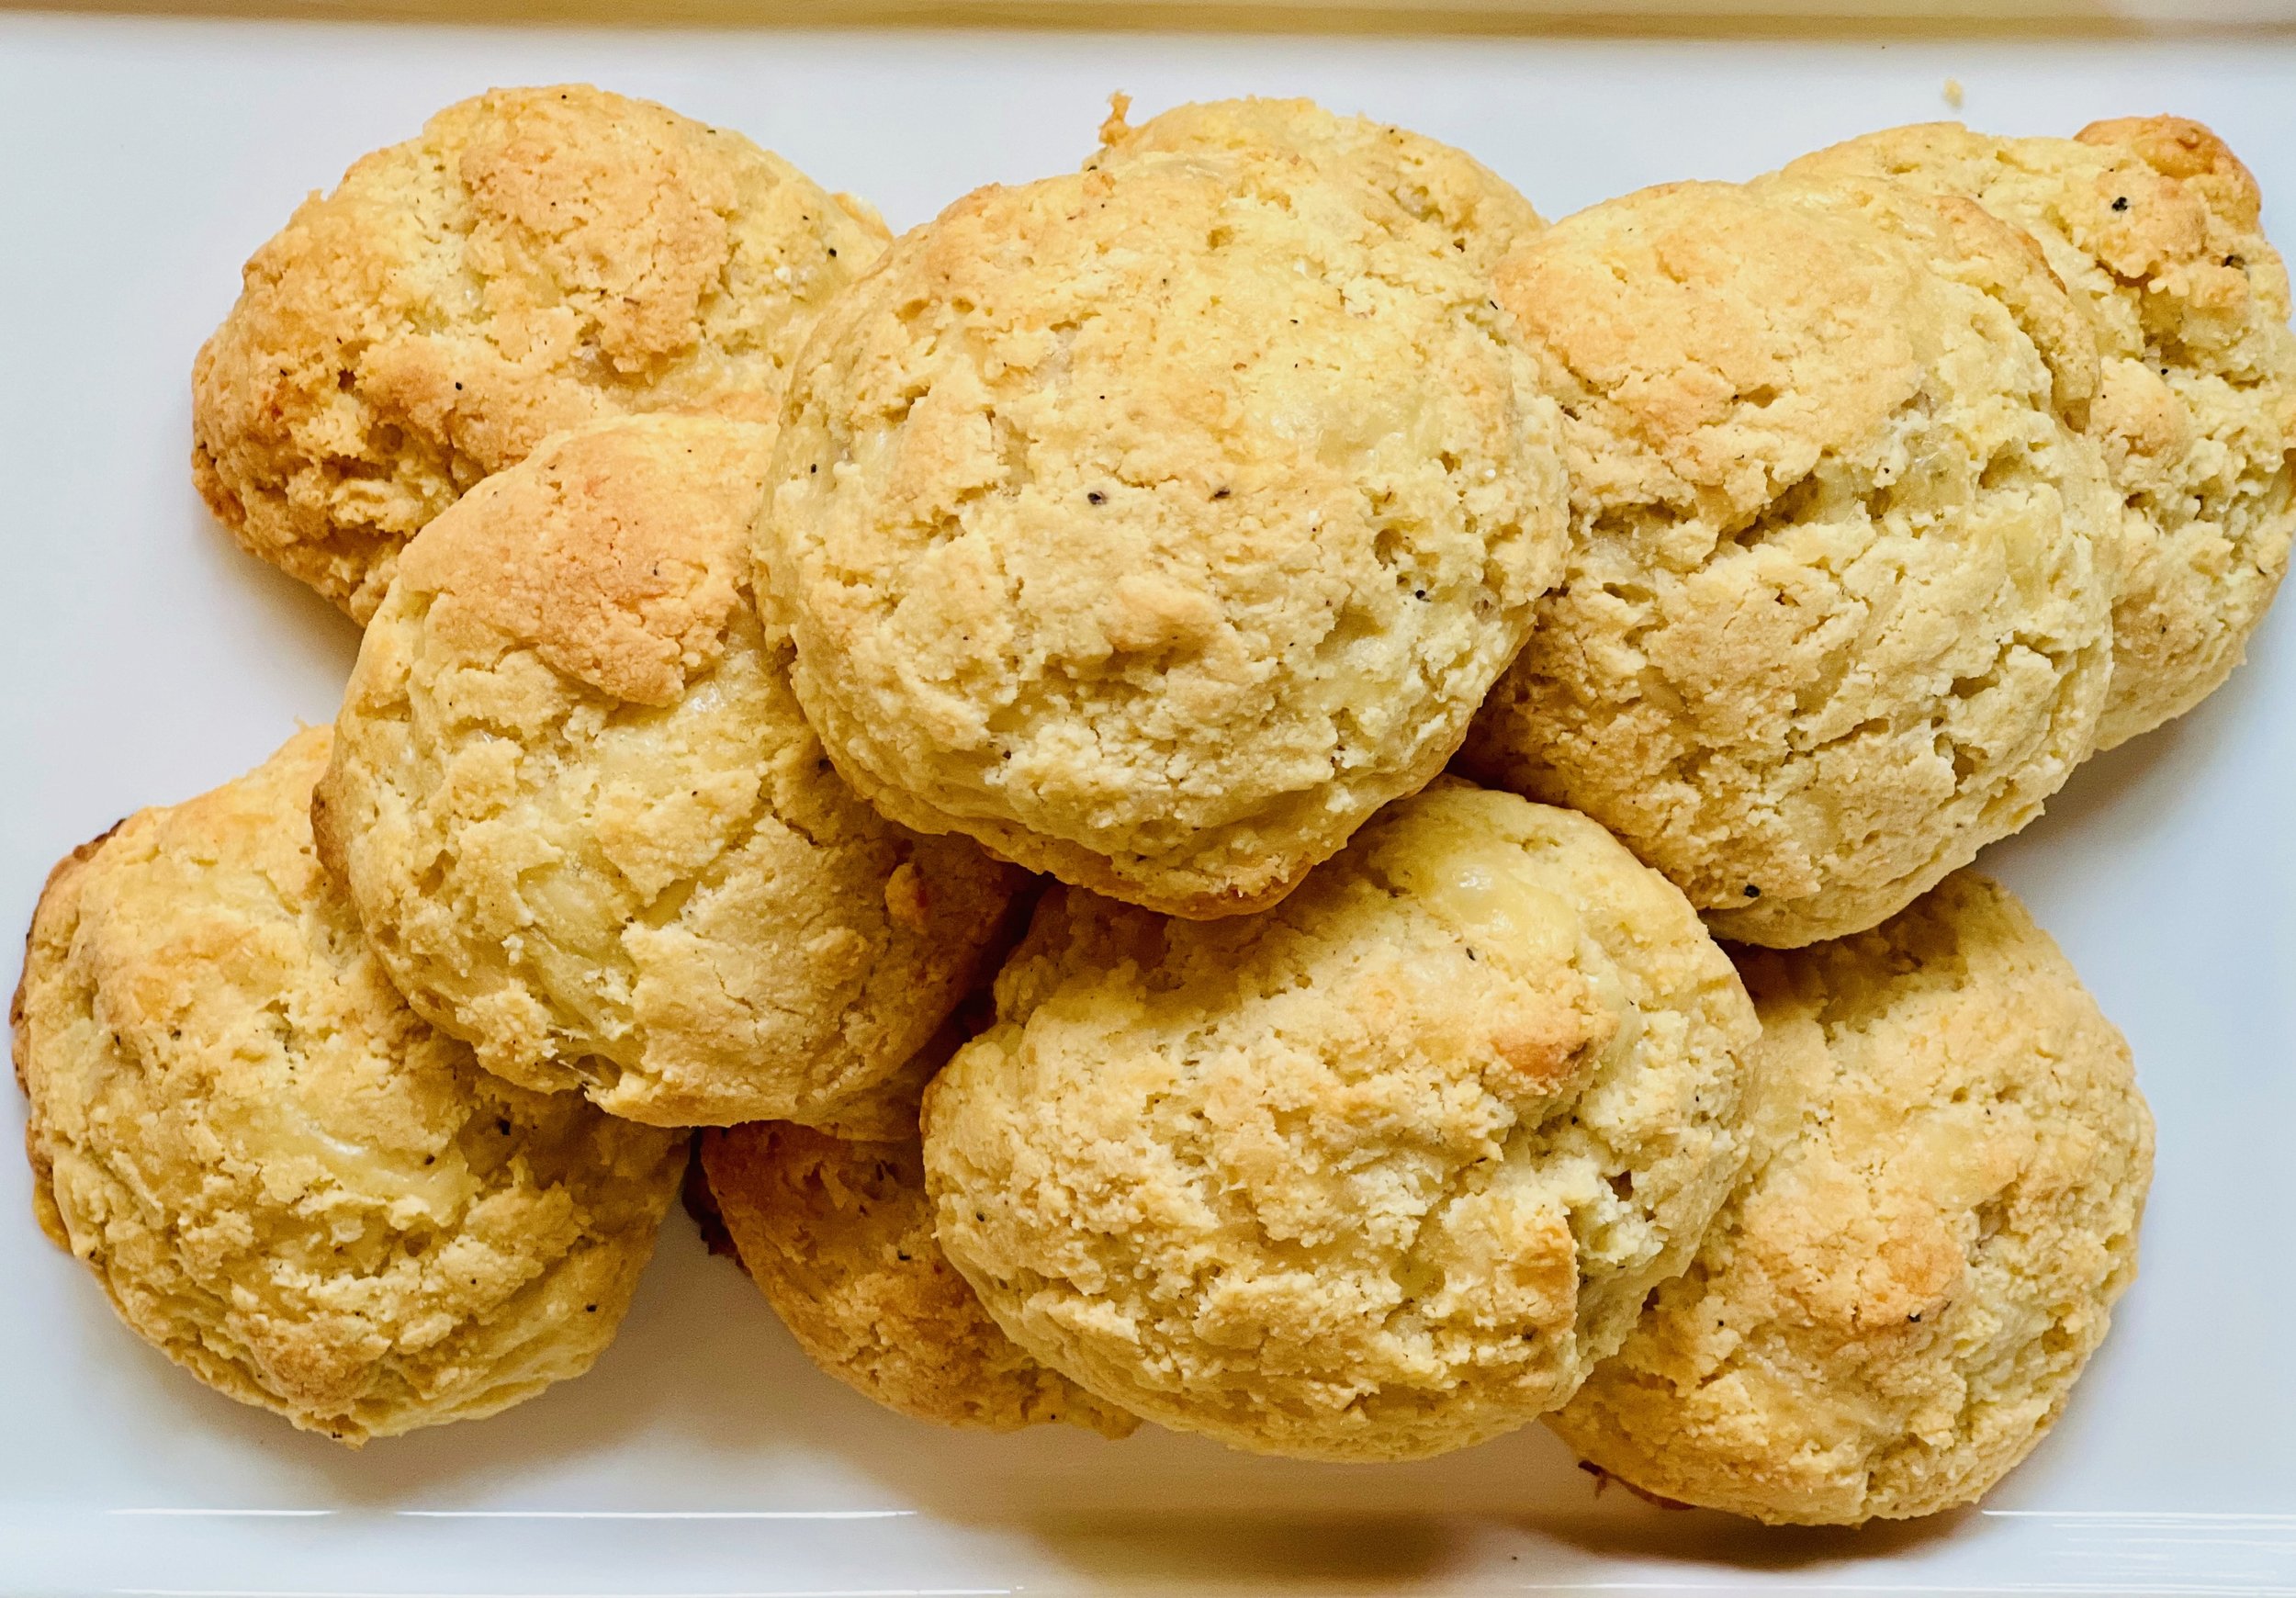
Currant Scones (low FODMAP)
10 Minutes prep • 15 Minutes cook • Low FODMAP • Gluten-free • Lactose-free • Makes 16
10 Minutes prep • 15 Minutes cook • Low FODMAP • Gluten-free • Makes 16 • Ok to make ahead: Steps 1 - 5
My Scottish father-in-law loves these scones so I count that as a firm vote of approval. They are delicate, light, delicious, and darn easy to make! Enjoy them plain, with butter, or if you want a real taste treat, have them with Leslie’s amazing lemon curd. These scones are at their very best when they’re fresh so make them for your next brunch and enjoy!
Ingredients
1 cups gluten-free flour of your choice
1 cup gf Jule’s Gluten-Free All Purpose Flour
1/4 cup white sugar
1 tablespoon baking powder
1/4 teaspoon baking soda
1/2 teaspoon salt
1/2 cup unsalted butter, cut into cubes
1 large egg, beaten
1 teaspoon vanilla extract
3/4 cup dry currants
2/3 cup lactose-free sour milk*
1 - 2 tablespoons heavy cream for brushing tops (you can also use lactose-free half and half or even lactose-free whole milk)
Granulated sugar or turbinado sugar for sprinkling on top, depending on the crunch you like.
Directions
(1) Prepare: Preheat oven to 400 degrees F. Line a rimmed baking sheet with parchment paper. Soak the currents in enough water to cover while you prepare the other ingredients. Sour your milk by adding 2 teaspoons of white vinegar to the lactose-free milk and let it sit for a few minutes before using.
(2) Blend dry ingredients: Combine dry ingredients in the bowl of a food processor and pulse to combine.
(3) Add the butter: Add the cold cubed butter and pulse until the butter is evenly combined and the dough is crumbly.
(4) Add wet ingredients: Combine egg and vanilla and add to dry ingredients in the food processor bowl. Pulse to combine. Scrape down the sides then add the sour milk and pulse to combine. Drain the currants and add to the mix. Pulse just to combine.
(5) Shape scones: Scrape the dough out onto a floured surface and use floured hands to gently pat the dough into an even layer about 1 inch thick. Cut the dough with a biscuit cutter or the top of a glass dipped in gluten-free flour (so it doesn’t stick). Gather the leftover bits and re-roll and cut out so you can use all of the dough. Place each scone on the parchment-lined tray.
Make-ahead note: At this point, you may chill the scones until you are ready to bake.
(6) Glaze: Just before baking, brush the tops with cream and sprinkle with sugar.
(7) Bake: Bake for 12 minutes or until the scones are delicately browned. Remove from the oven and let cool on the cookie sheet for a couple of minutes. Then remove to a cooling rack.
(8) Plate and serve: Serve plain, with butter and jam, or, for a really amazing taste treat, with Leslie’s amazing lemon curd. The low FODMAP serving size is two scones if you make a batch of 16 or more. These scones are at their very best when they’re fresh so make them for your next brunch and enjoy!
Eat and enjoy every bite because you can!
Have a question you’d like to have answered? Email us at hello@ibsgamechanger.com
This post contains links for you to easily purchase items listed on the page. In some cases, we have provided a special discount code for IBS Game Changers so be sure to use it when you purchase an item to get the discount that has been arranged just for you! As an Amazon Associate, I earn a commission from qualifying Amazon purchases.
More Deliciously Low FODMAP™ breakfast recipes you might enjoy


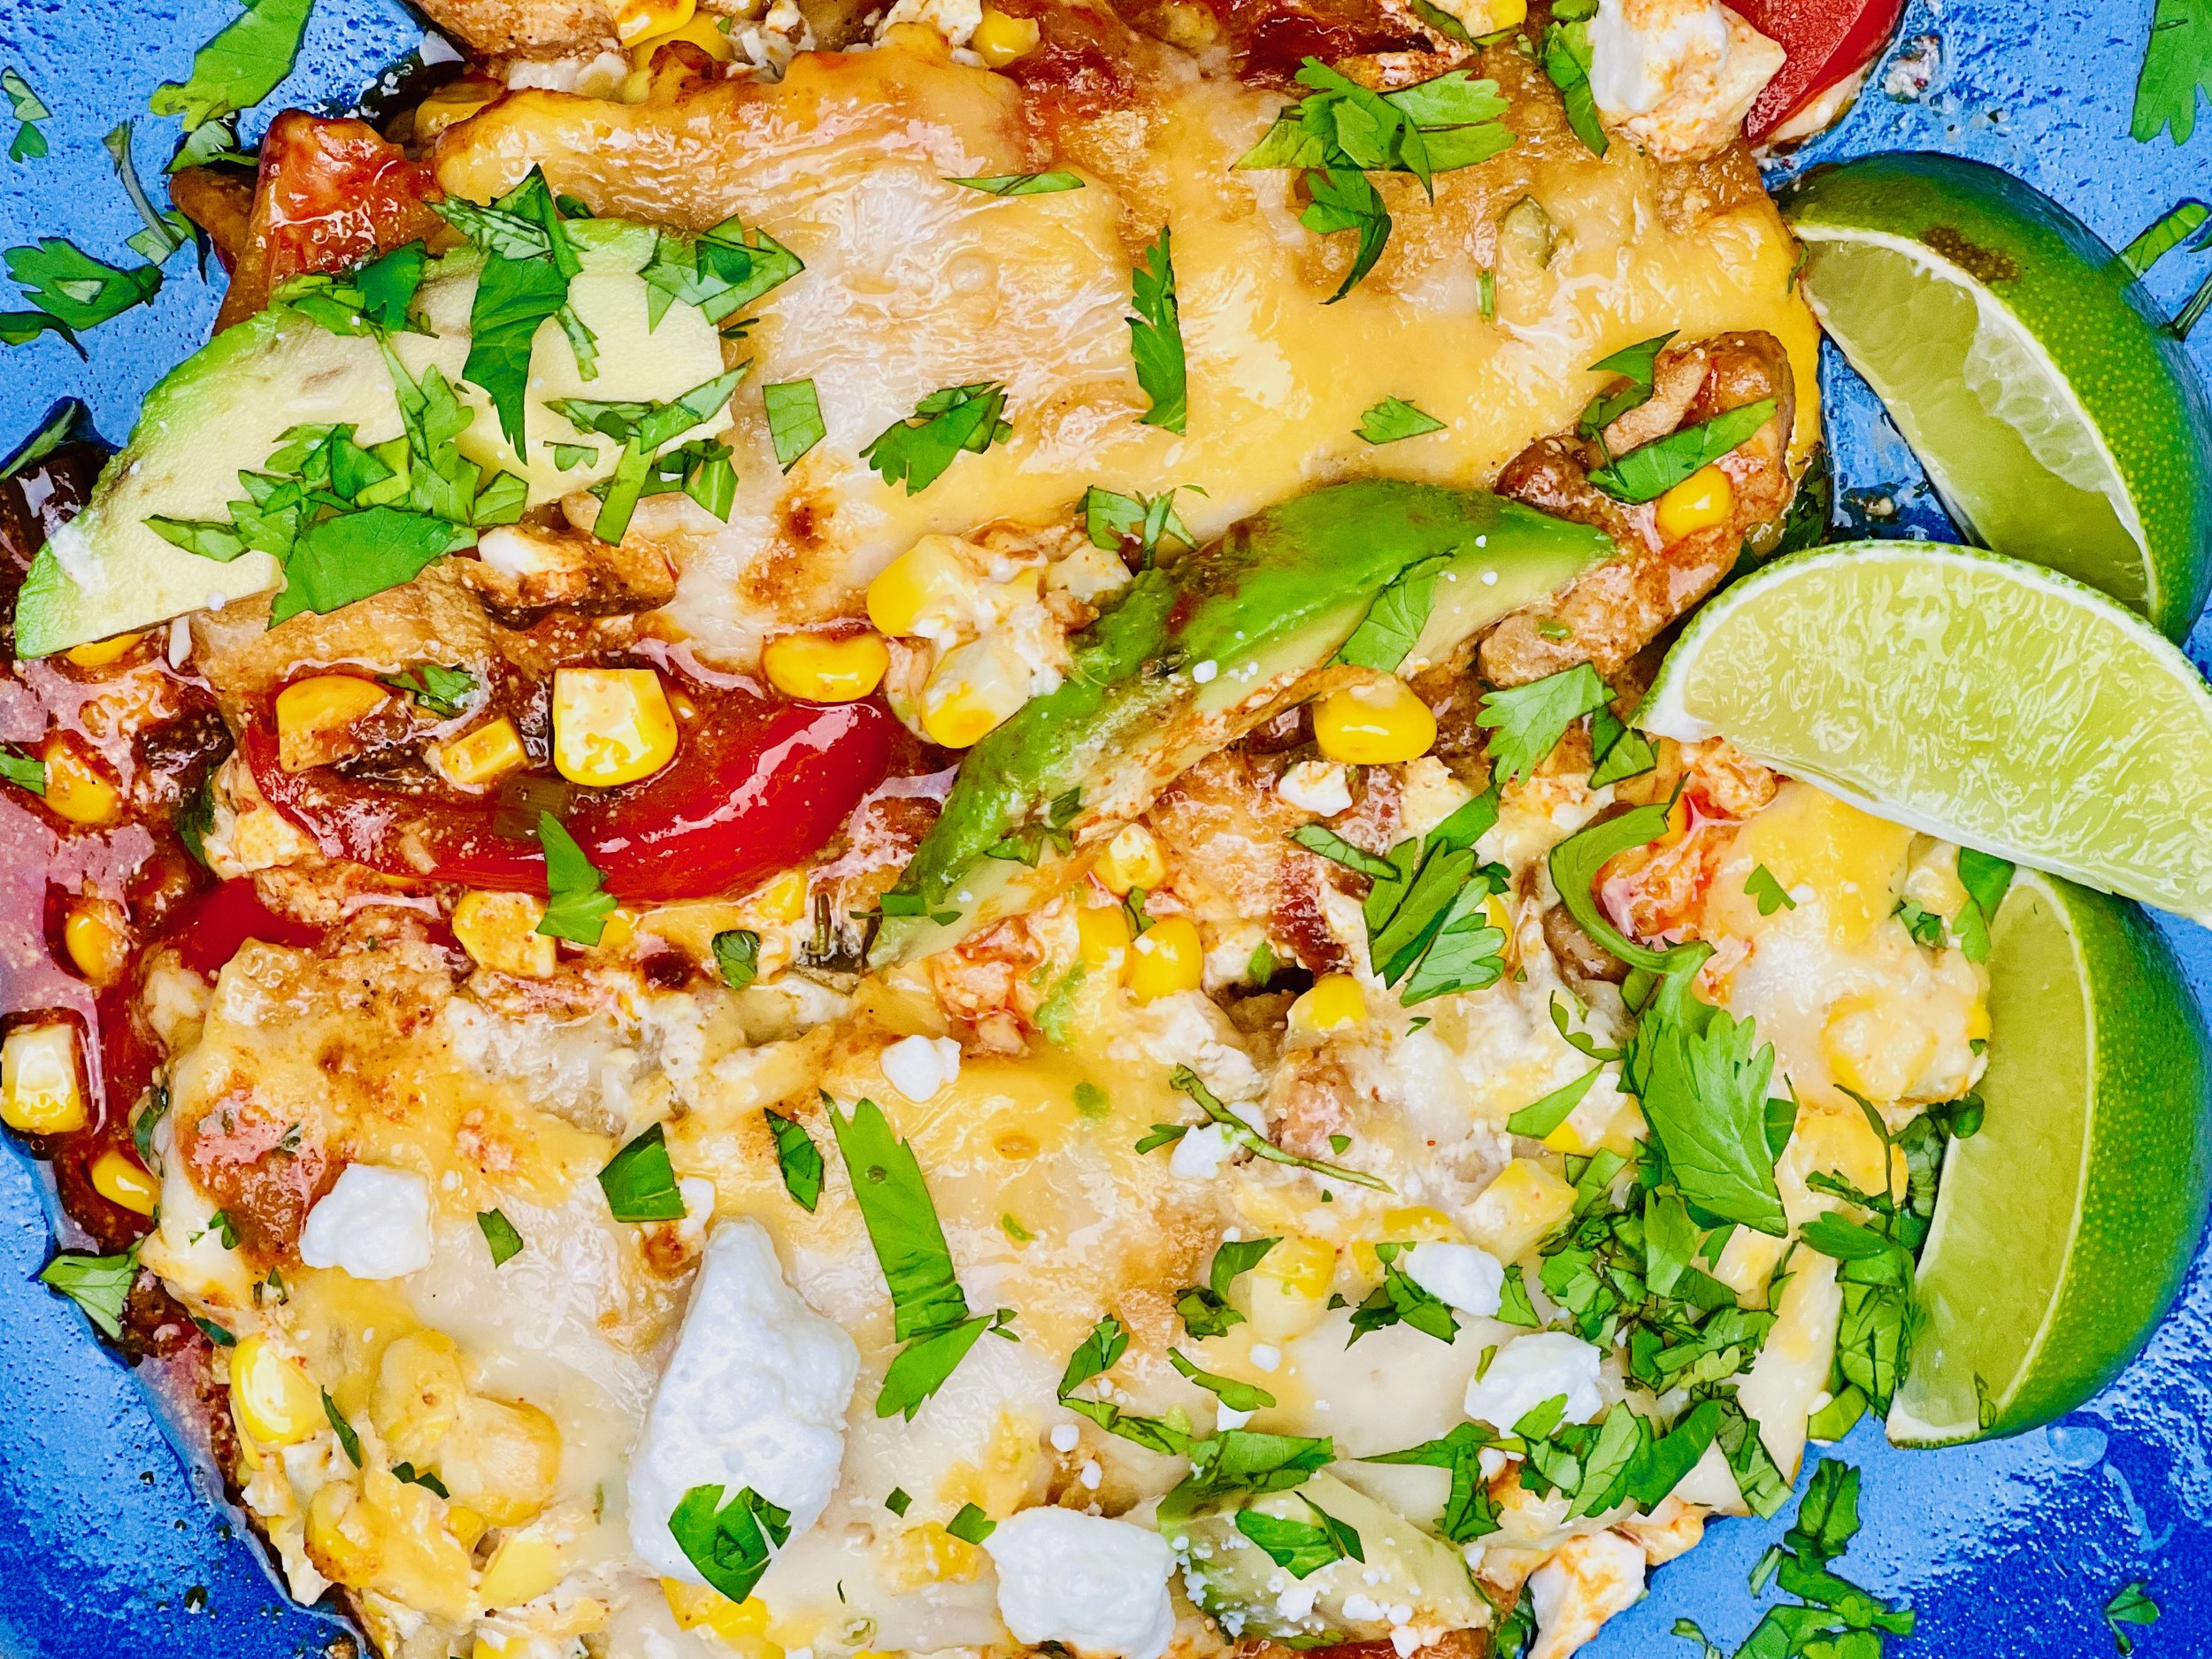
One Pan Chicken and Creamy Corn Enchiladas (Low FODMAP)
20 Minutes prep • 20 Minutes cook • Low FODMAP • Gluten-free • Serves 6
20 Minutes prep • 20 Minutes cook • Low FODMAP • Gluten-free • Serves 6 • Ok to make ahead: Step 1
These creamy enchiladas are cooked on a bed of chicken and peppers so they are loaded with flavor and color. From the tangy taste of the yogurt blended with the sweet taste of the corn, all wrapped up in corn tortillas, these enchiladas are different from the standard fare and I think you’ll find they taste pretty darn delicious. One pan means they’re quick to make and easy to clean up. So what are you waiting for? Make them tonight.
This is an exclusive recipe just for recipe club members.
In addition to the two free recipes I create each week I am creating and delivering one very special recipe just for my recipe club members. If you’re not yet a member, I encourage you to join! Membership in the club includes access to the complete archive of recipes with filters so it can become your virtual low FODMAP cookbook plus, I am creating and delivering one special NEW recipe every week ONLY for recipe club members. And, for my true fans, I’ll be sharing behind-the-scenes content, and updates on the progress of the new cookbook.
Your membership in the club helps me continue creating new, delicious, easy-to-make, low FODMAP recipes just for you.
As always, all recipes will emphasize simple ingredients, easy preparation, and delicious low FODMAP results. Recipes will be for everything from main courses, salads, soups, side dishes, appetizers, desserts, sauces, breakfast and lunch, and even mocktails and cocktails. Everything you need to prepare fantastic low FODMAP meals everyone will love.
Join the club. Become a Patron. Let’s keep making delicious Low FODMAP meals together.
More Deliciously Low FODMAP™ main course recipes


Gluten vs Fructan? Who's the culprit?
Can I eat gluten while on a low FODMAP diet?
When coaching my clients to learn how to follow a low FODMAP diet for the elimination of IBS symptoms, and then taking them through the process of testing with careful reintroduction, I am often told “I’m gluten-intolerant” or “gluten makes me feel terrible.” I actually love to hear this from my clients because, while it has been long assumed that gluten is a trigger for IBS symptoms, we have learned that it’s more likely to be the fructans in bread that are the trigger. And that’s a game changer.
Article authored by Ketan Vakil, of Gourmend Foods
Within the low FODMAP/IBS community, it is well known that those with IBS should avoid gluten. Whether or not you have a proven gluten intolerance, you've probably been told that you should avoid it altogether.
But what if gluten isn't the problem? 🤔
If you use the Monash University app that gives you their well-tested guidelines (and we highly recommend it, it's great!), you will see that not all flours and breads are off-limits on the low FODMAP diet. While anyone with celiac disease should avoid gluten entirely, those who are non-celiac and on the low FODMAP diet can have certain types of breads and flours. For instance, sourdough bread is safe, even though it is usually made with wheat.
It's important to note that bread not only has gluten, but it also contains fructans (an oligosaccharide), which is a well-known IBS trigger.
While it has been long assumed that gluten particularly triggers IBS symptoms, what if it's the fructans in bread that are the trigger? The scientists who performed this study, published in the journal Gastroenterology (one of our absolute favorite studies!) wanted to learn just that.
They recognized that those with non-celiac gluten sensitivity have symptom relief after gluten is removed from their diets, but that didn't necessarily mean that the relief was from not consuming gluten. What if they felt relief by removing something else from their diets? Something like fructans!
59 participants with non-celiac gluten sensitivity were given a bar with gluten, fructans, or neither to see how they responded.
The results showed fructans were actually more likely to produce symptoms than gluten: 13 participants experienced the worst symptoms after eating the bars with gluten, while 24 reported feeling worse after eating the fructan-rich bars. Interestingly, 22 said the placebo bars bothered them most.
As it turns out, gluten may not be the IBS instigator that we have assumed it is!
This study actually validates why sourdough bread is safe to consume.
Have you ever wondered why sourdough bread can be safely enjoyed on the low FODMAP diet, even though it has gluten? Sourdough is low FODMAP because there is a fermentation step in the process of creating sourdough bread that decreases the fructan content. Even though there is still gluten present, the absence of fructans makes it safe for IBS sufferers.
That being said, not all sourdoughs are made equal. We recommend finding a local bakery that makes their own. The fermentation process for sourdough is lengthy, and buying from a trusted local bakery or making it yourself guarantees that it will be done right.
How can you tell if the sourdough at your local bakery is the real deal? Hint: it should have only 3 ingredients (wheat, water, and salt)!
More Deliciously Low FODMAP™ tips & tools


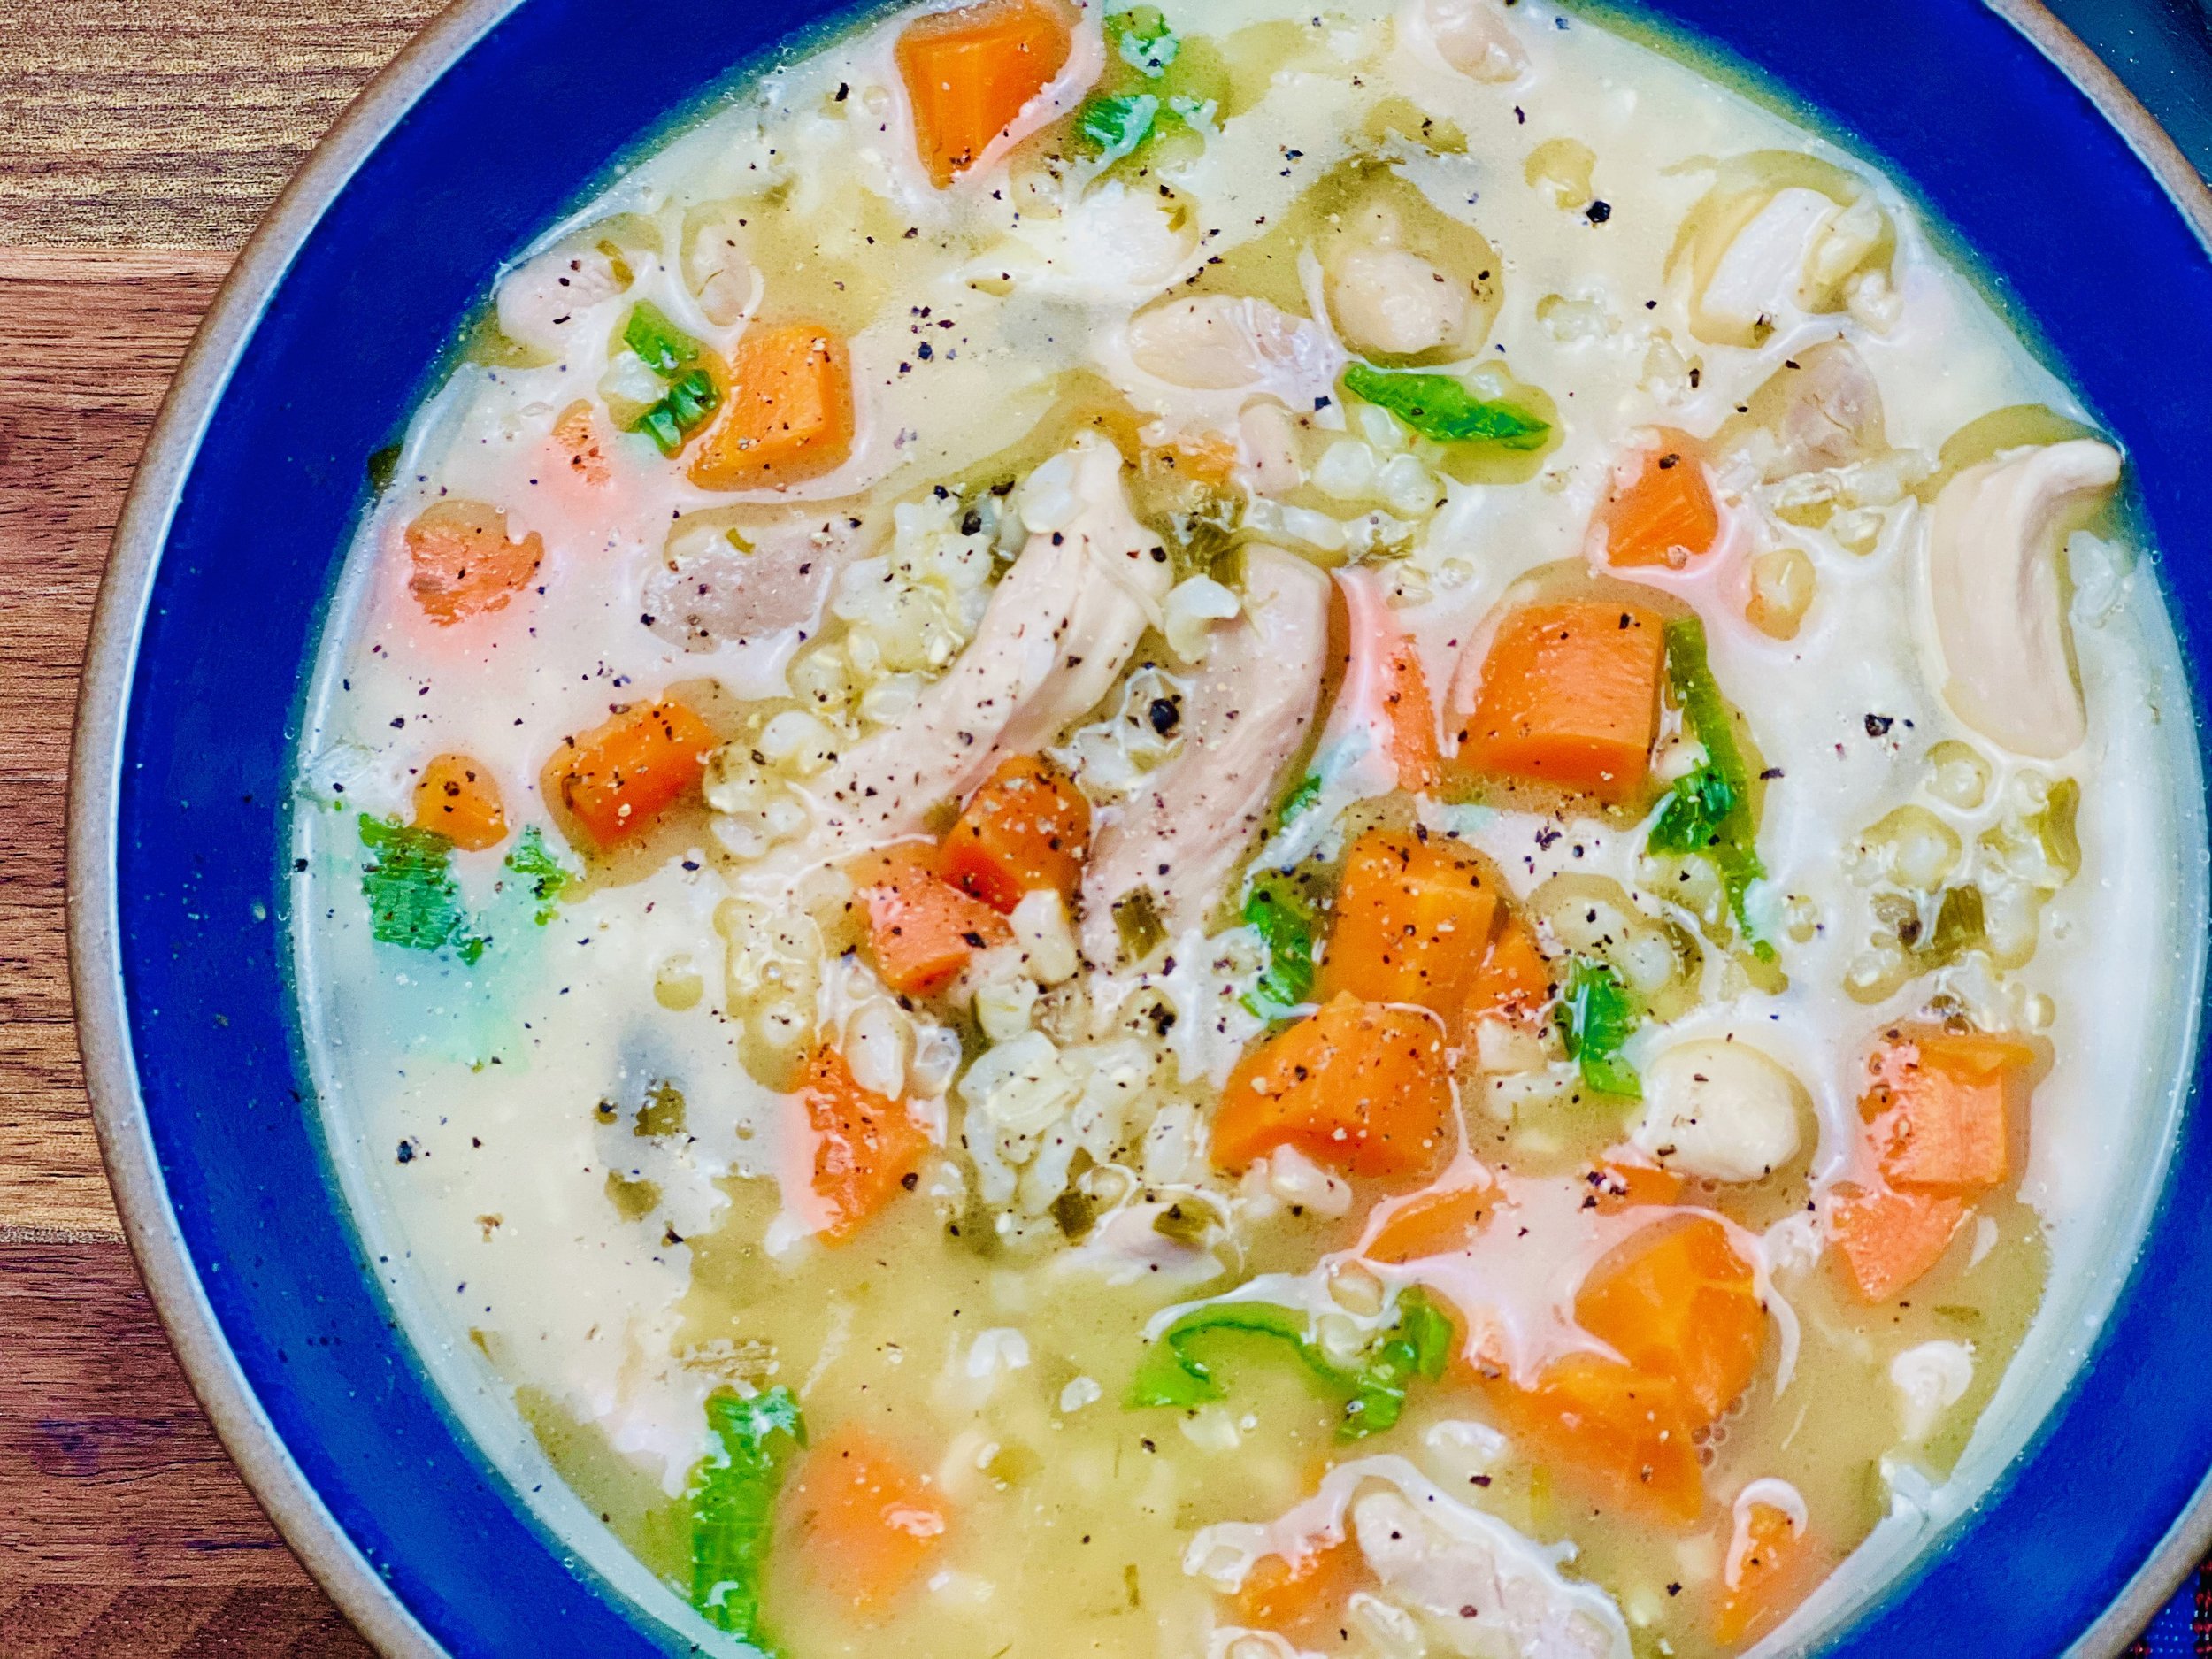
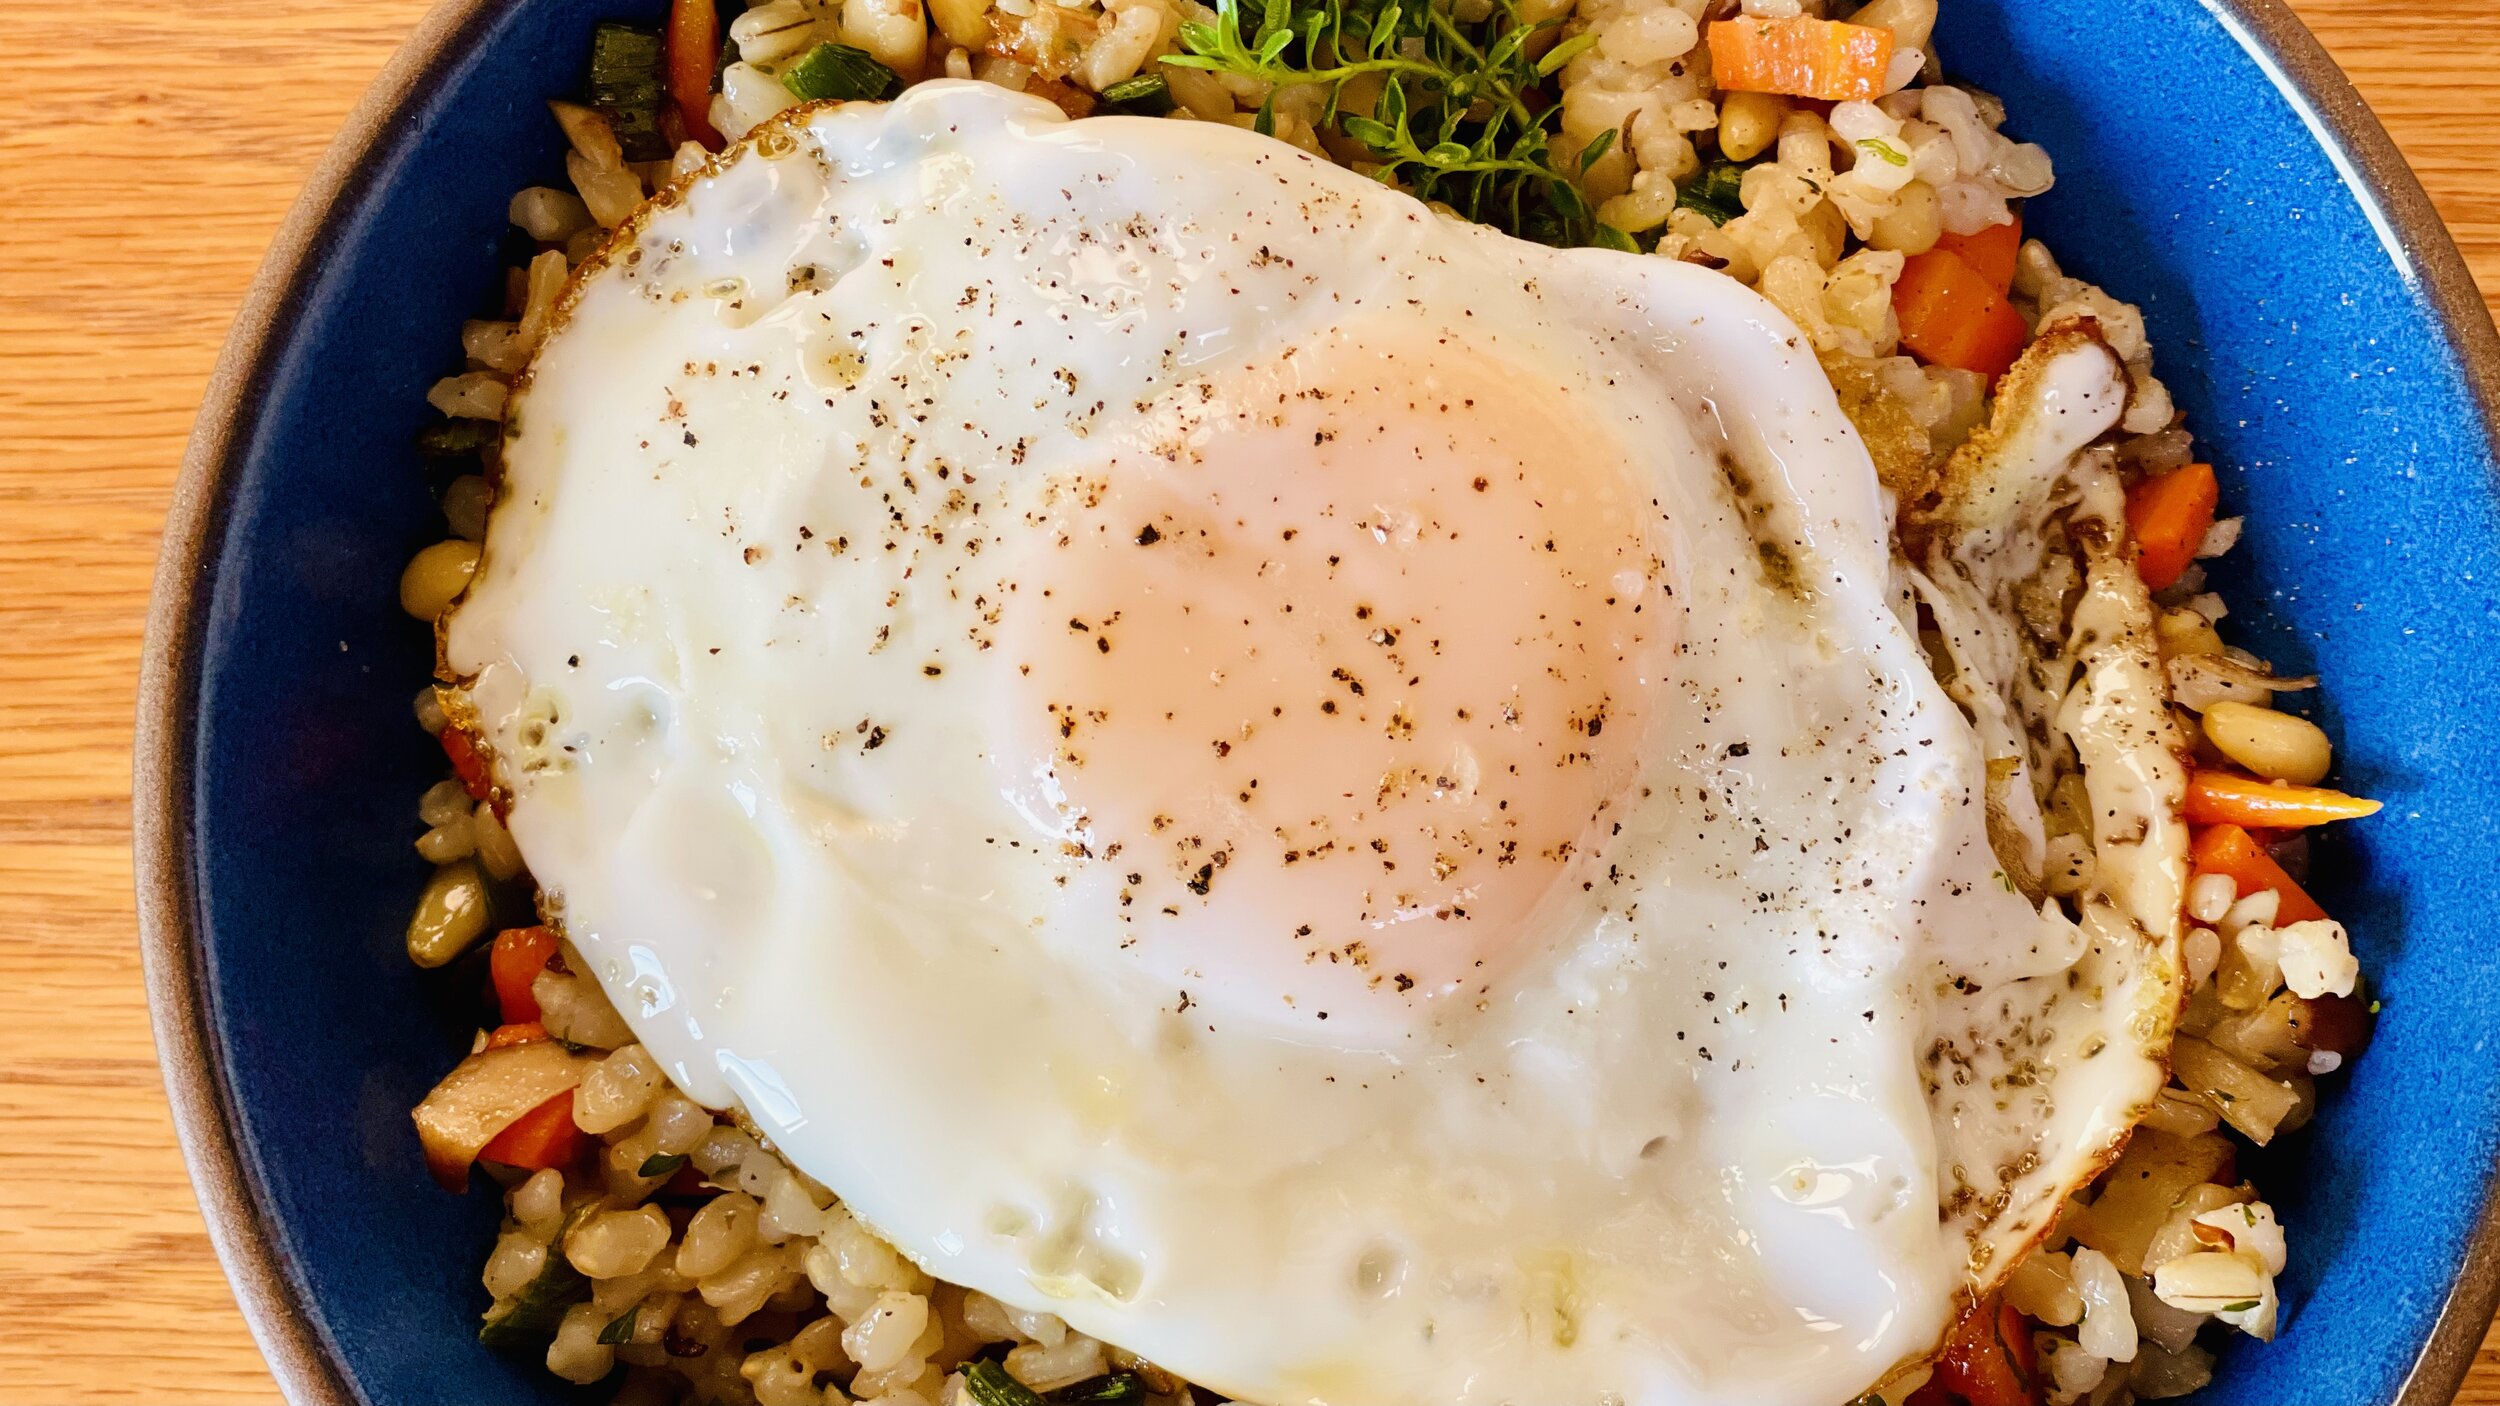
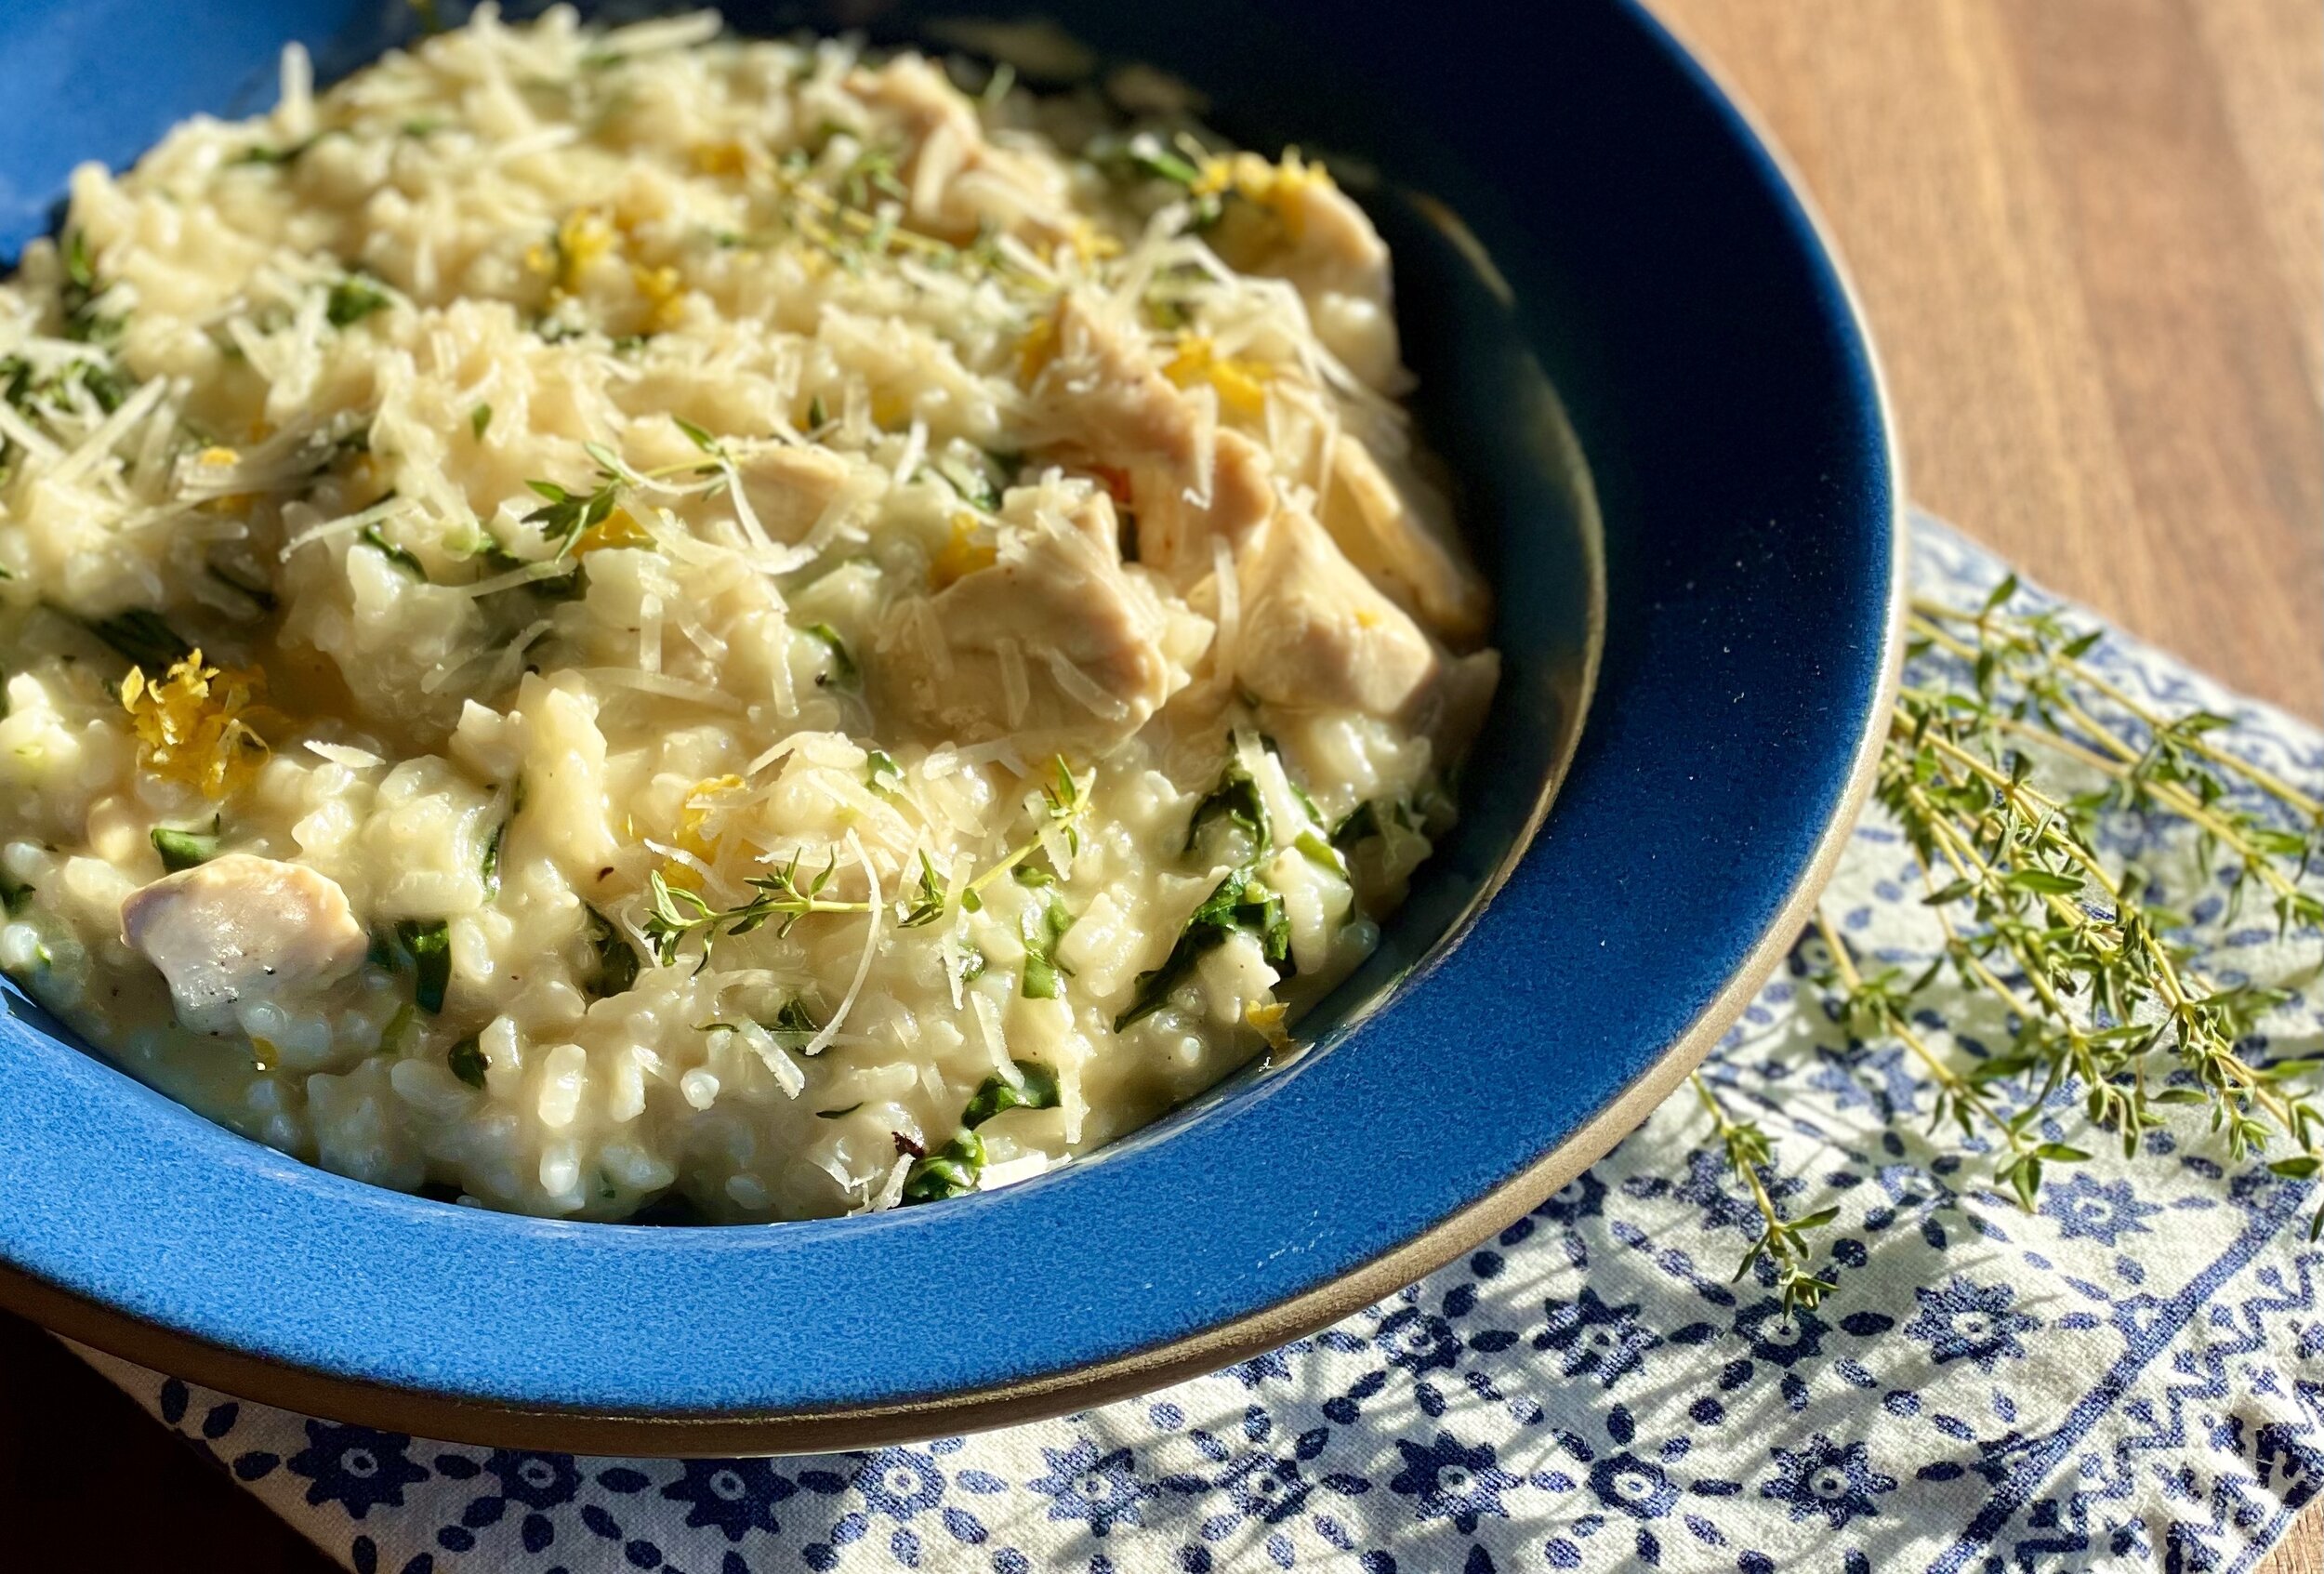
One Pan Chicken Arroz Caldo (Low FODMAP)
20 Minutes prep • 45 Minutes cook • Low FODMAP • Gluten-free • Serves 6
20 Minutes prep • 45 Minutes cook • Low FODMAP • Gluten-free • Serves 6 • Ok to make ahead: Step 1
A Filipino favorite, Arroz Caldo literally means warm rice. But it’s oh so much more! Similar to risotto, it’s creamy and delicious and it will warm you from the inside out. It’s the perfect comfort food for a rainy day but easy and delicious any day. The bright taste of the ginger pairs beautifully with the salty umami of the soy sauce. The rice and vegetables cooked in the chicken broth make the perfect creamy companion for the chicken. You can make it with whatever kind of rice you like (just keep in mind brown rice will take longer to cook than white rice so allow for a bit more time and taste for doneness as you go).
Ingredients
1 tablespoon garlic-infused olive oil, plus more for frying
1 (1-inch) piece ginger, peeled and finely chopped
1 bunch green onions (green part only), chopped, plus more for serving
1 to 1 1/2 pounds skinless, boneless chicken thighs, sliced
1/2 teaspoon Kosher salt and 1/4 teaspoon black pepper
1 tablespoon gluten-free low sodium soy sauce
1 tablespoon rice vinegar
1 cup short-grain brown rice (or white rice if you prefer)
4 cups low FODMAP chicken broth
2 medium carrots, chopped
1 or 2 Parmesan rinds* (optional but really adds flavor)
2 tablespoons salted butter
Additional green onion greens, thinly sliced, for serving
Directions
(1) Prepare the chicken: This step is optional but results in a more flavorful and tender chicken. Remove chicken from the package, and put it in one layer on a rimmed plate or baking dish. Season both sides of each piece lightly with Diamond Crystal Kosher salt (about 1/4 teaspoon per side). Cover the dish with plastic wrap and refrigerate until ready to use, ideally about 4 hours before cooking or overnight.
(2) Cook the onions and ginger: In a large pot or Dutch oven over medium heat, heat the garlic-infused olive oil. Add the ginger and green onions and cook, stirring occasionally, for about 1 minute.
(3) Brown the chicken: Add the sliced chicken, salt, and pepper, and cook, tossing to combine, for about 5 minutes, until browned. Add the soy sauce and rice vinegar and let simmer for a few minutes, then add the rice and simmer for a few minutes more, stirring often.
(4) Cook the rice: Add the broth and bring to a boil. Add the parmesan rinds and reduce the heat to medium-low and simmer, stirring frequently, for 25 to 45 minutes (shorter for white rice, longer for brown rice), until the chicken and rice are cooked through.
(5) Add vegetables: Add the chopped carrots about 10 minutes before the cook time is complete.
(6) Finish: Taste the rice as it nears total cook time to be sure the rice is tender. If it needs a bit of salt, add some now. Stir in the butter.
(7) Plate and serve: Serve the Chicken Arroz Caldo in bowls with chopped green onion greens and a grind of pepper on top and some crusty sourdough bread and butter alongside.
Eat and enjoy every bite because you can!
Recipe note: I use Diamond Crystal Kosher salt in all my recipes because it has a wonderful flat and crisp flake that tastes delicious. It is also the least salty salt available so you can use it more liberally as a seasoning than you can table salt or sea salt. If you use another type of salt, you may need to reduce the amount so it is not over-salted.
*When you buy fresh parmesan, the back of the cheese segment has a rind on it. Save those rinds in an airtight container in your refrigerator to use in soups and stews. Just drop them in and let them cook with the rest of the ingredients. When the cooking is done, remove and discard. They will have given up lots of excellent flavor in whatever you’re cooking.
Link note: This post contains links for you to easily purchase items listed on the page. In some cases, we have provided a special discount code for IBS Game Changers so be sure to use it when you purchase an item to get the discount that has been arranged just for you! As an Amazon Associate, I earn a commission from qualifying Amazon purchases.
More Deliciously Low FODMAP™ main course recipes
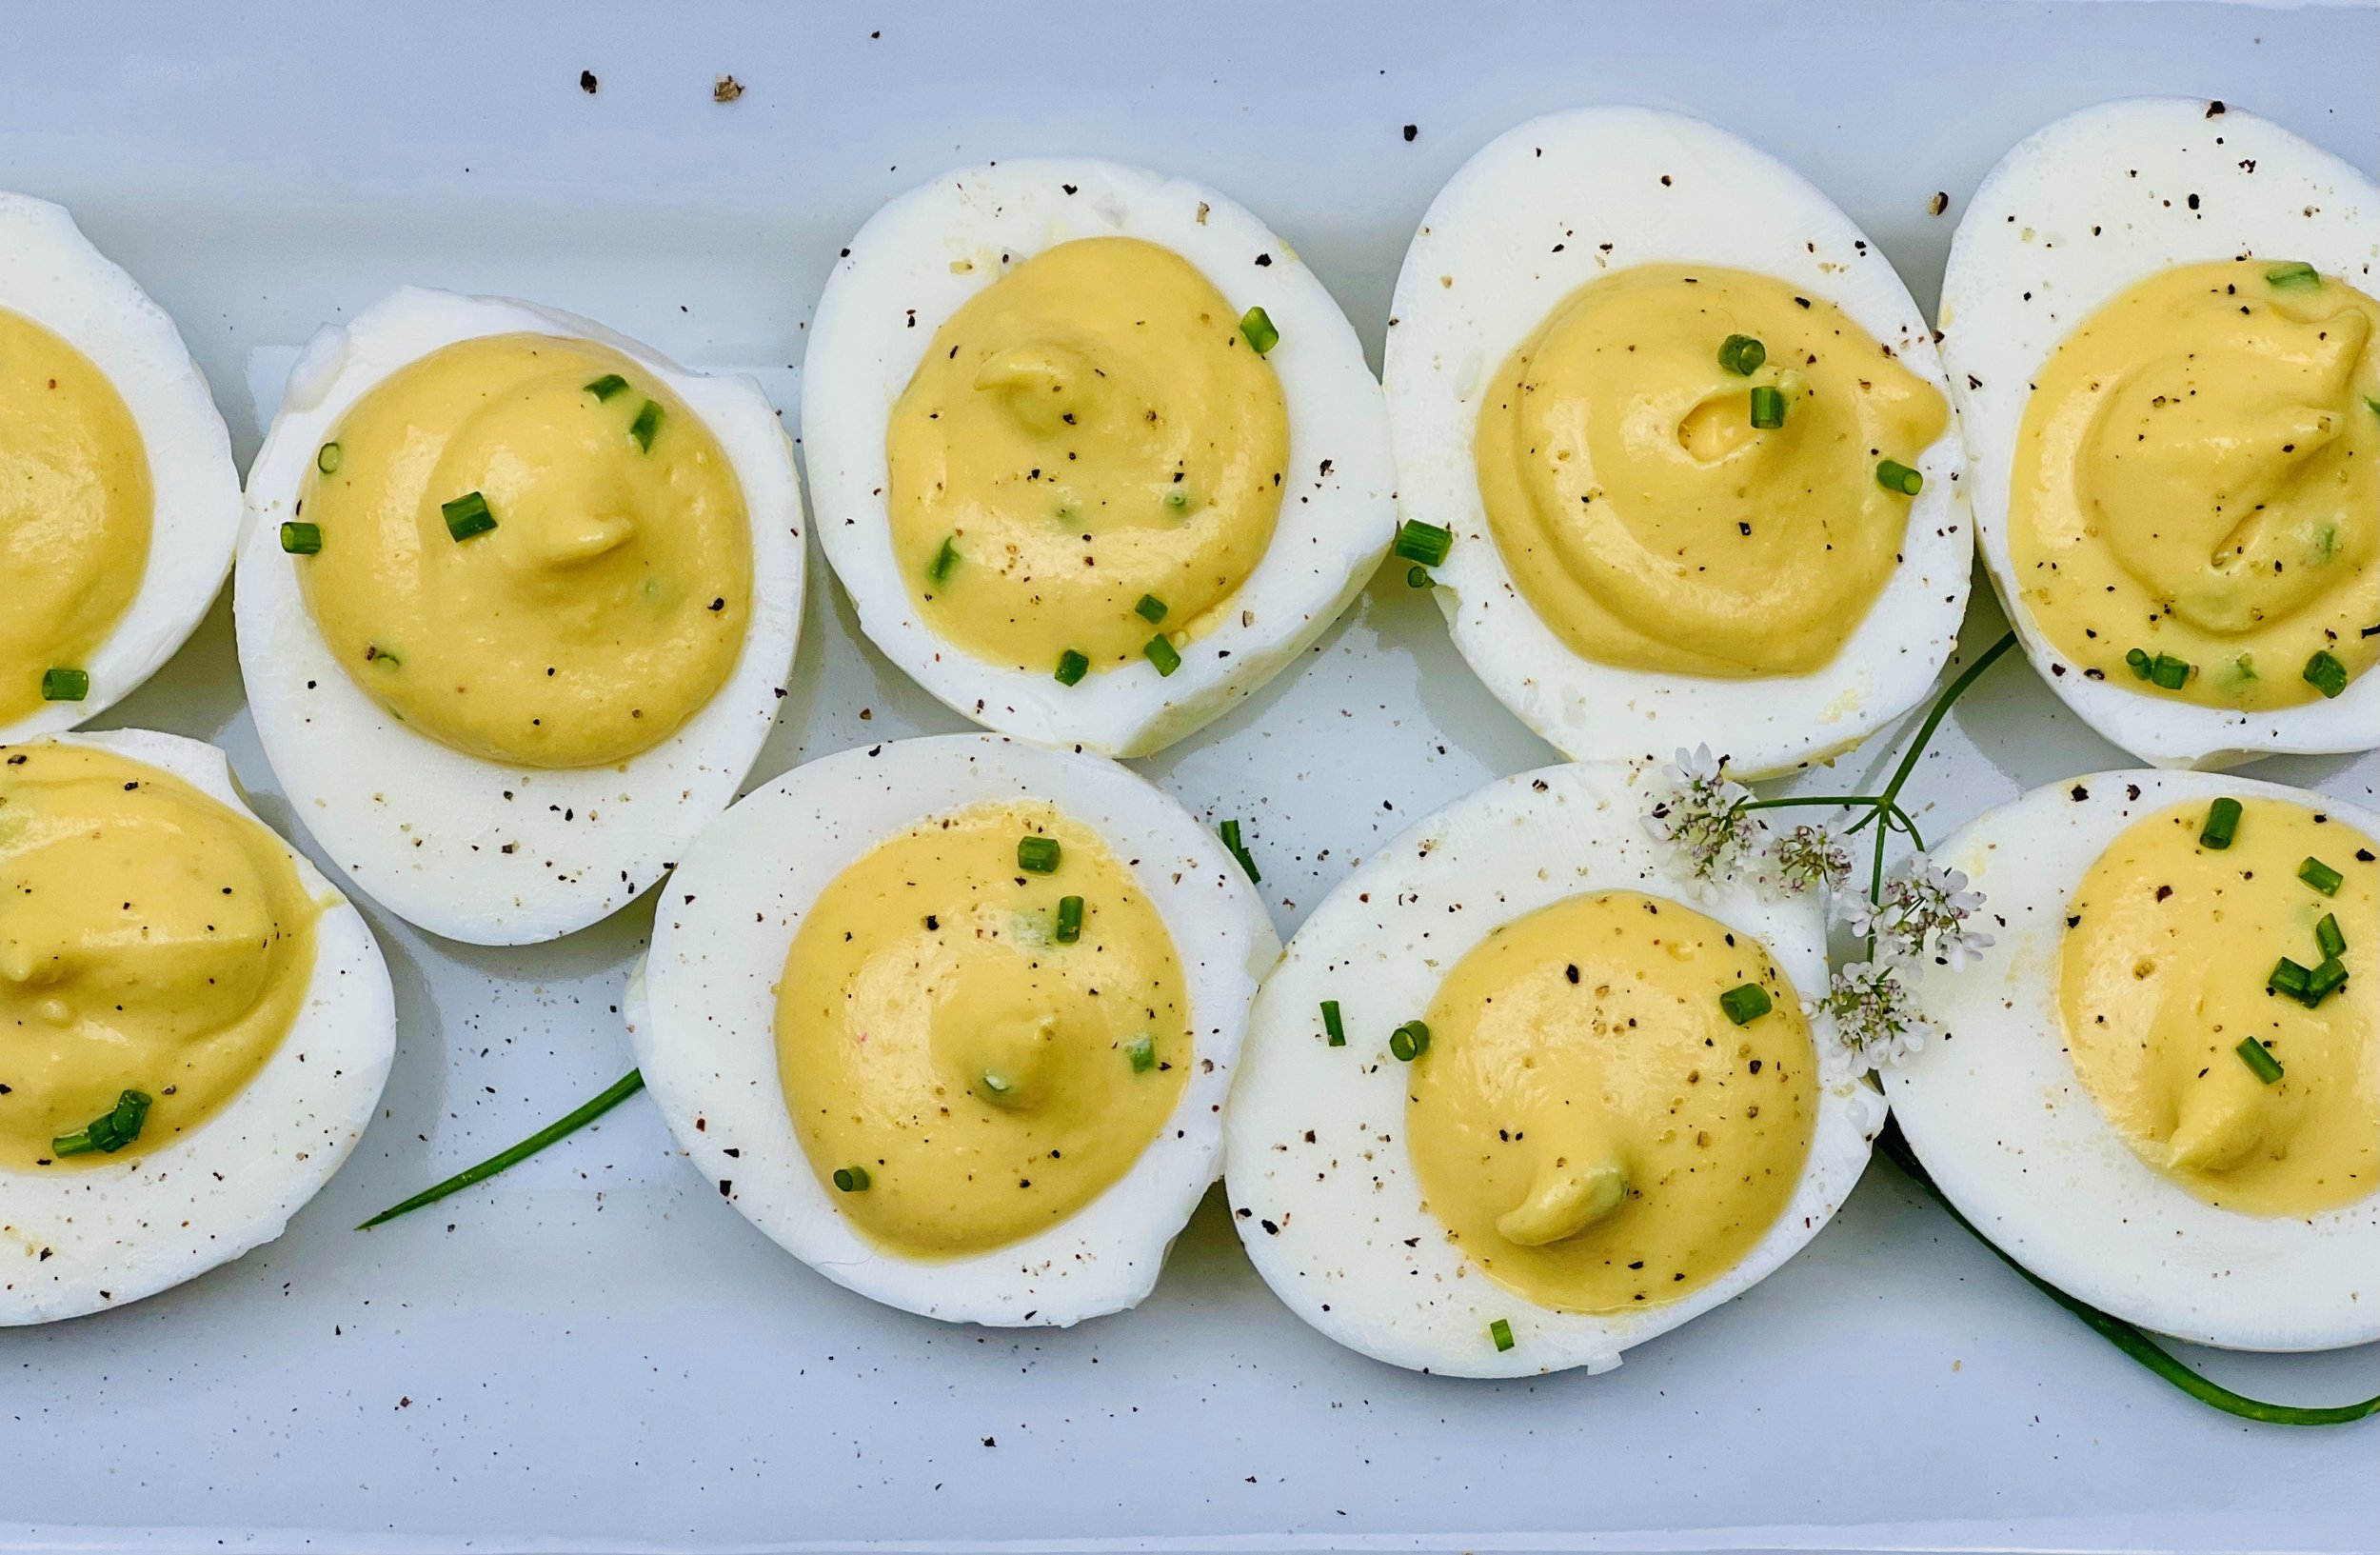
Angeled Eggs (Deviled Eggs Only Better and Low FODMAP)
15 Minutes prep • 15 Minutes cook • Low FODMAP • Gluten-free • Serves 4-6
15 Minutes prep • 15 Minutes cook • Low FODMAP • Gluten-free • Serves 4-6 • Ok to make ahead: Steps 1-2 or 1-3
Why Angeled eggs instead of Deviled eggs? Because these delicious appetizer or lunch eggs have a secret ingredient that elevates them above all others and makes them extra special. It’s butter! The addition of a bit of butter to the standard deviled egg mixture is a game changer. Add to that some fresh herbs and Dijon mustard and you’ve got the best darn deviled eggs ever: Angeled eggs! Don’t wait for game day or a special occasion to make them. Try them today! They’re easy to make and sure to be hit.
Ingredients
8 large eggs (about 1 week old if possible so they are easier to peel)
1/3 cup mayonnaise (I use Whole Foods no sugar Mayo)
2 tablespoons salted butter, at room temperature
1 tablespoon Dijon mustard
1 pinch cayenne pepper
2 tablespoons finely chopped tender herbs such as chives or dill plus additional leaves for garnish
1 pinch each Kosher salt and black pepper
Directions
(1) Cook the eggs: To hard-cook the eggs, in a large saucepan, cover the eggs with water by 1 inch. Bring to a boil, uncovered, over high heat. Remove from the heat, cover, and let stand for 12 minutes. Drain the eggs and rinse them under cold running water. Drain the water and put the eggs in the refrigerator to cool completely.
(2) Peel the eggs: To peel the eggs, remove the shells by tapping each egg gently on the counter or sink to crack the entire shell. Roll the egg gently between your hands to loosen the shell. Peel, starting at the large end, while holding the egg under a light stream of running cold water to help the shell come off cleanly.
Make-ahead note: Deviled eggs are not only make-ahead friendly, they are even better if you have time to do it this way. This is because giving the hard-cooked eggs a rest in the refrigerator after cooking and peeling them makes it easier to cut them in half cleanly so you’ll have a neater presentation.
(3) Prepare the filling: Once cooled, cut the peeled eggs in half lengthwise. Carefully remove the yolks into a small mixing bowl or the bowl of a mini food processor fitted with the metal blade. Set the whites aside. Mash the yolks with a fork or whirl them a few times in the food processor. Add the mayonnaise, butter, mustard, cayenne, and stir or blend until smooth; season very slightly with a pinch each of salt and pepper. Stir in the chives (or dill or other delicate herb of your choice).
(4) Fill the eggs: Use a spoon, or transfer the mixture to a Ziploc bag with the corner tip cut off, or a piping bag fitted with a large tip. To assemble the eggs, spoon or pipe the yolk mixture into the whites.
Plate and serve: Garnish with more herbs and a very light sprinkle of pepper and serve immediately or refrigerate for up to 2 hours before serving.
Eat and enjoy every bite because you can!
Recipe note: I use Diamond Crystal Kosher salt in all my recipes because it has a wonderful flat and crisp flake that tastes delicious. It is also the least salty salt available so you can use it more liberally as a seasoning than you can table salt or sea salt. If you use another type of salt, you may need to reduce the amount so it is not over-salted.
To make the eggs ahead of time: Unpeeled hard-cooked eggs can be refrigerated for up to 1 week ahead. Or prepare the eggs, but don’t assemble them, up to 8 hours ahead of serving; refrigerate the whites covered with a damp towel in an airtight plastic container. Store the egg-yolk mixture in the piping bag with the tip also covered in a damp paper towel. Knead the yolk mixture slightly to soften before filling the yolks. The eggs may also be assembled and stored covered in the refrigerator for up to 2 hours. Any longer and the yolk mixture starts to form a crust.
If not preparing ahead of time: be sure to let the boiled eggs cool completely before peeling and cutting them in half. Prepare the filling only up to a day in advance—any longer and the flavor and texture (especially if you’re including finely chopped acidic things) will go sour. Store the filling in a sealable container or reusable plastic bag; simply scoop, or snip and pipe when ready to serve.
Link note: This post contains links for you to easily purchase items listed on the page. In some cases, we have provided a special discount code for IBS Game Changers so be sure to use it when you purchase an item to get the discount that has been arranged just for you! As an Amazon Associate, I earn a commission from qualifying Amazon purchases.
More Deliciously Low FODMAP™ appetizer recipes


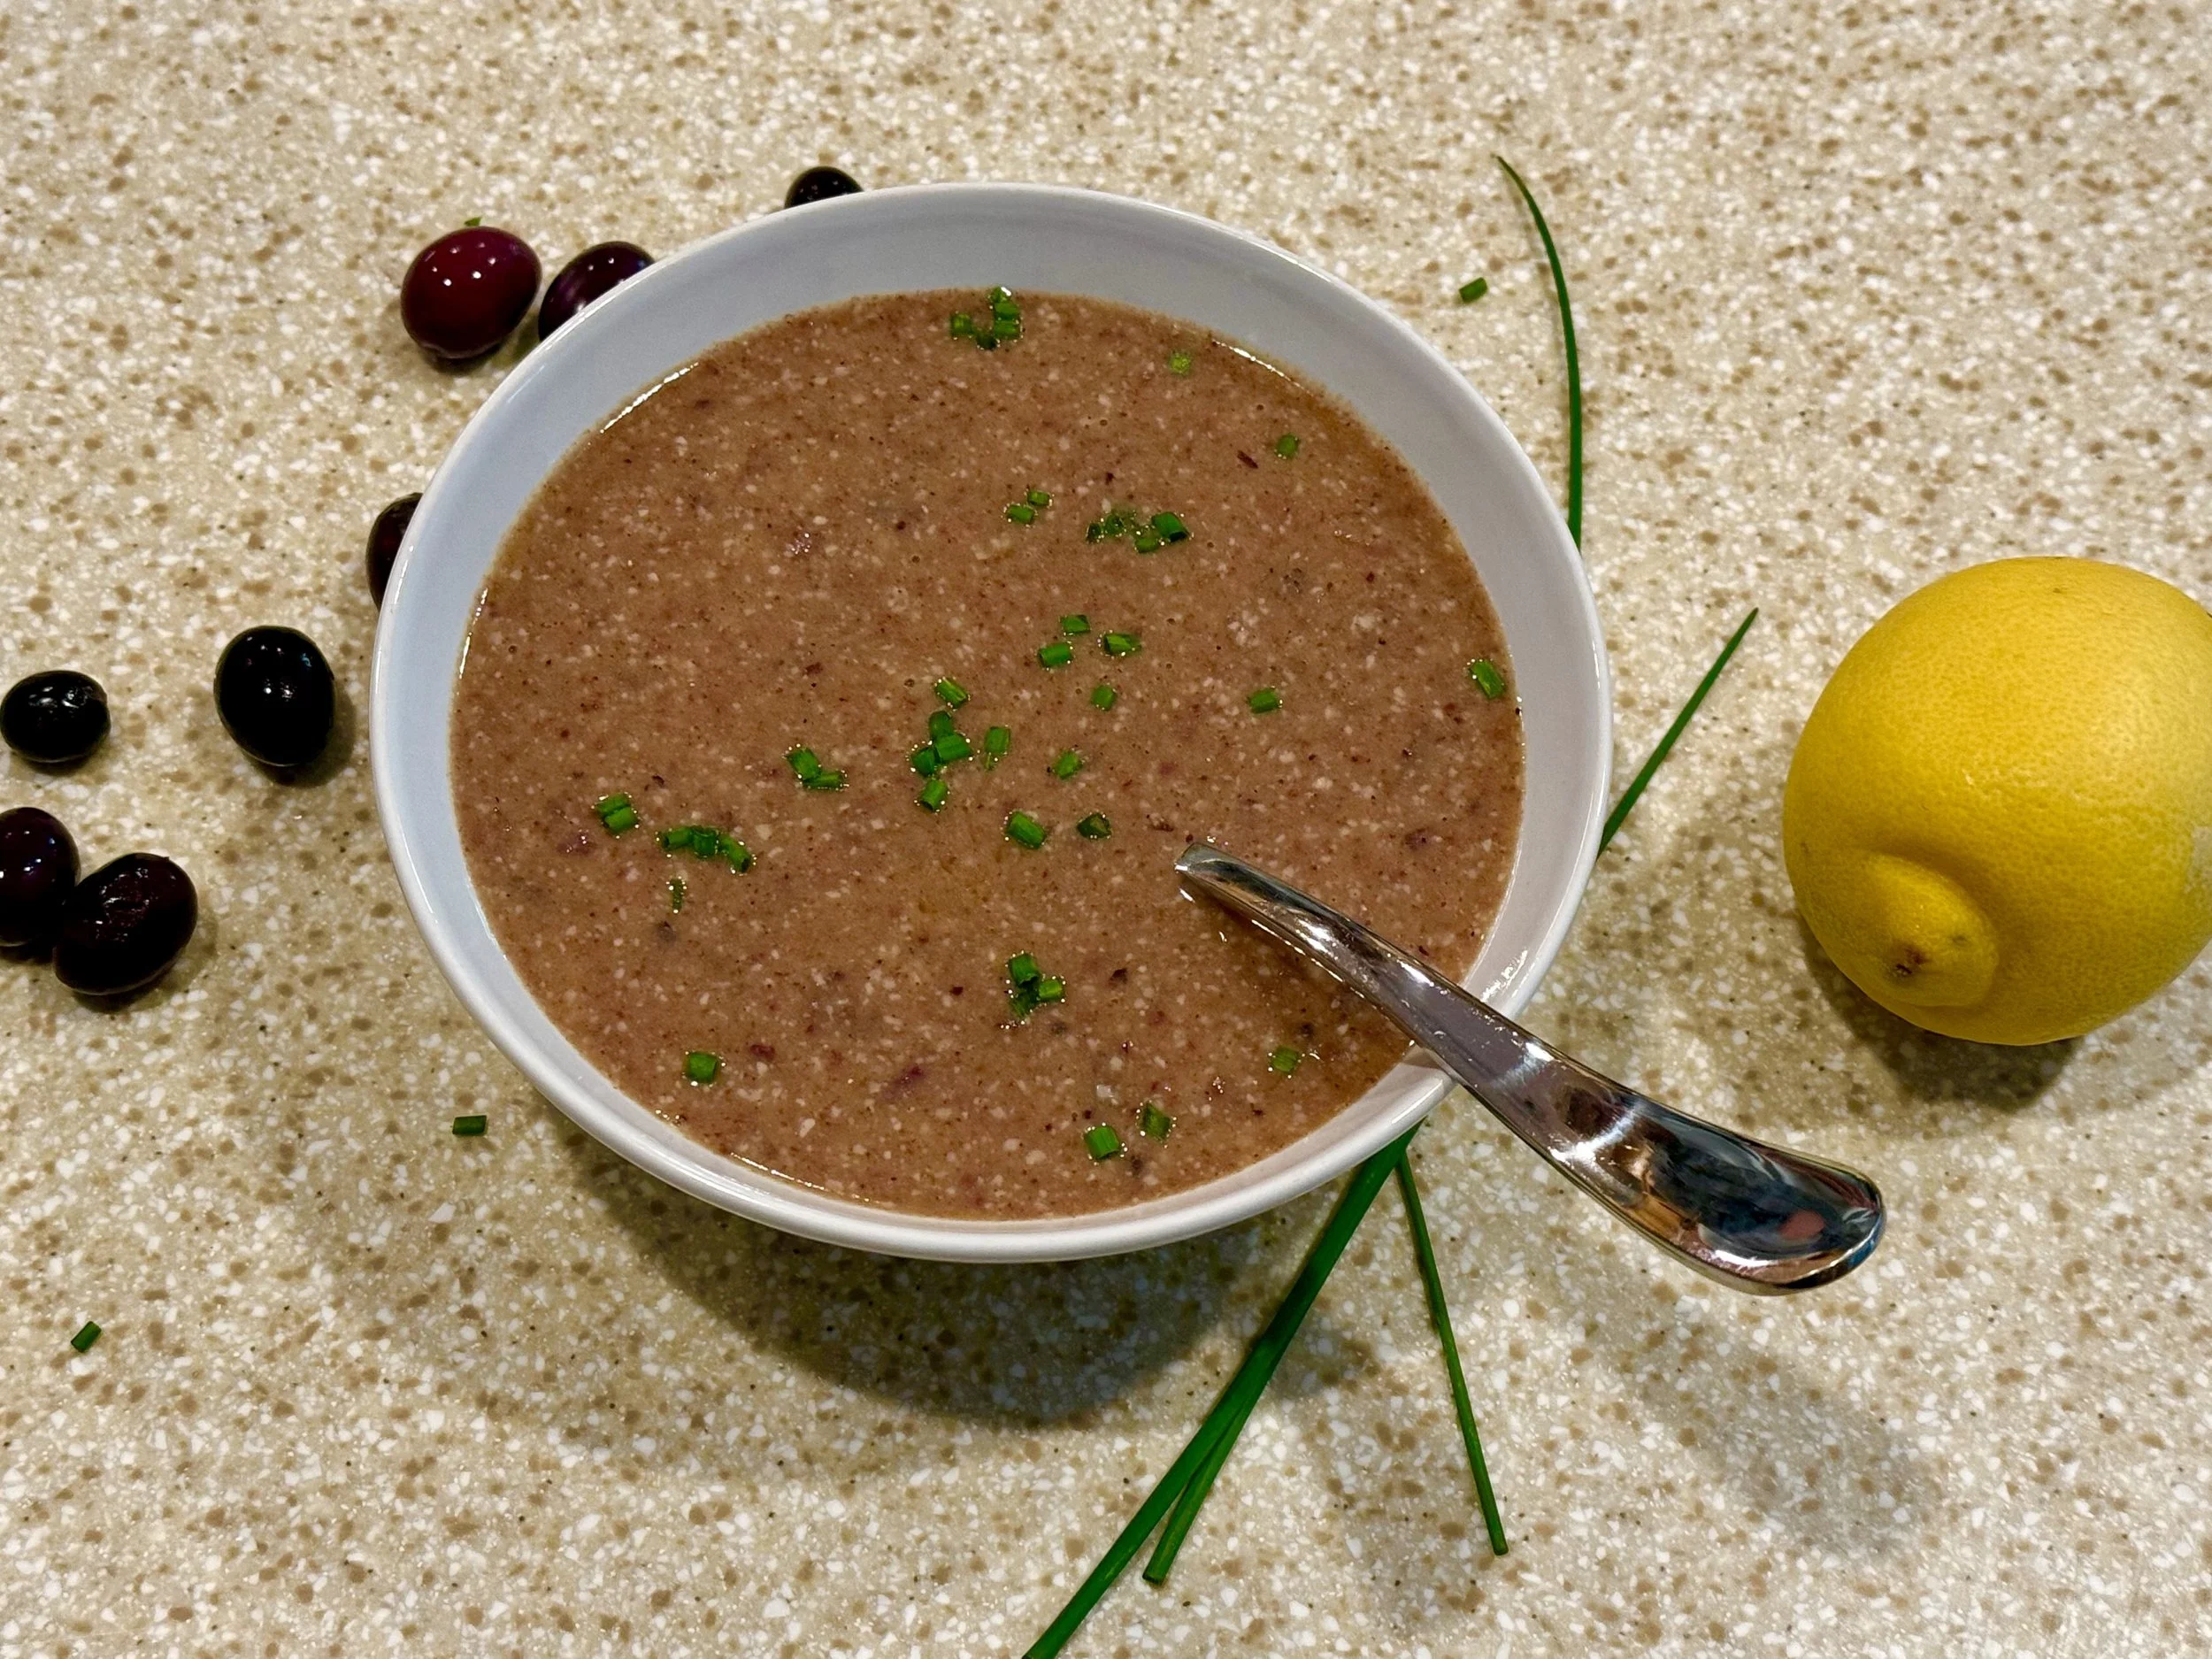
Can I Take Apple Cider Vinegar as a Supplement When on a Low FODMAP Diet?
Can I Take Apple Cider Vinegar as a Supplement When on a Low FODMAP Diet?
Most of us with IBS have been advised to take one supplement or another to "fix everything!" Apple Cider Vinegar is likely one of those supplements. We also know apples are high in the FODMAPs Fructose and Sorbitol and should be reduced or eliminated while you are following a low FODMAP diet. But what about apple cider vinegar? It is reported to have all kinds of health benefits. Is it ok to take it as a supplement when you’re on a low FODMAP diet?

In principle, the answer is yes. You can have 2 tablespoons per “meal” and it’s considered by Monash to be low FODMAP.
BUT, that’s not the question you should be asking! The question you should be asking: Is Apple Cider Vinegar a supplement that will benefit me/my health?
To answer that question, I refer you to yet another fantastic piece of research and writing from my amazing sister, Sarah Aitken, RN, MS, WHNP/FNP. It’s an interesting and easy read and it will give you all the data you need to answer this question for yourself.
More Deliciously Low FODMAP™ tips & tools
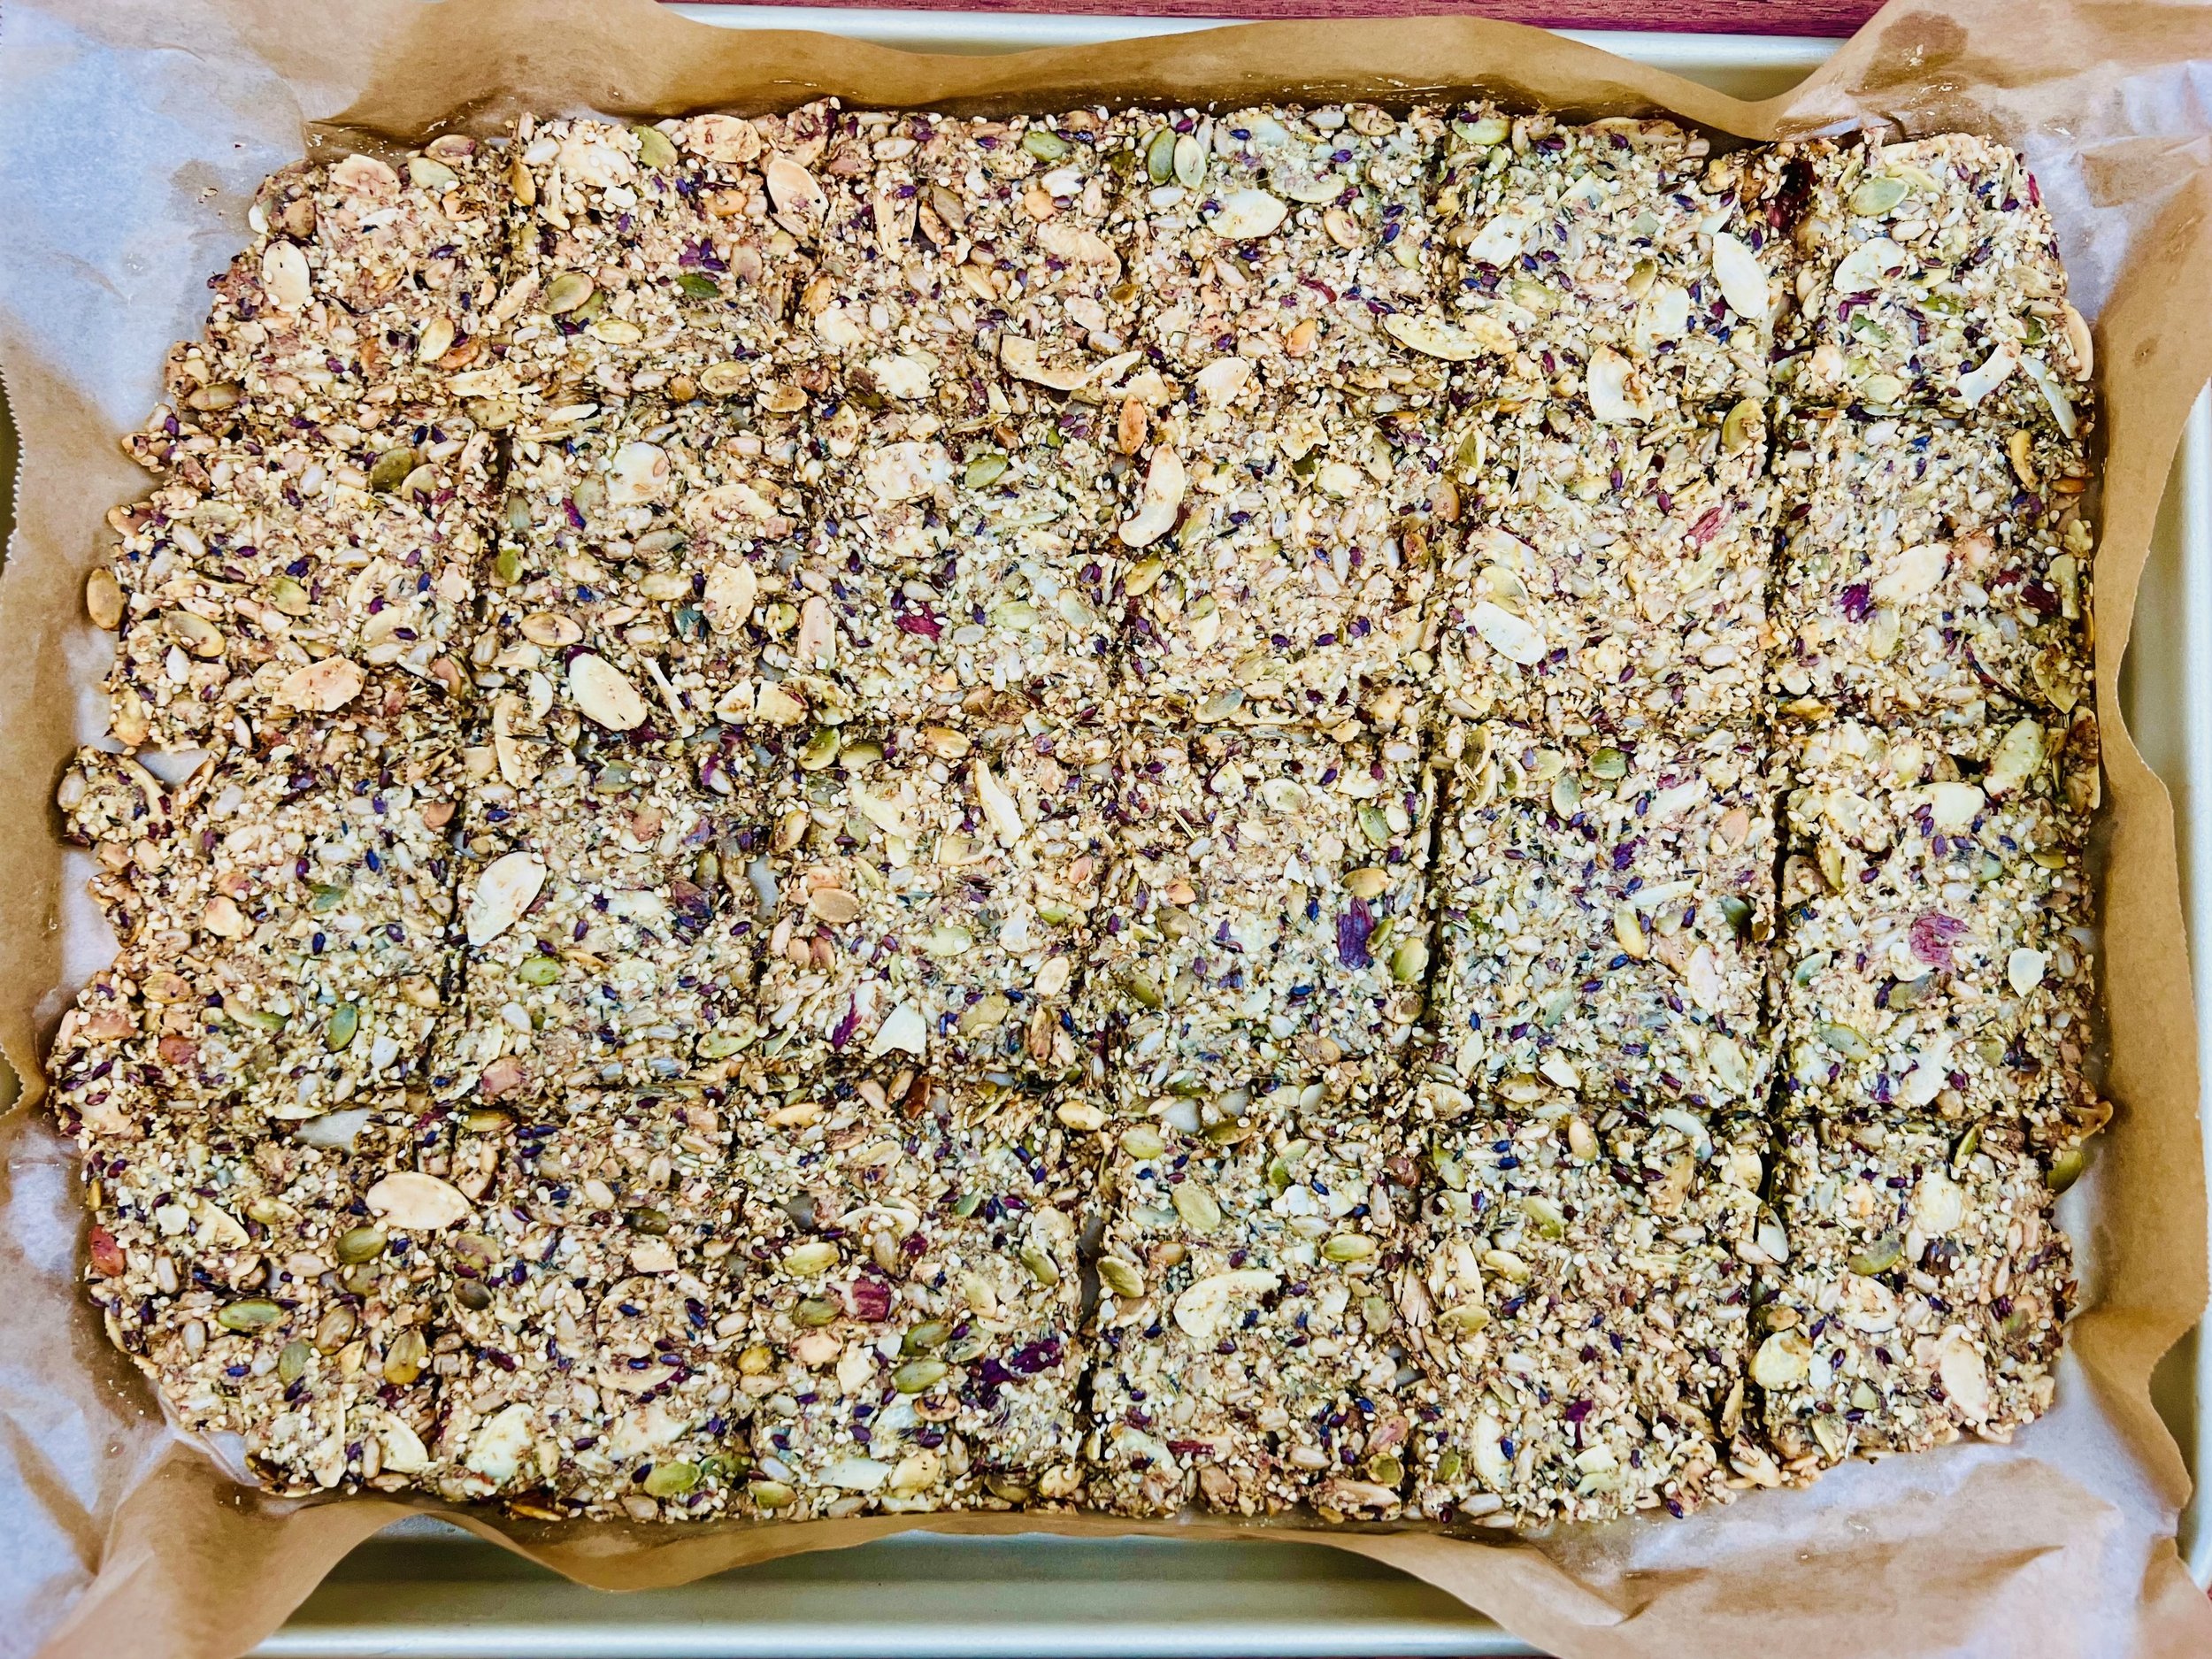
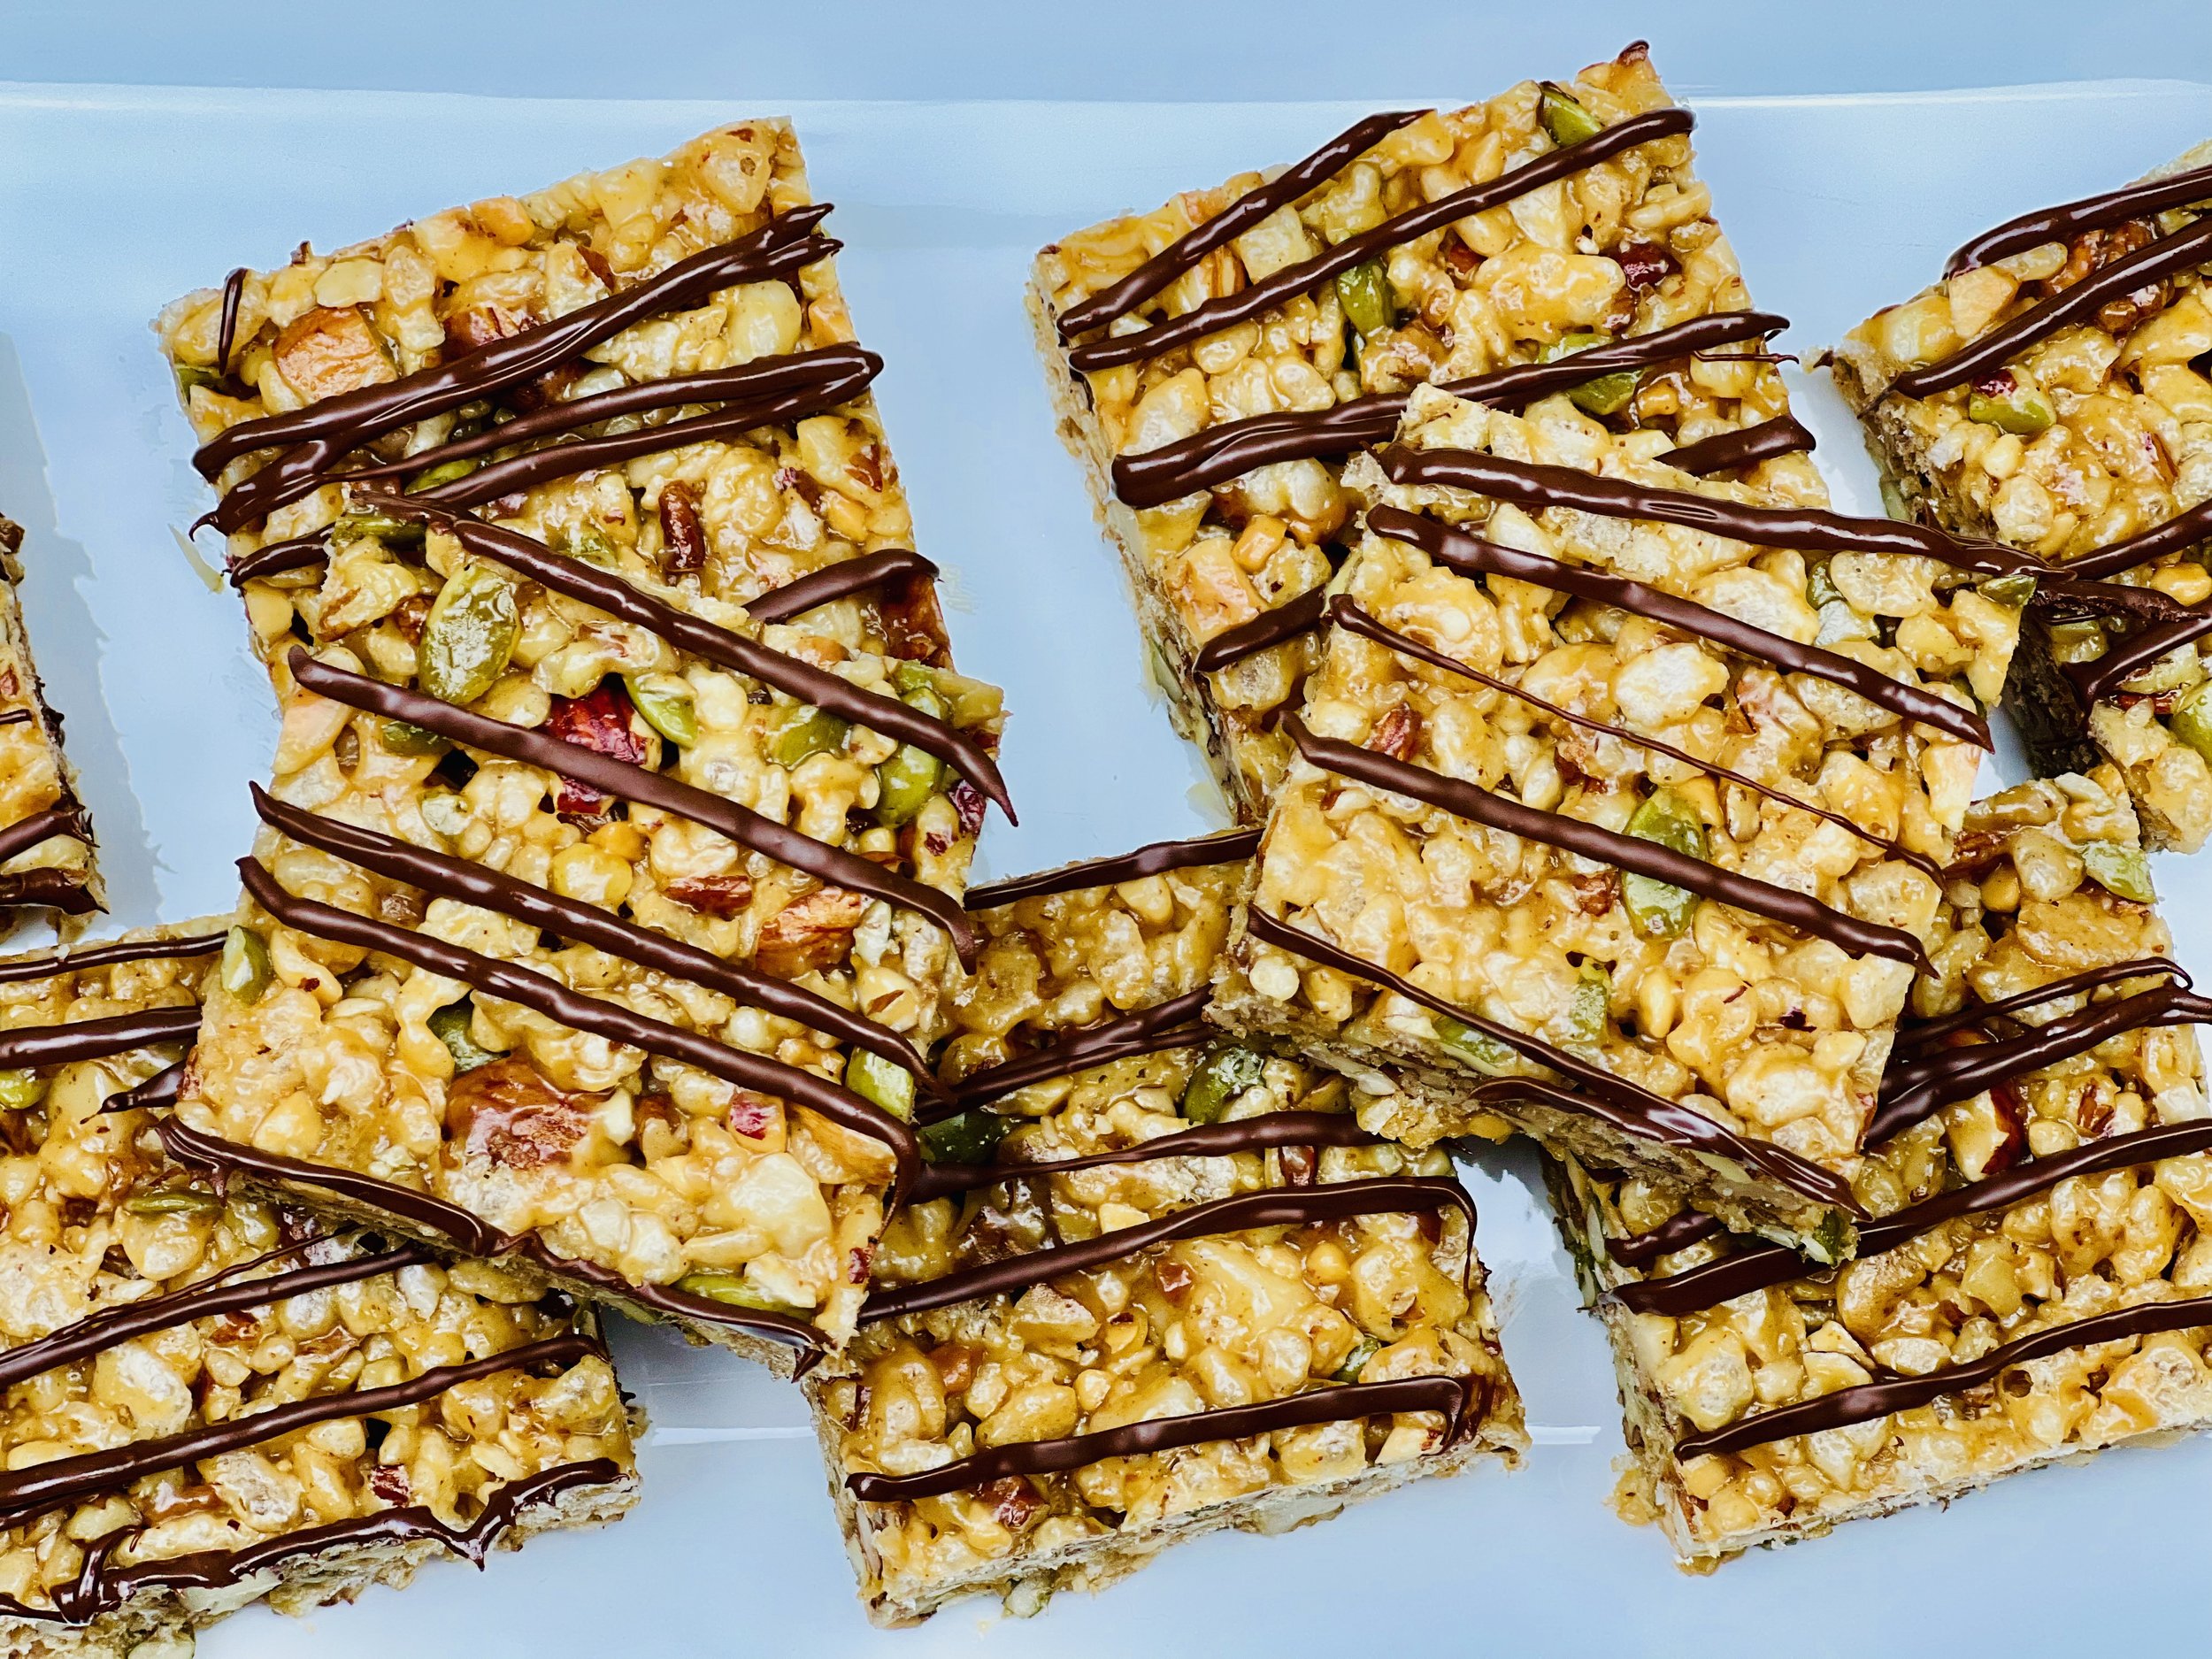
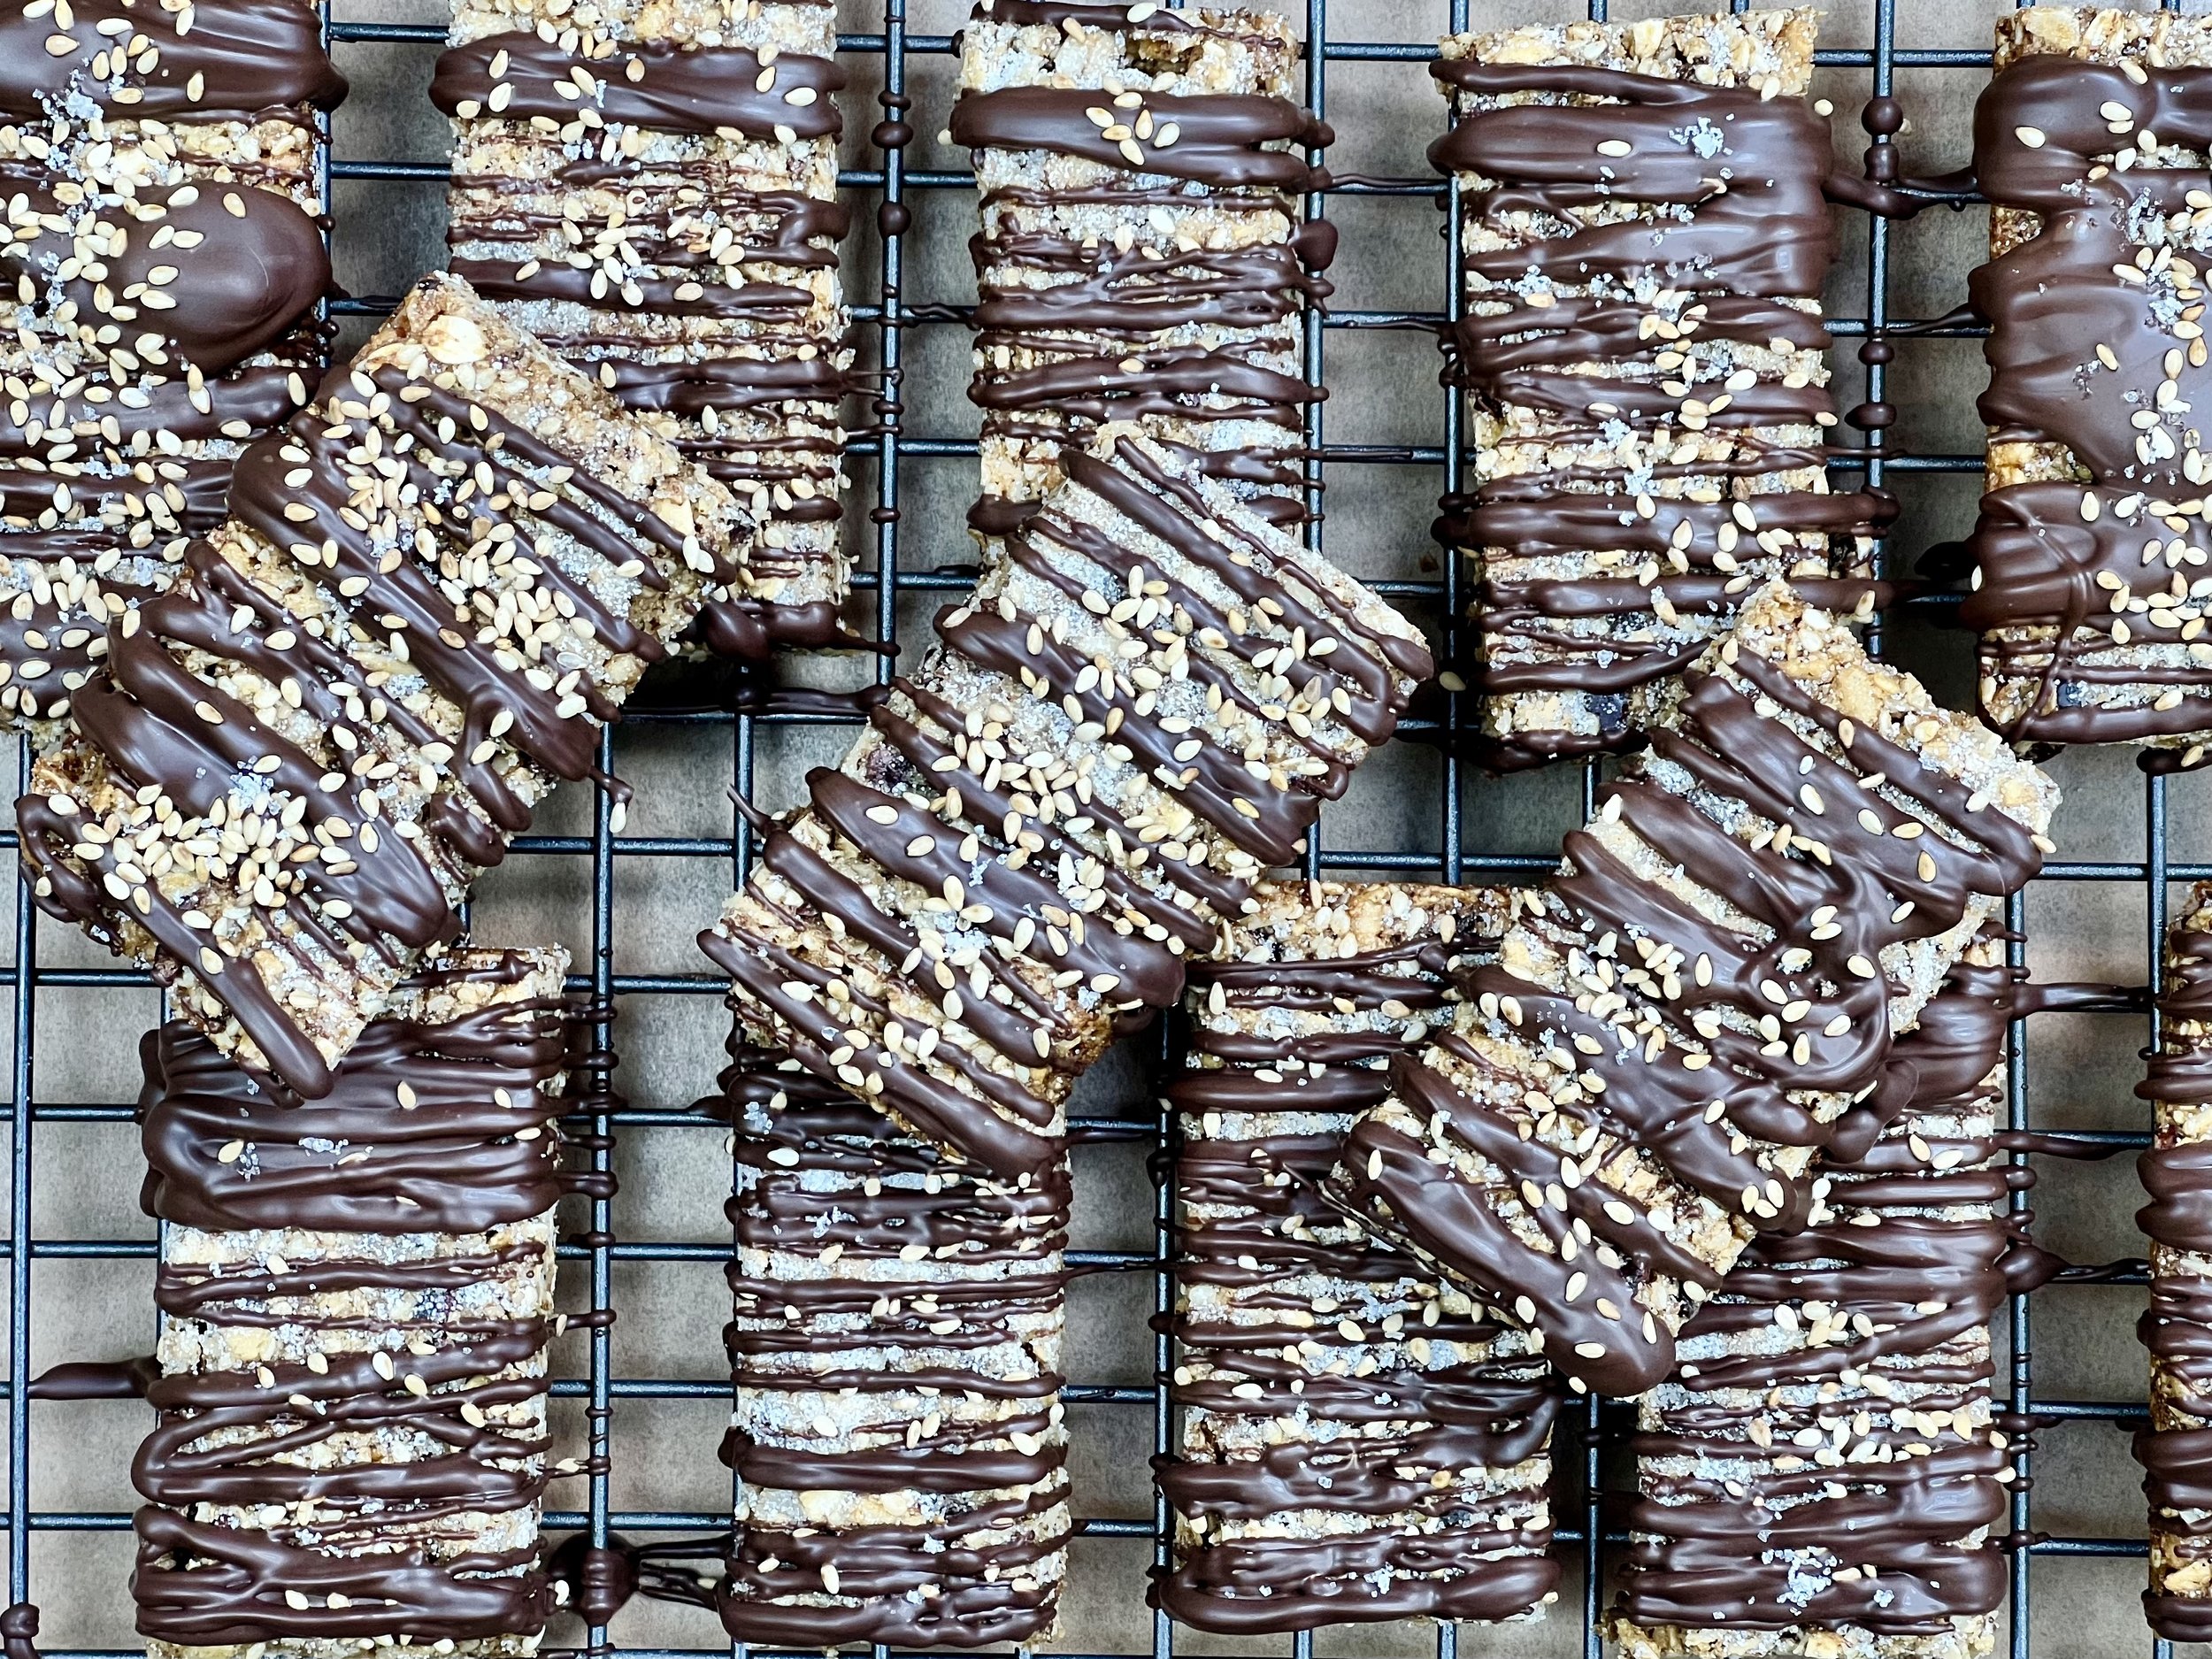
Sweet and Salty Nut Bars (Low FODMAP)
20 Minutes prep • 30 Minutes chill • Low FODMAP • Gluten-free • Lactose-free • Makes 16 bars
20 Minutes prep • 30 Minutes chill • Low FODMAP • Gluten-free • Lactose-free • Makes 16 bars • Ok to make ahead: Steps 1-3
When my client asked me about commercially available protein bars that are low FODMAP, I realized what is out there is pricey and often not low FODMAP. So, off to the kitchen I went to come up with a bar that would be high in protein, portable, and delicious. These chewy sweet and salty nut bars are the delicious result. They’re so good, you can even use them to sneak some extra protein into your kids’ lunches. They will love them. You can be creative with the nuts and seeds you use according to what you may have available. If you like them a little less sweet, cut the sweet syrup down a bit and be sure to account for peanut butter that has added sugar.
Ingredients: Bars
3 cups of unsalted nuts, roughly chopped (they can be any combination of: almonds, walnuts, pumpkin seeds, pecans, macadamia nuts, peanuts, etc.)
3 cups gluten-free crisp rice cereal
1/2 cup dried cranberries and/or raisins (optional)
3/4 cup corn syrup*
1/4 cup maple syrup
1 cup creamy peanut butter (just peanuts and salt)
1/4 cup coconut oil
1 teaspoon vanilla extract
1/2 teaspoon Diamond Crystal Kosher salt
1/2 to 3/4 cup semi-sweet chocolate chips (optional if you want to skip the topping)
Ingredients: Topping (if you don’t mix the chocolate in)
1/3 cup semi-sweet chocolate chips
1/2 teaspoon of coconut oil
Flaky sea salt for sprinkling (optional)
Directions
(1) Prepare: Line a 9 x 13 inch cake pan or a small rimmed baking sheet with parchment paper and set aside for later (make sure the parchment hangs over the side so you can lift the bars out easily to cut them when they’re done).
(2) Chop nuts: Roughly chop nuts in a food processor or by hand (you want the pieces to remain pretty good sized so you have a nice crunch in the bars).
(3) Blend liquid ingredients: In a medium saucepan, combine the corn syrup, maple syrup, peanut butter, coconut oil, and salt. Heat until all is melted together, stirring frequently. Remove from heat and add the vanilla.
(4) Blend dry ingredients: In a large mixing bowl, combine the chopped nuts, crisp rice cereal, cranberries, or raisins (if using), then stir to combine. Pour over the blended liquid ingredients and quickly stir, using a folding motion to coat all the cereal and nuts without crushing all the cereal.
Add the chocolate chips (if you’re not making the topping) and fold in just until blended but not melted.
(5) Spread in pan: Transfer the nut mixture to the prepared baking pan or sheet. Use the back of a spatula to evenly press the nut mix down into the pan and all corners until it’s all about the same thickness. Let set in the refrigerator for 20 - 30 minutes until the bars ar firm enough to cut.
(6) Cut into bars: Using the edges of the parchment lift to remove the bars from the pan and place on a flat workspace. Using a large sharp knife, cut the bars in half lengthwise and crosswise, then cut each section into four bars until you have 16 pieces.
(7) Melt the chocolate (if you didn’t add the chocolate into the bars): In a microwave-safe bowl, combine the chocolate chips and coconut oil and heat on high for 30 seconds. Stir and heat in 30-second increments, stirring in between, until fully melted. Put the chocolate in a small Ziploc bag with one corner snipped off and use it to pipe/drizzle the melted chocolate over the bars.
(8) Finish: Let the chocolate set, then sprinkle with the flaky sea salt (if using).
Storage: Store the bars in an airtight container with parchment between layers to prevent sticking, for up to one week. (If the weather is quite warm, or your house runs on the warm side, you may want to store in the refrigerator.)
Eat and enjoy every bite because you can!
I use Diamond Crystal Kosher salt in all my recipes because it has a wonderful flat and crisp flake that tastes delicious. It is also the least salty salt available so you can use it more liberally as a seasoning than you can table salt or sea salt. If you use another type of salt, you may need to reduce the amount so it is not over-salted.
*Recipe note: Please use Karo brand corn syrup, which contains no high-fructose corn syrup (HFCS is high in FODMAPS).
When you are following a low FODMAP diet, overconsumption of sugar of any sort is not recommended. So, even though you may want to eat the whole pan of treats, cut them into squares and eat only one to allow yourself a treat without triggering your IBS symptoms. And, if you are highly sensitive to fructose, you may not be able to tolerate any sweet desserts. You are your own best judge of your tolerance for any potential IBS trigger.
Link note: This post contains links for you to easily purchase items listed on the page. In some cases, we have provided a special discount code for IBS Game Changers so be sure to use it when you purchase an item to get the discount that has been arranged just for you! As an Amazon Associate, I earn a commission from qualifying Amazon purchases.
More Deliciously Low FODMAP™ sweet recipes


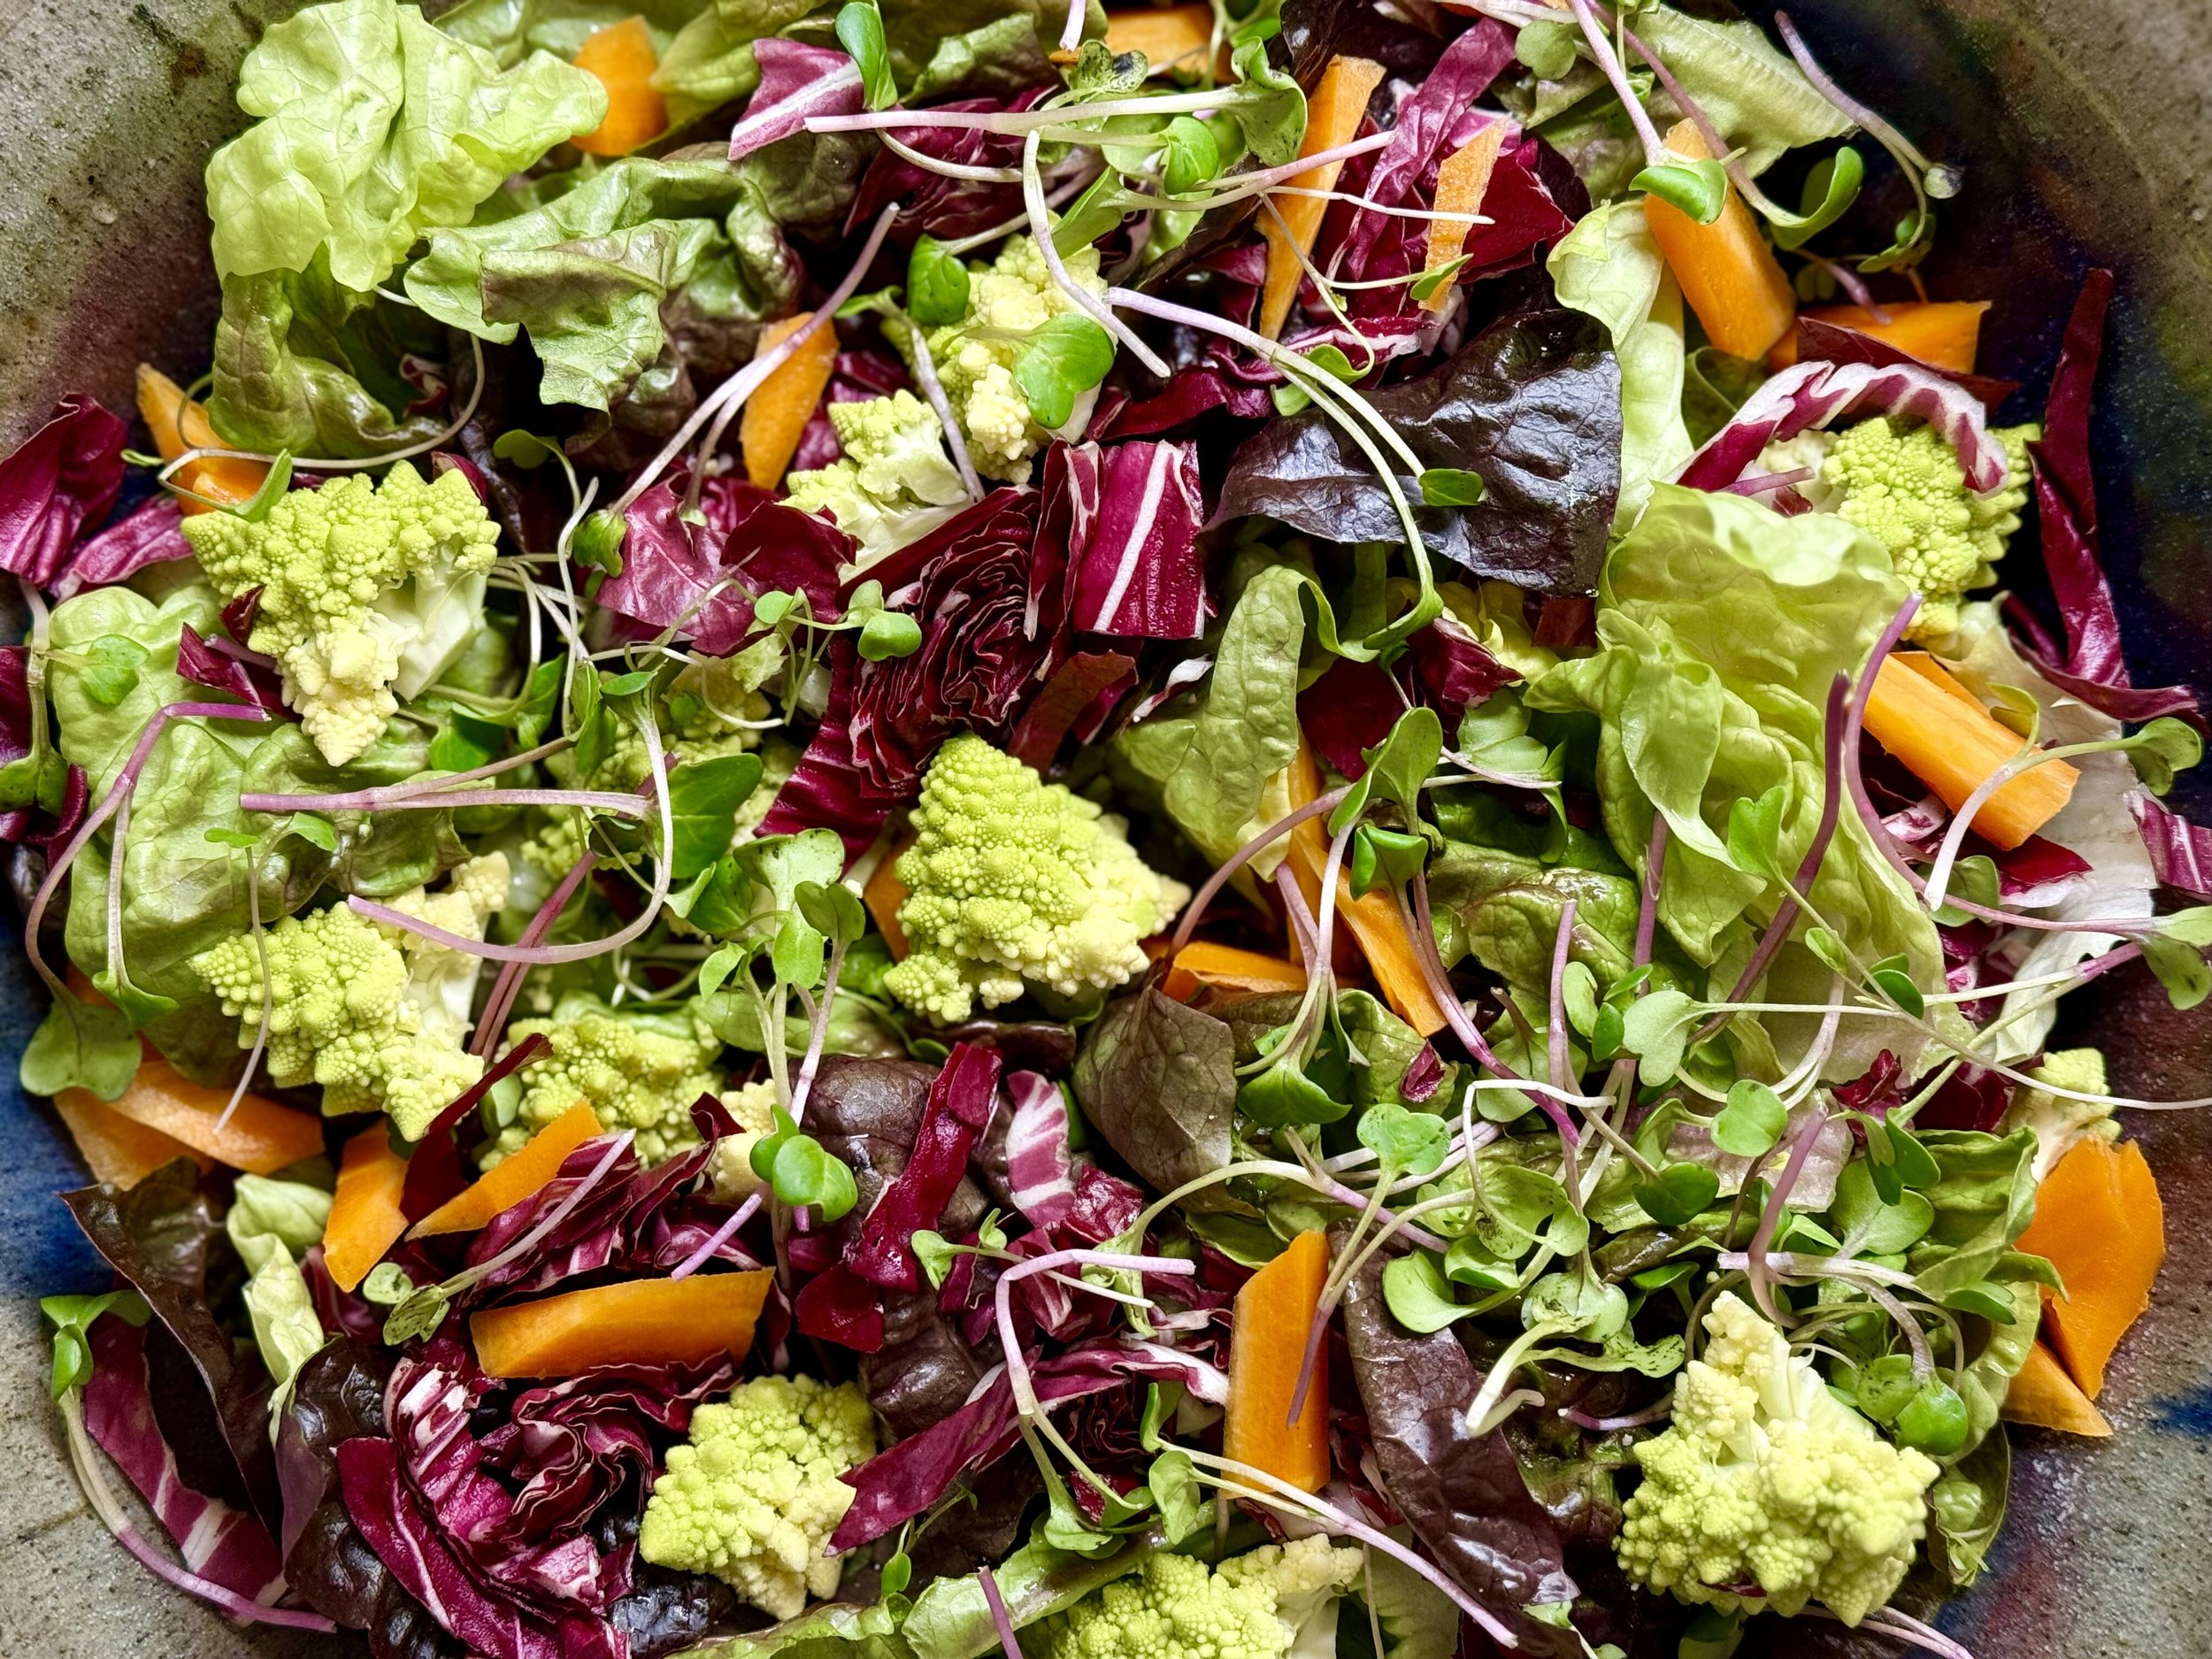
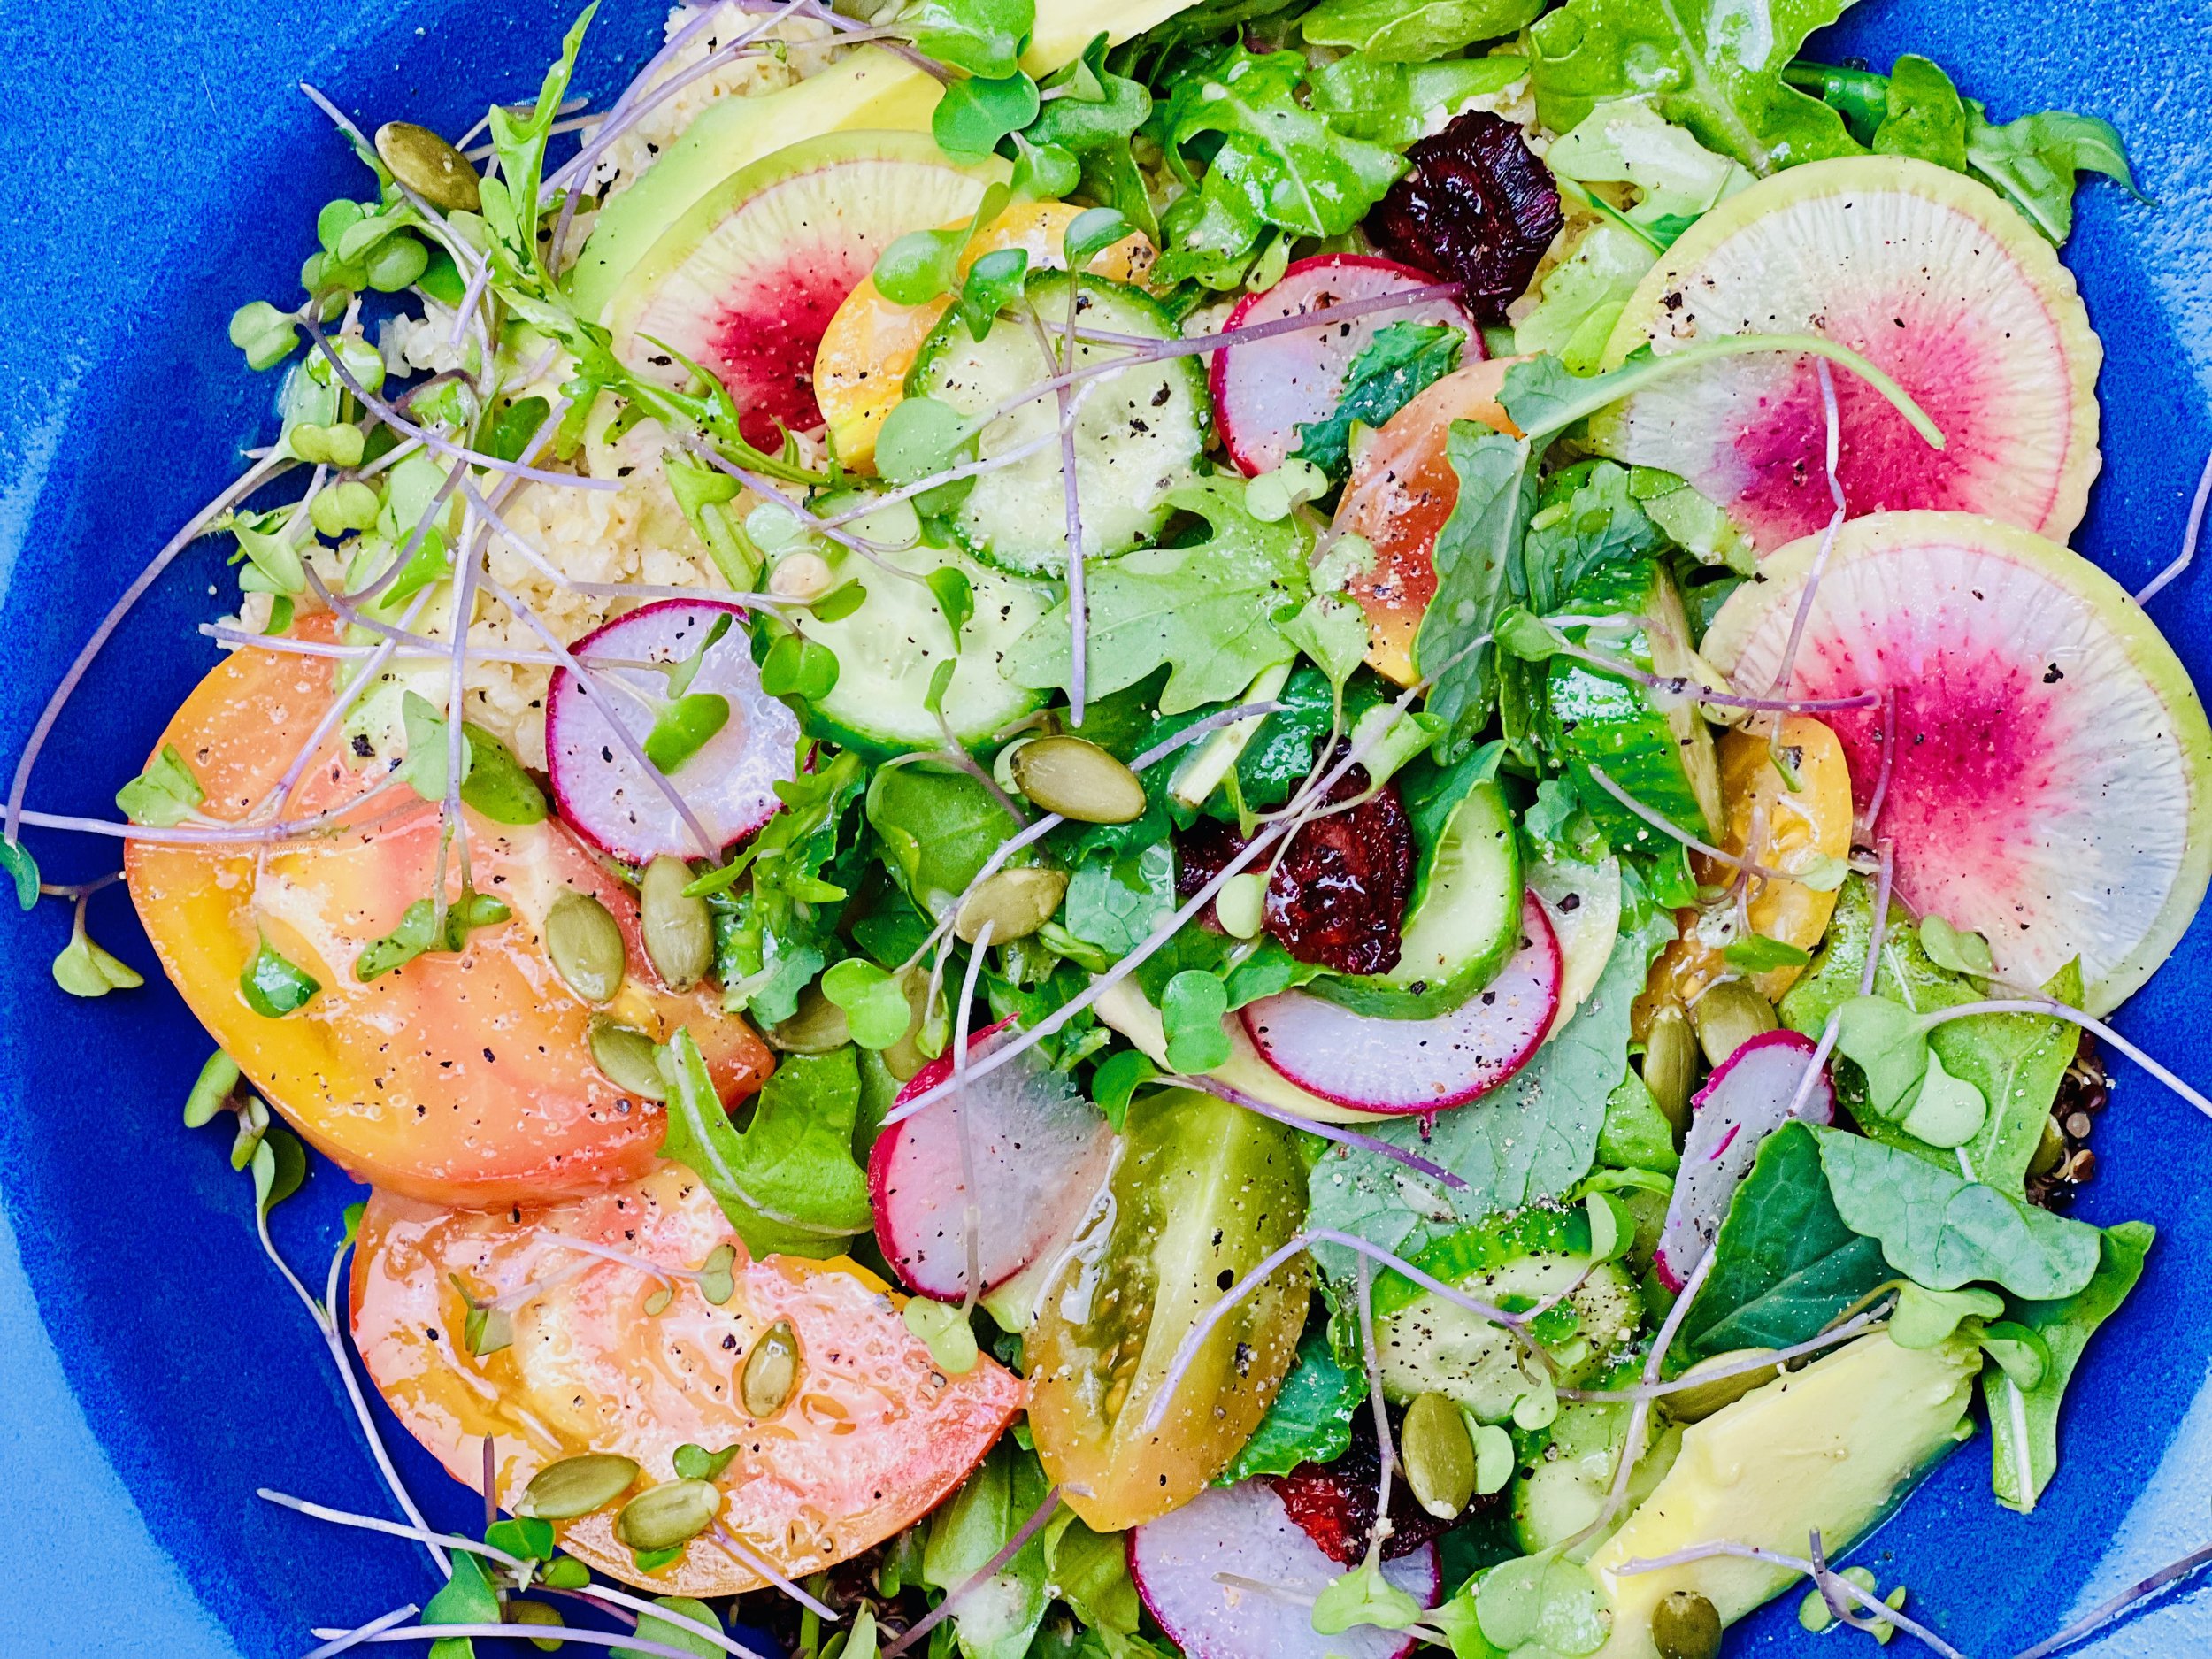
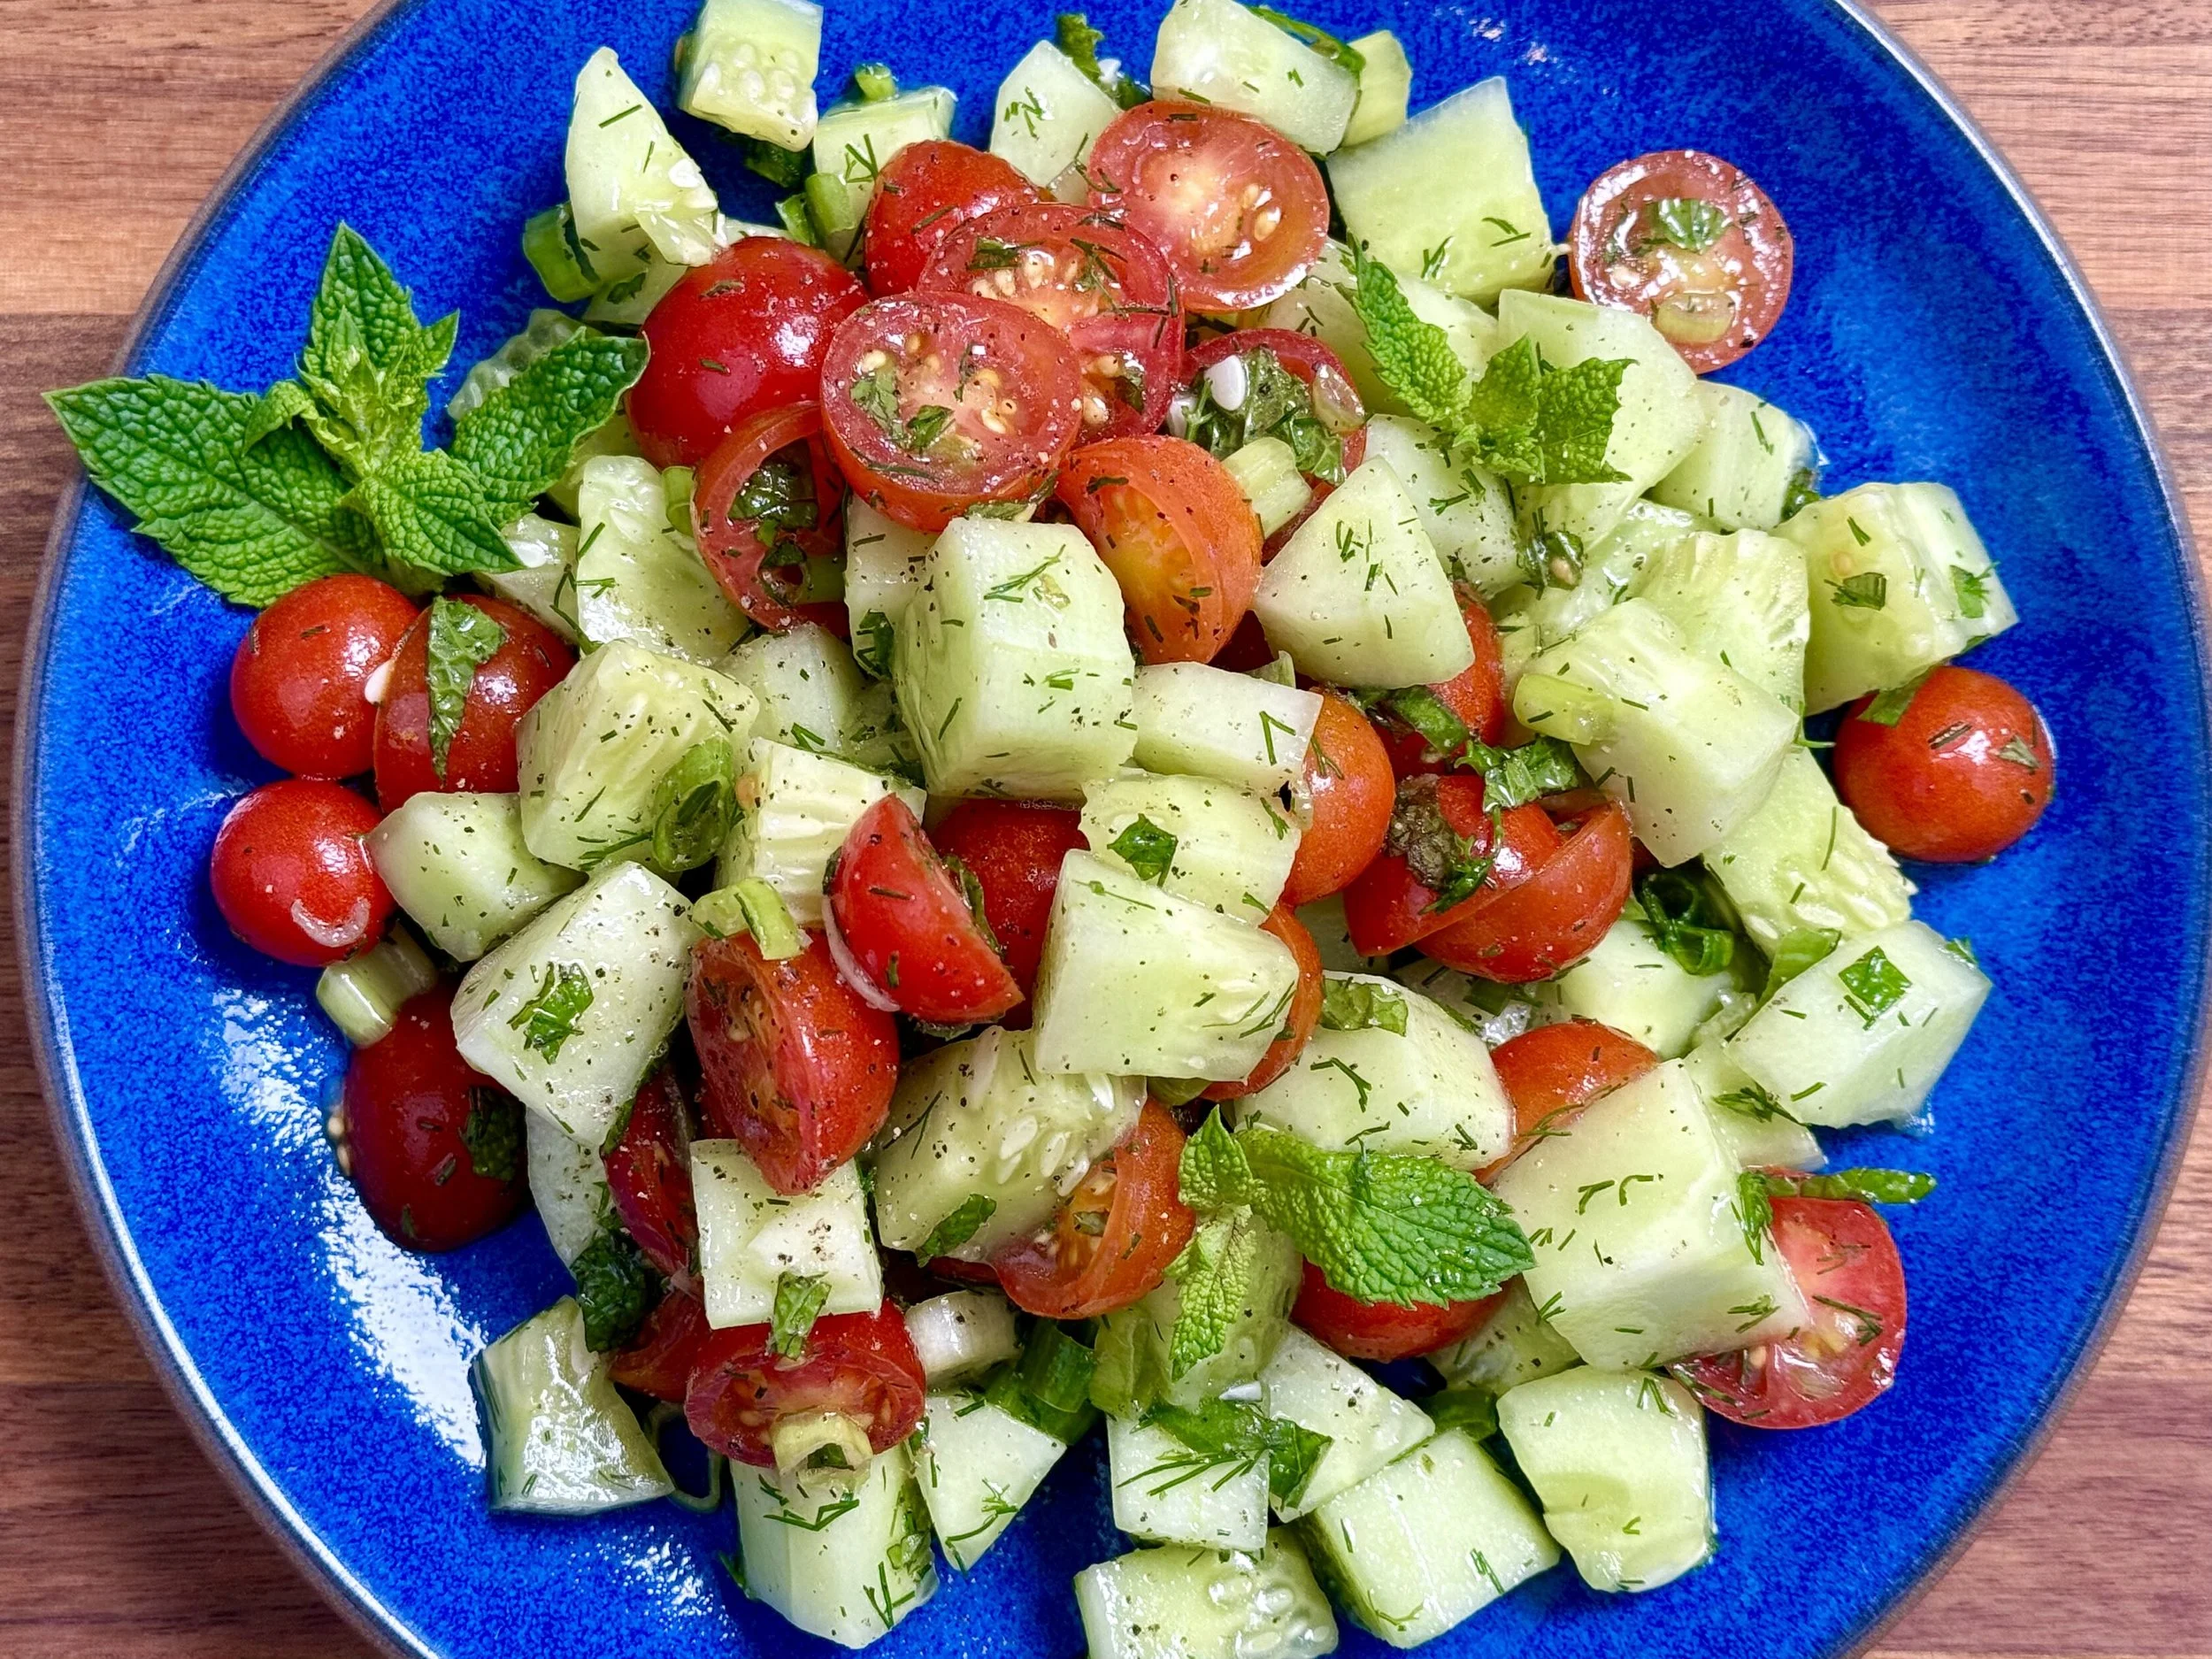
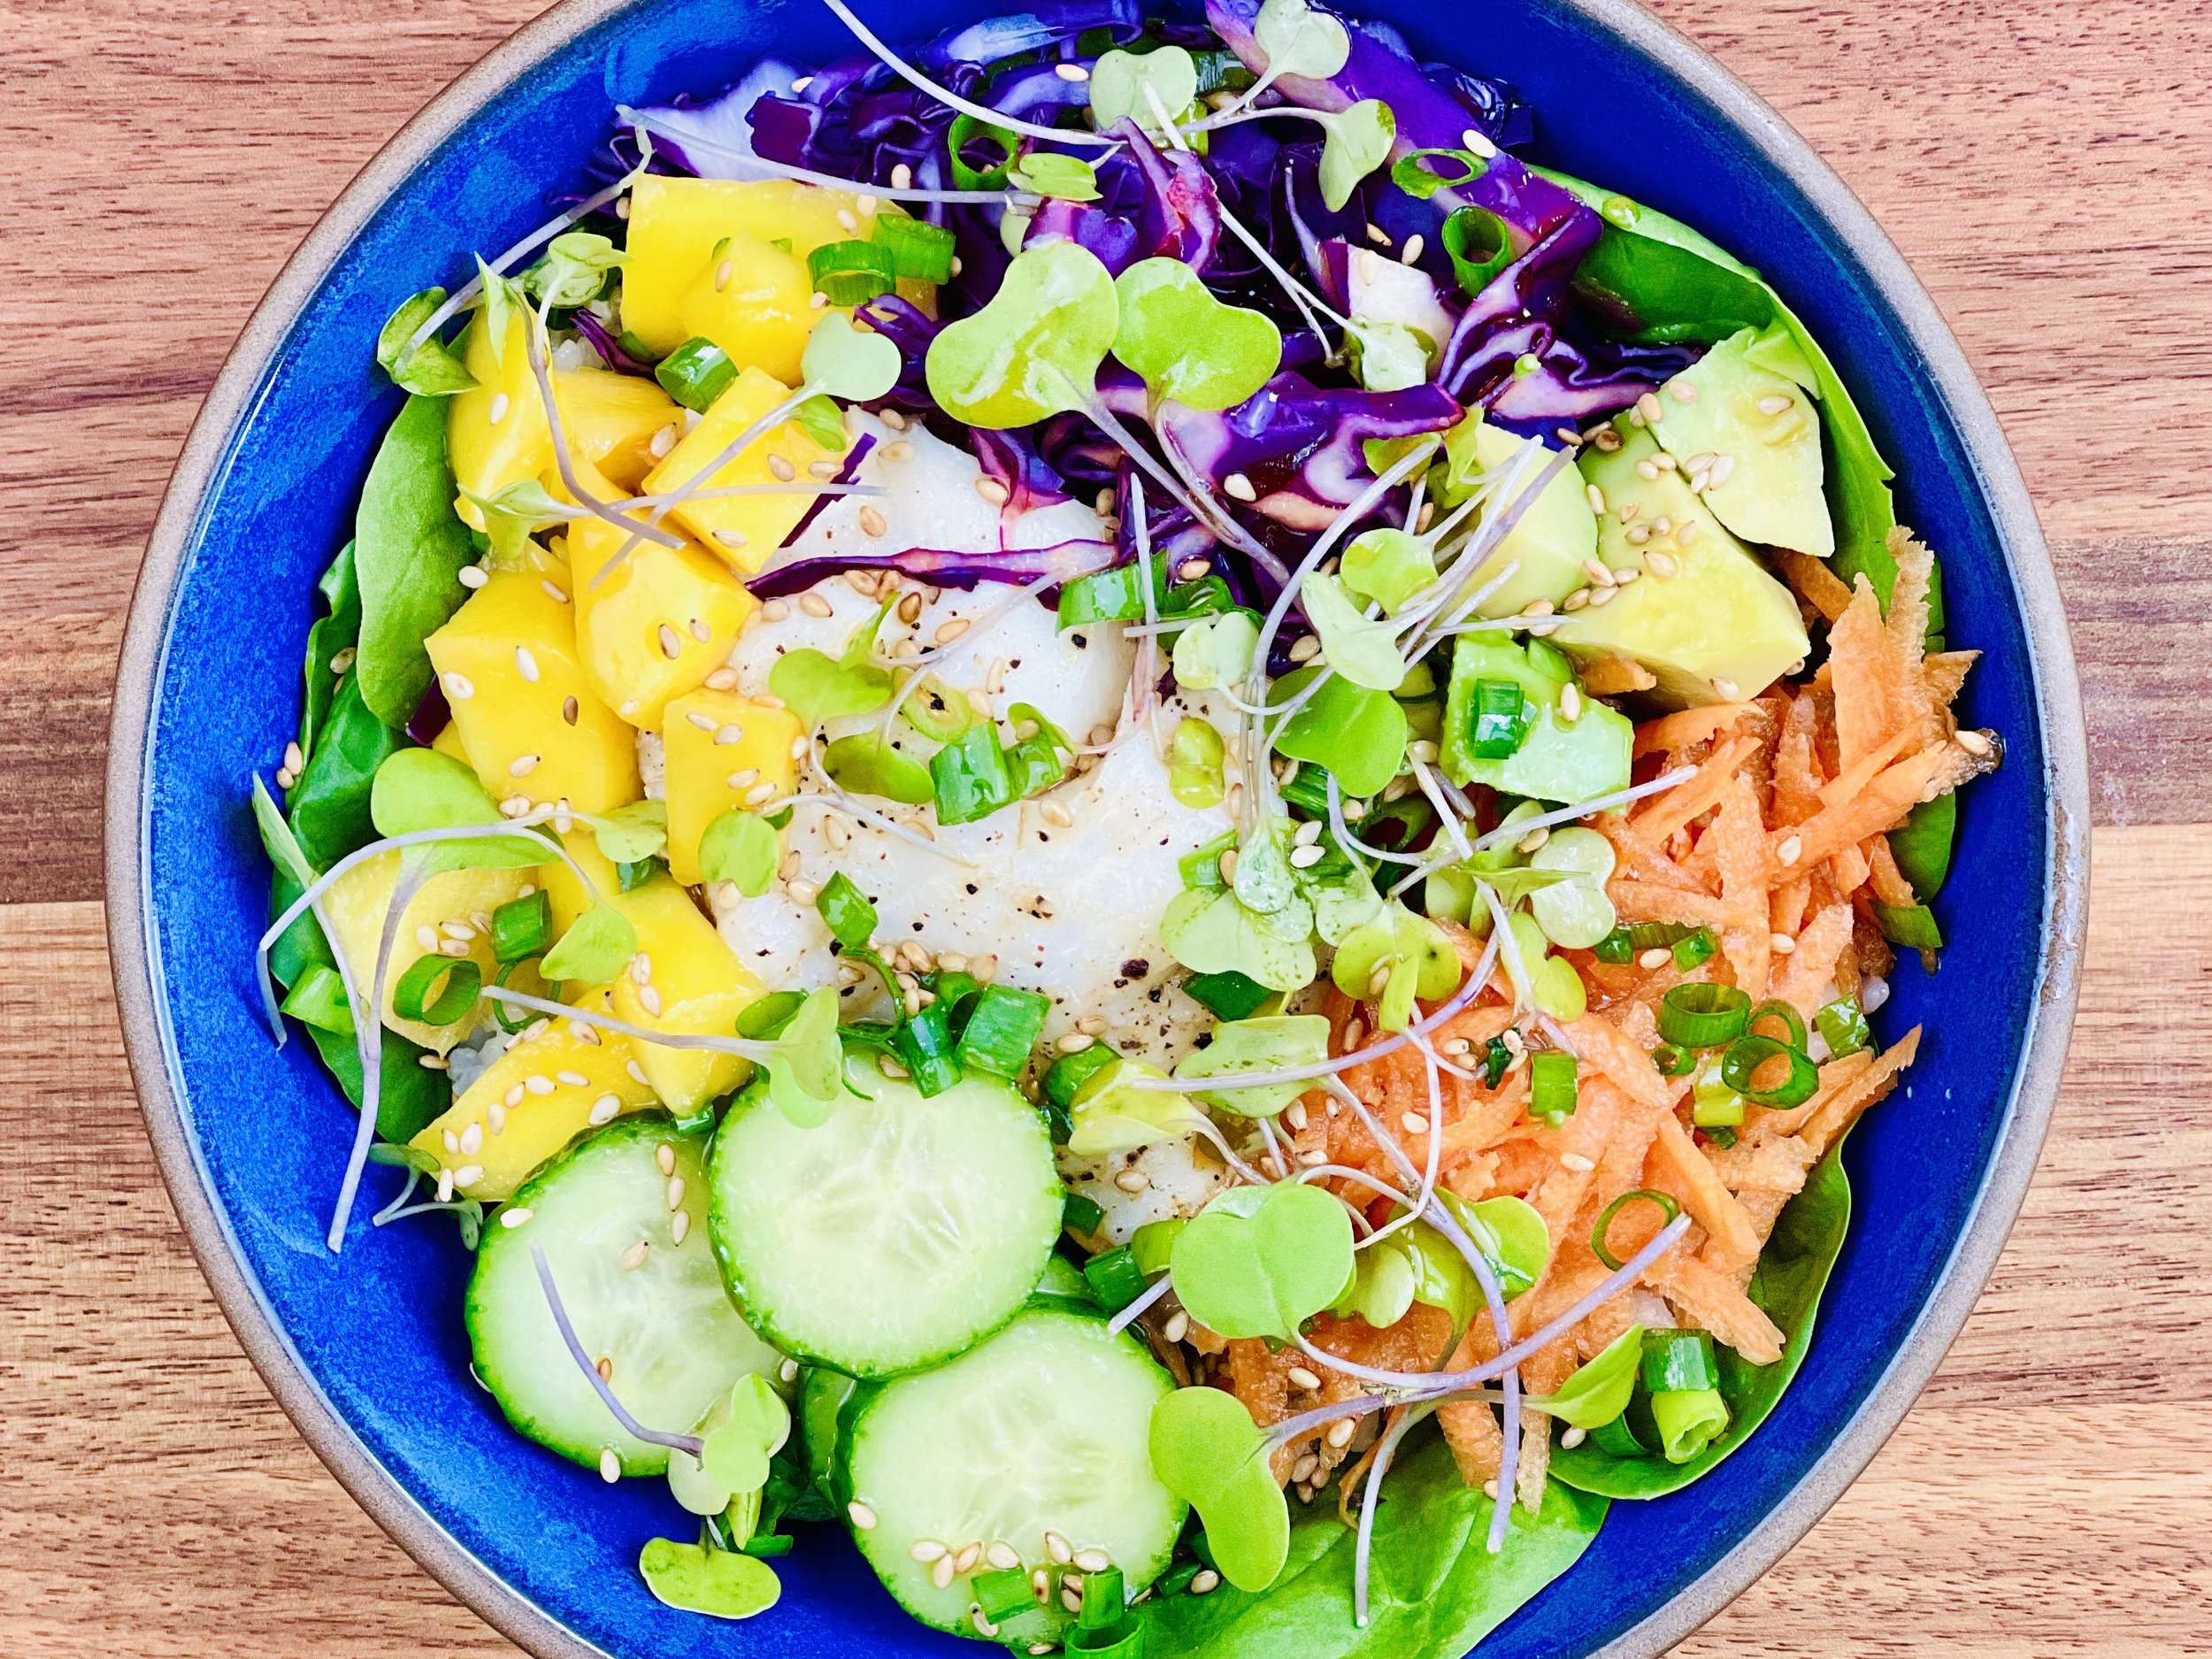
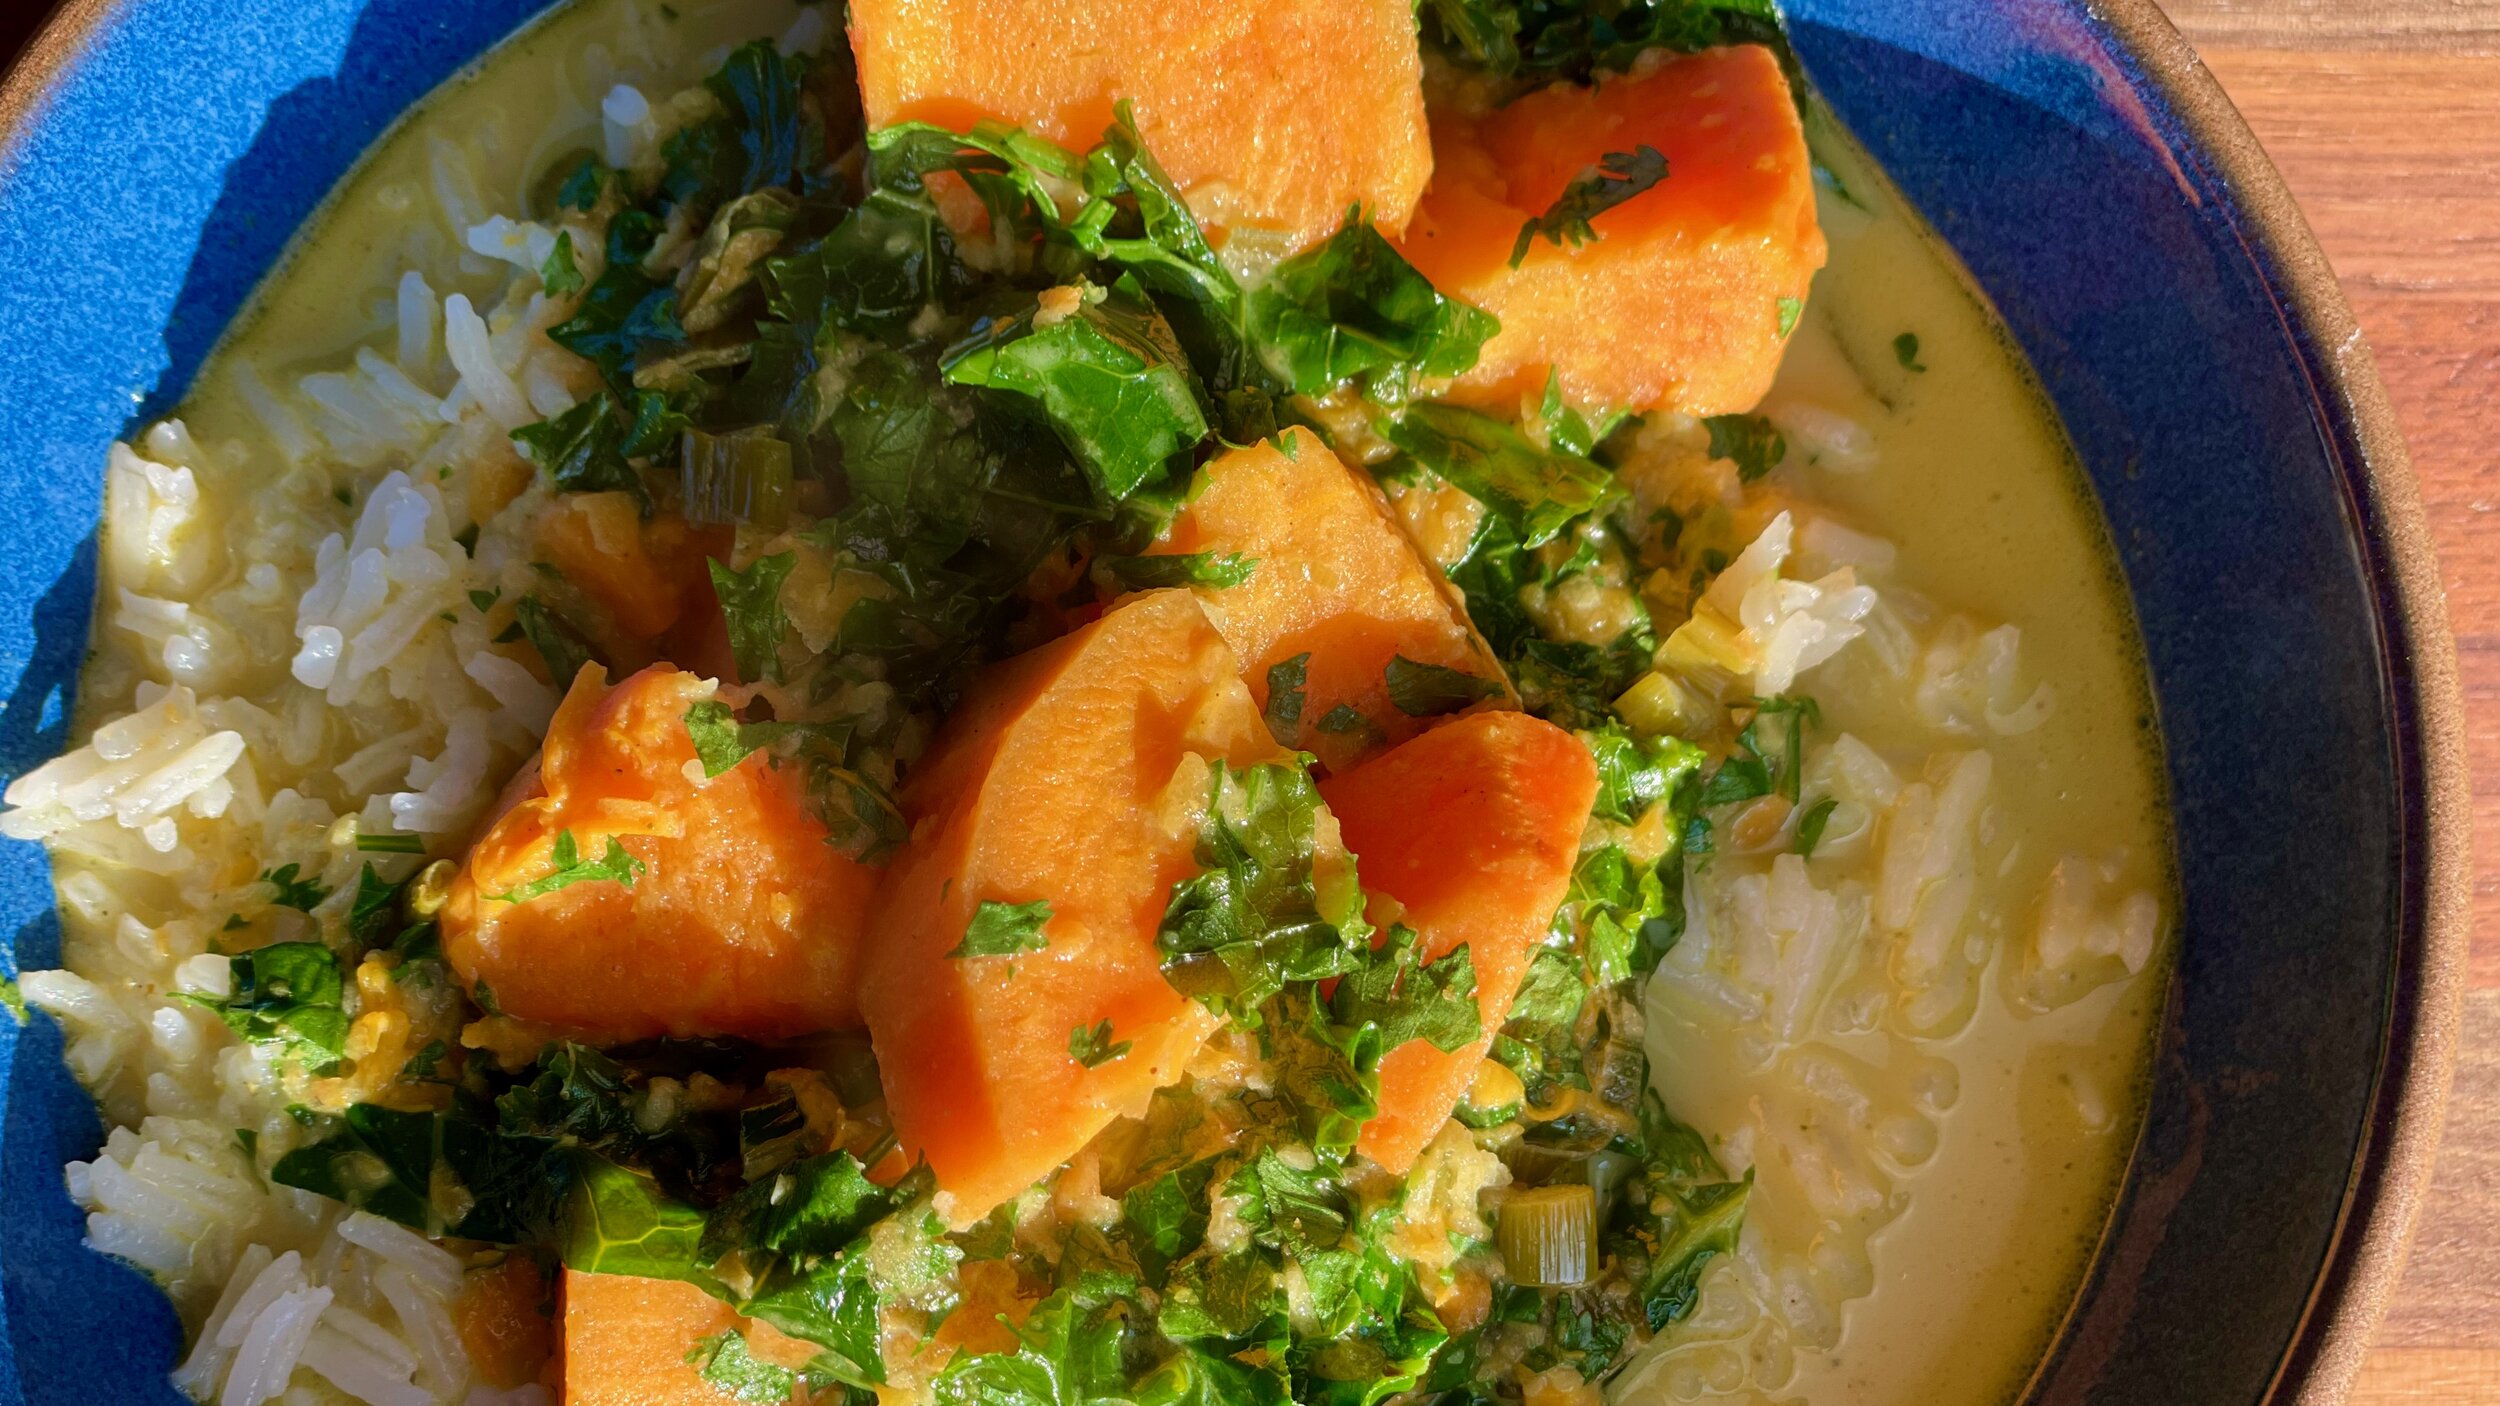
Vegetarian Grain Bowl (Low FODMAP)
20 Minutes prep • 35 Minutes cook • Low FODMAP • Vegetarian • Gluten-free • Serves 4
20 Minutes prep • 35 Minutes cook • Low FODMAP • Vegetarian • Gluten-free • Serves 4 • Ok to make ahead: Steps 1-3
This bowl is as delicious as it is beautiful! It’s a great meal to make when you’ve made a trip to the Farmer’s Market to find the best in-season vegetables. So don’t get too locked into the recipe if you have a different collection of fresh vegetables you can add roasted or raw. The combination of grains, seeds, and veggies makes this bowl hearty enough to serve as a vegetarian main course the whole table will love.
Ingredients: Dressing
1/2 cup extra virgin olive oil
1/4 cup fresh squeezed lemon juice
1 tablespoon Dijon mustard
Ingredients: Bowl
1 cup hulled millet, cooked per package instructions
1 cup quinoa, rinsed well and cooked per package instructions
2 heirloom tomatoes or a handful of heirloom cherry tomatoes, quartered or halved
2 cups greens such as arugula, baby kale, baby spinach, etc.
1 cup roasted vegetables (such as zucchini, broccoli florets, carrots, or beets)
1 watermelon radish, sliced thinly
4 red radishes, sliced thinly
4 Persian cucumbers, sliced thinly
1/2 Avocado, in slices, for serving
1/2 cup microgreens, for serving
4 tablespoons Pumpkin seeds, for serving
1/2 teaspoon Kosher salt and 1/2 teaspoon black pepper
Directions
(1) Prepare: Wash and cut up all vegetables. Make the dressing by putting all ingredients in a small jar. Shake to combine.
(2) Cook the grains: Cook millet and quinoa per package instructions.
(3) Roast vegetables: Preheat the oven to 425 degrees F. Roast any vegetables you plan to include by cutting into equal size pieces, drizzling with olive oil, salt, and pepper, and roasting until fork tender and starting to char. (As you plan your roasted vegetables, keep low FODMAP serving sizes in mind, beets, for example, are only two thin slices per person).
(4) Plate and serve: Put a scoop each of cooked millet and quinoa in each bowl (you can serve the grains warm or at room temperature). Add the greens. Drizzle with the lemon vinaigrette and stir to coat the greens and grains with the vinaigrette. Add the rest of the vegetables. Garnish with avocado, microgreens, pumpkin seeds, salt and pepper.
Eat and enjoy every bite because you can!
Recipe note: I use Diamond Crystal Kosher salt in all my recipes because it has a wonderful flat and crisp flake that tastes delicious. It is also the least salty salt available so you can use it more liberally as a seasoning than you can table salt or sea salt. If you use another type of salt, you may need to reduce the amount so it is not over-salted.
Link note: This post contains links for you to easily purchase items listed on the page. In some cases, we have provided a special discount code for IBS Game Changers so be sure to use it when you purchase an item to get the discount that has been arranged just for you! As an Amazon Associate, I earn a commission from qualifying Amazon purchases.
More Deliciously Low FODMAP™ vegetarian recipes

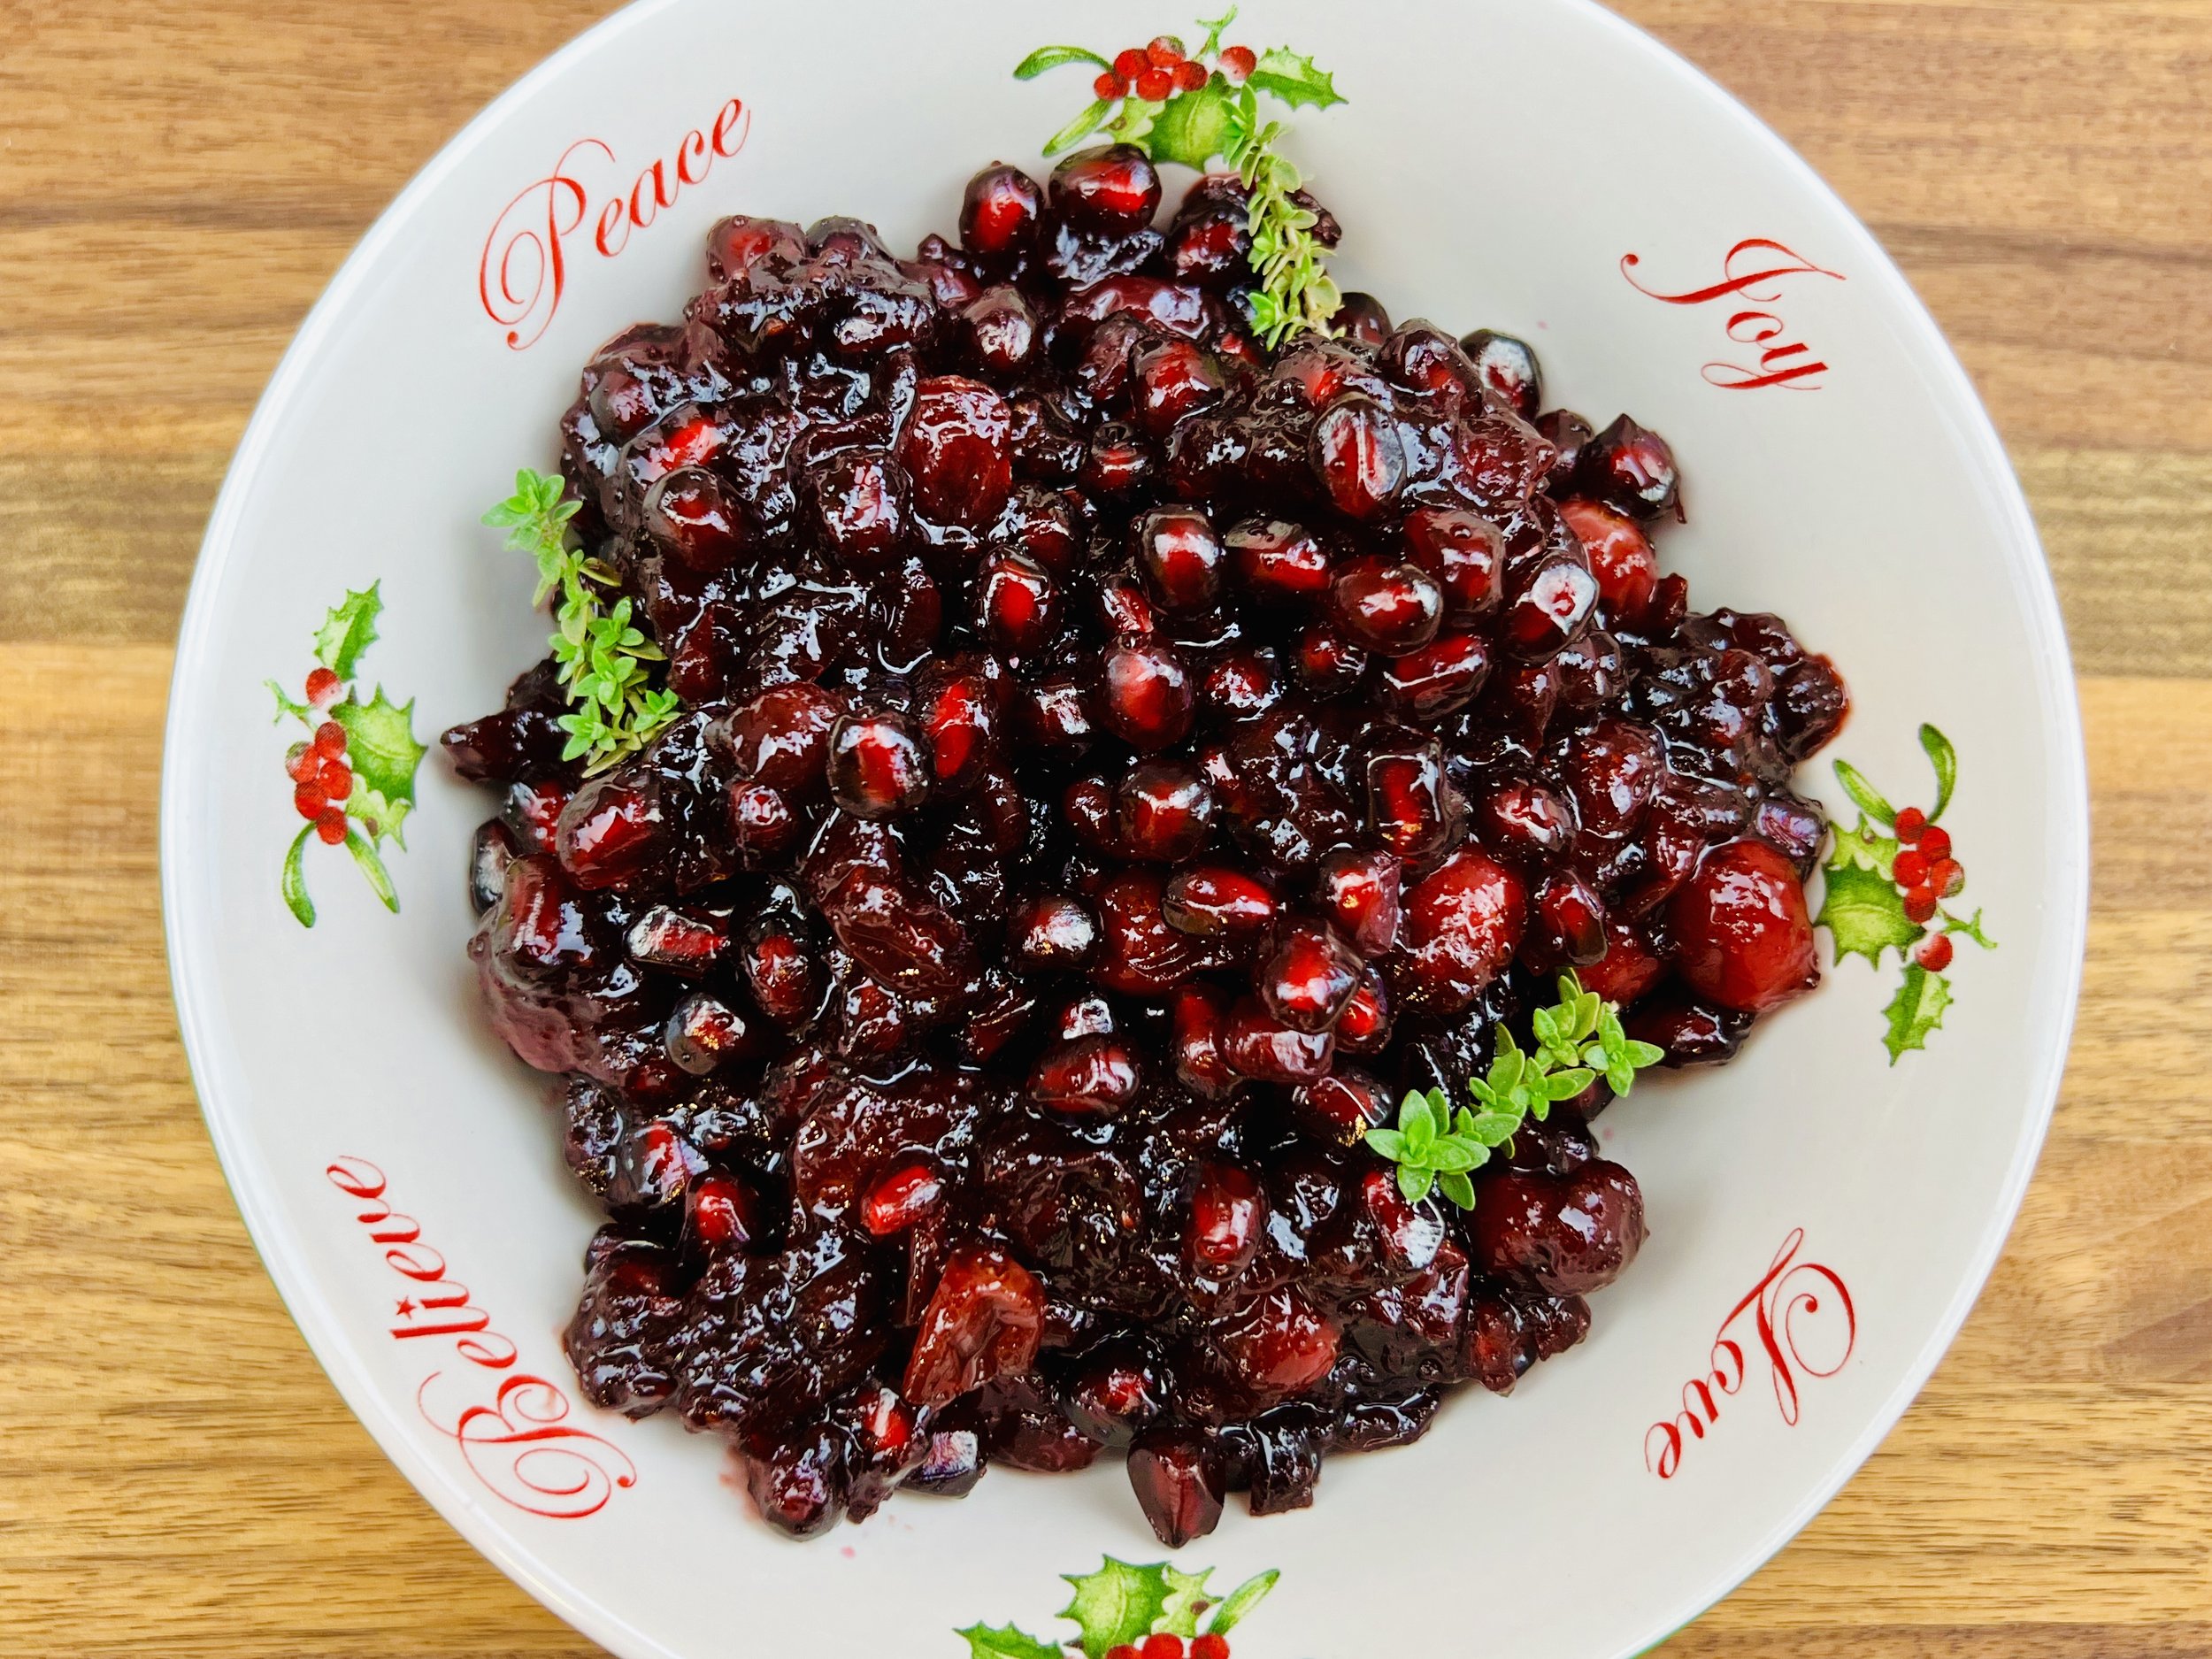
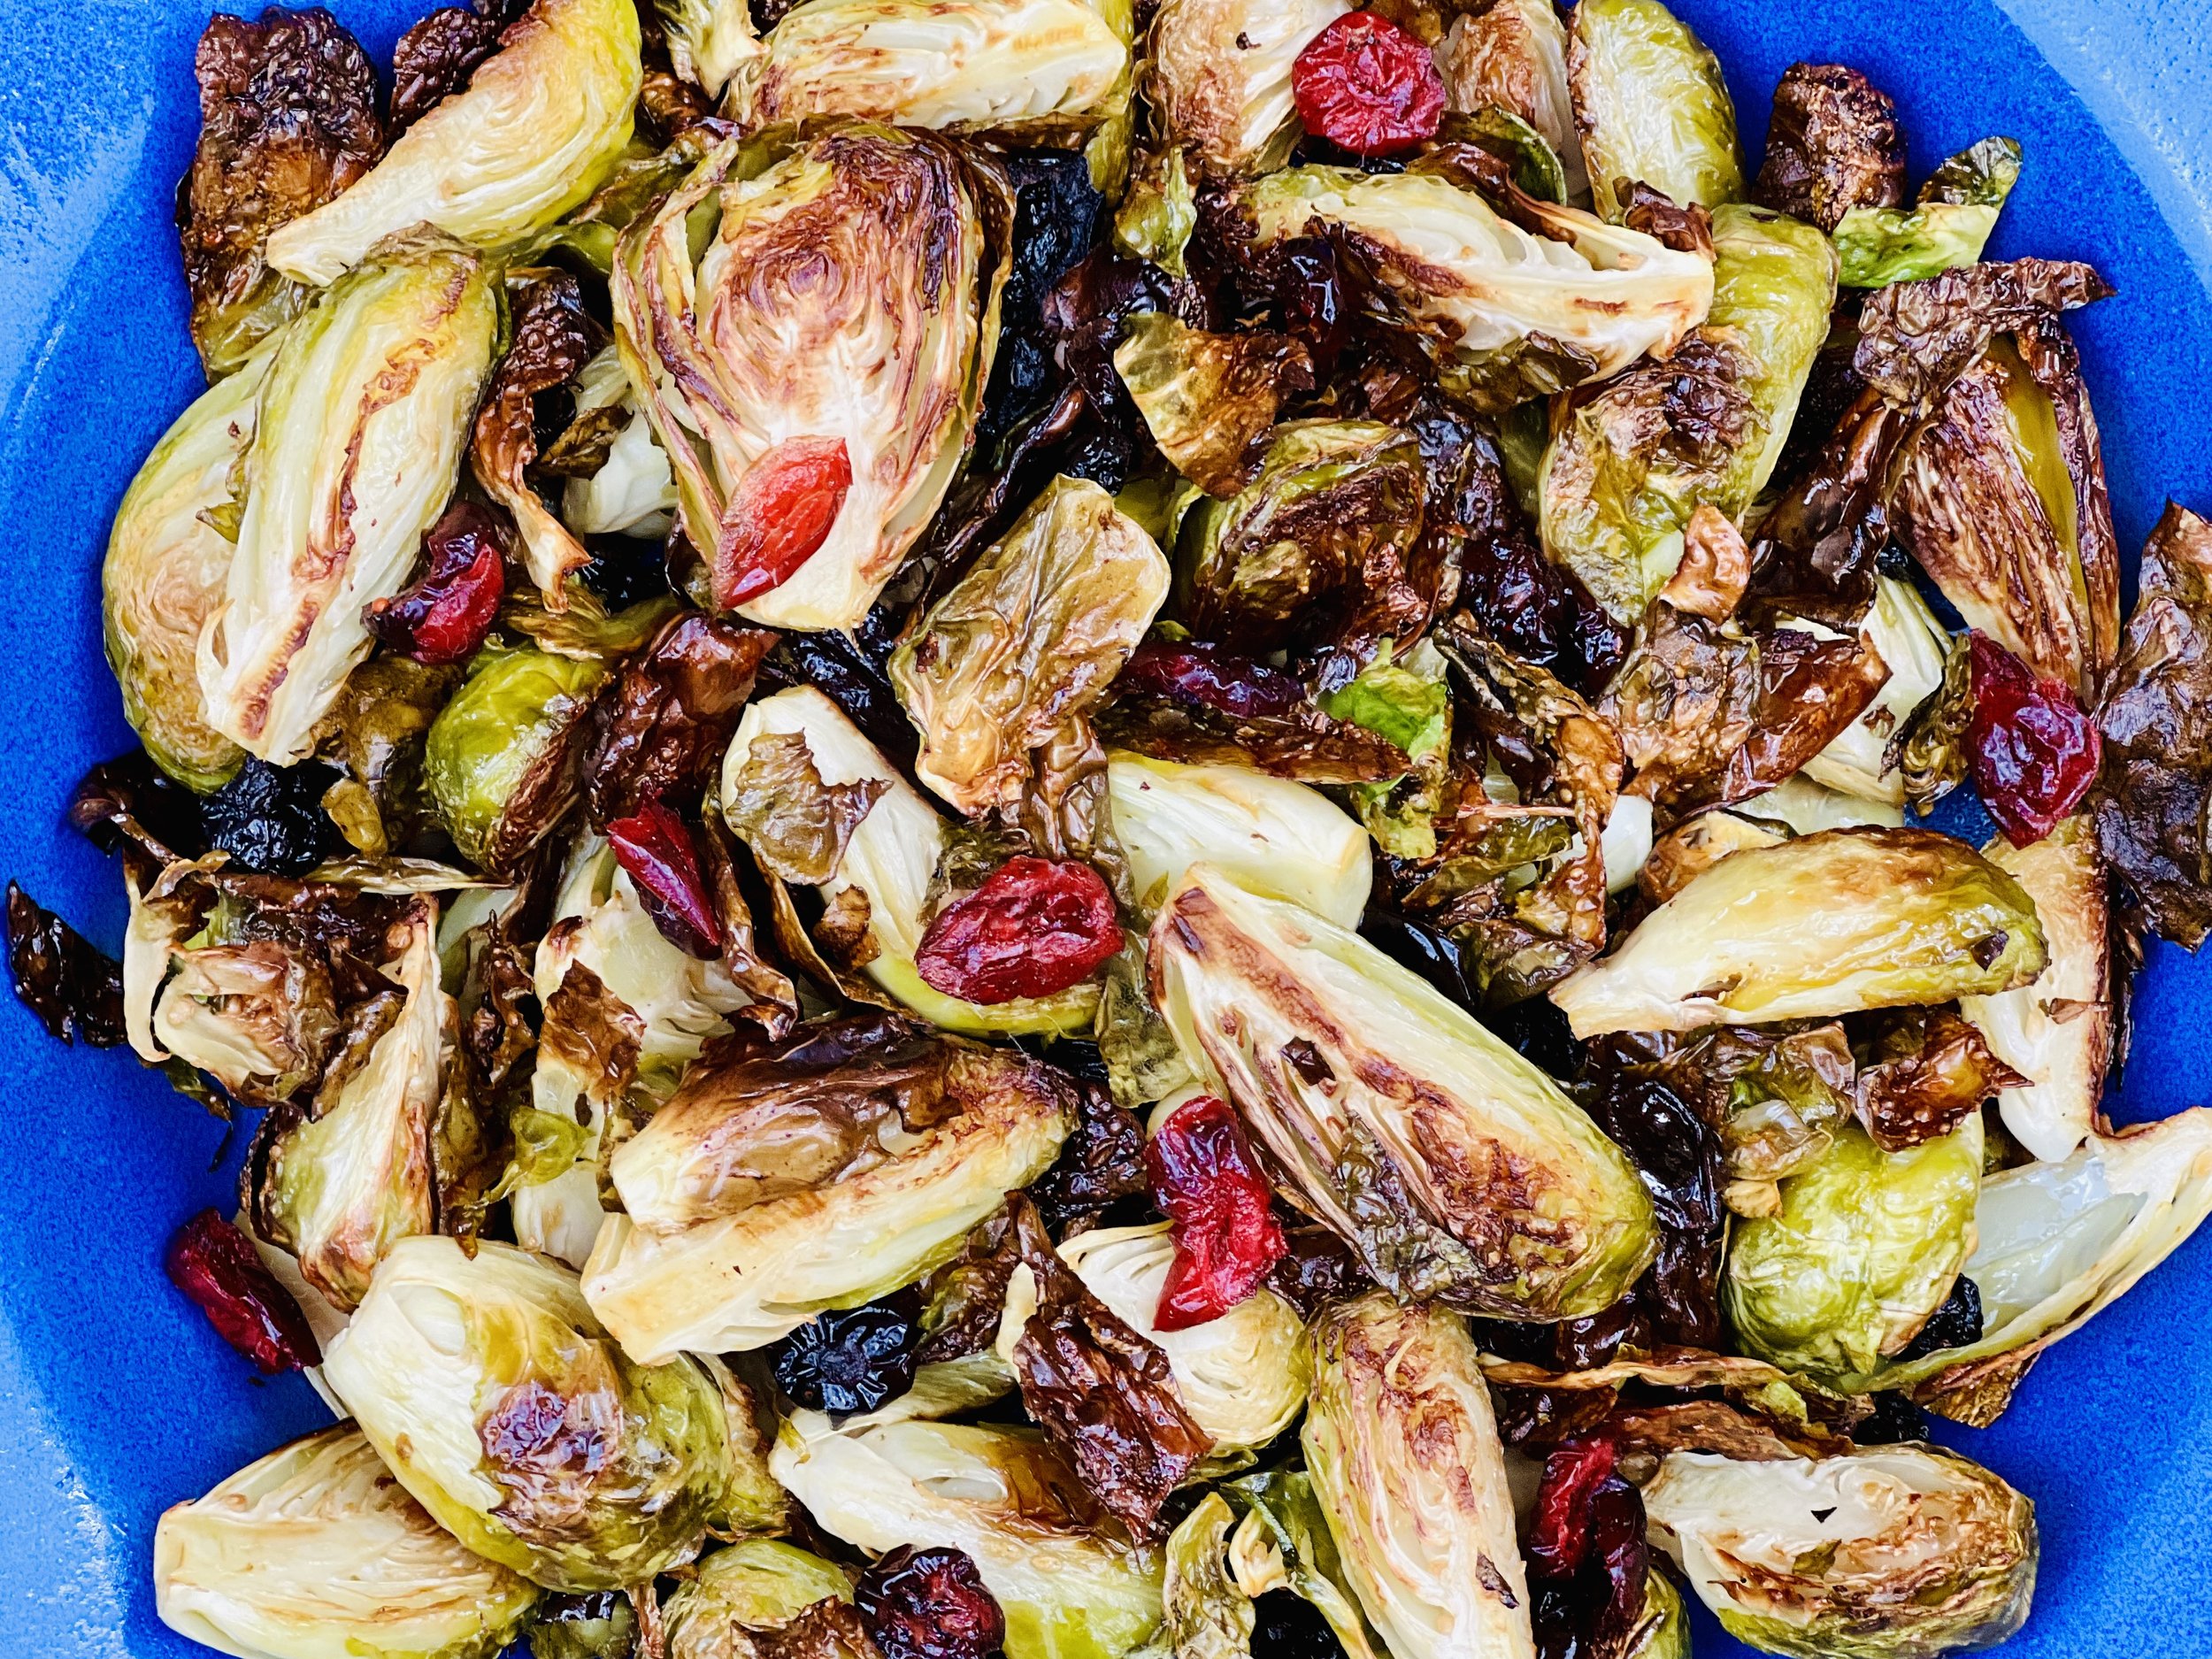
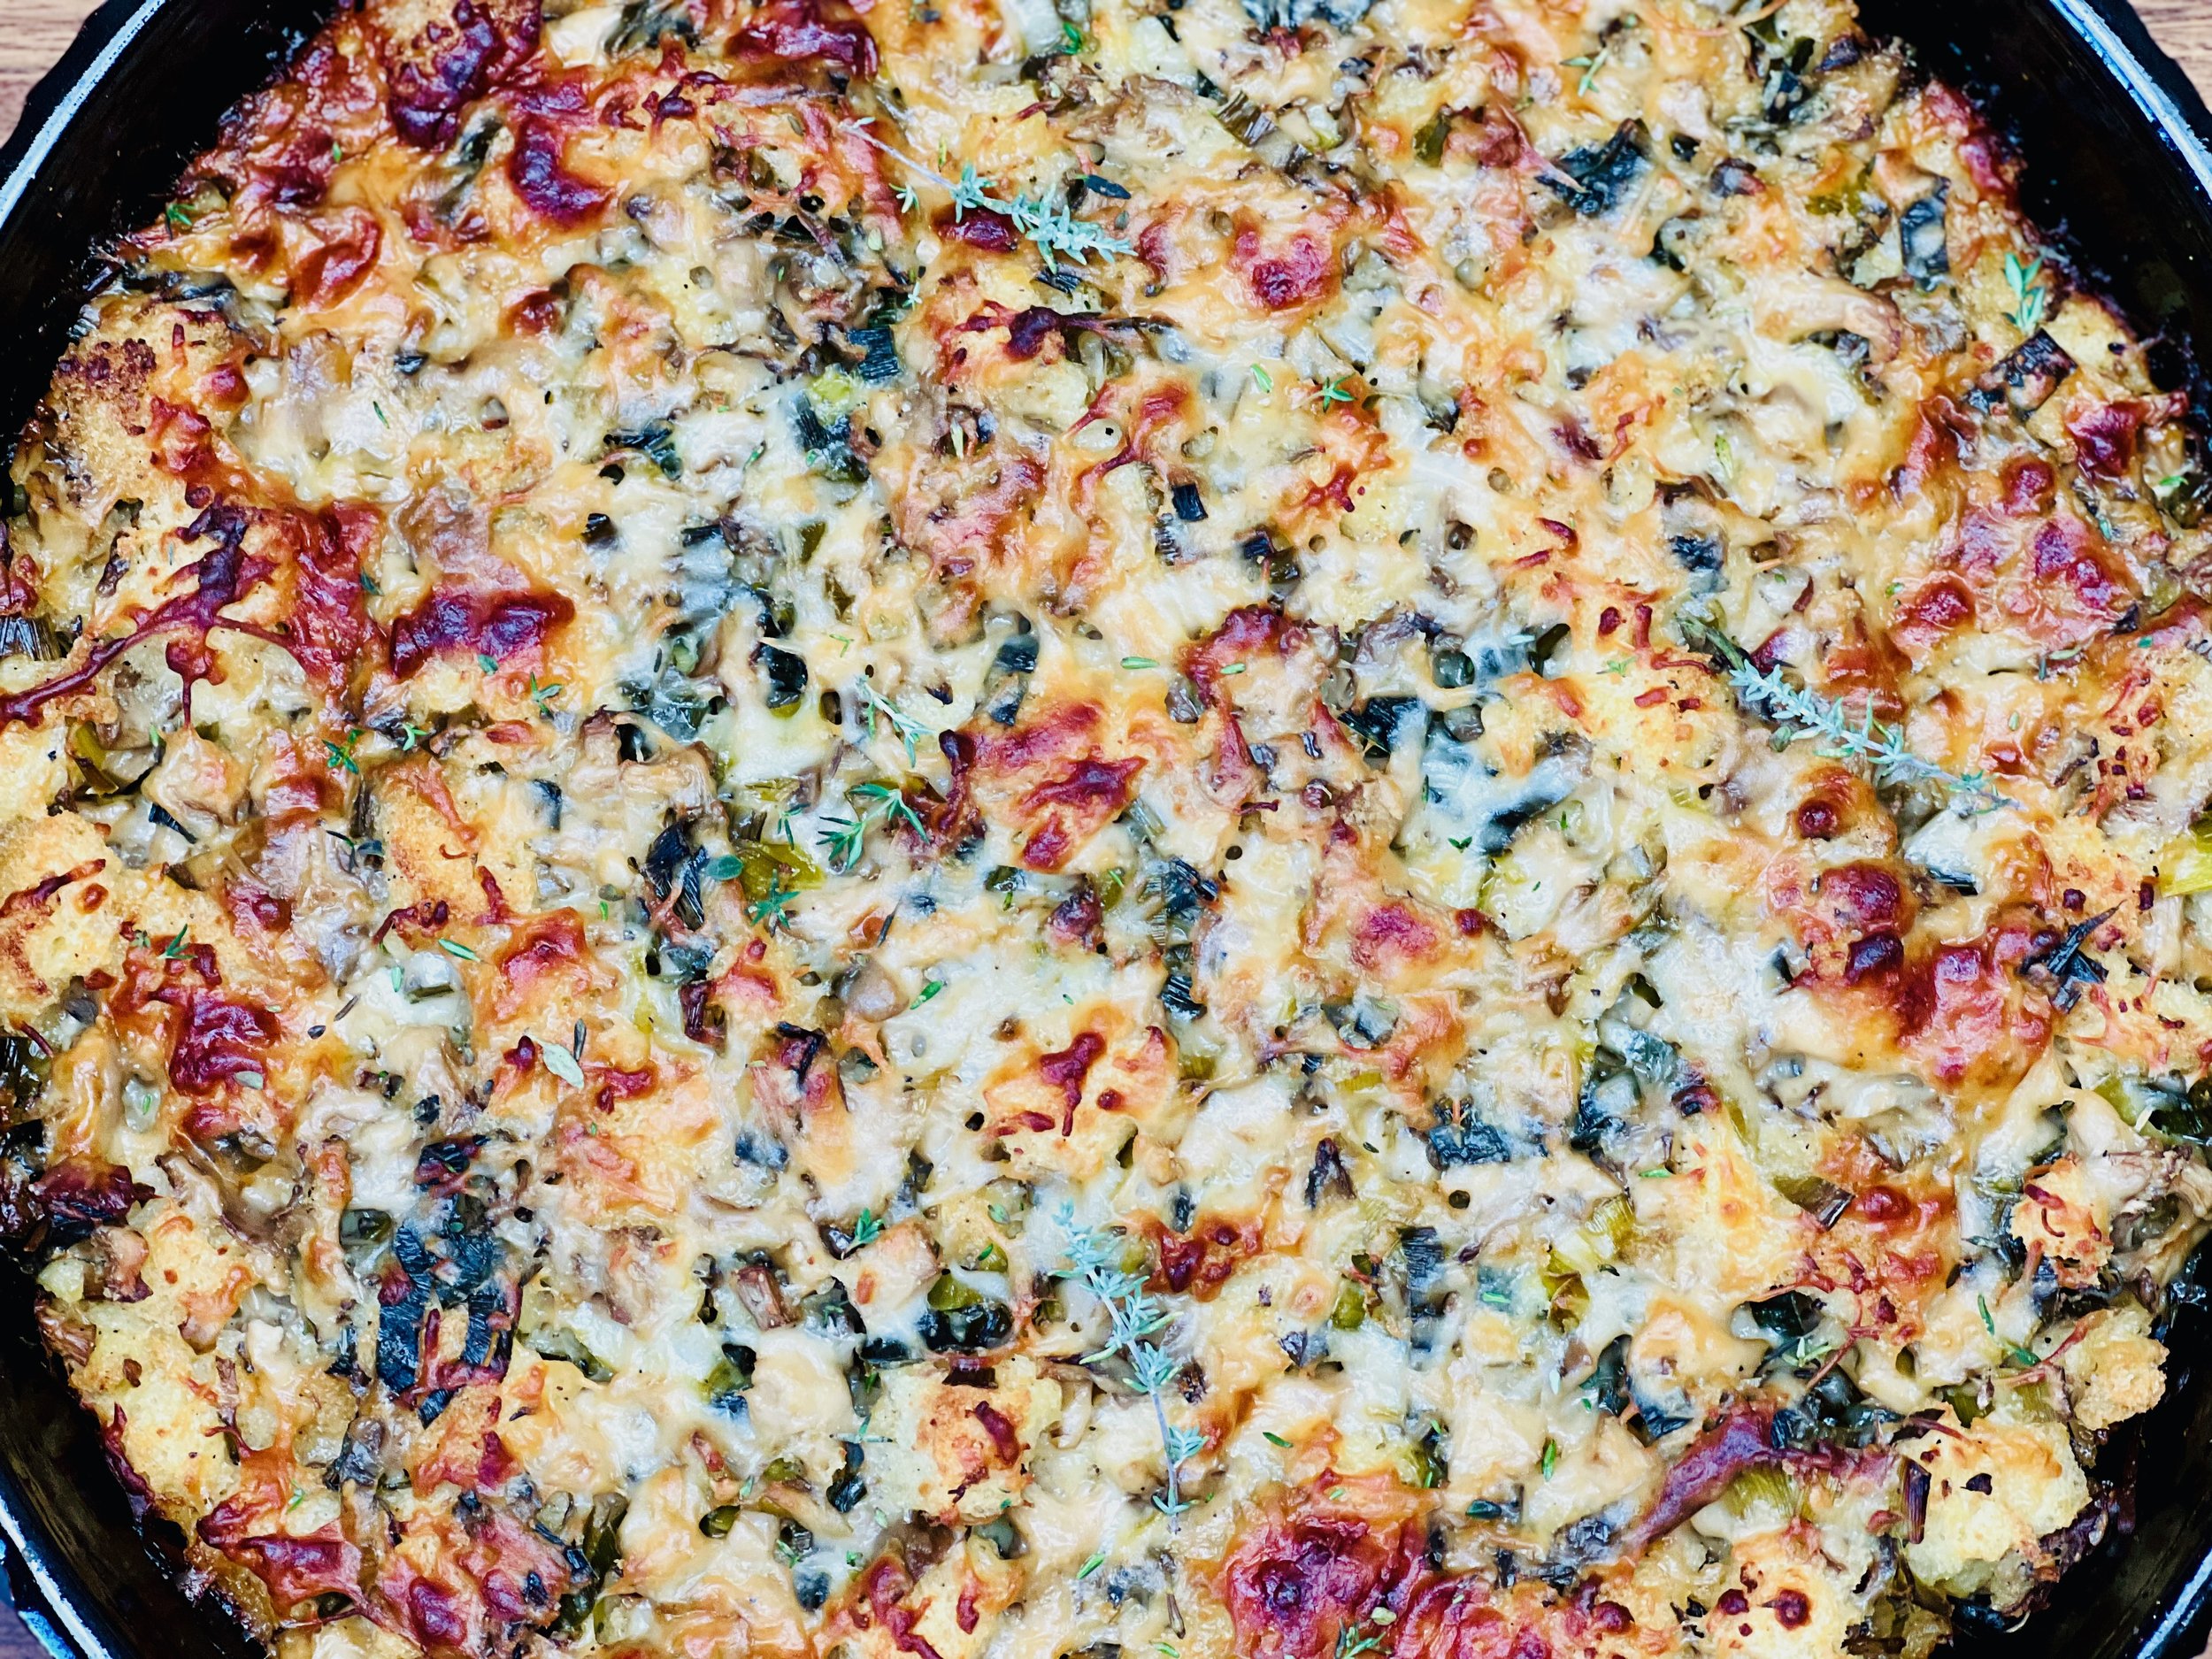
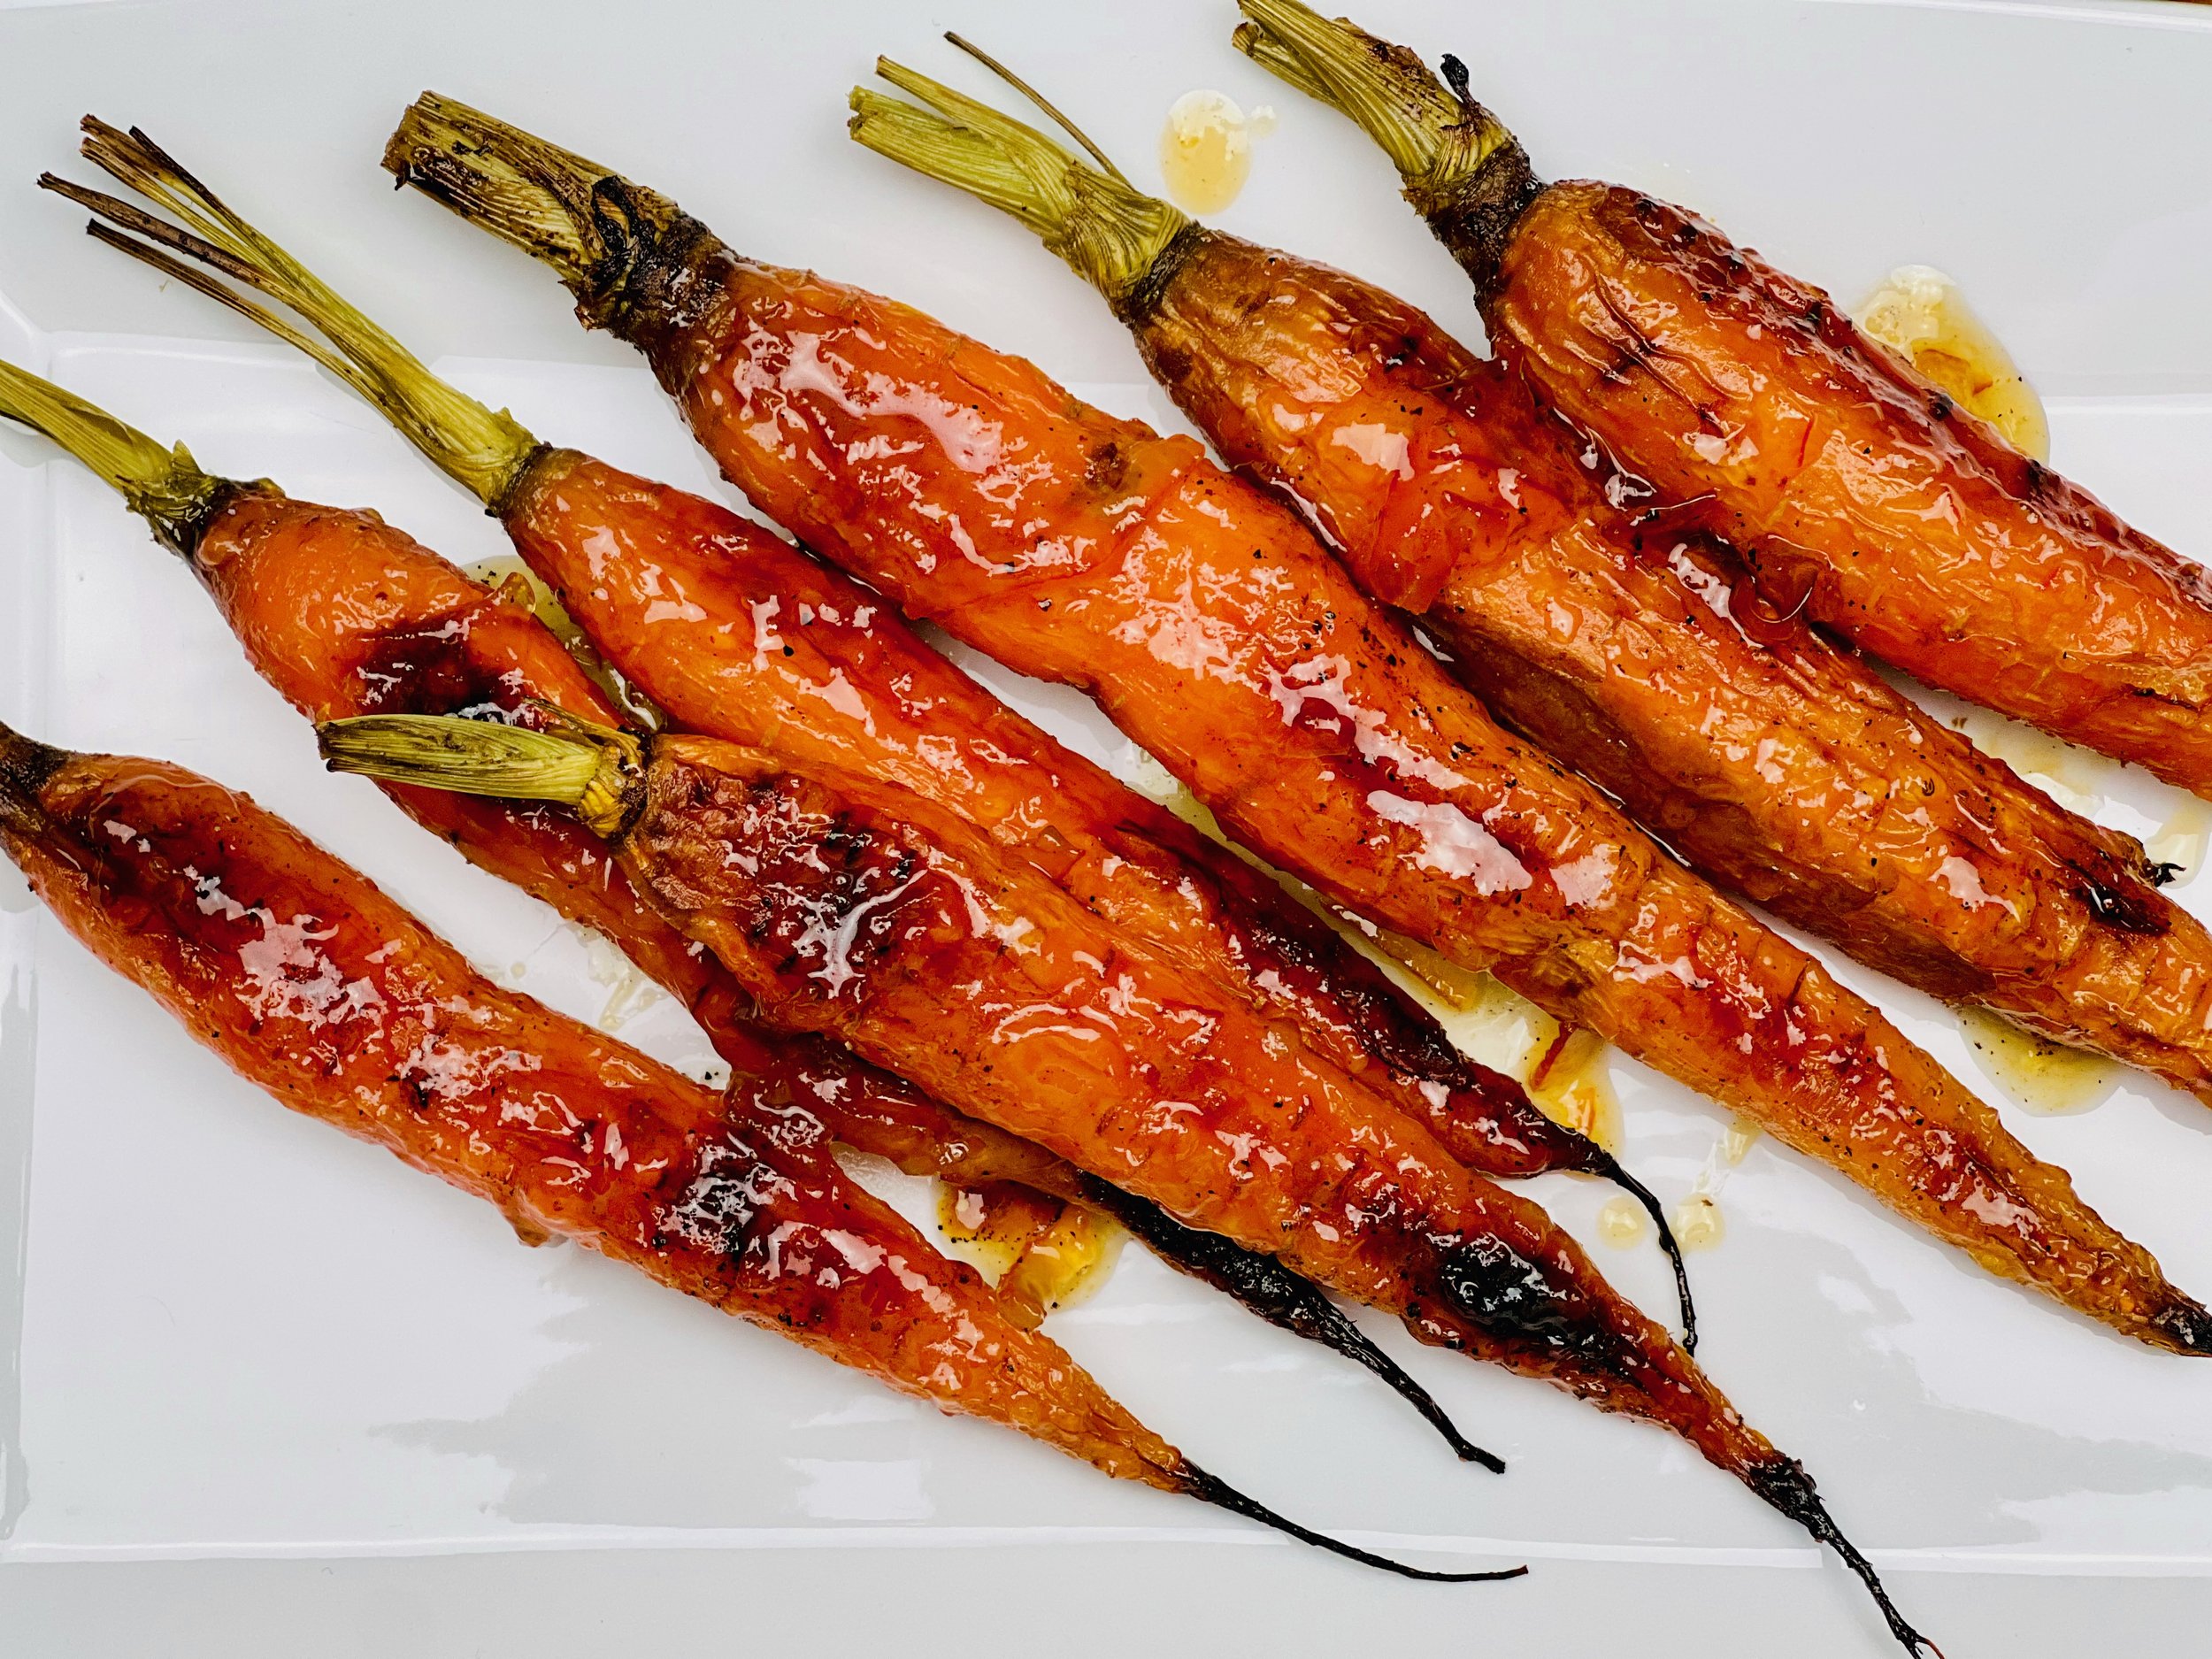
Charred Carrots with Orange Glaze (Low FODMAP)
5 Minutes prep • 25 Minutes cook • Low FODMAP • Gluten-free • Vegetarian • Serves 4
5 Minutes prep • 25 Minutes cook • Low FODMAP • Gluten-free • Vegetarian • Serves 4 • Ok to make ahead: Step 1
These carrots are elegant, delicious, and a nice change of pace from your standard side vegetable. They're easy to make and you don’t have to pay any attention up to the very last 5 minutes of cooking. For the best flavor, look for carrots with fresh green tops that are all about the same thickness (if possible). If you use skinny carrots, they’ll cook faster than fat carrots.
This is an exclusive recipe just for recipe club members.
In addition to the two free recipes I create each week I am creating and delivering one very special recipe just for my recipe club members. If you’re not yet a member, I encourage you to join! Membership in the club includes access to the complete archive of recipes with filters so it can become your virtual low FODMAP cookbook plus, I am creating and delivering one special NEW recipe every week ONLY for recipe club members. And, for my true fans, I’ll be sharing behind-the-scenes content, and updates on the progress of the new cookbook.
Your membership in the club helps me continue creating new, delicious, easy-to-make, low FODMAP recipes just for you.
As always, all recipes will emphasize simple ingredients, easy preparation, and delicious low FODMAP results. Recipes will be for everything from main courses, salads, soups, side dishes, appetizers, desserts, sauces, breakfast and lunch, and even mocktails and cocktails. Everything you need to prepare fantastic low FODMAP meals everyone will love.
Join the club. Become a Patron. Let’s keep making delicious Low FODMAP meals together.
More Deliciously Low FODMAP™ side dish recipes


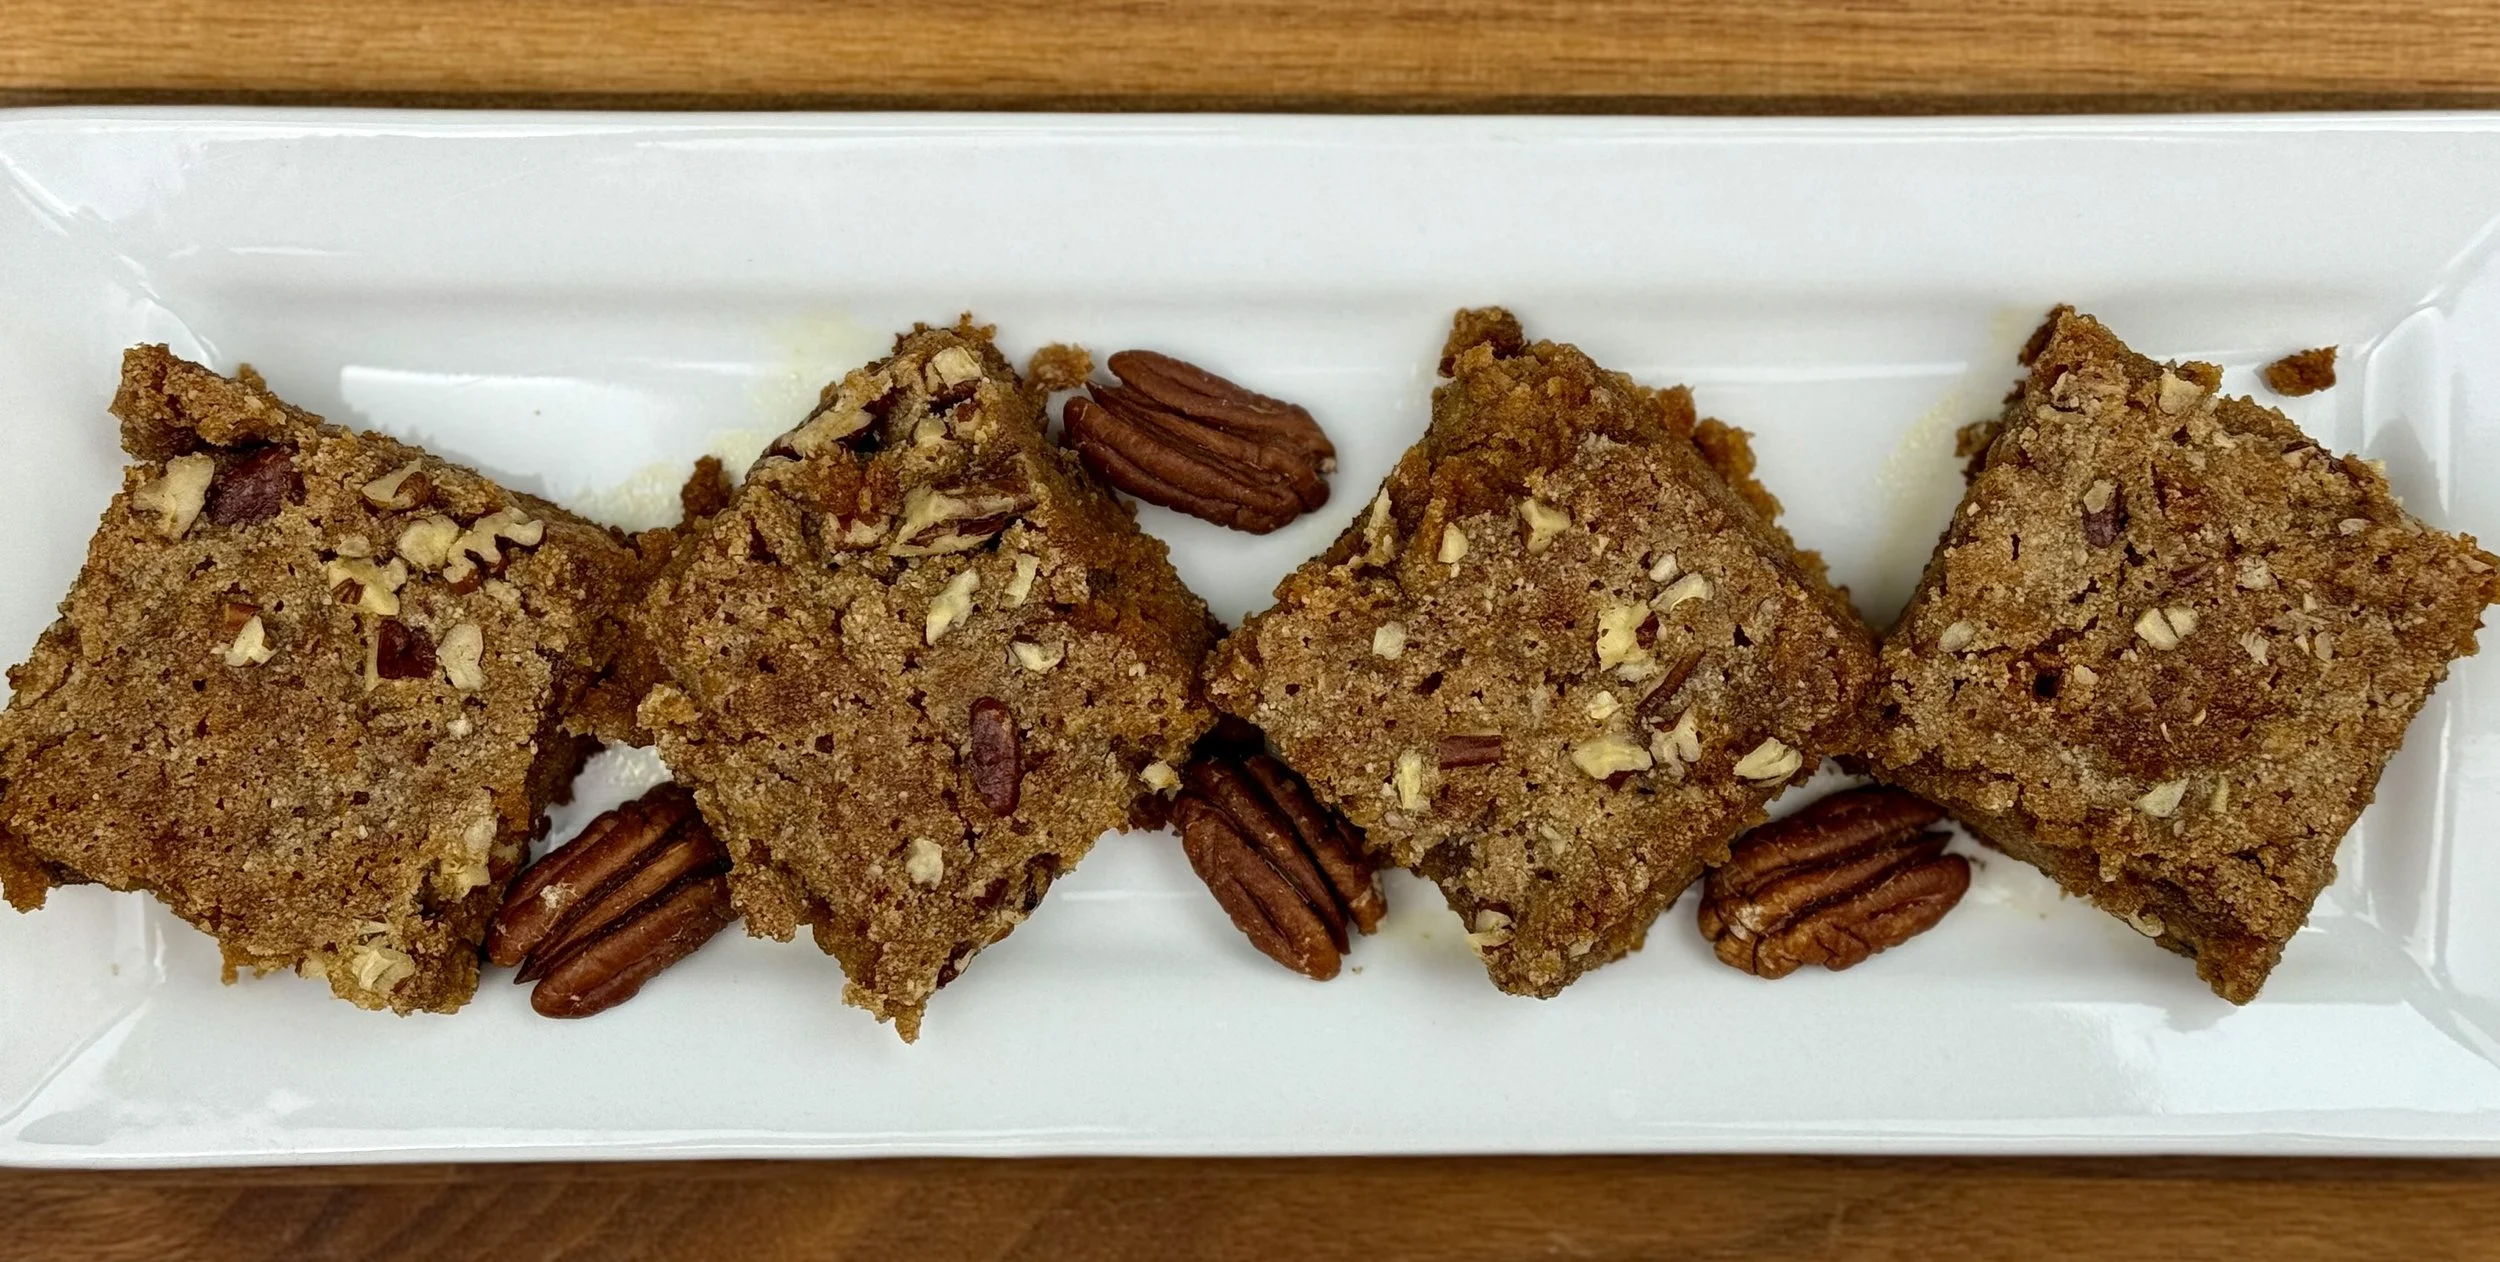
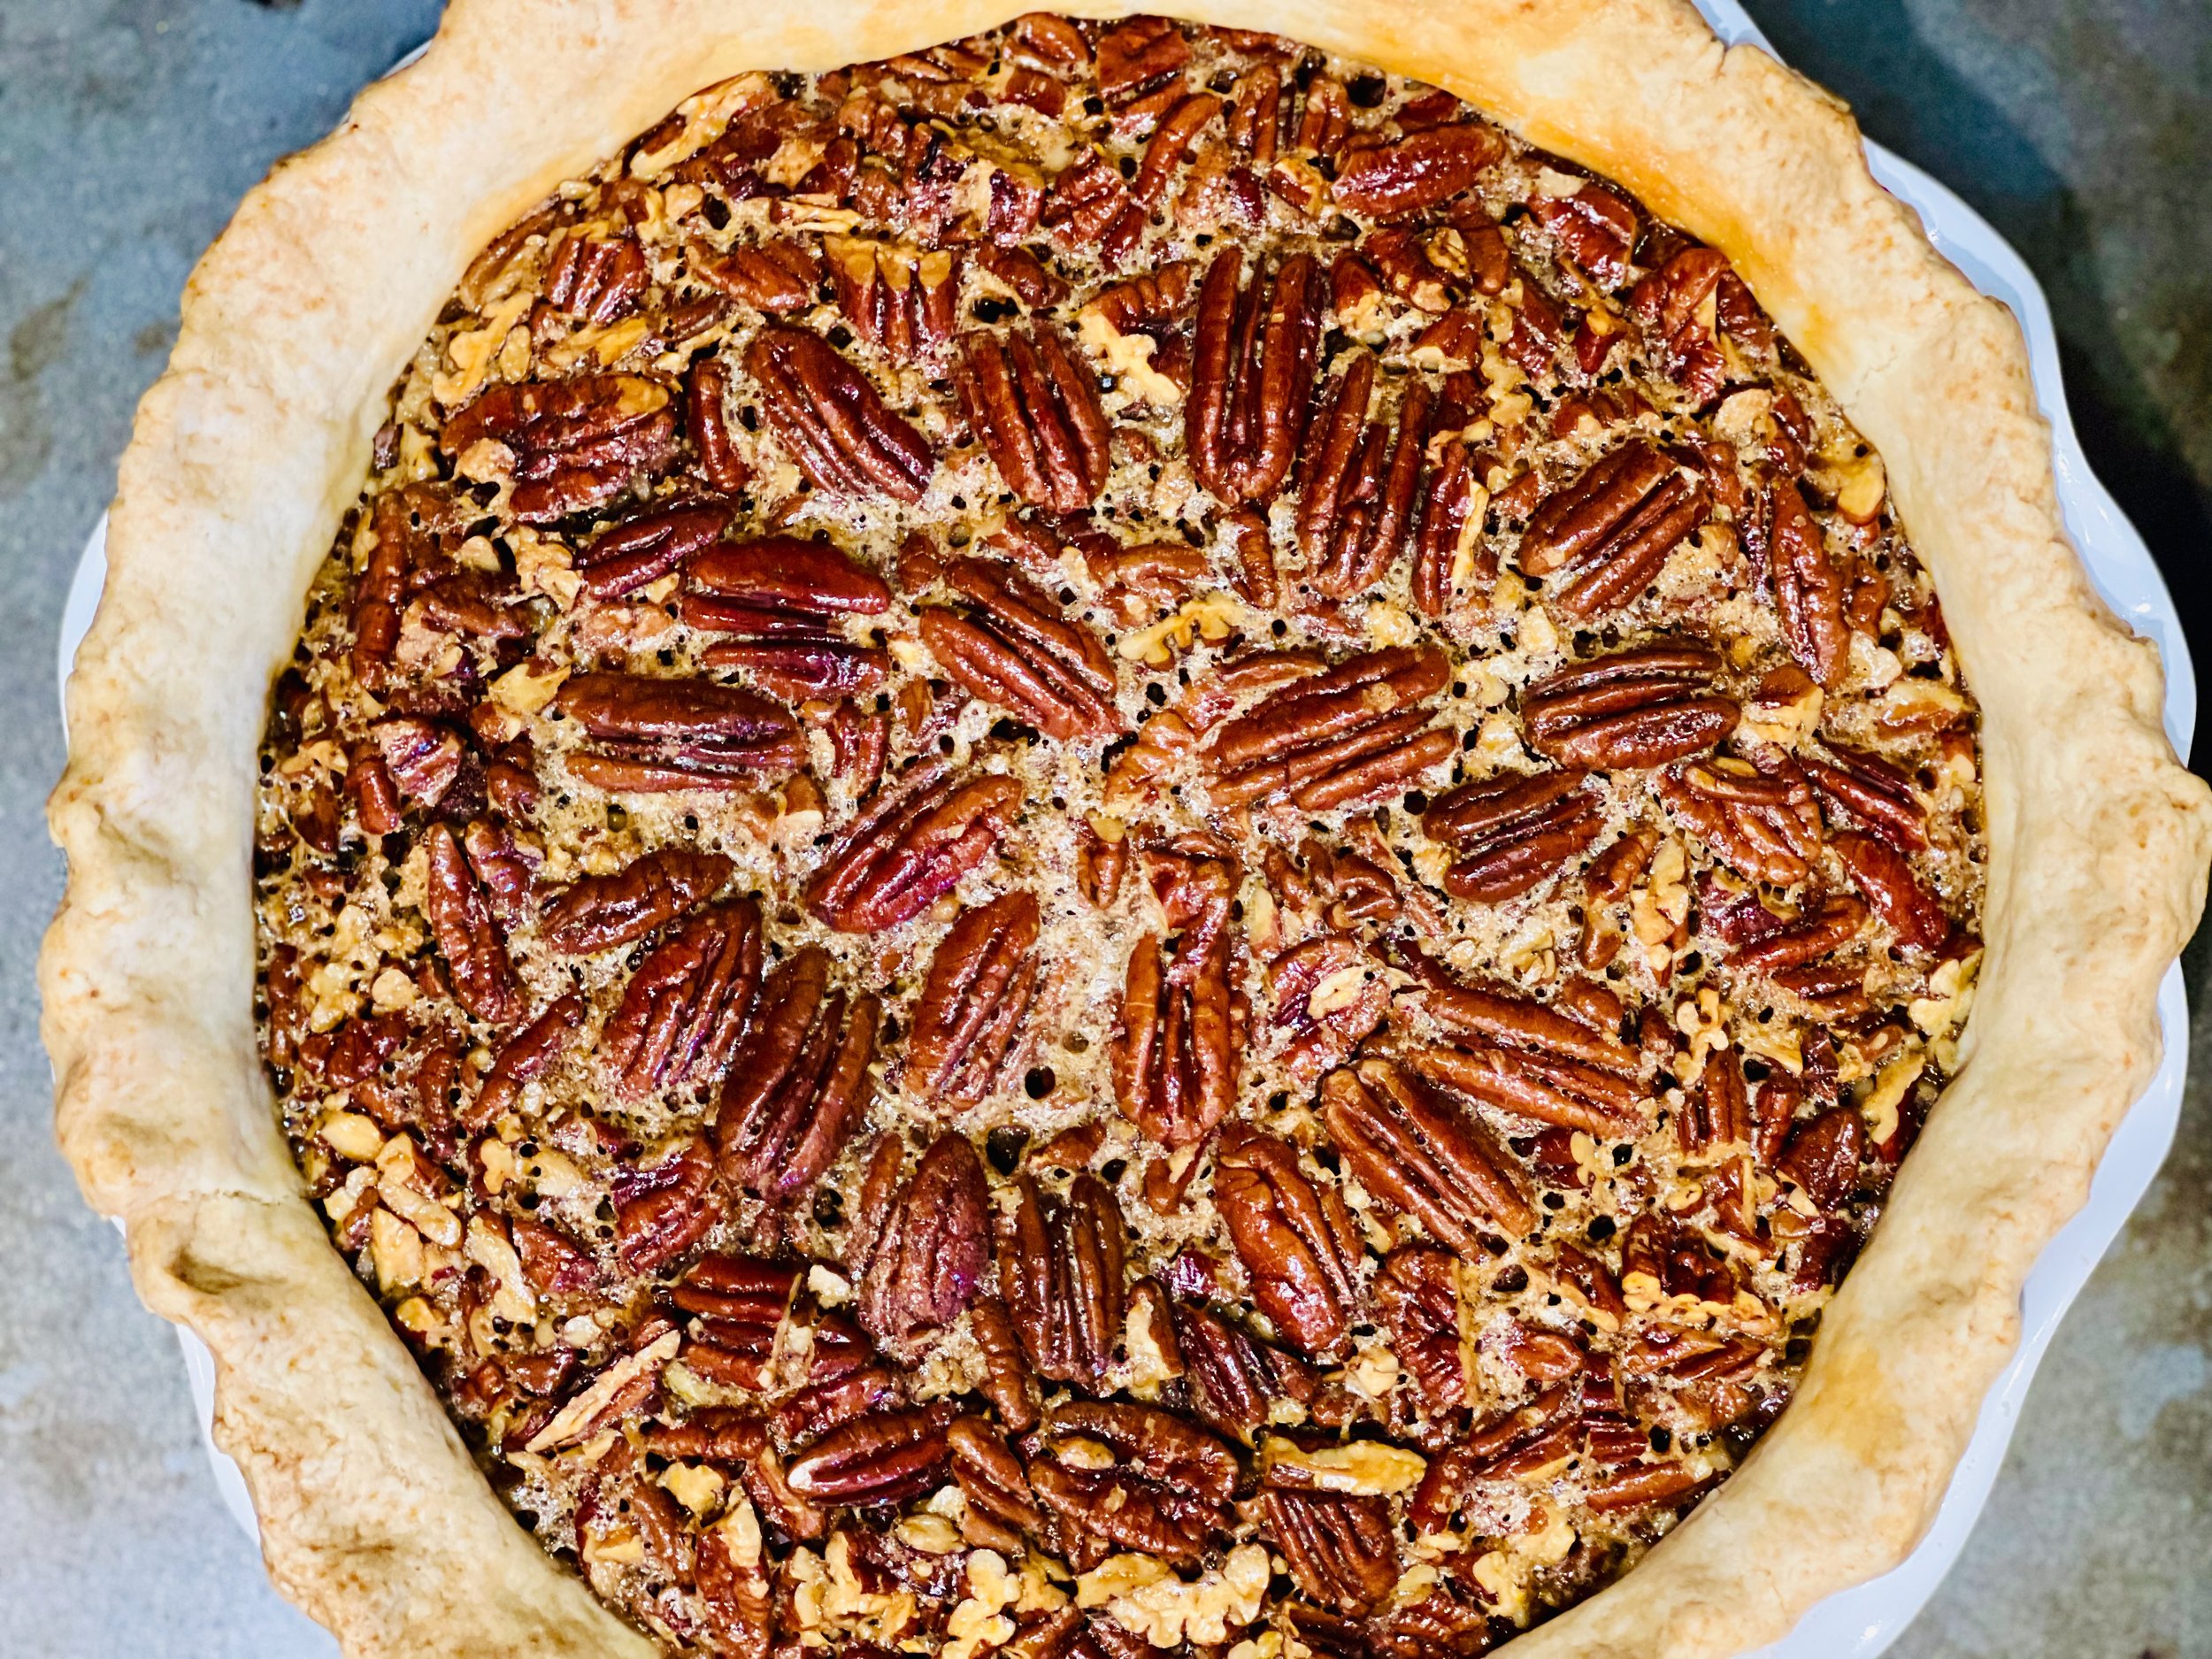
Perfect Maple Pecan Pie (Low FODMAP)
10 Minutes prep • 55 Minutes cook • Low FODMAP • Gluten-free • Serves 8
10 Minutes prep • 55 Minutes cook • Low FODMAP • Gluten-free • Serves 8 • Ok to make ahead: Steps 1
I love pecans. They are naturally sweet and can even satisfy my craving for “dessert” all on their own. So, pecan pie is one of my all-time favorite pies. In this recipe, the combination of the butter crust, the sweet and chewy nut layer, and the bourbon in the center are sublime. If you are a pecan pie lover looking for a low FODMAP version of this amazing pie, this is it. And with a pie this good, why wait for the holidays to enjoy it? Make it for your next dinner party, family gathering, or barbecue. It’s best after it has been chilled overnight, so it’s a perfect make-ahead dessert that’s sure to be a hit.
Ingredients
1 Perfect Buttery Pate Brise Pie Crust (unbaked) or one 9-inch frozen gluten-free butter pie crust, defrosted
3/4 cup light corn syrup*
1/4 cup pure maple syrup
3/4 cup packed light brown sugar
*Scant 1 tablespoon unsulphured molasses *a bit less than 1 tablespoon
4 tablespoons (½ stick) unsalted butter, melted
3 extra-large eggs, lightly beaten plus 1 egg white to brush the inside of the pie crust before filling
1 tablespoon bourbon
1/2 teaspoon pure vanilla extract
1/2 teaspoon kosher salt
2 1/2 cups whole pecan halves (no more than 80 pecan halves to keep serving size low FODMAP), the fresher, the better, roughly chop 2 cups and save 1/2 cup whole to make a design on the top of the pie
Directions
(1) Make crust: Use our Perfect Buttery Pate Brise Pie Crust recipe to make a deep dish pie crust, or use a frozen, deep dish, gluten-free, butter pie crust. Keep frozen until ready to use.
(2) Prepare: Preheat the oven to 350 degrees F and, if you have one, put a pizza stone in the oven to heat (this will produce a more evenly browned bottom crust). Roughly chop 2 cups of the pecans and keep 1/2 cup whole. Remove pie crust from the freezer and brush the inside with egg white. Put pie pan (with the crust) on a rimmed baking sheet.
(3) Mix the filling: In a large bowl, whisk together the corn syrup, maple syrup, brown sugar, molasses, butter, eggs, bourbon, vanilla, and salt. Stir in the chopped pecans and pour into the prepared pie crust. (If you remembered to reserve a few whole pecan halves, you can arrange them on the surface in a decorative pattern such as a circle in the center of the pie. Just be sure to push them below the wet filling and let them rise again so they get coated with the filling before the pie cooks.)
(4) Bake: Put the rimmed baking sheet with the pie on it in the oven on the heated pizza stone (if using) and cook for 55 - 60 minutes, until the edges of the pie are set and the center is a bit wiggly (like Jello). Set aside to cool. The center will set more as the pie cools.
If the filling does not set in the time allotted, the pie is undercooked. Keep baking the pie until the filling has reached 200 degrees F. (If the crust is getting too brown, cover the exposed crust with foil). Remember, it will firm up more as the pie cools.
(5) Plate and serve: Once the pie is cooled, put it in the refrigerator to chill overnight, then serve cold or bring to room temperature, slice, and serve. It’s perfect as is but also good with a scoop of lactose-free vanilla ice cream (I love Beckon brand.)
Eat and enjoy every bite because you can!
*A note about corn syrup: I use Karo brand corn syrup, which contains no high-fructose corn syrup (HFCS is high in FODMAPS).
When you are following a low FODMAP diet, overconsumption of sugar of any sort is not recommended. So, even though you may want to eat the whole pie, cut it into 8 pieces and eat only one piece to allow yourself a treat without triggering your IBS symptoms. And, if you are highly sensitive to fructose, you may not be able to tolerate any sweet desserts. You are your own best judge of your tolerance for any potential IBS trigger.
Link note: This post contains links for you to easily purchase items listed on the page. In some cases, we have provided a special discount code for IBS Game Changers so be sure to use it when you purchase an item to get the discount that has been arranged just for you! As an Amazon Associate, I earn a commission from qualifying Amazon purchases.
More Deliciously Low FODMAP™ dessert recipes
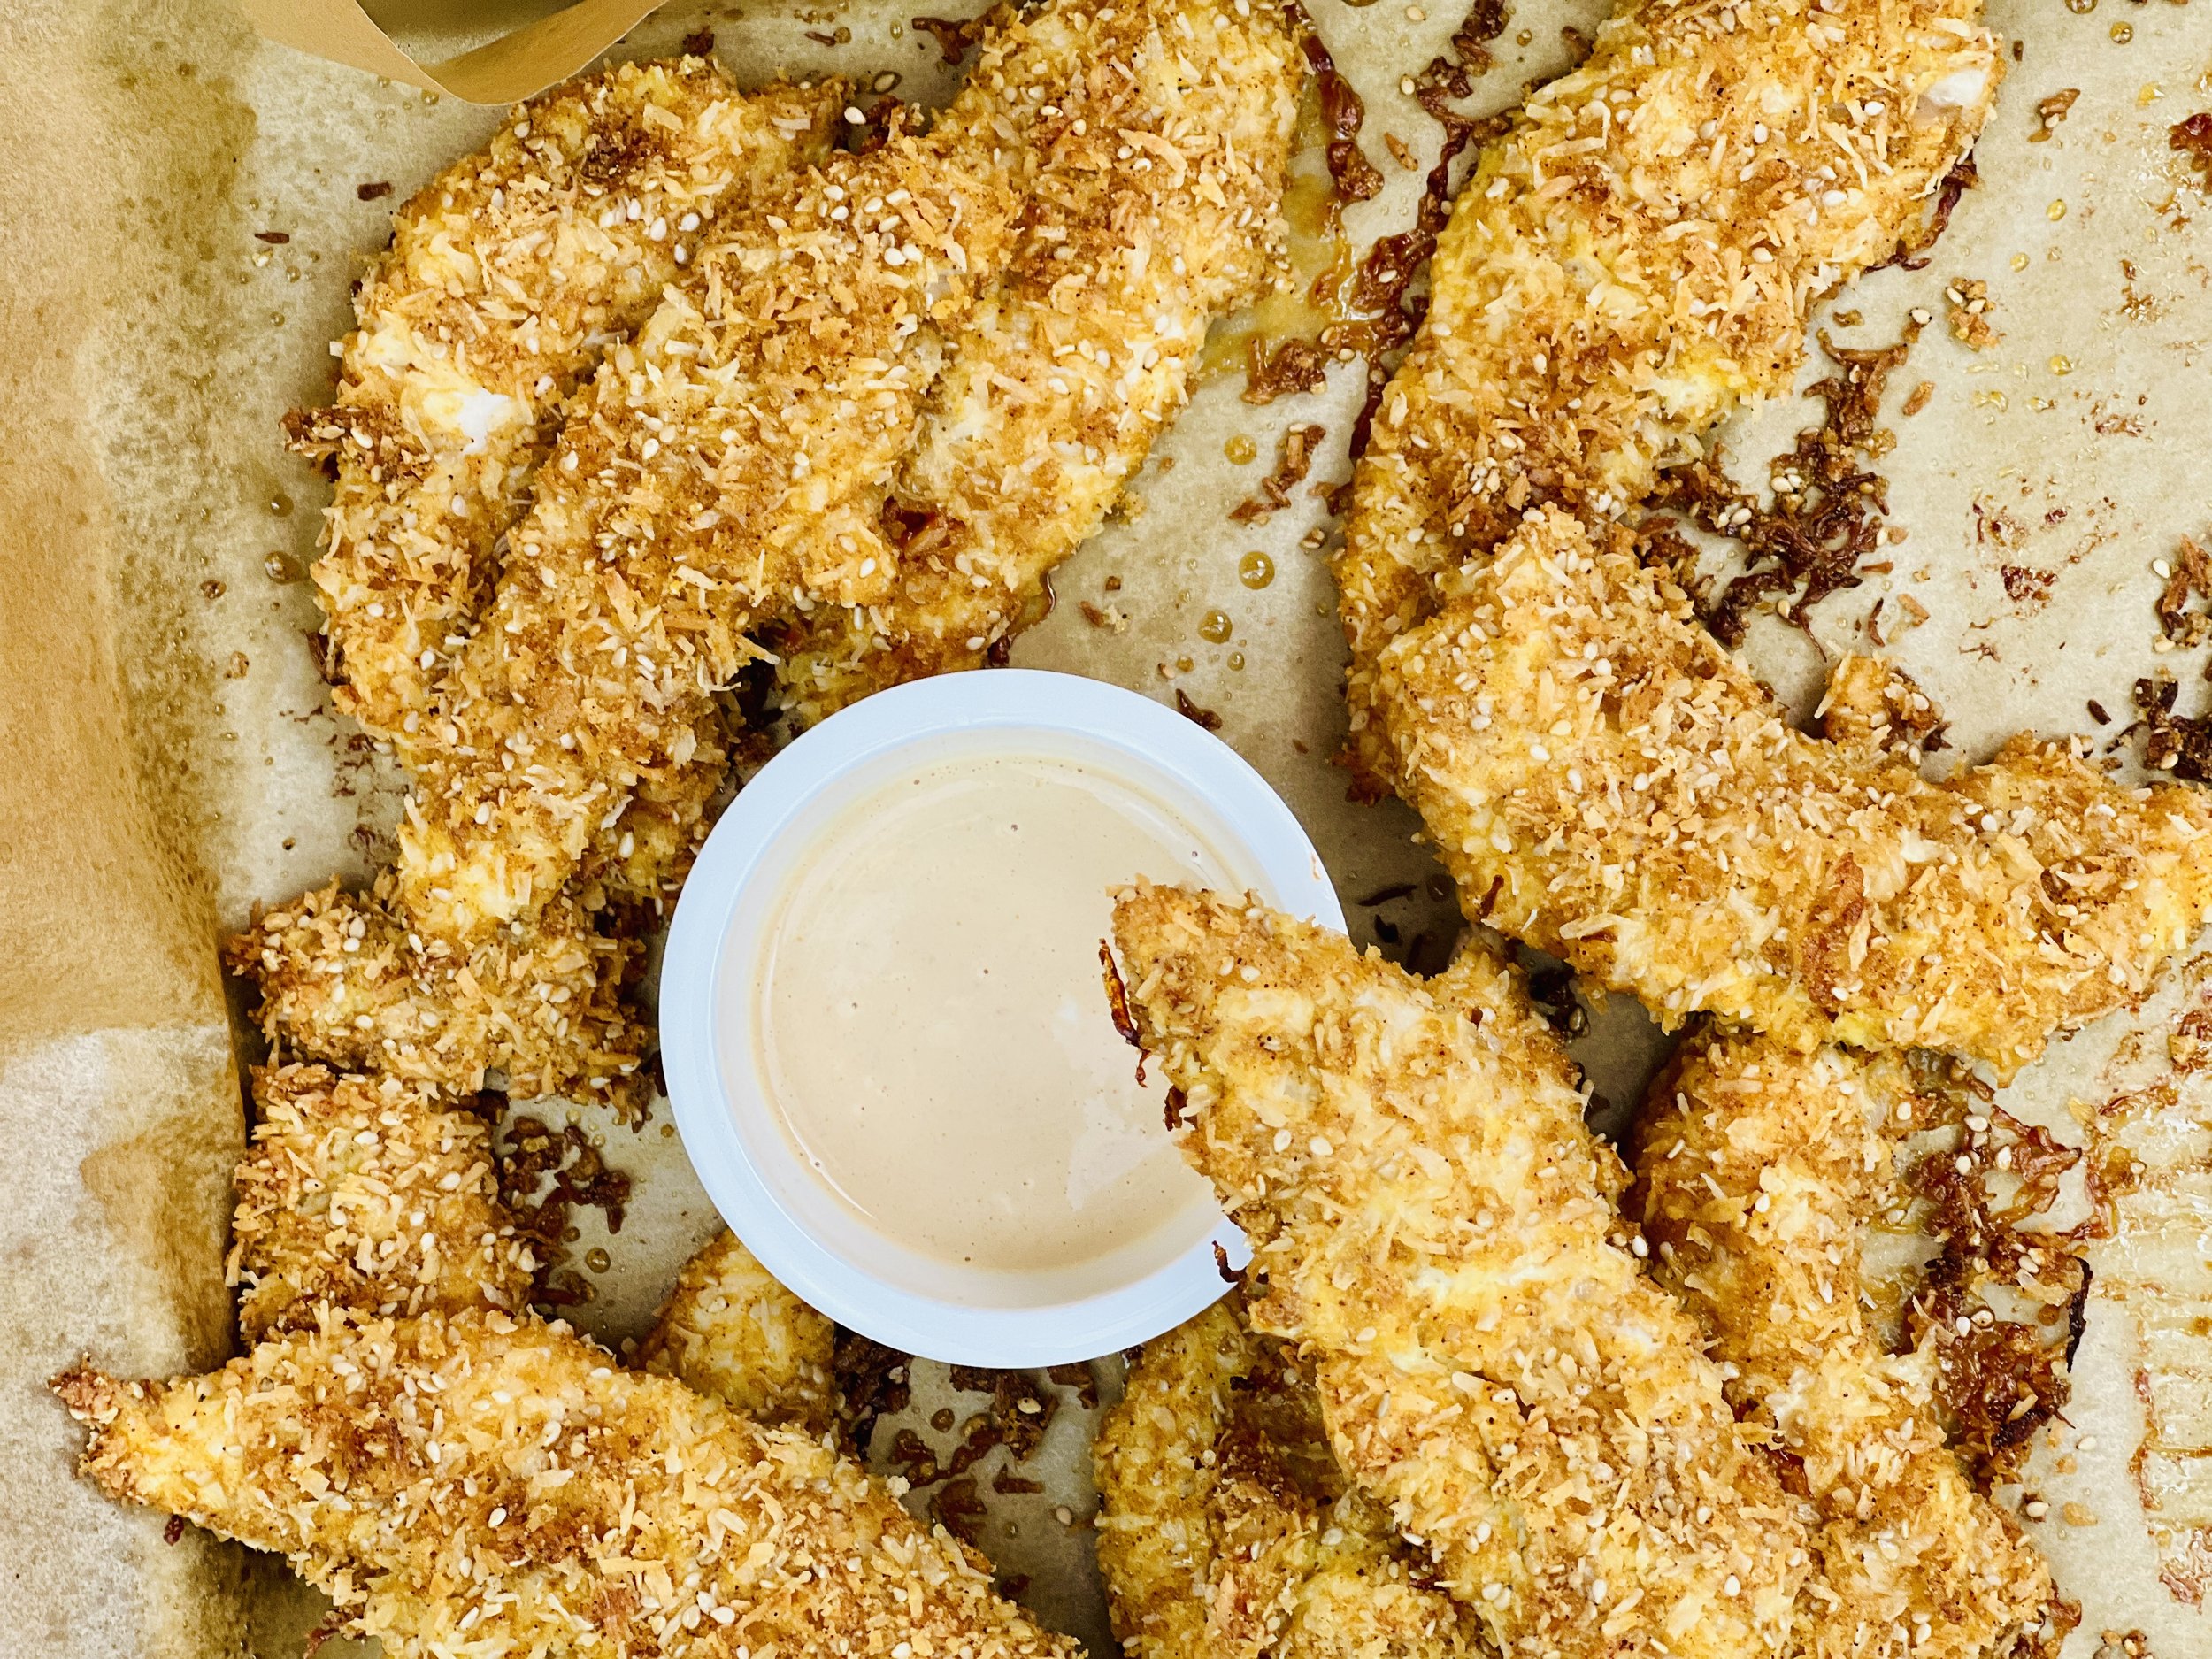
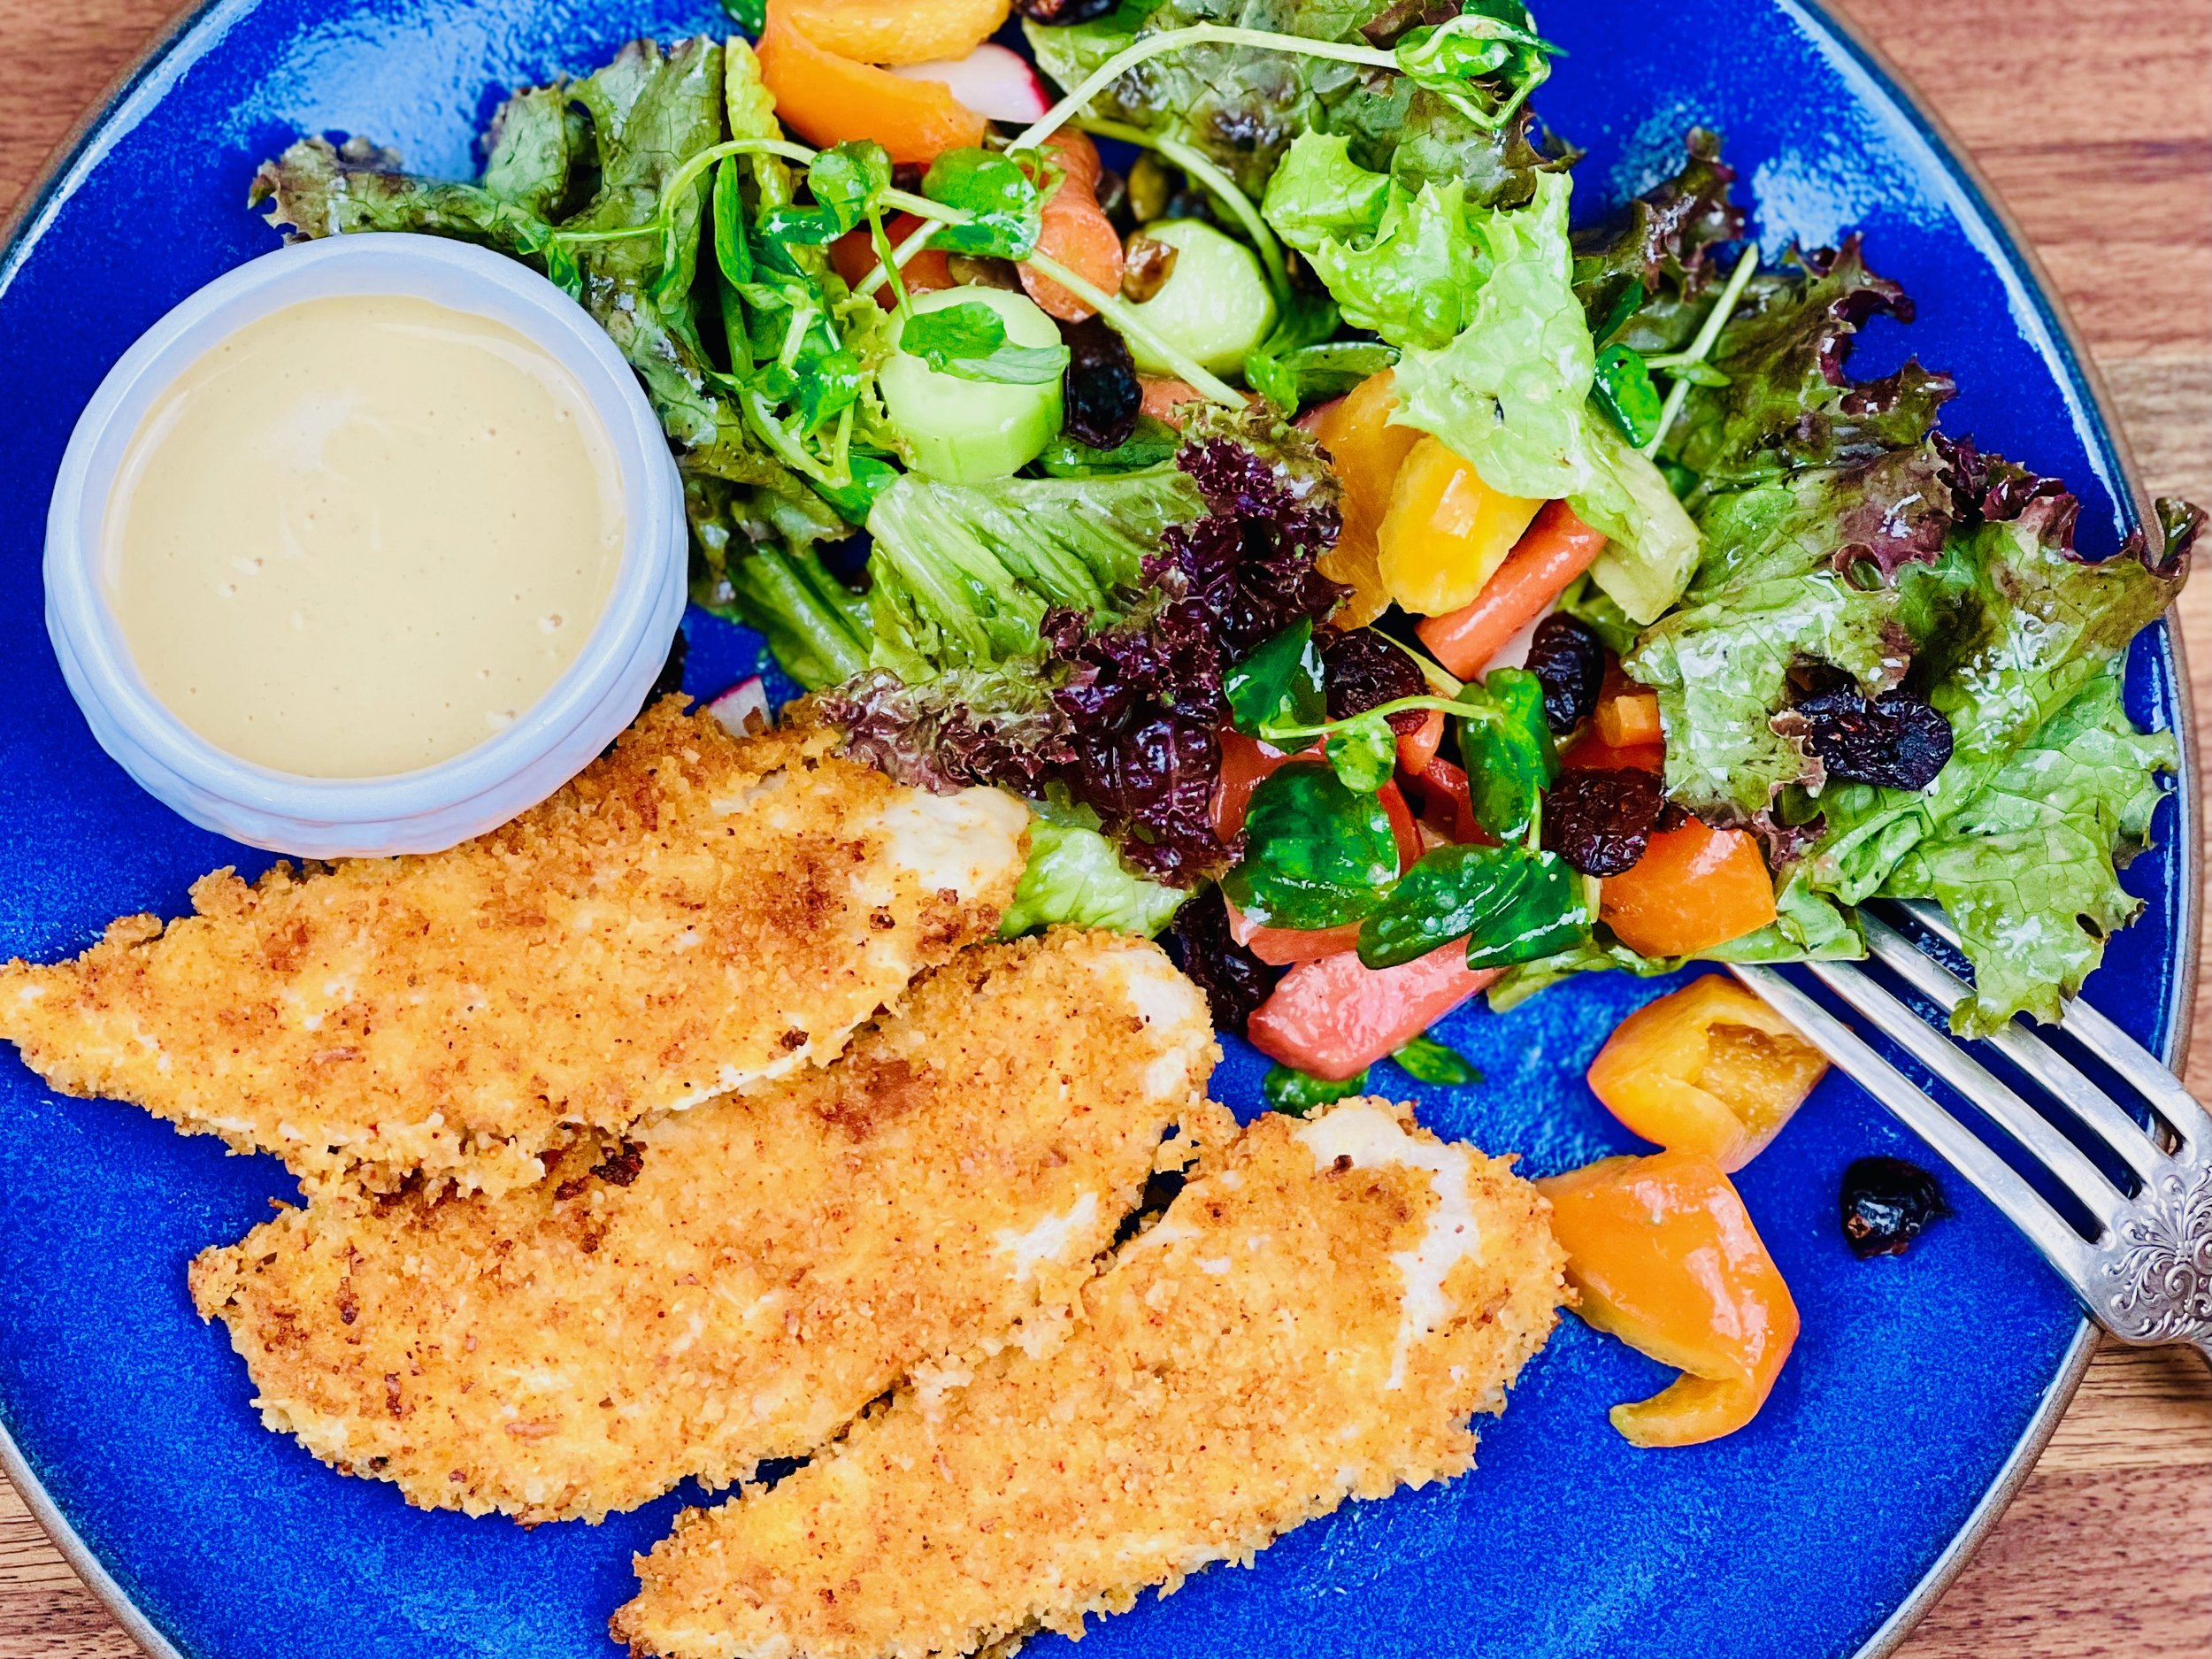
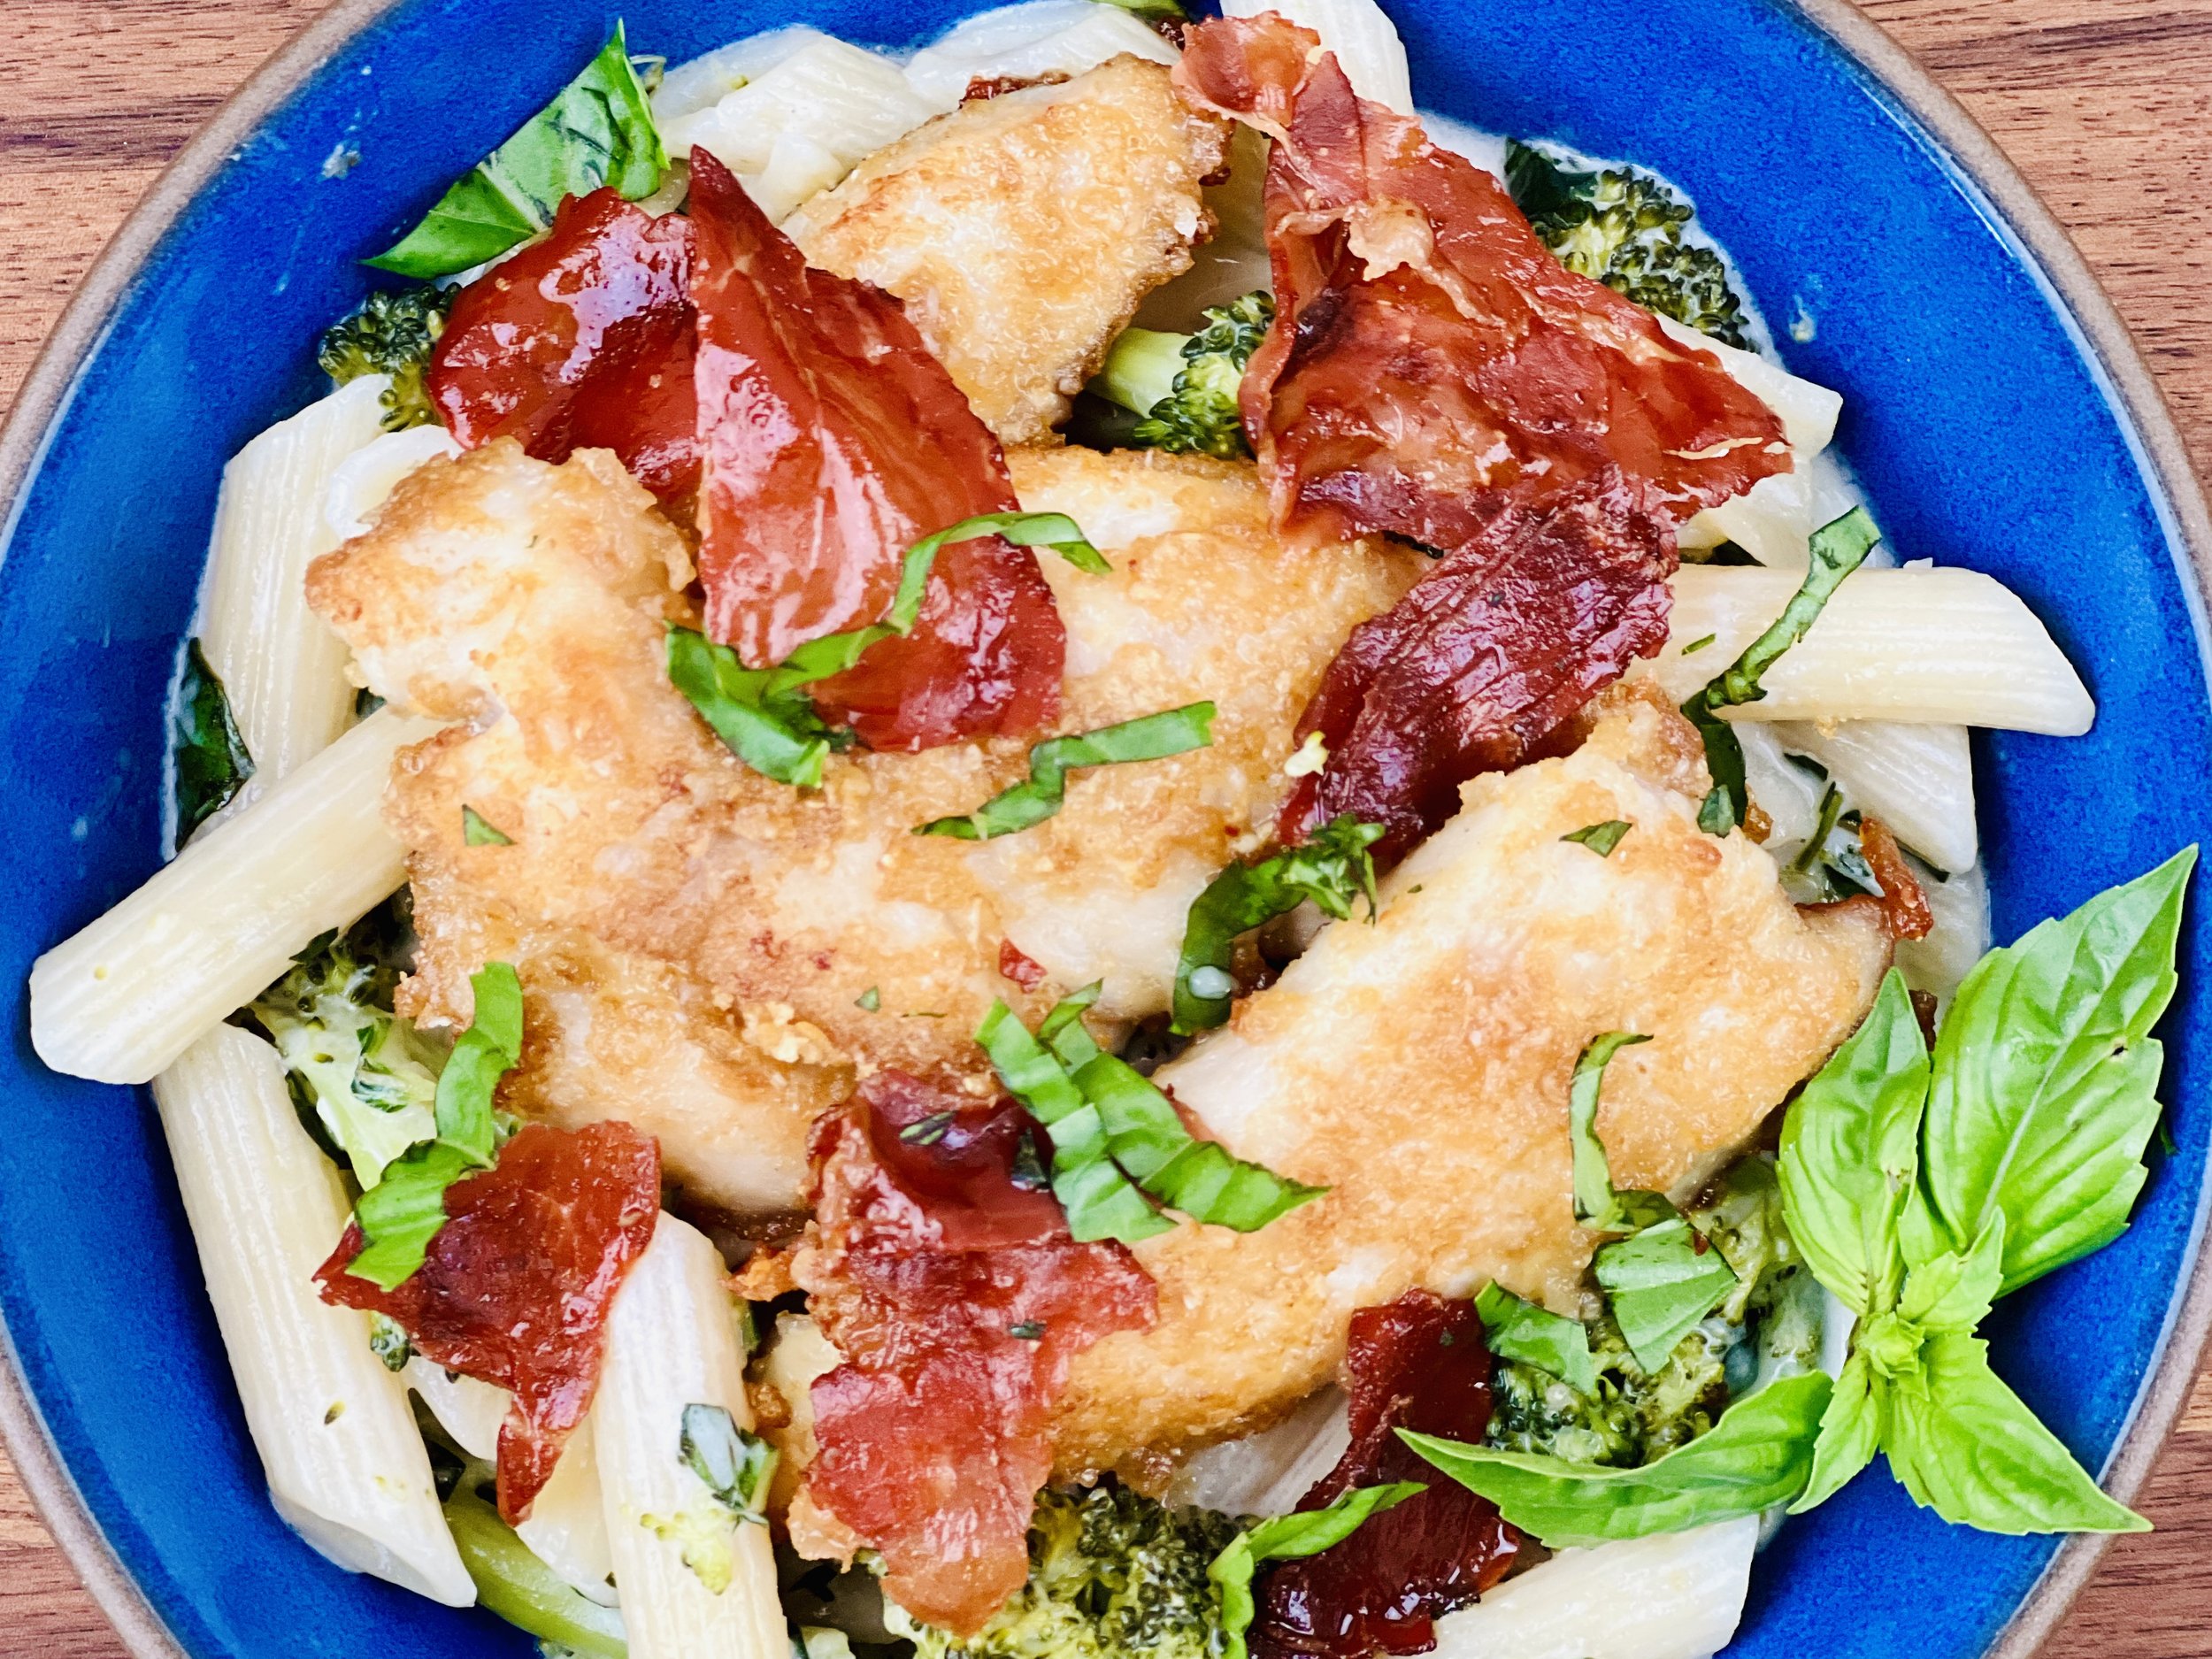
Crispy Chicken Tenders and Sweet Maple Dijon (low FODMAP)
10 Minutes prep • 20 Minutes cook • Low FODMAP • Gluten-free • Serves 4
10 Minutes prep • 20 Minutes cook • Low FODMAP • Gluten-free • Serves 4 • Ok to make ahead: Steps 1-3
Chicken tenders are not just for kids—especially if you make them with my parmesan panko crust and maple Dijon dipping sauce. These oven-baked chicken tenders are crispy on the outside with a delicious golden crust and tender on the inside. The lemony marinade and sweet maple Dijon dipping sauce are a perfect pairing with the crisp chicken. Serve it as a main course with one of my crisp green salads, or serve it as an appetizer that’s sure to please everyone.
Ingredients: Chicken Tenders
1 large egg
2 tablespoons garlic-infused olive oil
2 tablespoons lemon juice (juice of about 1/2 a lemon)
3/4 teaspoon Kosher salt
1/4 teaspoon black pepper
28 ounces chicken tenders or thin cut chicken breasts cut into strips
1 cup gluten-free Panko breadcrumbs
1 teaspoon paprika
1/2 teaspoon Smoke N Sanity Essence of garlic salt (use code IBSGC10 for 10% discount)
1/2 teaspoon Smoke N Sanity Essence of onion salt (use code IBSGC10 for 10% discount)
1/4 cup fresh grated parmesan cheese
Ingredients: Sweet Maple Dijon
1/4 cup of mayonnaise
1/8 cup Dijon mustard
1/8 cup of maple syrup
1 teaspoon of white vinegar
Crushed red pepper flakes
Kosher salt
Directions
(1) Prepare: Preheat oven to 400 degrees F. Lightly grease a rimmed baking sheet with olive oil. Set aside.
(2) Marinate the chicken: In a medium bowl, whisk together the egg, oil, lemon juice, garlic-infused olive oil, salt, and pepper. Submerge chicken tenders into the egg mixture and let sit for 5 minutes while preparing the bread crumb mixture. If time allows, cover and allow the chicken to marinate in the refrigerator for 30 minutes to an hour.
(3) Prepare the coating: In another bowl, combine the breadcrumbs, paprika, garlic salt, onion salt, and parmesan cheese.
(4) Dredge the chicken: Dredge the egg-coated chicken in the Panko/parmesan mixture, lightly pressing to evenly coat each piece. Arrange the coated chicken tenders on the prepared baking sheet, leaving space around them so they don’t touch.
(5) Bake: Put the tray in the oven and bake for 10 minutes. Flip and bake for an additional 5-10 minutes or until just cooked through.
(6) Plate and serve: Serve as an appetizer with plenty of maple Dijon dipping sauce, or serve alongside one of my crisp green salads for a quick and easy main course.
Eat and enjoy every bite because you can!
Recipe note: I use Diamond Crystal Kosher salt in all my recipes because it has a wonderful flat and crisp flake that tastes delicious. It is also the least salty salt available so you can use it more liberally as a seasoning than you can table salt or sea salt. If you use another type of salt, you may need to reduce the amount so it is not over-salted.
Link note: This post contains links for you to easily purchase items listed on the page. In some cases, we have provided a special discount code for IBS Game Changers so be sure to use it when you purchase an item to get the discount that has been arranged just for you! As an Amazon Associate, I earn a commission from qualifying Amazon purchases.
More Deliciously Low FODMAP™ main course recipes
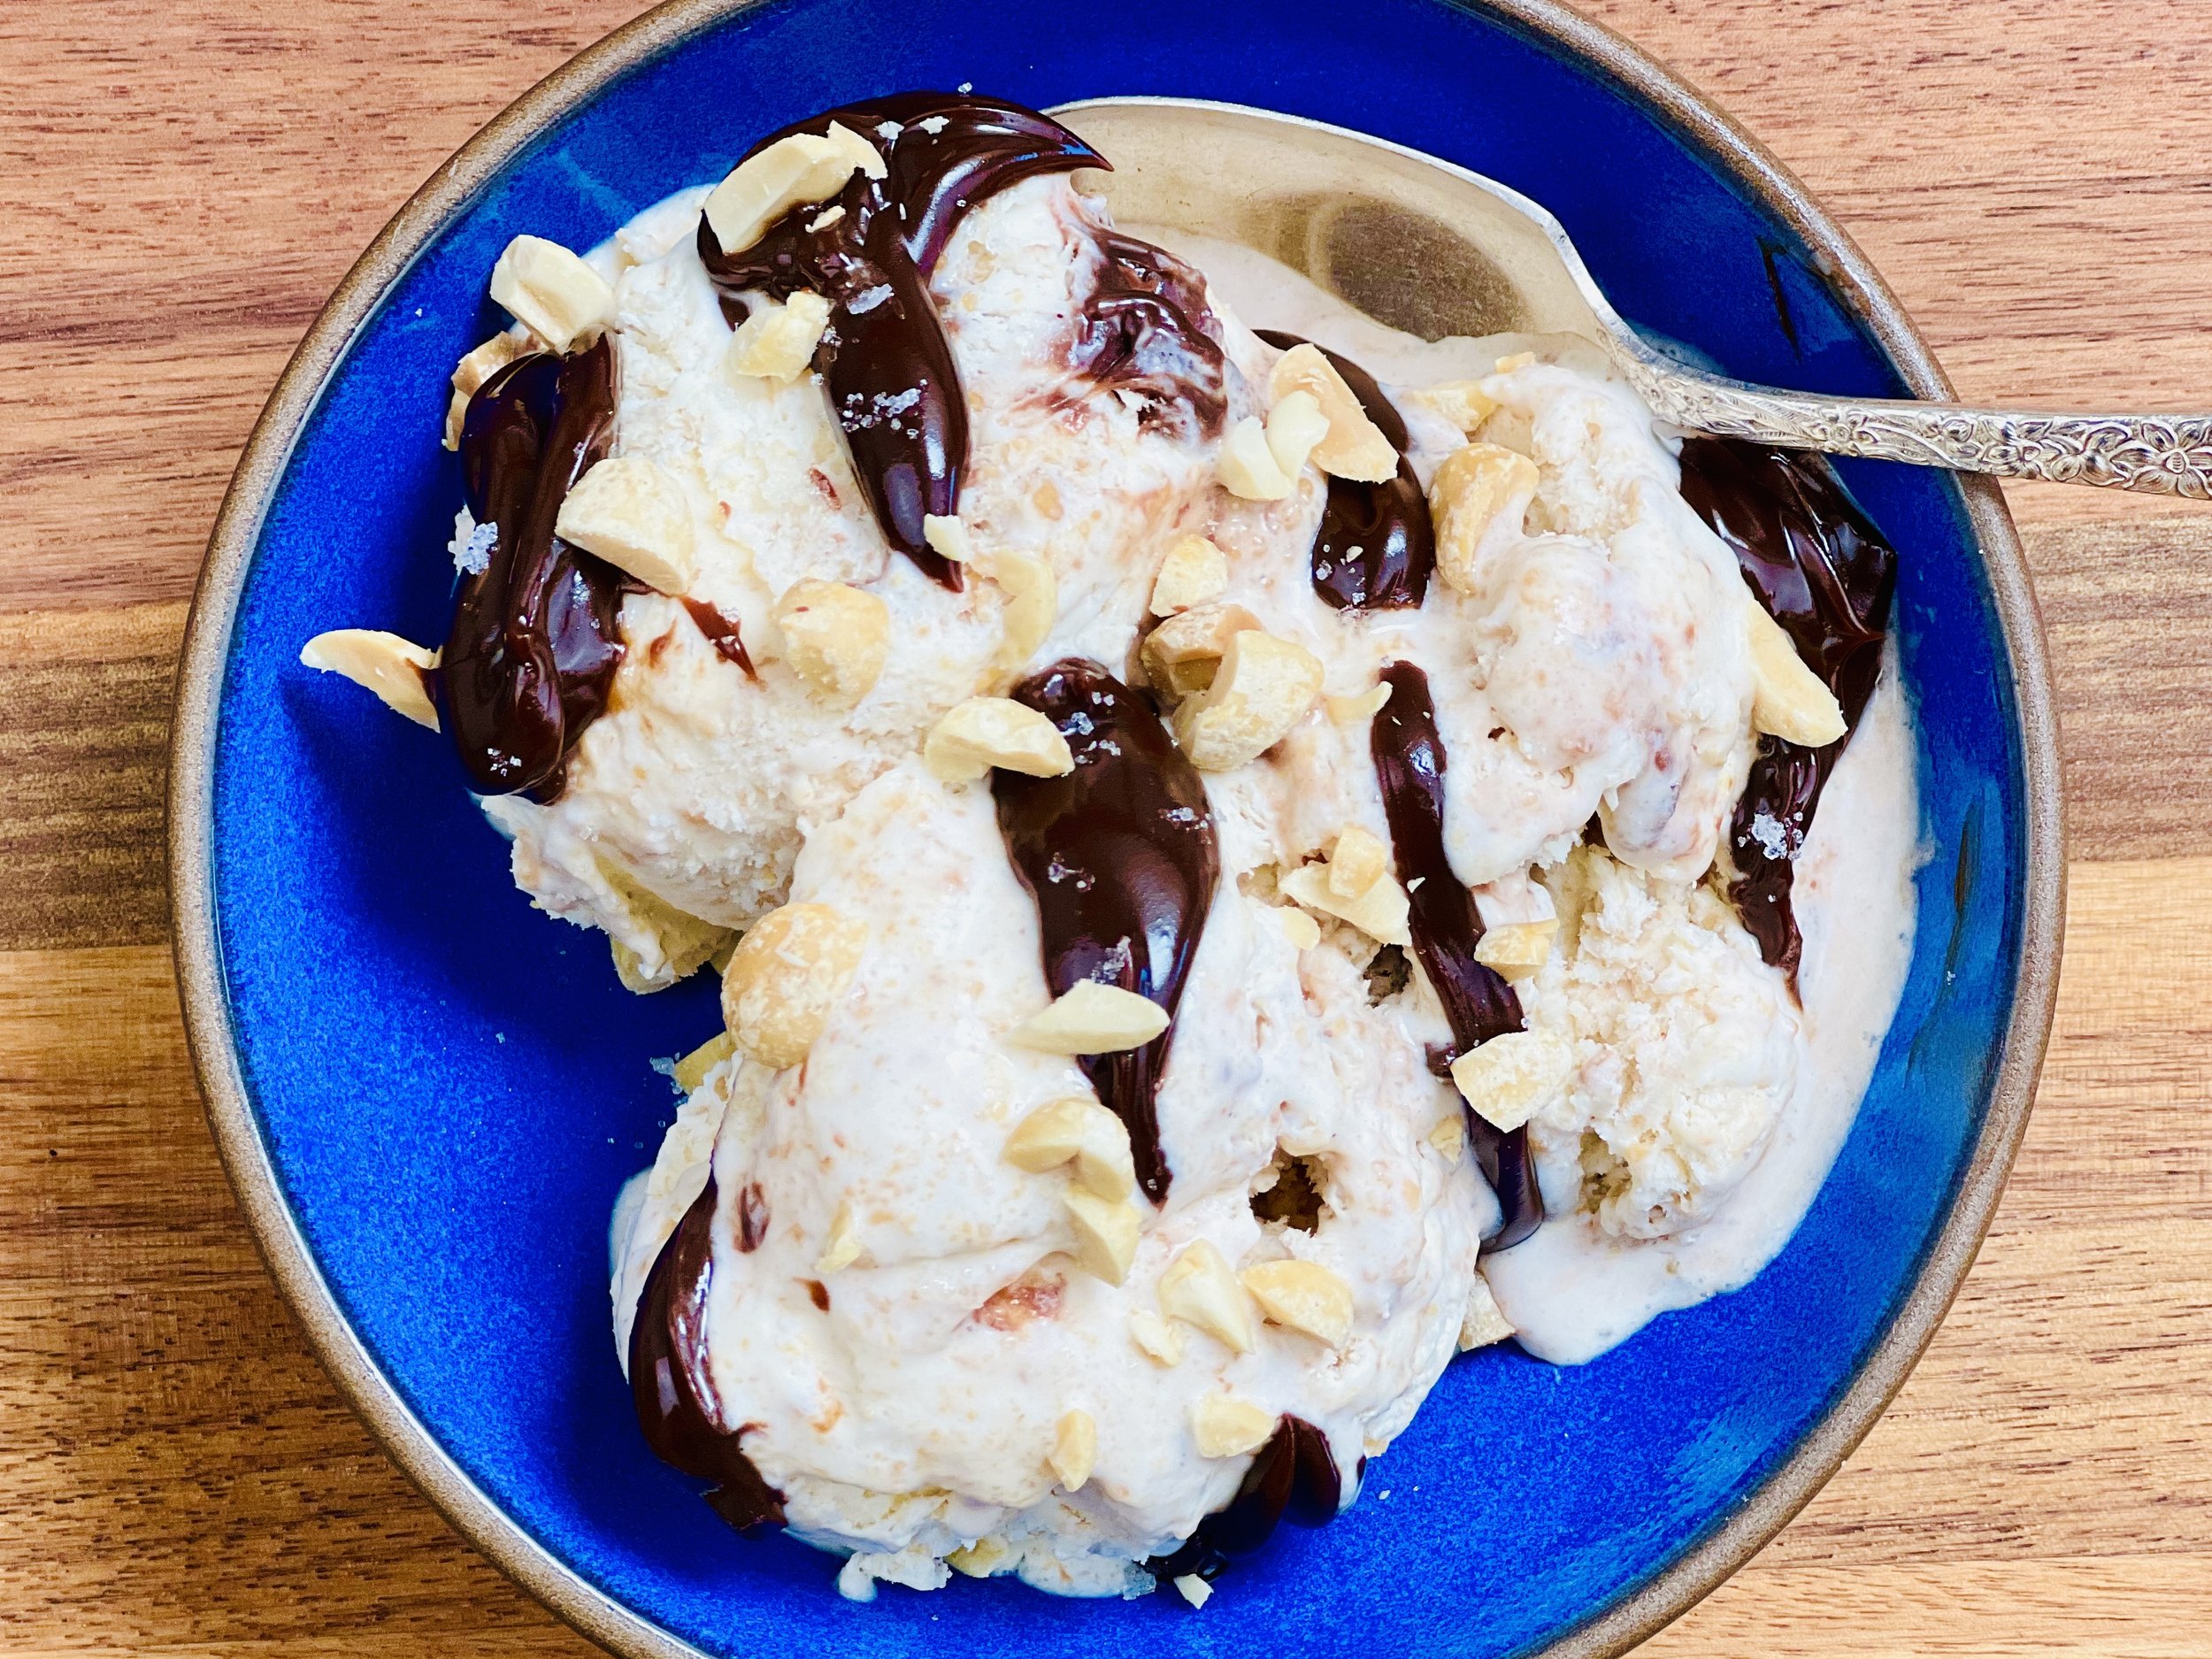
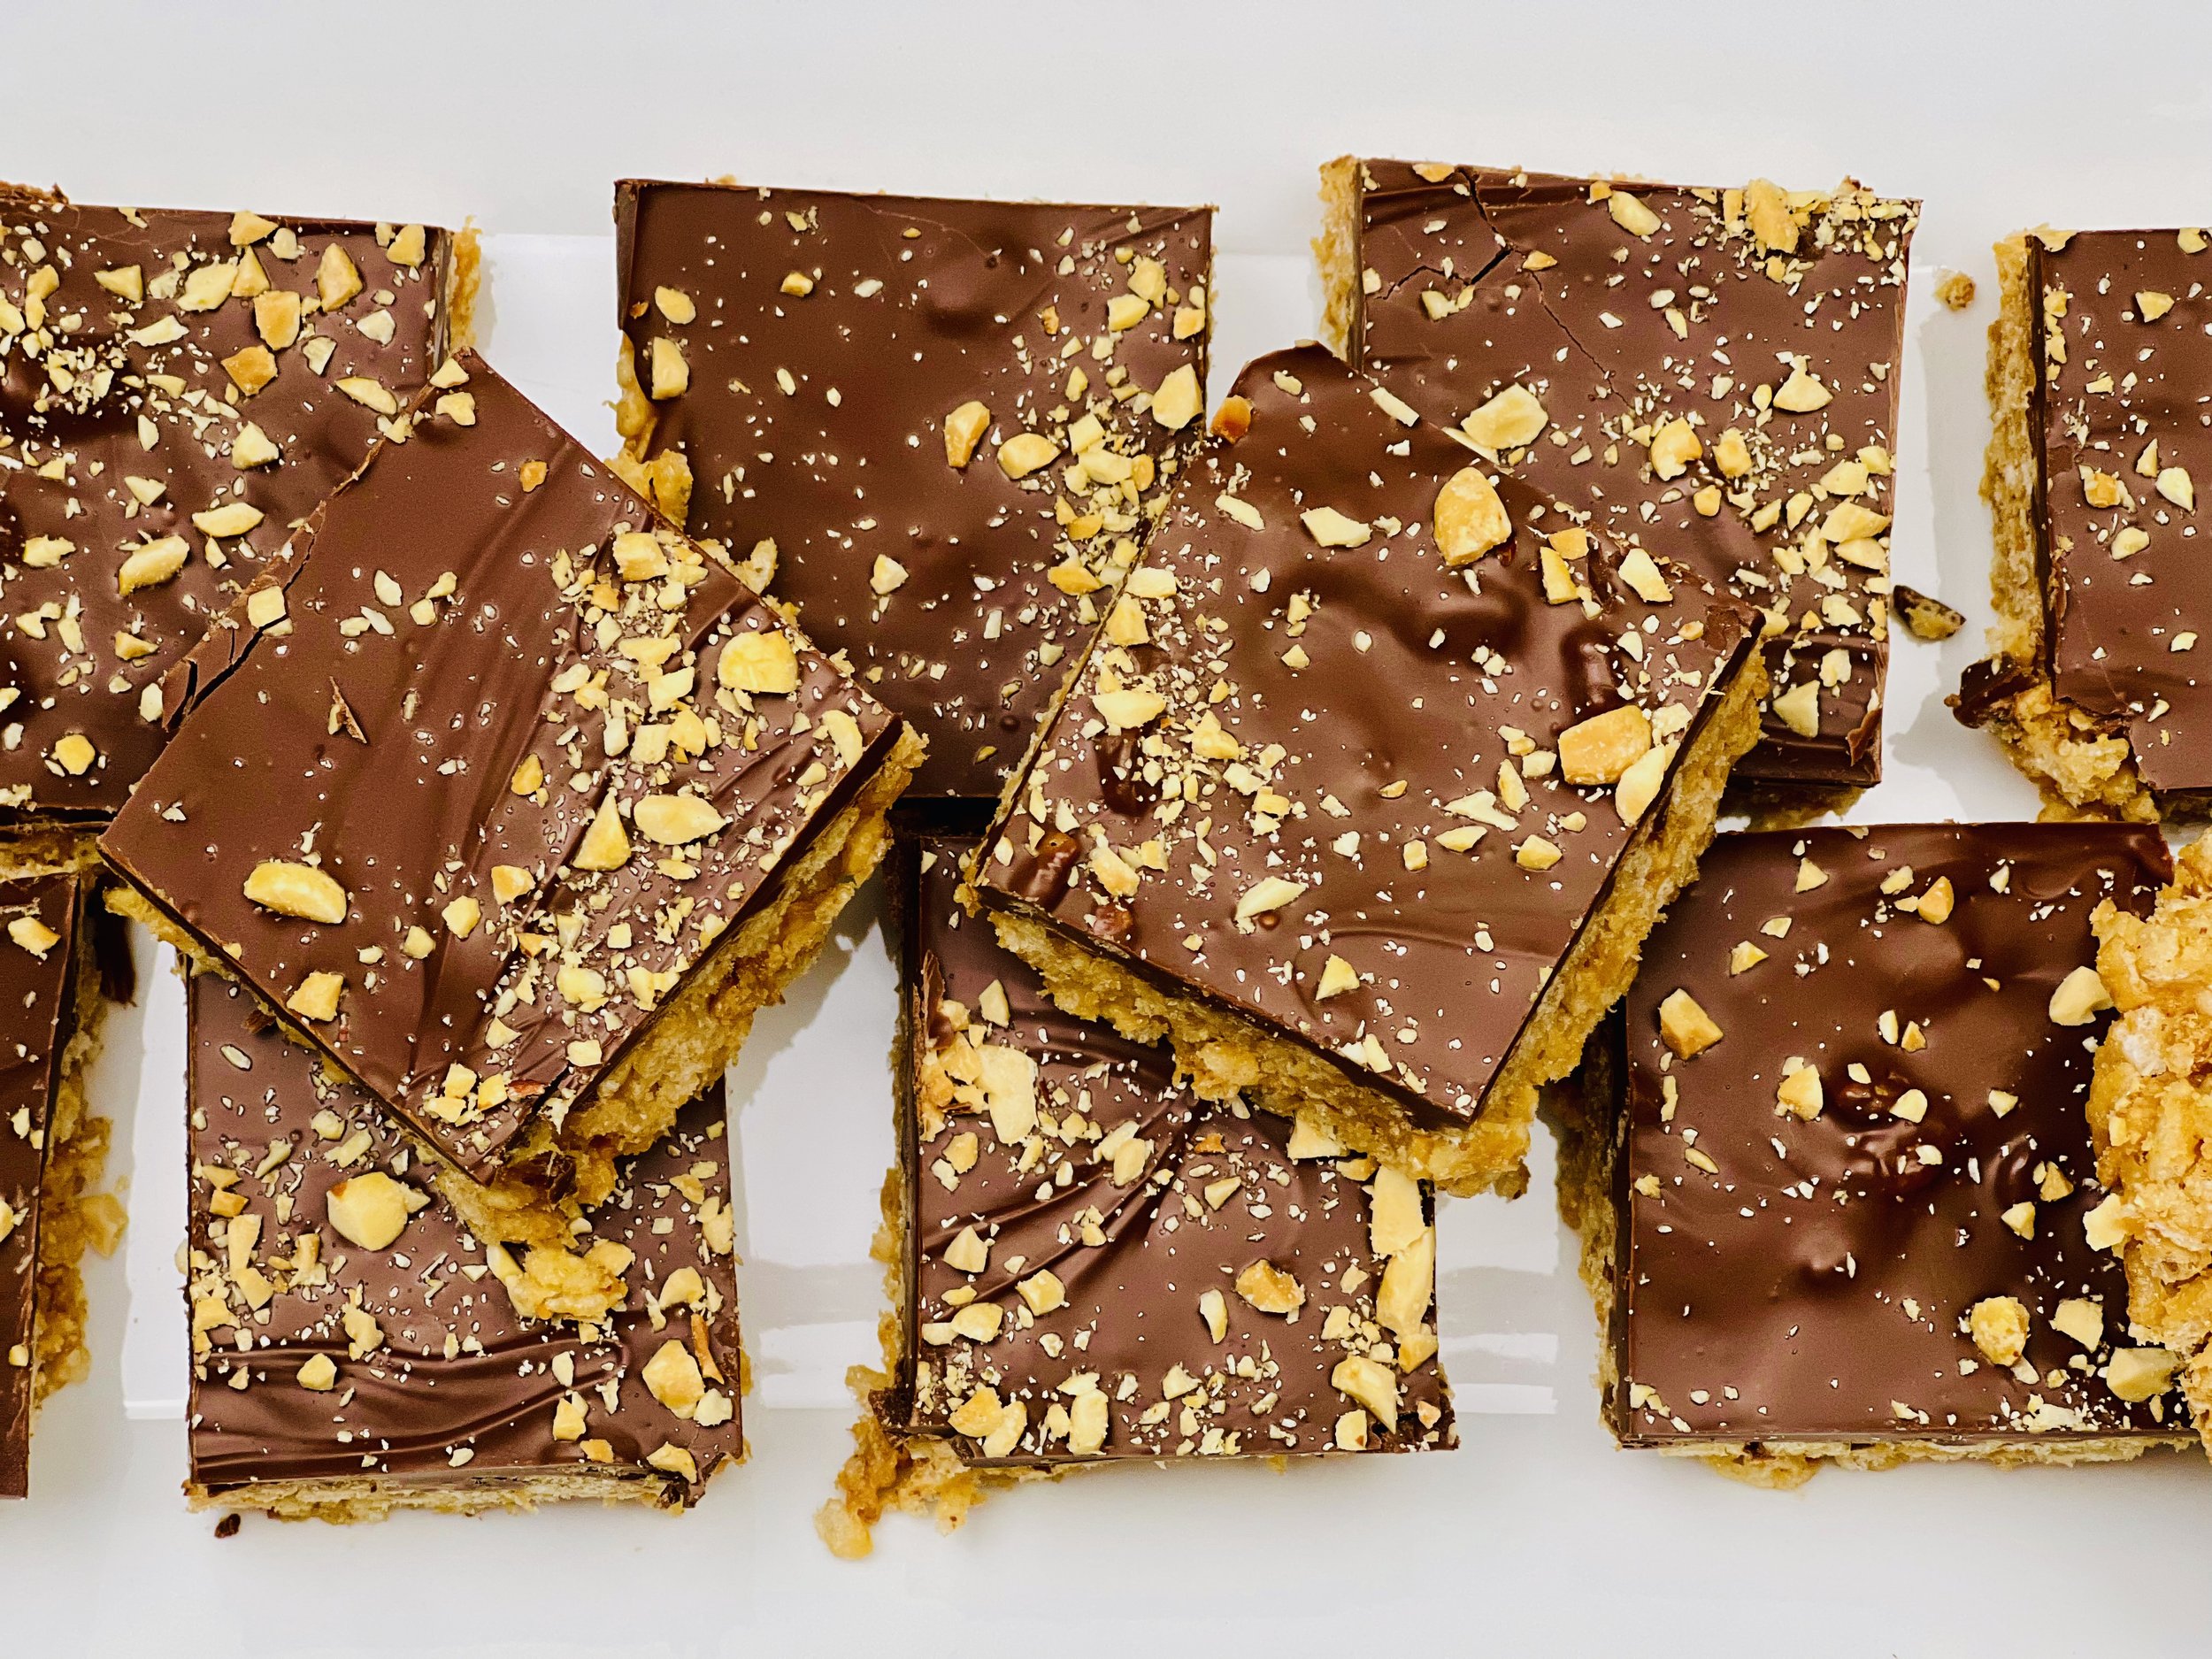
Bourboneroos AKA Scotcheroos With a Twist (Low FODMAP)
20 Minutes prep • 30 Minutes cool • Low FODMAP • Gluten-free • Makes 12 - 16
20 Minutes prep • 30 Minutes cool • Low FODMAP • Gluten-free • Makes 12 - 16 • Ok to make ahead: Steps 1-5
These sweet treats are not for every day, but when you want to pull out all the stops on a delicious dessert, these are easy to make, perfect for potlucks and holiday cookie exchanges, and oh so delicious! The secret ingredient in these Scotcheroos is bourbon! And (while it’s optional) it really brings out the butterscotch flavor. Topping the bars with chopped dry roasted peanuts gives them a sweet/salty finish. This classic treat was already fantastic, now you have a low FODMAP version that rivals the original.
This is an exclusive recipe just for recipe club members.
In addition to the two free recipes I create each week I am creating and delivering one very special recipe just for my recipe club members. If you’re not yet a member, I encourage you to join! Membership in the club includes access to the complete archive of recipes with filters so it can become your virtual low FODMAP cookbook plus, I am creating and delivering one special NEW recipe every week ONLY for recipe club members. And, for my true fans, I’ll be sharing behind-the-scenes content, and updates on the progress of the new cookbook.
Your membership in the club helps me continue creating new, delicious, easy-to-make, low FODMAP recipes just for you.
As always, all recipes will emphasize simple ingredients, easy preparation, and delicious low FODMAP results. Recipes will be for everything from main courses, salads, soups, side dishes, appetizers, desserts, sauces, breakfast and lunch, and even mocktails and cocktails. Everything you need to prepare fantastic low FODMAP meals everyone will love.
Join the club. Become a Patron. Let’s keep making delicious Low FODMAP meals together.
More Deliciously Low FODMAP™ dessert recipes
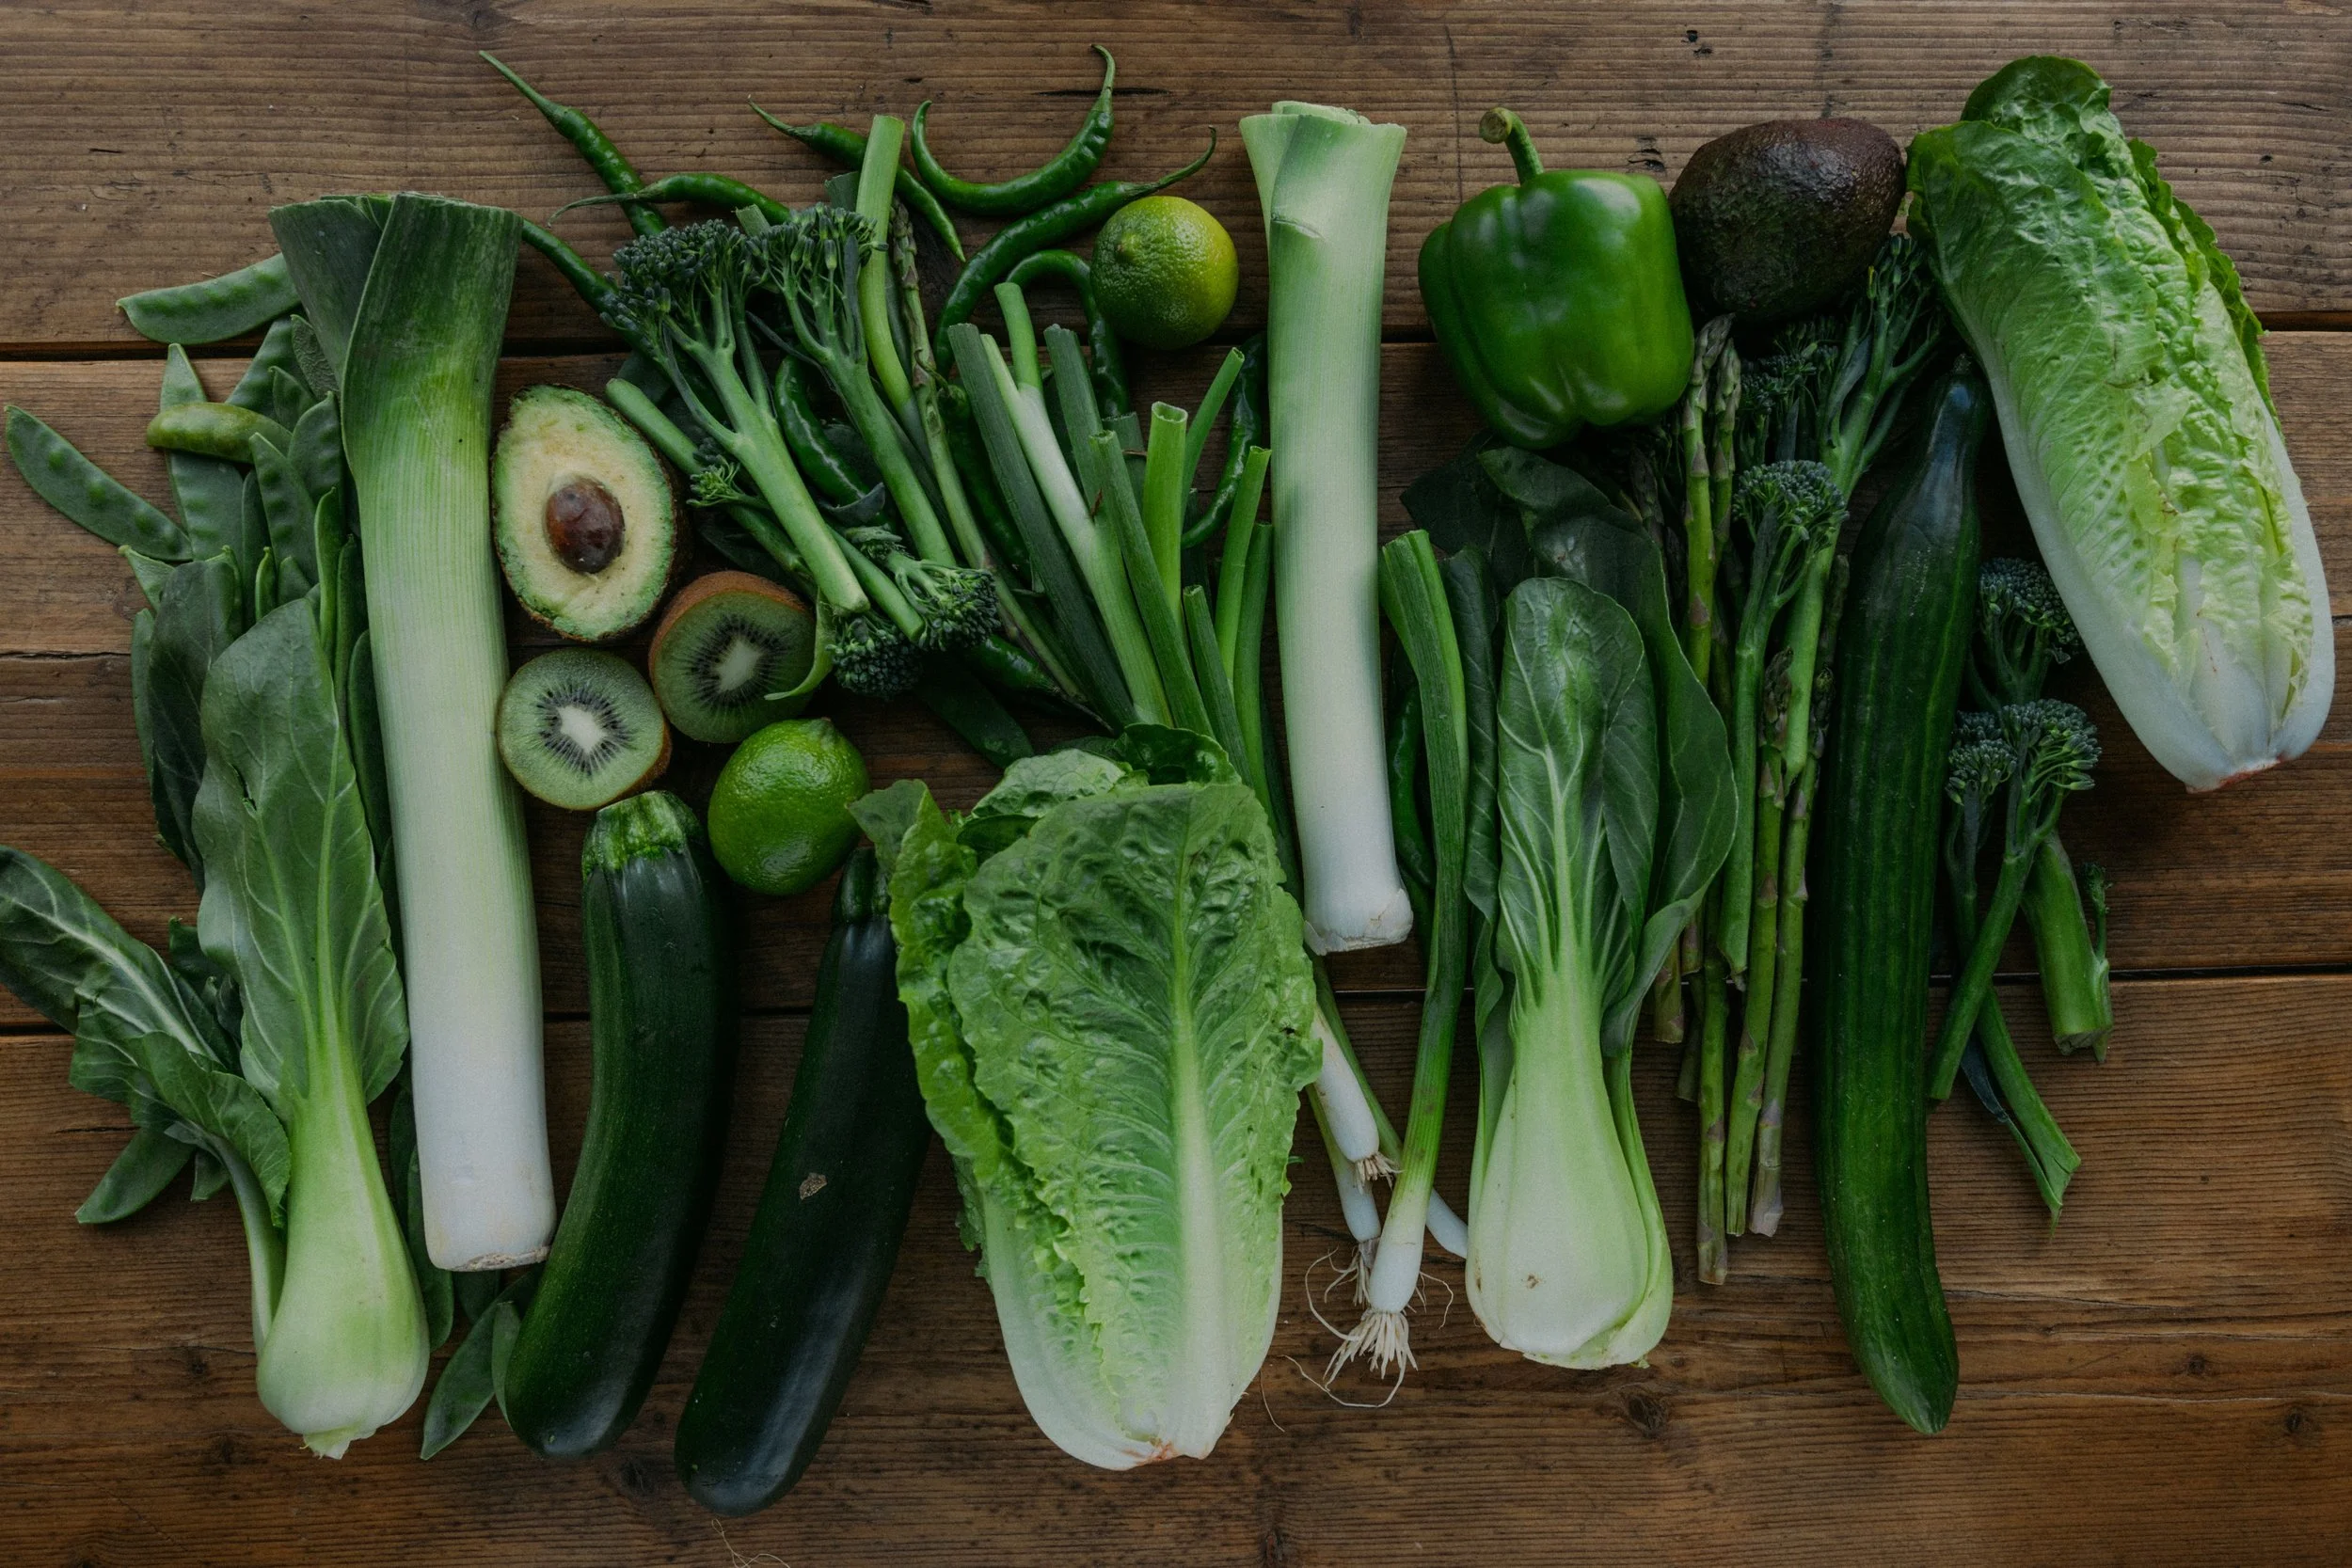
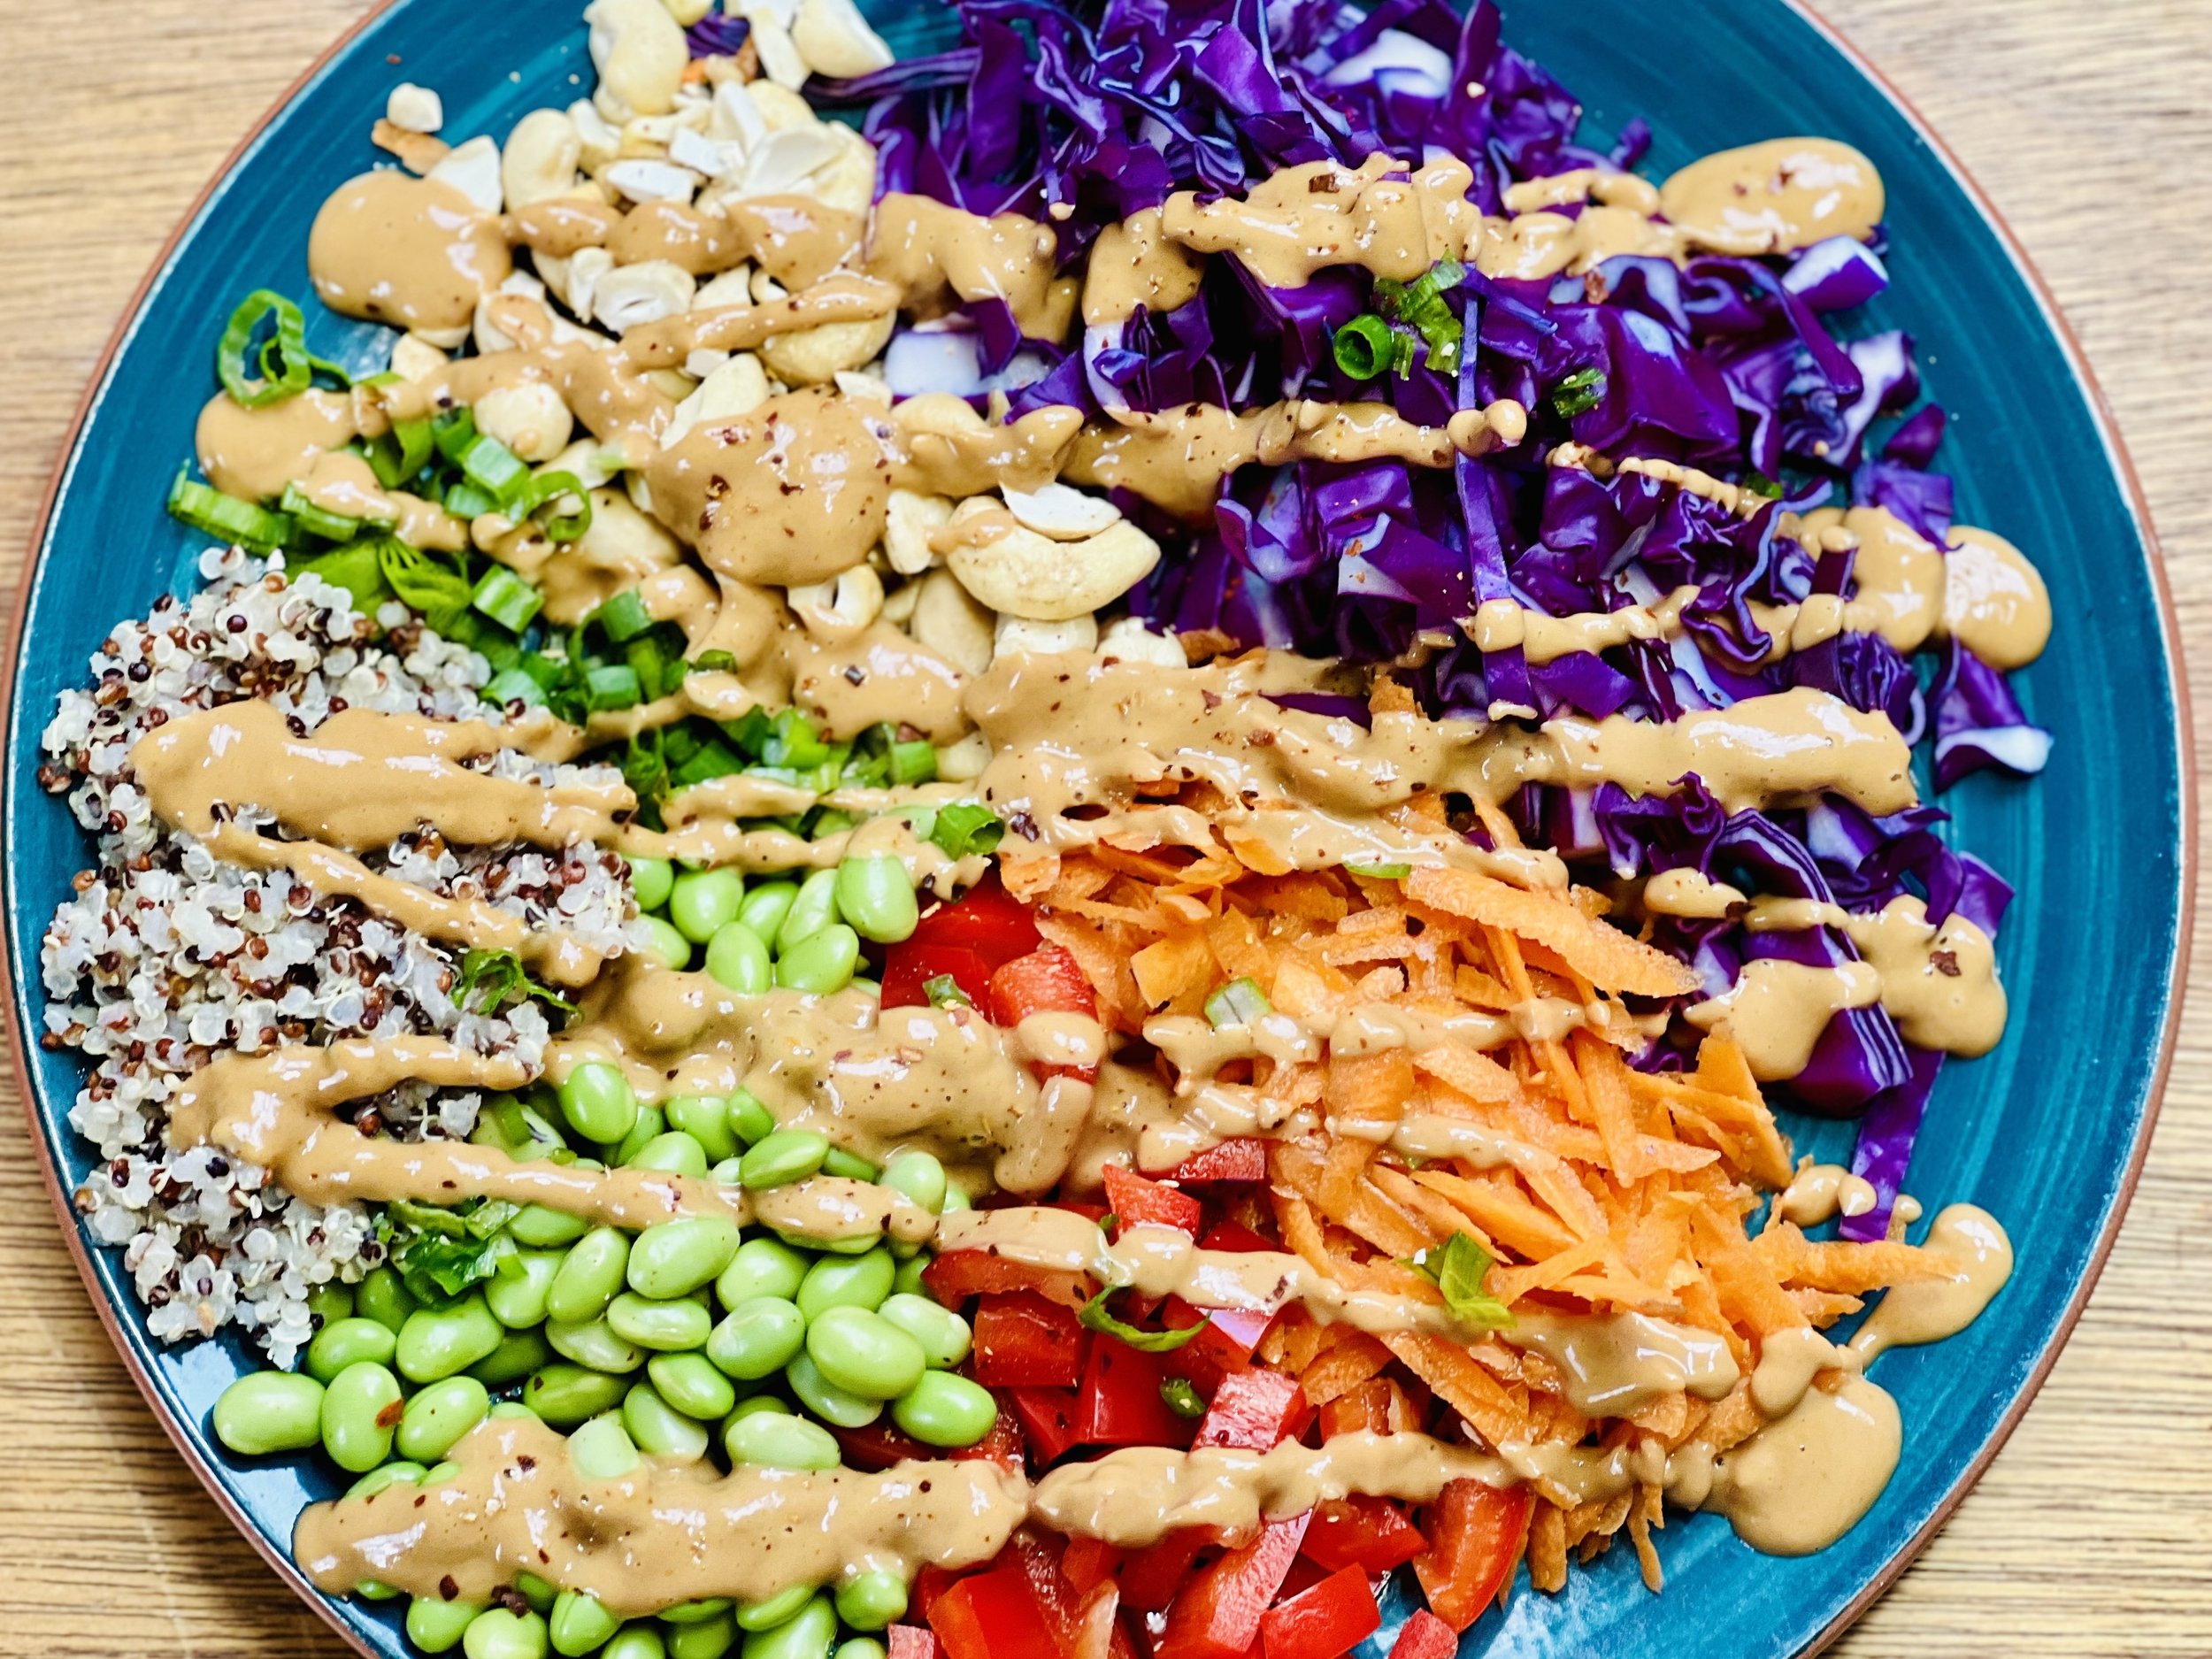
Spring Roll Salad with Peanut Dressing (Low FODMAP)
30 Minutes prep • Low FODMAP • Gluten-free • Lactose-free • Serves 4
30 Minutes prep • Low FODMAP • Gluten-free • Lactose-free • Serves 4 • Ok to make ahead: Steps 1-4
All the delicious flavors of spring rolls without any of the fuss of making them! I love this salad because it’s easy to make and delicious to eat and it’s a great way to use up leftover chicken. You can be creative with your ingredients, depending on what you have on hand. I made it with butter lettuce and arugula, but it would be equally delicious with romaine. I left out the rice noodles for a lower-carb version, but they would be a great addition. Leave the chicken out for a vegetarian version or swap in shrimp instead if you prefer. The peanut dressing will bring it all together in the end.

Ingredients
1-2 cups cooked chicken, cubed (or substitute cooked shrimp in you prefer)
4 cups shredded butter lettuce, romaine, or lettuce of your choosing
4 carrots, shredded
1/2 cup jicama, diced
2 Persian cucumbers, peeled and sliced
1 red bell pepper, seeded and chopped
4 green onions, green part only, chopped
1 jalapeño pepper, seeded and chopped
1/2 cup rice vinegar
1/2 cup fresh cilantro or Thai basil, chopped
1/3 cup dry roasted and salted peanuts, chopped
4 ounces Asian rice noodles, cooked per package instructions (optional)
1/2 avocado, cubed
Ingredients: Dressing
1/2 cup creamy peanut butter
1/3 cup gluten-free, low sodium soy sauce
1/4 cup toasted sesame oil
1/4 cup rice vinegar
2 tablespoons maple syrup
3 tablespoons lime juice
1 tablespoon fresh grated ginger
Directions
(1) Prepare: If you don’t have cooked chicken on hand, throw some on the grill with a little salt and pepper and Italian seasoning. Cook just until done (about 5 minutes per side for boneless thighs). Set aside to cool.
Wash, dry, and tear the lettuce. Wash, peel, and shred the carrots. Peel and chop the jicama and cucumbers. Wash, seed, and chop the red bell pepper. Wash and chop the green onions and the cilantro or basil. Chop the peanuts. Peel and grate the ginger for the dressing.
(2) Pickle the jalapeno: Wash, seed, and finely chop the jalapeno pepper then put the chopped pepper in a small bowl with enough rice vinegar to cover. Set aside.
(3) Make the dressing: Combine all dressing ingredients in a jar and shake well to combine.
(4) Cook the rice noodles: Cook the rice noodles per package instructions (if using).
Make-ahead note: At this point, you may leave everything in the refrigerator until you’re ready to assemble your salad.
(5) Make the salad: In a large bowl, combine all the prepared vegetables, the pickled jalapeños, and the chopped peanuts. If using, chop the cooked rice noodles and toss them into the salad as well. Pour 1/2 the dressing over the salad and toss to combine. Add the chicken and toss once more.
(6) Plate and serve: Divide the salad between plates. Add the avocado just before serving. Drizzle over more dressing or serve the dressing on the side for those who want more.
Eat and enjoy every bite because you can!
Link note: This post contains links for you to easily purchase items listed on the page. In some cases, we have provided a special discount code for IBS Game Changers so be sure to use it when you purchase an item to get the discount that has been arranged just for you! As an Amazon Associate, I earn a commission from qualifying Amazon purchases.
More Deliciously Low FODMAP™ salad recipes


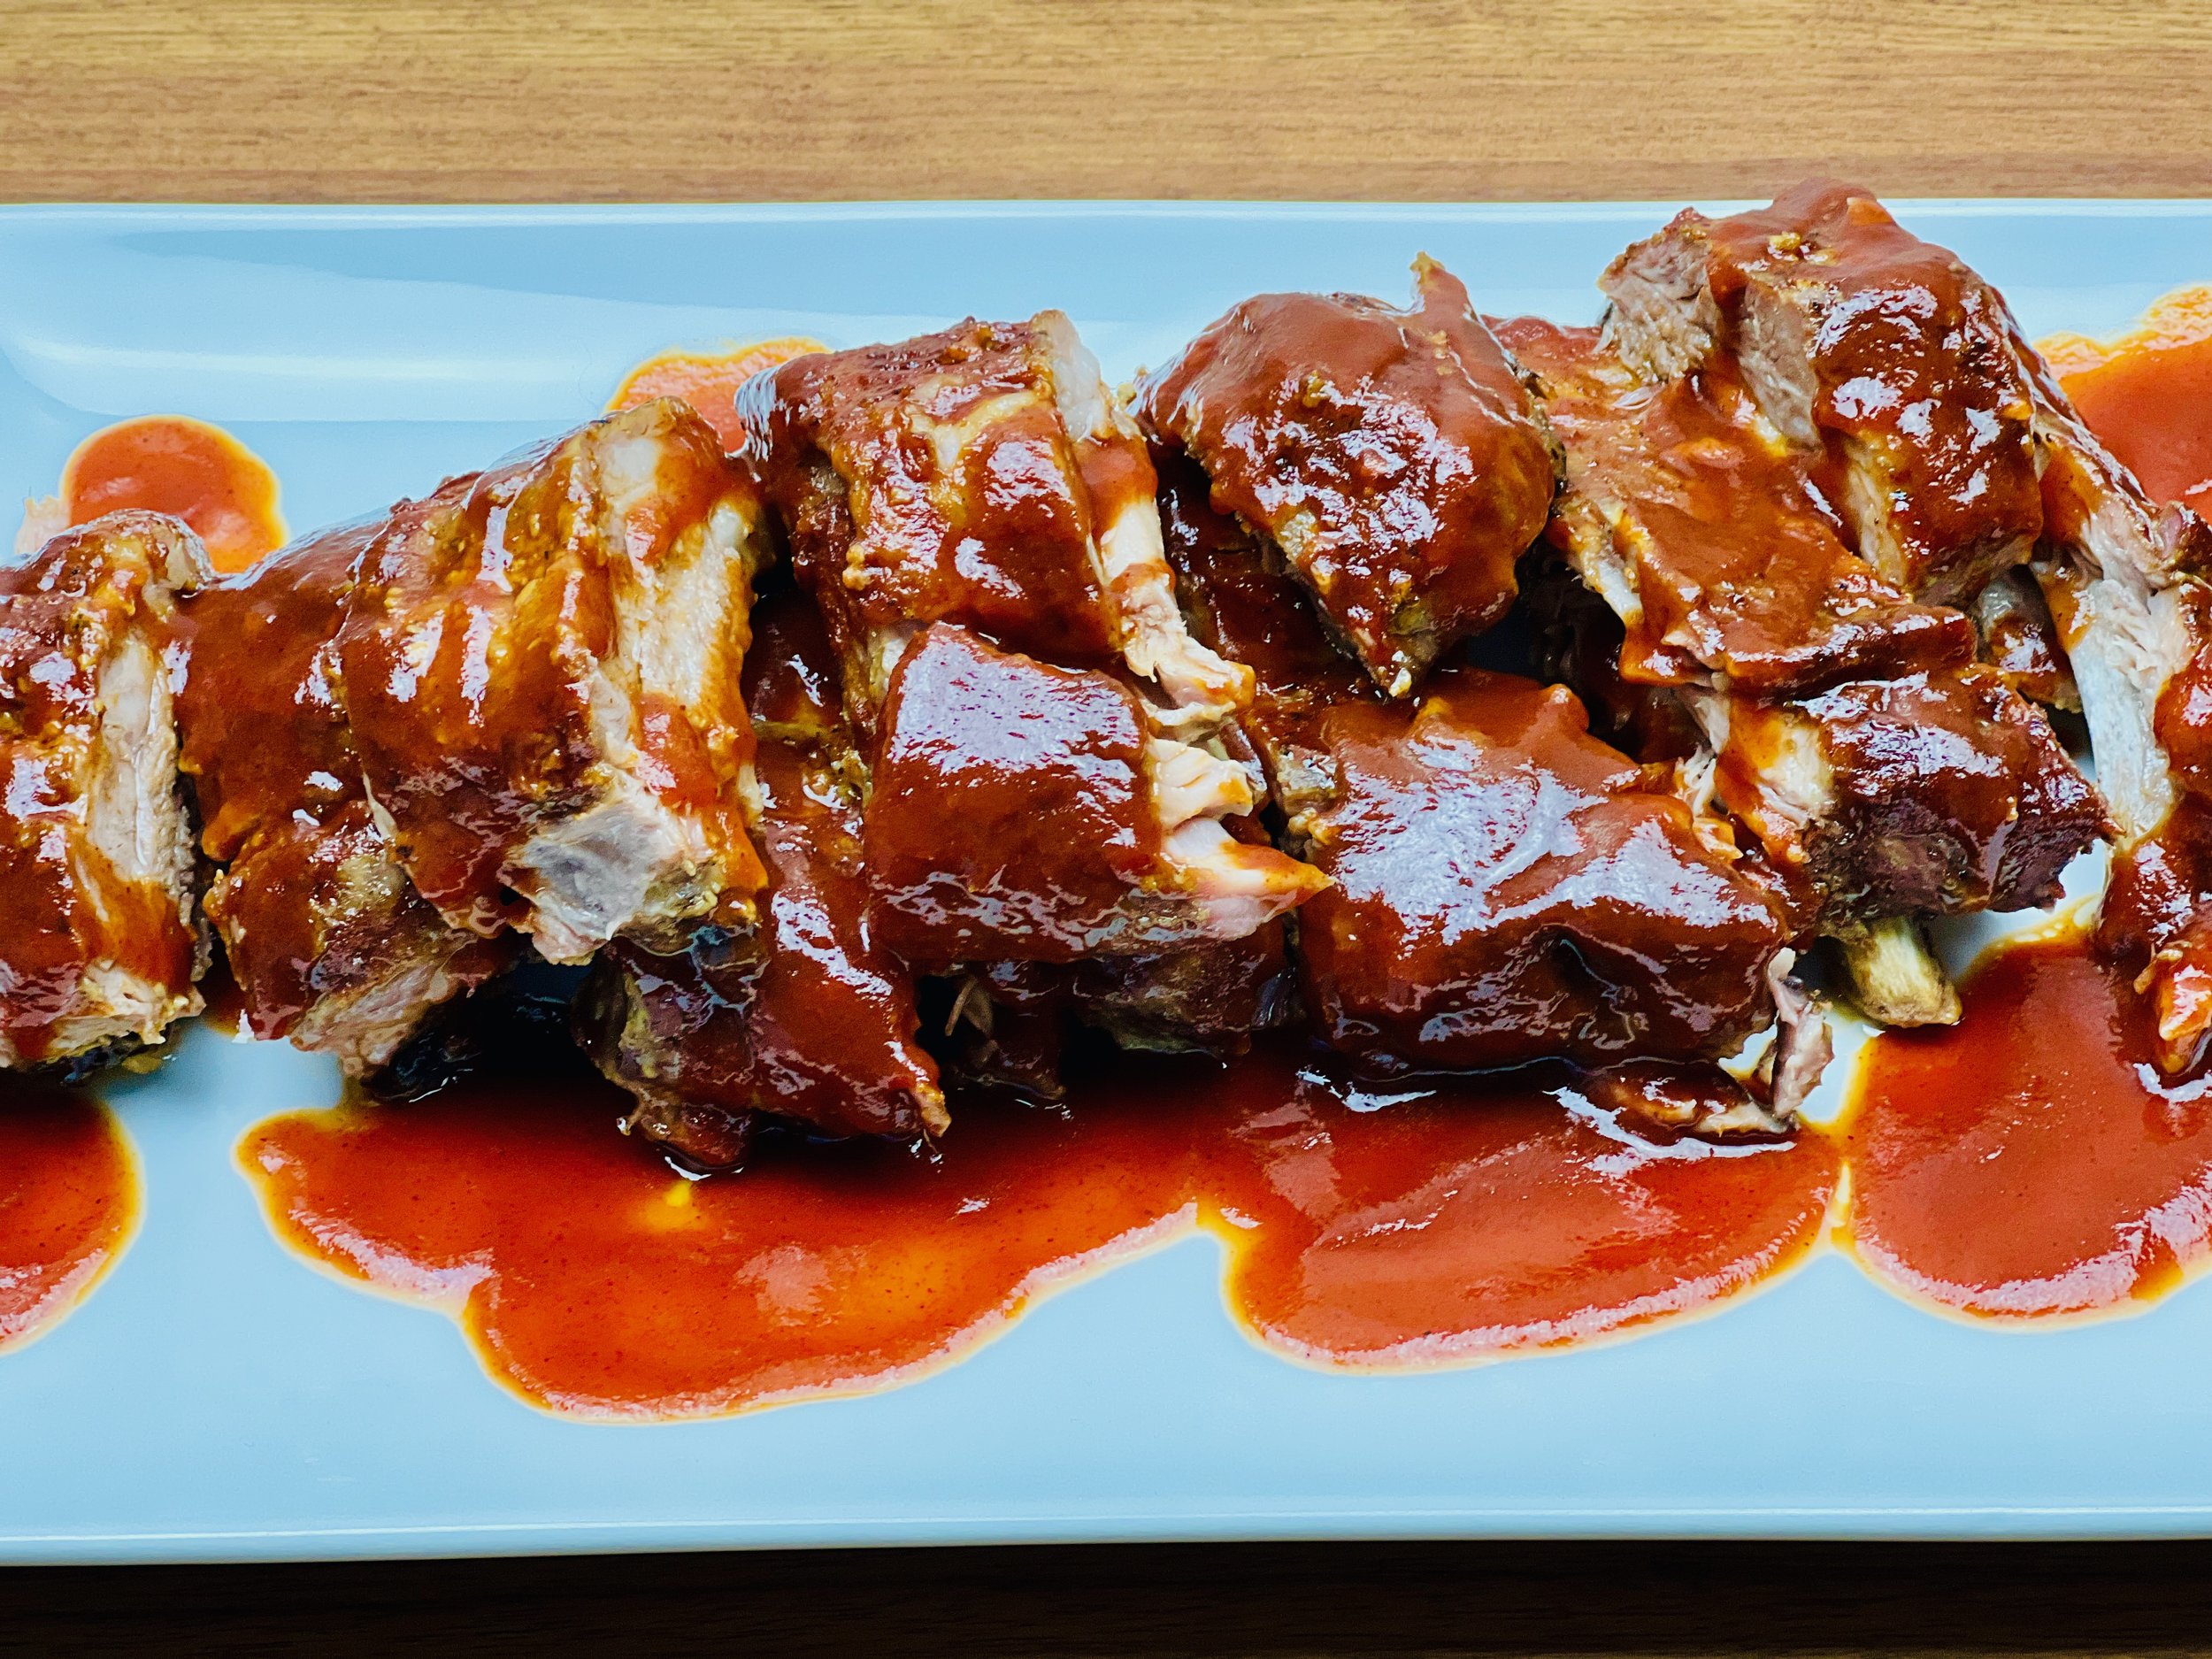
Brandon’s Baby Got Back Ribs (Low FODMAP)
20 Minutes prep • 3 1/2 Hours cook • Low FODMAP • Gluten-free • Lactose-free • Serves 4
20 Minutes prep • 3 1/2 Hours cook • Low FODMAP • Gluten-free • Lactose-free • Serves 4 • Ok to make ahead: Steps 1-2
Do you love pork ribs that are wonderfully flavorful with meat so tender it just falls off the bone? Think you can’t make them yourself? Think again! You’re in for a treat with my version of Brandon’s Baby Got Back Ribs drenched in my Maple BBQ sauce. They’re easy to make so don’t be afraid to give them a try. Cook them in the oven or in a smoker, if you have one, so you can control the long slow cook time. Ribs this good are definitely worth the wait. Serve with one of my green salads and some fresh sourdough bread for the perfect low FODMAP BBQ feast.
Ingredients
2 racks baby back ribs, membrane removed from the bone side (if present)
1/2 cup Dijon mustard, or whatever mustard you have on hand
1/2 cup BBQ Dry Rub, I used Smoke N Sanity Triple S Seasoning (use code IBSGC10 for 10% discount)
3/4 cup low FODMAP BBQ Sauce, I used my Maple BBQ sauce
Directions
(1) Prepare: Preheat your oven or smoker to 275 degrees F (if it doesn’t go that low, you can cook at 300 degrees, but they will cook a bit faster and may not be quite as tender). Wash and dry the rib racks with paper towels, and remove any membrane from the bone side of the rib racks, set aside. Line a rimmed baking sheet with aluminum foil.
(2) Prepare the ribs: Place the ribs on the prepared baking sheet and cover with mustard, flip and repeat ensuring both sides are completely covered with a thin layer of mustard. Coat both sides of the ribs with your BBQ seasoning and let it sit until the oven is preheated. Cover the pan with more aluminum foil, tenting the top to ensure the sides are tight and the foil doesn’t touch the top of the ribs. (Heavy-duty foil works best for the top layer.)
(3) Cook: Once the oven or smoker is hot, put the whole tray in the oven or smoker and cook for 2 hours and 40 minutes without opening the door of the oven or smoker.
(4) Remove foil: After 2 hours and 40 minutes, remove the top layer of foil and then continue to cook for another 20 minutes.
(5) Add BBQ Sauce: After 20 minutes, brush both sides of the ribs generously with BBQ sauce and place the ribs back in the oven for 10 minutes.
(6) Finish: Remove the ribs from the oven or smoker. Cover with foil and let rest for 15 minutes before serving.
(7) Plate and serve: Serve with BBQ sauce on the side along with one of my green salads and some fresh sourdough bread for a delicious low FODMAP BBQ feast.
Eat and enjoy every bite because you can!
Link note: This post contains links for you to easily purchase items listed on the page. In some cases, we have provided a special discount code for IBS Game Changers so be sure to use it when you purchase an item to get the discount that has been arranged just for you! As an Amazon Associate, I earn a commission from qualifying Amazon purchases.
More Deliciously Low FODMAP™ main course recipes
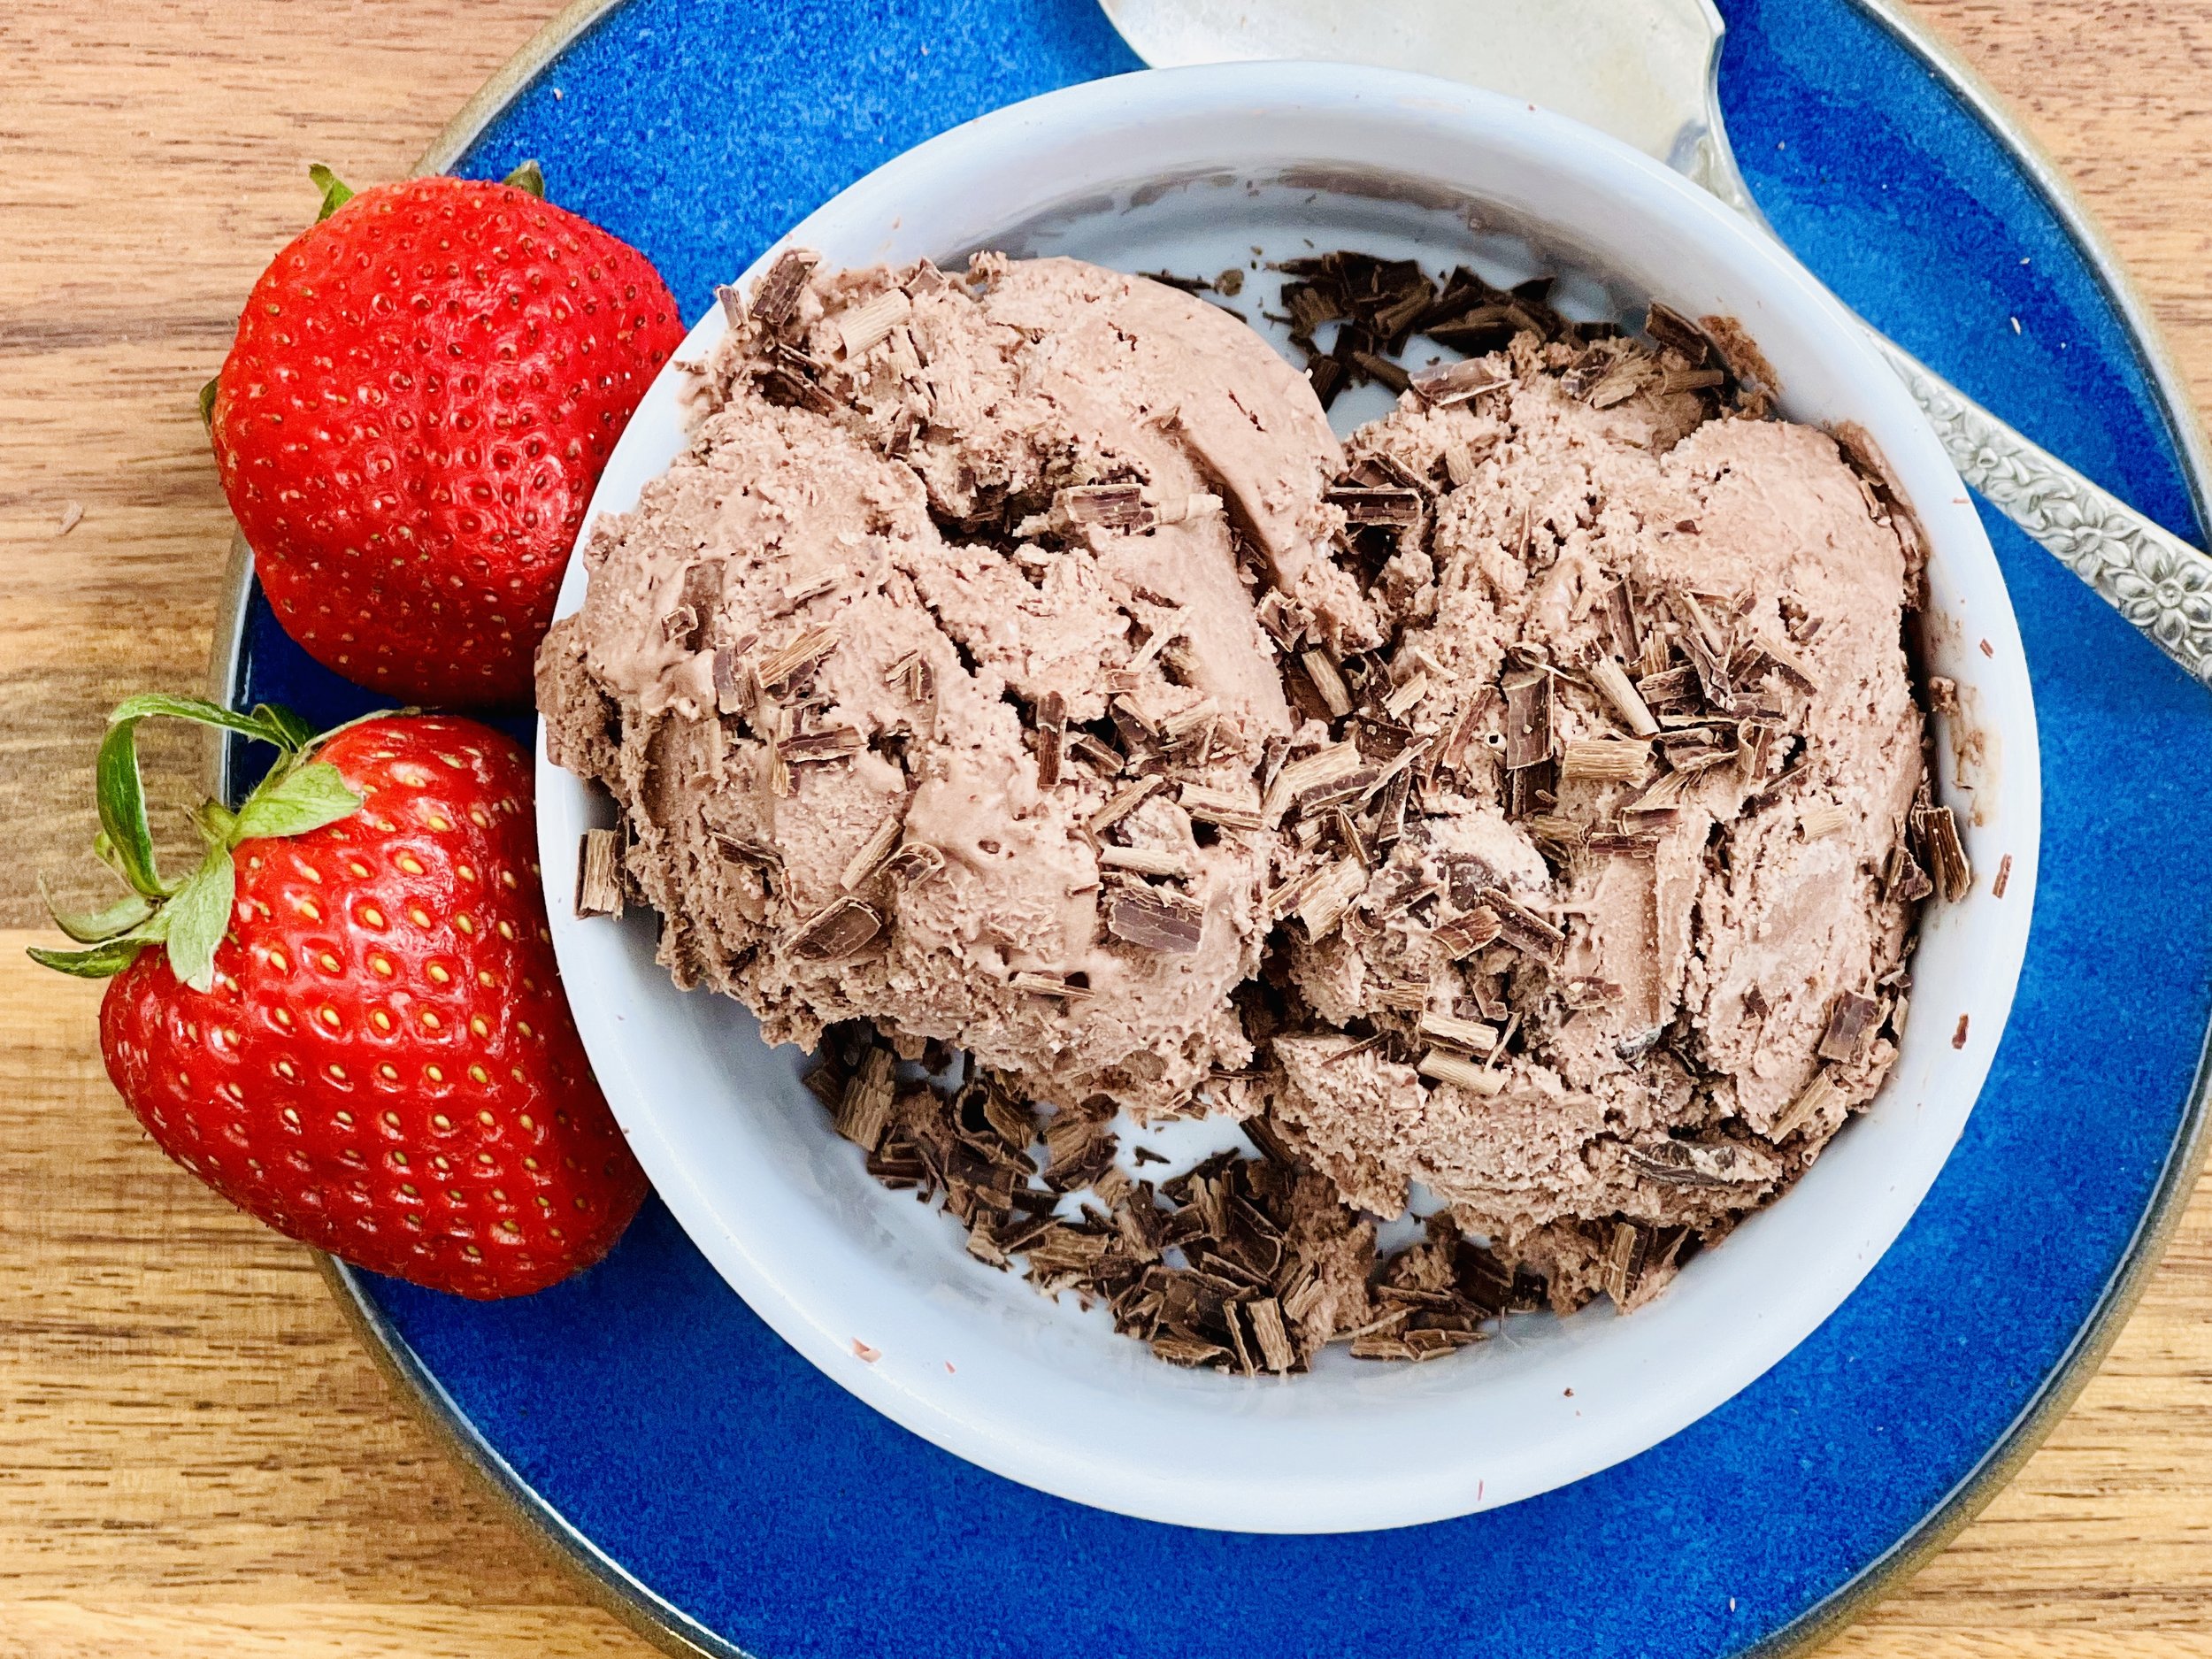
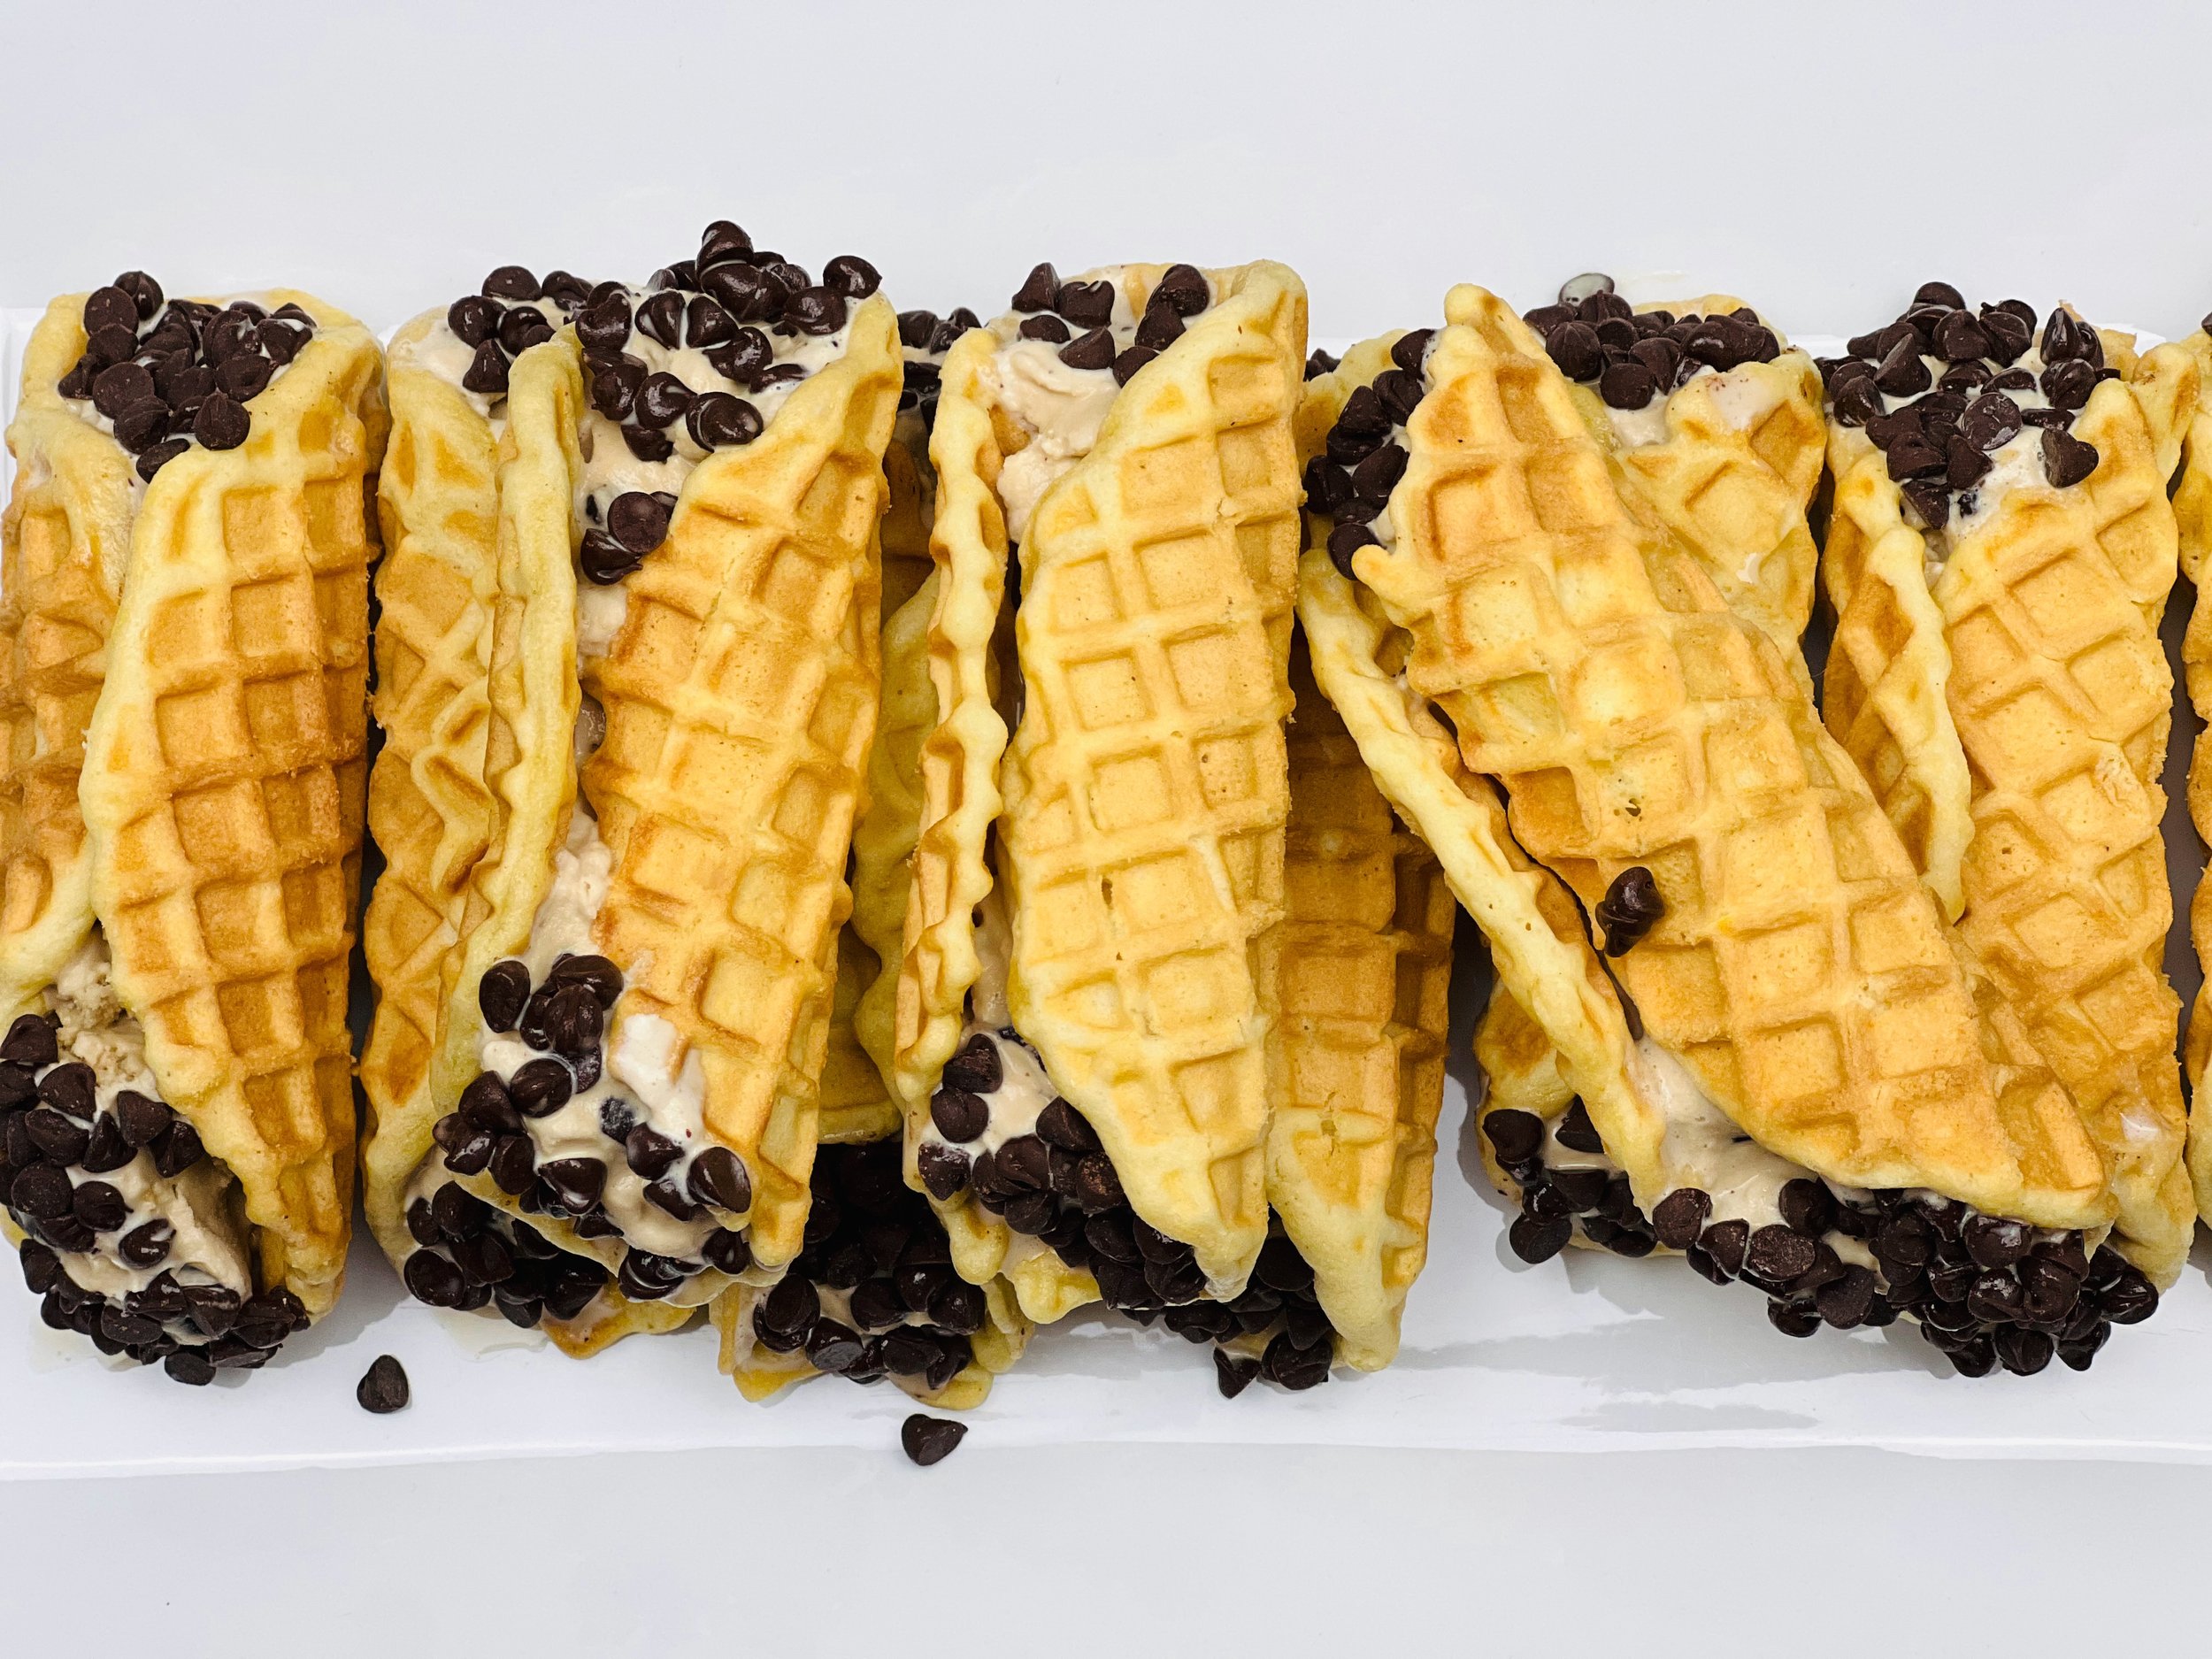
Ice Cream Cannolis (Low FODMAP)
20 Minutes prep • 20 Minutes cook • Low FODMAP • Gluten-free • Makes 16
20 Minutes prep • 20 Minutes cook • Low FODMAP • Gluten-free • Makes 16 • Ok to make ahead: Steps 1-6
Cannolis are fun and easy if you have a Pizzelle maker to make your own low FODMAP cannoli shells. You can fill them with all kinds of different fillings, but I like using ice cream the best. The combination is like getting ice cream in a waffle cone. They keep nicely in the freezer until you’re ready to serve, so they are a great make-ahead dessert. And, you can eat them like an ice cream cone, so no dessert dishes are required. My recipe for gluten-free cannolis, combined with lactose-free ice cream means these are a low FODMAP treat the whole family can enjoy.
This is an exclusive recipe just for recipe club members.
In addition to the two free recipes I create each week I am creating and delivering one very special recipe just for my recipe club members. If you’re not yet a member, I encourage you to join! Membership in the club includes access to the complete archive of recipes with filters so it can become your virtual low FODMAP cookbook plus, I am creating and delivering one special NEW recipe every week ONLY for recipe club members. And, for my true fans, I’ll be sharing behind-the-scenes content, and updates on the progress of the new cookbook.
Your membership in the club helps me continue creating new, delicious, easy-to-make, low FODMAP recipes just for you.
As always, all recipes will emphasize simple ingredients, easy preparation, and delicious low FODMAP results. Recipes will be for everything from main courses, salads, soups, side dishes, appetizers, desserts, sauces, breakfast and lunch, and even mocktails and cocktails. Everything you need to prepare fantastic low FODMAP meals everyone will love.
Join the club. Become a Patron. Let’s keep making delicious Low FODMAP meals together.
More Deliciously Low FODMAP™ dessert recipes
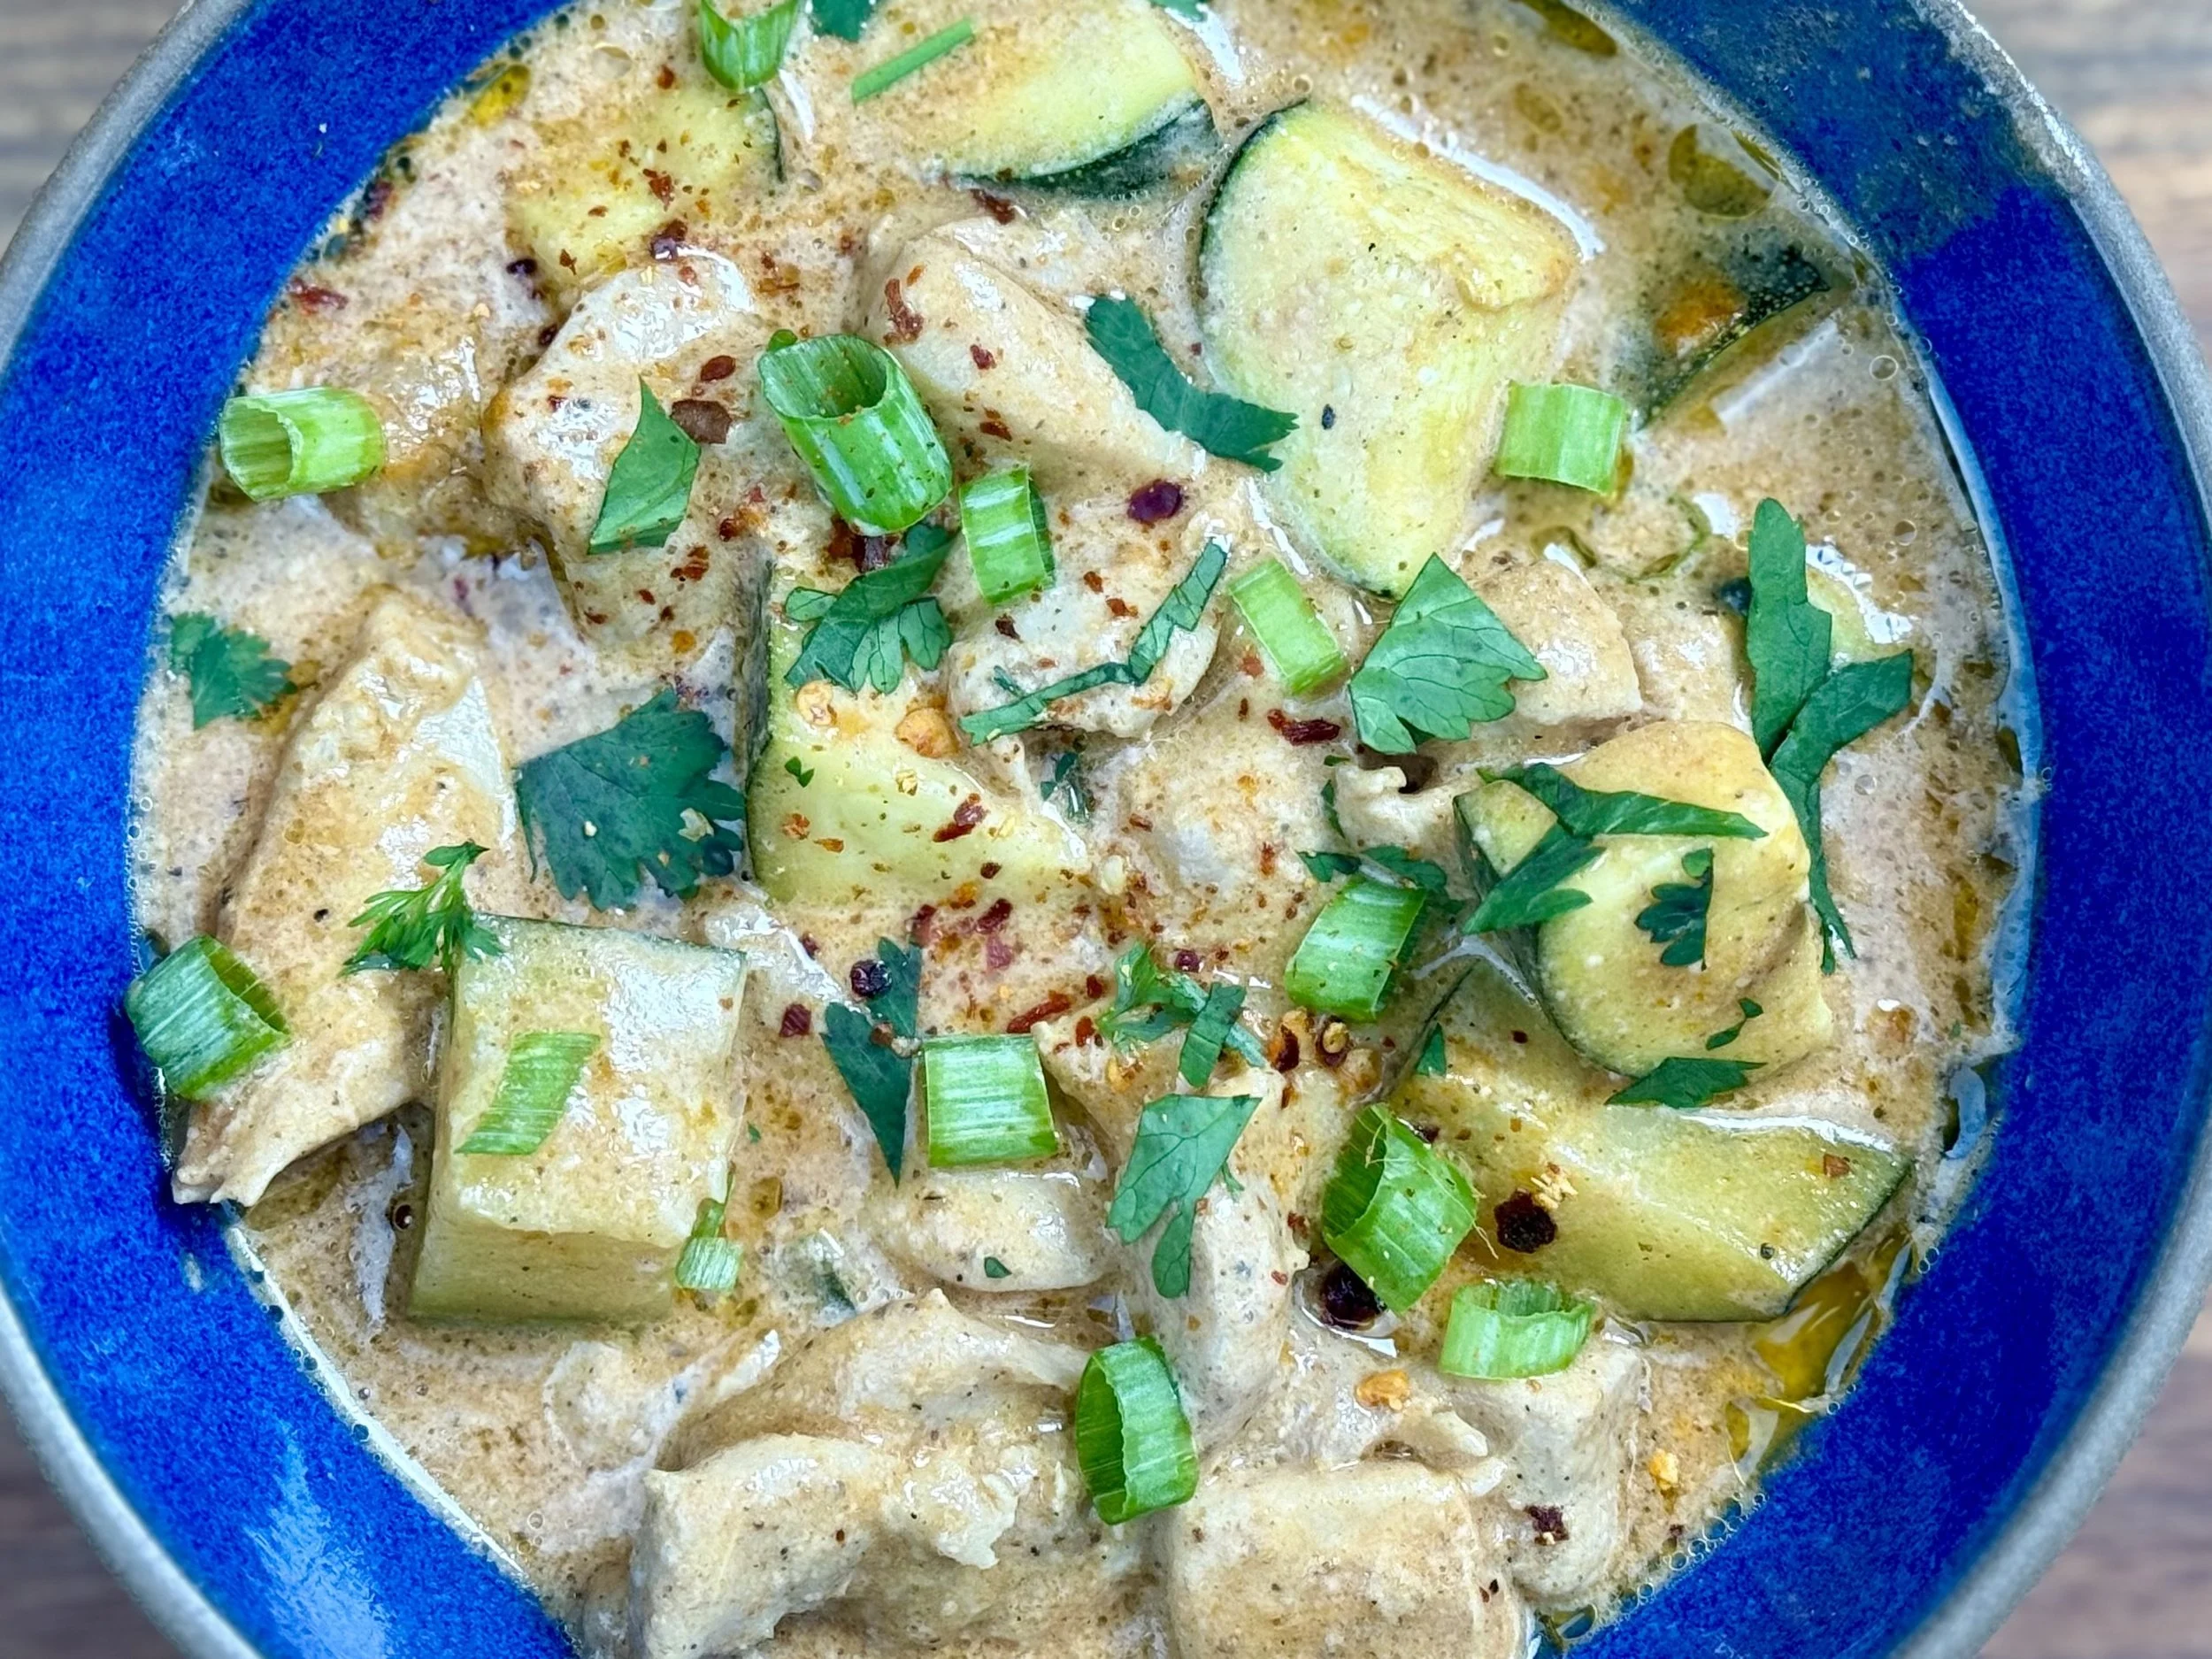
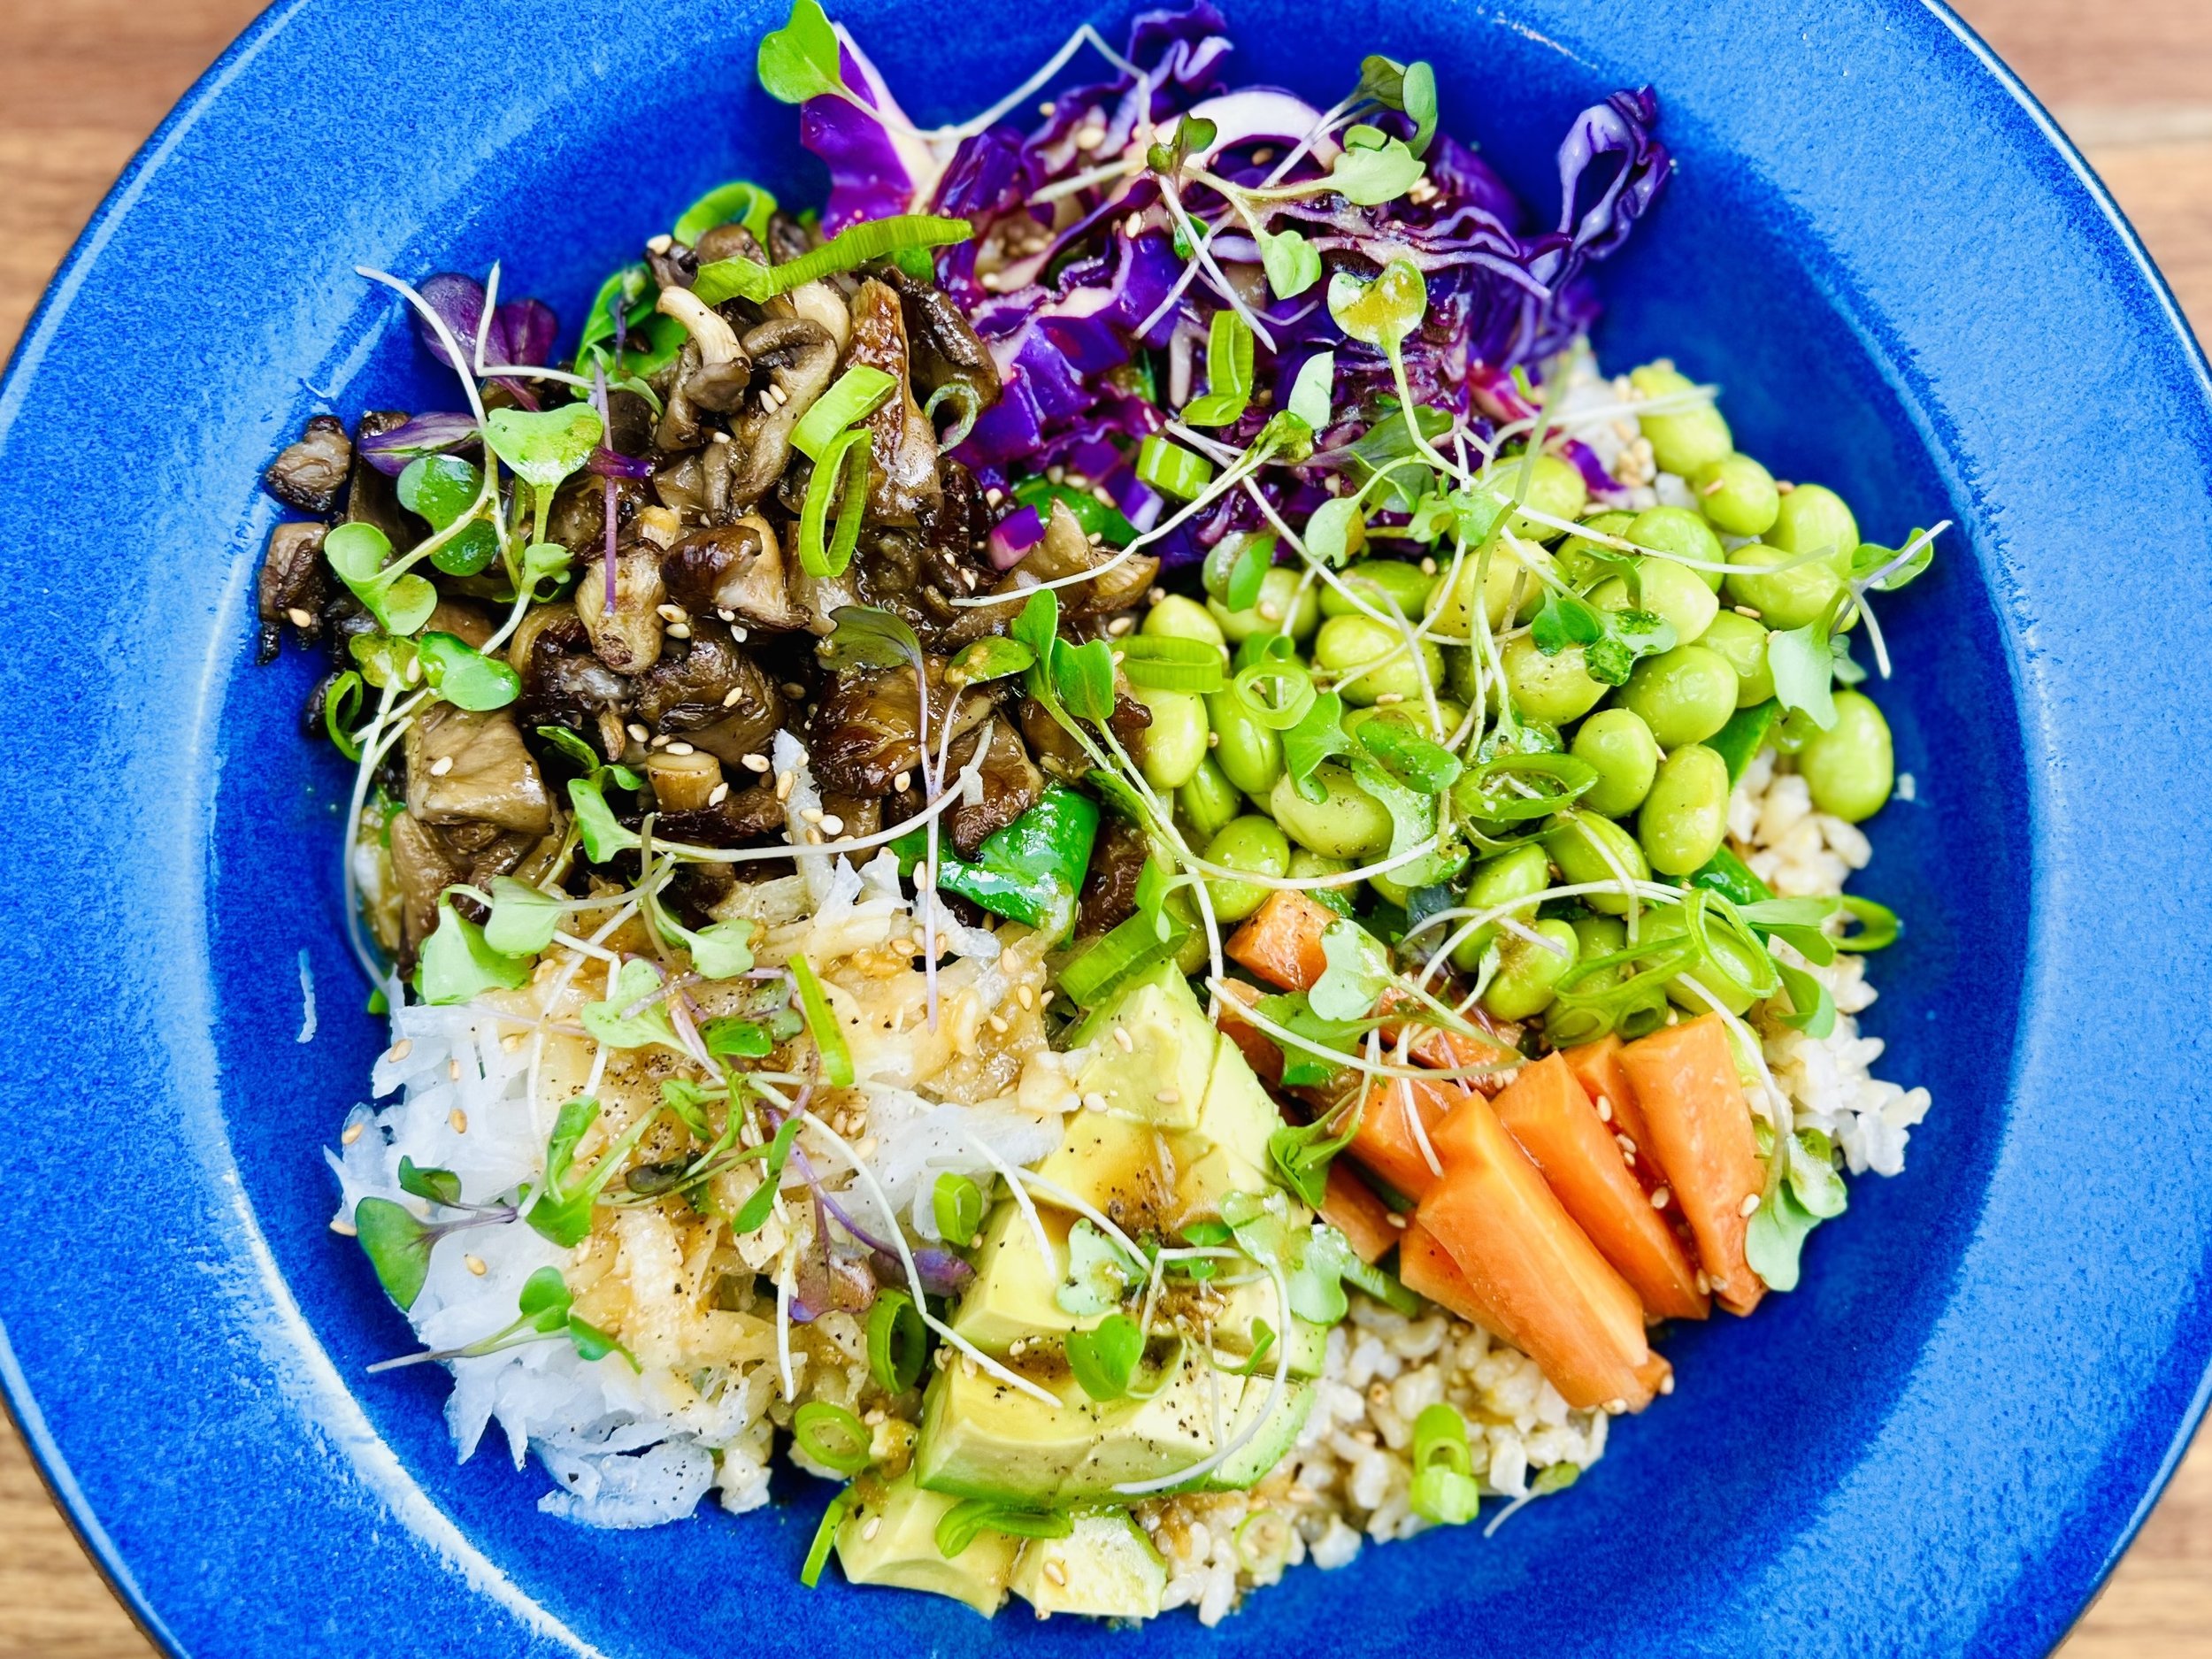
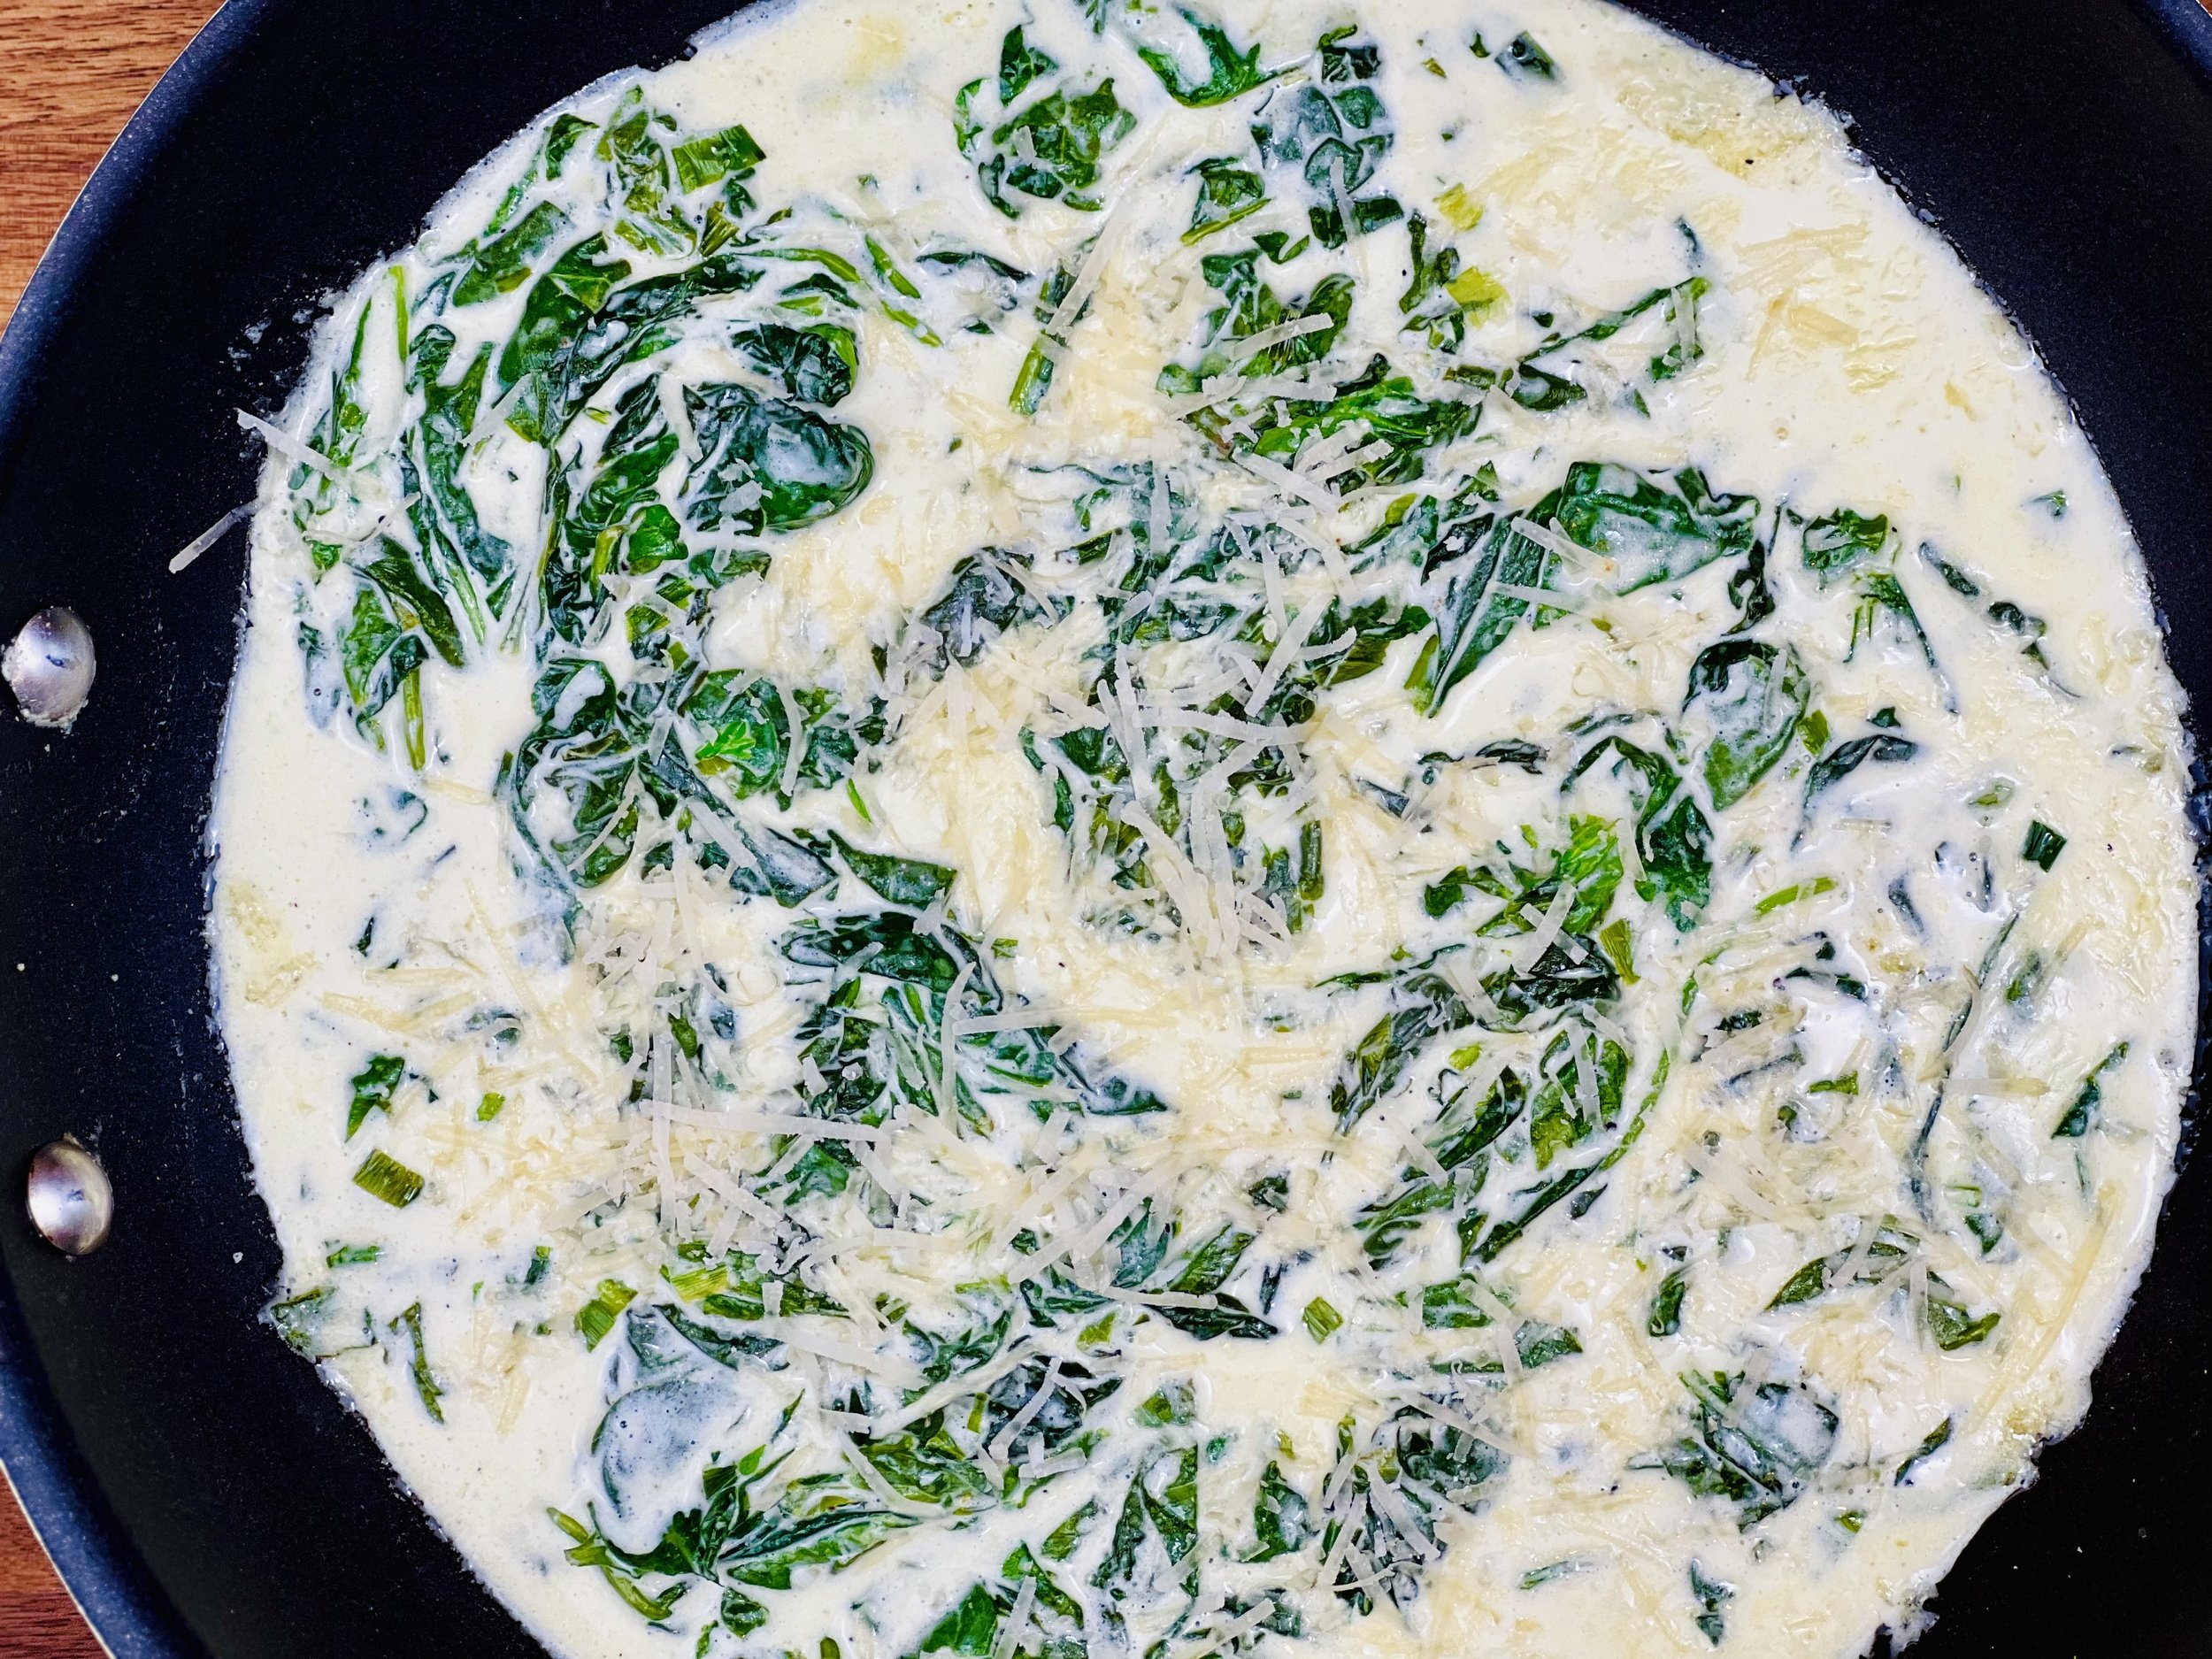
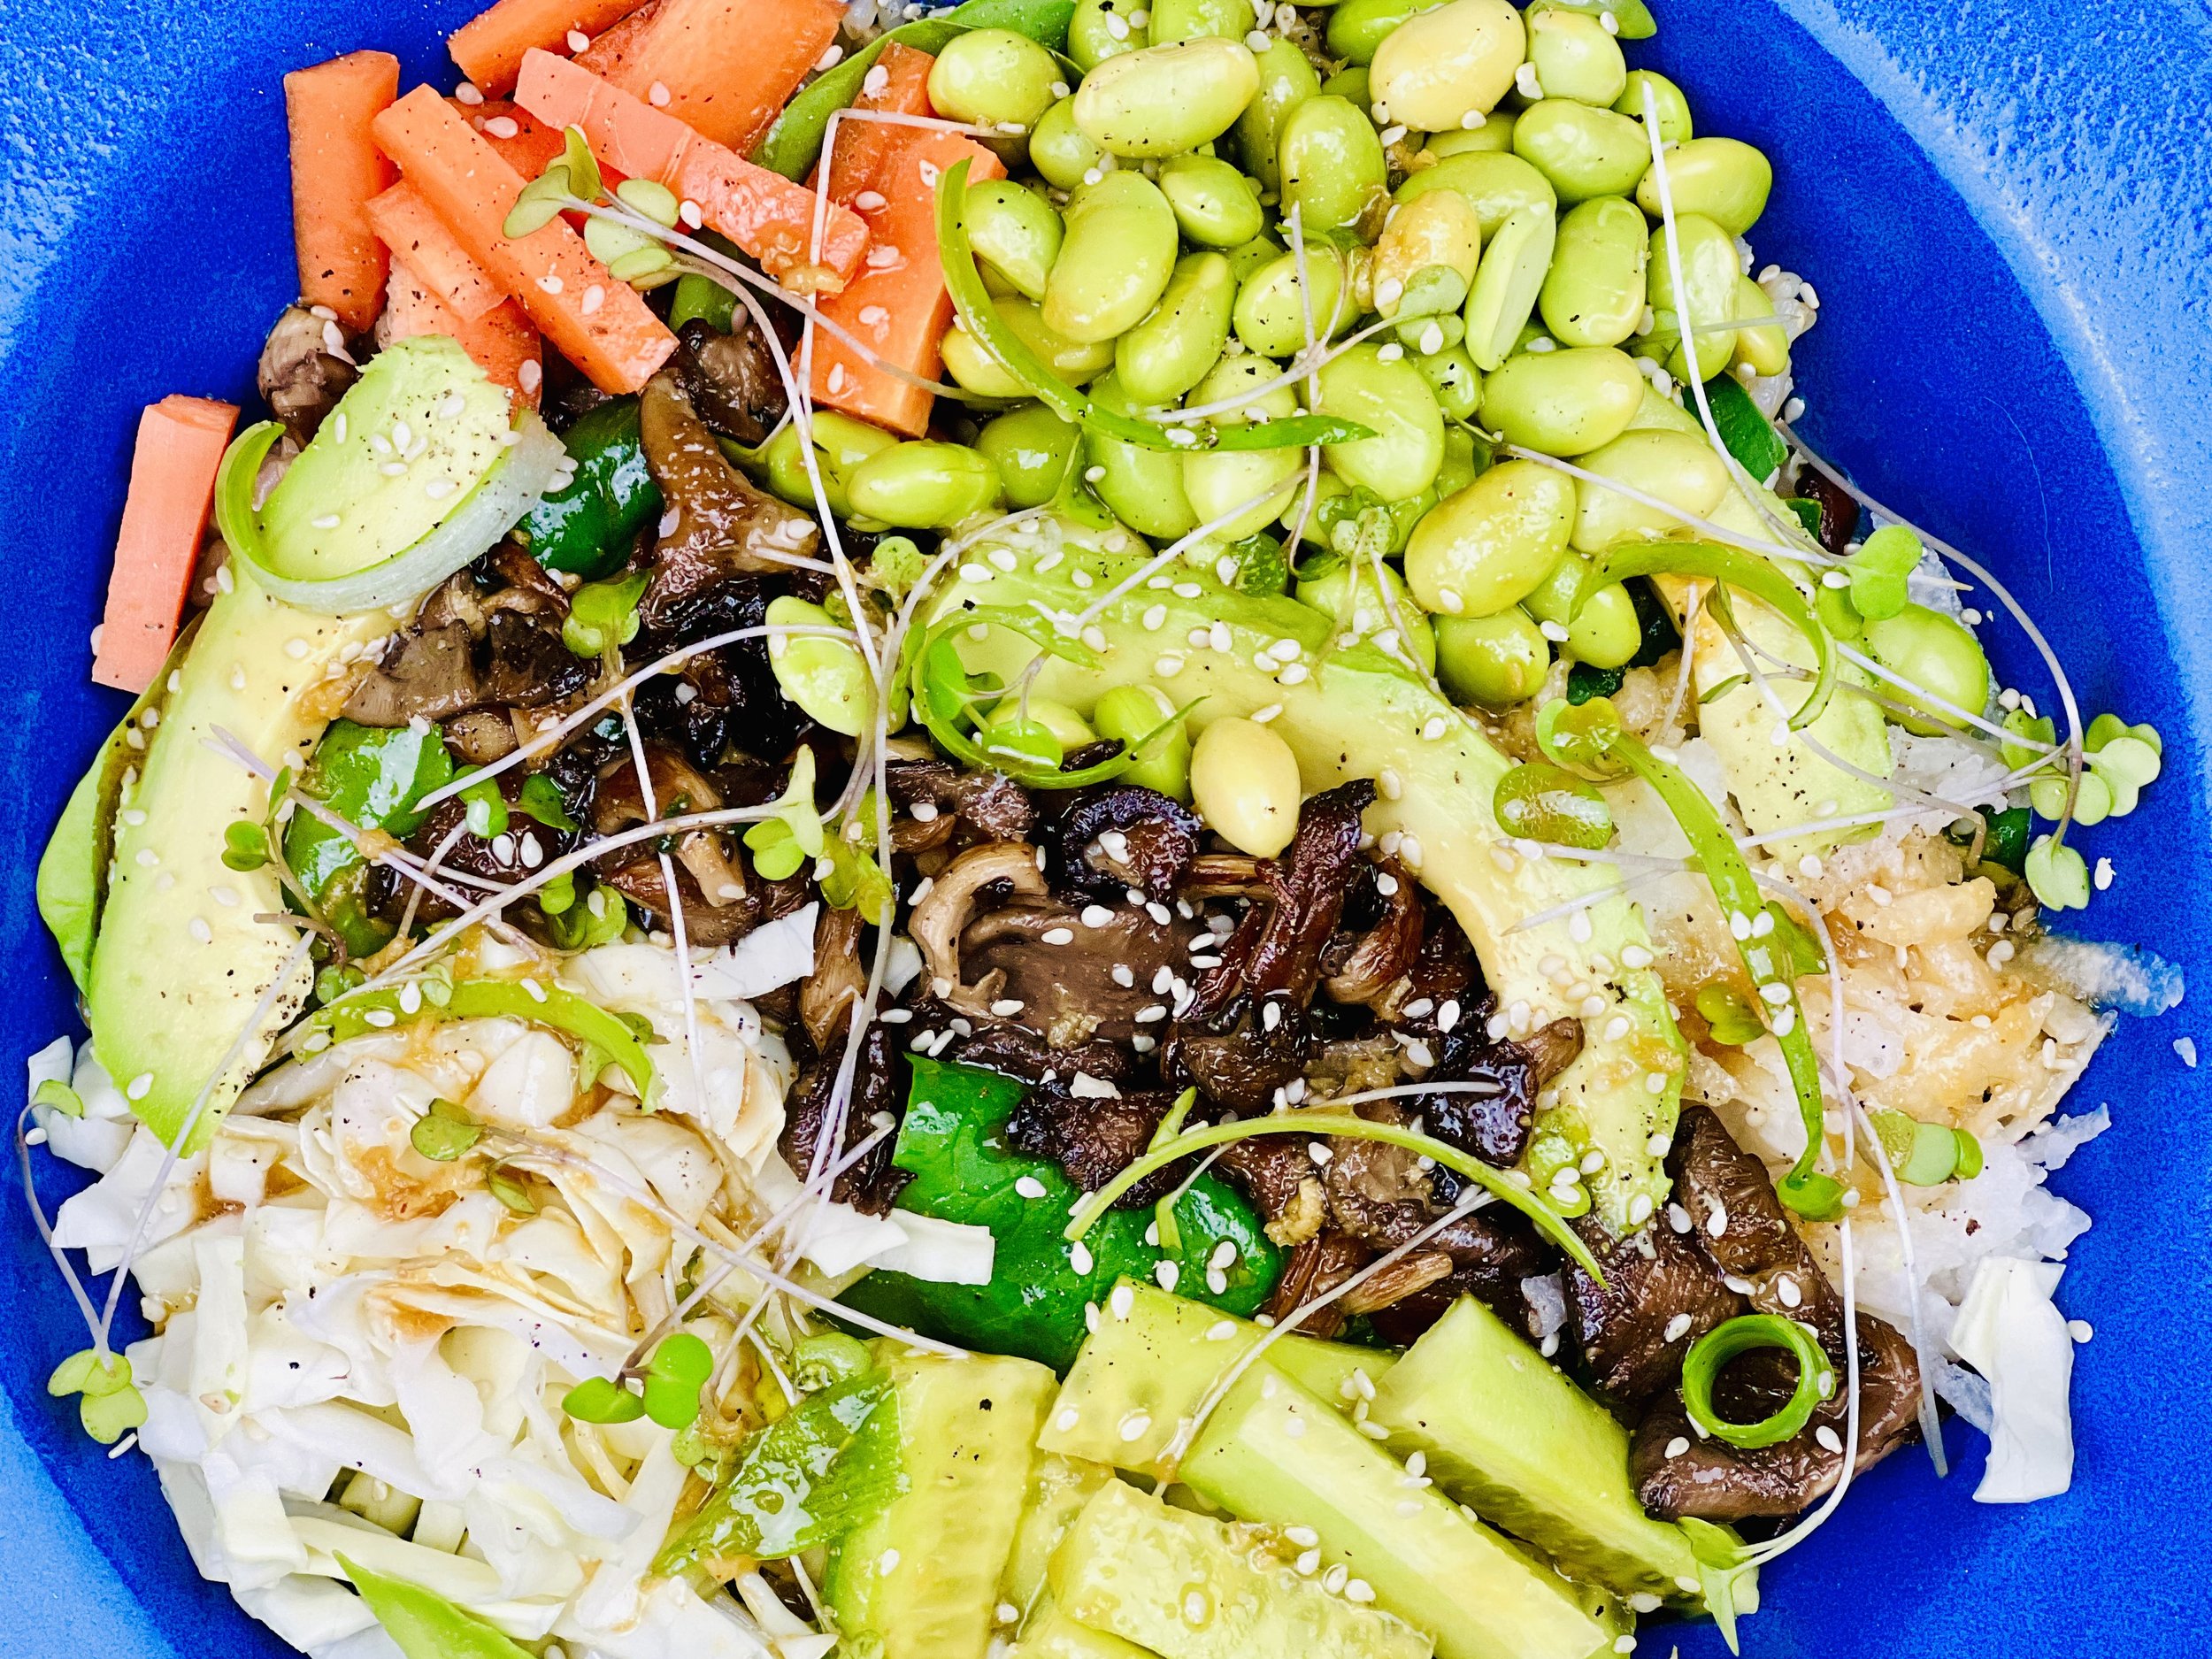
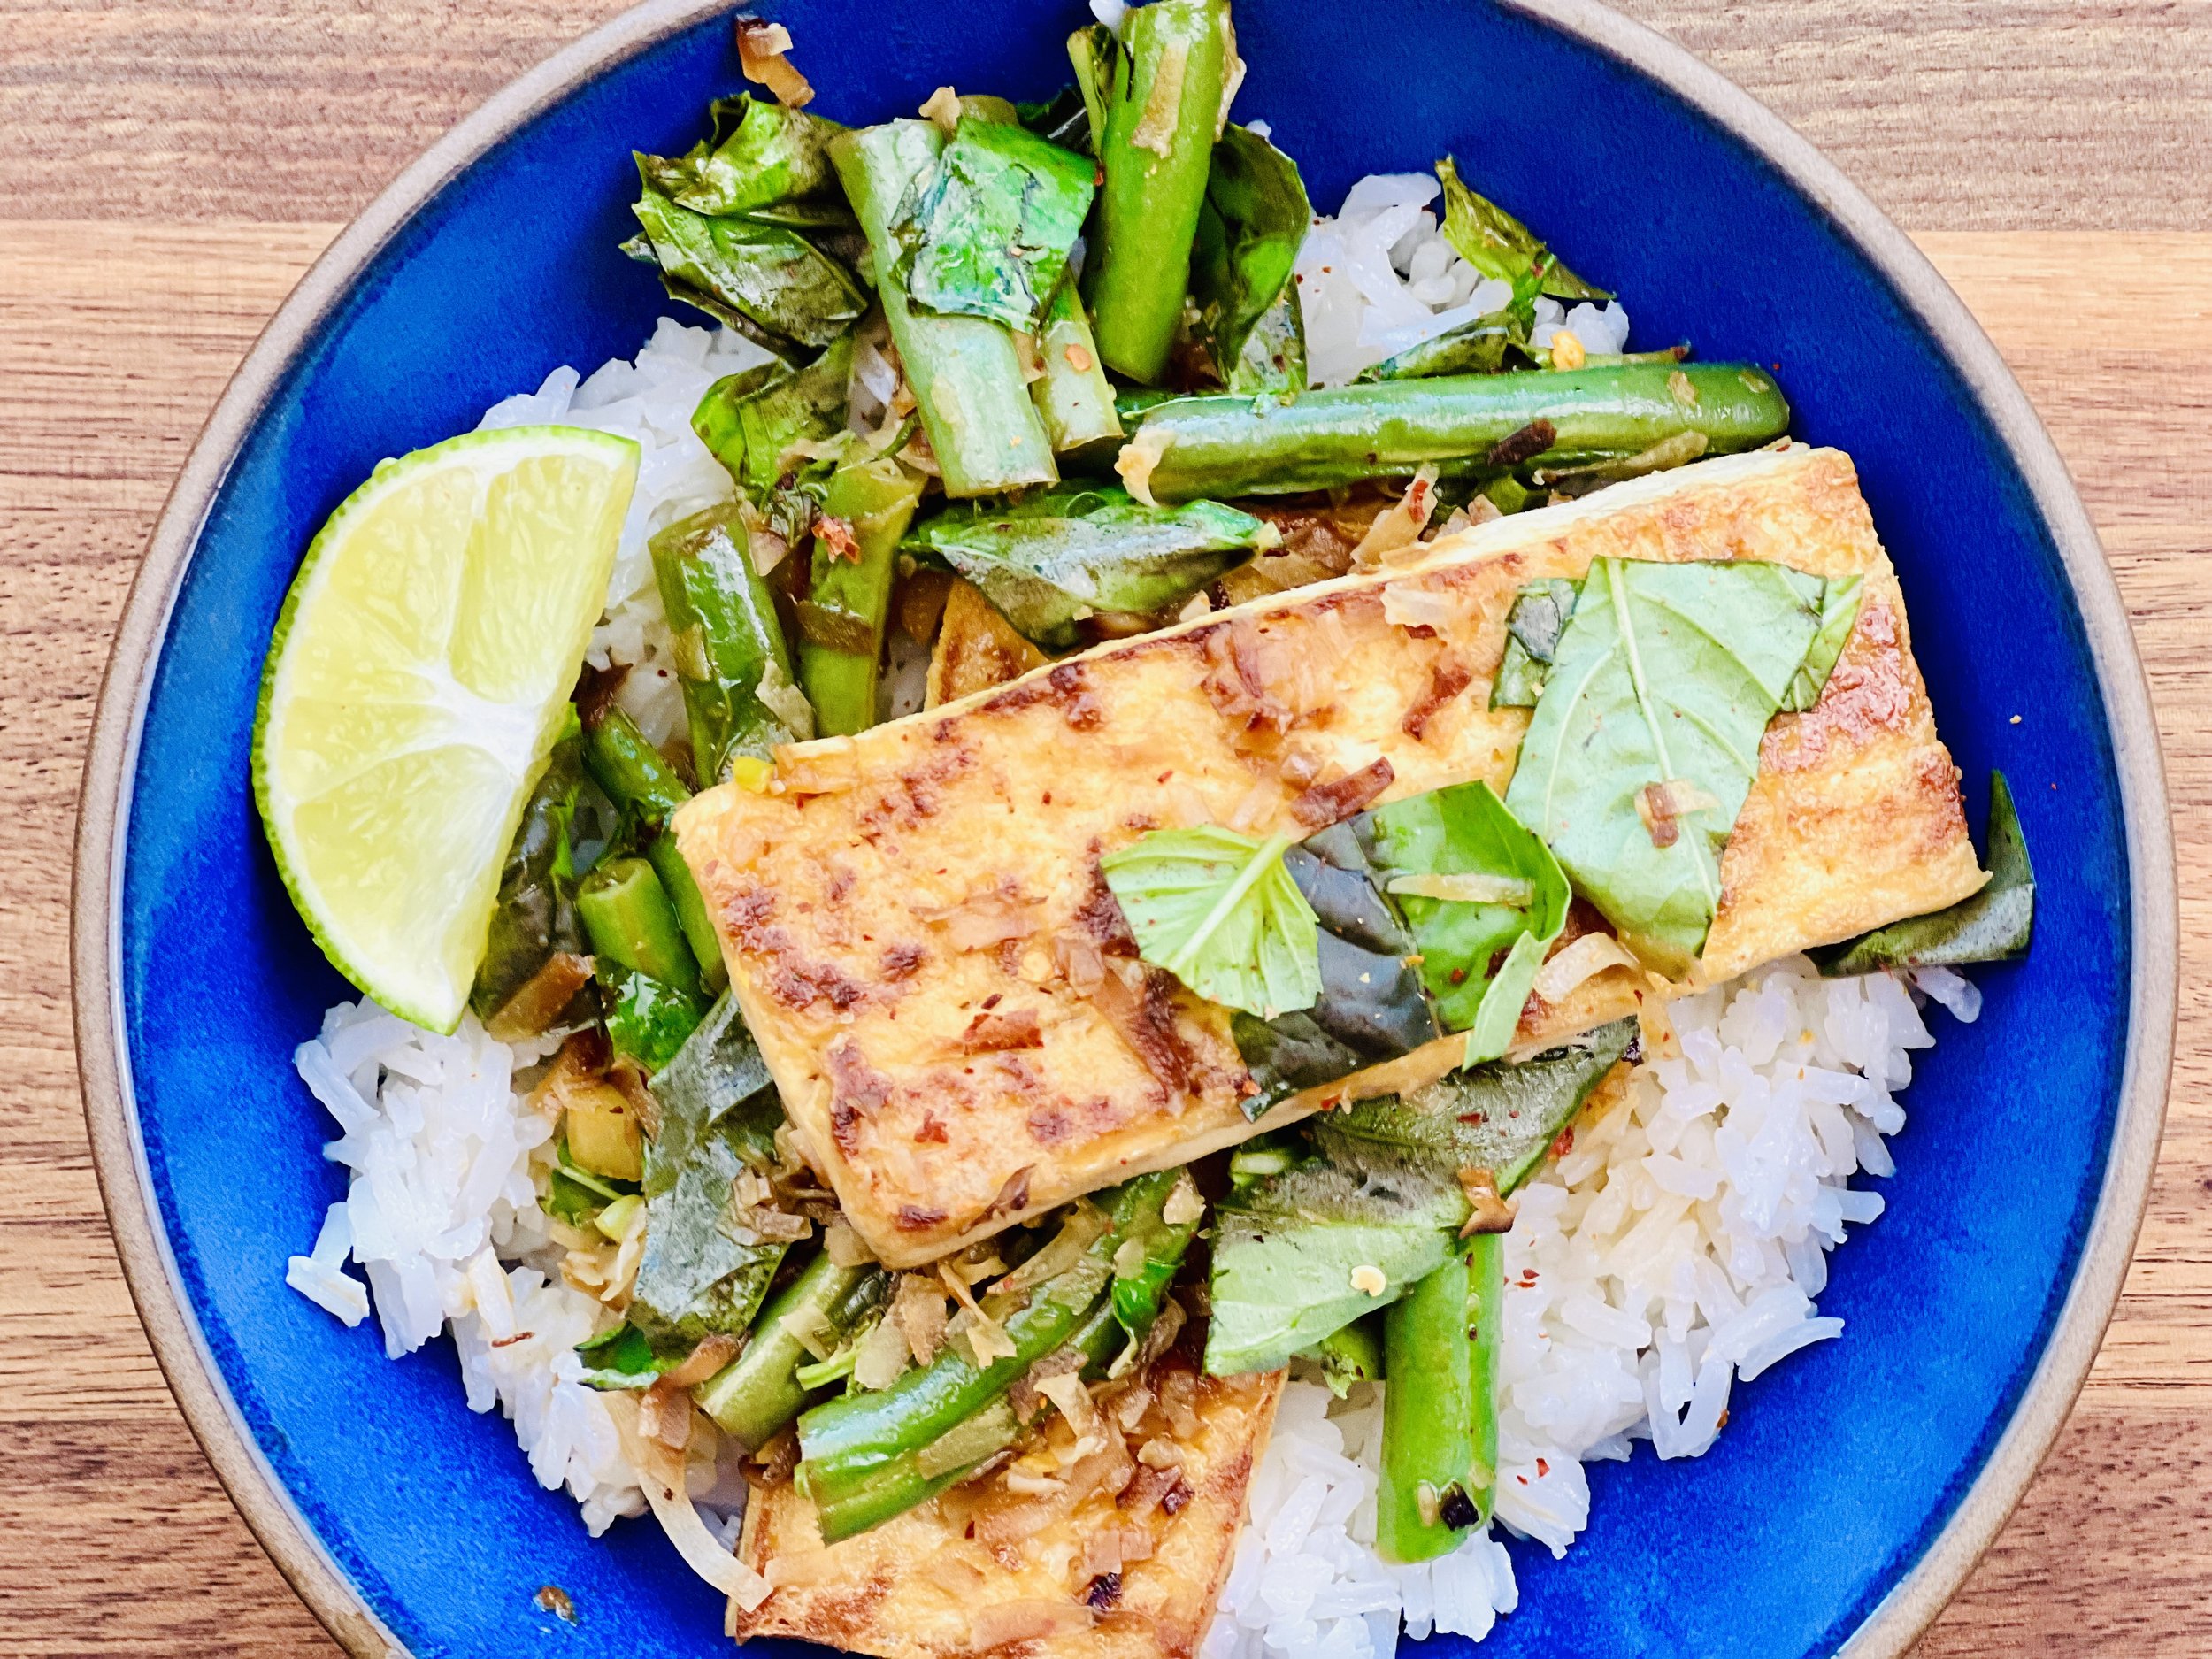
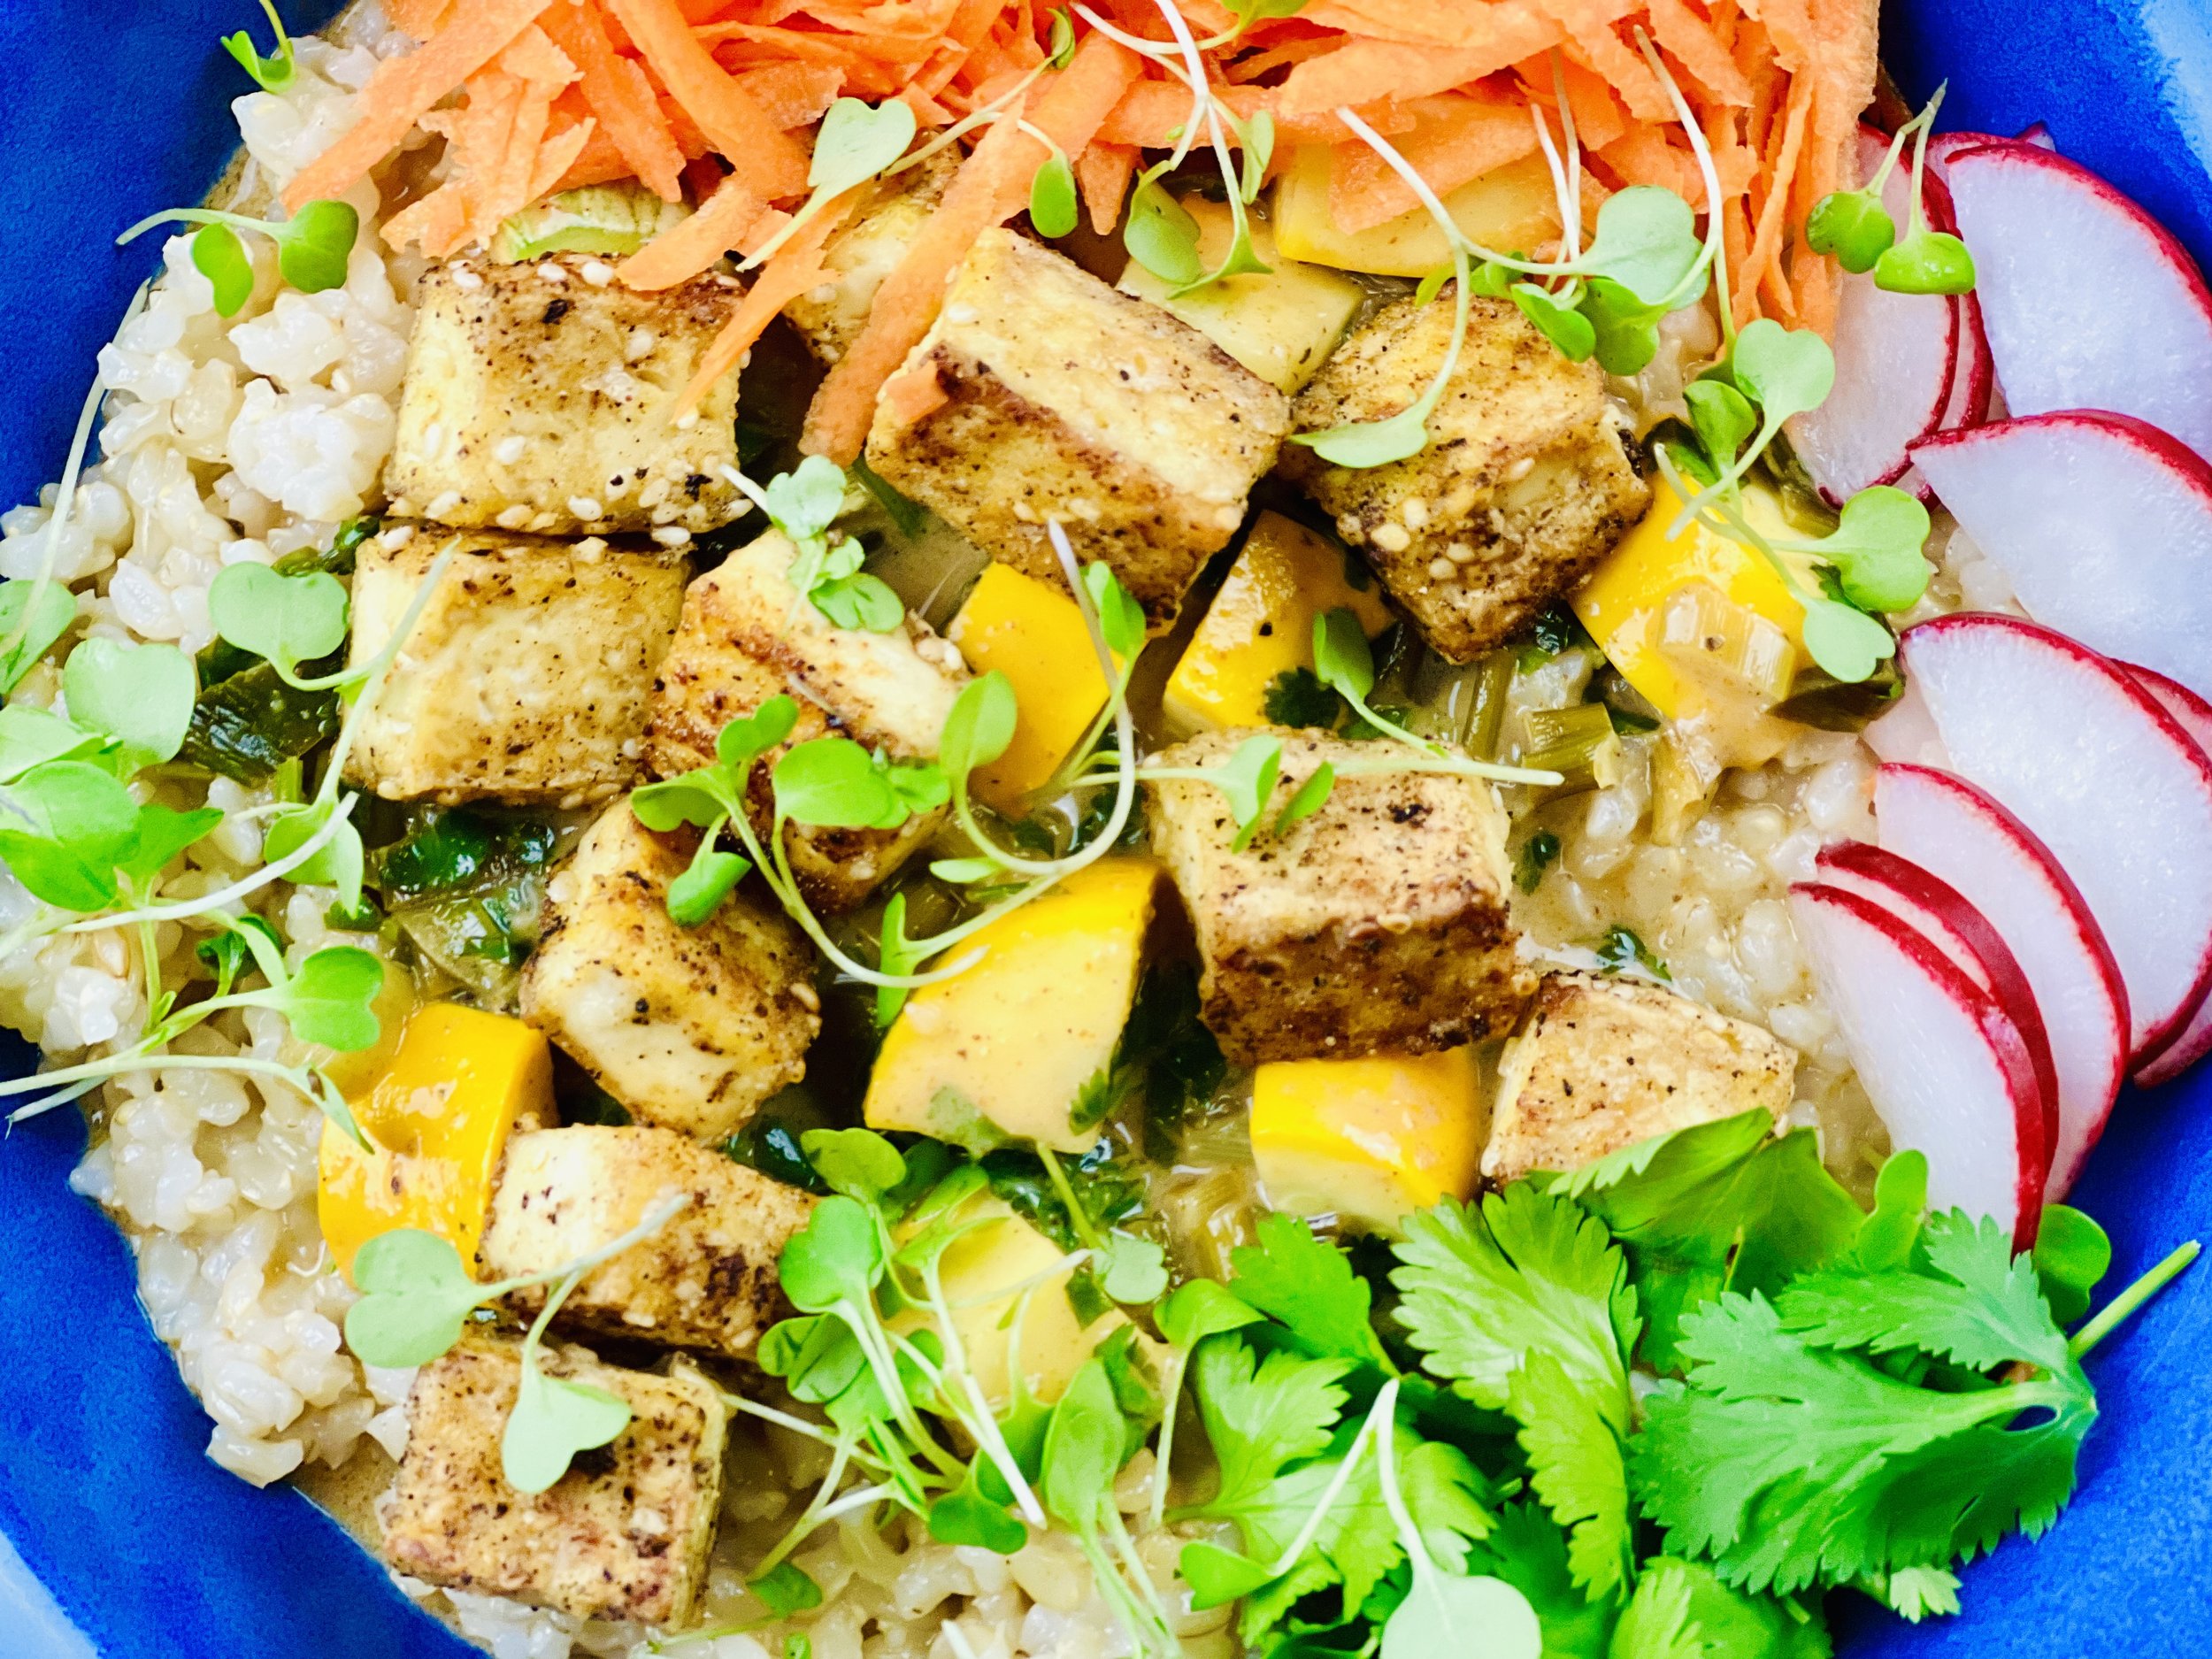
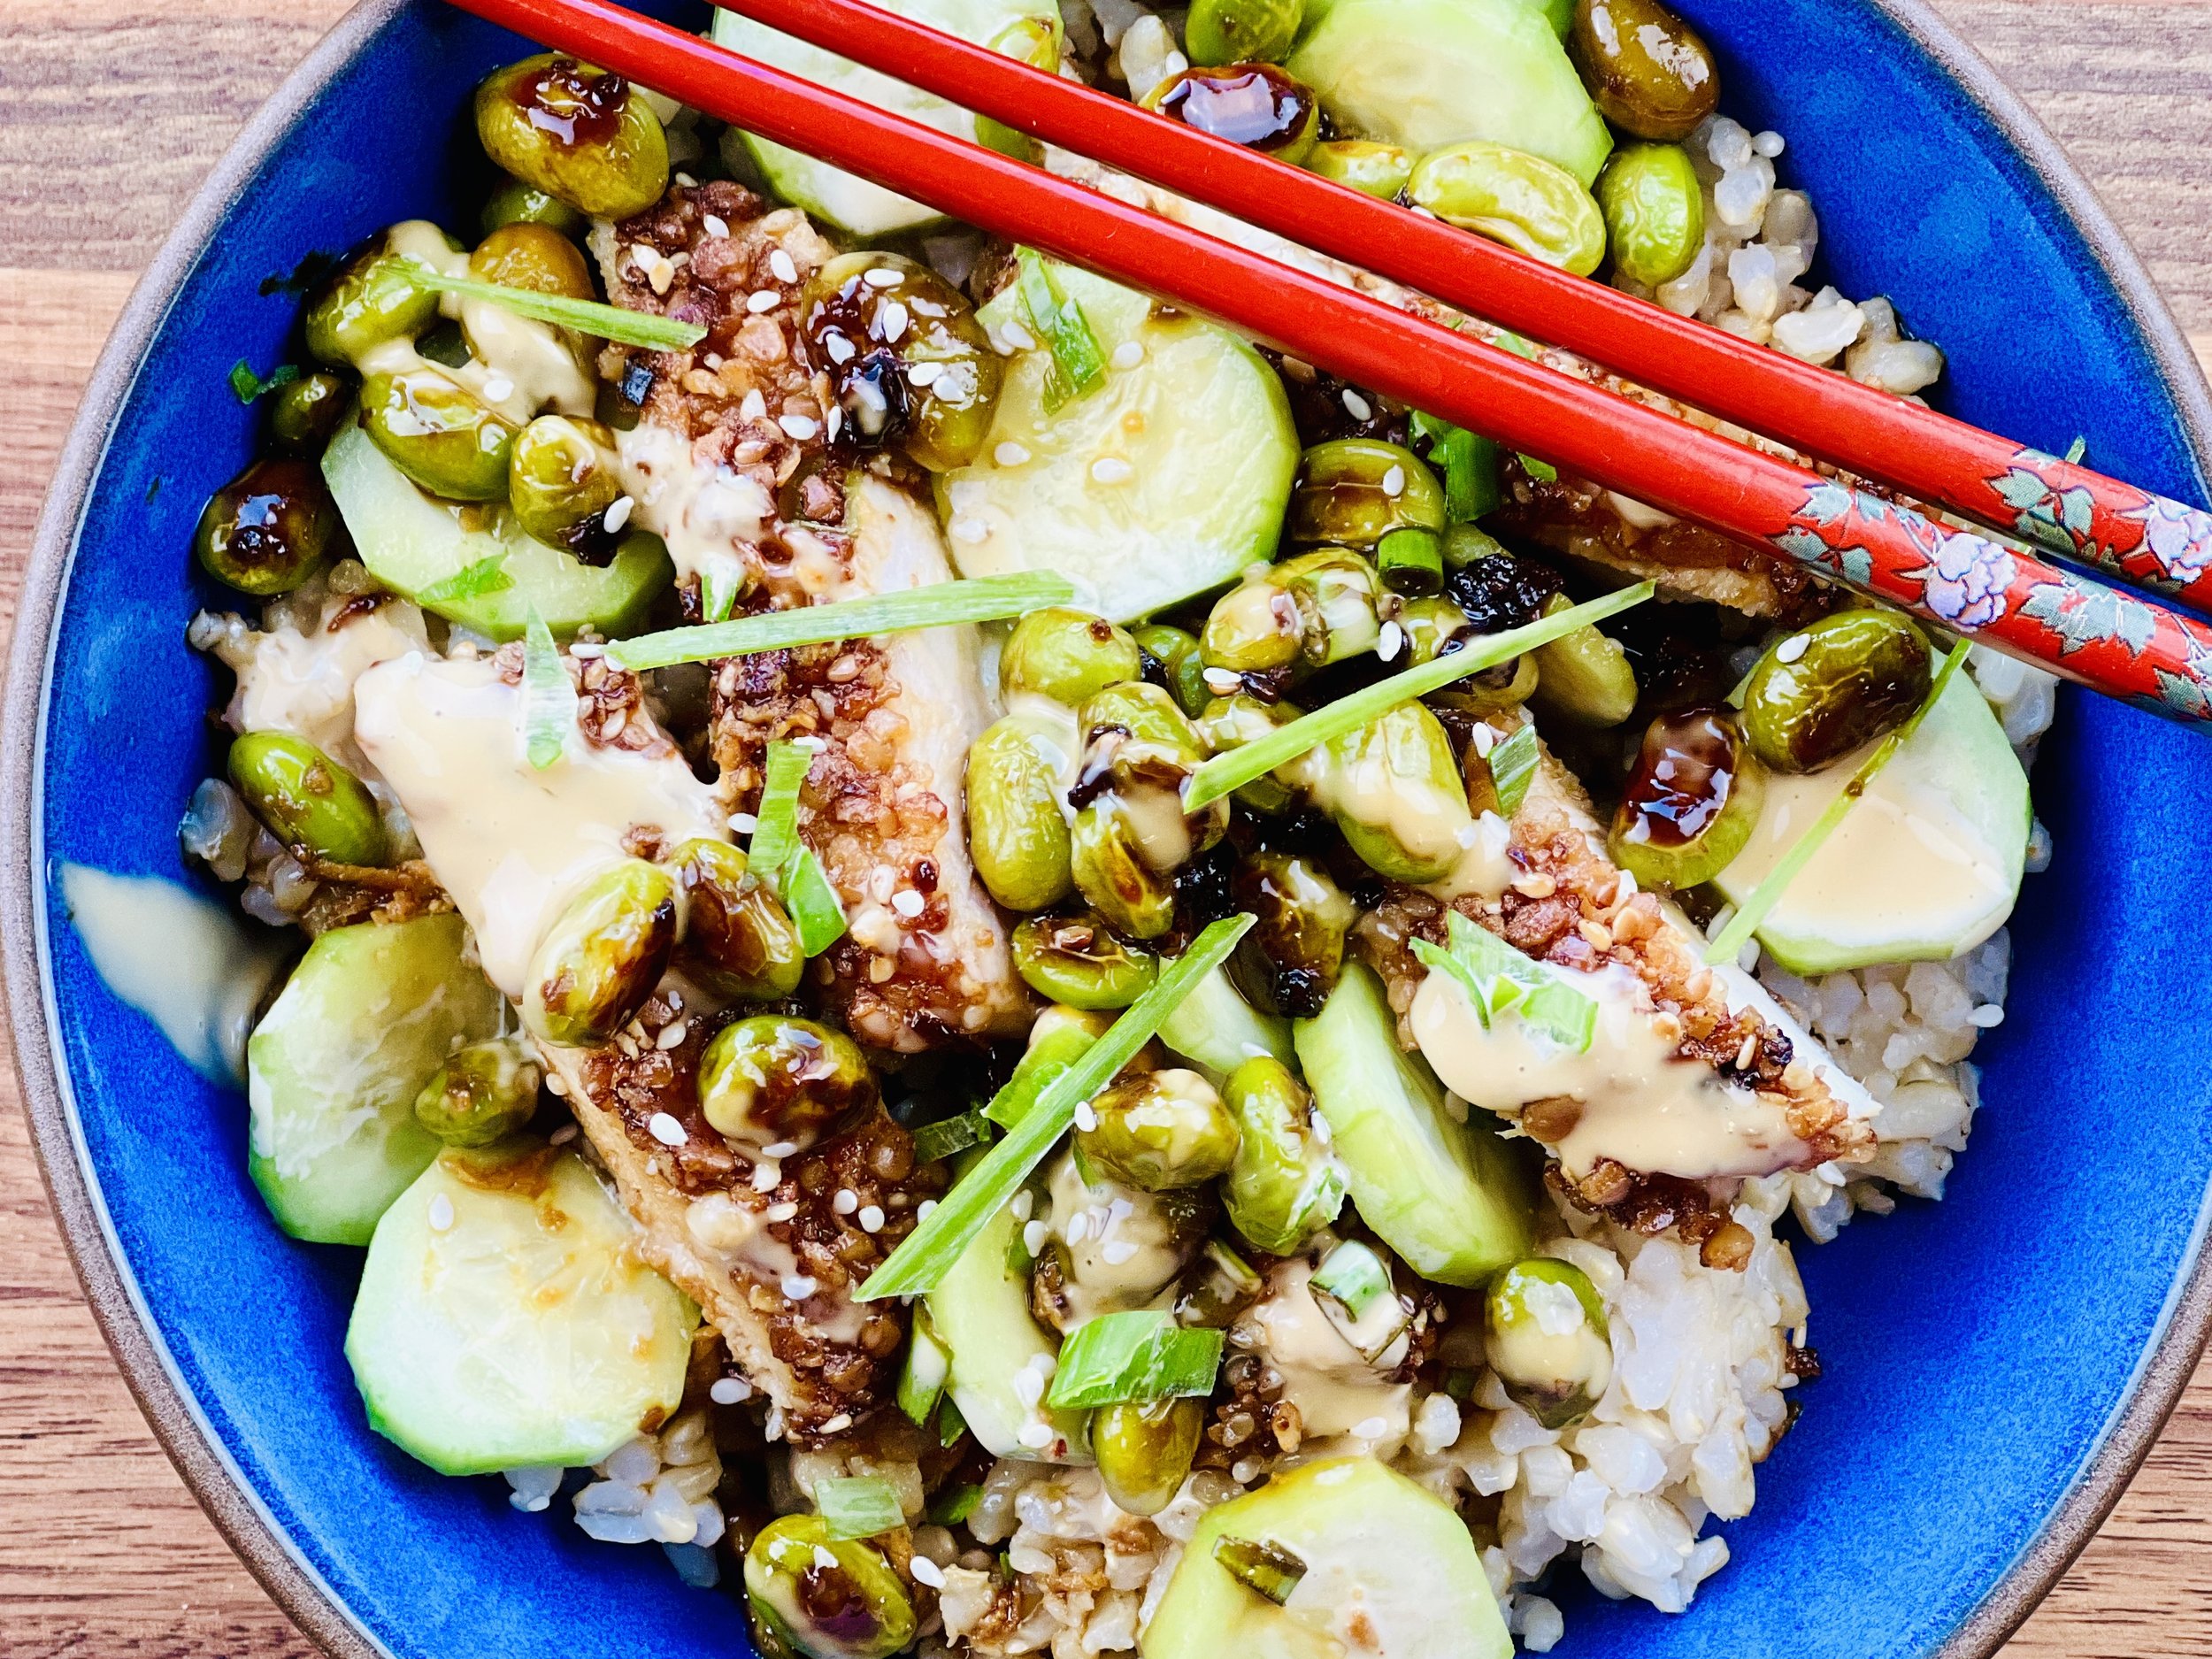
Coconut Tofu Veggie Bowl (Low FODMAP)
20 Minutes prep • 25 Minutes cook • Low FODMAP • Gluten-free • Lactose-free • Vegetarian • Serves 4
20 Minutes prep • 25 Minutes cook • Low FODMAP • Gluten-free • Lactose-free • Vegetarian • Serves 4 • Ok to make ahead: Steps 1-3
Crisp green beans, fresh basil, and coconut-crusted tofu blend wonderfully together for a fresh and tasty vegetarian bowl. The coconut influence is mild so don’t be afraid to try these flavors together. Serve with steamed rice or, even better, my Best Coconut Rice. The combination is delicious and the leftovers heat up nicely and taste great too.
Ingredients: Tofu
14-ounce block extra-firm tofu
1 teaspoon Kosher salt
3 tablespoons garlic-infused olive oil (divided)
1/4 cup unsweetened shredded coconut
8 ounces green beans (15 beans is low FODMAP)
1 inch piece of fresh ginger, peeled and chopped
1 bunch basil (1 cup chopped)
1 cup (raw) Jasmine rice, rinsed and cooked in coconut milk in place of water (or make my Best Coconut Rice)
Kosher salt to taste
Ingredients: Sauce
1 & 1/2 tablespoons gluten-free soy sauce (plus more for serving)
1 teaspoon rice vinegar
2 teaspoons brown sugar (light or dark is fine)
Juice of 1/2 lime (cut the other half in wedges for serving)
1/2 - 1 teaspoon red pepper flakes (optional)
Directions
(1) Prepare tofu: Drain one 14-oz. block of extra-firm tofu by putting it on a plate with a folded tea towel or paper towels under and on top of the block, then putting something heavy (I use a cast-iron frying pan) on top. Let sit that way for 30 minutes or more.
(2) Prepare vegetables: Trim ends from green beans and cut into bite-size pieces. Peel a one-inch piece of fresh ginger and coarsely chop. Very coarsely chop basil leaves from 1 bunch of basil to measure one loosely packed cup. Set green beans, ginger, and basil aside.
(3) Make sauce: In a small jar or bowl, combine 1 & 1/2 tablespoons gluten-free soy sauce, 2 teaspoons light or dark brown sugar, 1 teaspoon rice vinegar, 1 tablespoon water, and red pepper flakes (if using). Cut lime in half and squeeze juice from 1/2 into sauce mixture and shake to combine. Set aside. Cut remaining lime half into wedges and set aside for serving.
Make-ahead note: At this point, you can leave the vegetables, tofu, and sauce in the refrigerator until you’re ready to cook.
(4) Season tofu: Once drained, slice the tofu into 1/2 inch thick pieces. Season both sides of each slice lightly with kosher salt.
(5) Cook rice: Per package instructions but substitute coconut milk for 1/2 the water. Or, even better, make my Best Coconut Rice.
(6) Cook fofu: Heat 2 tablespoons garlic-infused olive oil in a large nonstick skillet over medium-high. Arrange drained tofu in the hot pan in a single layer. Cook, undisturbed, until golden brown on the underside, about 4 minutes. Turn over and cook until other sides are golden brown, about 4 more minutes. Sprinkle 1/4 cup unsweetened shredded coconut over tofu and cook, turning often to prevent burning, until tofu is coated and coconut is toasted, about 2 minutes. Transfer to a rimmed baking sheet; season lightly with salt.
(7) Cook vegetables: Heat the remaining 1 tablespoon garlic-infused olive oil over medium-high heat. Add prepared green beans and toss to coat; season lightly with about 1/4 teaspoon salt. Cook, stirring, for about 30 seconds. Reduce heat to medium, and add 1 tablespoon water, and cover the pan. Cook until beans are crisp-tender, about 3 minutes. Uncover the pan and add reserved ginger. Cook, stirring, until fragrant, about 30 seconds. Return tofu to the pan and add reserved sauce. Cook, tossing gently until sauce is nearly evaporated, about 30 seconds.
(8) Finish: Remove from heat, add the chopped basil and gently toss to mix in.
(9) Plate and serve: Divide rice among bowls; top with the vegetables and layer on a slice or two of tofu. Serve with reserved lime wedges and additional gluten-free soy sauce.
Eat and enjoy every bite because you can!
Recipe note: I use Diamond Crystal Kosher salt in all my recipes because it has a wonderful flat and crisp flake that tastes delicious. It is also the least salty salt available so you can use it more liberally as a seasoning than you can table salt or sea salt. If you use another type of salt, you may need to reduce the amount so it is not over-salted.
Link note: This post contains links for you to easily purchase items listed on the page. In some cases, we have provided a special discount code for IBS Game Changers so be sure to use it when you purchase an item to get the discount that has been arranged just for you! As an Amazon Associate, I earn a commission from qualifying Amazon purchases.
More Deliciously Low FODMAP™ bowl recipes


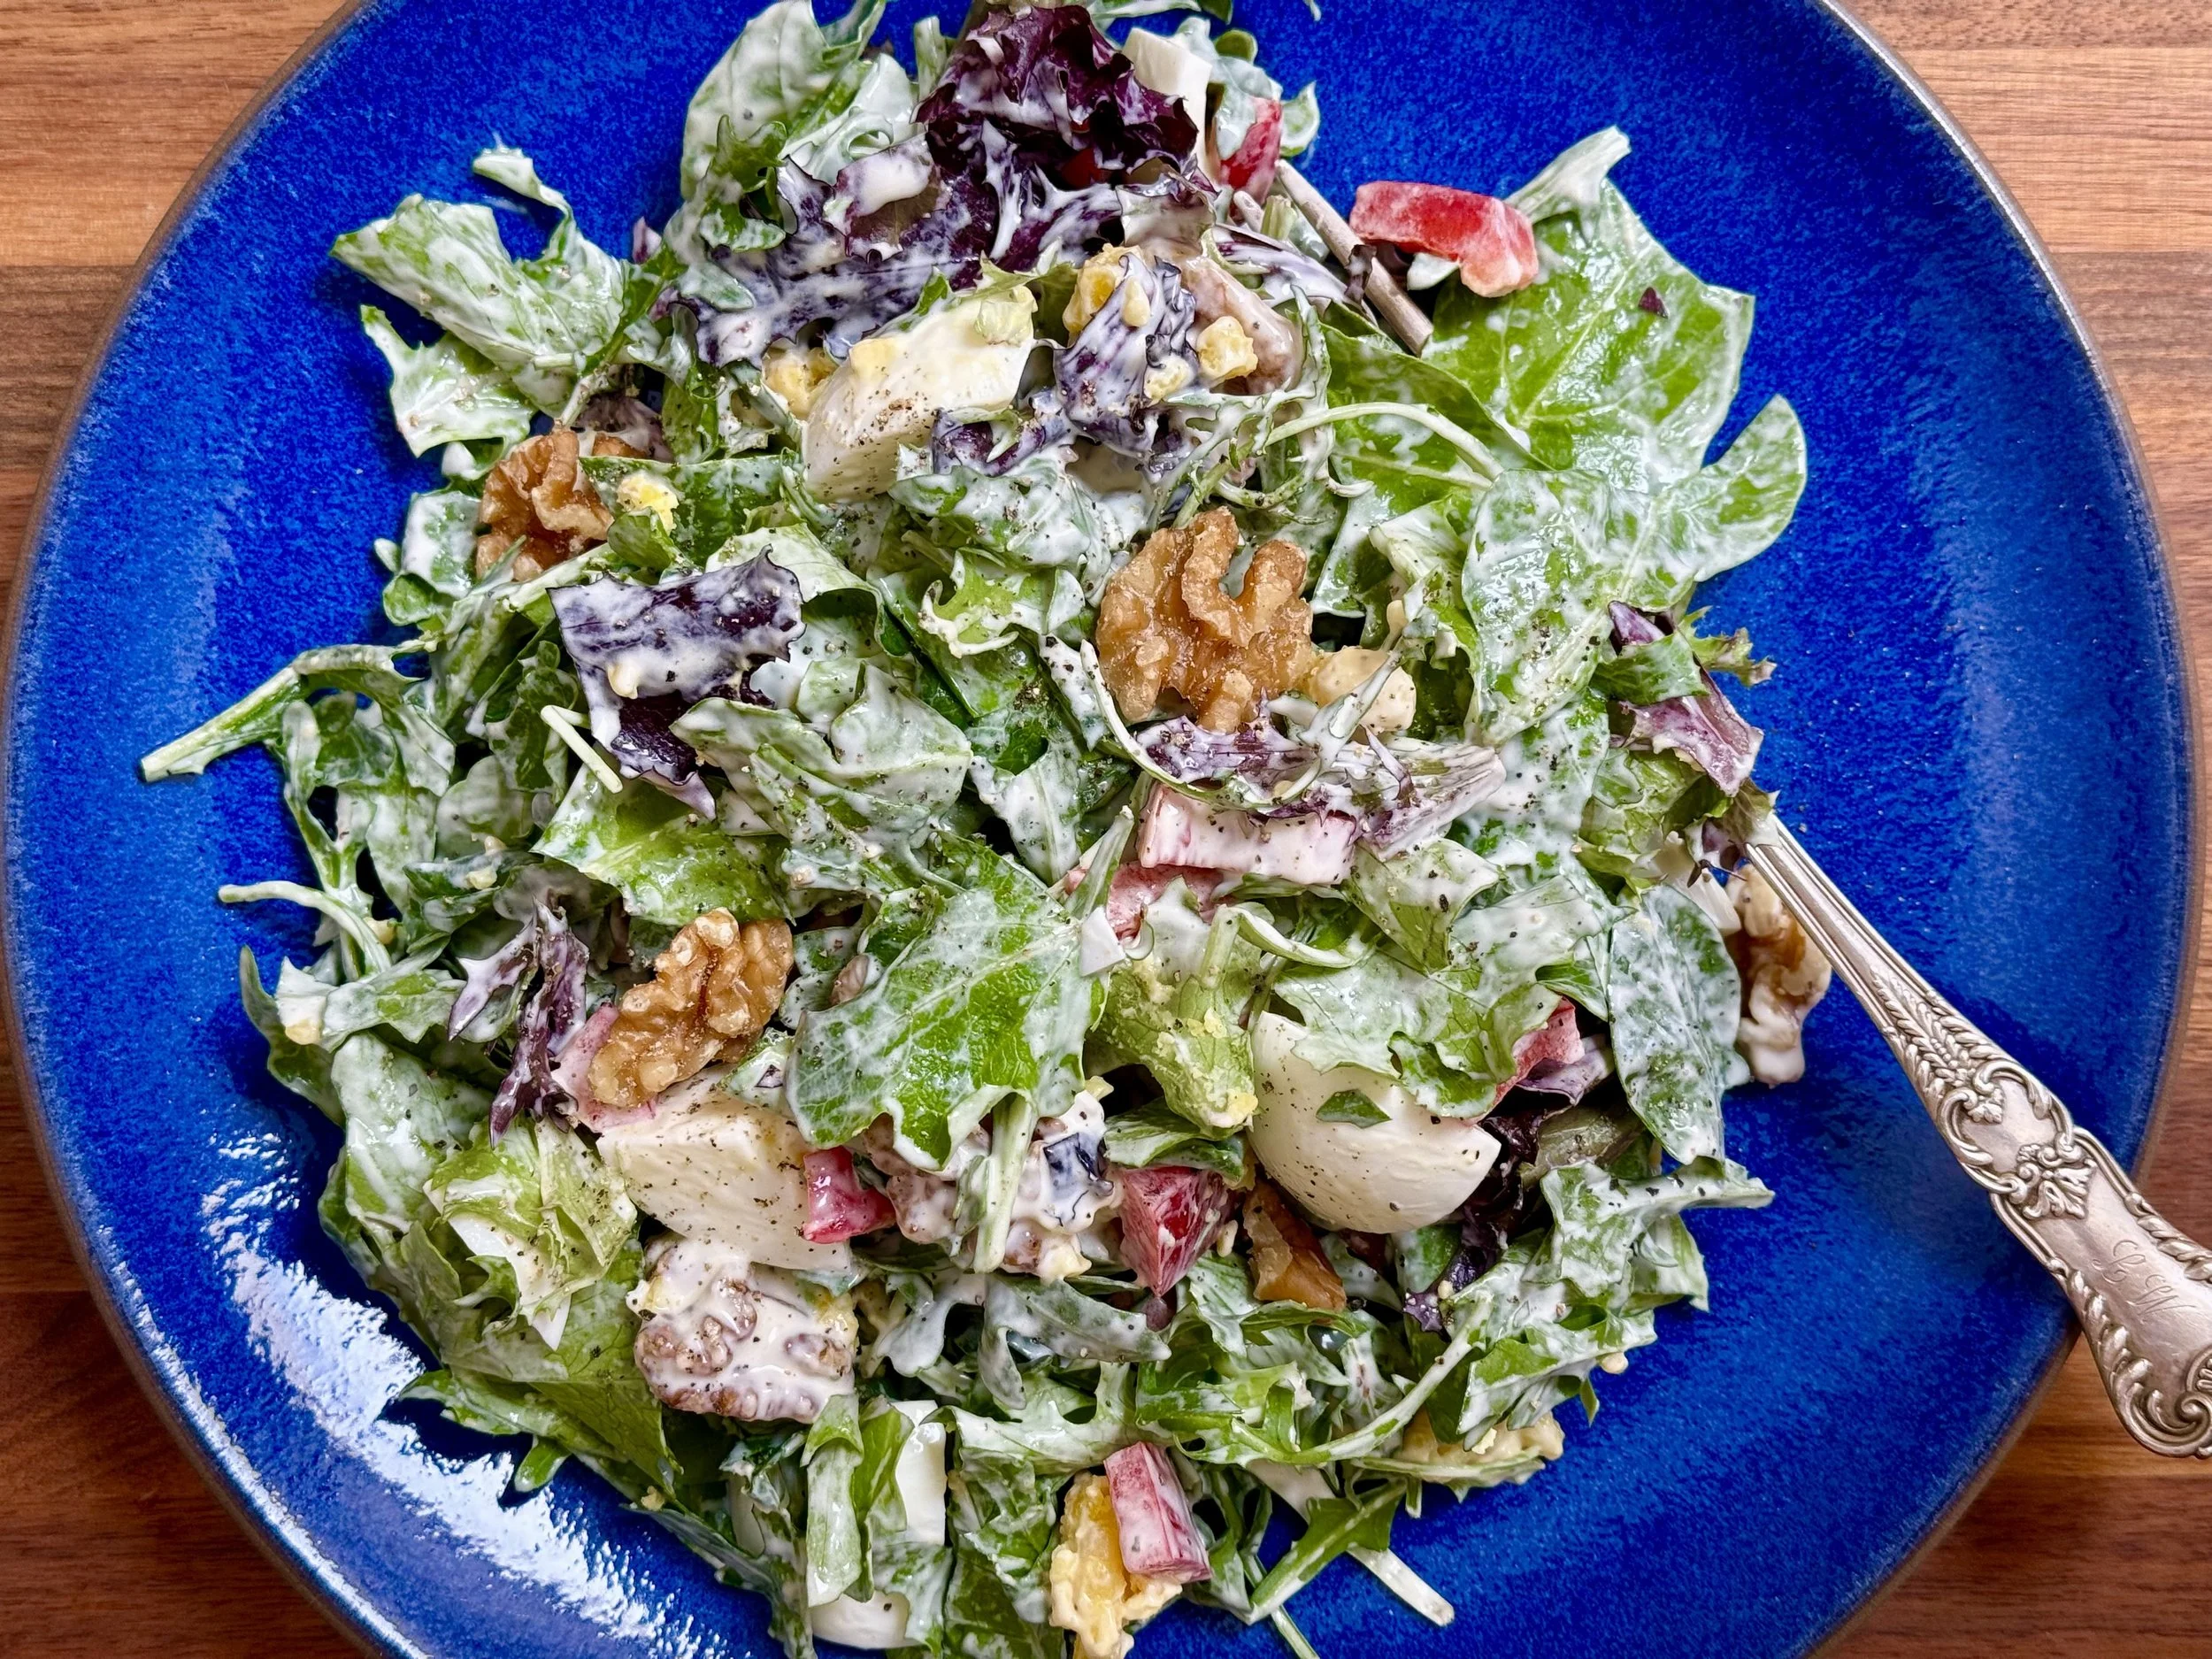
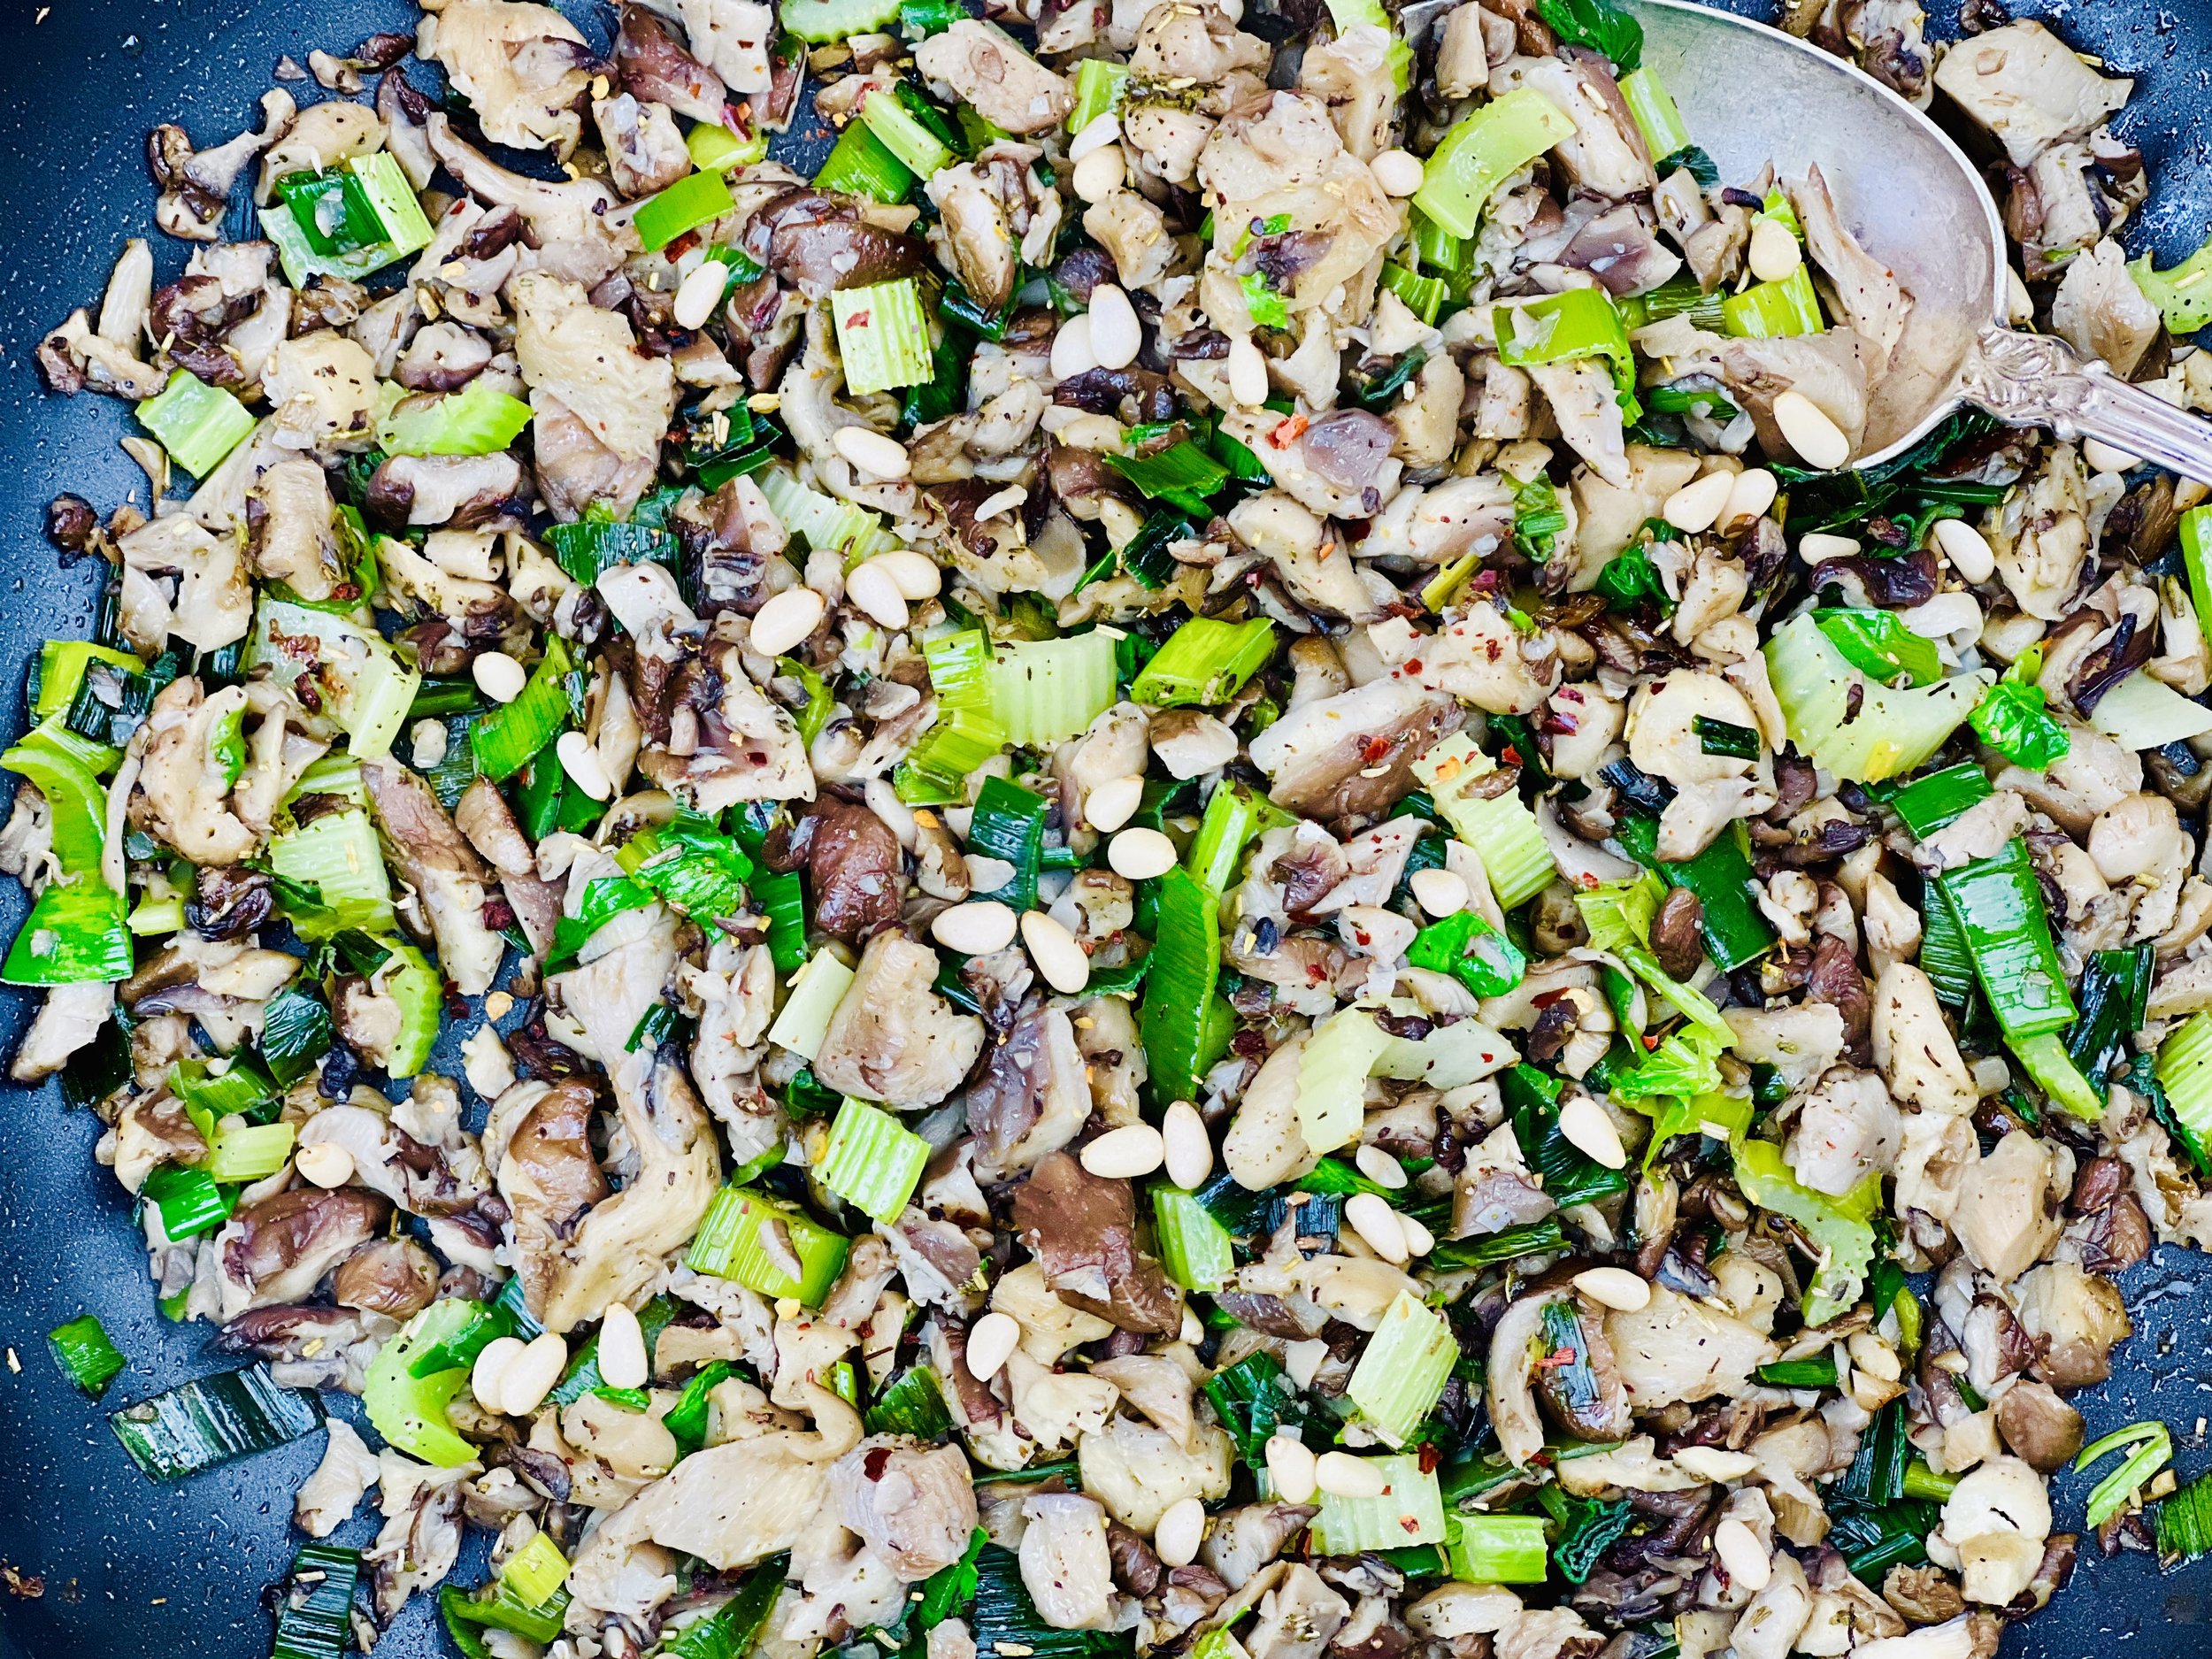
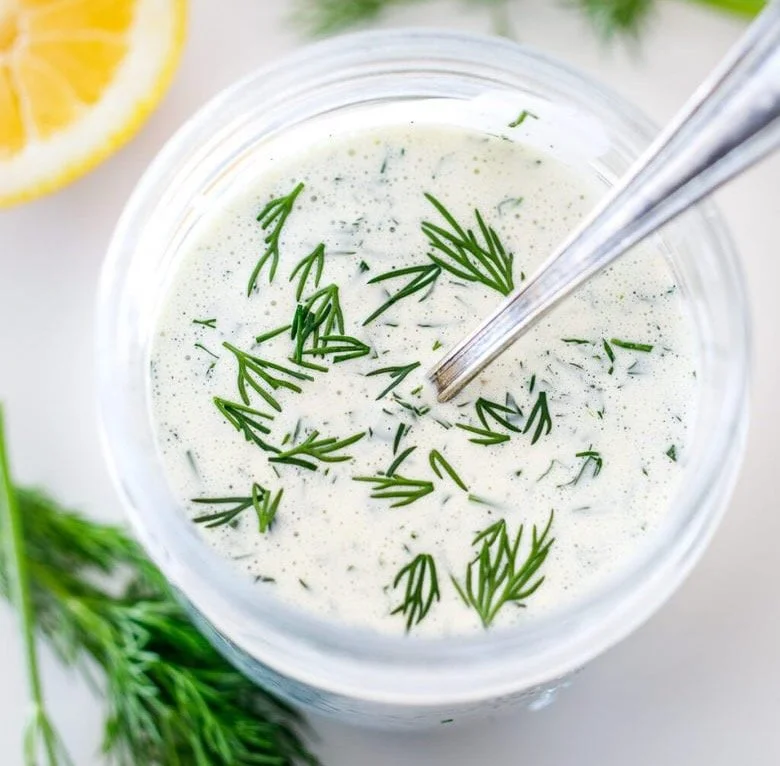
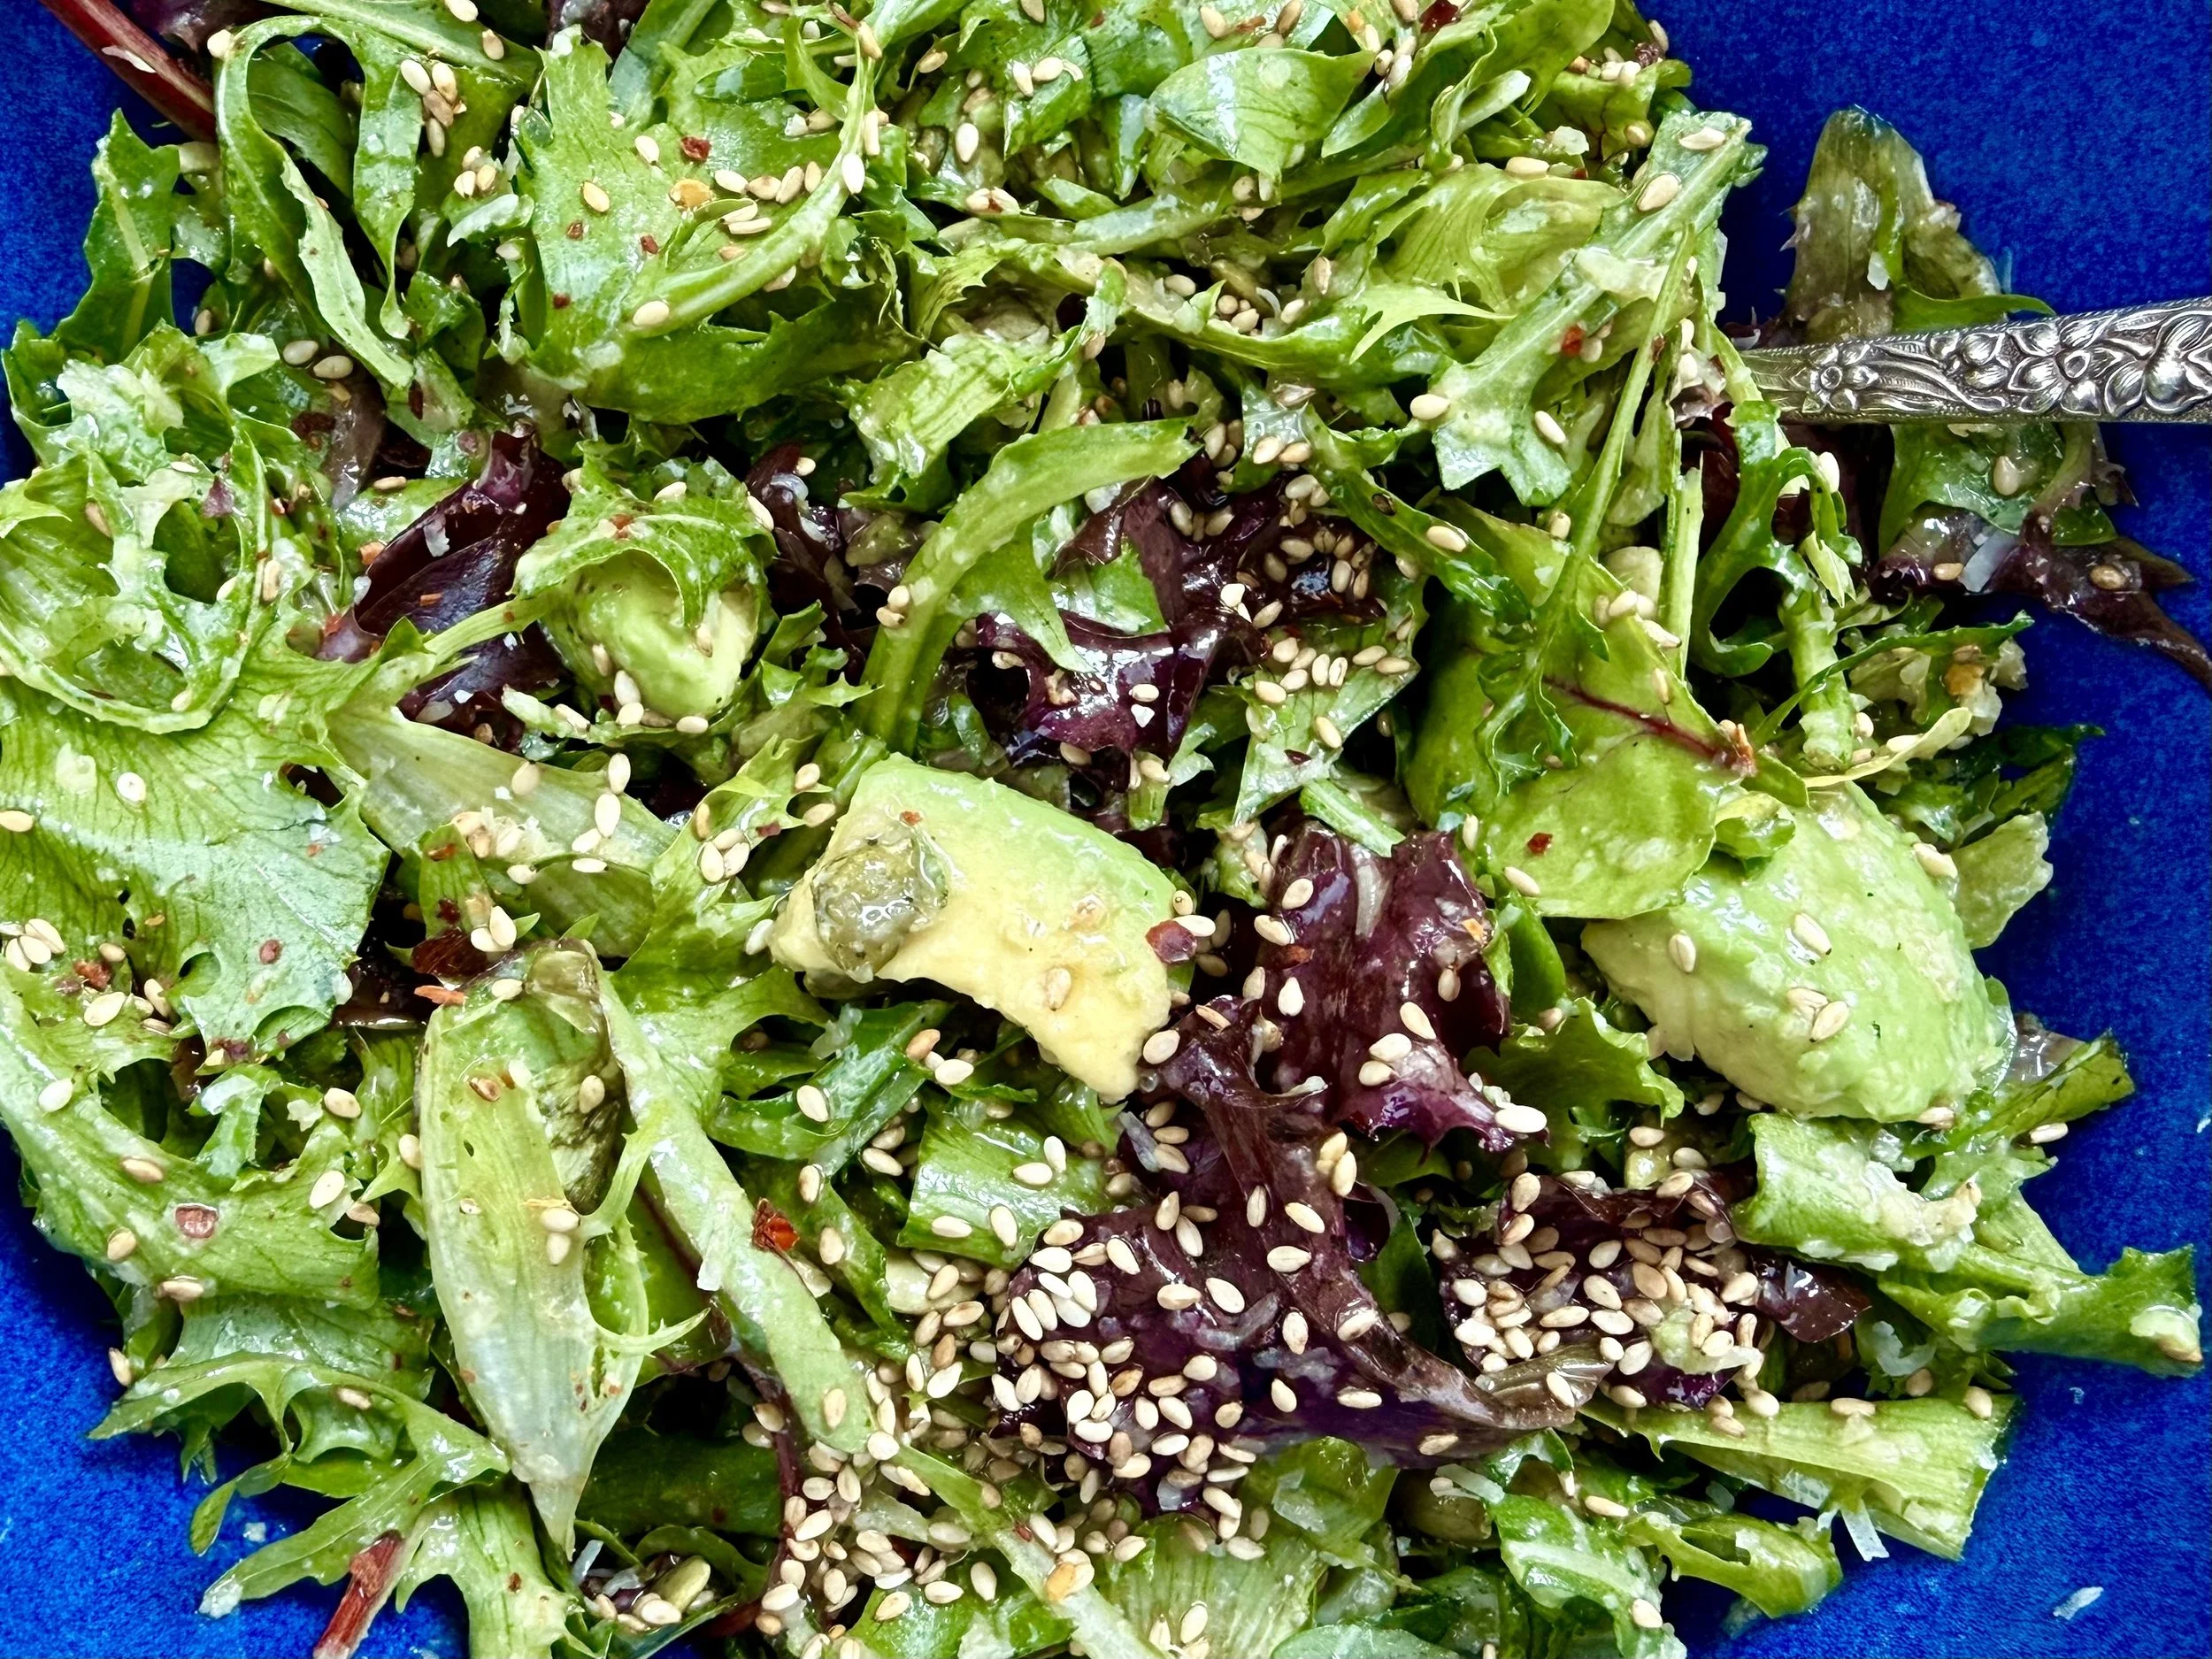
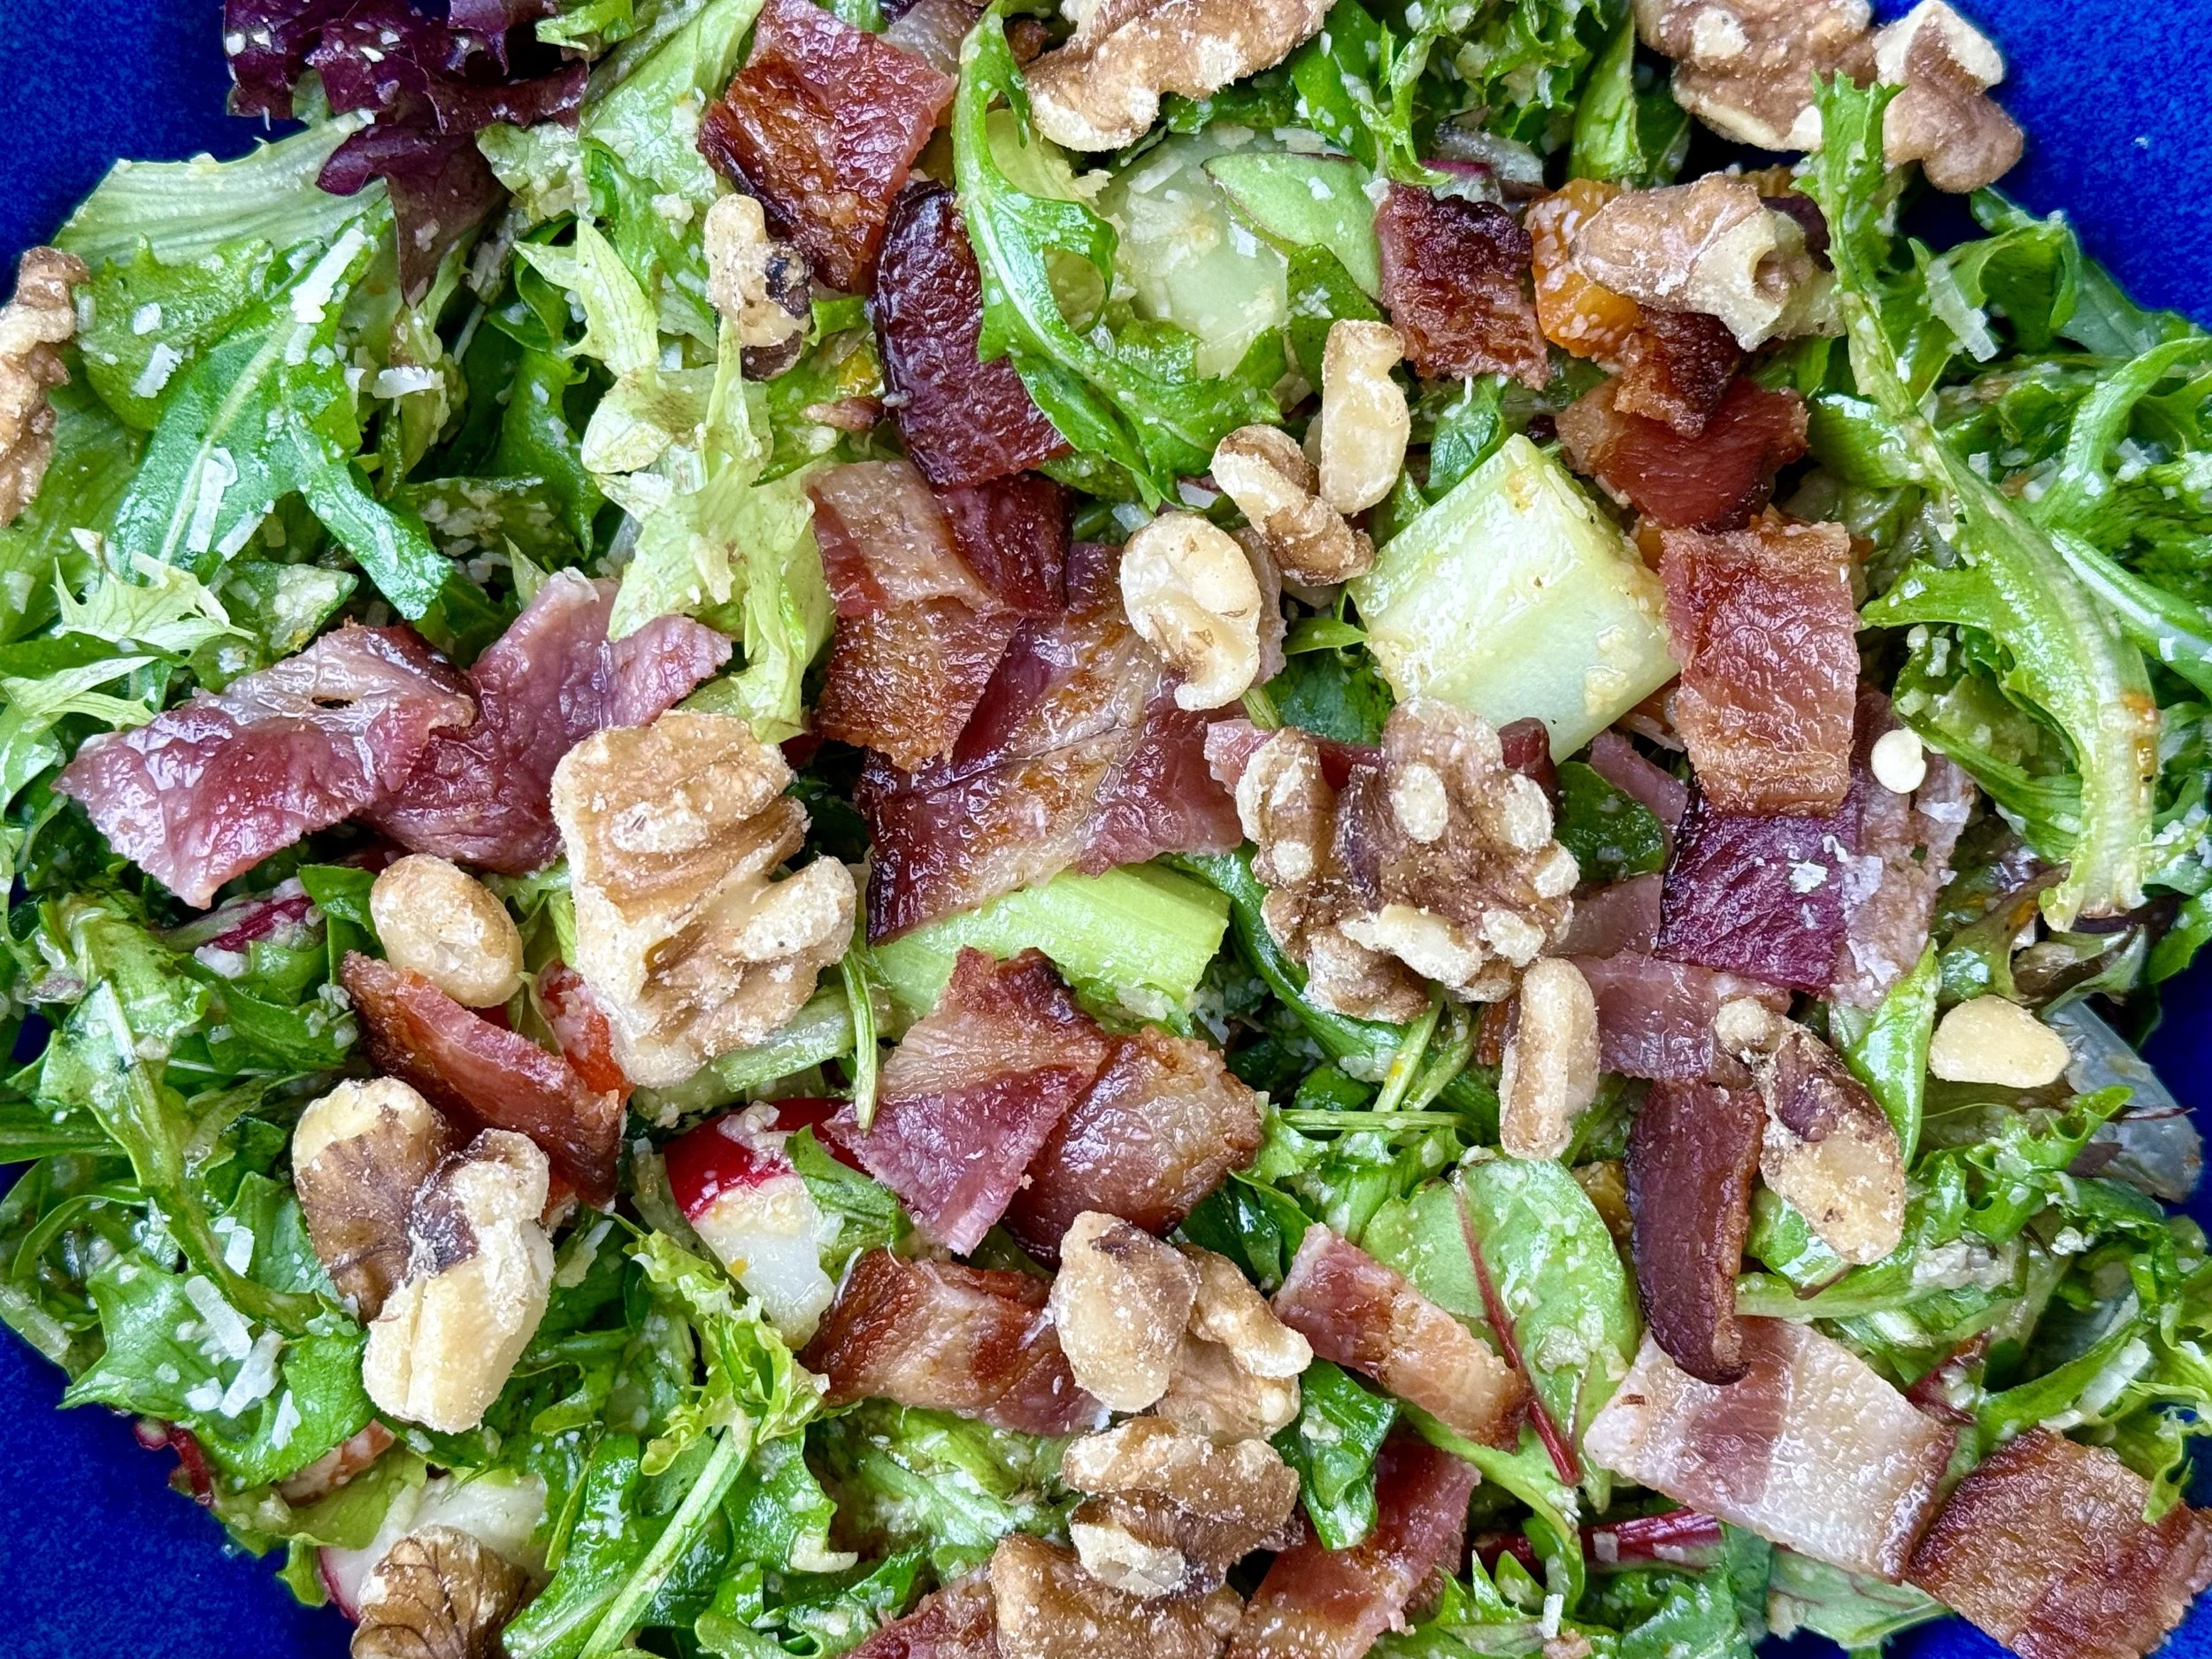
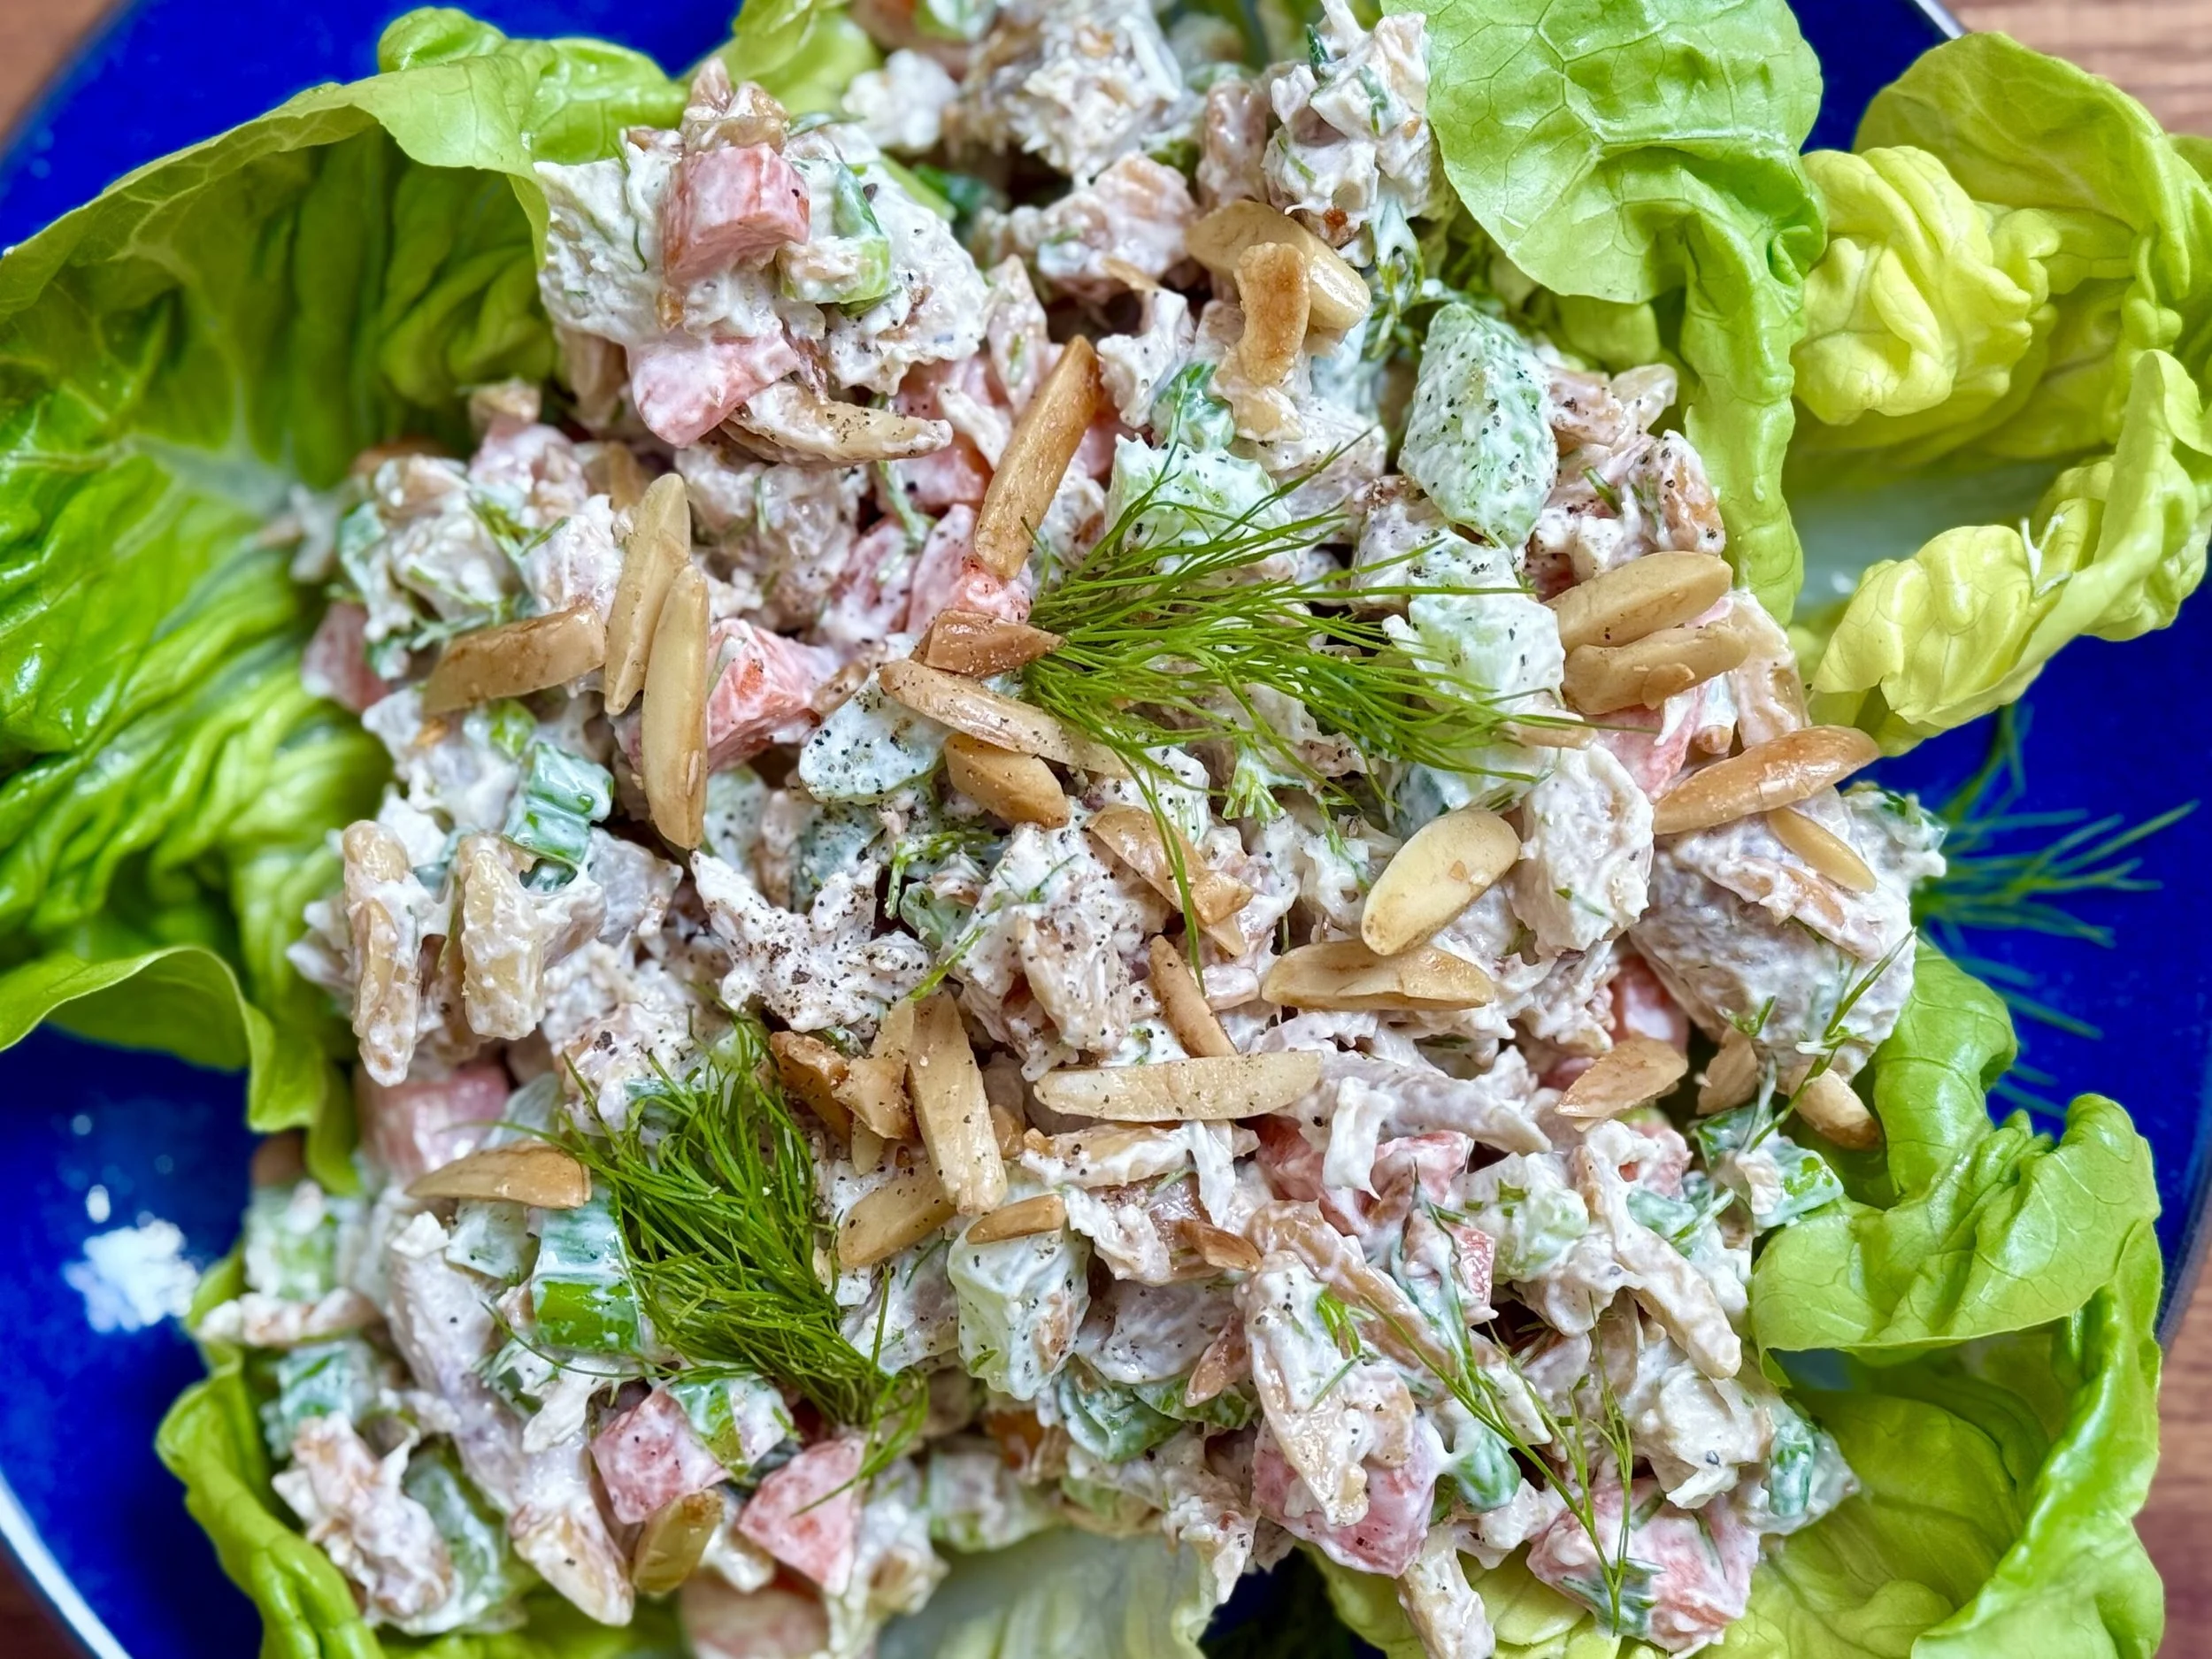
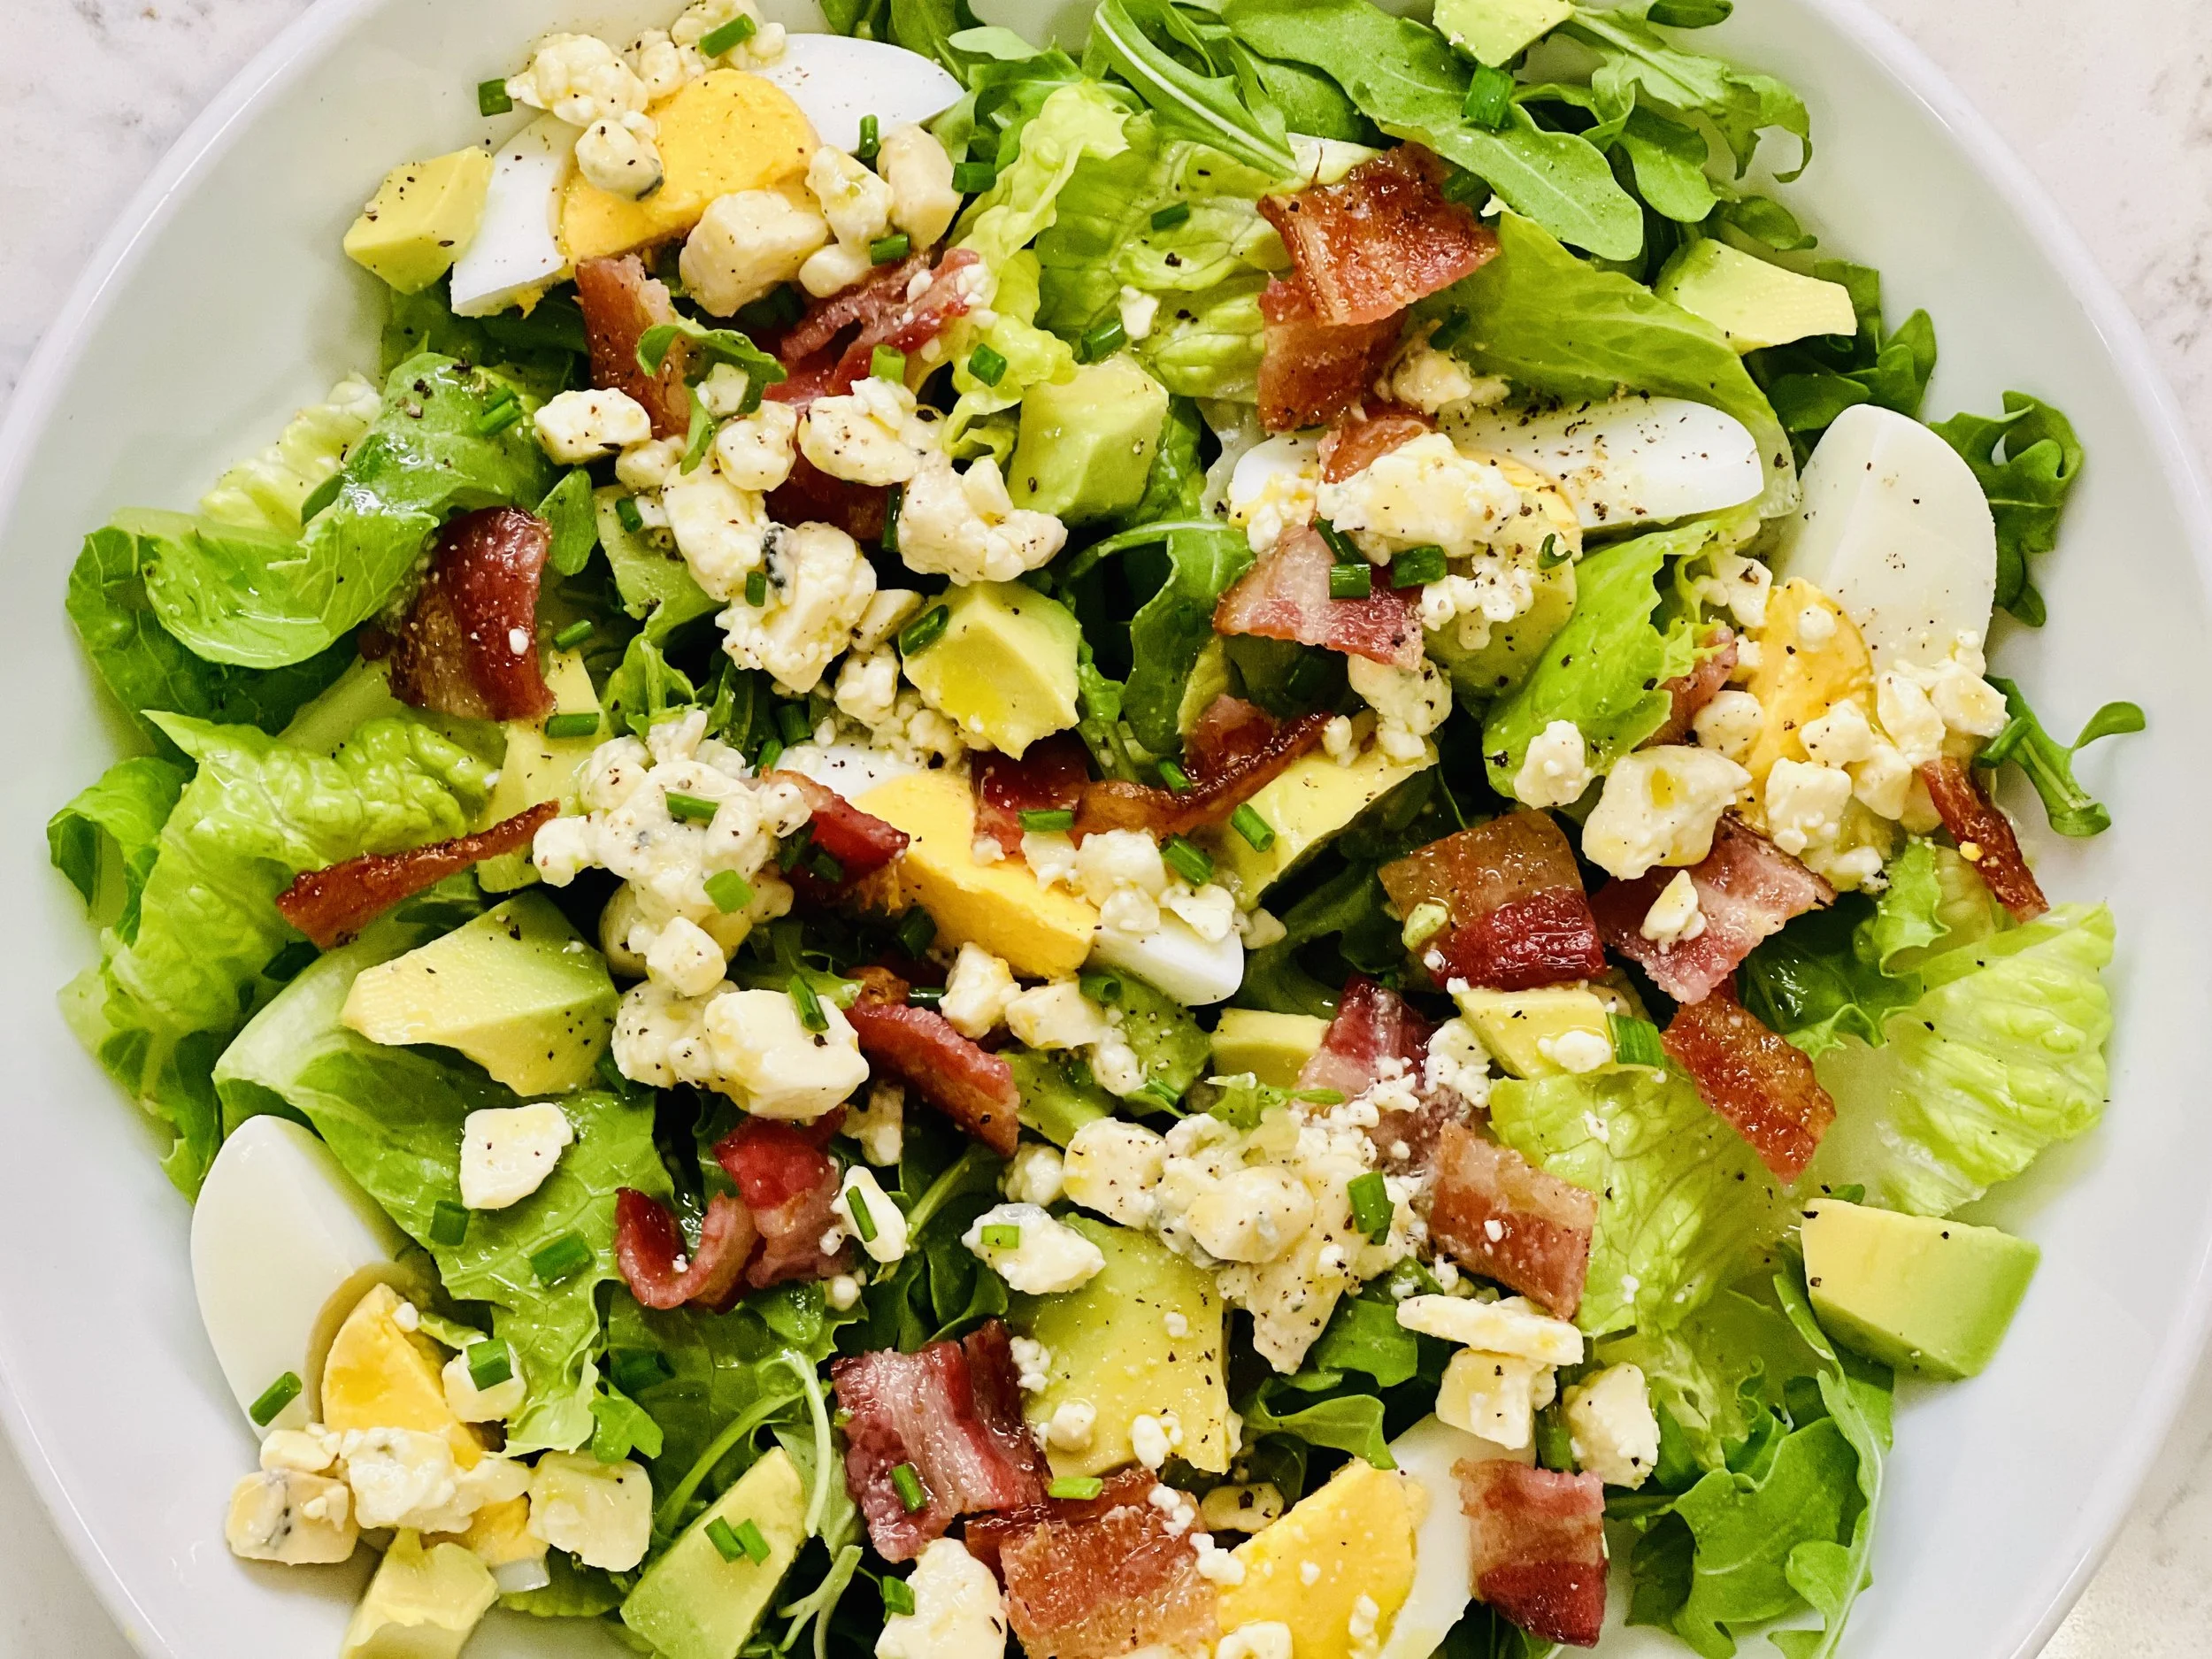
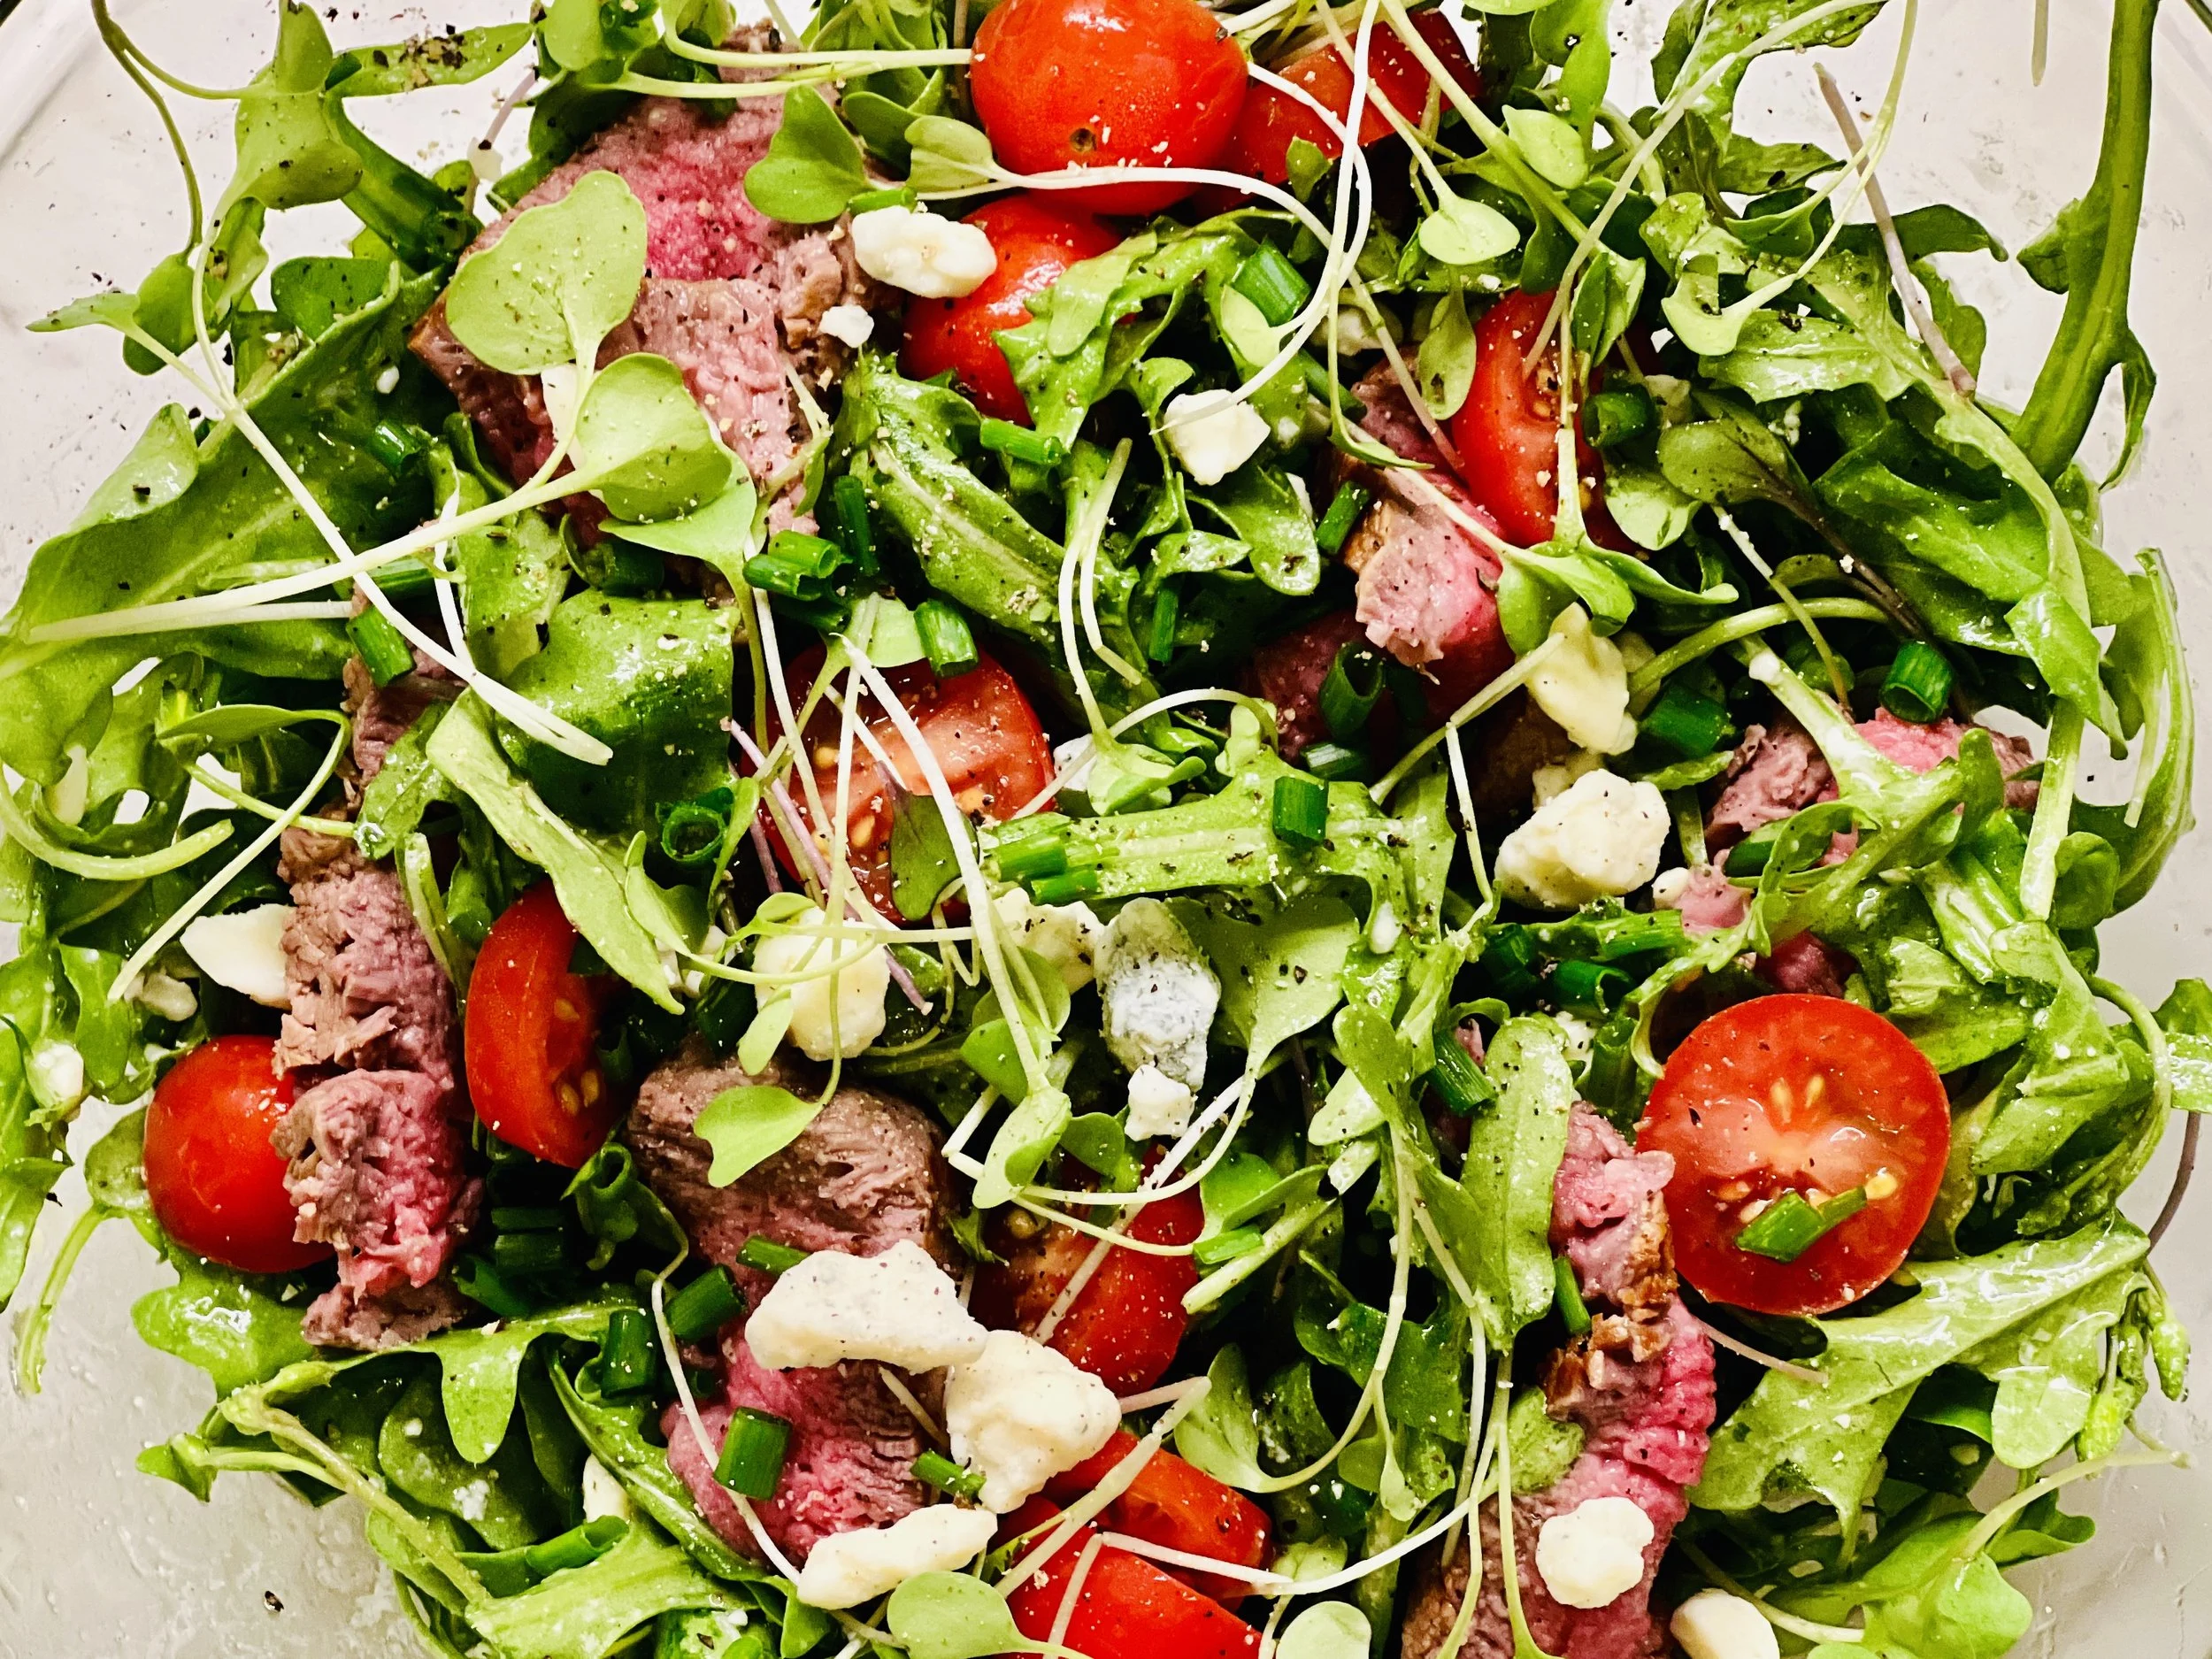
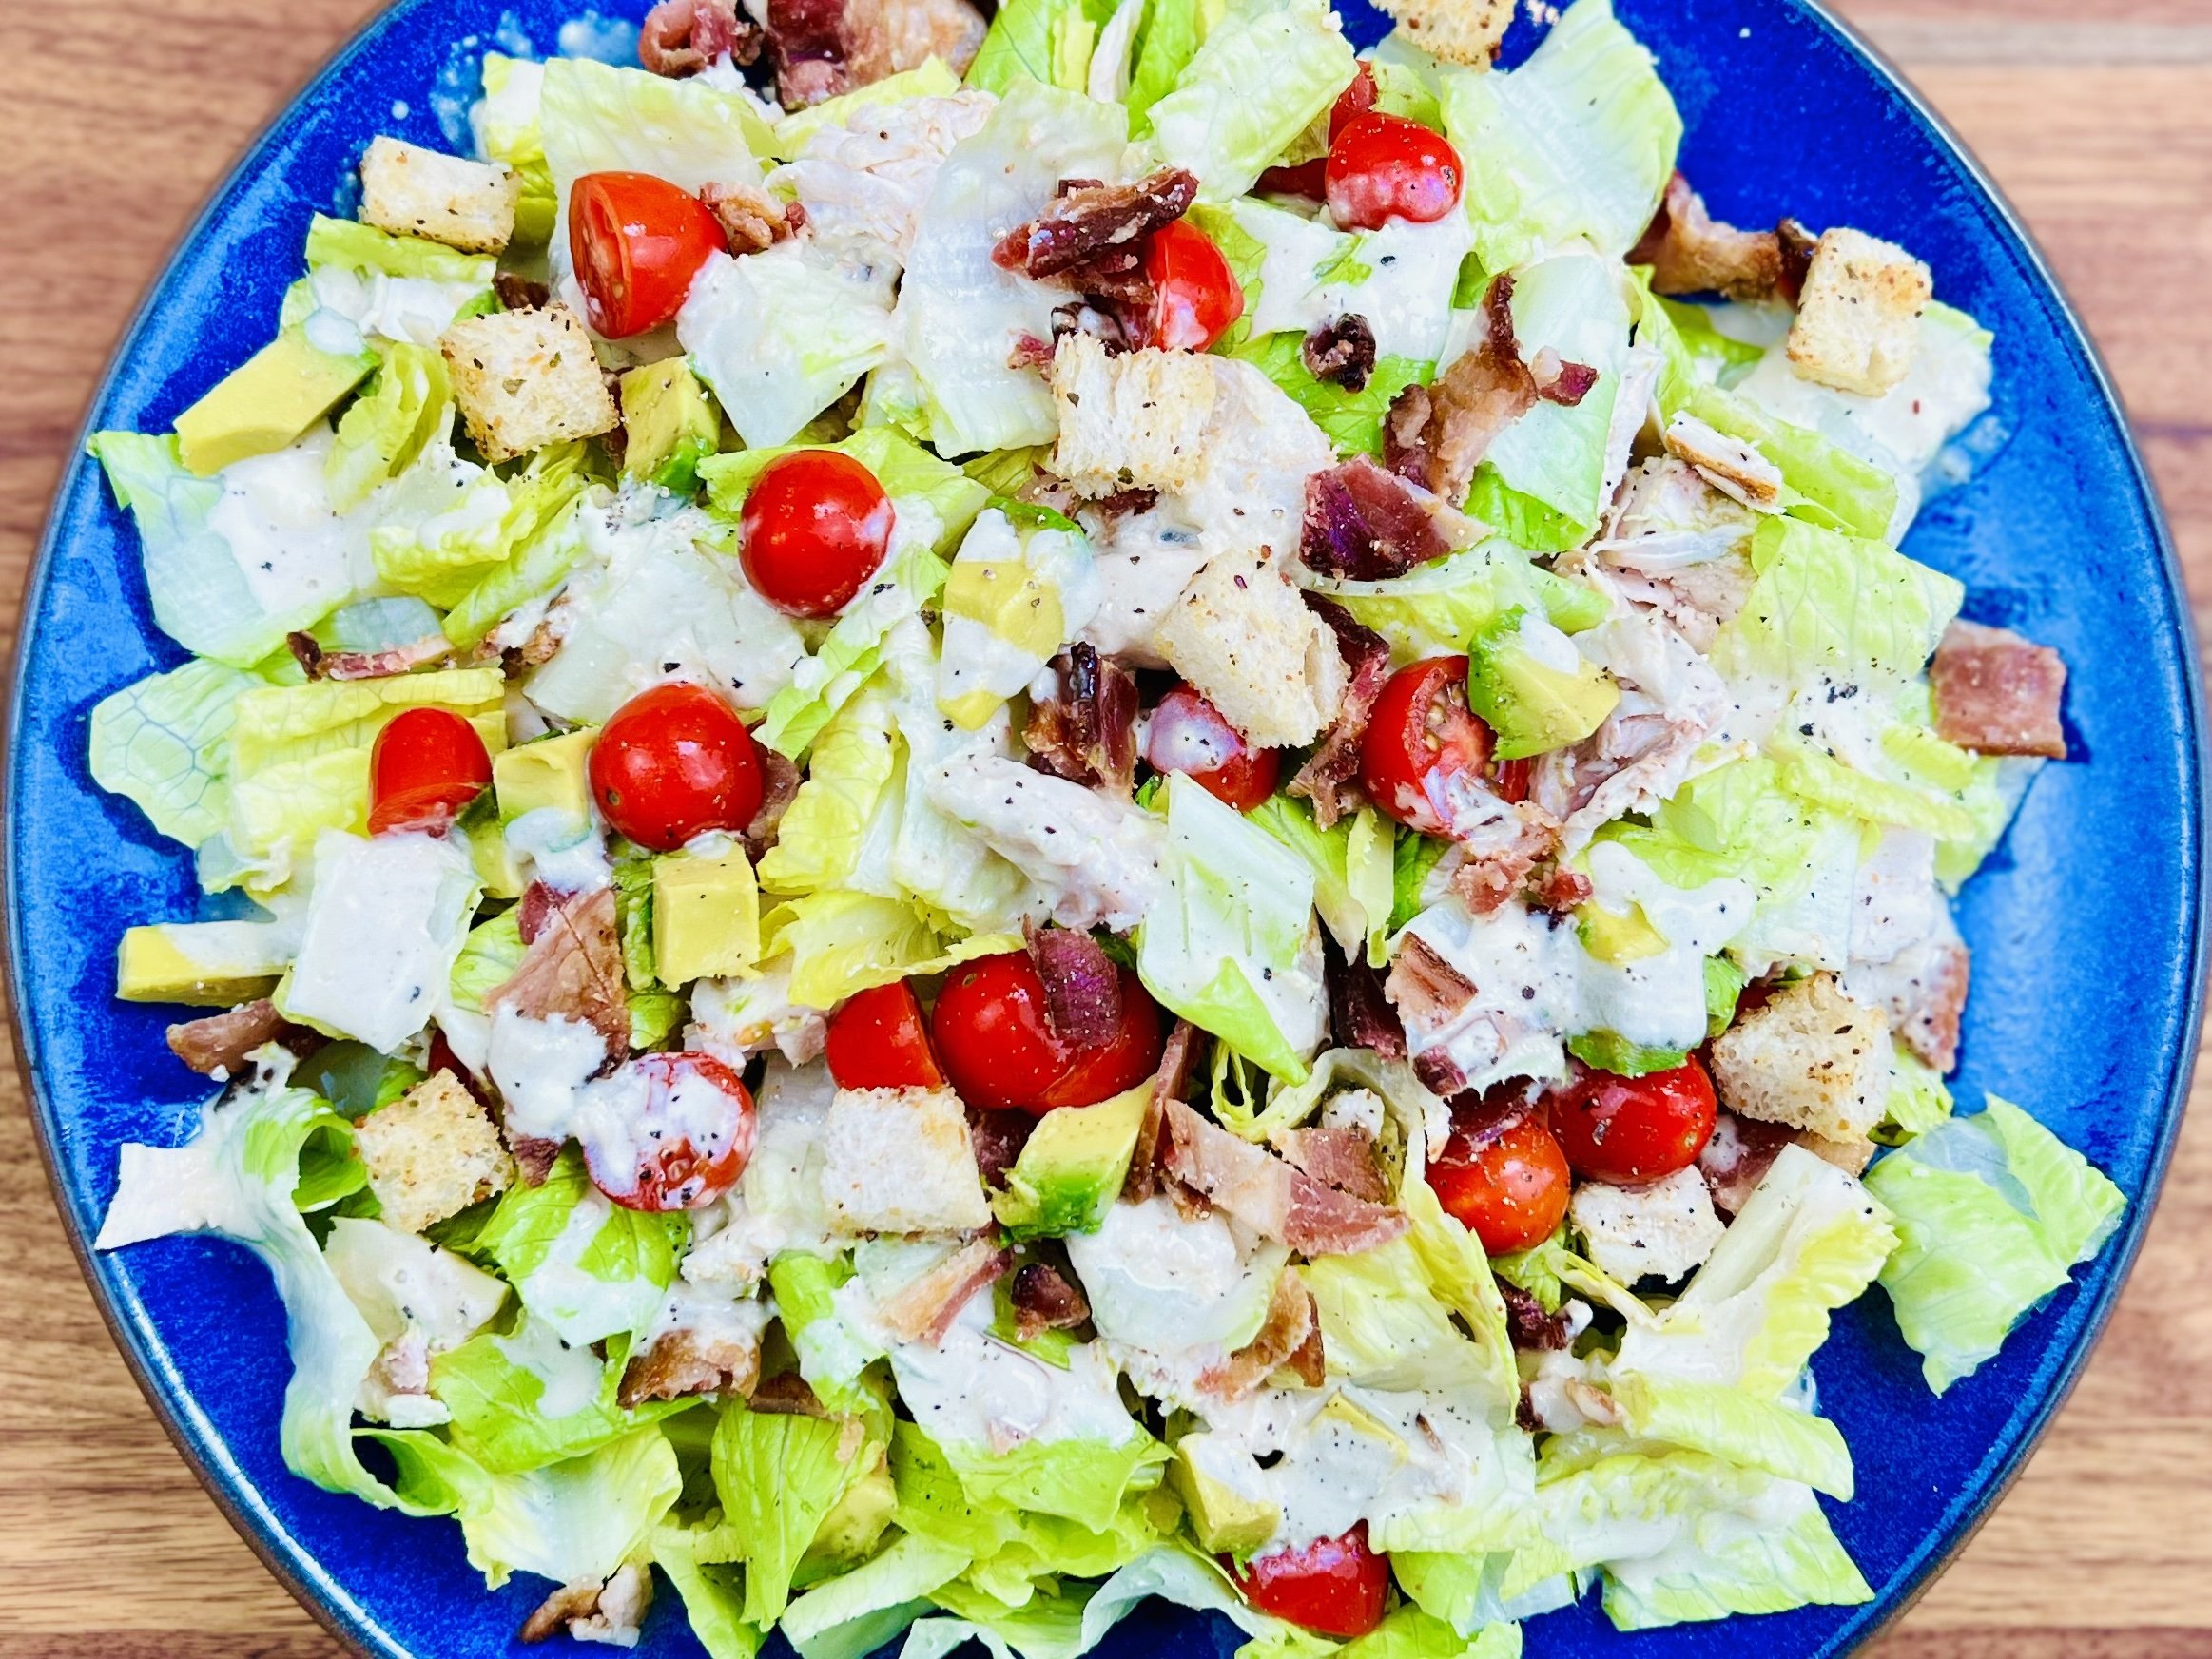
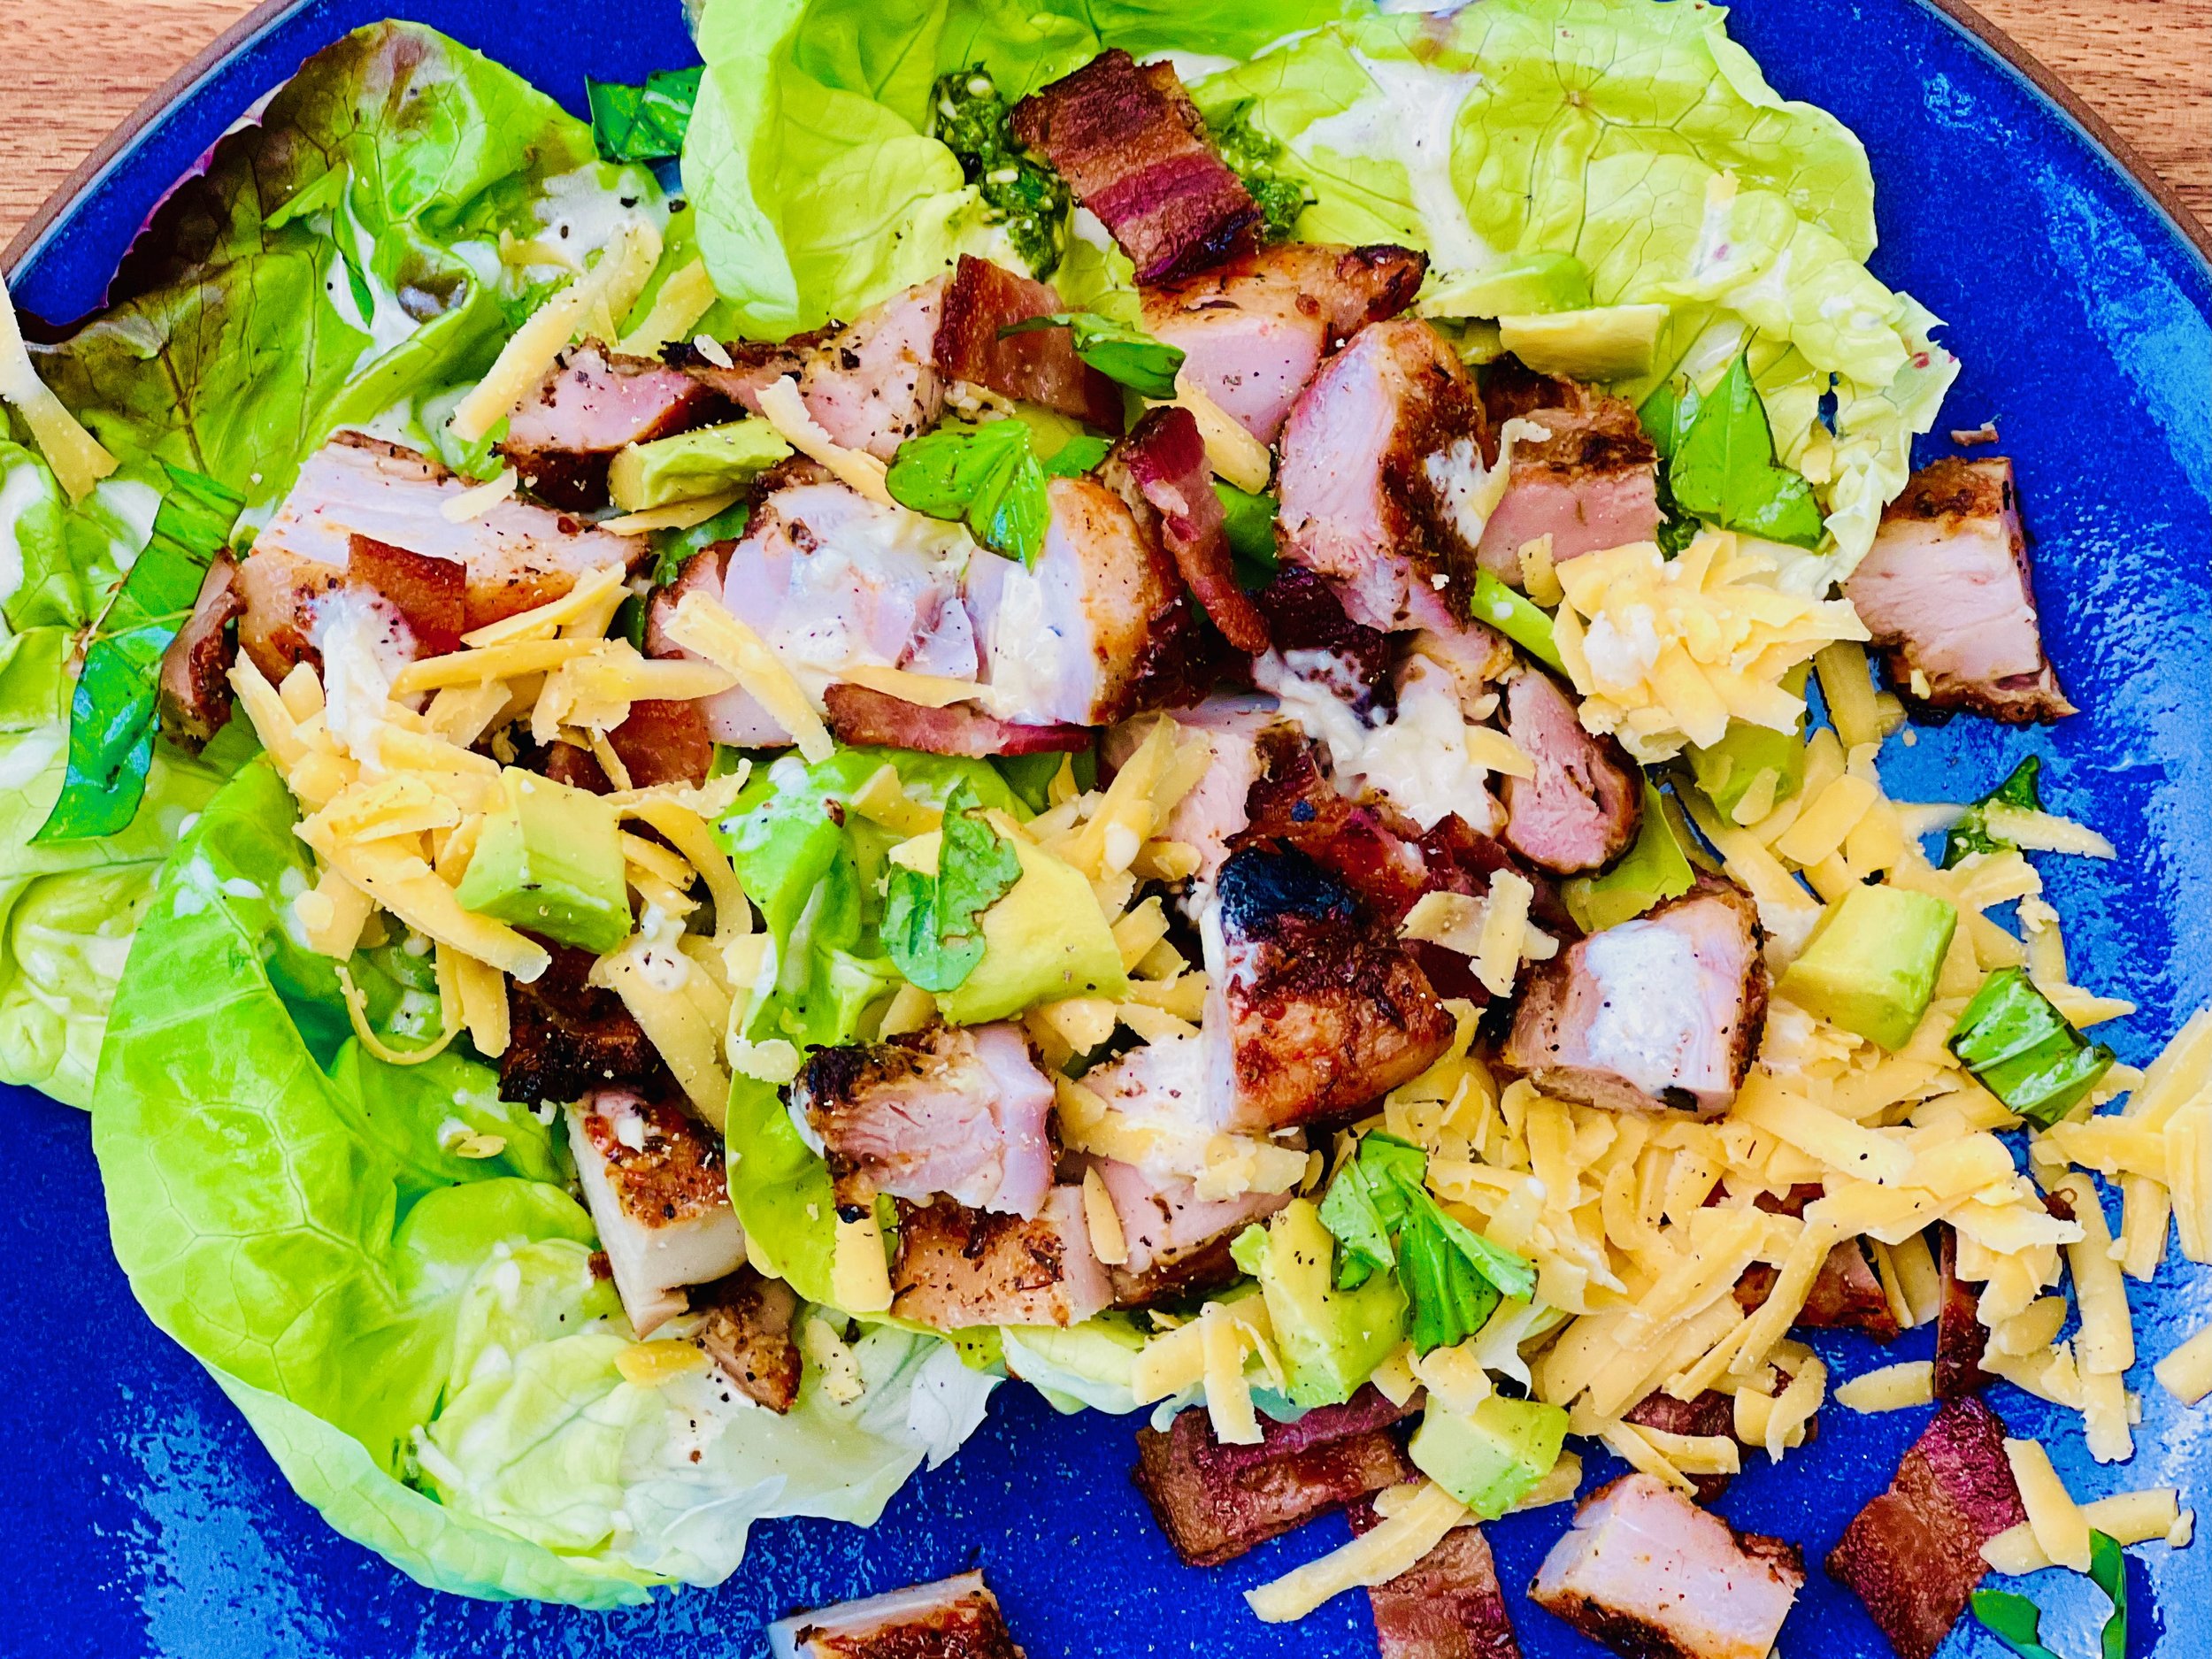
Chicken Cobb Salad or Lettuce Wraps (Low FODMAP)
20 Minutes prep • 25 Minutes cook • Low FODMAP • Serves 4
20 Minutes prep • 15 Minutes cook • Low FODMAP • Gluten-free • Serves 4 • Ok to make ahead: Steps 1-4
This is a fabulous cobb salad or cobb salad lettuce wrap with simple ingredients that are easy to make. You can make the chicken and the bacon ahead of time so the salad is a snap to pull together when you’re ready to eat. It’s a great way to use up leftover grilled chicken if you’ve got some on hand. The creamy Caesar dressing is delicious and brings everything together perfectly.
Ingredients: Caesar Dressing
1/2 cup mayonnaise
3 tablespoons garlic-infused olive oil
3 tablespoons lemon juice
2 teaspoons dijon mustard
2 teaspoons gluten-free Worcestershire sauce
1/3 cup grated parmesan
Ingredients: Chicken
2 Chicken breasts (boneless and skinless)
1 tablespoon extra-virgin olive oil
1 - 2 tablespoons Smoke N Sanity Cajun Creole Seasoning (use code IBSGC10 for 10% discount)
Ingredients: Salad or Wraps
Lettuce leaves for wrapping (if making wraps)
2 cups lettuce, shredded
1/2 avocado, diced
1/4 cup fresh basil, roughly chopped
6 slices bacon, cooked and crumbled
1/2 cup crumbled blue cheese or shredded extra sharp cheddar
Directions
(1) Prepare the chicken: This step is optional but results in a more flavorful and tender chicken. Remove chicken from the package, and put it in one layer on a rimmed plate or baking dish. Season both sides of each piece lightly with Kosher salt (about 1/4 - 1/2 teaspoon per side). Cover the dish with plastic wrap and refrigerate until ready to use, ideally about 4 hours before cooking or overnight.
(2) Season chicken: Slice chicken breasts horizontally if they are very thick. Drizzle the olive oil over the chicken and use your fingers to rub it all over both sides of each chicken breast. Sprinkle the cajun creole seasoning evenly over both sides of each chicken breast.
(3) Grill chicken: Preheat your grill to medium-high. After 10 minutes when the grill is hot, lay the chicken directly on the grill. Cook for about 4 minutes, then flip the chicken and cook on the other side until just cooked through. Remove from the grill and let rest on a plate.
(4) Cook the bacon: Preheat the oven to 400 degrees F. Line a rimmed baking sheet with foil, making sure the foil goes up the sides of the pan to catch the grease. Lay the bacon on the foil and cook in the oven for 10 minutes. Turn the oven off and leave the bacon in the oven until it reaches the desired doneness (usually 3 - 5 more minutes).
Make-ahead note: At this point, you may let the chicken and the bacon cool, then refrigerate until you’re ready to prepare your salad.
(5) Make the dressing: Combine all ingredients in a small bowl or glass jar. Whisk or shake to combine. Taste and adjust the salt and pepper as you like.
(6) Assemble: In a large salad bowl, combine the lettuce, avocado, and basil. Toss with 1/2 of the dressing. Arrange your whole lettuce leaves on the plate, then add the salad, chicken, bacon, and cheese. Drizzle over more dressing. Sprinkle with a couple of grinds of black pepper. Roll the leaves to wrap, or leave the whole thing “open face” to serve.
(7) Plate and serve: Serve at room temp or chilled with the additional dressing on the side.
Eat and enjoy every bite because you can!
Recipe note: I use Diamond Crystal Kosher salt in all my recipes because it has a wonderful flat and crisp flake that tastes delicious. It is also the least salty salt available so you can use it more liberally as a seasoning than you can table salt or sea salt. If you use another type of salt, you may need to reduce the amount so it is not over-salted.
Link note: This post contains links for you to easily purchase items listed on the page. In some cases, we have provided a special discount code for IBS Game Changers so be sure to use it when you purchase an item to get the discount that has been arranged just for you! As an Amazon Associate, I earn a commission from qualifying Amazon purchases.
More Deliciously Low FODMAP™ salad recipes
Chocolate Hazelnut Cranberry Clusters (Low FODMAP)
10 Minutes prep • 60 Minutes cool • Gluten-free • Low FODMAP
10 Minutes prep • 60 Minutes cool • Gluten-free • Low FODMAP • Makes 8 - 12 clusters • Ok to make ahead: Steps 1 - 4
If you’ve ever thought of making candy, this is a great place to start. These clusters are simple to make and quite delicious. And when you make them yourself, you can be sure you’re using low FODMAP ingredients that will agree with you. The mix of nuts, fruit, and chocolate makes a delightful combination of flavors and textures.

This is an exclusive recipe just for recipe club members.
In addition to the two free recipes I create each week I am creating and delivering one very special recipe just for my recipe club members. If you’re not yet a member, I encourage you to join! Membership in the club includes access to the complete archive of recipes with filters so it can become your virtual low FODMAP cookbook plus, I am creating and delivering one special NEW recipe every week ONLY for recipe club members. And, for my true fans, I’ll be sharing behind-the-scenes content, and updates on the progress of the new cookbook.
Your membership in the club helps me continue creating new, delicious, easy-to-make, low FODMAP recipes just for you.
As always, all recipes will emphasize simple ingredients, easy preparation, and delicious low FODMAP results. Recipes will be for everything from main courses, salads, soups, side dishes, appetizers, desserts, sauces, breakfast and lunch, and even mocktails and cocktails. Everything you need to prepare fantastic low FODMAP meals everyone will love.
Join the club. Become a Patron. Let’s keep making delicious Low FODMAP meals together.
More Deliciously Low FODMAP™ dessert recipes
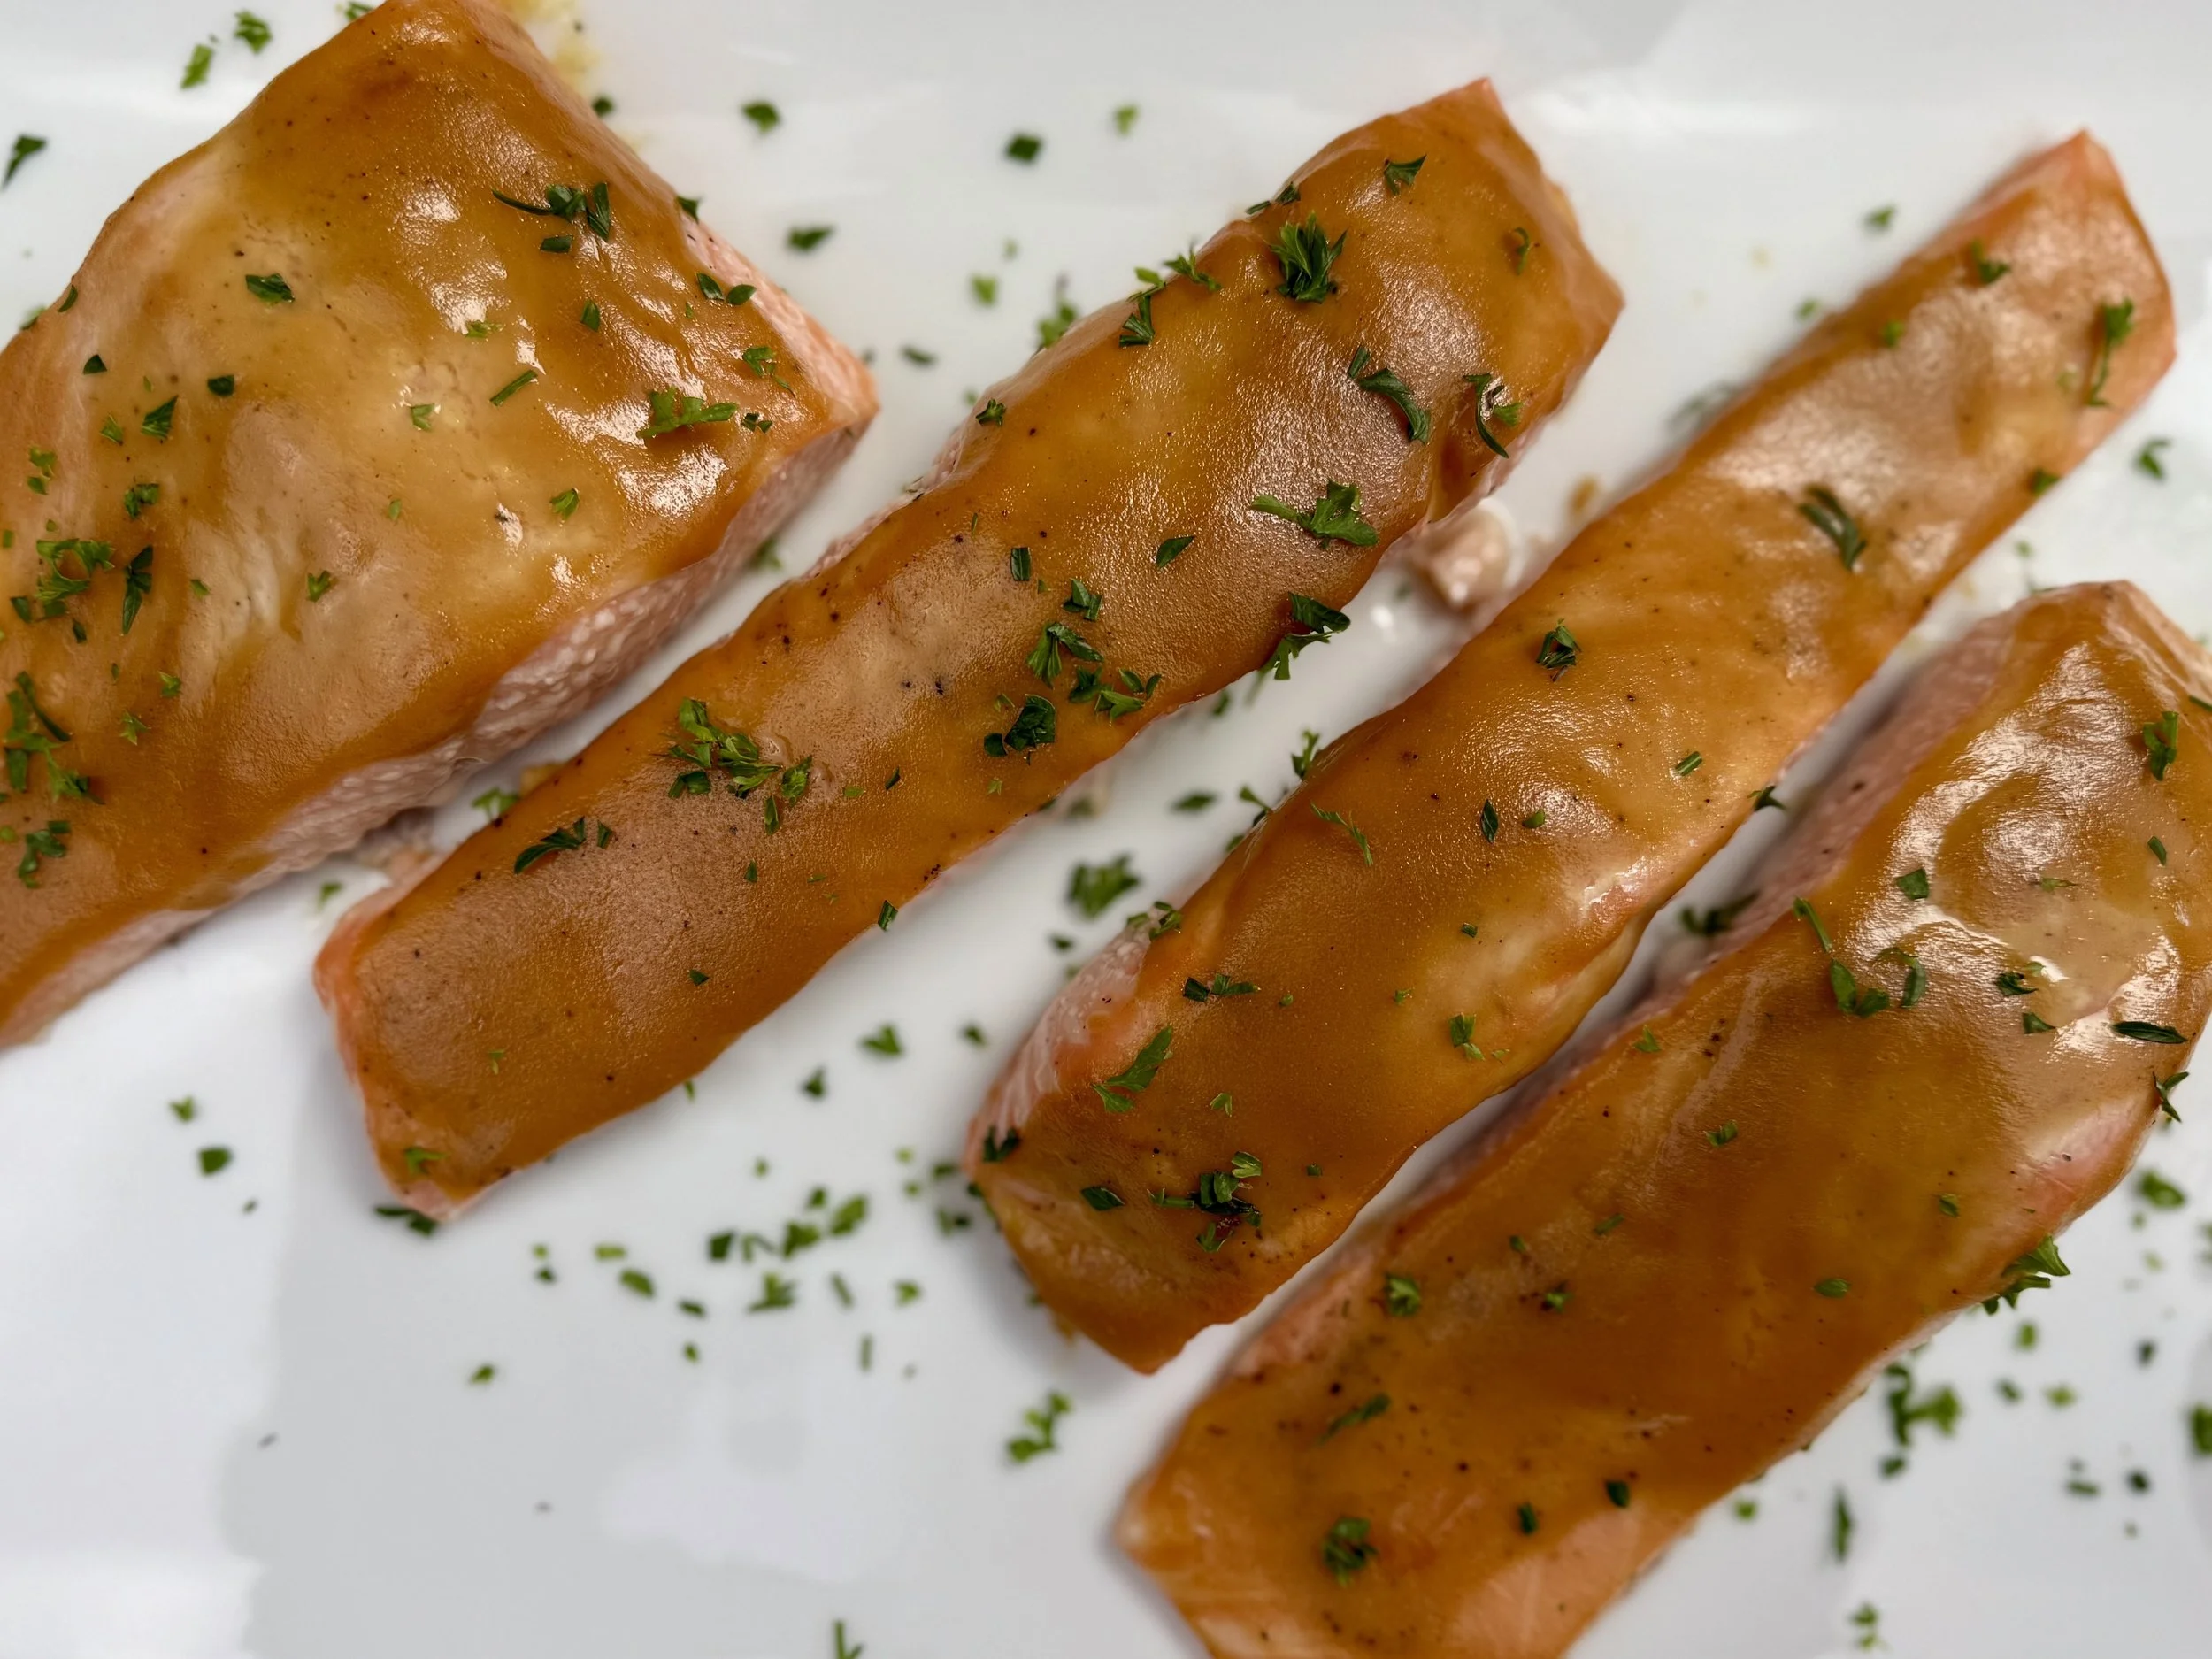
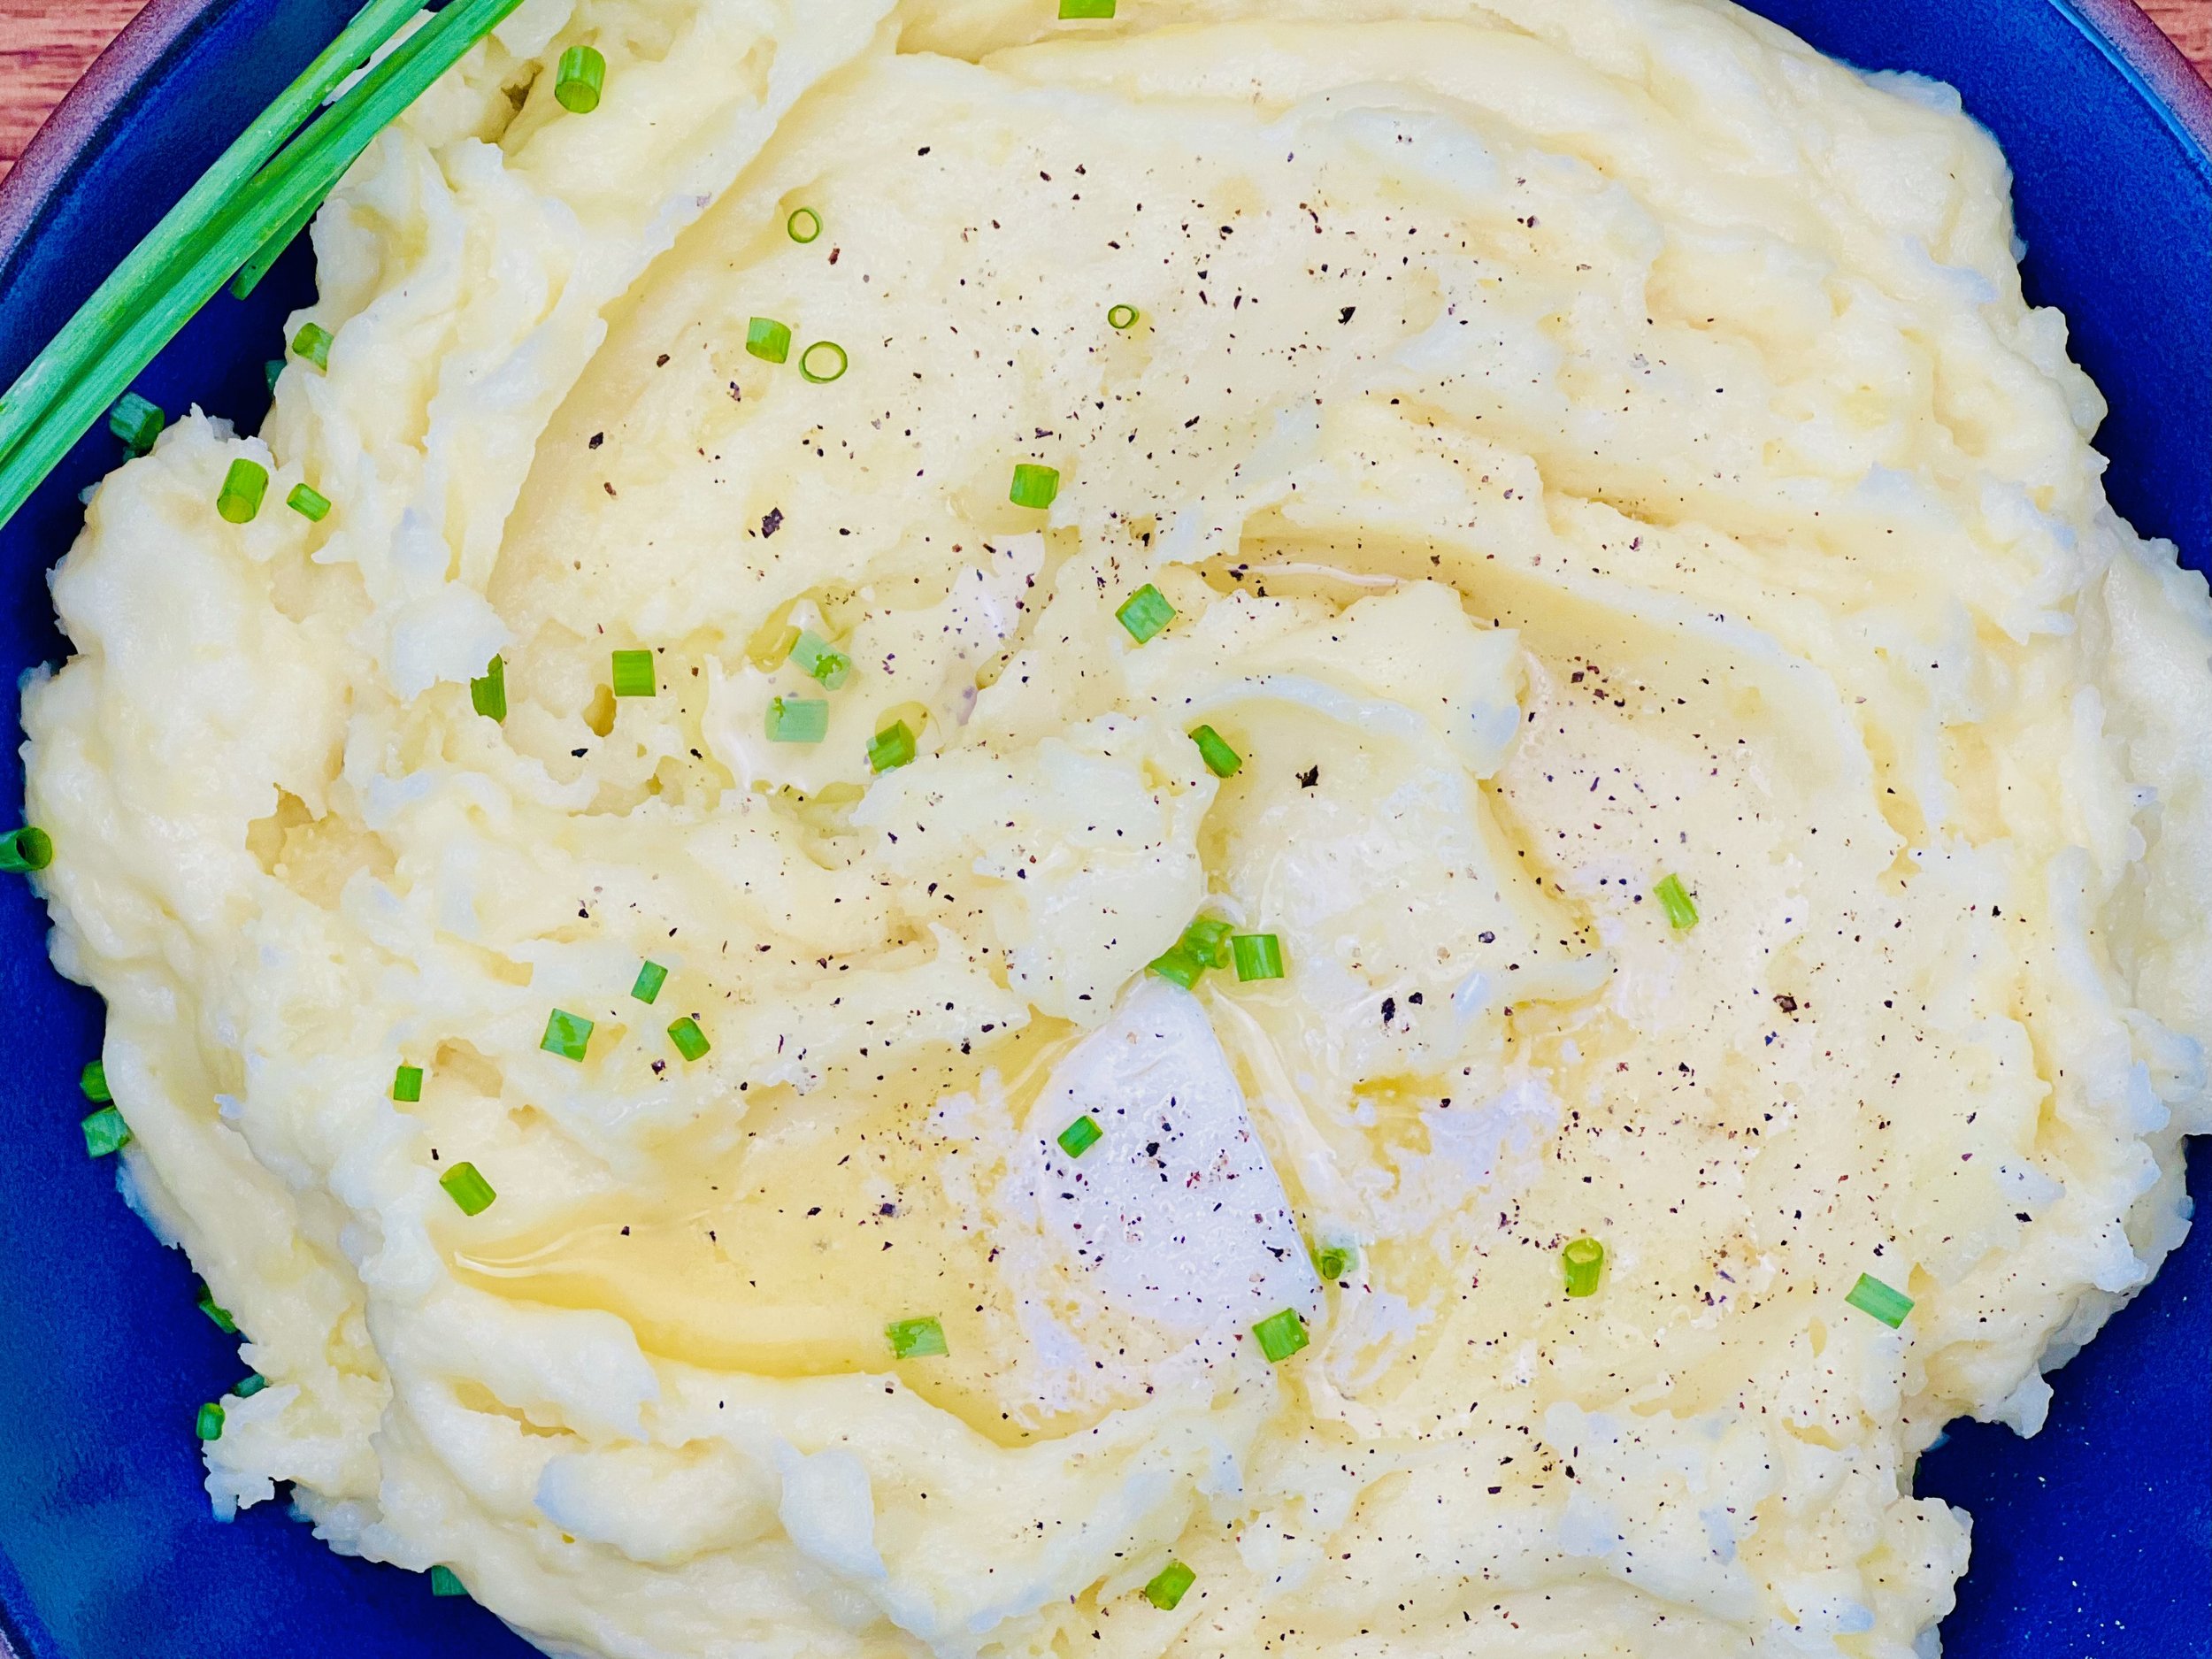
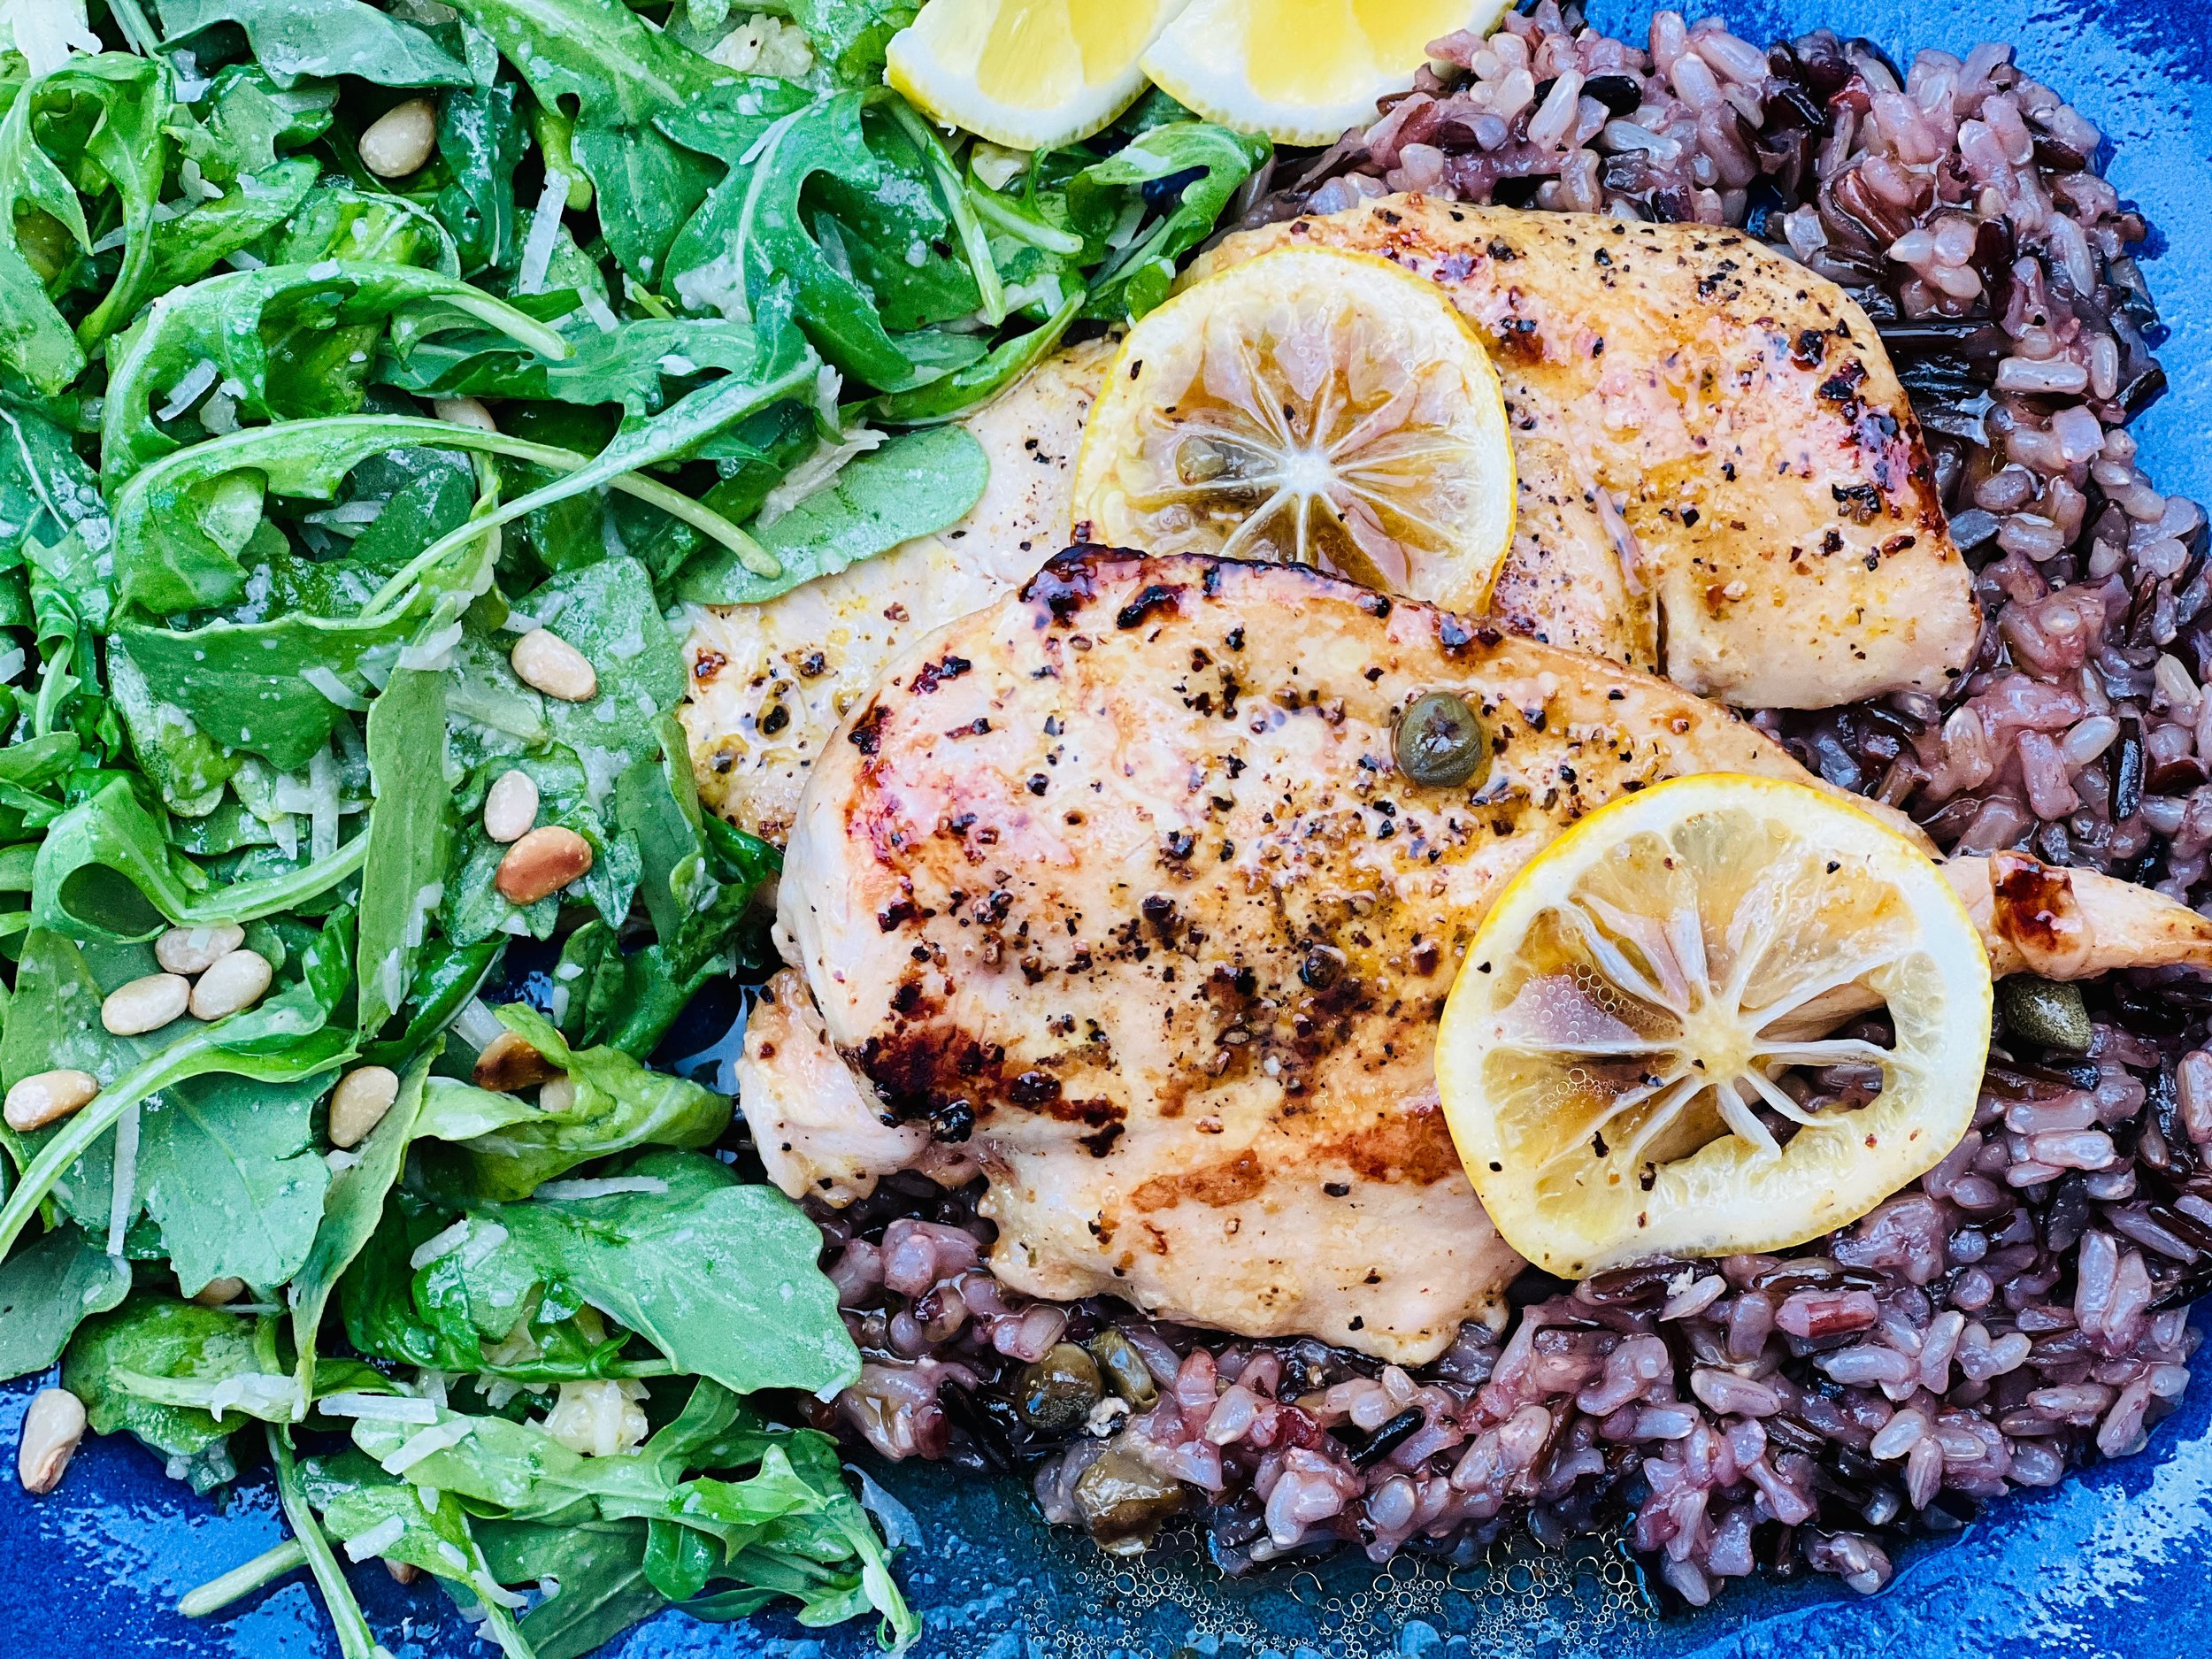
One Pan Lemon Pepper Chicken (Low FODMAP)
20 Minutes prep • 45 Minutes cook • Low FODMAP • Gluten-free • Serves 4
20 Minutes prep • 45 Minutes cook • Low FODMAP • Gluten-free • Serves 4 • Ok to make ahead: Steps 1-4
This chicken is tender and flavorful and the lemony pan juices are not to be missed. It’s quick and easy to make (the longer cooking time is for the rice) so it’s a perfect weeknight dinner. Paired with an arugula salad with lemon Dijon dressing and some wild rice, you have a perfectly delicious meal. I used Meyer lemons because I like the mild/sweet flavor but you could use regular lemons or limones and it would be delicious.
Ingredients
4 - 6 thin-cut chicken breasts
1 tablespoon extra virgin olive oil
4 tablespoons salted butter
Juice of one lemon
1/2 lemon, thinly sliced (cut the other half into wedges for serving)
1 tablespoon capers (or to taste)
Smoke N Sanity Lemon Pepper (use code IBSGC10 for 10% disount)
1 teaspoon Kosher salt and 1/2 teaspoon black pepper
1 cup (raw) Wild rice blend (or other rice you prefer), cooked per package instructions
Ingredients: Arugula Salad
3 cups Arugula, washed and dried
2 tablespoons pine nuts
1/4 cup parmesan cheese, freshly grated
Juice of one lemon (or two if it’s not very juicy)
An equal amount of olive oil (same amount as the lemon juice)
2 teaspoons Dijon mustard
1/2 teaspoon Kosher salt and 1/4 teaspoon black pepper
Directions
(1) Prepare the chicken: This step is optional but results in a more flavorful and tender chicken. Remove chicken from the package, and put it in one layer on a rimmed plate or baking dish. Season both sides of each piece lightly with Kosher salt (about 1/4 - 1/2 teaspoon per side). Cover the dish with plastic wrap and refrigerate until ready to use, ideally about 4 hours before cooking or overnight.
(2) Season the chicken: Sprinkle the chicken breasts on both sides with lemon pepper, about 1 teaspoon per chicken breast.
(3) Cook the rice: Cook per package instructions, adding a tablespoon of butter to the water.
(4) Prepare the salad and the salad dressing: Wash and dry the arugula. Combine all dressing ingredients in a small jar and shake to combine. Grate the parmesan cheese. Toast the pine nuts in a dry frying pan over medium-high heat, stirring frequently.
Make-ahead note: At this point, you may keep the chicken and the salad ingredients in the refrigerator and keep the rice warm until you’re ready to cook the chicken and serve.
(5) Cook the chicken: In a frying pan large enough to cook the chicken in one layer, heat the olive oil and the butter. When sizzling, add the seasoned chicken, lemon slices, and capers to the pan. Pour the lemon juice over the chicken. Cook until nicely browned on one side, then flip and cook the other side. If the breasts are thick, you may need to cover the pan to cook the chicken through. Cut into the thickest part of one breast and make sure there is no pink and the juices run clear when you cut.
(6) Finish: Remove the chicken to a plate and add 2 more tablespoons of butter to the pan. Stir and scrape the pan so you get all the good juices and flavor into the pan juice.
(7) Toss the salad: Just before serving, put the washed arugula in a bowl, add the dressing and toss to combine. Sprinkle with the parmesan and toasted pine nuts.
(8) Plate and serve: Serve the chicken over the rice with the salad and lemon wedges on the side. It’s a delicious, healthy, low FODMAP, beautiful meal!
Eat and enjoy every bite because you can!
Recipe note: I use Diamond Crystal Kosher salt in all my recipes because it has a wonderful flat and crisp flake that tastes delicious. It is also the least salty salt available so you can use it more liberally as a seasoning than you can table salt or sea salt. If you use another type of salt, you may need to reduce the amount so it is not over-salted.
Link note: This post contains links for you to easily purchase items listed on the page. In some cases, we have provided a special discount code for IBS Game Changers so be sure to use it when you purchase an item to get the discount that has been arranged just for you! As an Amazon Associate, I earn a commission from qualifying Amazon purchases.
More Deliciously Low FODMAP™ main course recipes
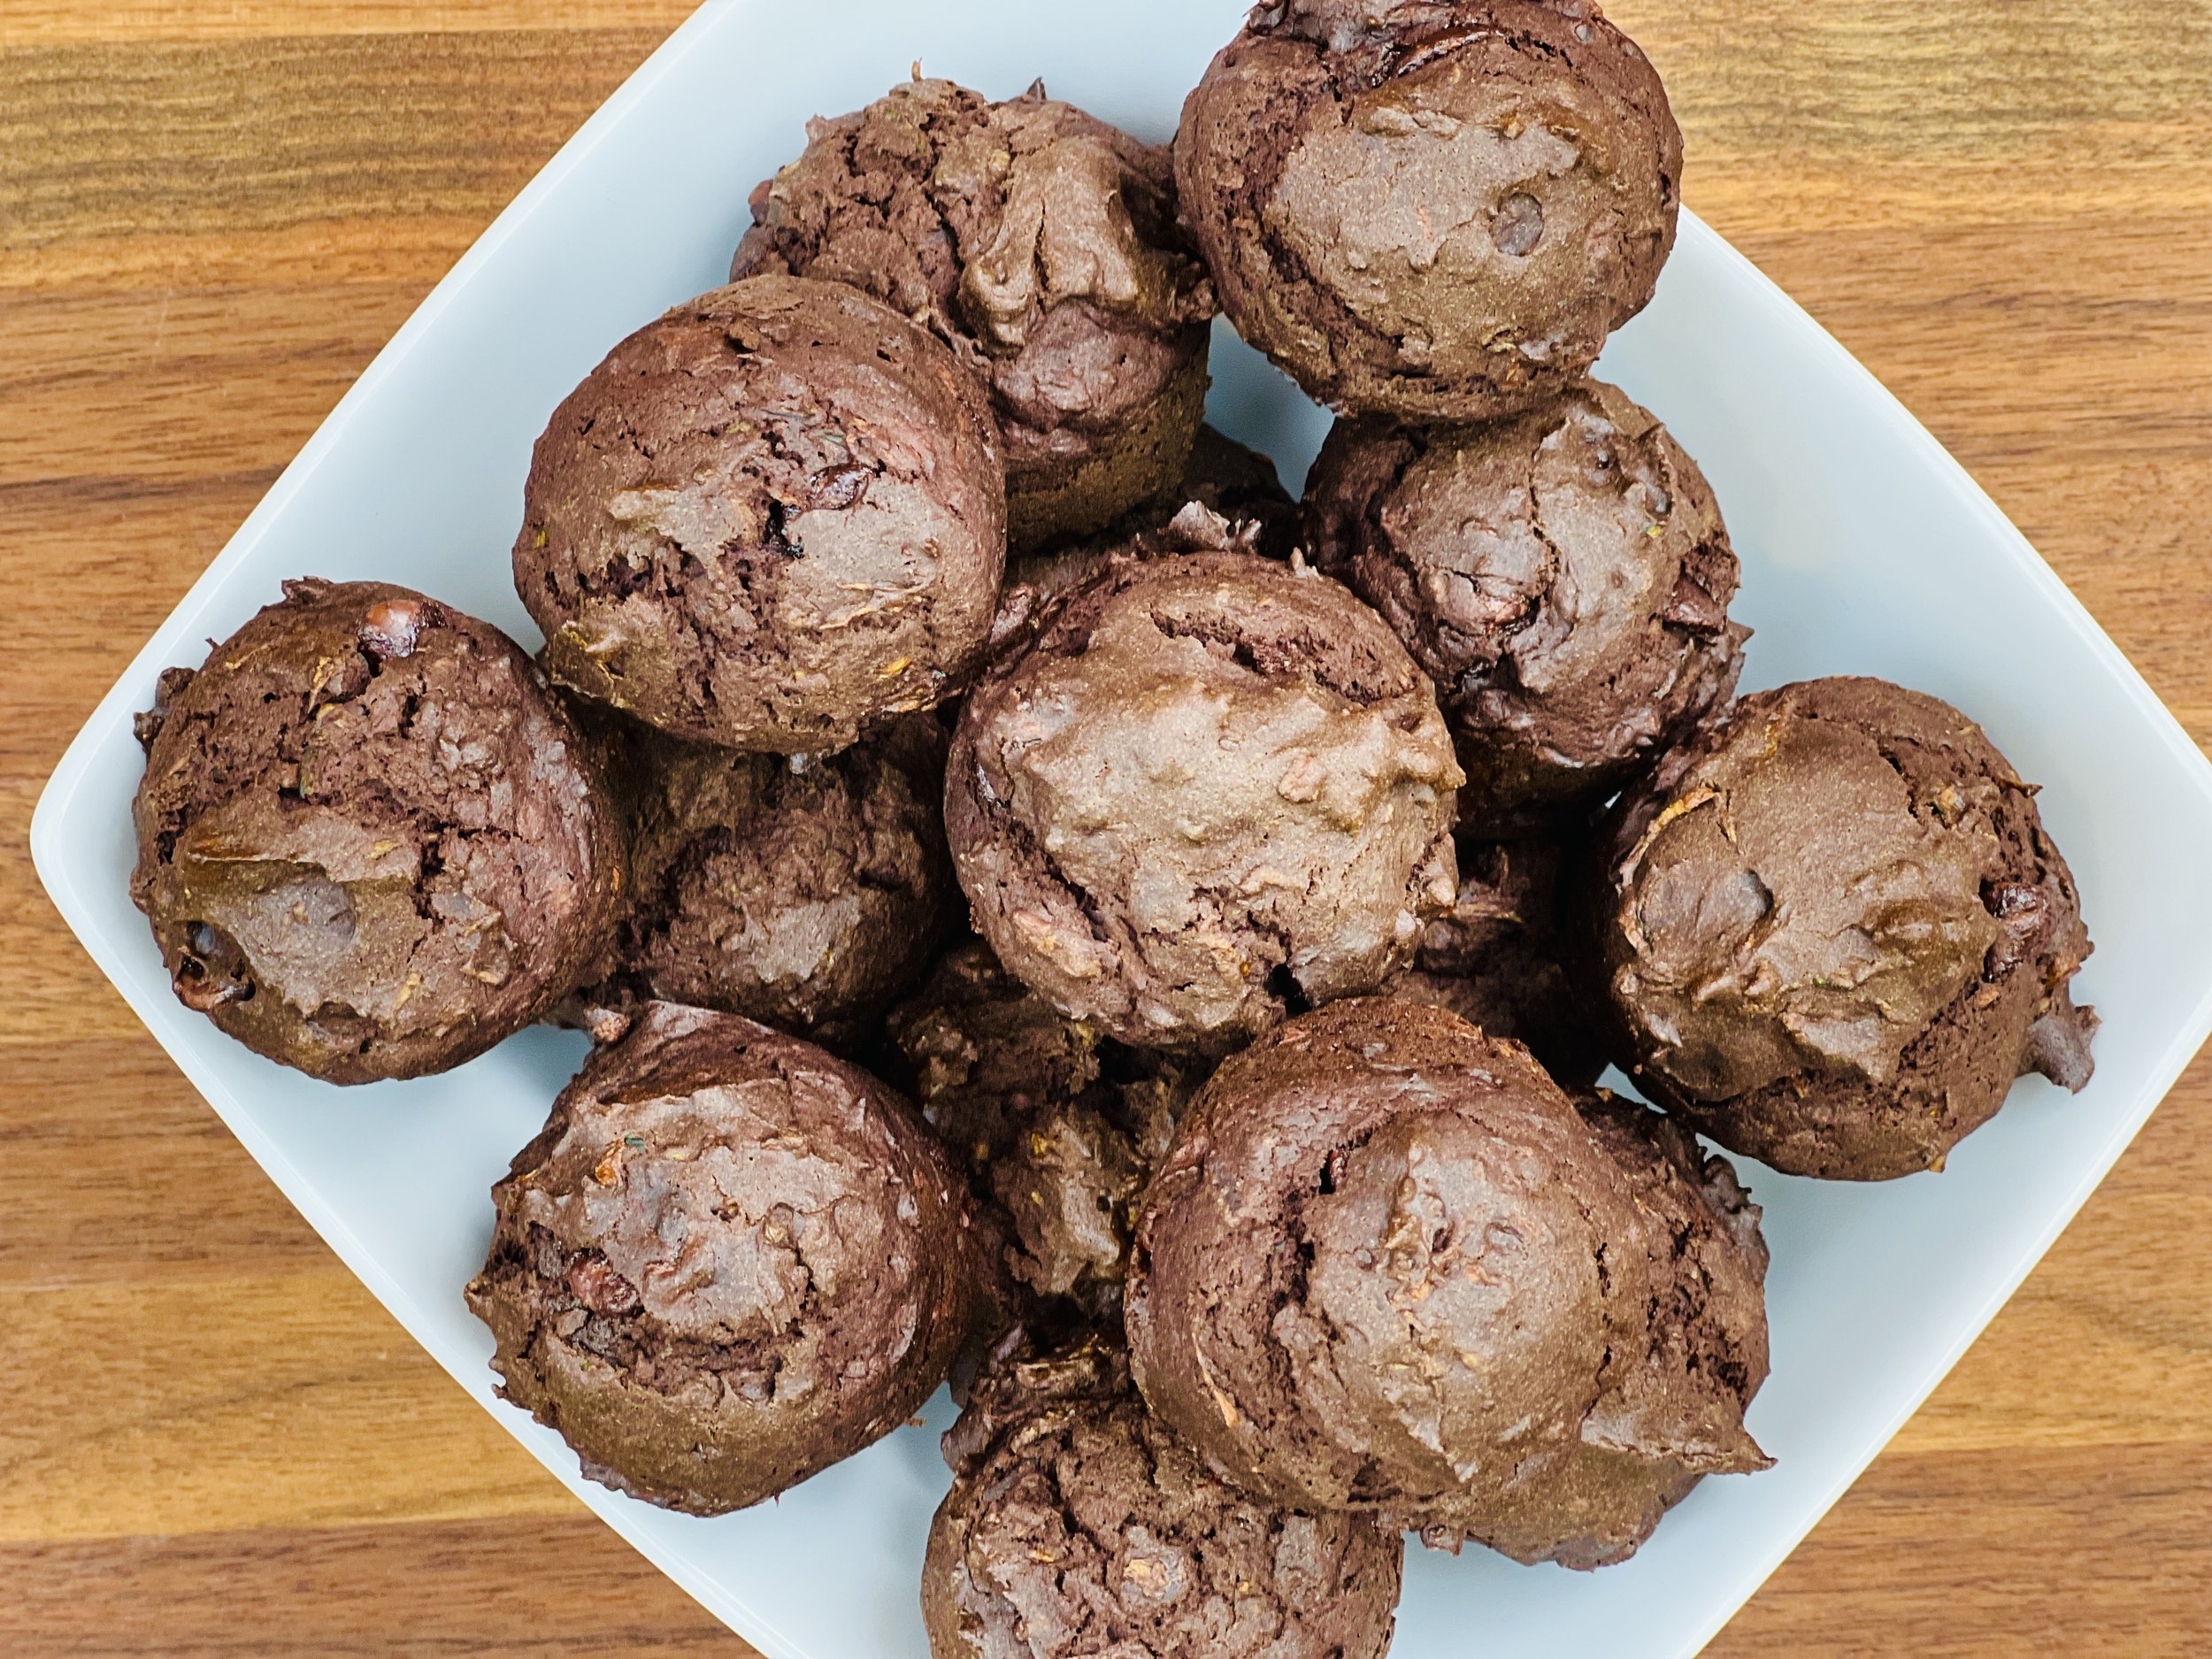
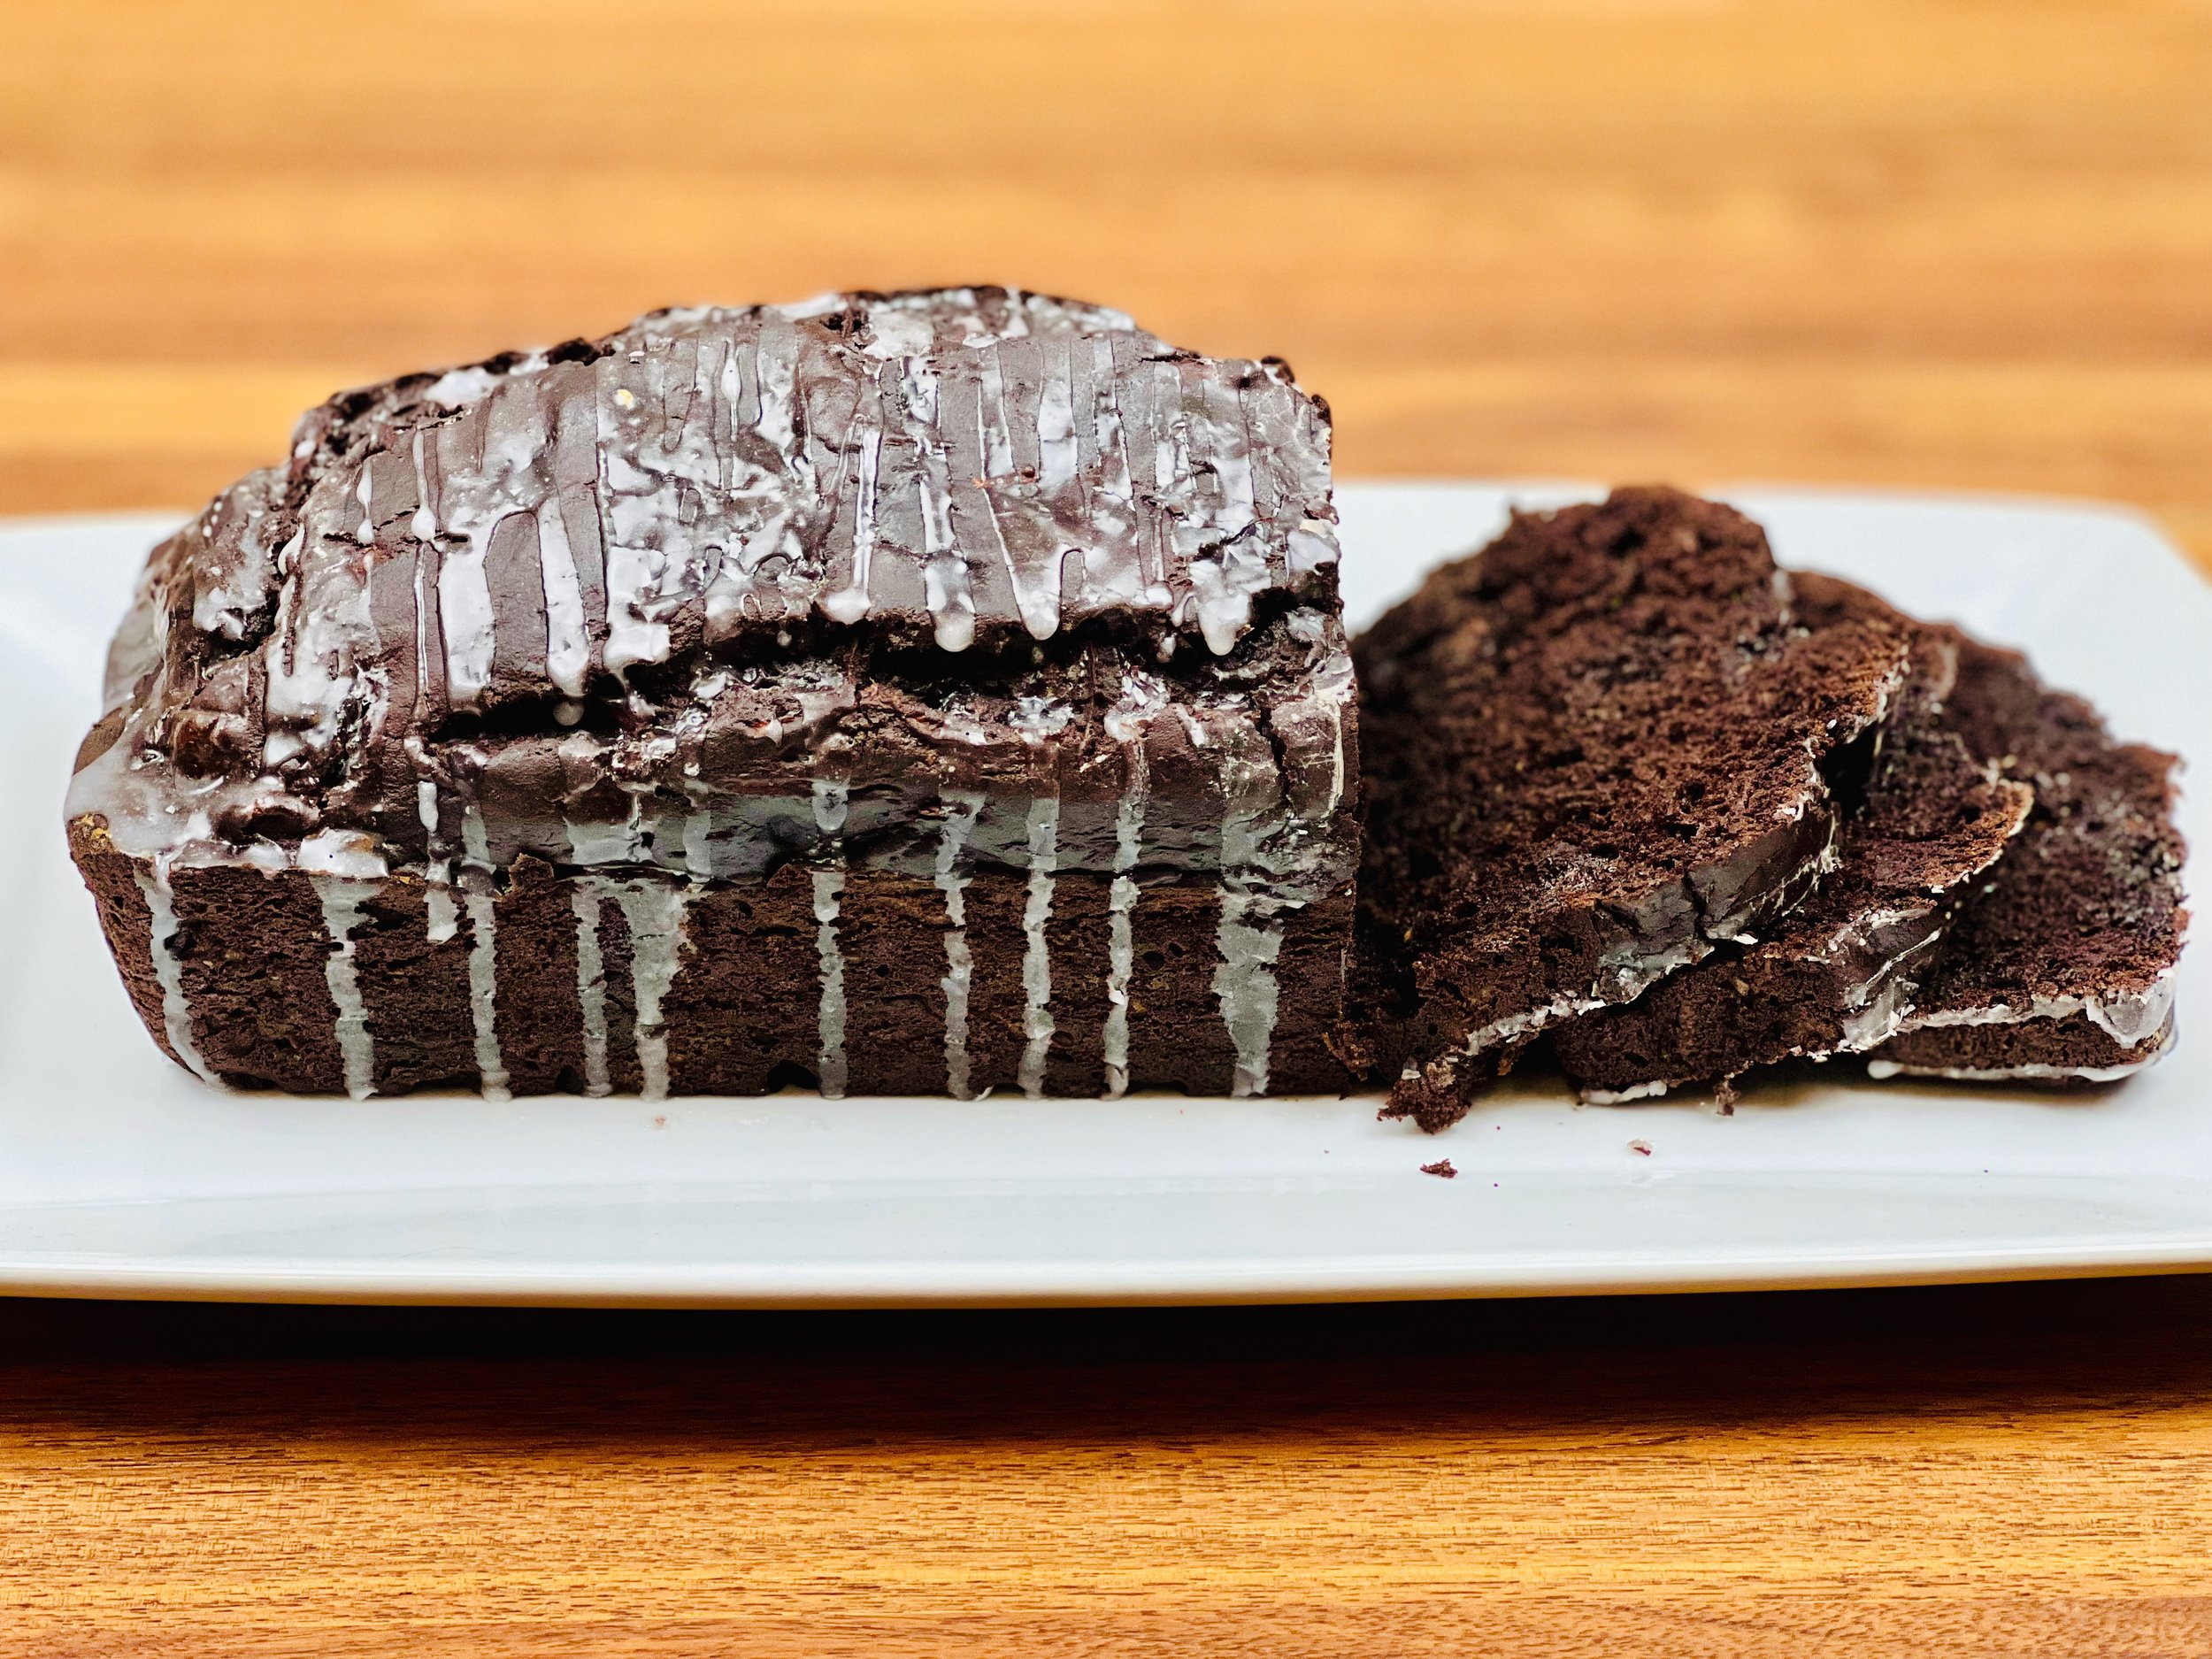
Deep Dark Chocolate Zucchini Bread (low FODMAP)
20 Minutes prep • 60 Minutes cook • Low FODMAP • Gluten-free • Lactose-free • Makes 1 loaf
20 Minutes prep • 60 Minutes cook • Low FODMAP • Gluten-free • Lactose-free • Makes 1 loaf • Ok to make ahead: Steps 1-3
Who doesn’t love a delicious gluten-free rich chocolate quick bread recipe with a secret ingredient that boosts its moisture and food value: Zucchini! When your family shares their summer garden bounty you have no choice but to cook it! And this quick bread is easy to make, comes out with a light and springy texture, and a deep dark chocolatey flavor. It’s not your traditional cinnamon spiced zucchini bread but I bet it will soon become your favorite!
This is an exclusive recipe just for recipe club members.
In addition to the two free recipes I create each week I am creating and delivering one very special recipe just for my recipe club members. If you’re not yet a member, I encourage you to join! Membership in the club includes access to the complete archive of recipes with filters so it can become your virtual low FODMAP cookbook plus, I am creating and delivering one special NEW recipe every week ONLY for recipe club members. And, for my true fans, I’ll be sharing behind-the-scenes content, and updates on the progress of the new cookbook.
Your membership in the club helps me continue creating new, delicious, easy-to-make, low FODMAP recipes just for you.
As always, all recipes will emphasize simple ingredients, easy preparation, and delicious low FODMAP results. Recipes will be for everything from main courses, salads, soups, side dishes, appetizers, desserts, sauces, breakfast and lunch, and even mocktails and cocktails. Everything you need to prepare fantastic low FODMAP meals everyone will love.
Join the club. Become a Patron. Let’s keep making delicious Low FODMAP meals together.
More Deliciously Low FODMAP™ dessert recipes
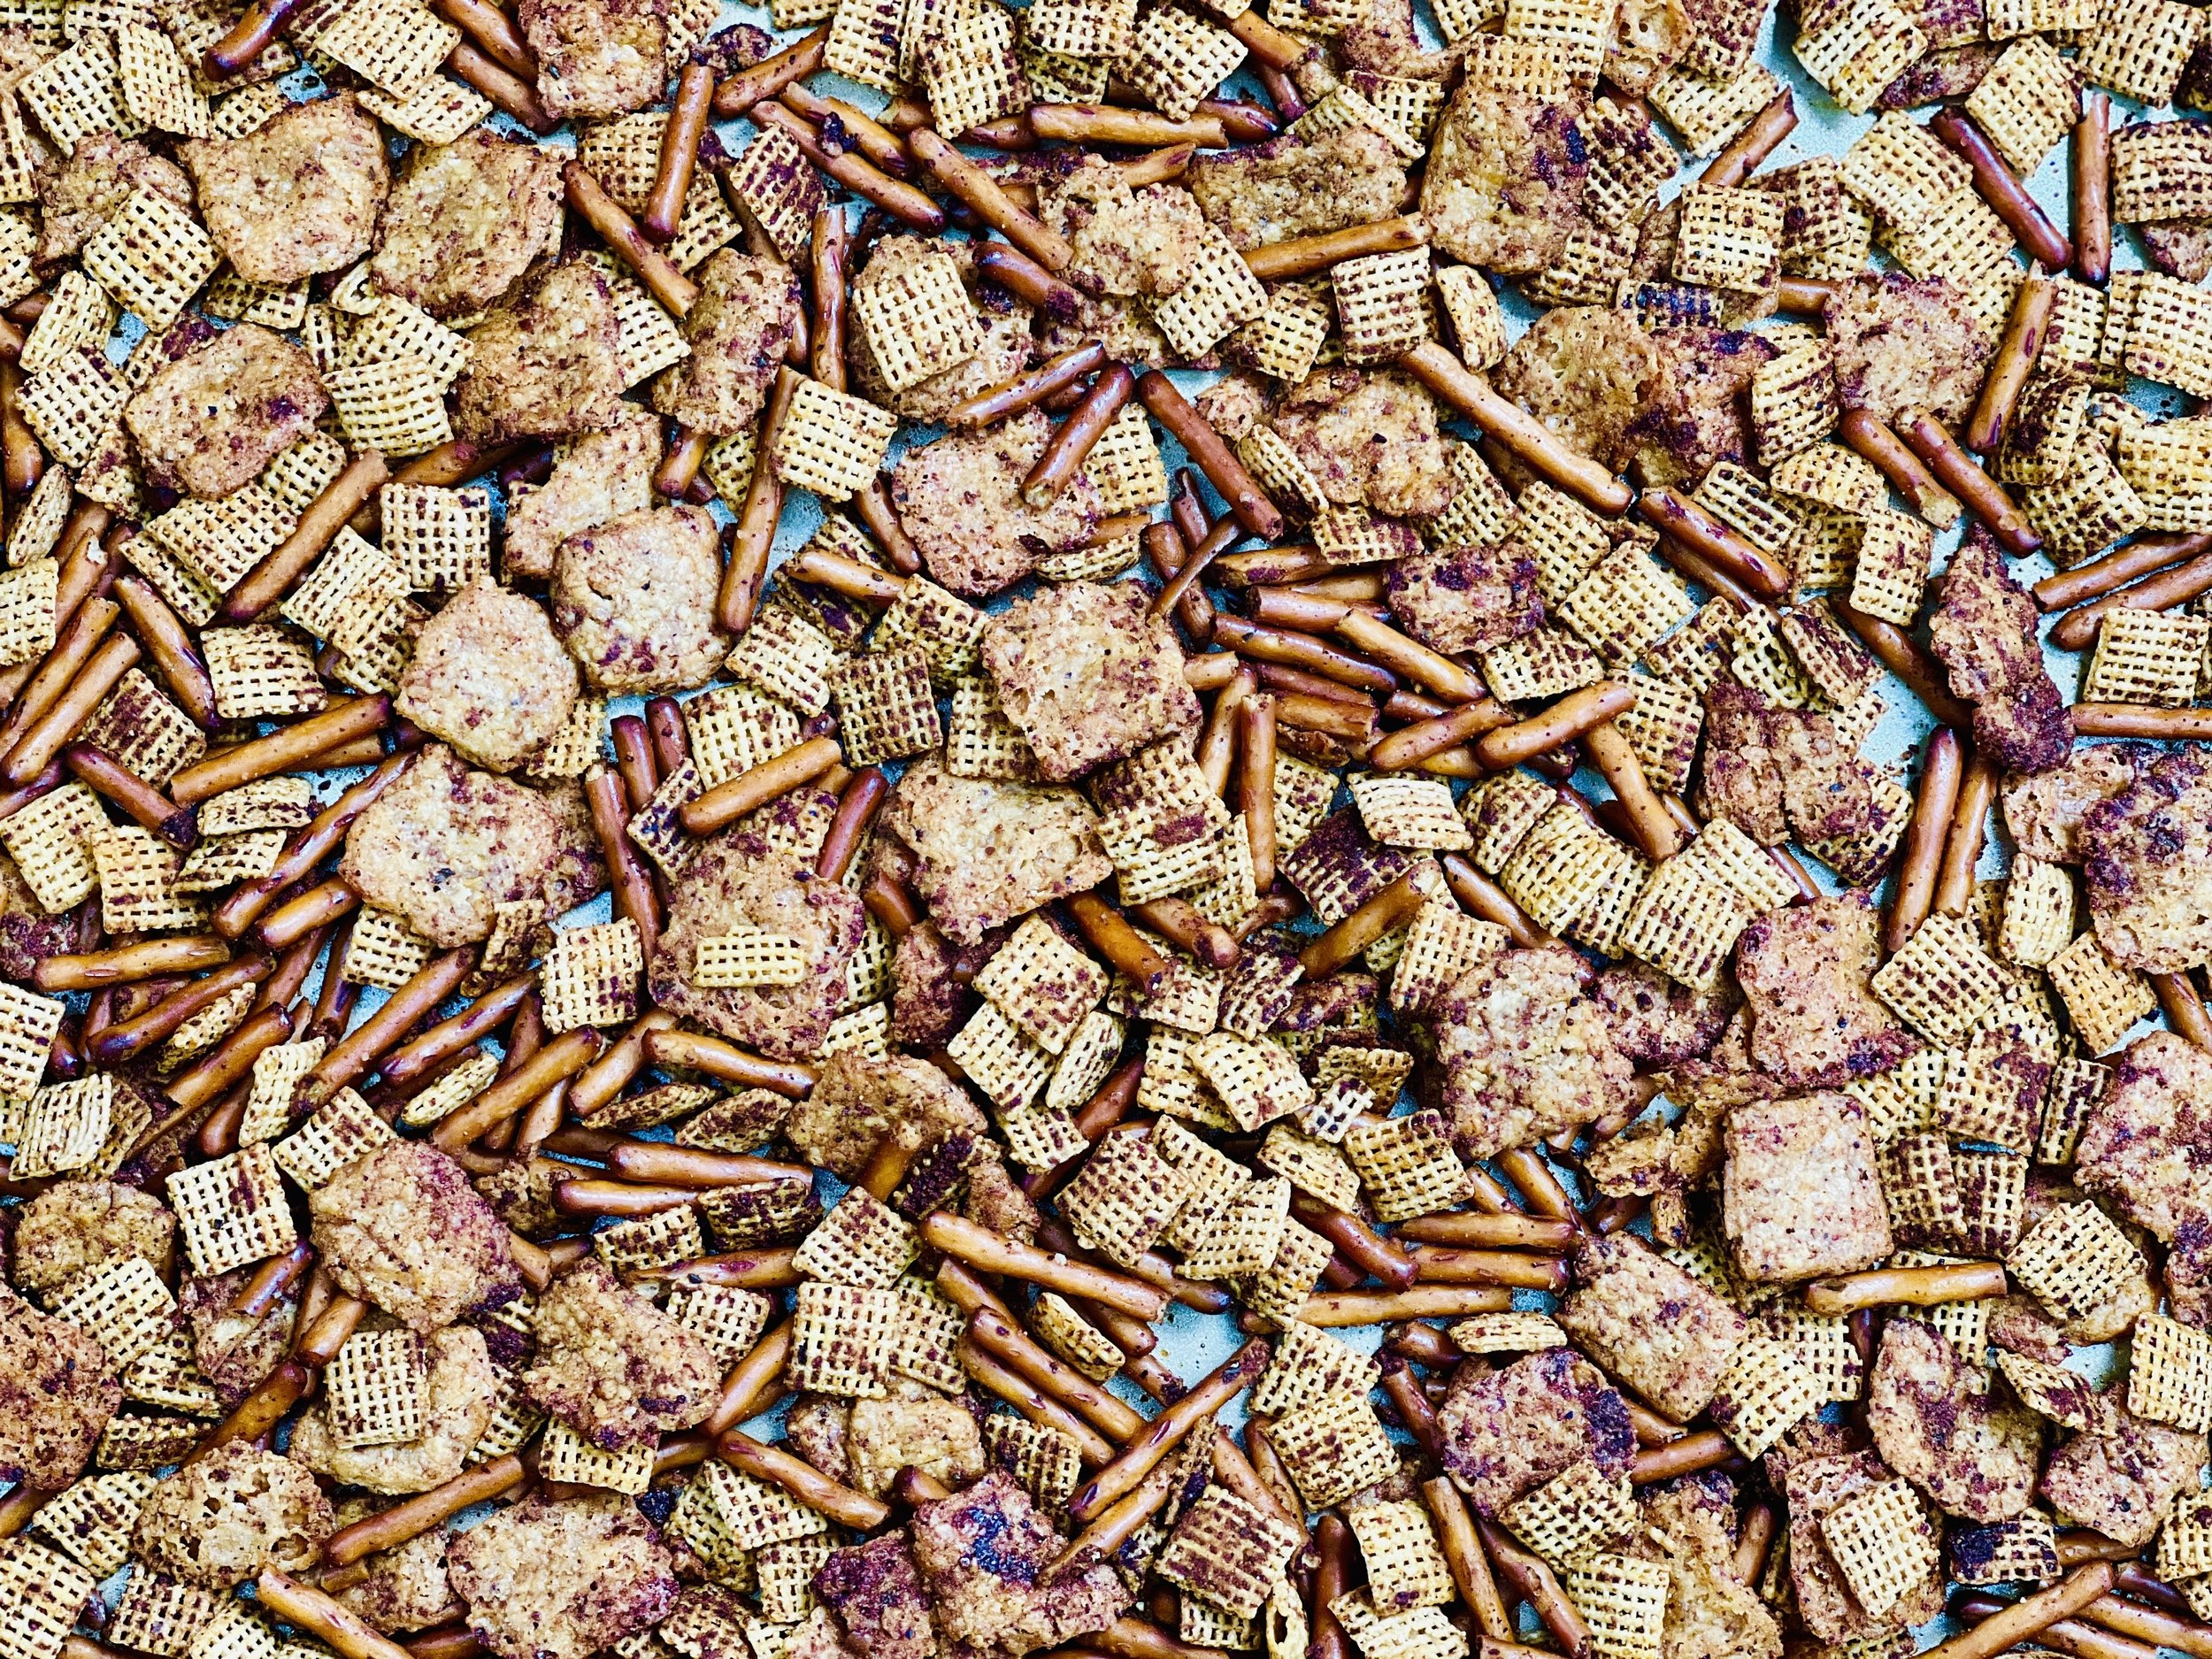
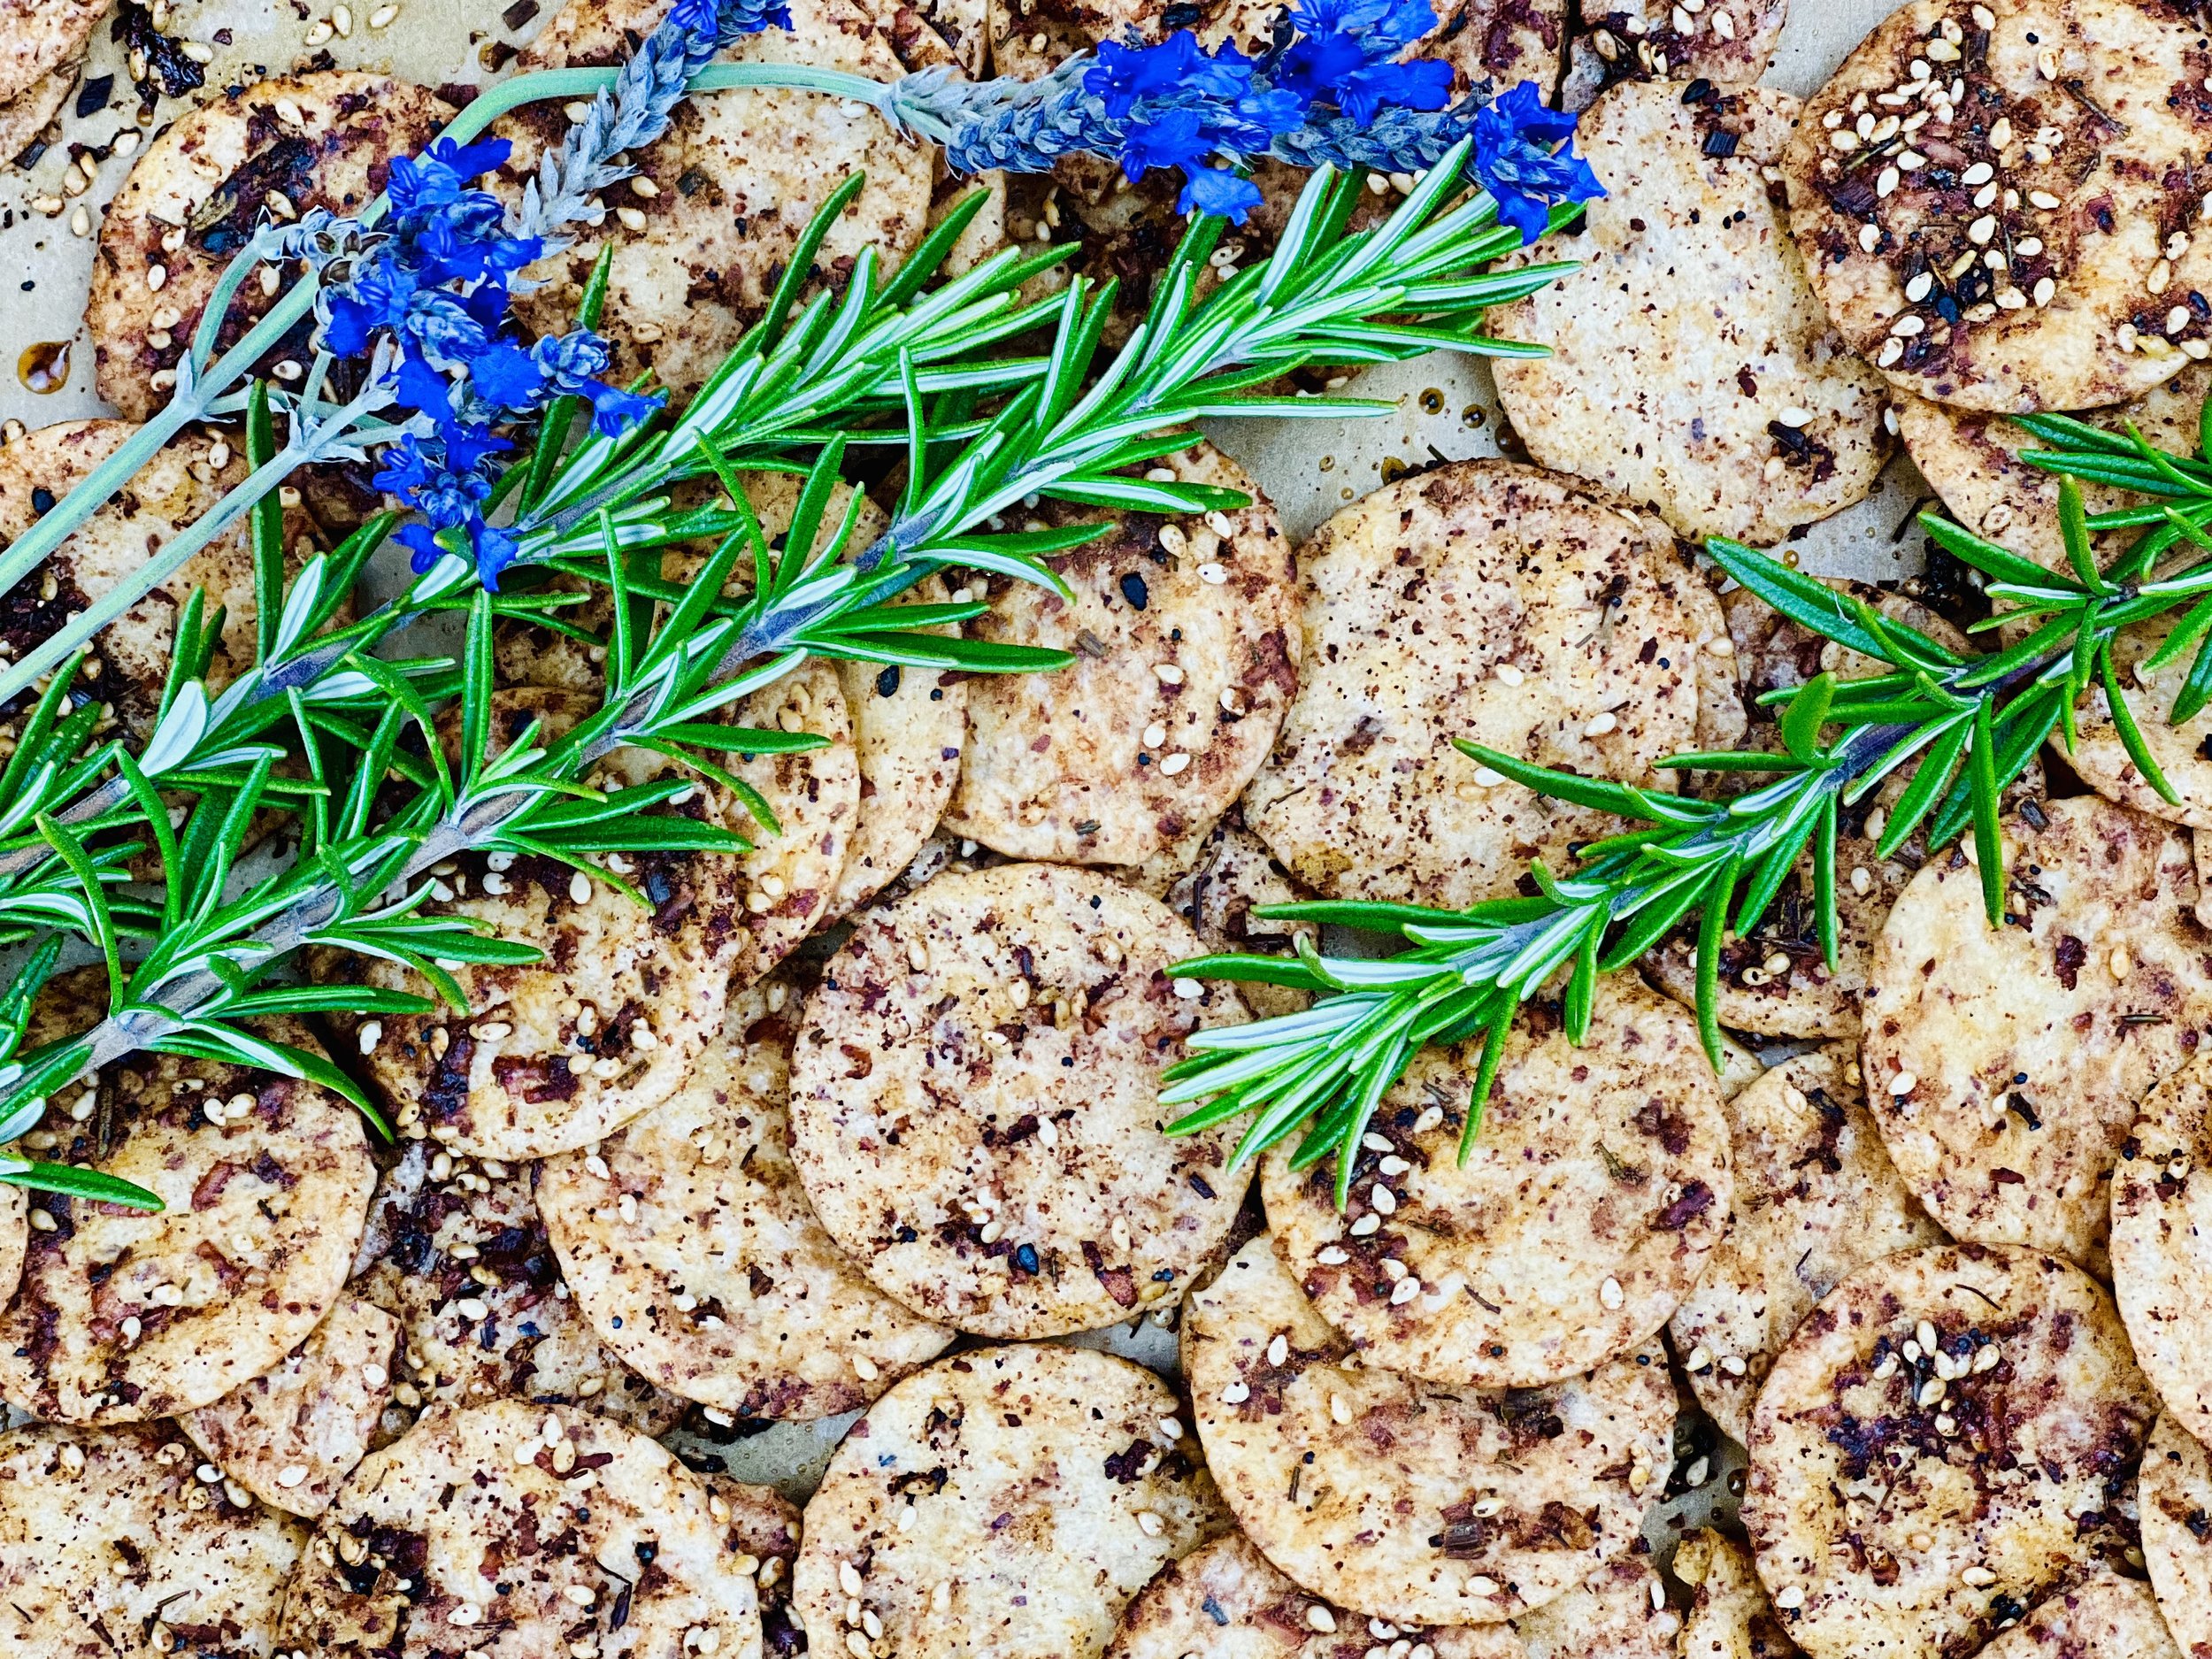
10 Minutes Prep • 50 Minutes Cook • Gluten-free • Dairy-free • Low FODMAP • Serving size 3-4 crackers