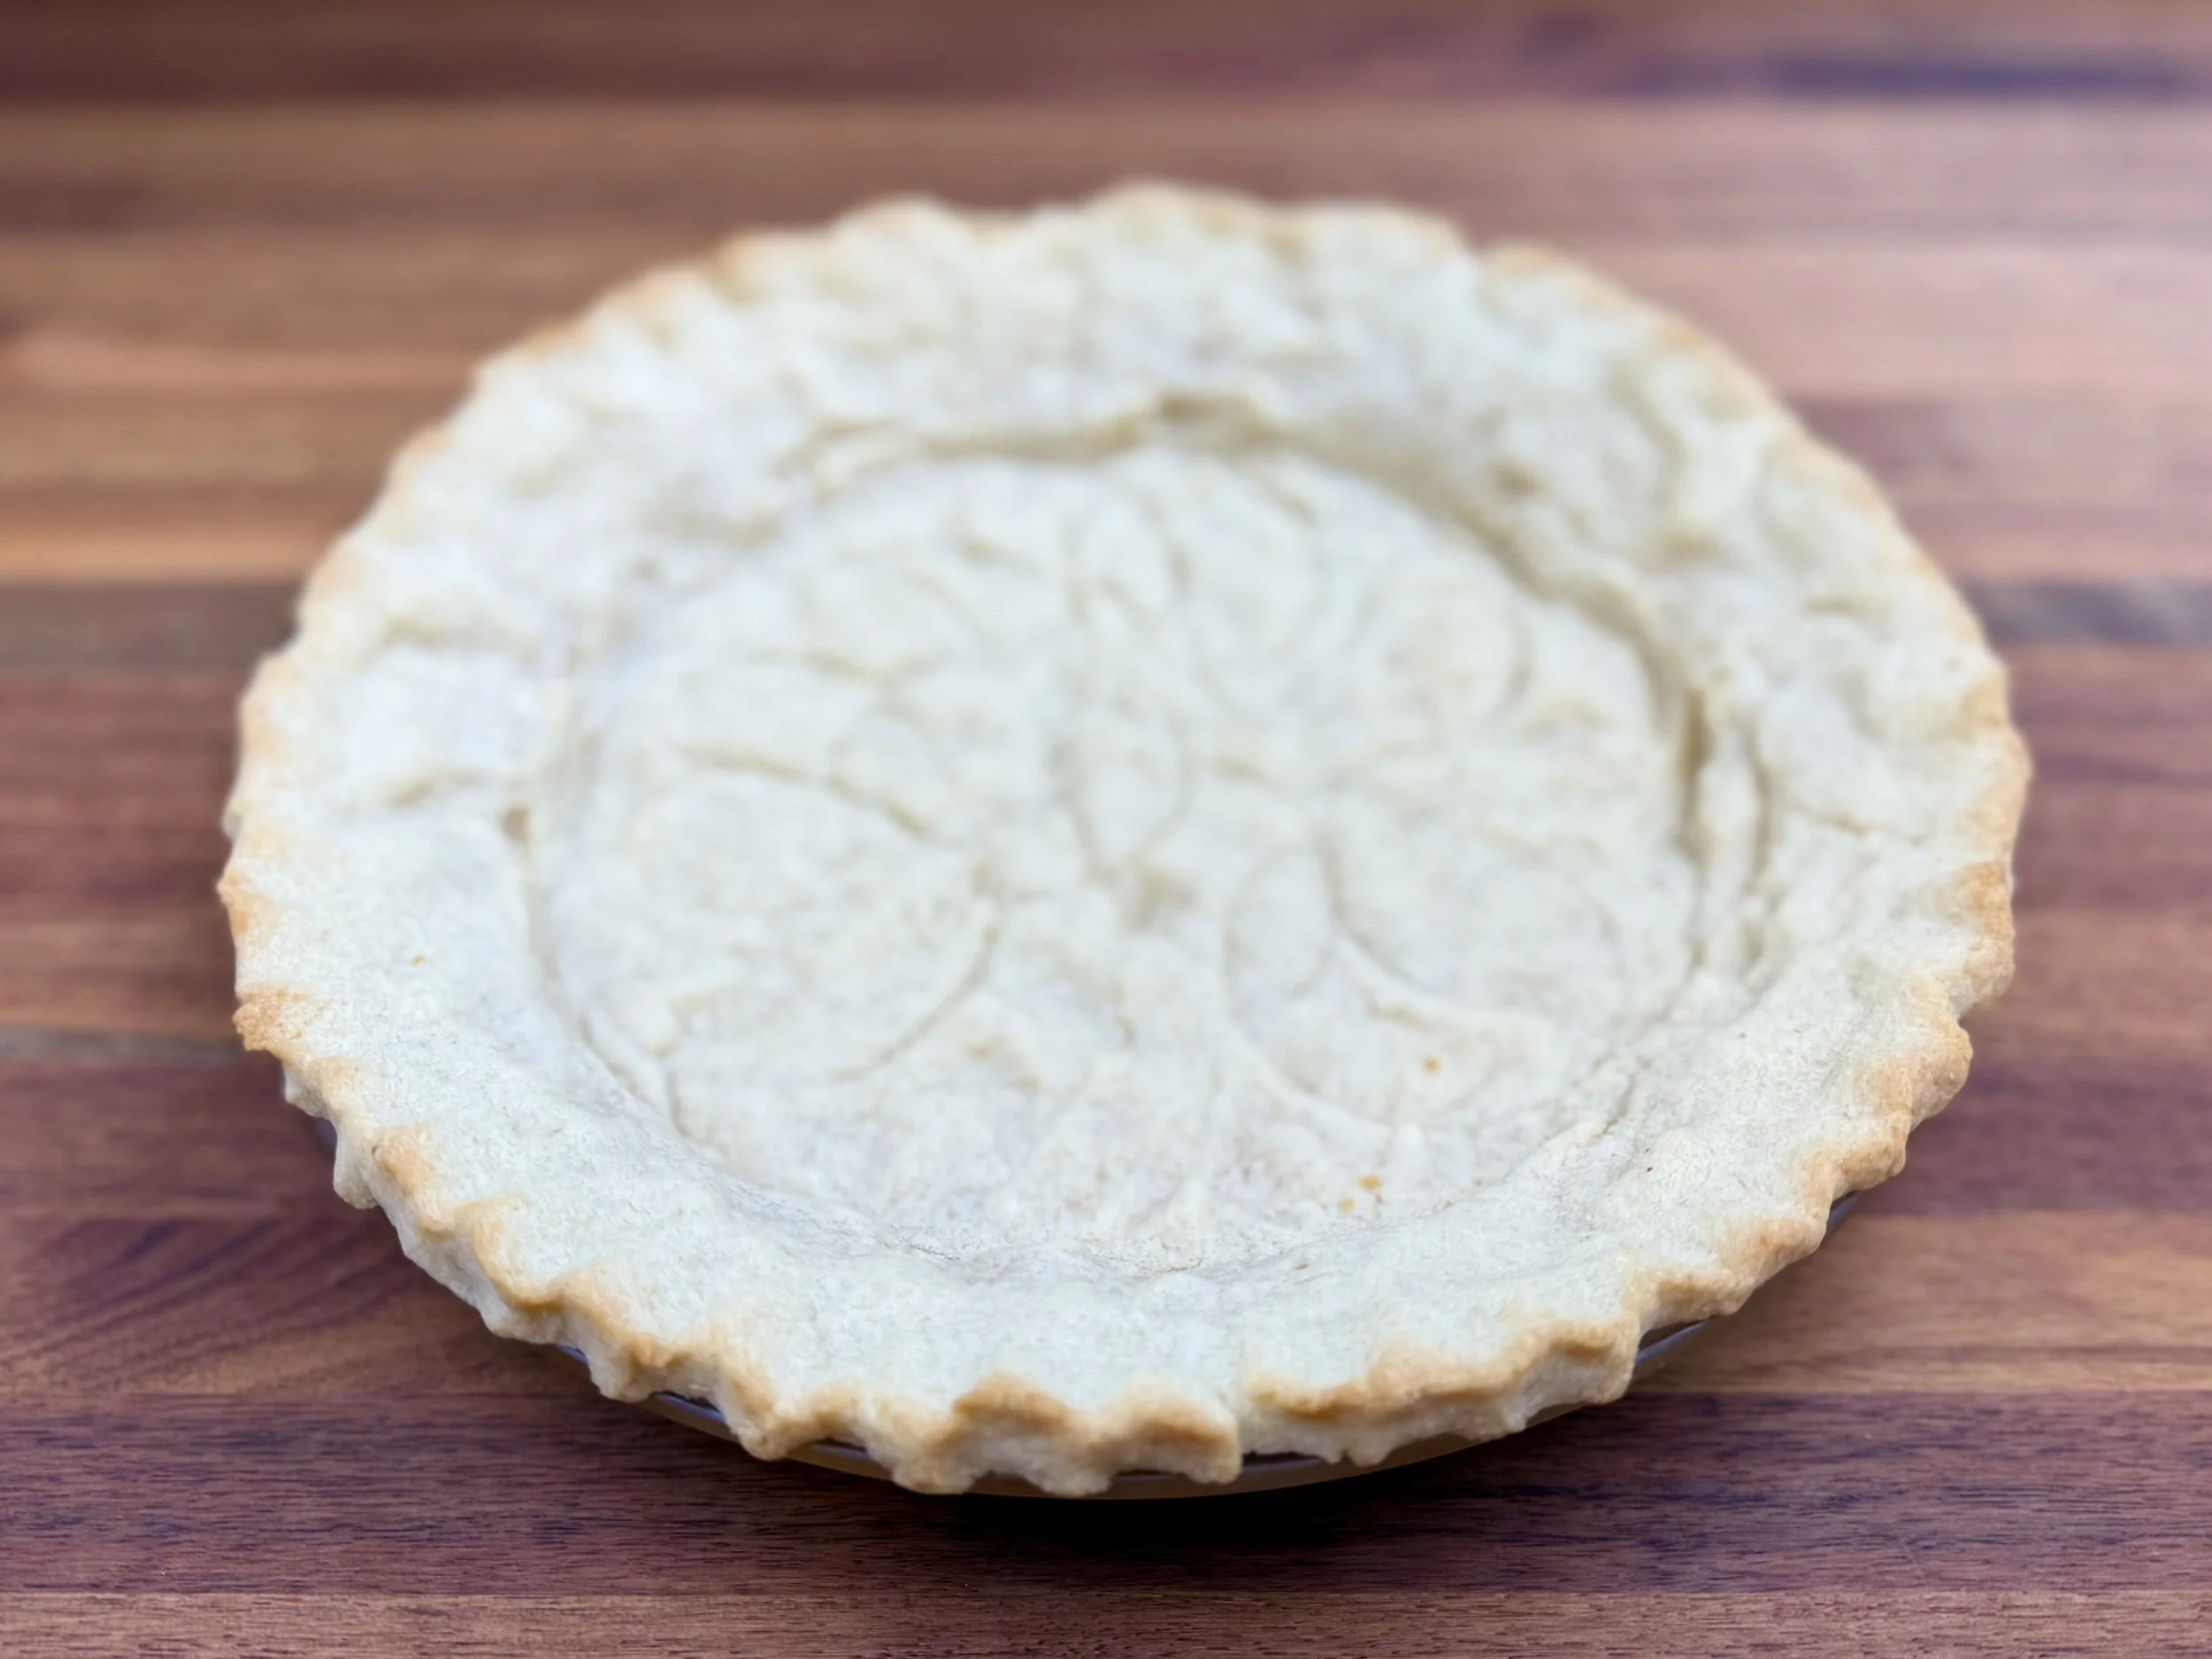
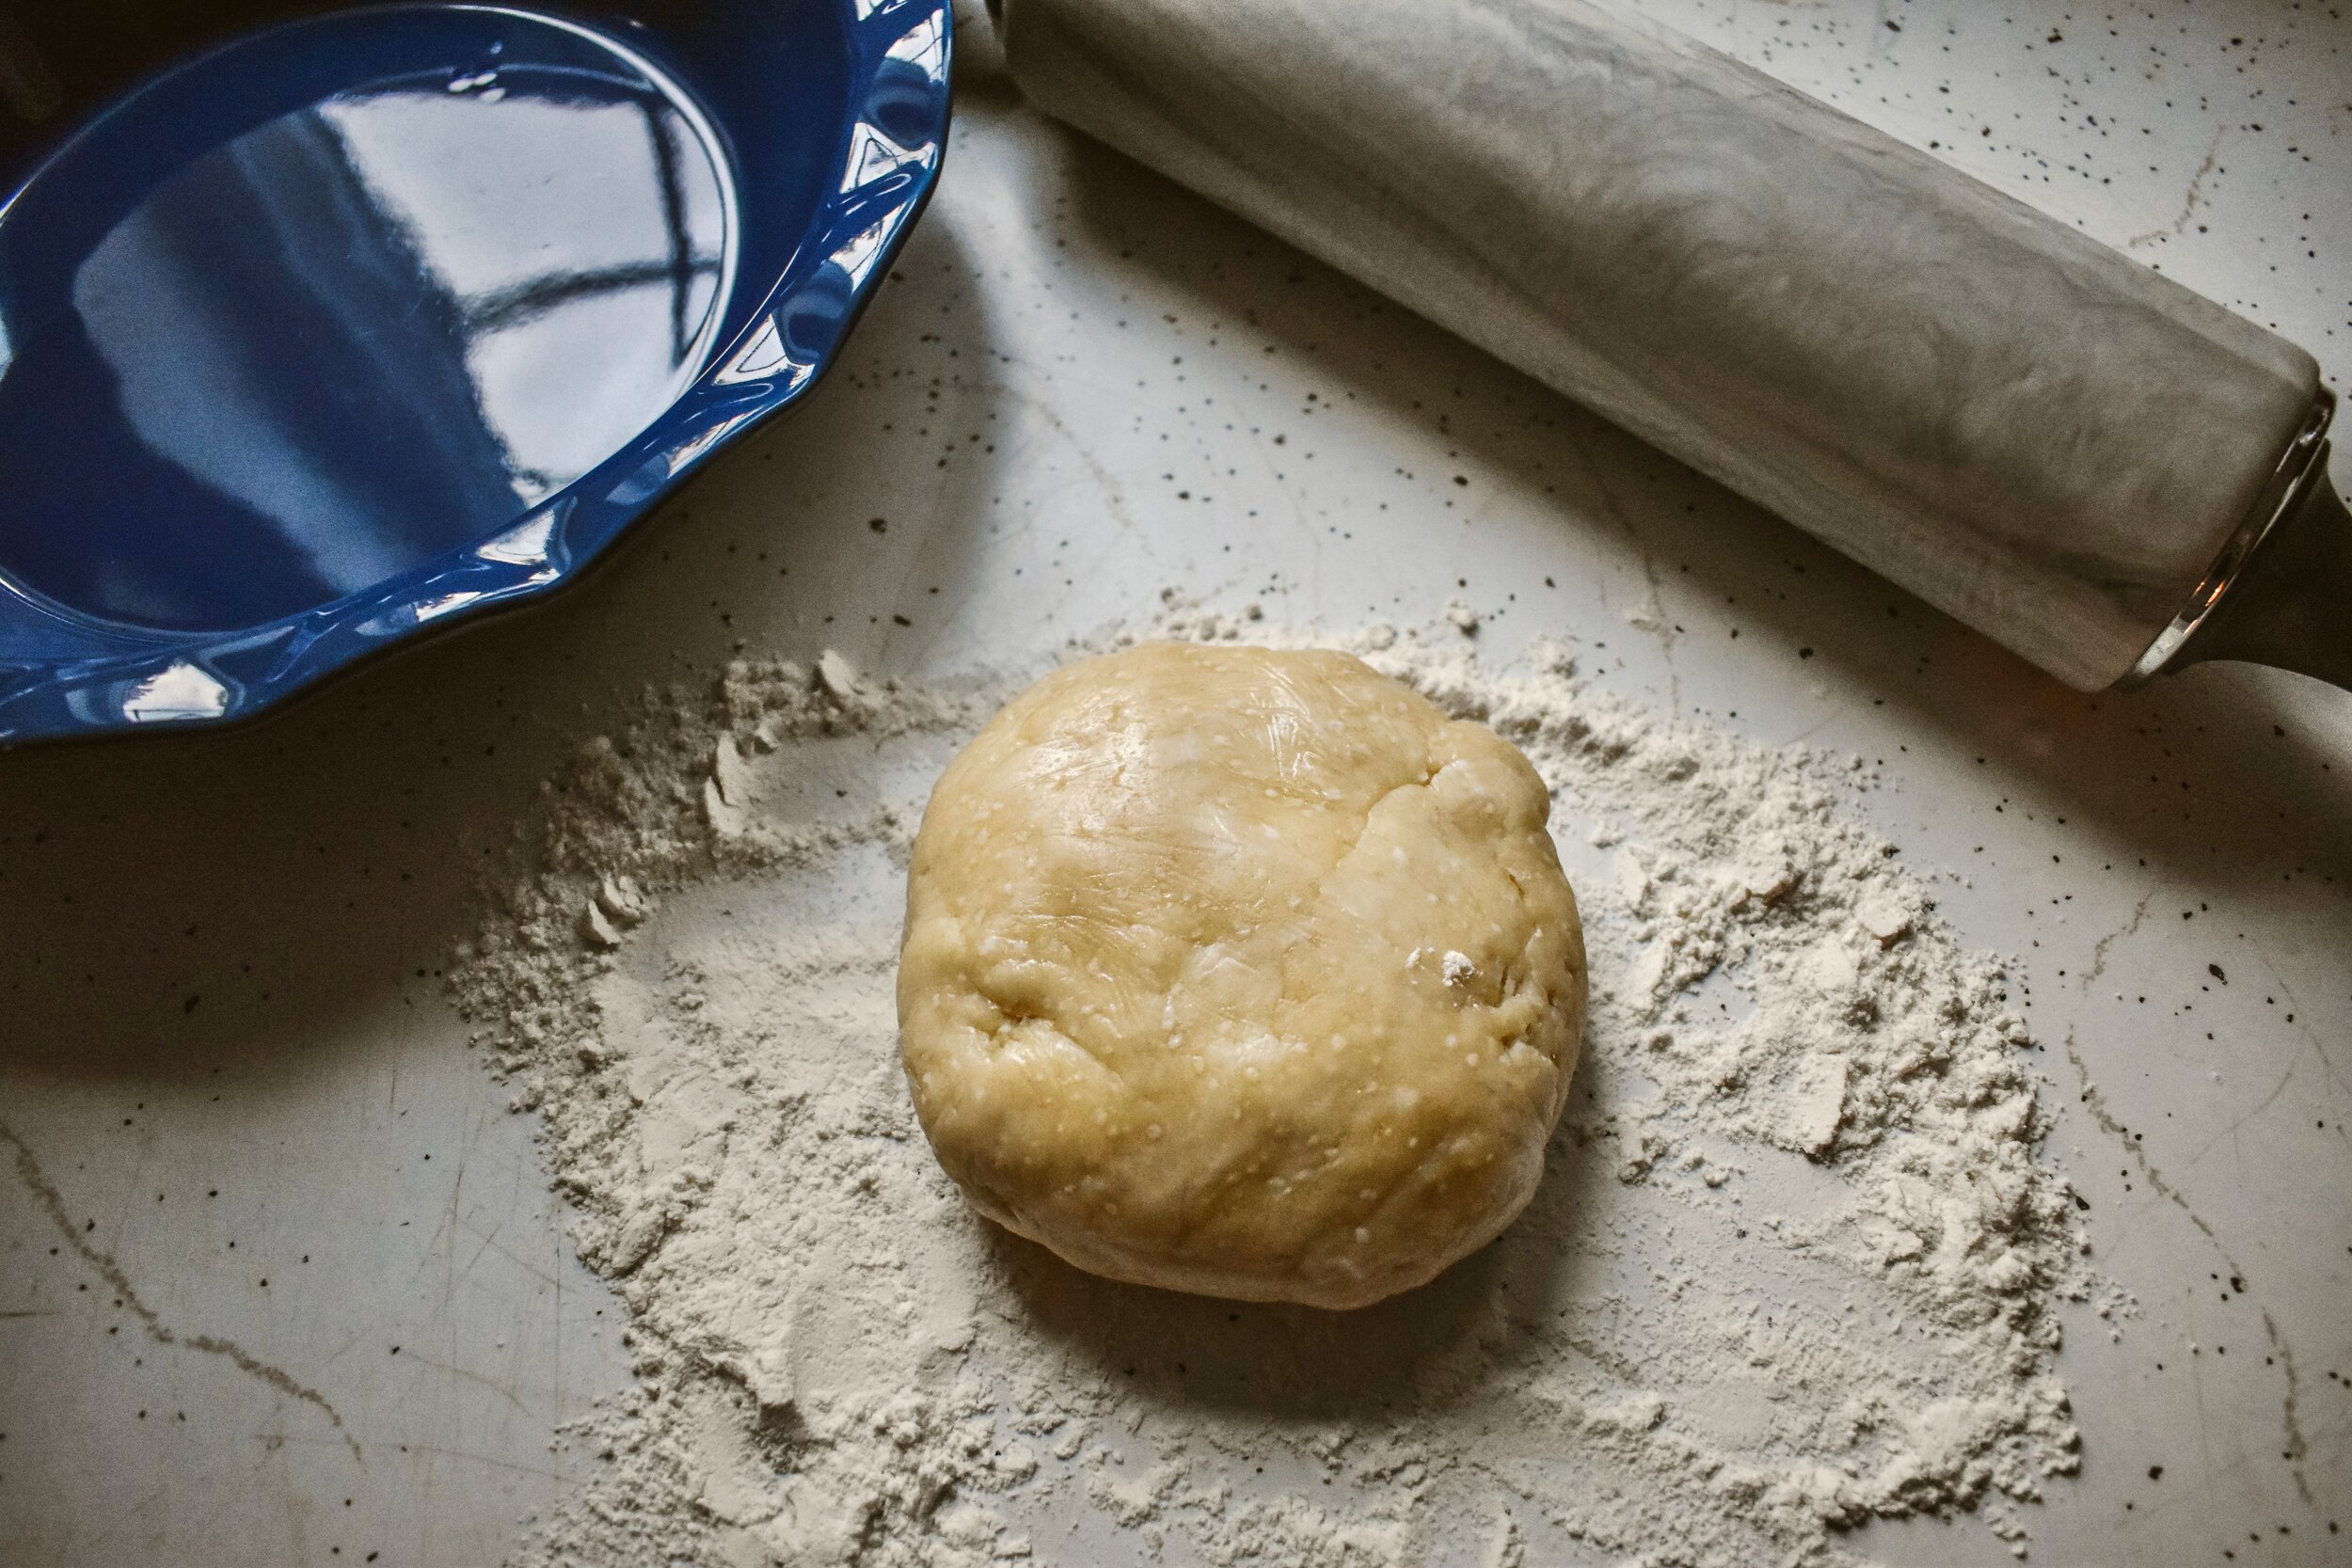
Perfect Buttery Pate Brisee Low FODMAP Pie Crust
15 Minutes • Gluten-free • Low FODMAP • Serves 8 • I had given up on creating a flaky, buttery, pie crust that was gluten-free until I came up with this combination of rice flour and butter and a few other things that resulted in a melt-in-your-mouth crust that complements anything you put inside—sweet or savory! Try this crust with our Better Than Classic Pumpkin Pie or our Spring Vegetable Quiche. You’ll love it.
Ingredients
2 egg whites
1/3 cup ice water
1/2 teaspoon apple cider vinegar
2 1/2 cups Betty Crocker Rice Flour Blend (or other rice flour blend containing white rice flour, potato starch, tapioca starch, and Xanthan gum)
1 tablespoon sugar (optional – for pie with sweet filling)
1 teaspoon baking soda
1 teaspoon baking powder
1/2 teaspoon salt
1 cup (2 sticks) very cold unsalted butter cut into cubes
Directions
Makes one large deep dish or two small pie crusts.
Whisk the egg whites, water, and apple cider vinegar together and set aside in the refrigerator.
Put the flour blend, sugar (if using), baking soda, baking powder, and salt in the bowl of a food processor fitted with the metal blade and pulse to combine. Add the butter cubes and pulse until the butter is evenly distributed in the flour mixture. With the food processor on, pour the egg, water, vinegar mixture into the feed tube of the food processor until the blend comes together and is evenly moistened and holds together if squeezed gently.
Empty the dough into your deep-dish pie pan or split it between your two small pie pans. Gently bring the dough together with your hands then press it into the pan with your fingers. If your fingers stick you can sprinkle the crust lightly with additional gluten-free flour. Press out to an even thickness on the bottom and up the sides of the pan with a small overlap on the edges. The dough is quite delicate and falls apart easily, but this pie crust is unlike crust made with regular flour in that it doesn’t get chewy when you handle it. So don’t worry if you have a lot of poking and pushing to do to get it evenly distributed in the pan – it will end up being delicious!
Once you’ve formed the crust into the pie pan(s), place the crust(s) in the freezer long enough to freeze (20 - 30 minutes). Once frozen, you can wrap them in plastic wrap and keep them in the freezer until you’re ready to use them.
When ready to use the pie crust(s), remove from the freezer, brush the inside of the frozen crust with egg white, then add your filling and place it in the oven. Bake as directed in your recipe.
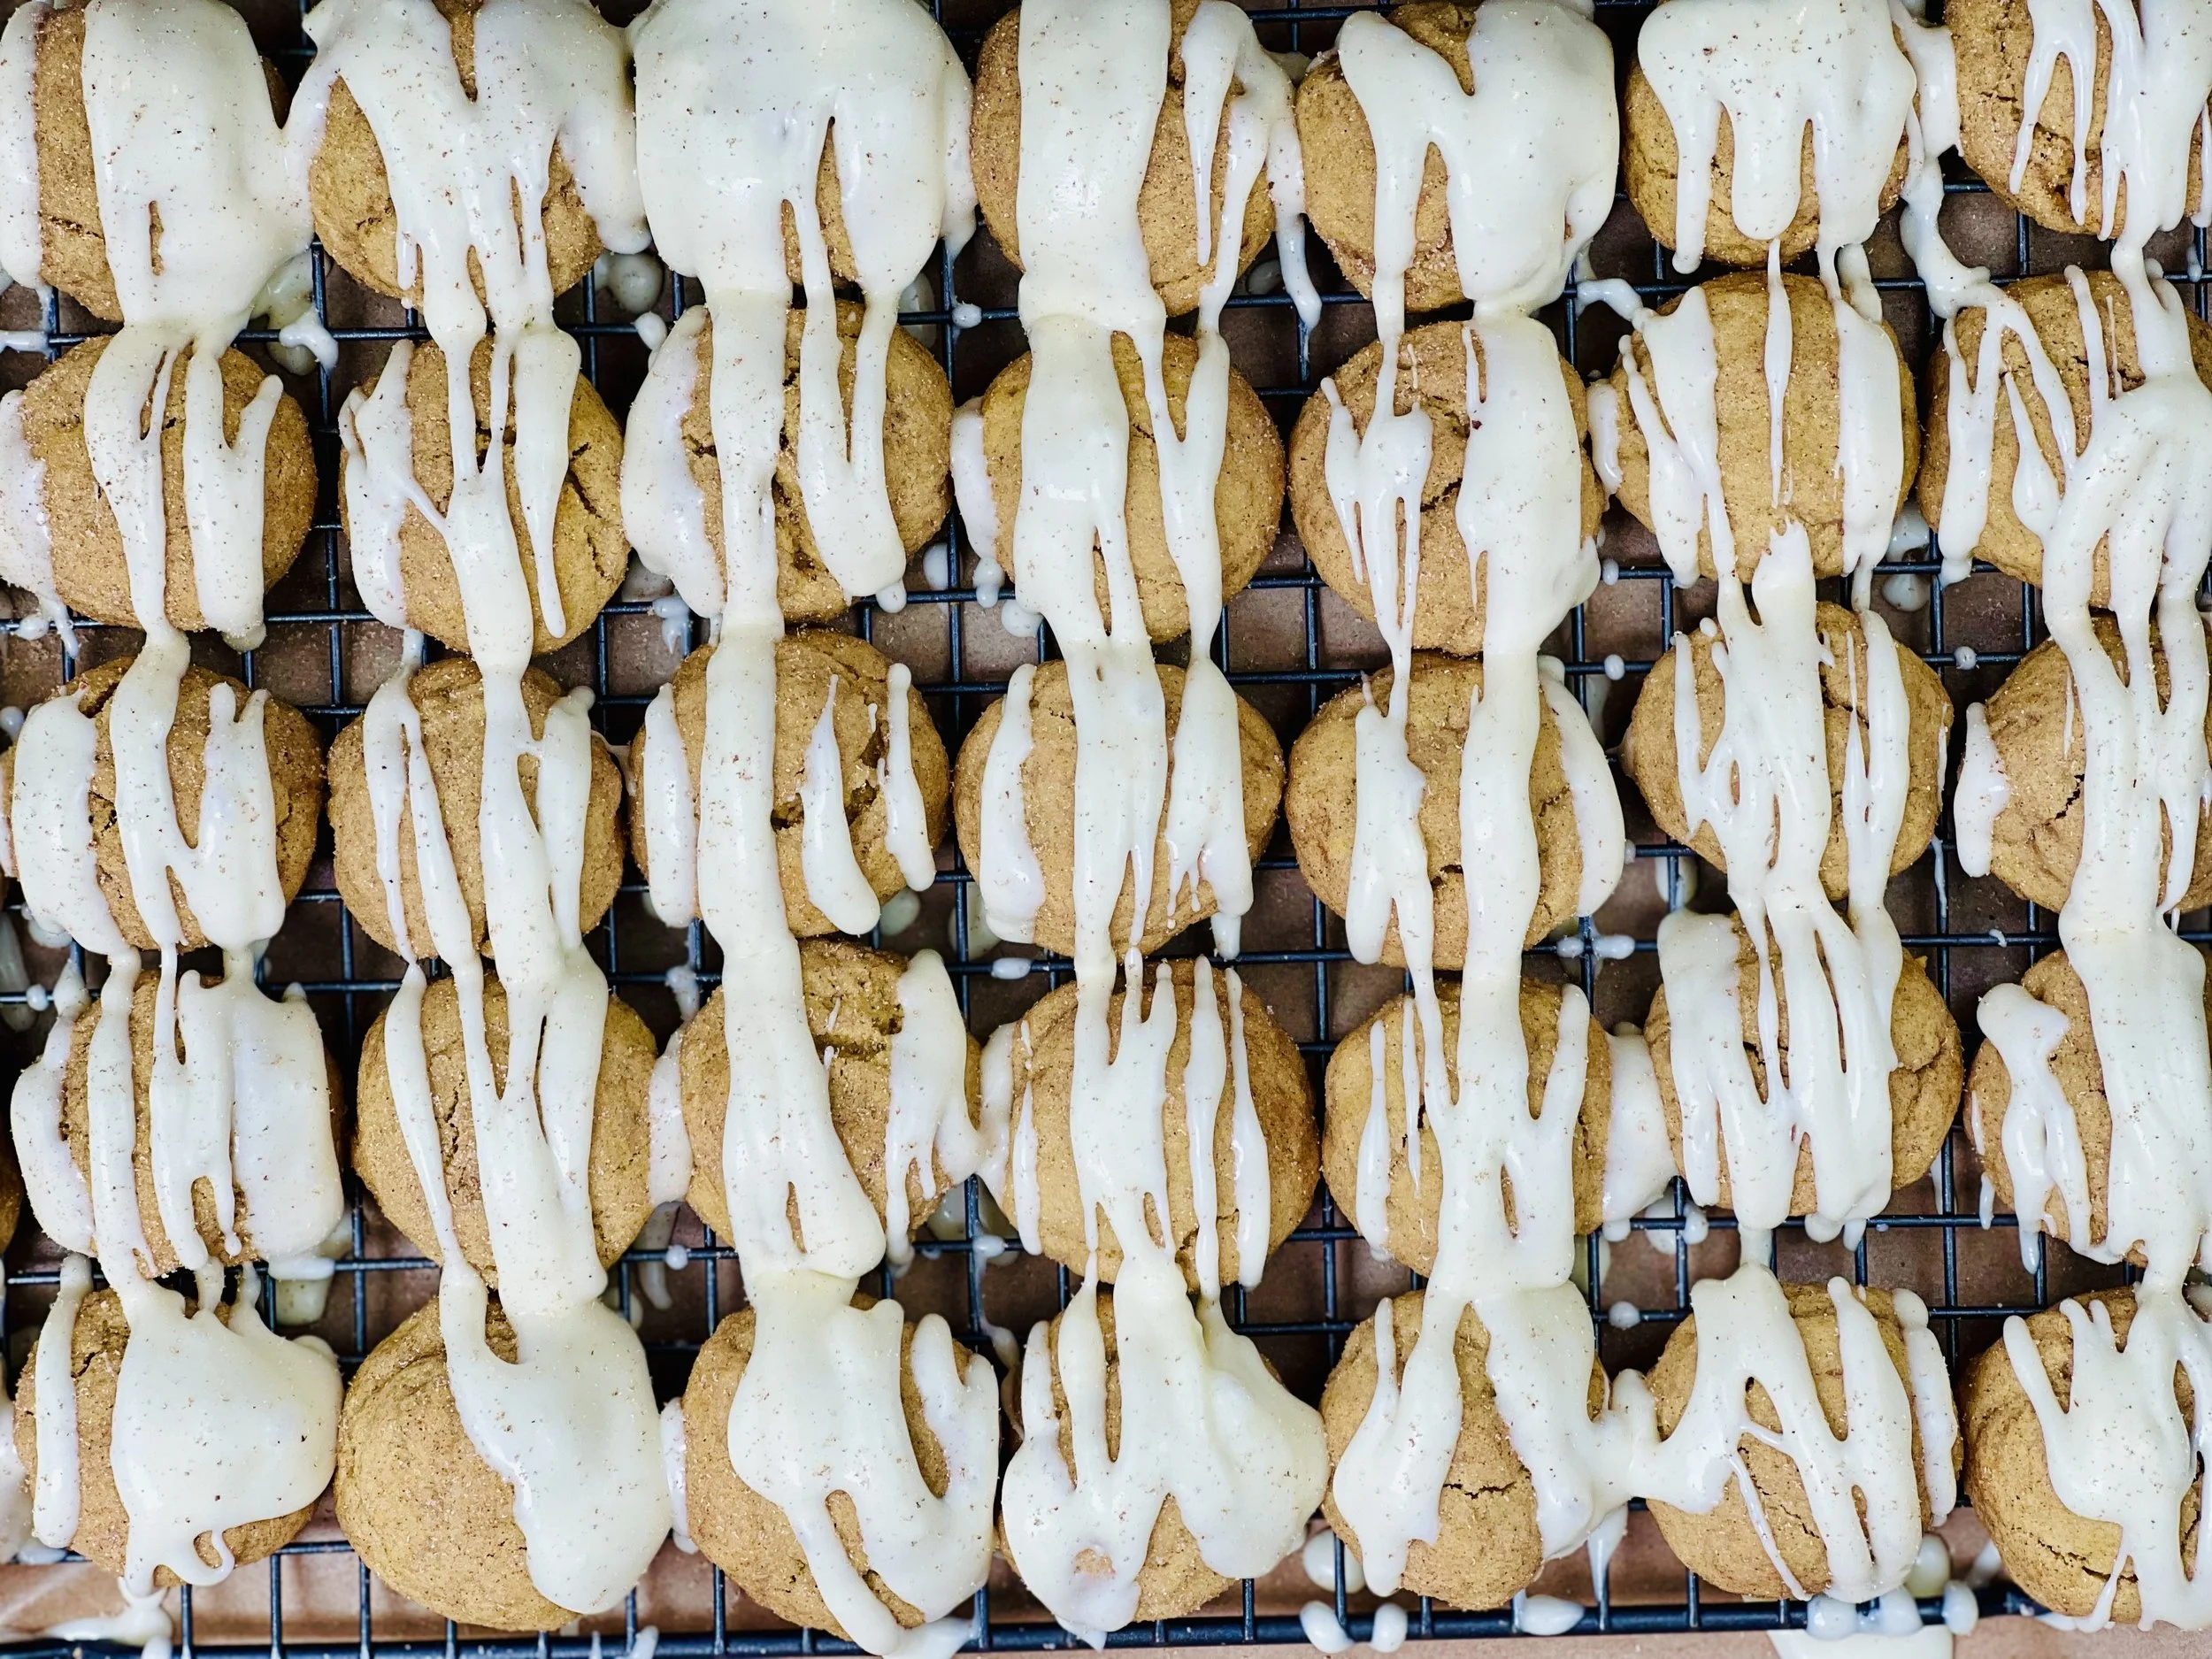
If you have some extra dough, roll it out, cut it into shapes with a cookie cutter or freehand. Transfer to a parchment-lined baking sheet. Brush with lactose-free whole milk or half and half and sprinkle with sugar and cinnamon. Then bake for about 15 minutes until crisp and just starting to brown at the edges. You can also use these cutouts for your upper pie crust by placing them (uncooked) on top of your pie filling before baking.
Eat and enjoy every bite because you can!
This post may contain affiliate links so you can easily purchase items listed on the page. In some cases, we have provided a special discount code for IBS Game Changers so be sure to use it when you purchase an item to get the discount that has been arranged just for you!