Deliciously Low FODMAP
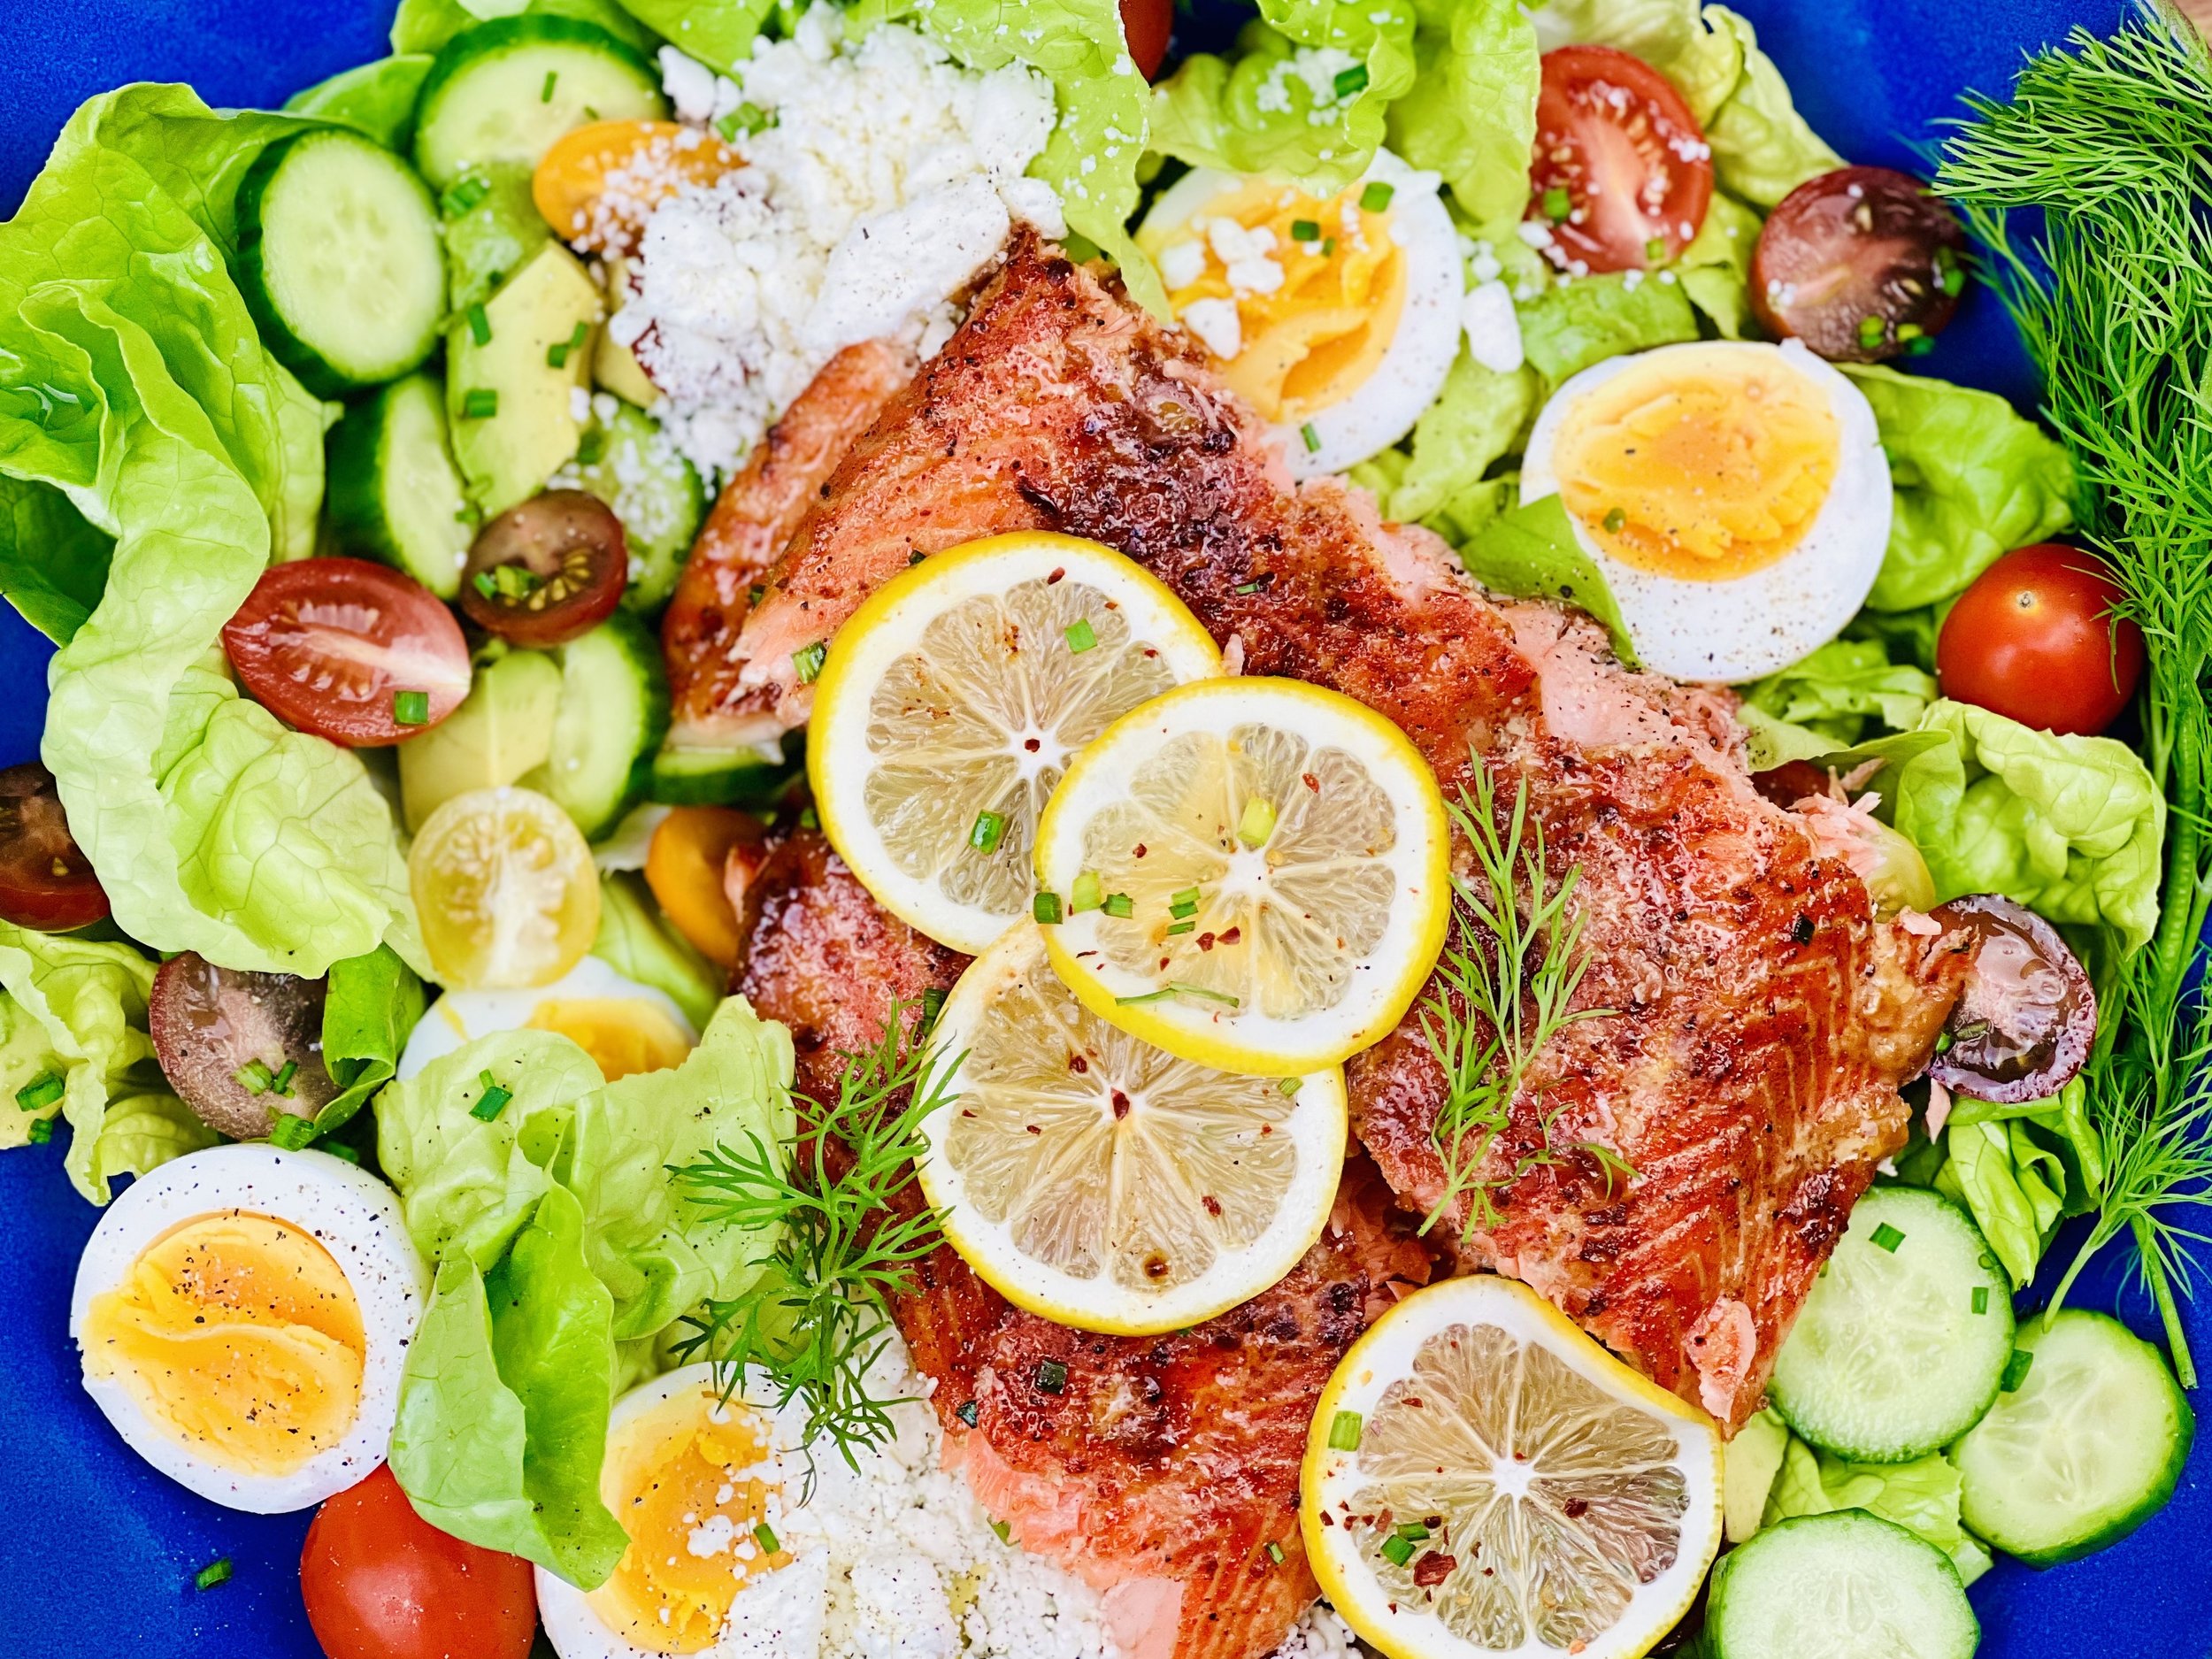
Inspire yourself with hundreds of delicious low FODMAP recipes, tips, and tools, and enjoy the abundance that is yours even when you have IBS.
Use the buttons and filters to find something specific or browse the complete collection for inspiration.
Discover a treasure trove of recipes with my FREE recipe club! Get new ideas delivered straight to your inbox every week.
Deliciously Low FODMAP is a trademark of IBS Game Changer, LLC
Filter to find Recipes and Tools
More Filtering Options
- All 796
- Appetizer 55
- BBQ 49
- Bowl 32
- Breakfast 69
- Cocktails 13
- Collection 1 58
- Collection 10 27
- Collection 11 30
- Collection 12 27
- Collection 13 31
- Collection 14 29
- Collection 15 31
- Collection 16 34
- Collection 17 31
- Collection 18 33
- Collection 19 36
- Collection 2 32
- Collection 20 33
- Collection 21 33
- Collection 22 40
- Collection 23 62
- Collection 24 17
- Collection 3 28
- Collection 4 29
- Collection 5 30
- Collection 6 32
- Collection 7 31
- Collection 8 31
- Collection 9 32
- Condiments 6
- Crock Pot 4
- Dessert 118
- Diabetes Game Changer Exception Protocol Contains Alcohol 11
- Diabetes Game Changer Exception Protocol Contains Flour 113
- Diabetes Game Changer Exception Protocol Contains Flour AND Sugar 79
- Diabetes Game Changer Exception Protocol Contains Sugar 52
- Diabetes Game Changer First Four Weeks 404
- Dinner 362
- Drink 8
- Easter 1
- Free Guide 17
- Gluten-free 655
- Gut Microbiome 2
- Guthealth 3
- Holidays 73
- IBS Triggers 4
- Keto Friendly 165
- Lactose-Free 181
- Low Carb 10
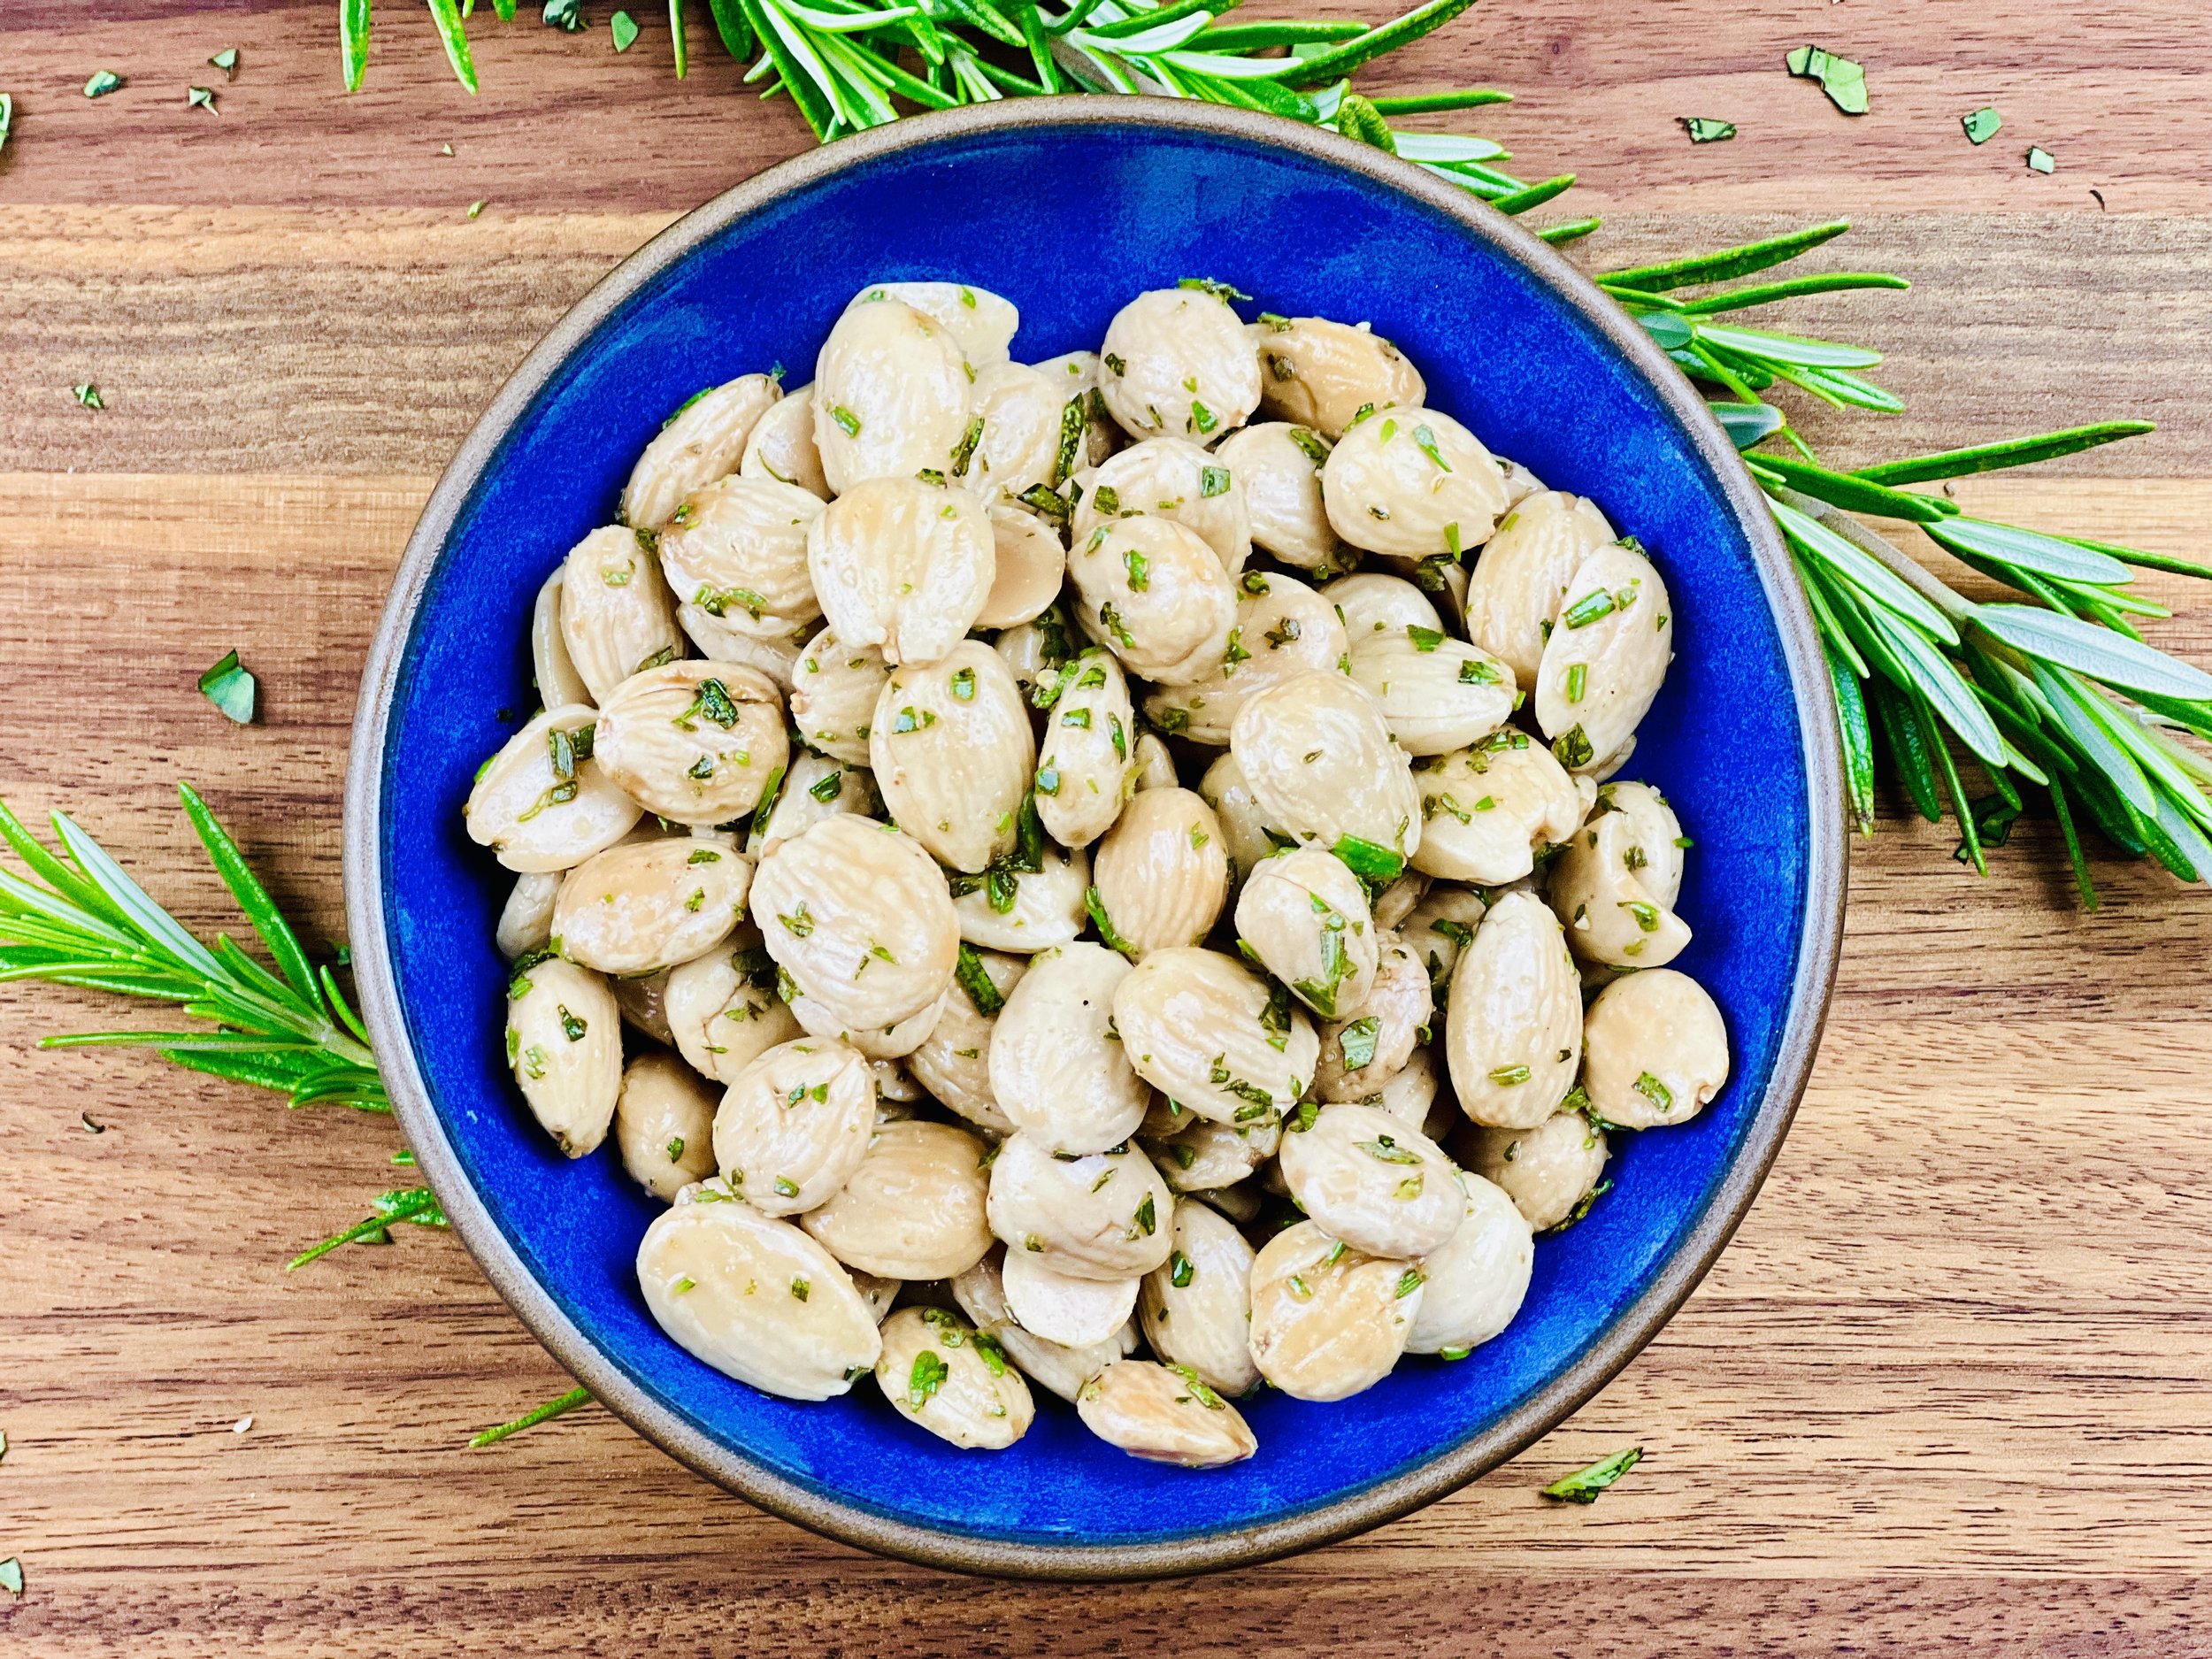
Rosemary Marcona Almonds (Low FODMAP)
5 Minutes prep • 5 Minutes cook • Low FODMAP • Gluten-free • Serves 4 - 6
5 Minutes prep • 5 Minutes cook • Low FODMAP • Gluten-free • Serves 4 - 6 • Ok to make ahead: Steps 1-3
Considering a low FODMAP serving of almonds is only 10 almonds, you want each one you eat to be delicious. These rosemary Marcona almonds will not disappoint you one bit. They aren’t just any almonds. They’re the most delicious almonds you can sink your teeth into. Marcona almonds are imported from Spain and the flavor is buttery, with a texture somewhere between a classic almond and macadamia nut. The higher fat content of the Marcona almonds helps explain the textural difference — tender-crunchy and moist. Combined with fresh rosemary and a bit of salt, they make the perfect addition to any cheese board or appetizer tray.
Ingredients
1 cup raw Marcona almonds
1-2 teaspoons extra virgin olive oil (I used Trader Joe’s)
2 tablespoons fresh rosemary, finely chopped
1/4 teaspoon Diamond Crystal Kosher salt
Directions
(1) Heat the oil: Heat a medium to large-size frying pan over medium-high heat. Add the oil.
(2) Add the rosemary: When the oil is hot, add the chopped rosemary. It will sizzle in the hot oil. Let it cook for about 30 seconds, stirring in the oil.
(3) Add the almonds: Add the almonds and toss and stir for about two minutes. Remove from heat.
(4) Finish: Sprinkle with salt. Stir again and let cool. Store in an airtight container for up to 2 weeks.
Eat and enjoy every bite because you can!
Recipe note: I use Diamond Crystal Kosher salt in all my recipes because it has a wonderful flat and crisp flake that tastes delicious. It is also the least salty salt available so you can use it more liberally as a seasoning than you can table salt or sea salt. If you use another type of salt, you may need to reduce the amount so it is not over-salted.
Have a question you’d like to have answered? Email me at hello@ibsgamechanger.com
Link note: This post may contain affiliate links for you to easily purchase items that are linked. I may earn a small commission from qualifying purchases but none of this costs you a thing so feel free to use the links! In addition, for some items, I have provided a special discount code for IBS Game Changers so be sure to use the code when you purchase an item to get the discount that has been arranged just for you.
More Deliciously Low FODMAP™ appetizer recipes
5 Minutes prep • 15 Minutes cook • Low FODMAP • Gluten-Free • Lactose-Free • Makes 2 cups
10 Minutes Prep • 50 Minutes Cook • Low FODMAP • Gluten-free • Dairy Free • Vegan • Serving size 3 - 4 crackers
10 Minutes prep • 15 Minutes rest • Low FODMAP • Gluten-free • Dairy-free • Serving size 3 tablespoons
10 Minutes prep • 20 Minutes cook • Low FODMAP • Gluten-free • Lactose-free • Vegan • Serves 5
15 Minutes prep • 1 hour chill • Low FODMAP • Gluten-free • Vegetarian • Serves 4 or more
10 Minutes prep • Low FODMAP • Gluten-Free • Lactose-free • Vegetarian • Vegan • Makes 1.5 cups
5 Minutes prep • 10 Minutes cook • Low FODMAP • Gluten-free • Lactose-free • Makes 1 cup
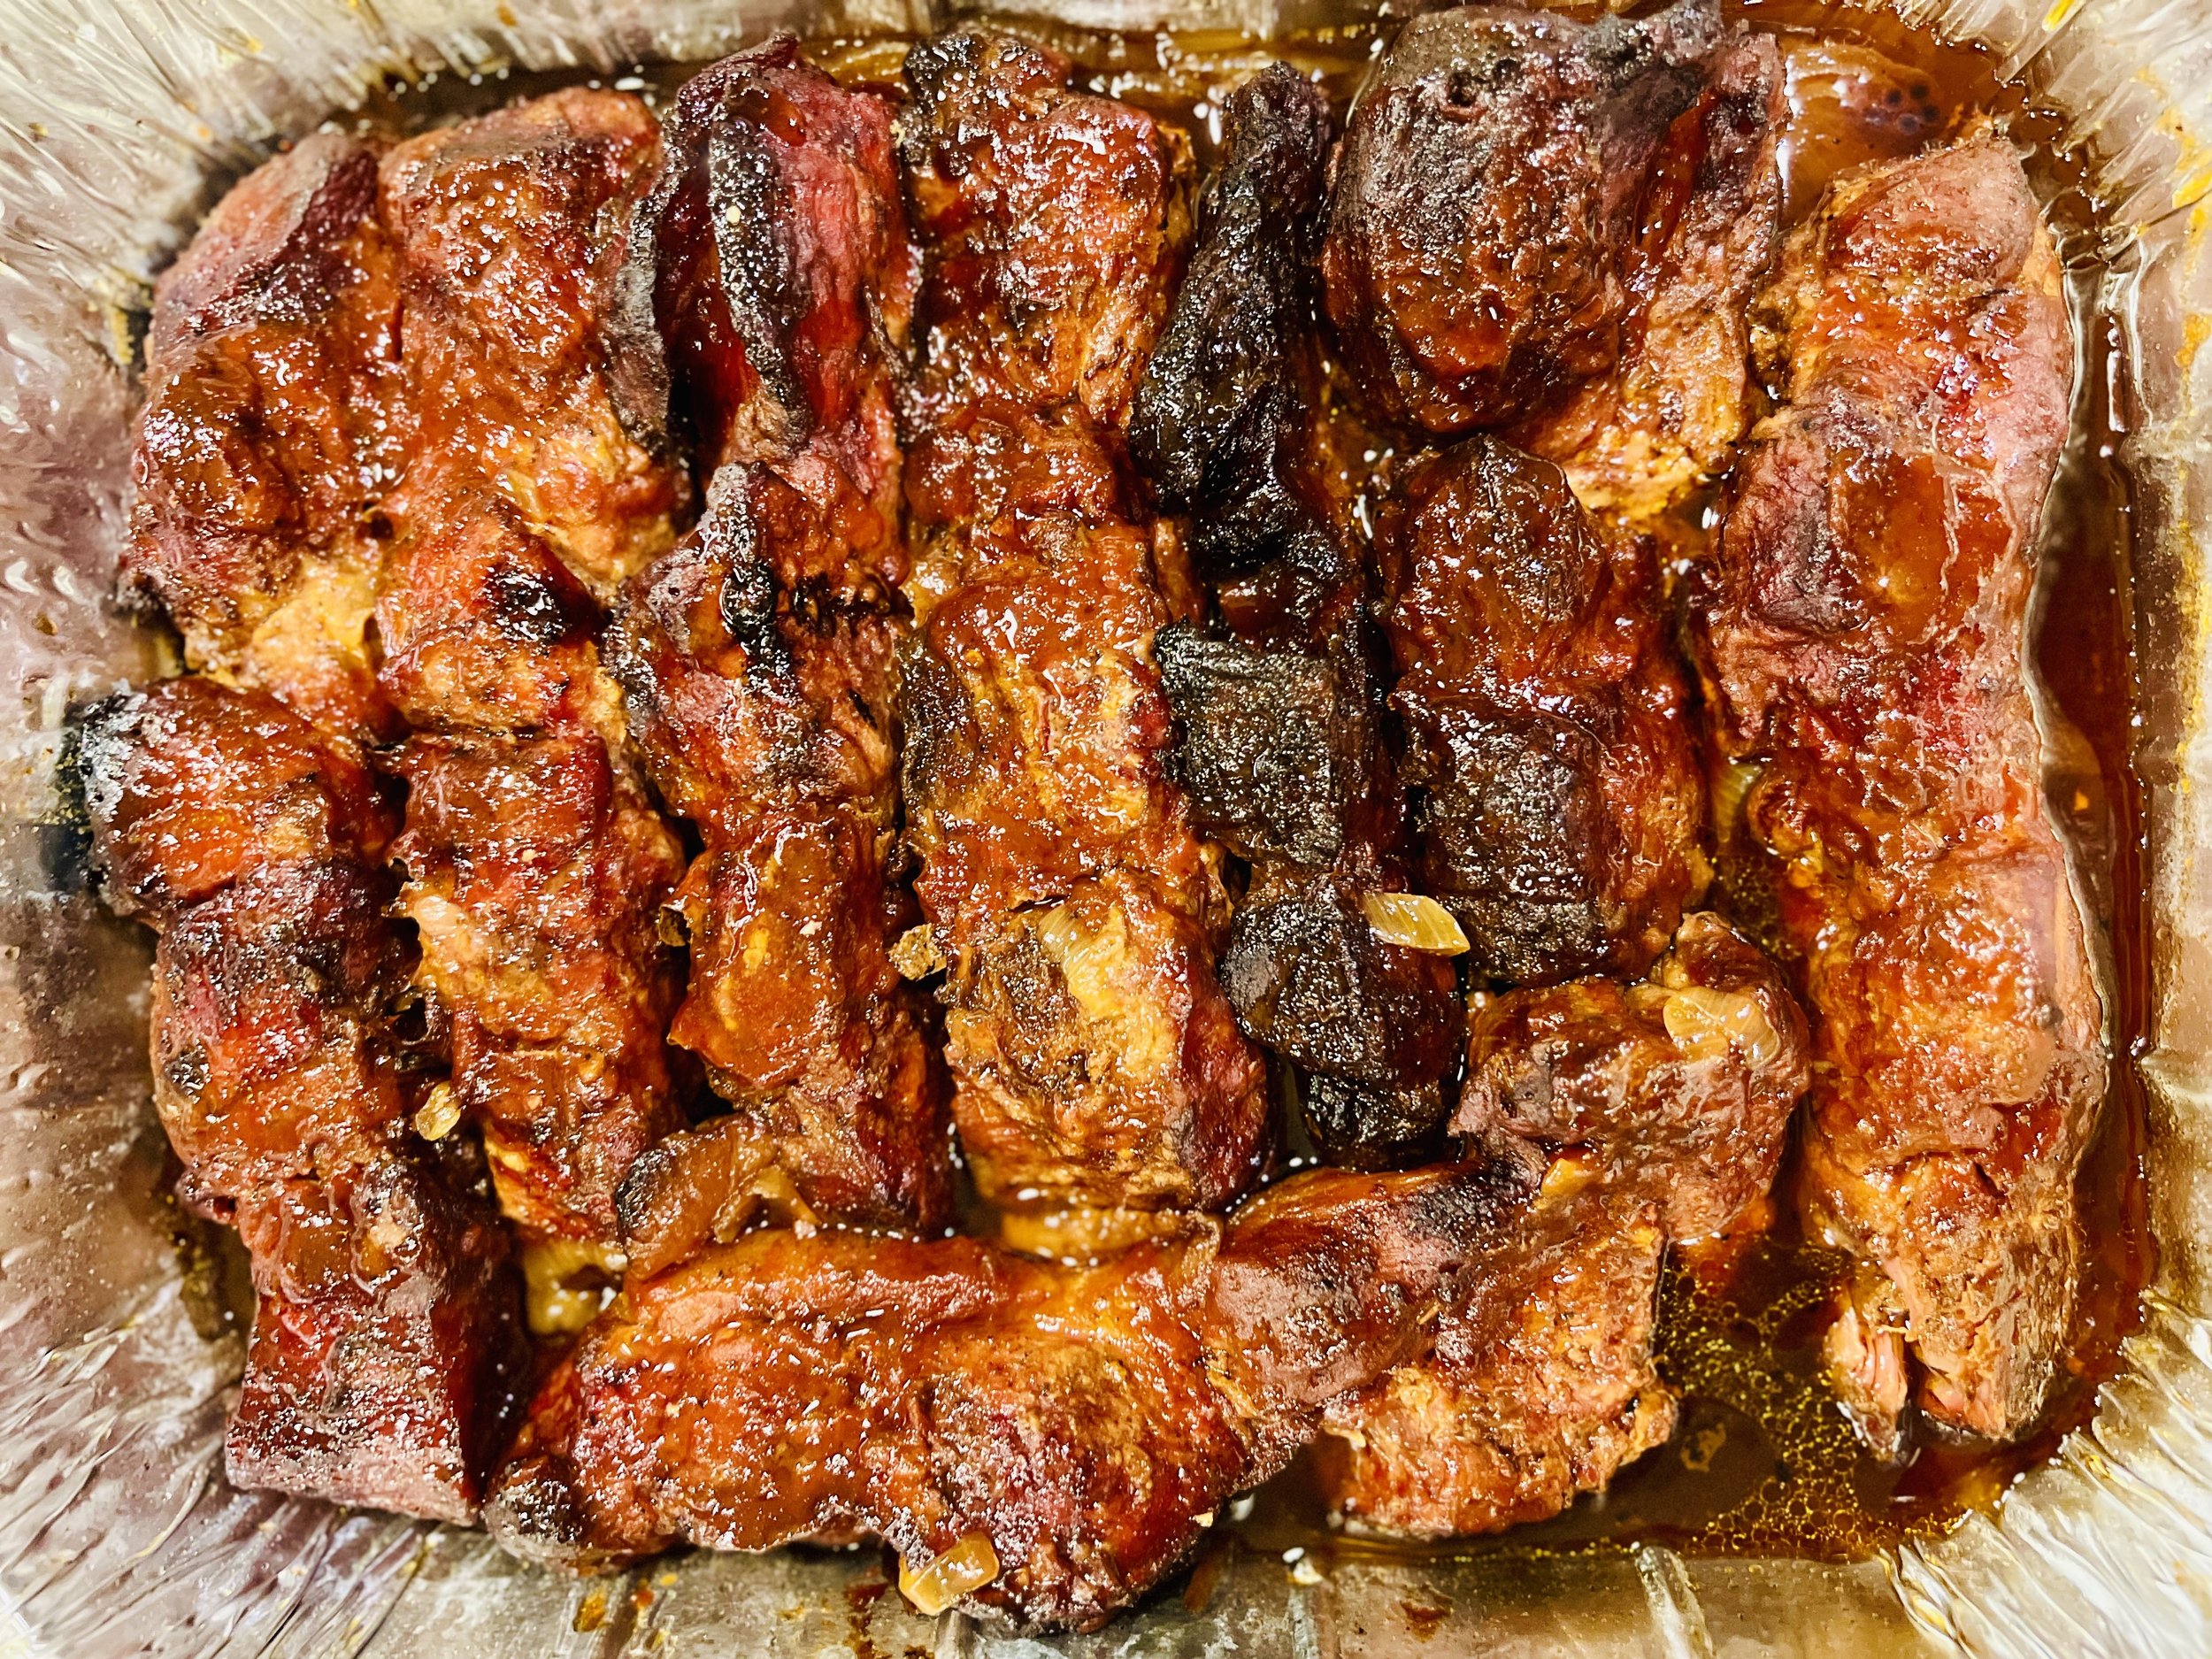
Smoked Country Style Boneless Pork Ribs (Low FODMAP)
15 Minutes prep • 7 hours cook • Low FODMAP • Gluten-free • Lactose-free • Serves 4 - 6
15 Minutes prep • 7 hours cook • Low FODMAP • Gluten-free • Lactose-free • Serves 4 - 6 • Ok to make ahead: Steps 1-6
Country-style ribs can be the most tender and delicious cut of meat if you give them plenty of time to cook. And, because they’re boneless, they’re much easier (and less messy) to eat than traditional ribs. This recipe consists of two parts: The first is the slow cook on the Traeger pellet grill to bring the meat up to temperature and add the smoky flavor, and the second part is the braise to ensure the meat is tender and delicious. It’s worth the time to cook these ribs right! They do reheat beautifully in the oven so consider making these a day ahead and reheat to serve if you don’t have time to cook them on the day you plan to serve them. They pair wonderfully with my Buttery Mashed Yukon Gold Potatoes or Mushroom Pilaf (for a super low-carb option).
Ingredients
One package of country-style pork ribs (about 3 pounds)
2 - 3 tablespoons mustard (I used Dijon)
3 - 4 tablespoons of your favorite BBQ rub (I used Smoke N Sanity Triple S All Purpose Seasoning, use code IBSGC15 for 15% discount)
One cup of beef or chicken broth (I used Whole Foods Organic 365 chicken broth)
1 tablespoon apple cider vinegar
½ - 1 whole yellow onion, sliced (optional if tolerated)
1/2 cup of your favorite low FODMAP bbq sauce (I used: Smoke N Sanity Sweet and Sassy BBQ sauce, use code IBSGC15 for 15% discount)
Directions
(1) Prepare: Preheat your Traeger (or other pellet grill) to 250 degrees F. Remove the country-style pork ribs from the package and pat dry. Rub each of the ribs with mustard. Liberally sprinkle the bbq rub on all sides of each rib section
(2) Smoke the ribs: Place ribs directly on the preheated grill, fat side up if evident, and cook until the internal temp reaches 155 degrees. This takes 3- 4 hours. When the internal temperature is reached, remove the ribs to the braising pan and follow the braising directions (below).
Braising Directions
(3) Prepare the braise: Add the beef or chicken broth and the apple cider vinegar to the bottom of the braising pan. (I used an aluminum foil pan for easy cleanup. Use a pan small enough to be sure the braising liquid surrounds but doesn’t cover the meat completely. It’s ok for the ribs to be touching each other while braising). If you can tolerate a bit of onion, slice up ½ to 1 whole yellow onion and put the onion slices in the pan with the braising liquid (if you can’t tolerate any onion, leave it out, the ribs will still be delicious!)
(4) Braise the ribs: After the ribs reach 155 degrees F, remove them and place them in the braising pan. Pour the BBQ sauce over the ribs and cover the braising pan tightly with foil and place it back on the grill. Cook at 250 degrees for another 2 – 3 hours or until the internal temperature reaches 170 degrees F and the meat is tender and easily pulls apart with a fork.
(5) Finish: Remove from the smoker and allow the meat to rest for 10 - 15 minutes before serving.
(6) Plate and serve: To serve, spoon the pan juices over the ribs and serve the ribs over my Buttery Mashed Yukon Gold Potatoes or Mushroom Pilaf (for a super low-carb option). Add a salad or a cooked veggie side and you’ve got a perfect meal!
(7) Storage: Store leftovers (with the braising juices!) in an airtight container in the refrigerator. Reheat in a 300-degree oven for about 20 – 30 minutes. These reheat beautifully so consider making these a day ahead and reheat to serve.
Eat and enjoy every bite because you can!
Have a question you’d like to have answered? Email me at hello@ibsgamechanger.com
Link note: This post may contain affiliate links for you to easily purchase items that are linked. I may earn a small commission from qualifying purchases but none of this costs you a thing so feel free to use the links! In addition, for some items, I have provided a special discount code for IBS Game Changers so be sure to use the code when you purchase an item to get the discount that has been arranged just for you.
More Deliciously Low FODMAP™ BBQ recipes
20 Minutes prep • 2 - 8 hours Marinate • 30 Minutes cook • Low FODMAP • Gluten-Free • Serves 4 - 6
10 Minutes prep • 20 Minutes cook • Low FODMAP • Gluten-free • Serves 4 n skewers for your family and friends. They are sure to be a hit.
20 Minutes prep • 3-5 hours cook/rest • Low FODMAP • Gluten-free • Lactose-free • Serves 6
15 Minutes prep • 30 minutes - 4 Hours marinate • 20 minutes Cook • Low FODMAP • Gluten-free • Lactose-free • Serves 4
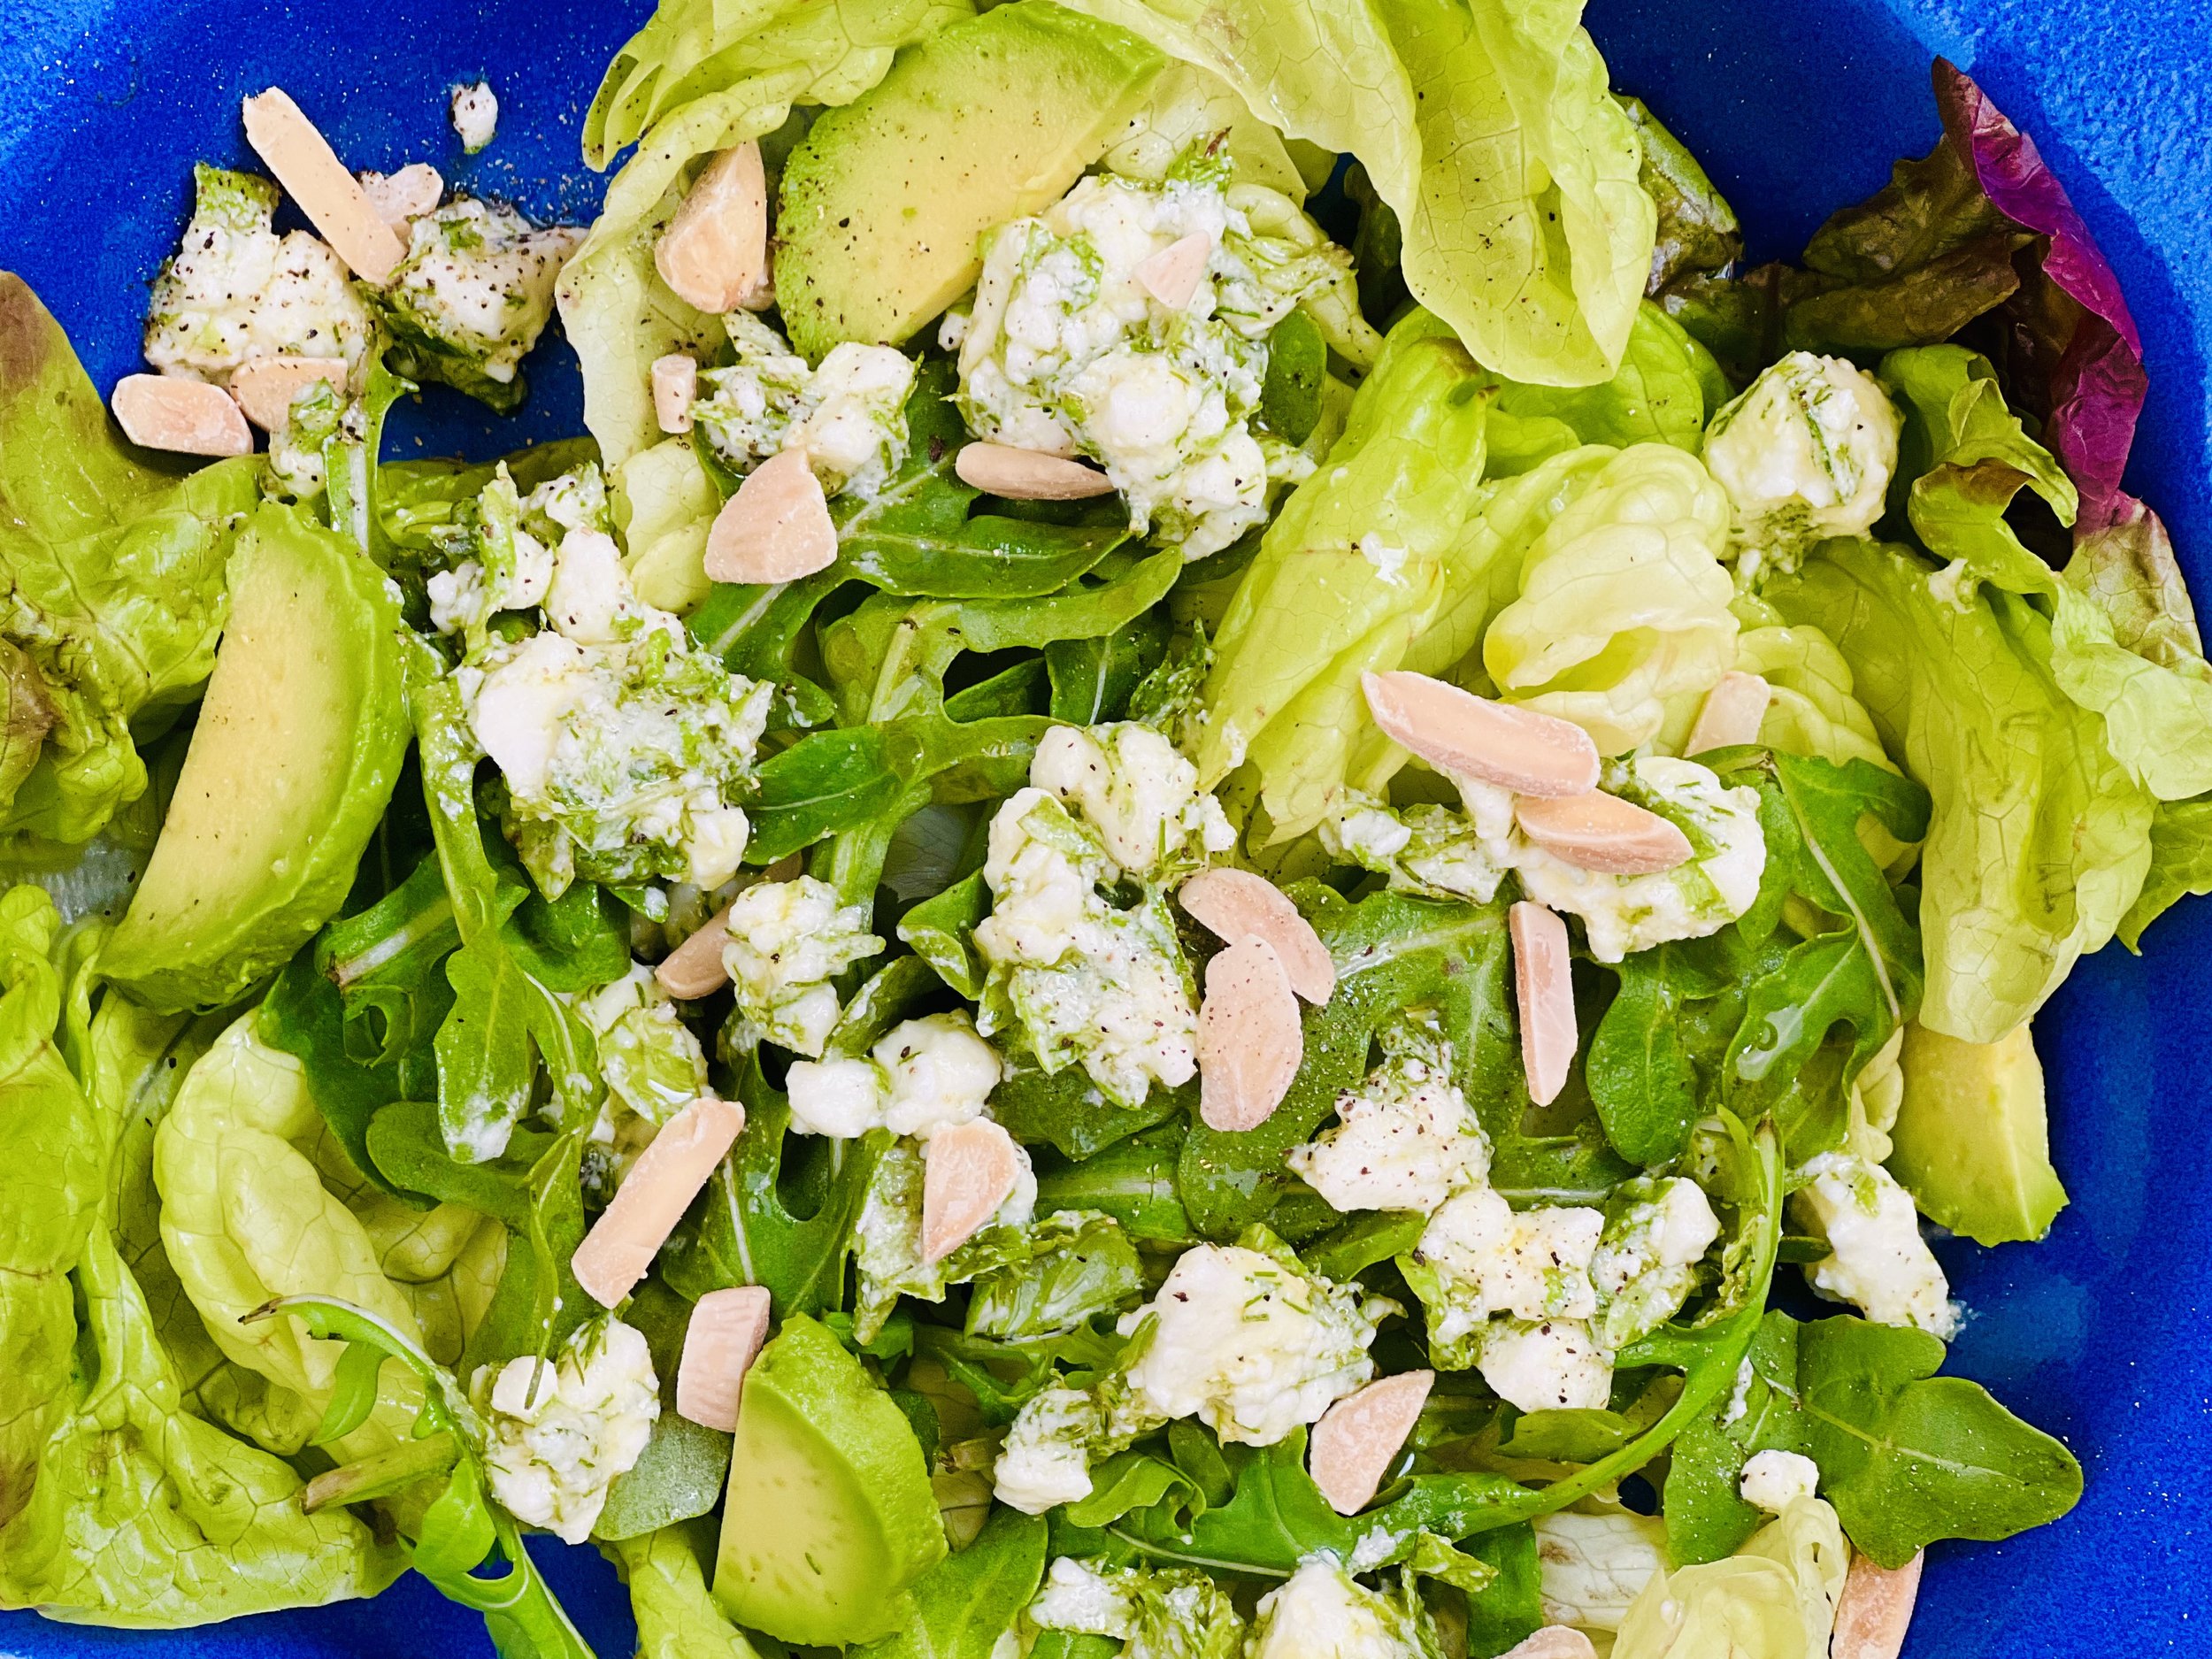
Butter Lettuce Salad with Herby Lemon Feta (Low FODMAP)
15 Minutes prep • Low FODMAP • Gluten-free • Vegetarian • Serves 4
15 Minutes prep • Low FODMAP • Gluten-free • Vegetarian • Serves 4 • Ok to make ahead: Steps 1-3
This crisp salad is just bursting with flavor thanks to the lemony herb dressing. It’s quick to make and can be assembled at the last minute so it’s perfect for the family or for a dinner party. You can change up the greens if you like and add more or less depending on what you have on hand. This salad is a great change of pace from the standard fare so if you looking for a new salad to try, this is it! I hope you enjoy it as much as I do.
Ingredients: Salad
4 cups butter lettuce, washed and dried
1 cup arugula (optional)
4 Persian cucumbers (optional)
1/2 avocado, diced
1/3 cup slivered toasted almonds (or sliced or chopped raw almonds are ok too)
Ingredients: Dressing
5 ounces crumbled feta cheese
1/4 cup extra virgin olive oil
1 tablespoon lemon juice
1 tablespoon fresh dill, chopped
1/2 cup fresh basil, chopped
1/4 teaspoon black pepper
Pinch red pepper flakes (for serving, optional); and here’s a nifty red pepper flake grinder too
Directions
(1) Prepare: Wash and dry the lettuce. Slice the cucumbers (if using) and chop the almonds.
(2) Build the salad: Put the lettuce and arugula (if using) in a large salad bowl. Add the cucumbers and the avocado.
(3) Make the dressing: Put the crumbled feta cheese in a bowl. Add the olive oil, lemon juice, and dill. Toss gently. Season with pepper, and chili flakes (if using). Toss to combine. Add
(4) Finish: Pour the dressing over the lettuce and gently toss the salad with the dressing. Sprinkle with the slivered almonds.
(5) Plate and serve: This salad is great on its own or as a side to seafood (especially), chicken, or beef.
Eat and enjoy every bite because you can!
Have a question you’d like to have answered? Email me at hello@ibsgamechanger.com
Link note: This post may contain affiliate links for you to easily purchase items that are linked. I may earn a small commission from qualifying purchases but none of this costs you a thing so feel free to use the links! In addition, for some items, I have provided a special discount code for IBS Game Changers so be sure to use the code when you purchase an item to get the discount that has been arranged just for you.
More Deliciously Low FODMAP™ salad recipes
5 Minutes prep • 30 Minutes cook • Low FODMAP • Serves 6-8 • Ok to make-ahead: Steps 1 - 3
5 Minutes prep • 15 Minutes cook • Low FODMAP • Gluten-free • Lactose-free • Vegan • Serves 4
15 Minutes prep • Low FODMAP • Gluten-free • Lactose-free • Vegetarian • Vegan • Serves 4
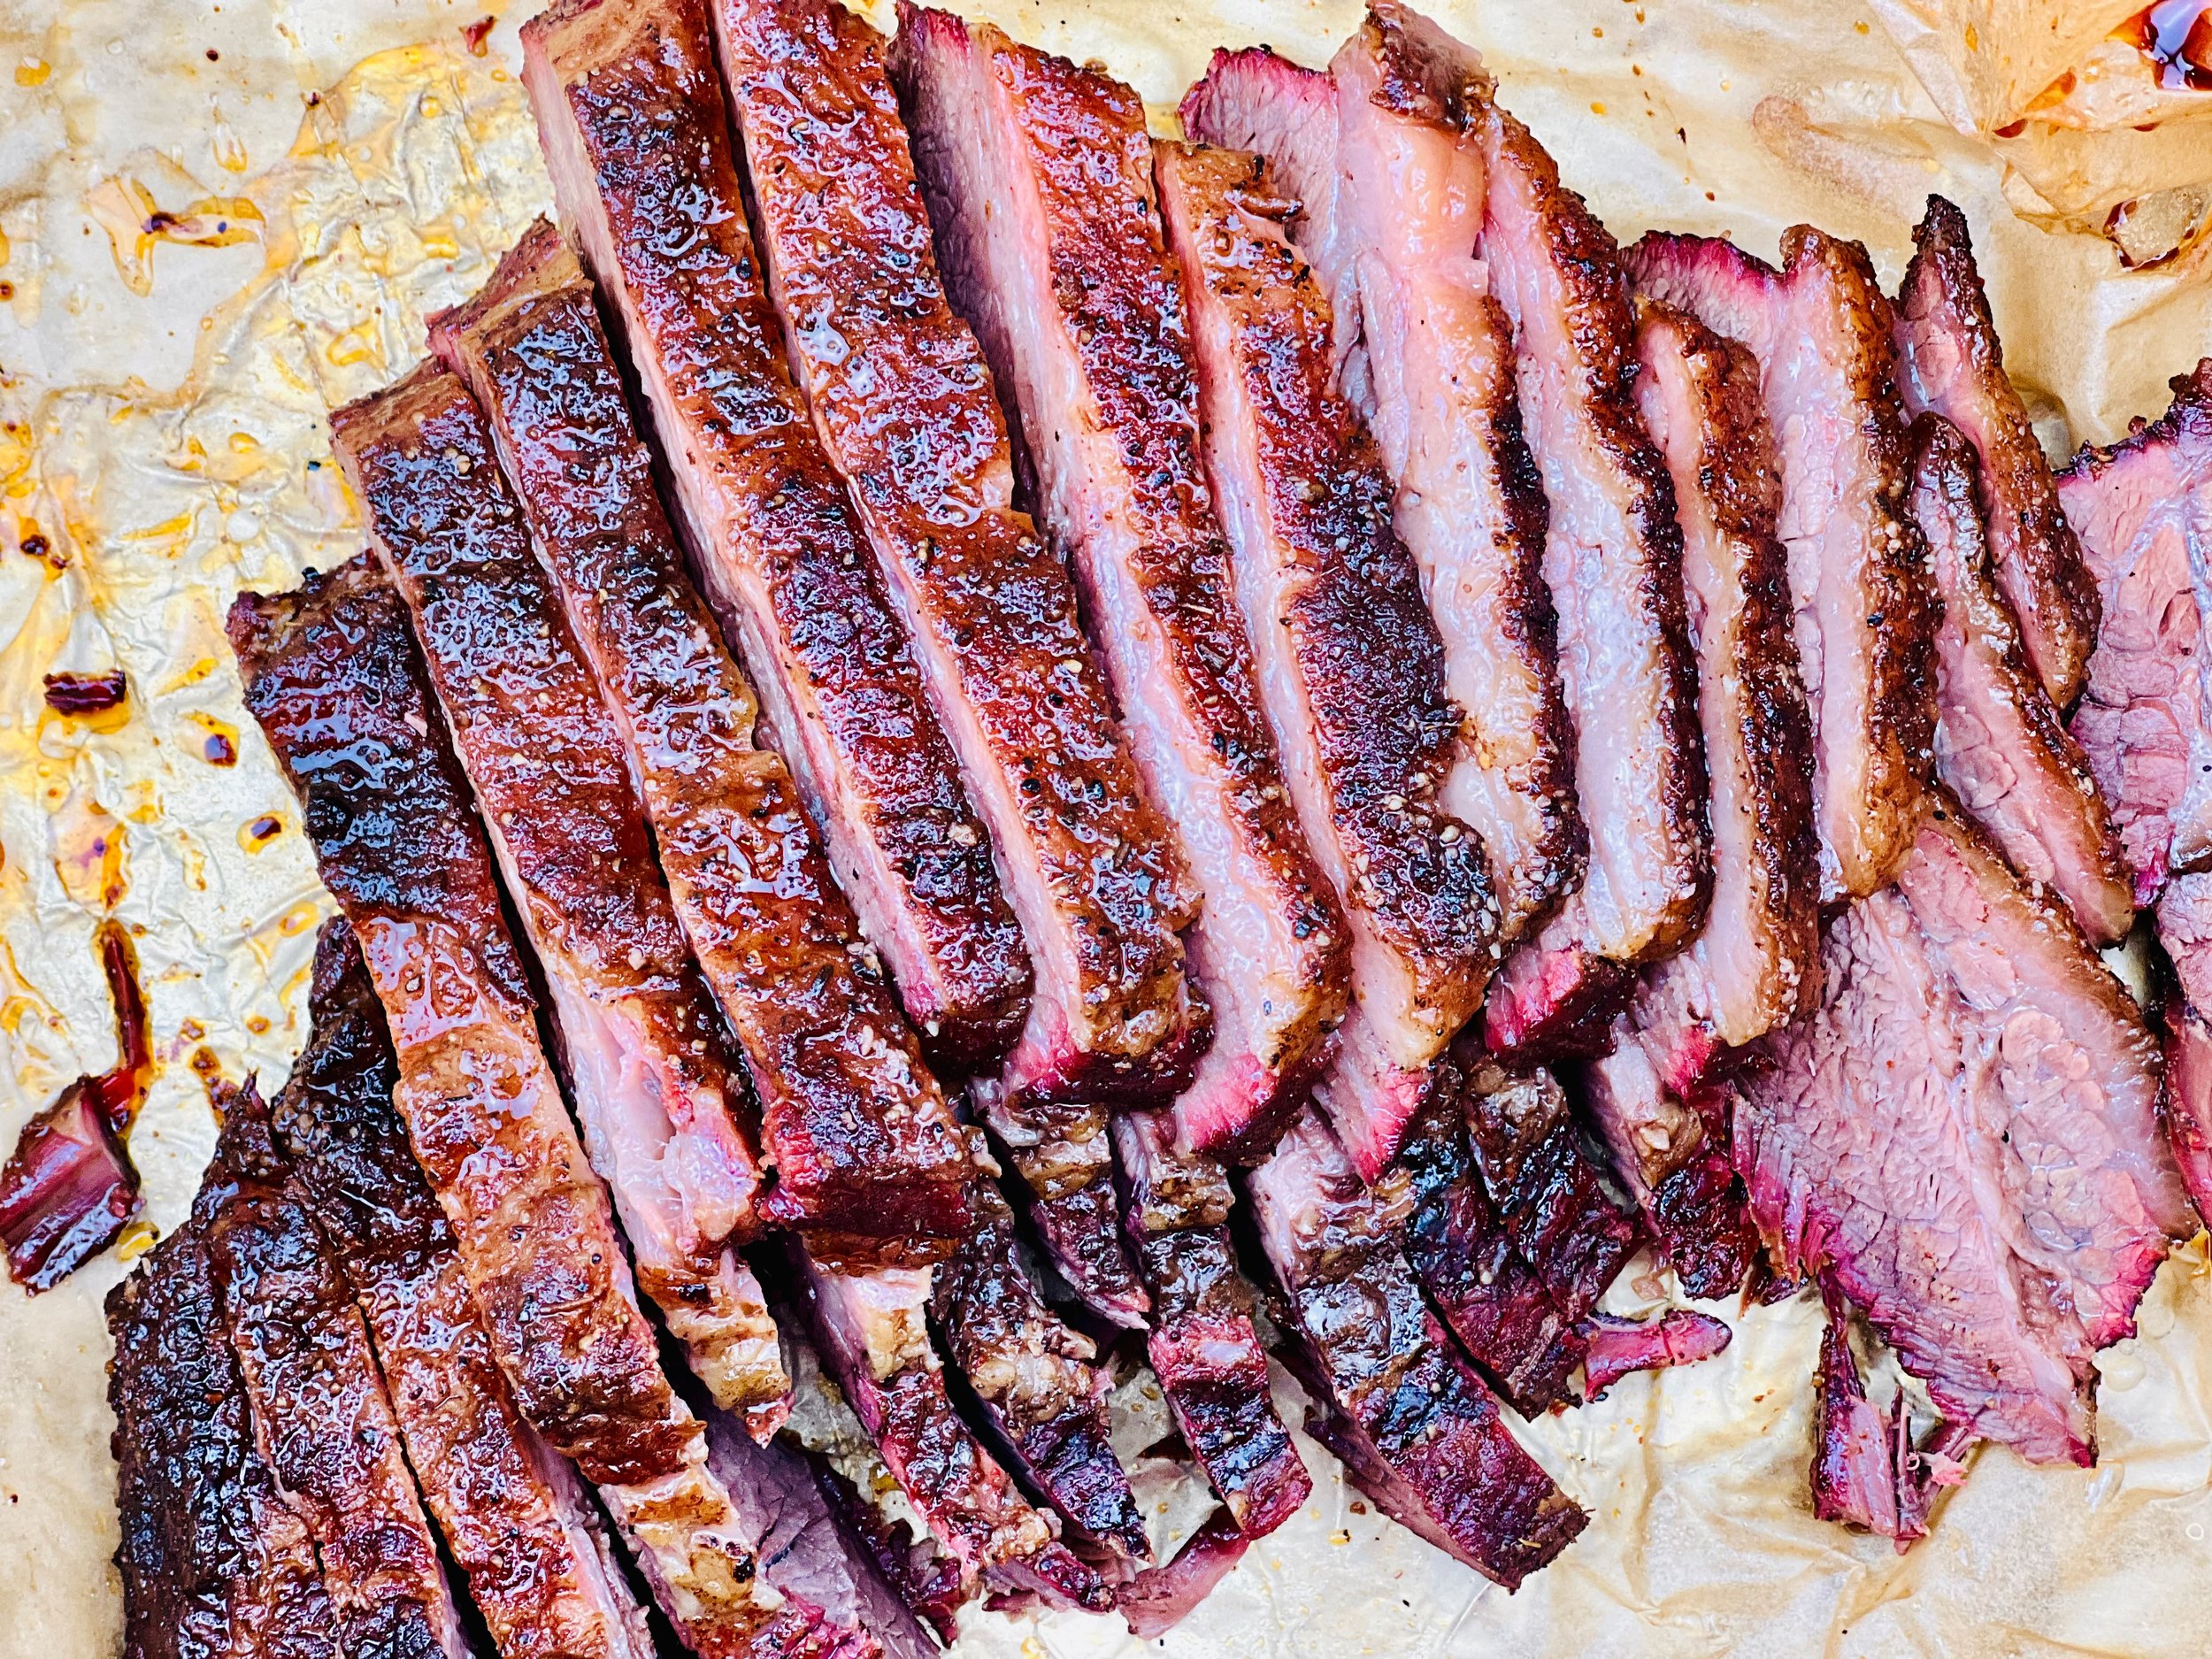
Perfect Smoked Brisket (Low FODMAP)
20 Minutes prep • 3-5 hours cook/rest • Low FODMAP • Gluten-free • Lactose-free • Serves 6
20 Minutes prep • 3-5 hours cook/rest • Low FODMAP • Gluten-free • Lactose-free • Serves 6 • Ok to make ahead: Step 1
I have wanted to make a brisket for quite some time, but every recipe I looked at seemed overwhelmingly complicated. So, when a friend walked me through how he cooked it, I finally understood the process, and then it was just a matter of ingredients. As long as you have a smoker such as a Traeger (that’s what I use) or another backyard smoker, this simple recipe delivers a tender, juicy, and oh-so-flavorful result. The secret is in the seasoning, the timing, and the temperature. I cooked a 3-pound brisket in 3 1/2 hours and let it rest for another hour (but could have let it rest for 2 or 3 hours if needed) and it was perfect.
Ingredients
3 - 4 pound brisket (estimate about 1/2 pound raw weight per person)
2 tablespoons olive oil
3 - 4 tablespoons Smoke N Sanity Steakhouse seasoning
1 tablespoon Smoked Paprika
1 teaspoon Kosher salt and 1 teaspoon black pepper
Directions
(1) Prepare the meat: You definitely want some fat to make the meat juicy and flavorful, but you don’t want too much. So, have the butcher trim the brisket, or trim it yourself, so the fat on the fat layer is trimmed to about 1/2 inch and all the hard fat is removed.
(2) Salt the meat: Then, if you like, you can salt the meat ahead of time. This step is optional but results in more flavorful and tender meat. Remove the meat from the package, and put it on a rimmed plate or baking dish. Trim the fat as needed. Season both sides lightly with Kosher salt (about 1 - 2 teaspoons per side). Cover the dish with plastic wrap and refrigerate until ready to use, ideally about 4 hours before cooking or overnight.
(3) Prepare: Preheat the smoker to 275 degrees F and make sure you have plenty of fuel in the bin!
(4) Season the meat: In a small bowl, combine the Smoke N Sanity Steakhouse seasoning with the smoked paprika, salt, and pepper. Rub the meat all over with the olive oil as a “binder” for the seasonings to stick to the meat. Sprinkle all sides of the meat with the seasoning blend and then pat it all over to help the seasonings stick to the meat.
(5) Cook the meat: Once the grill reaches 275 degrees F, lay the brisket, fat side up, directly on the grill. Cook for about 90 minutes until the internal temperature of the meat reaches about 160 degrees F. Take the meat off the grill and wrap it snuggly in parchment paper and heavy foil (so the paper is against the meat and the foil is on the outside). Put the wrapped meat back on the grill (in the wrapping) with the fat side up and continue to cook until the internal temperature of the meat reaches 203 - 205 degrees F (you can stick your thermometer right through the wrapping to check).
(6) Rest the meat: Once it reaches the correct temperature, remove the wrapped brisket from the grill but keep it in the wrapping. Put the whole thing into a small cooler with a large towel under it and another one over it to help retain the heat. Keep the cooler in a warm place (inside your house not out in the garage for example). Let the meat rest in the cooler for 1 - 3 hours before slicing and serving.
(7) Slice: When ready to serve, remove the meat from the wrapping and put it on a cutting board. With a nice sharp knife, slice the meat across the grain and lay it on a warmed serving plate.
(8) Plate and serve: Serve warm with my Buttery Mashed Yukon Gold Potatoes and one of my delicious salads.
(9) Leftovers: Leftovers heat up nicely in the microwave. Just don’t overheat because you don’t want the meat to cook. Just warm it.
Eat and enjoy every bite because you can!
Recipe note: I use Diamond Crystal Kosher salt in all my recipes because it has a wonderful flat and crisp flake that tastes delicious. It is also the least salty salt available so you can use it more liberally as a seasoning than you can table salt or sea salt. If you use another type of salt, you may need to reduce the amount so it is not over-salted.
Have a question you’d like to have answered? Email us at hello@ibsgamechanger.com
Link note: This post contains links for you to easily purchase items listed on the page. In some cases, we have provided a special discount code for IBS Game Changers so be sure to use it when you purchase an item to get the discount that has been arranged just for you! As an Amazon Associate, I earn a commission from qualifying Amazon purchases.
More Deliciously Low FODMAP™ BBQ recipes
20 Minutes prep • 2 - 8 hours Marinate • 30 Minutes cook • Low FODMAP • Gluten-Free • Serves 4 - 6
10 Minutes prep • 20 Minutes cook • Low FODMAP • Gluten-free • Serves 4 n skewers for your family and friends. They are sure to be a hit.
20 Minutes prep • 3-5 hours cook/rest • Low FODMAP • Gluten-free • Lactose-free • Serves 6
15 Minutes prep • 30 minutes - 4 Hours marinate • 20 minutes Cook • Low FODMAP • Gluten-free • Lactose-free • Serves 4
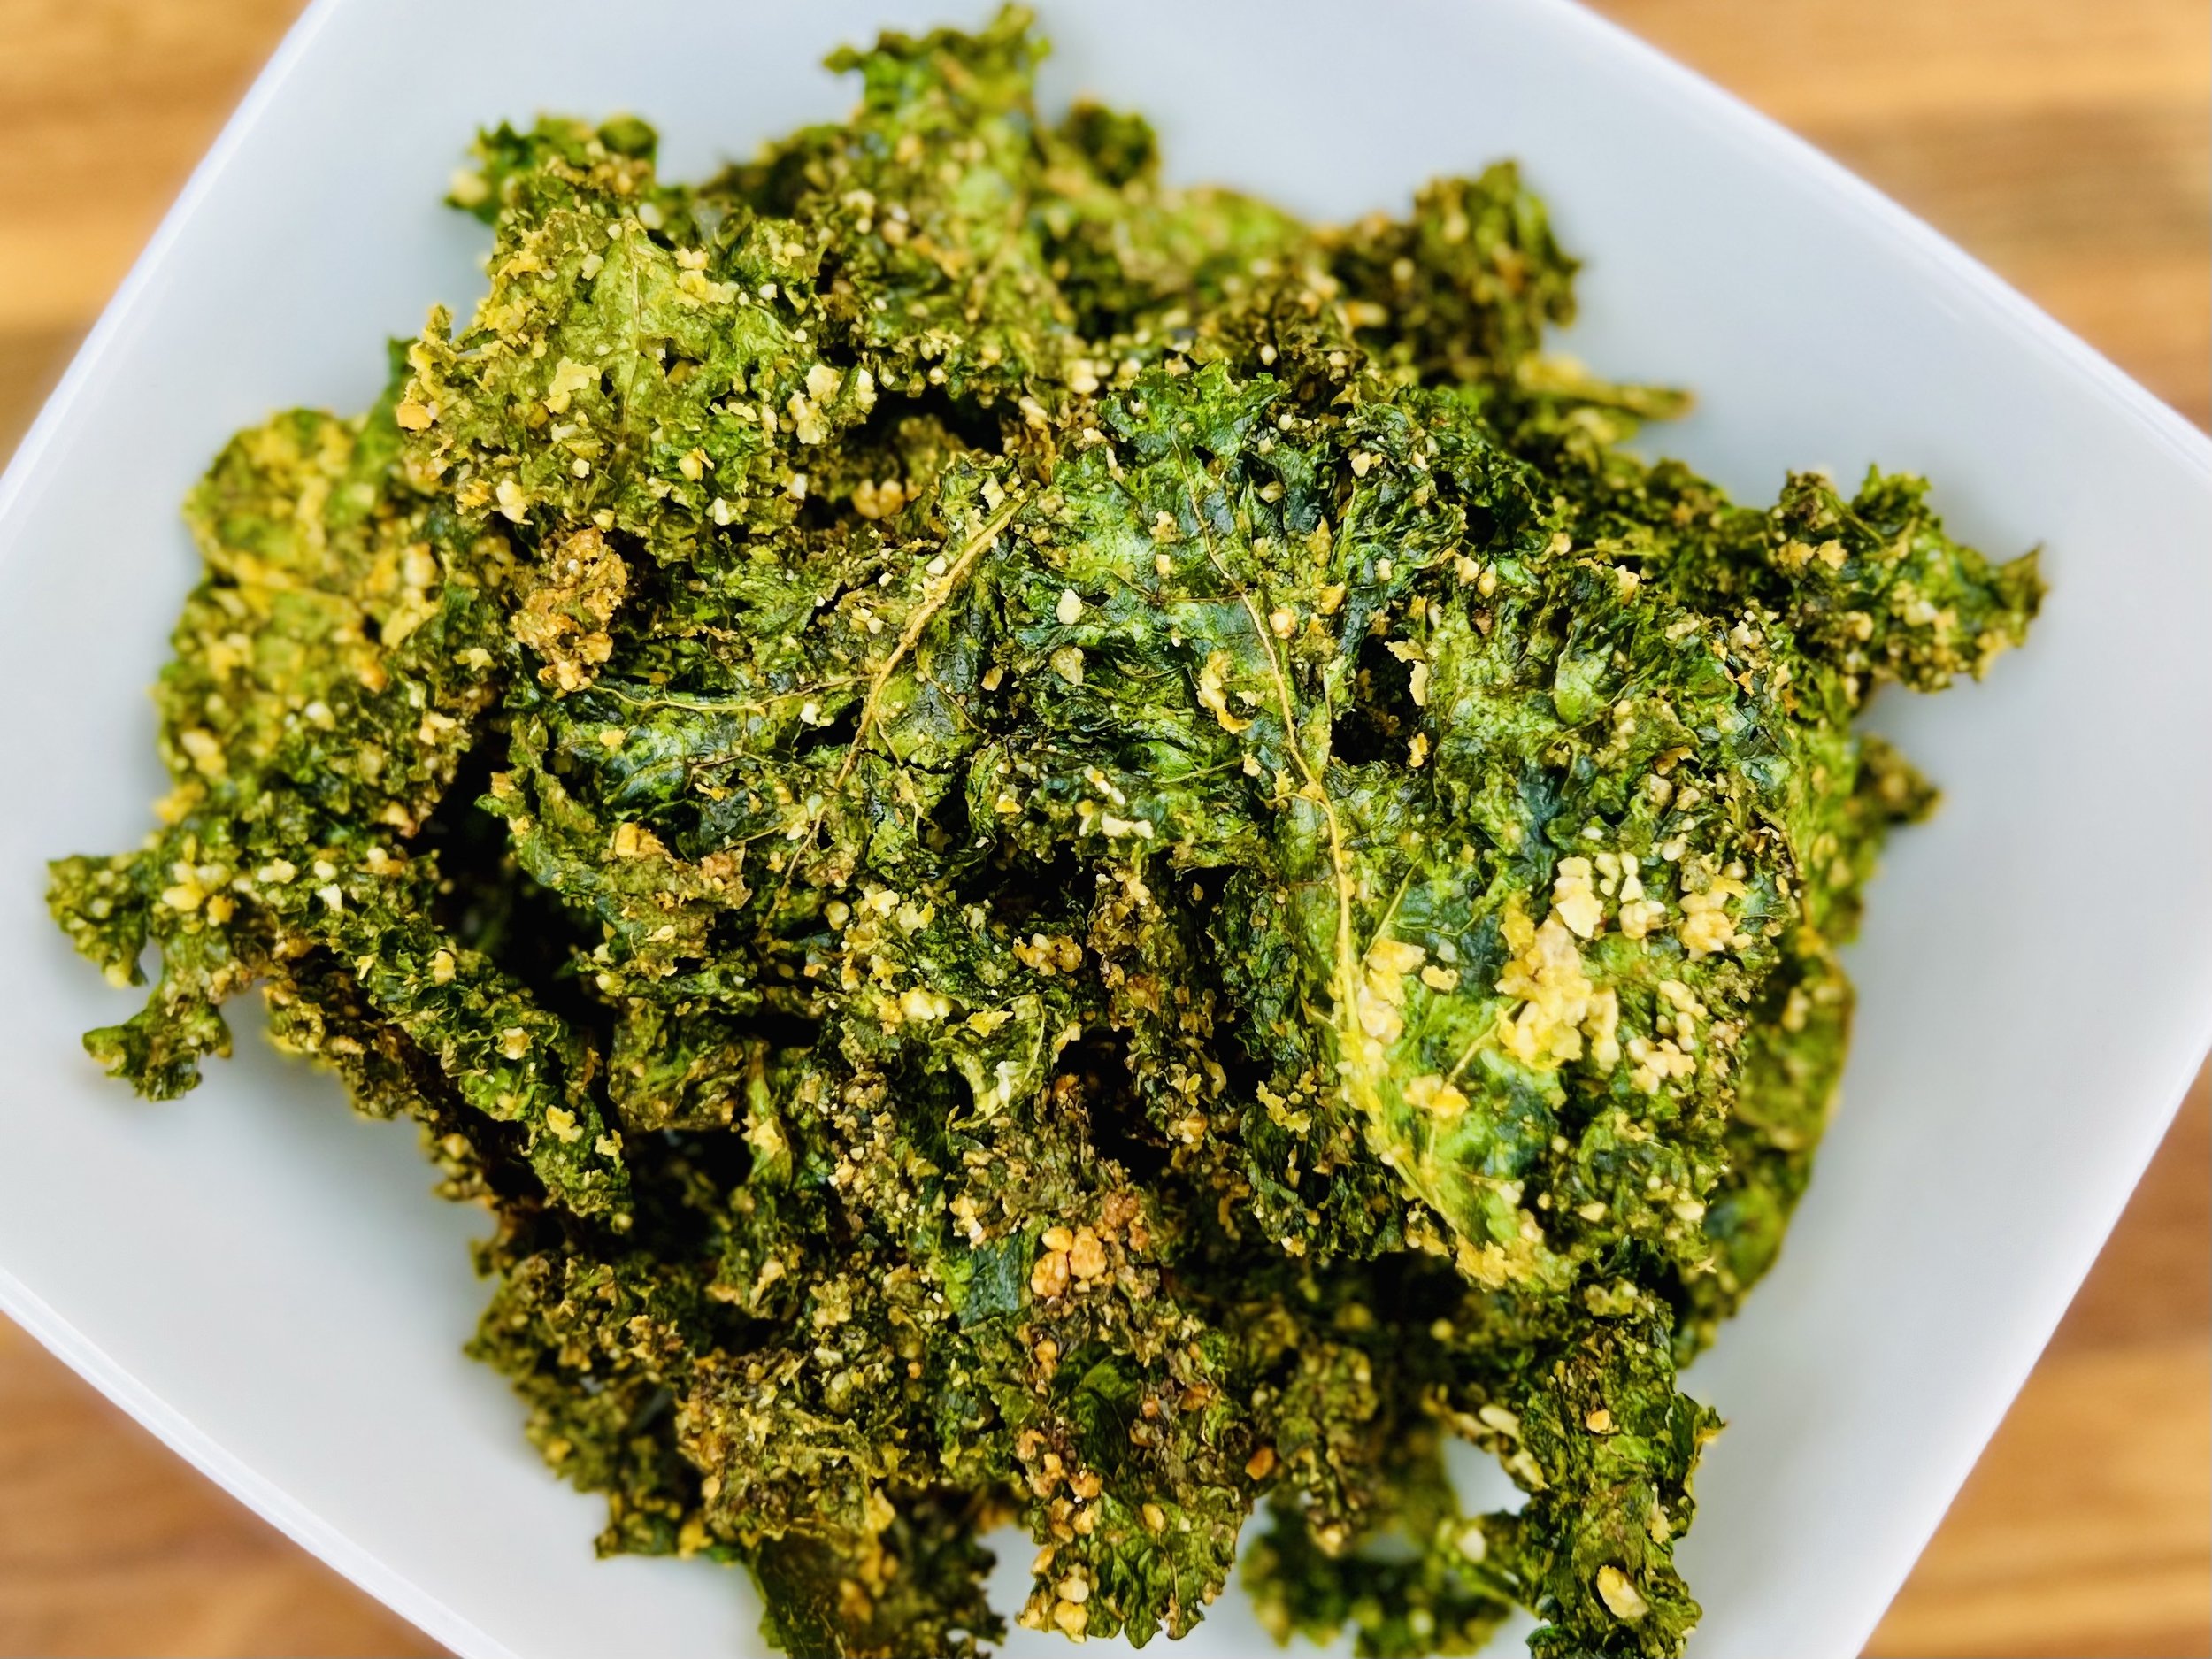
Crispy “Cheesy” Keto Kale Chips (Low FODMAP)
10 Minutes prep • 20 Minutes cook • Low FODMAP • Gluten-free • Lactose-free • Vegan • Serves 5
10 Minutes prep • 20 Minutes cook • Low FODMAP • Gluten-free • Lactose-free • Vegan • Serves 5 • Ok to make ahead: Steps 1-6
I was having lunch at Sauce Whole Foods Cafe in Ashland, Oregon and they served the most delicious kale chips alongside the salad. So, of course, I had to attempt to recreate those kale chips in a low FODMAP version for you! These chips are delicious, crispy, and super flavorful with an almost “cheesy” taste (even though they are 100% dairy free.) This is a great twist on the classic kale chip recipe that I think you will love. These kale chips are not only a superfood (thanks to the kale), but they are also loaded with protein (thanks to the nuts and nutritional yeast used in the coating). They make a great appetizer, side, or even sprinkled on top of your favorite salad. I was truly tempted to eat them all they were so delicious.
Ingredients
One bunch kale (about 10 ounces of leaves after stripping the stalks)
2 tablespoons garlic-infused olive oil
1/4 cup roasted and salted macadamia nuts
2 tablespoons raw sunflower seeds
5 tablespoons nutritional yeast
1/4 teaspoon Kosher salt
1/4 teaspoon black pepper
1 generous pinch of cayenne pepper (optional but adds a nice kick)
Directions
(1) Prepare: Preheat the oven to 300 degrees F. Cut the leaves from the stems of the kale and discard the stems. Wash and spin dry the leaves then cut into bite-size pieces.
(2) Massage kale: Put kale leaves in a large mixing bowl and drizzle 2 tablespoons of olive oil over them. Use your hands to massage the kale to soften it up and coat all the leaves with the oil. Set aside.
(3) Prepare the “cheesy blend”: In your blender (or mini food processor) combine the macadamia nuts, sunflower seeds, nutritional yeast, salt, pepper, and cayenne pepper. Blend/pulse for about 30 seconds until it turns into a fine meal. Scrape down the sides of the bowl if needed and pulse again to break down all the nuts.
(4) Combine: Sprinkle the “cheesy blend” mixture on the kale and toss with your hands to distribute as evenly as possible, working it into the leaves until they are thoroughly coated.
(5) Prepare to cook the kale: Divide the kale between 2 large rimmed baking sheets and spread it into one layer, making sure the leaves aren’t overlapping so they can get extra crispy. You may need to bake them in two batches depending on the size of your baking sheets.
(6) Cook the kale: Bake for 15 minutes. Remove from the oven and toss/turn the kale to ensure even baking. Bake for 5-10 minutes more, or until chips are crispy and golden brown. Watch carefully to be sure they don’t burn!
(7) Serve: Let chips cool slightly before serving. Serve as an appetizer, a topping for your salad, or a side dish.
Make-ahead note: Once completely cooled, store leftovers in an airtight container for 2-3 days. They will get less crispy after 24 hours, so eat them as close to cooking as possible.
Eat and enjoy every bite because you can!
Recipe note: I use Diamond Crystal Kosher salt in all my recipes because it has a wonderful flat and crisp flake that tastes delicious. It is also the least salty salt available so you can use it more liberally as a seasoning than you can table salt or sea salt. If you use another type of salt, you may need to reduce the amount so it is not over-salted.
Have a question you’d like to have answered? Email me at hello@ibsgamechanger.com
Link note: This post may contain affiliate links for you to easily purchase items that are linked. I may earn a small commission from qualifying purchases but none of this costs you a thing so feel free to use the links! In addition, for some items, I have provided a special discount code for IBS Game Changers so be sure to use the code when you purchase an item to get the discount that has been arranged just for you.
More Deliciously Low FODMAP™ vegetarian recipes
15 Minutes prep • 30 Minutes cook • Low FODMAP • Serves 4 • Ok to make-ahead: Steps 1 - 2
45 Minutes prep • 60 Minutes cook • Low FODMAP • Gluten-free • Vegetarian • Serves 6 - 8
5 Minutes prep • 15 Minutes cook • Low FODMAP • Gluten-free • Lactose-free • Vegan • Serves 4
10 Minutes Prep • 50 Minutes Cook • Low FODMAP • Gluten-free • Dairy Free • Vegan • Serving size 3 - 4 crackers
15 Minutes prep • 55 Minutes cook (if using brown rice) • Low FODMAP • Gluten-free • Lactose-free • Vegan • Serves 4
10 Minutes prep • 10 Minutes cook • Low FODMAP • Gluten-free • Lactose-free • Vegan • Serves 4
10 Minutes prep • 25 Minutes cook • Low FODMAP • Gluten-free • Vegetarian • Plant Forward • Serves 4
20 Minutes prep • 40 Minutes cook • Low FODMAP • Gluten-free • Vegetarian • Serves 4 - 6 • Ok to make ahead: Steps 1-4
15 Minutes prep • Low FODMAP • Gluten-free • Lactose-free • Vegetarian • Vegan • Serves 4
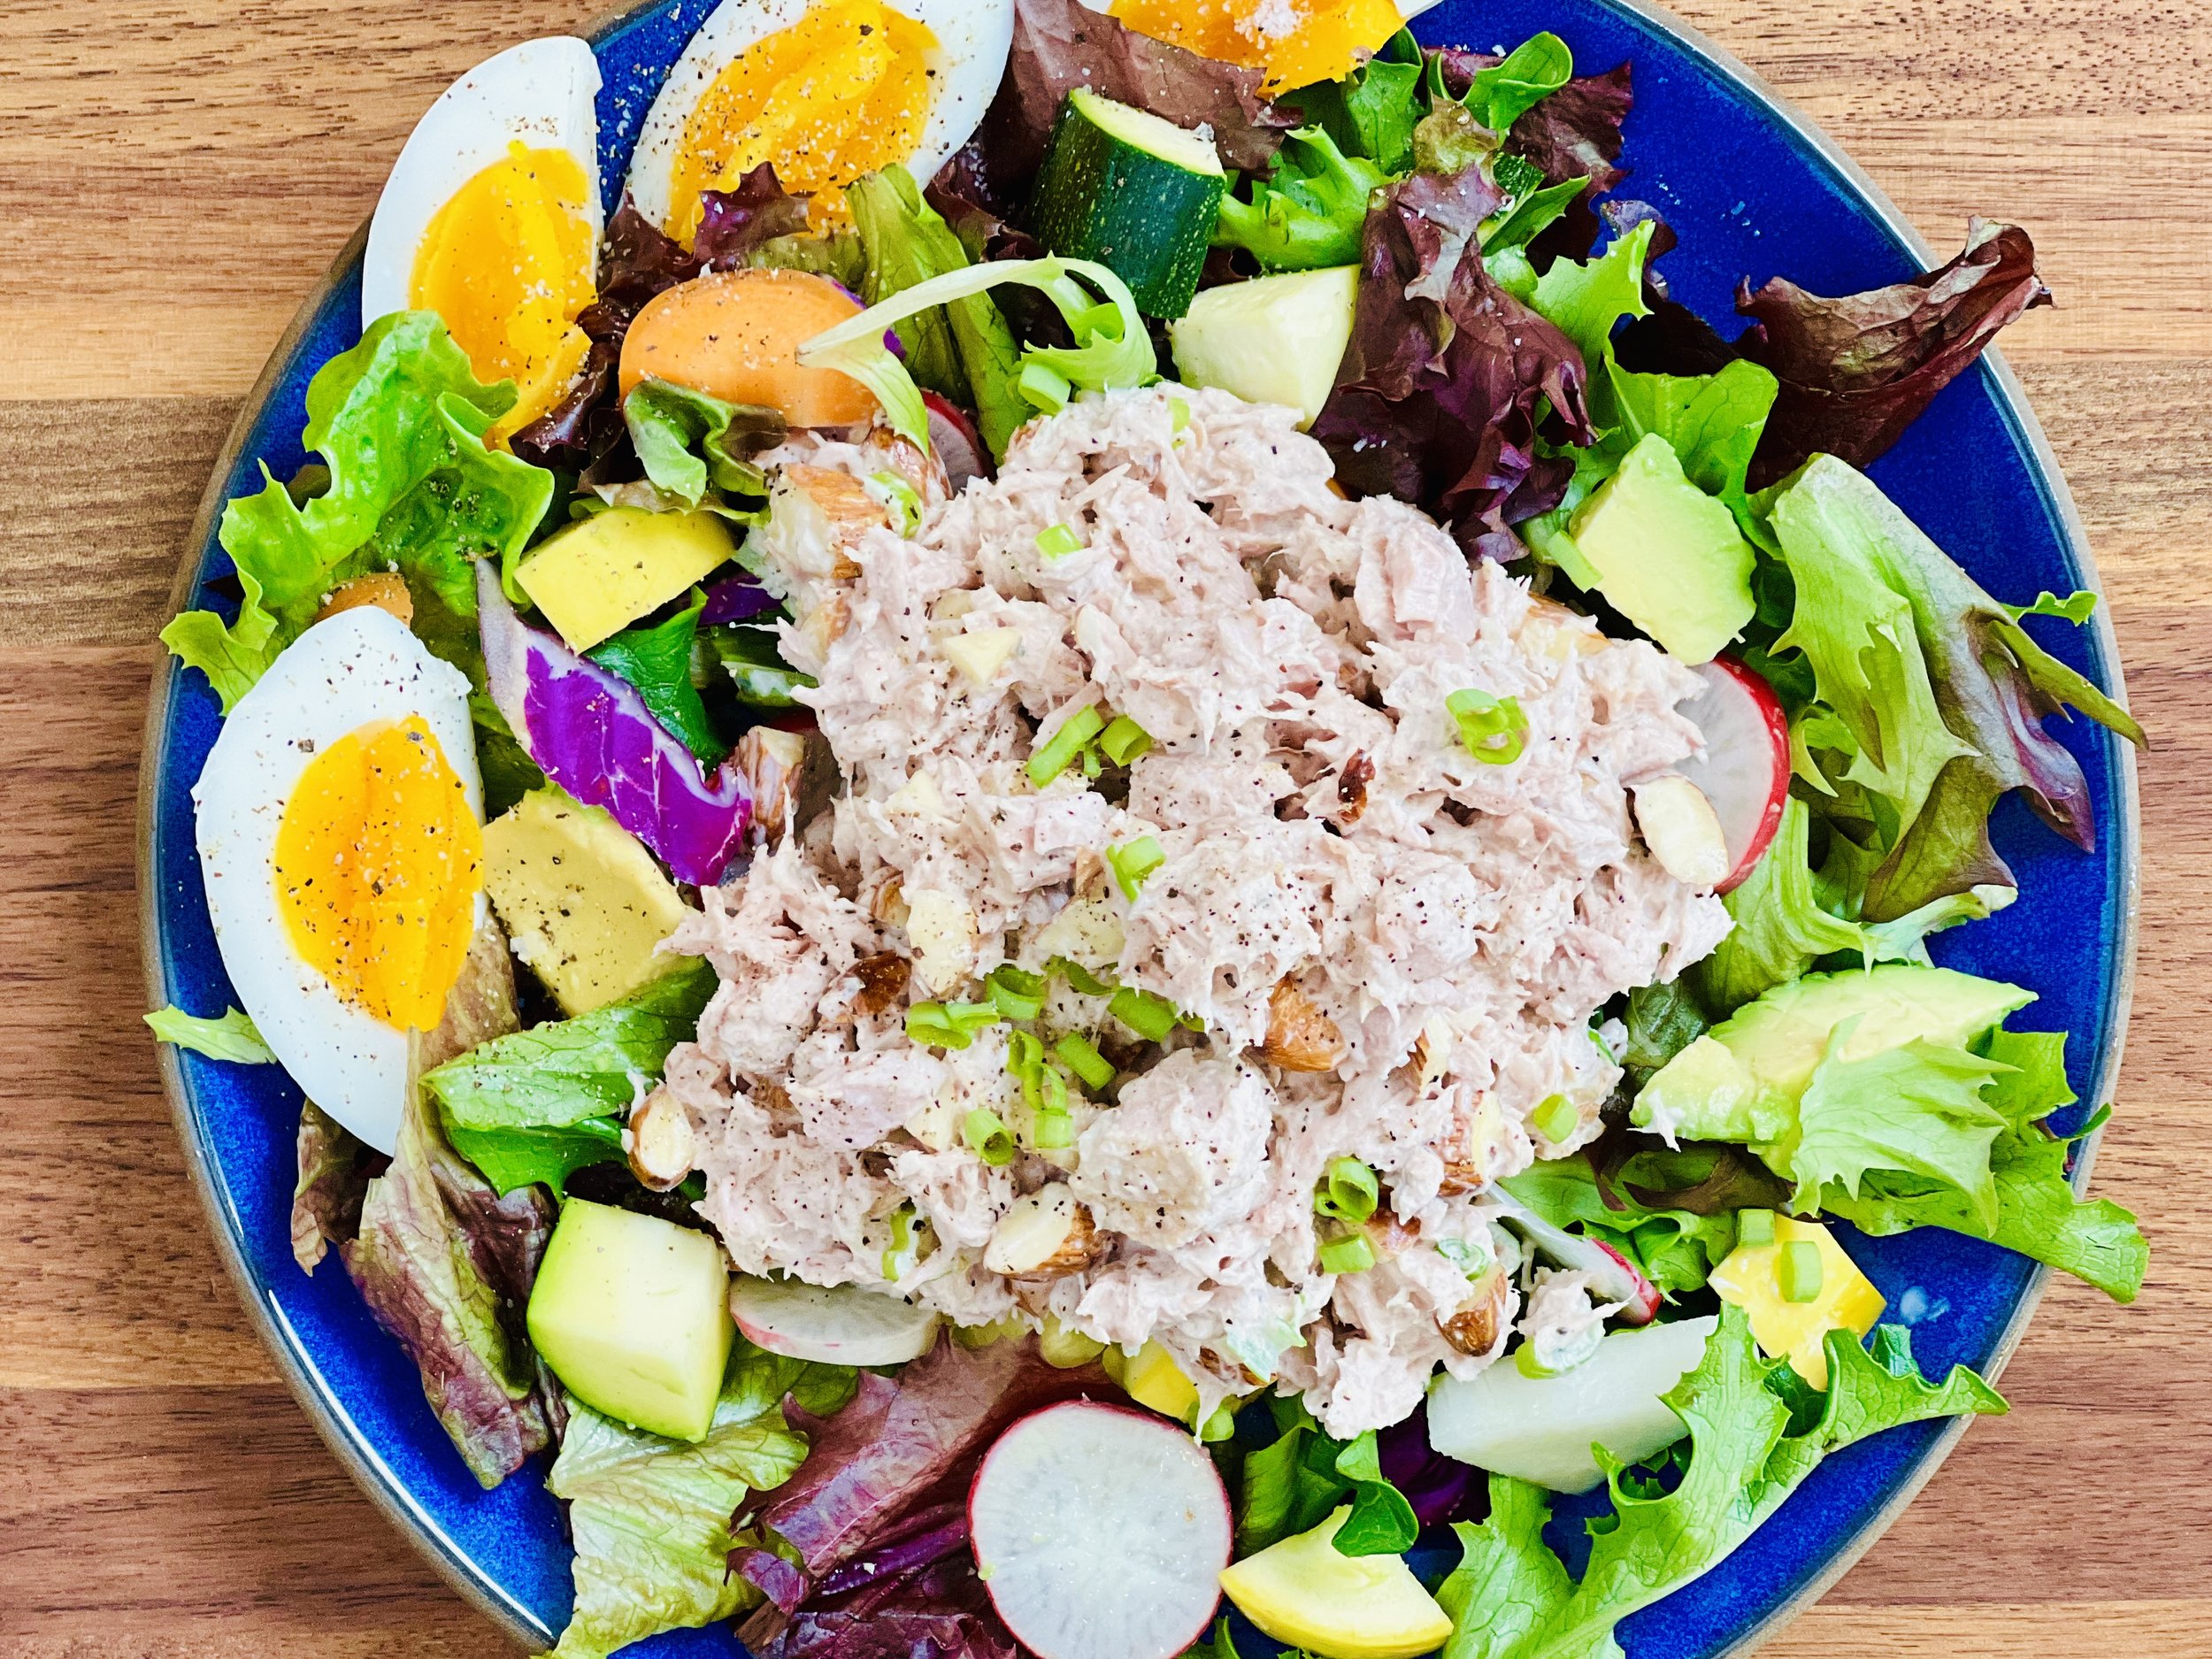
Simply Delicious Tuna Salad (Low FODMAP)
10 Minutes prep • Low FODMAP • Gluten-free • Lactose-free • Serves 2
10 Minutes prep • Low FODMAP • Gluten-free • Lactose-free • Serves 2 • Ok to make ahead: Steps 1-2
Tuna is a wonderful protein source full of important omega 3’s. And, it’s easy to keep on hand in your pantry. It’s also one of those foods we often forget about so this recipe should serve as a reminder to get that tuna out of the pantry and make something delicious! There are all kinds of tuna options available in the grocery store now that are quite delicious. I use Yellow Fin Tuna, or Skipjack Tuna to ensure a low mercury content. This recipe includes chopped celery and almonds for some crunch and green onions for some added flavor and color. I served it on a bed of mixed greens with some hard-cooked eggs alongside and it made a perfect summer supper.
Ingredients
5-ounce can Yellow Fin Tuna, or Skipjack Tuna, drained
2 tablespoons mayonnaise
Juice of 1/2 lemon (about 1 tablespoon)
1 green onion, green part only, chopped
1/4 cup raw almonds, roughly chopped
1/2 stalk celery, chopped
1/2 teaspoon Kosher salt
1/4 teaspoon black pepper
Mixed salad greens and chopped veggies, for serving
Hard-cooked eggs, optional, for serving
Directions
(1) Prepare: Chop the green onion greens and the almonds. Drain the liquid off the can of tuna.
(2) Combine: Combine tuna, mayonnaise, lemon juice, green onion greens, almonds, celery, salt, and pepper in a small bowl and use a fork to blend. Don’t over mix so you keep some of the form of the tuna.
Make-ahead note: At this point, you may cover the bowl with plastic wrap and store the mixture in the refrigerator until you’re ready to serve.
(3) Prepare your greens and veggies: Wash and dry the lettuce and chop the veggies you want to include. Then make a bed of greens and veggies on each plate.
(4) Plate and serve: Put a scoop of tuna salad on top of the greens. Serve alongside a couple of hard-cooked eggs or a piece of toasted sourdough bread.
Eat and enjoy every bite because you can!
Recipe note: I use Diamond Crystal Kosher salt in all my recipes because it has a wonderful flat and crisp flake that tastes delicious. It is also the least salty salt available so you can use it more liberally as a seasoning than you can table salt or sea salt. If you use another type of salt, you may need to reduce the amount so it is not over-salted.
Have a question you’d like to have answered? Email me at hello@ibsgamechanger.com
Link note: This post may contain affiliate links for you to easily purchase items that are linked. I may earn a small commission from qualifying purchases but none of this costs you a thing so feel free to use the links! In addition, for some items, I have provided a special discount code for IBS Game Changers so be sure to use the code when you purchase an item to get the discount that has been arranged just for you.
More Deliciously Low FODMAP™ salad recipes
5 Minutes prep • 30 Minutes cook • Low FODMAP • Serves 6-8 • Ok to make-ahead: Steps 1 - 3
5 Minutes prep • 15 Minutes cook • Low FODMAP • Gluten-free • Lactose-free • Vegan • Serves 4
15 Minutes prep • Low FODMAP • Gluten-free • Lactose-free • Vegetarian • Vegan • Serves 4
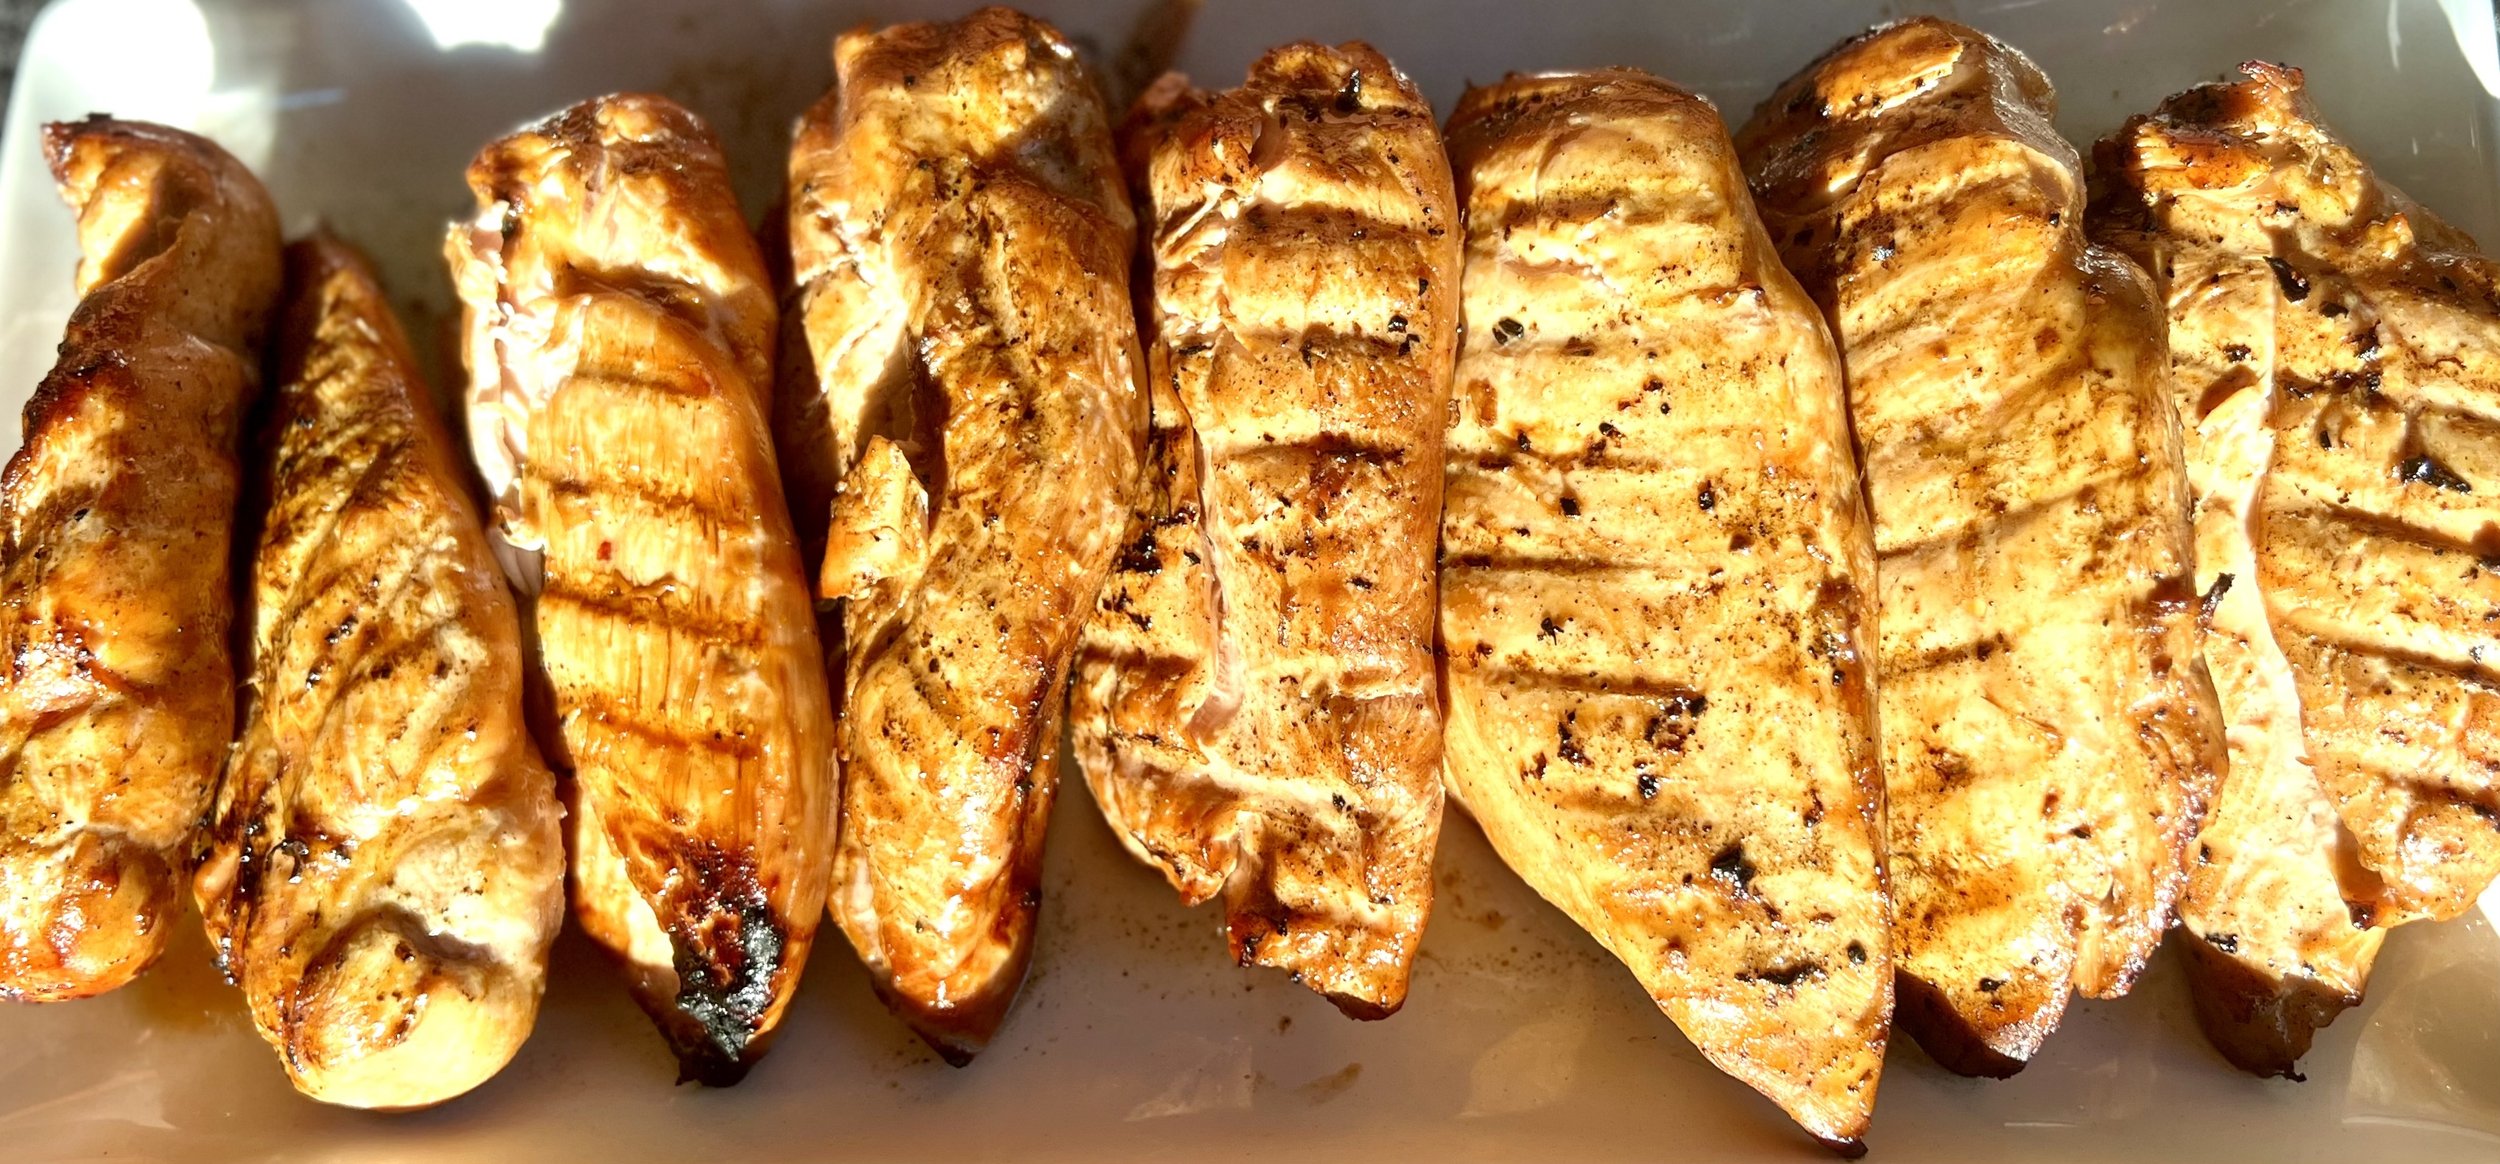
6-Ingredient Teriyaki Chicken (Low FODMAP)
15 Minutes prep • 30 minutes - 4 Hours marinate • 20 minutes Cook • Low FODMAP • Gluten-free • Lactose-free • Serves 4
15 Minutes prep • 30 minutes - 4 Hours marinate • 20 minutes Cook • Low FODMAP • Gluten-free • Lactose-free • Serves 4 • Ok to make ahead: Steps 1-2
Perfect tender chicken breasts are a great complement to just about any salad you put on your plate. But how do you get that great teriyaki taste in a simple way without a lot of FODMAPs? This recipe will deliver just that—using only six ingredients and 30 minutes of marinating time. If you have a little more time, you can marinate the chicken for up to 4 hours before cooking to get even more flavor. Watching the temperature and taking the chicken off the grill as soon as it hits 165 degrees F is the way to get the perfect chicken every time.
Ingredients
4 boneless, skinless chicken breasts (ideally all similar size)
1/4 cup gluten-free low-sodium soy sauce
2 tablespoons maple syrup
2 tablespoons rice vinegar
1 tablespoon fresh ginger, grated
2 tablespoons toasted sesame oil
Directions
(1) Make the marinade: In a small bowl, whisk together the gluten-free soy sauce, maple syrup, rice vinegar, grated ginger, and toasted sesame oil.
(2) Marinate the chicken: Place the chicken breasts in a shallow dish or a resealable plastic bag and pour the marinade over them. Make sure the chicken is evenly coated. Marinate in the refrigerator for at least 30 minutes, or up to 4 hours for more flavor.
(3a) Grill the chicken: If using a grill, preheat the grill to medium-high heat. Remove the chicken breasts from the marinade and discard the marinade. Place the chicken breasts on the preheated grill and cook for about 6-8 minutes per side, or until the chicken is cooked through. The internal temperature of the chicken should just reach 165° F.
(3b) Smoke the chicken: If using a smoker, remove the chicken breasts from the marinade and discard the marinade. Place the chicken directly on the smoker grate and cook for about 15 minutes. Flip the chicken and cook another 10 - 15 minutes or until the internal temperature just reaches 165° F.
(4) Finish: Remove the chicken from the grill and let it rest for a few minutes before slicing and serving.
Eat and enjoy every bite because you can!
Recipe note: I use Diamond Crystal Kosher salt in all my recipes because it has a wonderful flat and crisp flake that tastes delicious. It is also the least salty salt available so you can use it more liberally as a seasoning than you can table salt or sea salt. If you use another type of salt, you may need to reduce the amount so it is not over-salted.
Have a question you’d like to have answered? Email me at hello@ibsgamechanger.com
Link note: This post may contain affiliate links for you to easily purchase items that are linked. I may earn a small commission from qualifying purchases but none of this costs you a thing so feel free to use the links! In addition, for some items, I have provided a special discount code for IBS Game Changers so be sure to use the code when you purchase an item to get the discount that has been arranged just for you.
More Deliciously Low FODMAP™ main course recipes
45 Minutes • Low FODMAP • Gluten-free • Serves 4 15 Minutes prep • 30 Minutes cook • Low FODMAP • Gluten-Free • Serves 4
20 Minutes prep • 2 - 8 hours Marinate • 30 Minutes cook • Low FODMAP • Gluten-Free • Serves 4 - 6
15 Minutes prep • 20 Minutes - 4 hours marinate • 25 Minuste cook time • Low FODMAP • Gluten-Free • Serves 4
5 Minutes prep • 30 Minutes cook • Low FODMAP • Serves 6-8 • Ok to make-ahead: Steps 1 - 3
30 Minutes prep • 40 Minutes cook • Low FODMAP • Gluten-Free • Serves 8 • Ok to make-ahead: Steps 1 - 4 FODMAP
Basil Caraway Cottage Cheese Dip (Low FODMAP)
15 Minutes prep • 1 hour chill • Low FODMAP • Gluten-free • Vegetarian • Serves 4 or more
15 Minutes prep • 1 hour chill • Low FODMAP • Gluten-free • Vegetarian • Serves 4 or more • Ok to make ahead: Steps 1-2
This combination of fresh herbs, nutty caraway, and silky smooth blended cottage cheese is remarkably delicious! It’s full of protein and lots of flavor and it will be a welcome change to the standard dip on your appetizer tray. It’s perfect with veggies, crostini, or even crispy chips. If you love it as much as I do, use it as a sandwich spread! For a little added color, serve the dip in a split bell pepper or fill small split bell peppers and make bite-size “boats” of deliciousness.

This is an exclusive recipe just for recipe club members.
In addition to the two free recipes I create each week I am creating and delivering one very special recipe just for my recipe club members. If you’re not yet a member, I encourage you to join! Membership in the club includes access to the complete archive of recipes with filters so it can become your virtual low FODMAP cookbook plus, I am creating and delivering one special NEW recipe every week ONLY for recipe club members.
Your membership in the club helps me continue creating new, delicious, easy-to-make, low FODMAP recipes just for you.
As always, all recipes will emphasize simple ingredients, easy preparation, and delicious low FODMAP results. Recipes will be for everything from main courses, salads, soups, side dishes, appetizers, desserts, sauces, breakfast and lunch, and even mocktails and cocktails. Everything you need to prepare fantastic low FODMAP meals everyone will love.
Join the club. Let’s keep making delicious Low FODMAP meals together.
More Deliciously Low FODMAP™ appetizer recipes
5 Minutes prep • 15 Minutes cook • Low FODMAP • Gluten-Free • Lactose-Free • Makes 2 cups
10 Minutes Prep • 50 Minutes Cook • Low FODMAP • Gluten-free • Dairy Free • Vegan • Serving size 3 - 4 crackers
10 Minutes prep • 15 Minutes rest • Low FODMAP • Gluten-free • Dairy-free • Serving size 3 tablespoons
10 Minutes prep • 20 Minutes cook • Low FODMAP • Gluten-free • Lactose-free • Vegan • Serves 5
15 Minutes prep • 1 hour chill • Low FODMAP • Gluten-free • Vegetarian • Serves 4 or more
10 Minutes prep • Low FODMAP • Gluten-Free • Lactose-free • Vegetarian • Vegan • Makes 1.5 cups
10 Minutes Prep • 50 Minutes Cook • Gluten-free • Dairy-free • Low FODMAP • Serving size 3-4 crackers
5 Minutes prep • 10 Minutes cook • Low FODMAP • Gluten-free • Lactose-free • Makes 1 cup
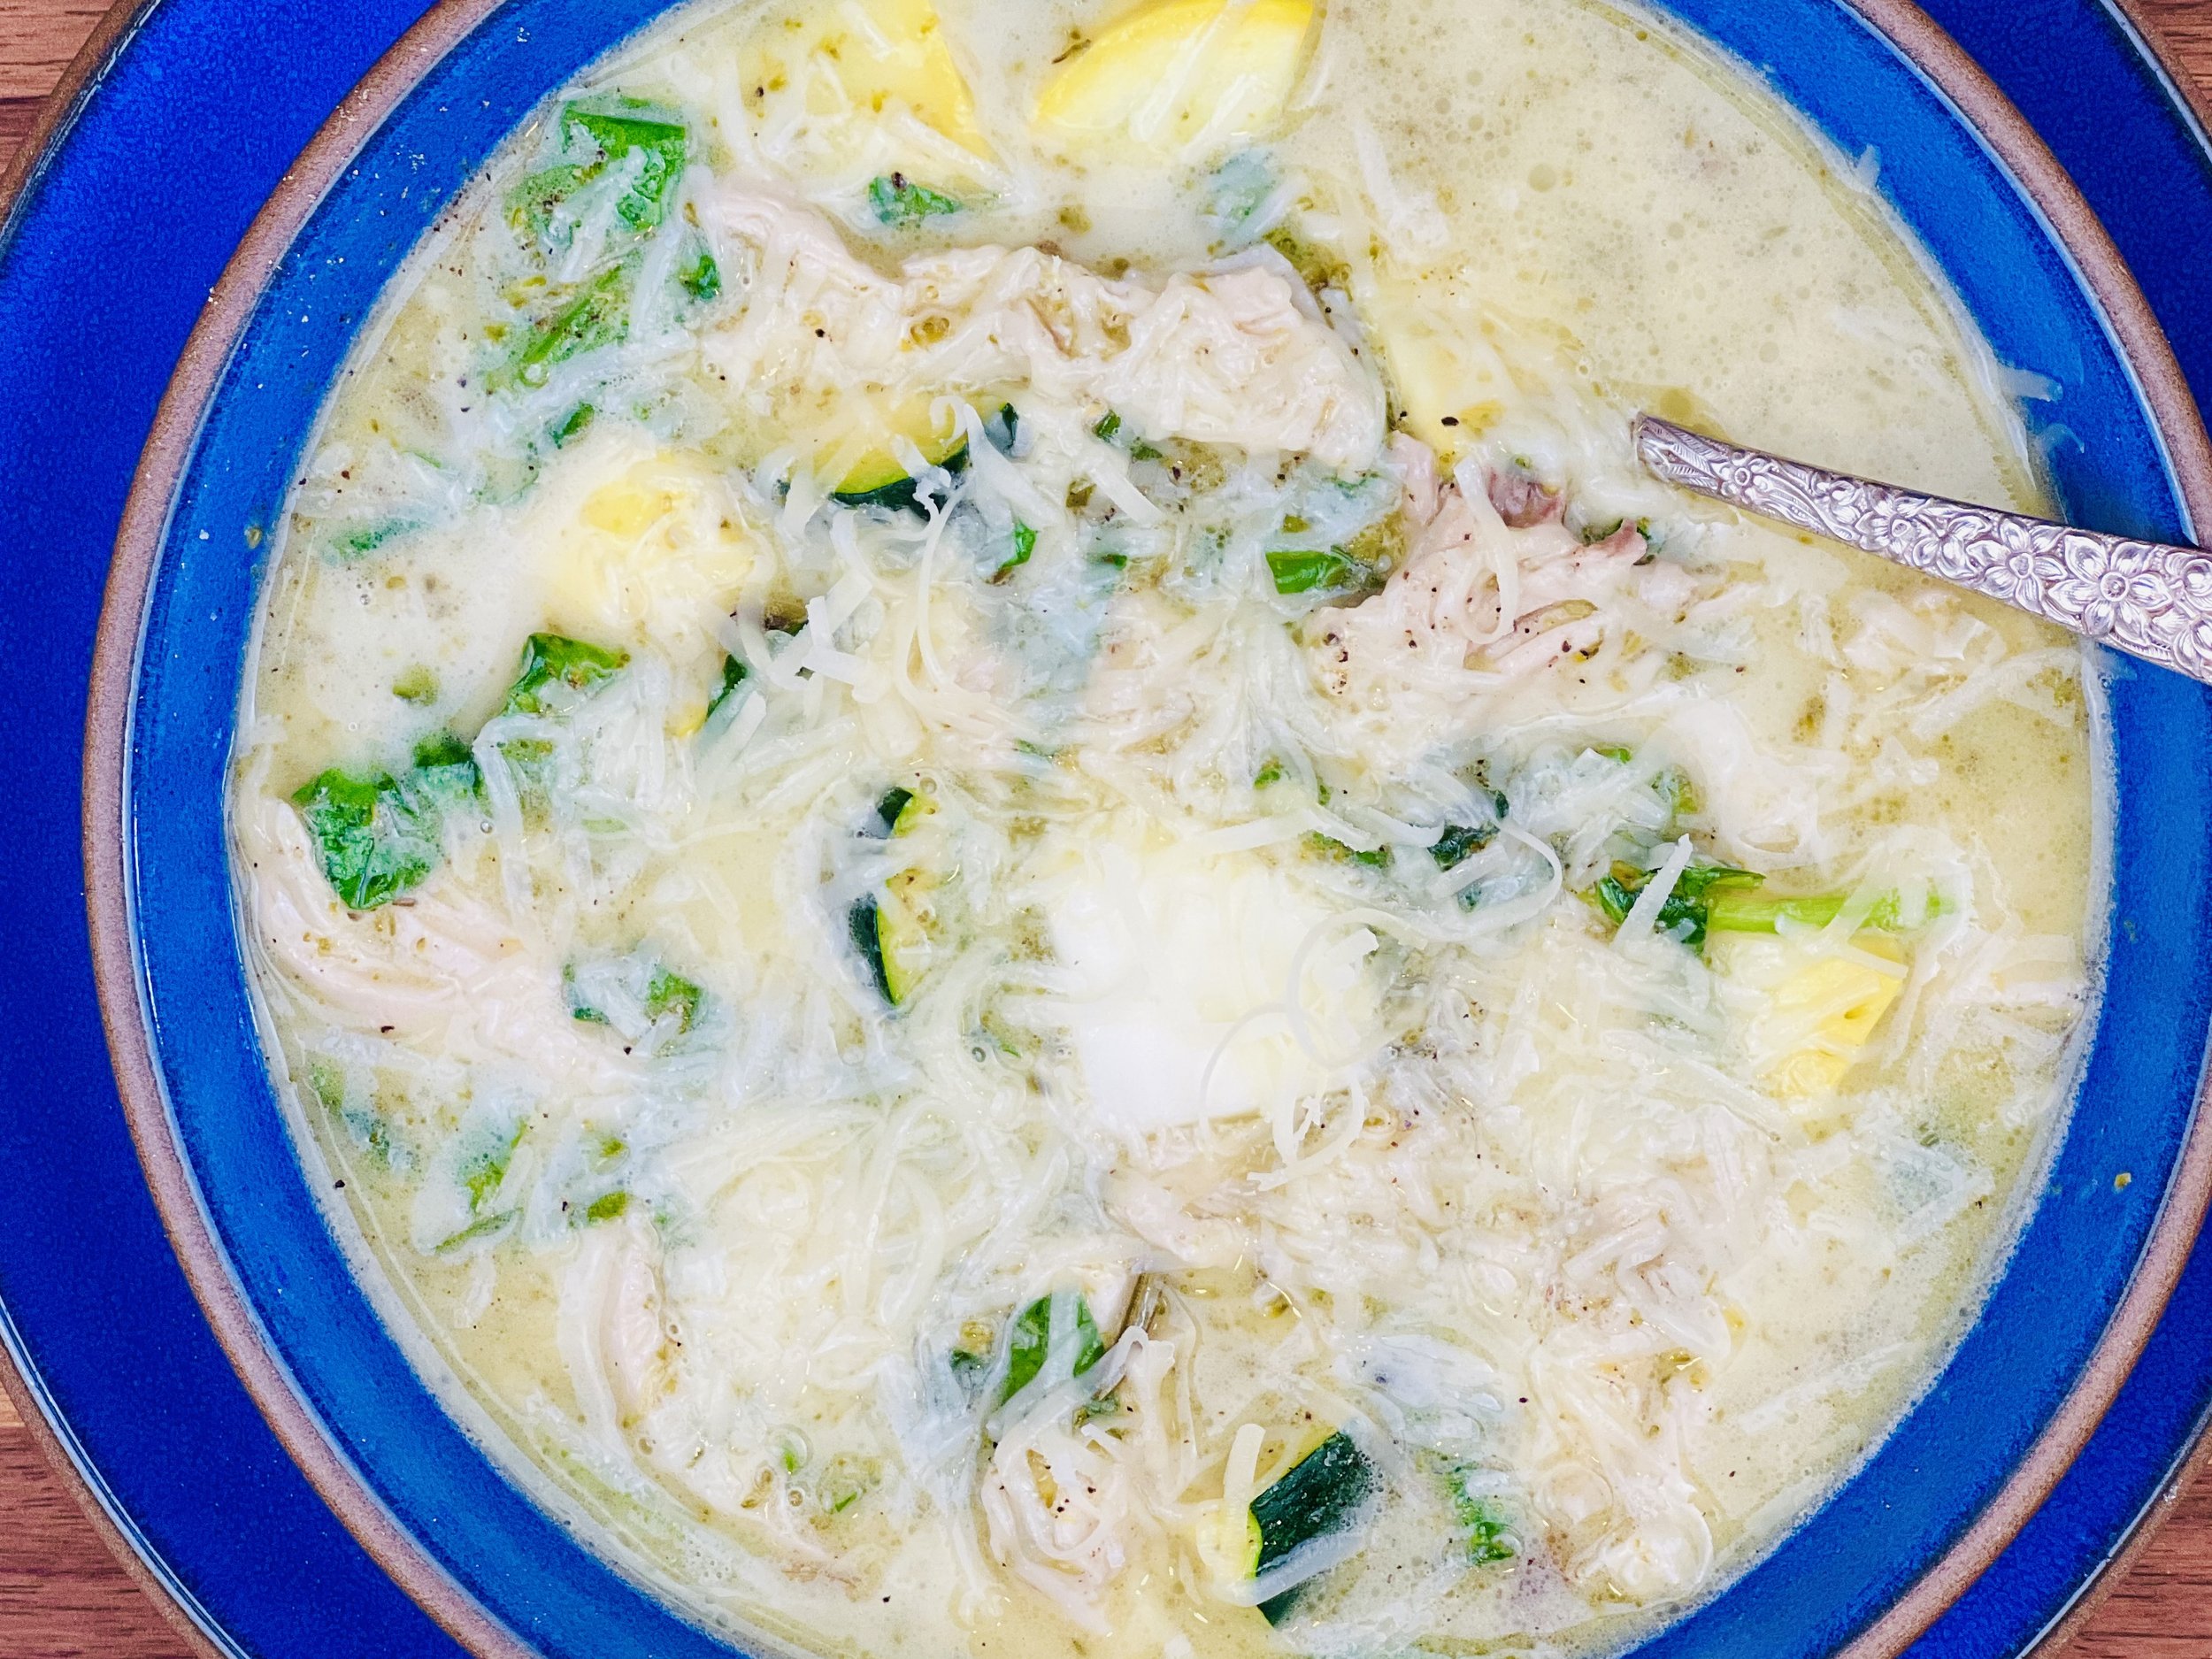
Cream of Broccoli Soup with Braised Chicken and Vegetables (Low FODMAP)
10 Minutes prep • 60 Minutes cook • Low FODMAP • Gluten-free • Serves 4
10 Minutes prep • 60 Minutes cook • Low FODMAP • Gluten-free • Serves 4 • Ok to make ahead: Steps 1-8
This delicious one-pan soup has a wonderfully creamy broccoli base with big chunks of chicken and lots of fresh vegetables. It’s so full of yummy ingredients, it’s hard to say if it’s soup or stew. The rich flavor is complemented and enhanced by the addition of butter and lemon juice to the finish. It’s easy to make and easy to clean up so it’s a perfect weeknight, or any night, meal. It’s definitely a soup the whole family will love (and a great way to sneak a few extra vegetables into your meal).
Ingredients
2 tablespoons olive oil
2 bone-in, skin-on chicken breasts
1 teaspoon Kosher salt and 1/2 teaspoon black pepper
2 small leeks, green part only, cleaned and chopped
1 cup broccoli florets
4 cups low FODMAP chicken broth (I use Whole Foods Organic 365 chicken broth or Gourmend low FODMAP Organic Chicken Broth - use code IBSGC15 for 15% discount)
1 tablespoon rosemary, leaves stripped and finely chopped (or substitute 1 teaspoon dry rosemary)
2 bay leaves (leave whole)
Parmesan Rind (optional but adds excellent flavor)
1/3 cup heavy cream
1 tablespoon lemon juice
2 tablespoons salted butter
1 small zucchini, chopped
1 small summer squash, chopped
1-2 cups baby spinach, long stems removed, roughly chopped
1/2 cup gruyere or Parmesan cheese, grated, for serving
Directions
(1) Prepare: Preheat oven to 350 degrees F. Chop the vegetables. If chicken breasts are very large (most seem to be these days!) cut them in half before braising. You can cut right through the bone with a strong chef’s knife. Sprinkle lightly with salt and pepper.
(2) Braise the chicken: Heat a heavy soup pot or Dutch Oven over medium-high heat. Add the oil and when it’s hot, put the chicken, skin side down, in the pan. Season with pepper and salt. Cook, turning once, and cook until browned on both sides, 6 to 8 minutes total. Remove the chicken to a plate and set aside.
(3) Cook the vegetables: Add 1 additional tablespoon of olive oil to the pot. Then add the leek greens and the broccoli to the pot and cook for about 3 minutes.
(4) Add the chicken and broth: Nestle the chicken breasts among the vegetables, skin side up. Add the chicken broth, then add and submerge the rosemary, bay leaves, and parmesan rind.
(5) Bake: Put the pan in the oven and cook, uncovered, for about 30 minutes for bone-in white meat (40 minutes if you’ve used bone-in dark meat instead) until the meat is just cooked (use an instant-read thermometer to confirm white meat is 165 degrees F or dark meat is 175-180 degrees F). If you don’t have an instant-read thermometer then cut into the chicken and make sure the juices run clear rather than pink.
(6) Shred chicken: Once just cooked through, remove the chicken from the pan to a cutting board. Shred the chicken with two forks, discarding the bones and the skin.
(7) Blend the soup: Remove the bay leaves and Parmesan rind. Stir in the cream, lemon juice, and butter. Using an immersion blender (or put the soup in your blender or food processor), blend or pulse until the base is creamy and smooth. Only about 1 minute.
(8) Finish: Return the shredded chicken to the pan. Add the zucchini, summer squash, and spinach and put the soup back in the oven for 10 minutes to heat and allow the vegetables to cook slightly. (You can also do the final heat on the stove if you prefer.)
(9) Plate and Serve: Ladle generous servings into bowls. Top each bowl with a sprinkling of aged gruyere or Parmesan cheese.
Eat and enjoy every bite because you can!
Recipe note: I use Diamond Crystal Kosher salt in all my recipes because it has a wonderful flat and crisp flake that tastes delicious. It is also the least salty salt available so you can use it more liberally as a seasoning than you can table salt or sea salt. If you use another type of salt, you may need to reduce the amount so it is not over-salted.
Have a question you’d like to have answered? Email me at hello@ibsgamechanger.com
Link note: This post may contain affiliate links for you to easily purchase items that are linked. I may earn a small commission from qualifying purchases but none of this costs you a thing so feel free to use the links! In addition, for some items, I have provided a special discount code for IBS Game Changers so be sure to use the code when you purchase an item to get the discount that has been arranged just for you.
More Deliciously Low FODMAP™ soup recipes
45 Minutes • Low FODMAP • Gluten-free • Serves 4 15 Minutes prep • 30 Minutes cook • Low FODMAP • Gluten-Free • Serves 4
15 Minutes prep • 30 Minutes cook • Low FODMAP • Gluten-free • Lactose-free • Serves 4-6
10 Minutes prep • 60 Minutes cook • Low FODMAP • Gltuen-free • Lactose-free • Serves 4 - 6
15 Minutes prep • 55 Minutes cook • Low FODMAP • Gluten-free • Lactose-free • Serves 4-6
15 Minutes prep • 55 Minutes cook • Low FODMAP • Gluten-free • Lactose-free • Serves 4-6
15 Minutes prep • 50 Minutes cook • Low FODMAP • Gluten-free • Lactose-free version • Serves 6
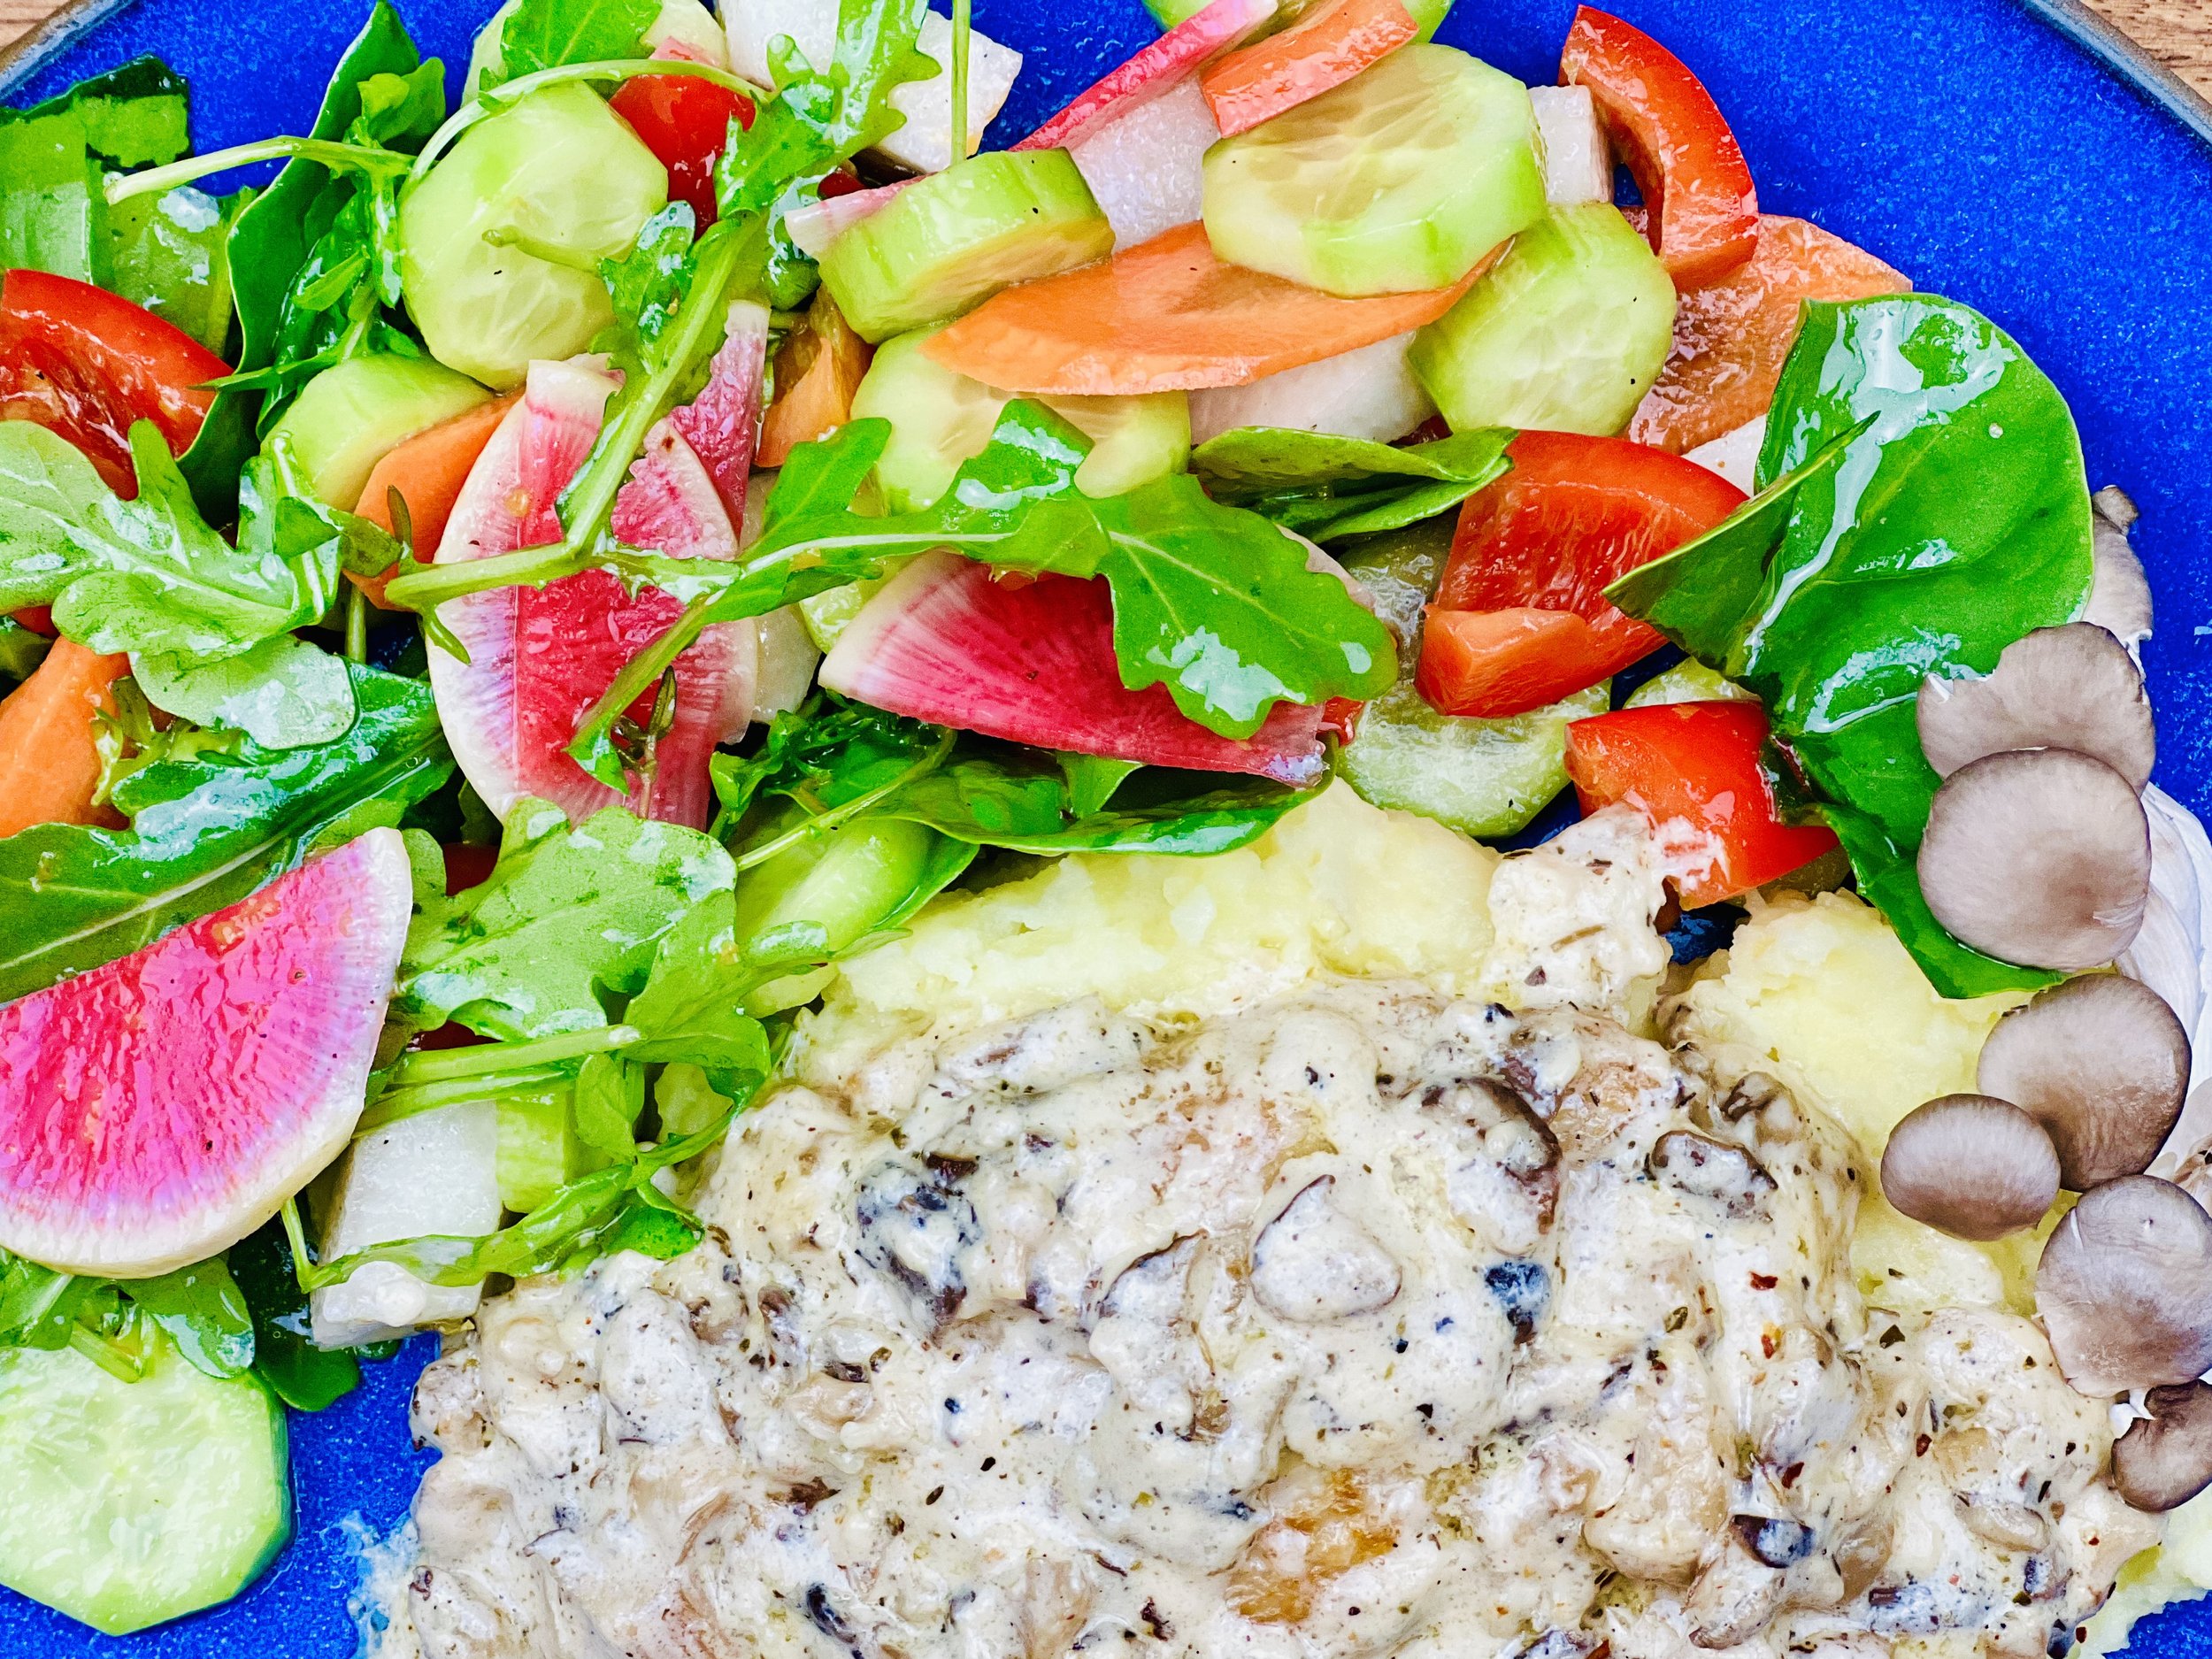
Chicken With Mushroom Brie Cream (Low FODMAP)
15 Minutes prep • 45 Minutes cook • Low FODMAP • Gluten-free • Serves 4
15 Minutes prep • 45 Minutes cook • Low FODMAP • Gluten-free • Serves 4 • Ok to make ahead: Step 1
This delicious chicken is quick to make, super creamy, and delicious over my Buttery Mashed Yukon Gold Potatoes. The herbs, mushrooms, and creamy sauce blend wonderfully together so each bite is loaded with flavor and delicious caramelized mushrooms. You can balance the richness of this sauce by serving it alongside a beautiful green salad for a perfect rainbow on your plate. Here are some salad ideas for you. This meal is so good it may just become one of your weekly staples.
This is an exclusive recipe just for recipe club members.
In addition to the two free recipes I create each week I am creating and delivering one very special recipe just for my recipe club members. If you’re not yet a member, I encourage you to join! Membership in the club includes access to the complete archive of recipes with filters so it can become your virtual low FODMAP cookbook plus, I am creating and delivering one special NEW recipe every week ONLY for recipe club members.
Your membership in the club helps me continue creating new, delicious, easy-to-make, low FODMAP recipes just for you.
As always, all recipes will emphasize simple ingredients, easy preparation, and delicious low FODMAP results. Recipes will be for everything from main courses, salads, soups, side dishes, appetizers, desserts, sauces, breakfast and lunch, and even mocktails and cocktails. Everything you need to prepare fantastic low FODMAP meals everyone will love.
Join the club. Let’s keep making delicious Low FODMAP meals together.
More Deliciously Low FODMAP™ main course recipes
45 Minutes • Low FODMAP • Gluten-free • Serves 4 15 Minutes prep • 30 Minutes cook • Low FODMAP • Gluten-Free • Serves 4
20 Minutes prep • 2 - 8 hours Marinate • 30 Minutes cook • Low FODMAP • Gluten-Free • Serves 4 - 6
15 Minutes prep • 20 Minutes - 4 hours marinate • 25 Minuste cook time • Low FODMAP • Gluten-Free • Serves 4
5 Minutes prep • 30 Minutes cook • Low FODMAP • Serves 6-8 • Ok to make-ahead: Steps 1 - 3
30 Minutes prep • 40 Minutes cook • Low FODMAP • Gluten-Free • Serves 8 • Ok to make-ahead: Steps 1 - 4 FODMAP
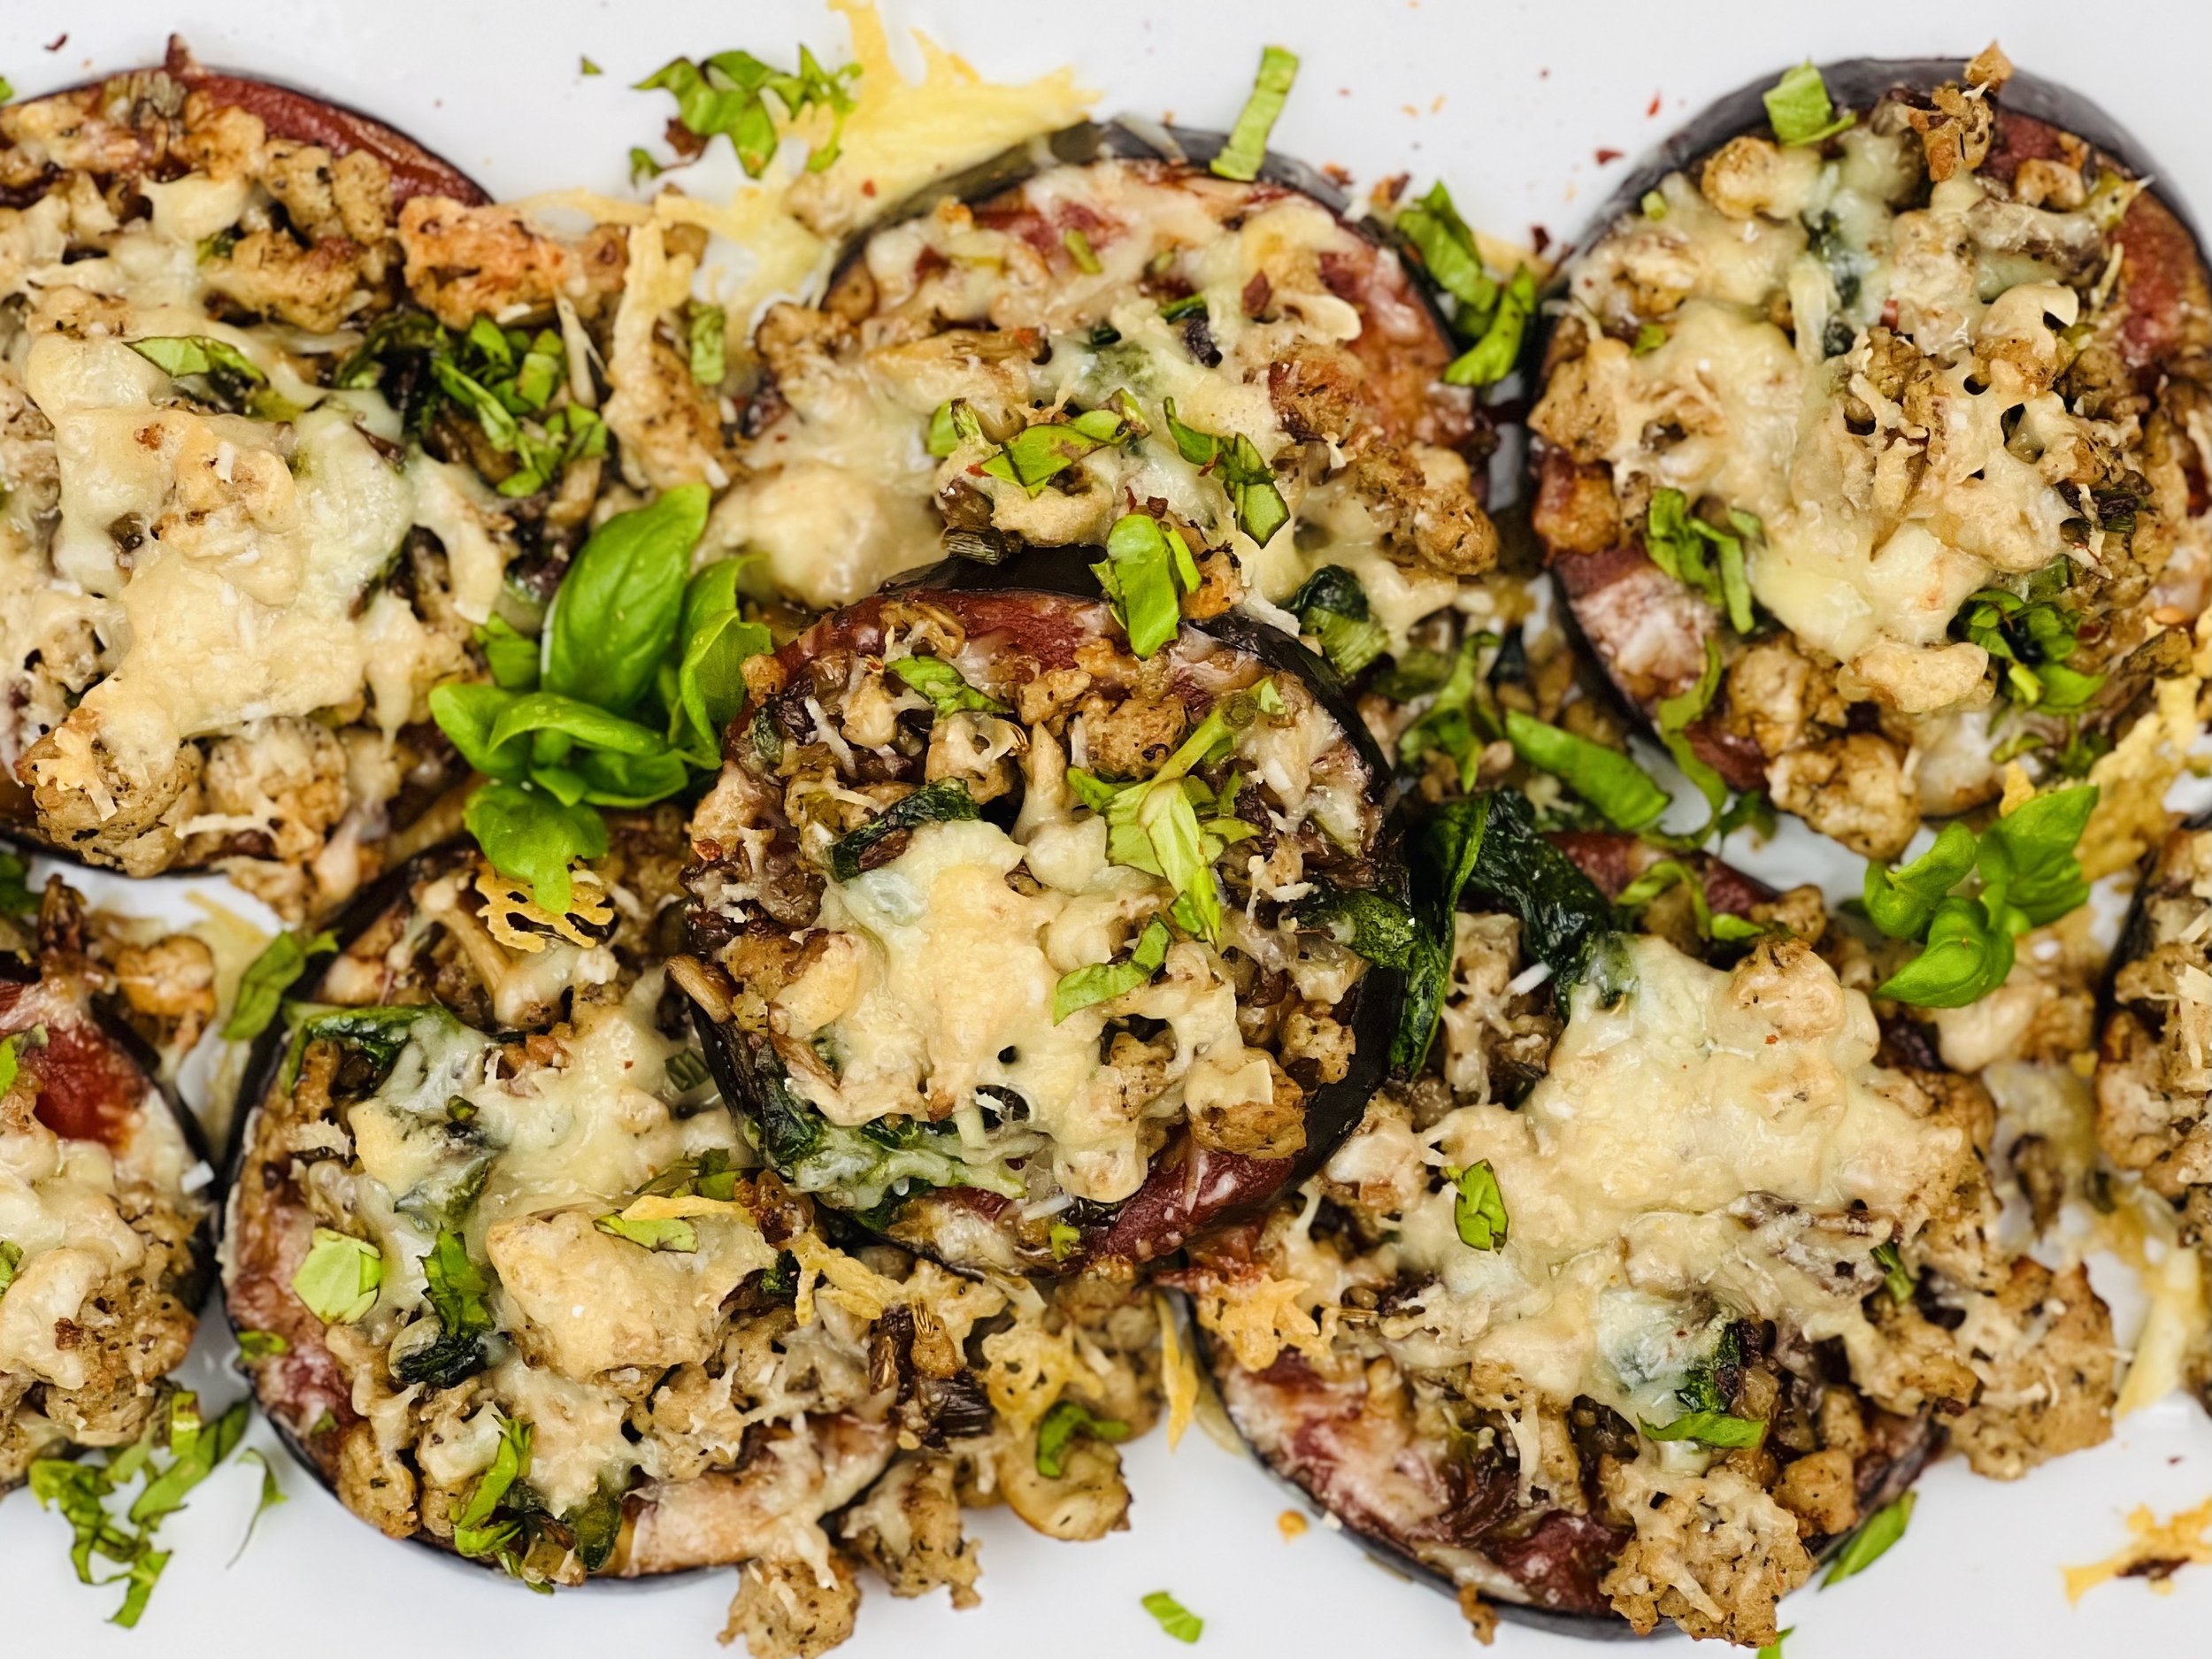
Sausage and Mushroom Eggplant Pizza (Low FODMAP)
20 Minutes prep • 20 Minutes cook • Low FODMAP • Gluten-free • Serves 2-3
20 Minutes prep • 20 Minutes cook • Low FODMAP • Gluten-free • Serves 2-3
Want all the taste of classic pizza without the gluten or carbs? These plant-forward eggplant pizzas are the perfectly delicious answer! I made them with sausage, mushrooms, and tomato sauce, but you could make them with any pizza topping you like. I added spinach and fresh basil for some more veggie variety and the combination was wonderful. Using extra-flavorful cheese added a delicious depth to the other flavors. The kitchen will smell wonderfully like pizza when you make this recipe and the end result will not disappoint.
Ingredients
1 eggplant cut into 1/4 inch slices
5 tablespoons garlic-infused olive oil, divided
1 pound plain ground pork (organic grass-fed if possible)
2 teaspoons Italian seasoning (or equal amounts: thyme, rosemary, basil, marjoram, and oregano)
1 teaspoon fennel seeds, lightly crushed
Pinch red pepper flakes (optional)
2 green onions (green part only), chopped
2 cups oyster mushrooms, chopped
1 teaspoon dry thyme
1 packed cup baby spinach, long stems removed and roughly chopped
6 ounces low FODMAP tomato sauce
6 ounces gruyere cheese, grated (or other strong flavored cheese you prefer)
1/2 cup parmesan cheese, grated
1/2 teaspoon Kosher salt
1/4 teaspoon black pepper
1/4 teaspoon red pepper flakes
Fresh basil, chopped (for serving)
Directions
(1) Prepare: Preheat the oven to 400 degrees F. Grate the cheese. Line a cookie sheet with parchment paper. Chop the mushrooms and green onion greens.
(2) Prepare the eggplant: Slice the eggplant into 1/4-inch slices and toss out the two ends. Lay the eggplant slices on the prepared baking sheet and brush both sides of each slice with olive oil (using about 2 1/2 tablespoons altogether). Sprinkle lightly with salt and pepper.
(3) Pre-cook the eggplant: Put the cookie sheet in the preheated oven and cook for 7 - 10 minutes until the eggplant is hot and starts to soften
(4) Cook the sausage: Meanwhile, heat the remaining 1 tablespoon of olive oil in a medium-size skillet over medium-high heat. When the oil shimmers, add the Italian seasoning and let it sizzle for about 30 seconds. Next, add the ground pork and use a spatula to break it into small pieces and combine it with the Italian seasoning. Season with 1/2 teaspoon salt, 1/4 teaspoon black pepper, and a few grinds of red pepper flakes. Cook for about 5 minutes until the meat is cooked through. Remove from the pan and set aside.
(5) Cook the veggies: In the same pan, add another 1 1/2 tablespoons of olive oil, when it’s hot, add the green onion greens, chopped mushrooms, and dry thyme. Cook for 4 - 5 minutes. Taste and season with salt and pepper. Cook for another 2-3 minutes. Add the spinach then stir, and continue to cook until the spinach is wilted and cooked through. Add the sausage back to the pan and stir and cook for about 2 minutes until the meat is heated through.
(6) Layer the toppings: Once the eggplant slices are pre-cooked, remove them from the oven and divide the tomato sauce evenly over all the slices. Use the back of a spoon to spread the sauce over each slice. Once the sausage and veggies are cooked, remove from the heat and divide equally across all the eggplant slices. Sprinkle on the gruyere cheese and then the parmesan cheese. Sprinkle lightly with black pepper.
(7) Bake: Put the whole tray back in the oven and bake for another 8 - 10 minutes until the eggplant is cooked through and the cheese is melted and starting to crisp.
(8) Plate and serve: Serve warm with fresh basil and a light sprinkling of red pepper flakes.
Eat and enjoy every bite because you can!
Recipe note: I use Diamond Crystal Kosher salt in all my recipes because it has a wonderful flat and crisp flake that tastes delicious. It is also the least salty salt available so you can use it more liberally as a seasoning than you can table salt or sea salt. If you use another type of salt, you may need to reduce the amount so it is not over-salted.
Have a question you’d like to have answered? Email me at hello@ibsgamechanger.com
Link note: This post may contain affiliate links for you to easily purchase items that are linked. I may earn a small commission from qualifying purchases but none of this costs you a thing so feel free to use the links! In addition, for some items, I have provided a special discount code for IBS Game Changers so be sure to use the code when you purchase an item to get the discount that has been arranged just for you.
More Deliciously Low FODMAP™ main course recipes
45 Minutes • Low FODMAP • Gluten-free • Serves 4 15 Minutes prep • 30 Minutes cook • Low FODMAP • Gluten-Free • Serves 4
20 Minutes prep • 2 - 8 hours Marinate • 30 Minutes cook • Low FODMAP • Gluten-Free • Serves 4 - 6
15 Minutes prep • 20 Minutes - 4 hours marinate • 25 Minuste cook time • Low FODMAP • Gluten-Free • Serves 4
5 Minutes prep • 30 Minutes cook • Low FODMAP • Serves 6-8 • Ok to make-ahead: Steps 1 - 3
30 Minutes prep • 40 Minutes cook • Low FODMAP • Gluten-Free • Serves 8 • Ok to make-ahead: Steps 1 - 4 FODMAP
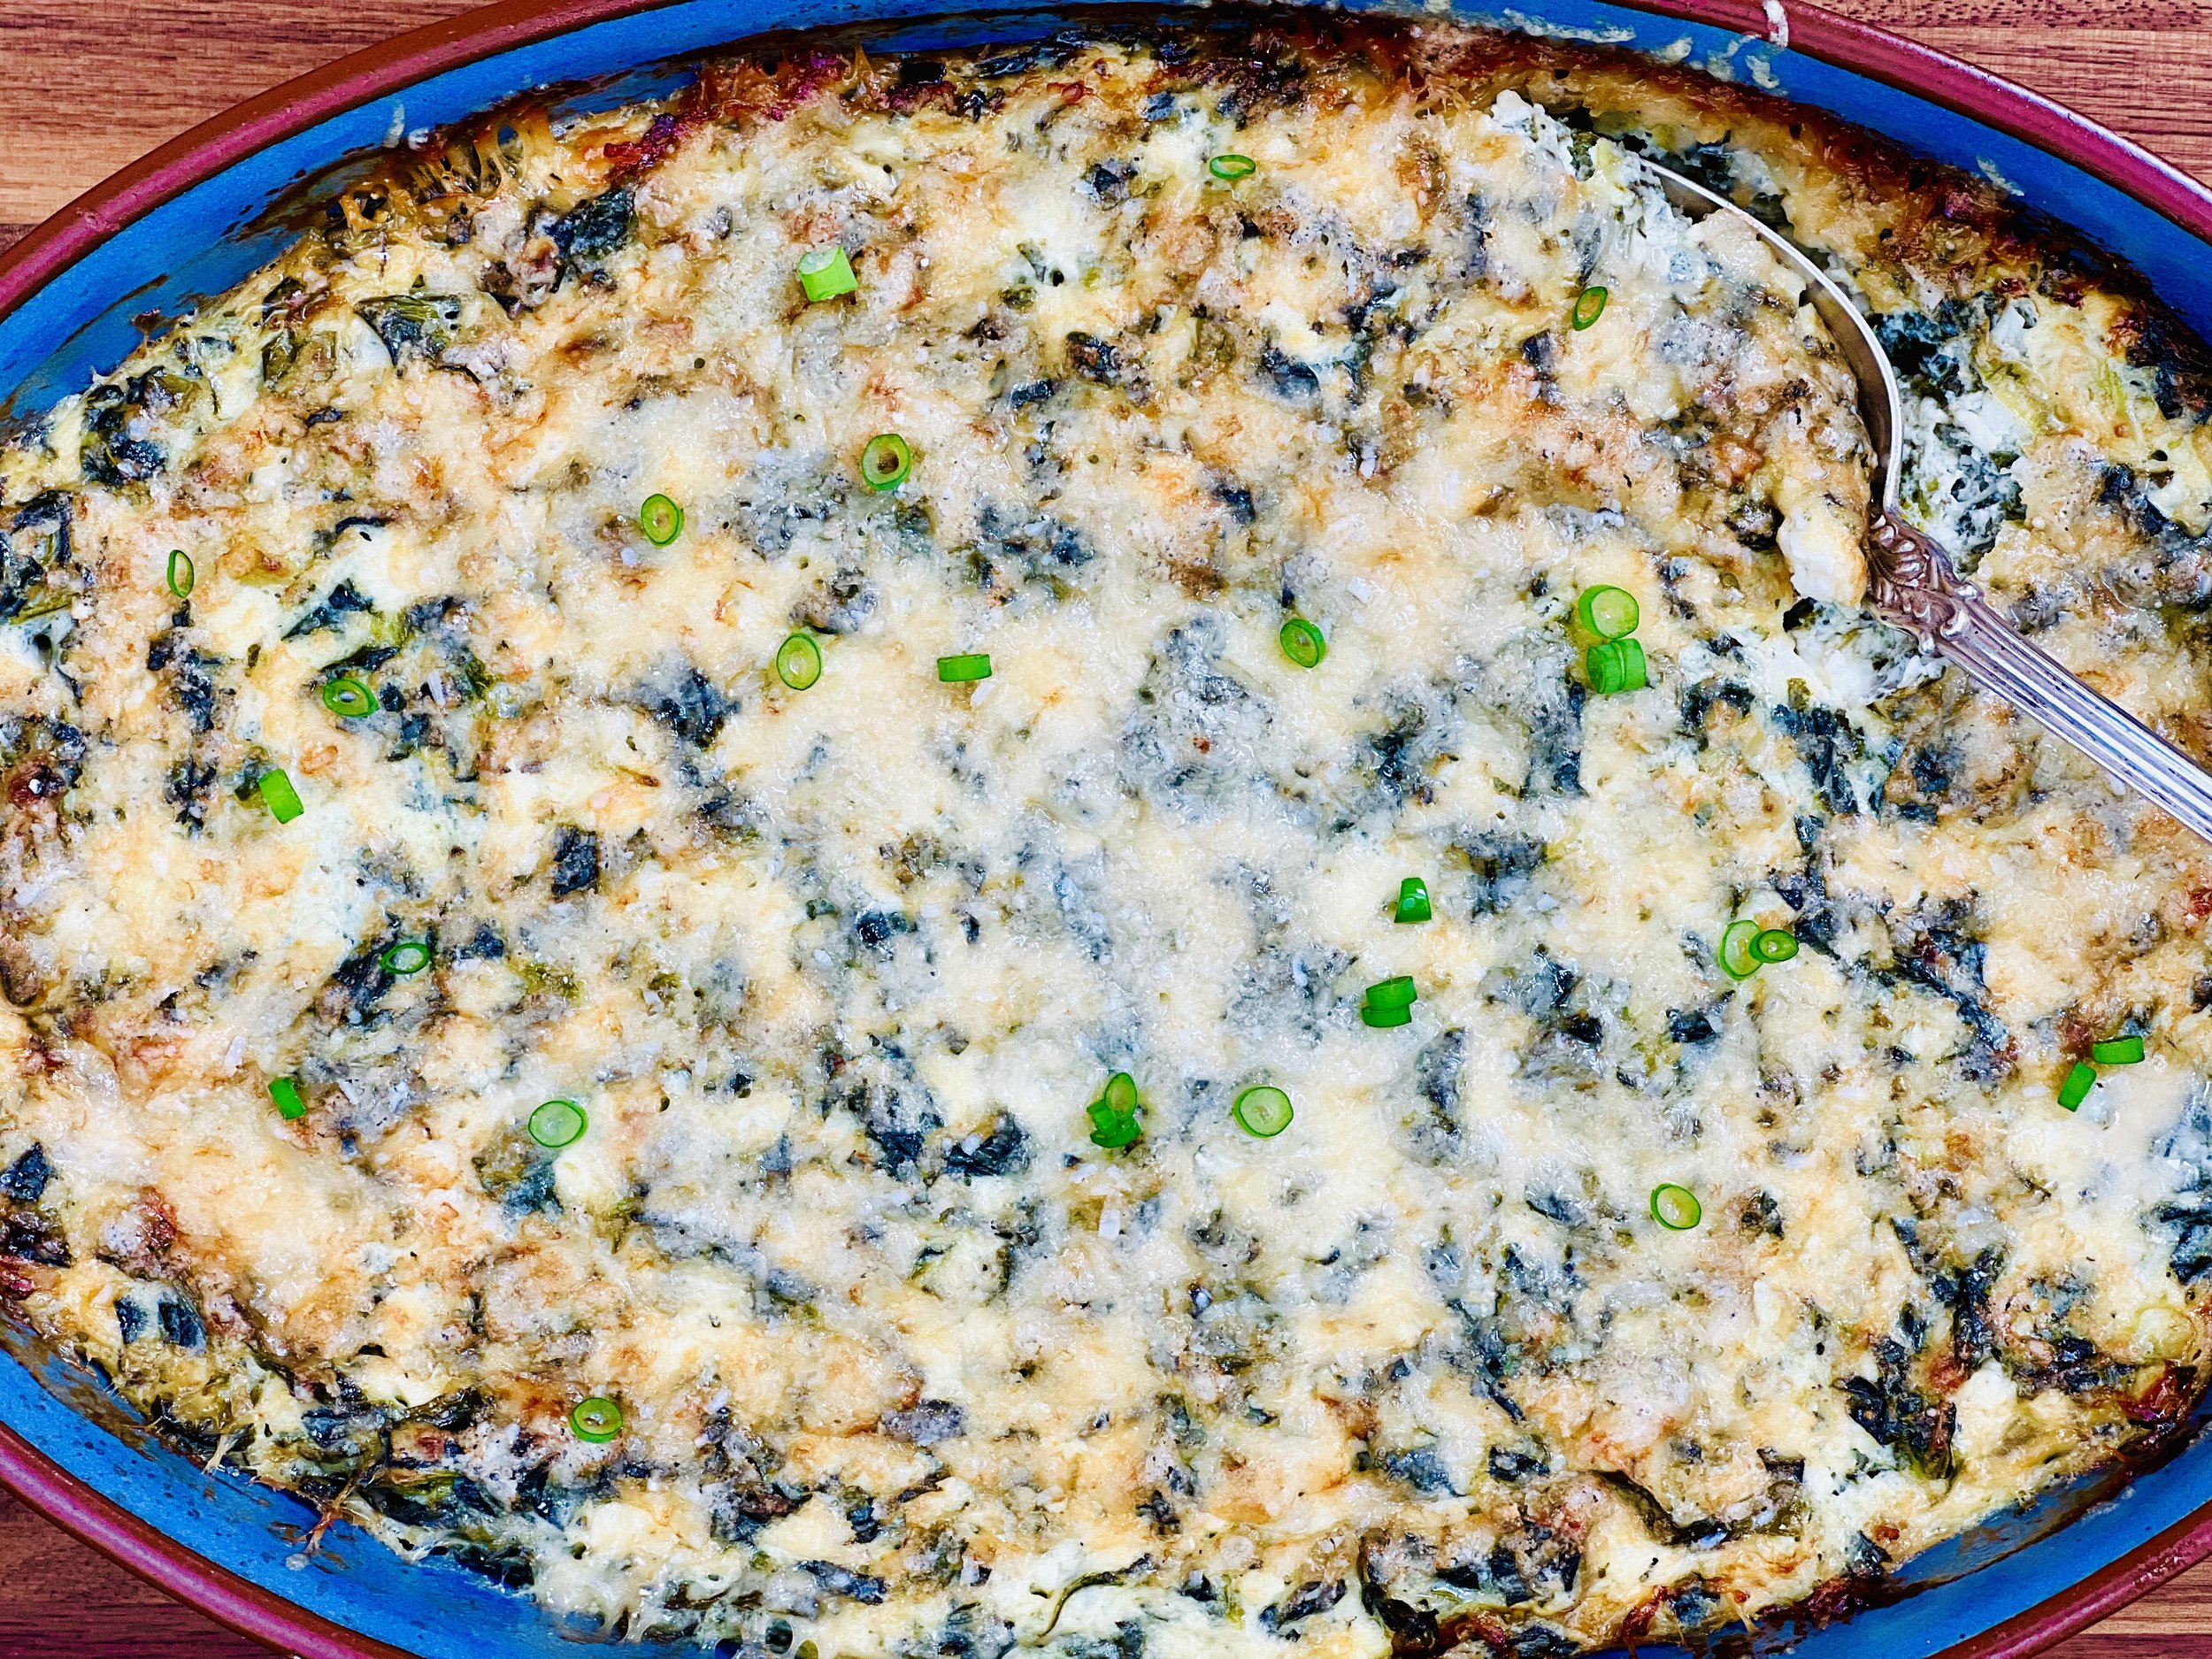
Three Cheese and Spinach Frittata (Low FODMAP)
15 Minutes prep • 45 Minutes cook • Low FODMAP • Gluten-free • Vegetarian • Serves 4 - 6
15 Minutes prep • 45 Minutes cook • Low FODMAP • Gluten-free • Vegetarian • Serves 4 - 6 • Ok to make ahead: Steps 1-3
This delicious dish is reminiscent of Greek Spanakopita but it’s much simpler to make and it’s a great way to get more spinach in your diet (very high in lots of great nutrients!) Not a classic frittata (has fewer eggs), spinach, feta, parmesan, and creamy cottage cheese come together to make a perfect savory breakfast, vegetarian main course, or hearty side. Thanks to three eggs and three different cheeses, this recipe has plenty of protein and flavor. You can serve it alongside a separate main course or pair it with one of my green salads. Leftovers are great cold, at room temperature, or you can heat them up nicely in the oven or microwave. Get ready for a new regular on your weekly menu or a new guest at your next brunch.
Ingredients
10-ounce package frozen spinach, thawed and drained
3 eggs, lightly beaten
2 cups lactose-free cottage cheese
1/2 cup crumbled feta cheese
1/4 cup butter, melted
1 tablespoon green onions (green part only)
1/2 cup fresh grated parmesan cheese
1/4 teaspoons ground red pepper flakes (and here’s a nifty red pepper flake grinder!)
1/4 teaspoon black pepper or to taste
Directions
(1) Prepare: Preheat the oven to 350 degrees F. Grease 1 1/2 quart casserole dish. Grate the parmesan cheese. Remove the spinach from the package and put it on a plate. Thaw at room temperature or in the microwave in 30-second increments. Once the spinach is thawed, break it into pieces and squeeze the liquid out of the spinach.
(2) Mix the ingredients: In a mixing bowl combine the eggs, cottage cheese, drained spinach, feta cheese, melted butter, and green onions. Stir well to combine.
(3) Bake: Put the mixture into the prepared dish and put in the oven. Bake for 25 minutes. Sprinkle with the parmesan cheese. Bake for another 10 - 15 minutes until the top starts to brown around the edges and the center is set.
(5) Plate and serve: Serve warm with chopped green onions, red pepper flakes, or a few grinds of black pepper. Or, let cool, and serve at room temperature or even cold. It’s all good!
Eat and enjoy every bite because you can!
Have a question you’d like to have answered? Email me at hello@ibsgamechanger.com
More Deliciously Low FODMAP™ vegetarian recipes
15 Minutes prep • 30 Minutes cook • Low FODMAP • Serves 4 • Ok to make-ahead: Steps 1 - 2
45 Minutes prep • 60 Minutes cook • Low FODMAP • Gluten-free • Vegetarian • Serves 6 - 8
5 Minutes prep • 15 Minutes cook • Low FODMAP • Gluten-free • Lactose-free • Vegan • Serves 4
10 Minutes Prep • 50 Minutes Cook • Low FODMAP • Gluten-free • Dairy Free • Vegan • Serving size 3 - 4 crackers
15 Minutes prep • 55 Minutes cook (if using brown rice) • Low FODMAP • Gluten-free • Lactose-free • Vegan • Serves 4
10 Minutes prep • 10 Minutes cook • Low FODMAP • Gluten-free • Lactose-free • Vegan • Serves 4
10 Minutes prep • 25 Minutes cook • Low FODMAP • Gluten-free • Vegetarian • Plant Forward • Serves 4
20 Minutes prep • 40 Minutes cook • Low FODMAP • Gluten-free • Vegetarian • Serves 4 - 6 • Ok to make ahead: Steps 1-4
15 Minutes prep • Low FODMAP • Gluten-free • Lactose-free • Vegetarian • Vegan • Serves 4
Provençal Olive Tapenade (Low FODMAP)
10 Minutes prep • Low FODMAP • Gluten-Free • Lactose-free • Vegetarian • Vegan • Makes 1.5 cups
10 Minutes prep • Low FODMAP • Gluten-Free • Lactose-free • Vegetarian • Vegan • Makes 1.5 cups • Ok to make ahead: Steps 1-2
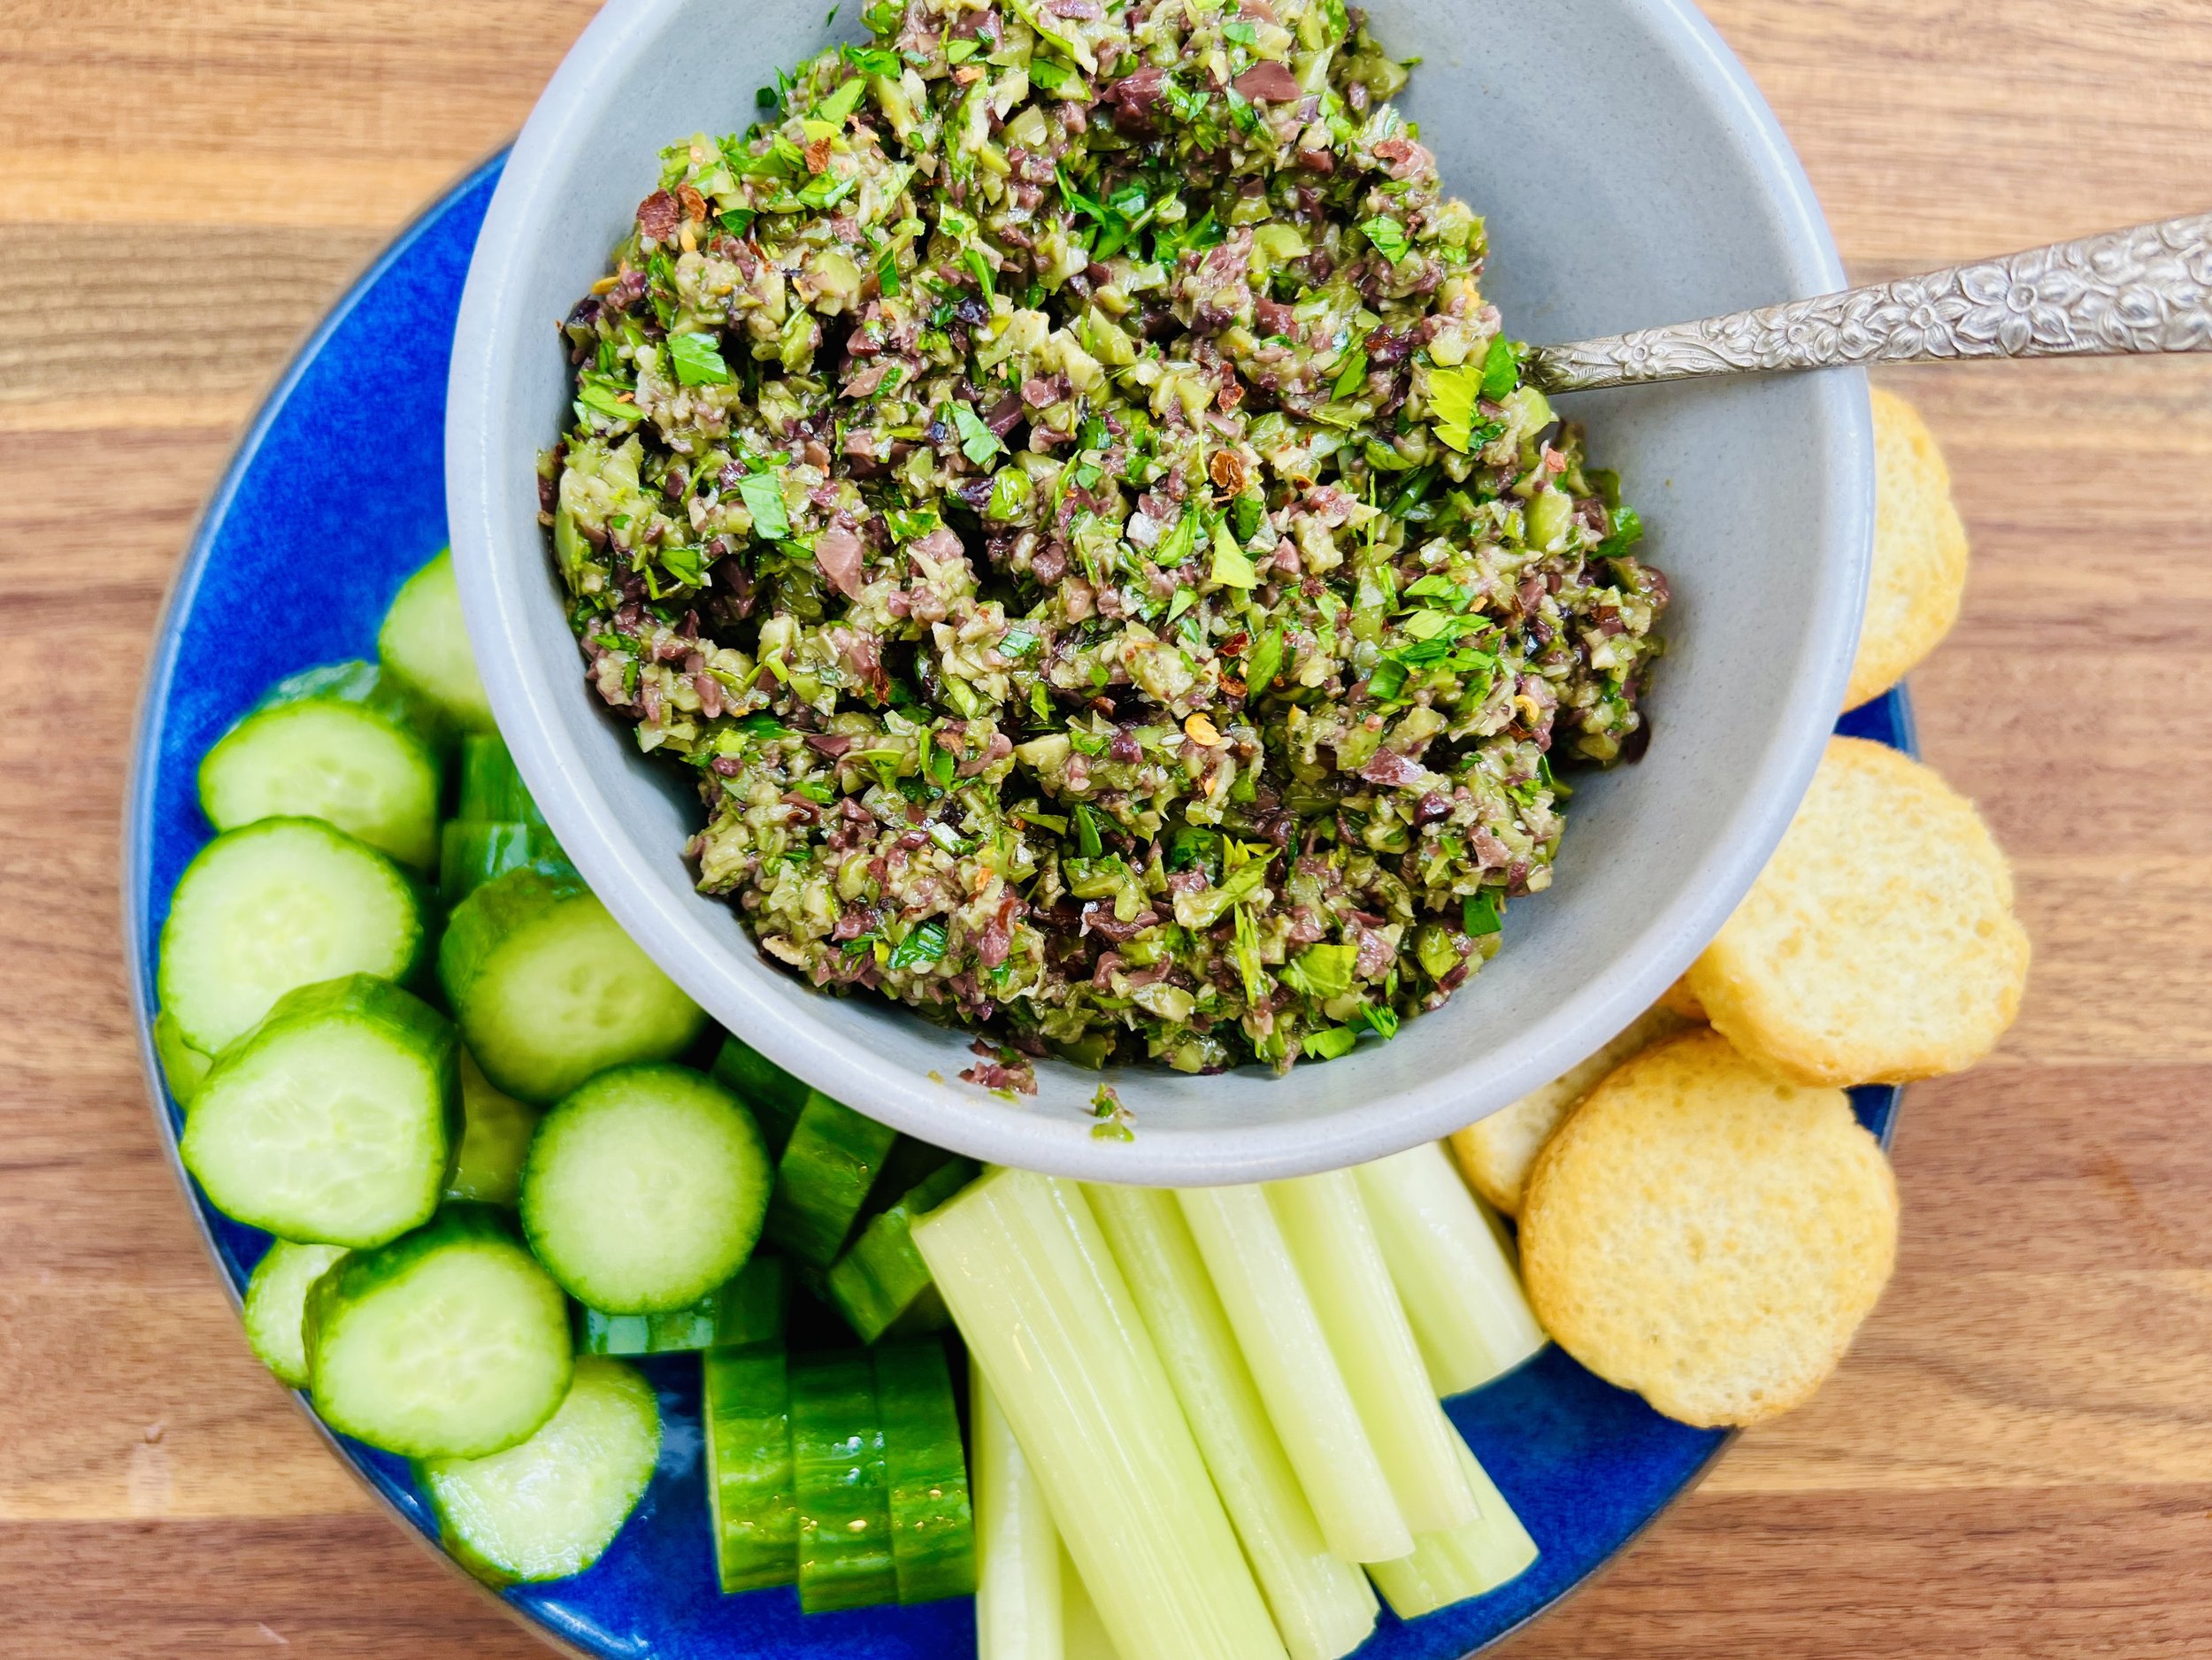
Ok all you olive lovers (Natalie I’m looking at you!), this one is for you! Originally created in Provence, France, I like to think of tapenade as the caviar of olives. Super quick to make and packed full of wonderful olive flavor, this olive topping or dip will be a great addition to your appetizer menu or charcuterie board. It is the perfect contrast when served with creamy dips, such as my Creamy Lemon Basil “Hummus” or Basil Caraway Cottage Cheese dip (recipe coming soon!). Love it too much to eat it only as an appetizer? Spread it on sandwiches, add it to your egg salad, top your grilled chicken, eat it with a spoon, be creative!
Ingredients
1 cup Castelvetrano olives (pitted), or other green olives you prefer, drained
1/2 cup Kalamata or Nicoise olives (pitted), drained
3 tablespoons Greek Garlic Fusion Olive Oil or any garlic-infused olive oil you like
1 tablespoon Meyer lemon-infused olive oil or other good flavored extra virgin olive oil
1 tablespoon capers, drained
1 tablespoon fresh-squeezed lemon juice
1/3 cup flat leaf parsley (or use regular parsley or basil), roughly chopped and large stems removed
Red pepper flakes (optional) for serving
Directions
(1) Prepare: Wash and roughly chop the parsley. Pit the olives if they are not already pitted.
(2) Make Tapenade: Put all ingredients (except red pepper flakes if using) into the bowl of your food processor. Pulse about 10 times then scrape down the sides of the bowl and pulse once or twice more.
(3) Plate and serve: Serve alongside cut veggies, gluten-free crackers, or my seed crackers. Also makes a great topper for sandwiches, deviled eggs, and even grilled chicken!
Optional Add-Ins: 3 - 4 sun-dried tomatoes, 1 teaspoon lemon zest, 1 tablespoon toasted pine nuts, 1/2 teaspoon Smoke N Sanity Essence of Garlic Salt (Use code IBSGC15 for 15% discount), 1 tablespoon pimentos, or other any other type of olives you like.
Eat and enjoy every bite because you can!
Have a question you’d like to have answered? Email me at hello@ibsgamechanger.com
Link note: This post may contain affiliate links for you to easily purchase items that are linked. I may earn a small commission from qualifying purchases but none of this costs you a thing so feel free to use the links! In addition, for some items, I have provided a special discount code for IBS Game Changers so be sure to use the code when you purchase an item to get the discount that has been arranged just for you.
More Deliciously Low FODMAP™ appetizer recipes
5 Minutes prep • 15 Minutes cook • Low FODMAP • Gluten-Free • Lactose-Free • Makes 2 cups
10 Minutes Prep • 50 Minutes Cook • Low FODMAP • Gluten-free • Dairy Free • Vegan • Serving size 3 - 4 crackers
10 Minutes prep • 15 Minutes rest • Low FODMAP • Gluten-free • Dairy-free • Serving size 3 tablespoons
10 Minutes prep • 20 Minutes cook • Low FODMAP • Gluten-free • Lactose-free • Vegan • Serves 5
15 Minutes prep • 1 hour chill • Low FODMAP • Gluten-free • Vegetarian • Serves 4 or more
10 Minutes prep • Low FODMAP • Gluten-Free • Lactose-free • Vegetarian • Vegan • Makes 1.5 cups
10 Minutes Prep • 50 Minutes Cook • Gluten-free • Dairy-free • Low FODMAP • Serving size 3-4 crackers
5 Minutes prep • 10 Minutes cook • Low FODMAP • Gluten-free • Lactose-free • Makes 1 cup
Walnut Gorgonzola Salad (Low FODMAP)
20 Minutes prep • Low FODMAP • Gluten-free • Vegetarian • Serves 4
20 Minutes prep • Low FODMAP • Gluten-free • Vegetarian • Serves 4 • Ok to make ahead: Steps 1-3
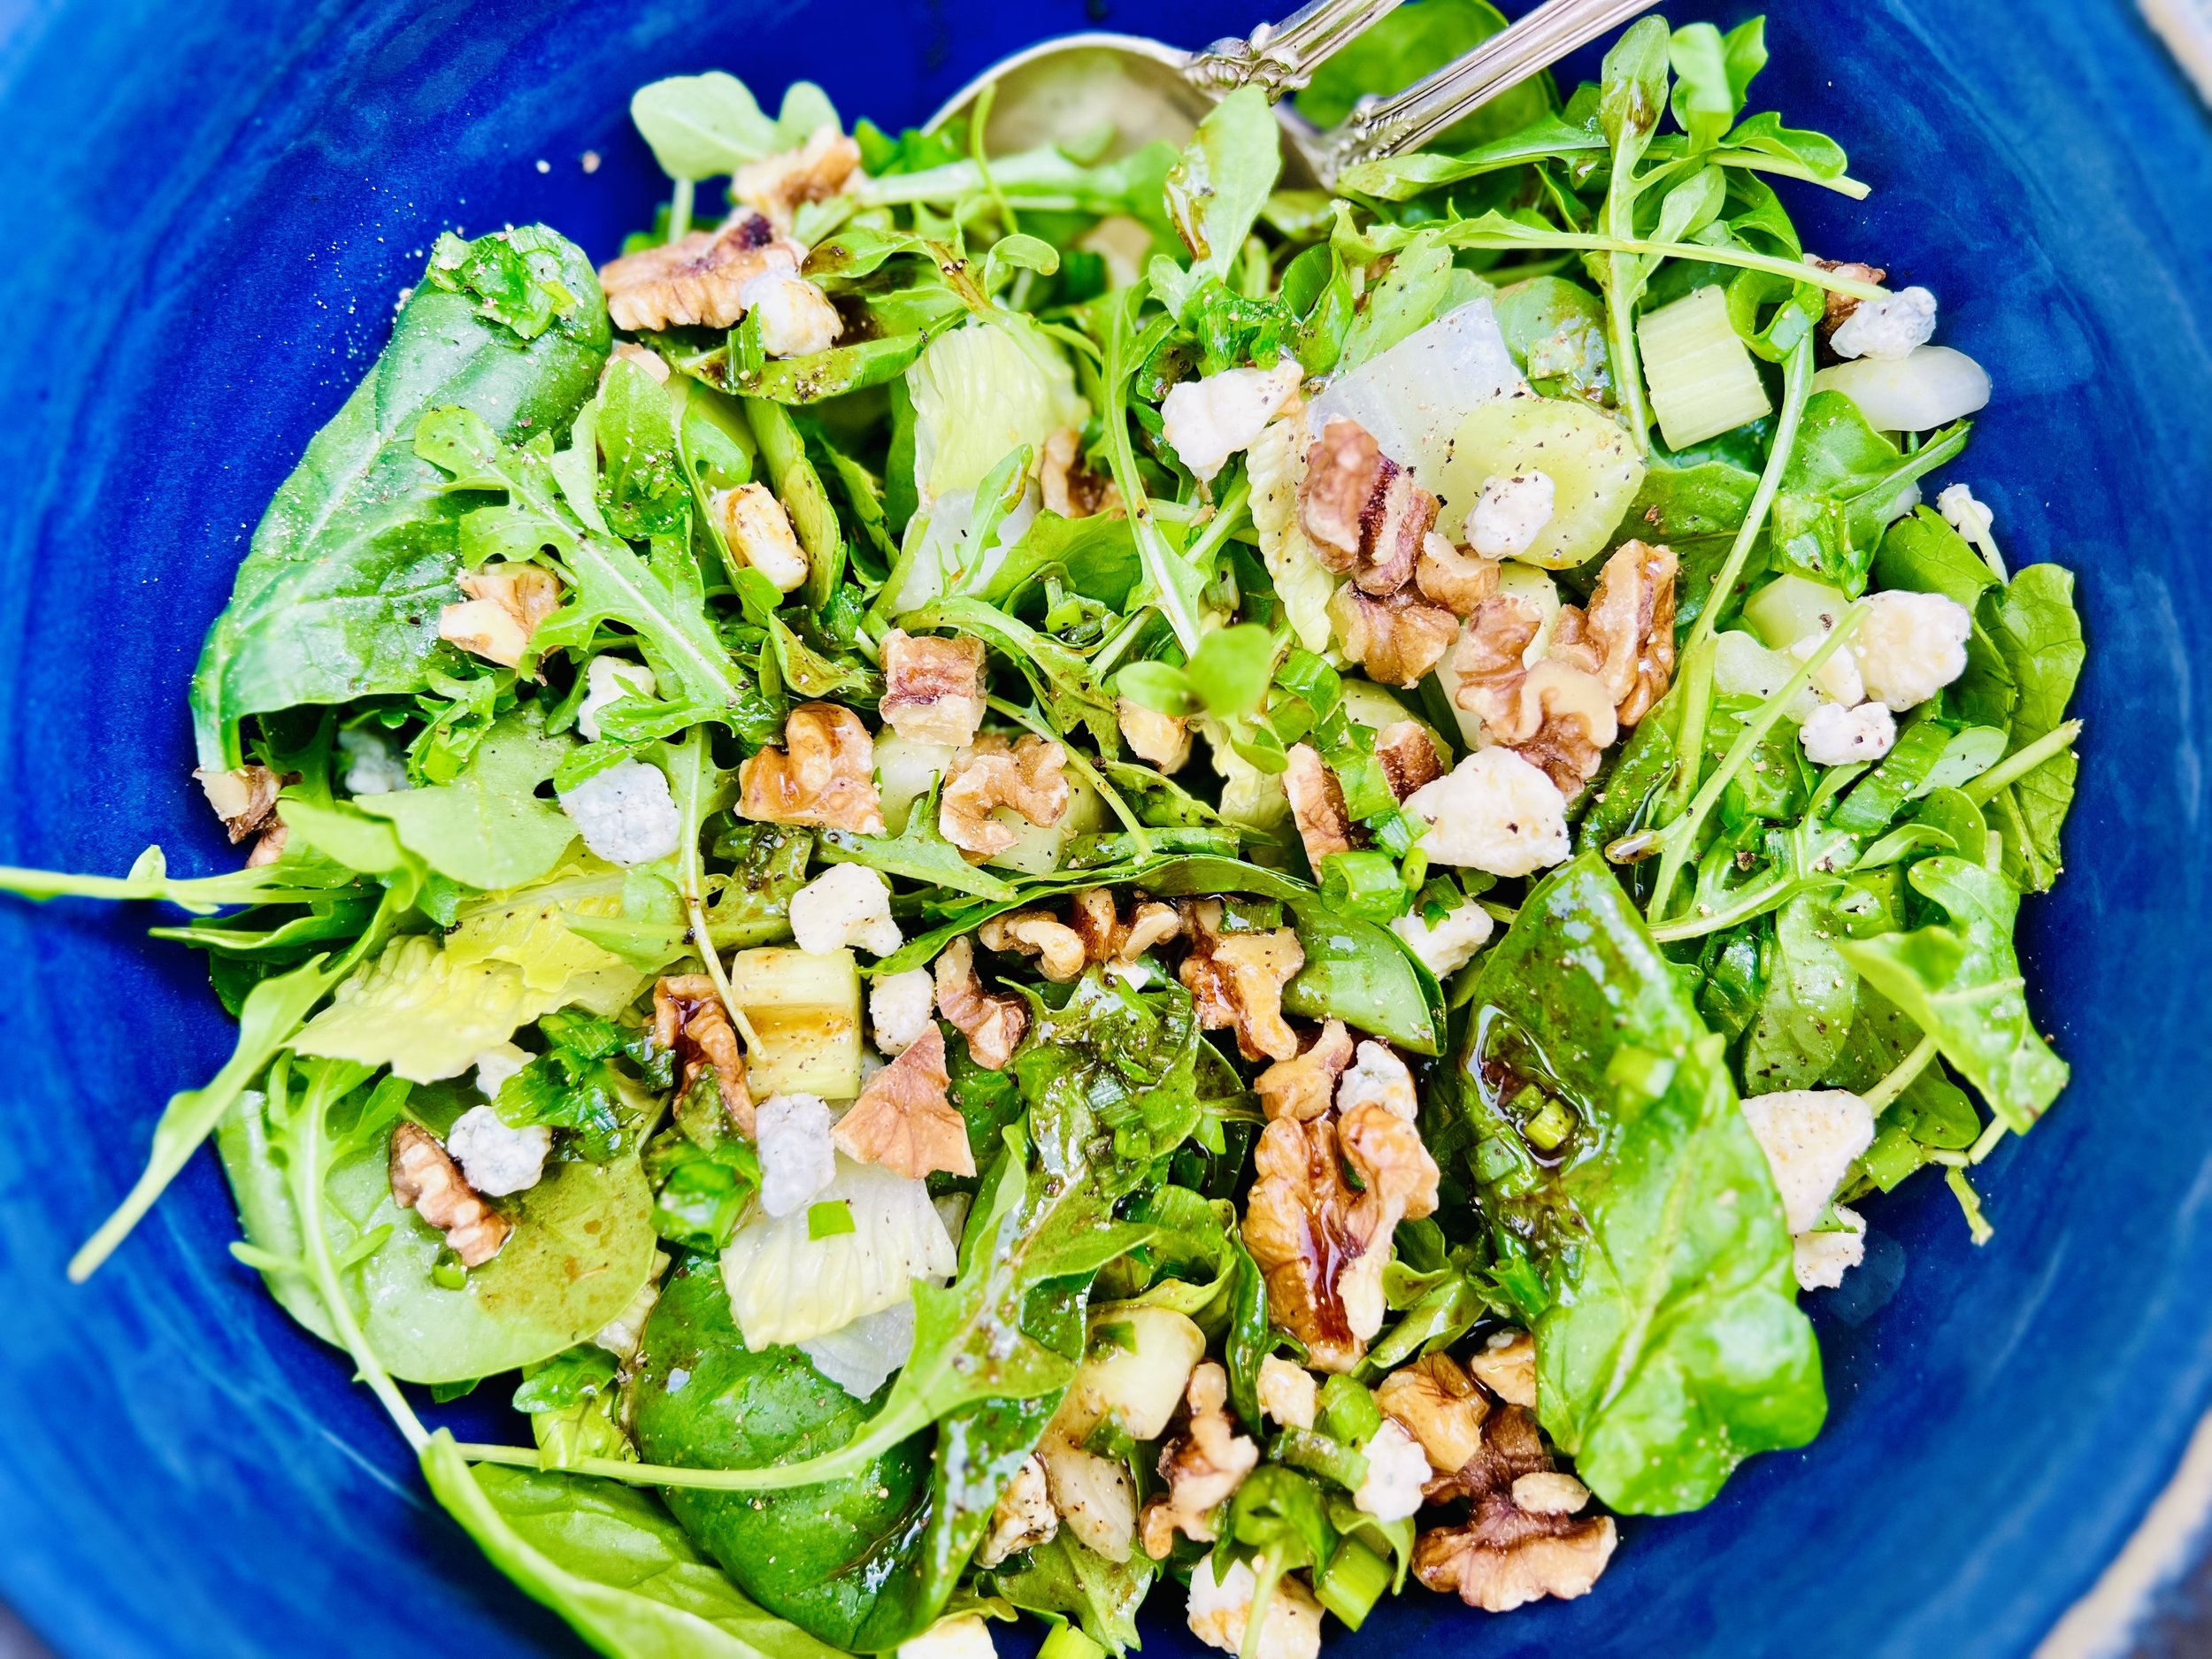
This is a wonderful salad that is a nice change from the standard fare. The combination of the walnuts and the walnut oil gives the salad a rich and delicious flavor that is balanced by the sweet balsamic vinegar and the tangy gorgonzola. I used a combination of spinach, arugula, and romaine (for some crunch), but you could use spring mix or whatever you like. Enjoy this salad as a vegetarian main course or as a perfect side for grilled meat (steak in particular!)
Ingredients: Salad
4 cups mixed salad greens (spring mix or a combination of what you have on hand)
1 green onion (green part only) finely chopped
3/4 cup coarsely chopped walnuts
4 ounces of gorgonzola crumbles
1 medium stalk of celery, sliced (optional)
Ingredients: Walnut Vinaigrette
1/4 cup roasted walnut oil
2 tablespoons balsamic vinegar
1 tablespoon olive oil
1 teaspoon Dijon mustard
1/2 teaspoon Kosher salt
1/4 teaspoon black pepper
Directions
(1) Prepare: Wash and spin dry the lettuce. Chop the green onion greens, the celery (if using), and the walnuts.
(2) Make the dressing: Put all dressing ingredients in a small jar or bowl and shake or whisk to combine.
(3) Make the salad: Layer the salad greens in the bowl and then add the rest of the salad ingredients.
Make-ahead note: At this point, you may put the whole salad bowl in the refrigerator for an hour or two until you’re ready to serve.
(4) Add the dressing: Drizzle with about half the dressing. Toss and taste. Add more dressing if you like.
(5) Finish: Sprinkle lightly with about 1/4 teaspoon Kosher salt and a few grinds of black pepper.
(6) Plate and serve: Serve on its own or as a delicious side for grilled beef, chicken, or pork.
Eat and enjoy every bite because you can!
Recipe note: I use Diamond Crystal Kosher salt in all my recipes because it has a wonderful flat and crisp flake that tastes delicious. It is also the least salty salt available so you can use it more liberally as a seasoning than you can table salt or sea salt. If you use another type of salt, you may need to reduce the amount so it is not over-salted.
Have a question you’d like to have answered? Email me at hello@ibsgamechanger.com
Link note: This post may contain affiliate links for you to easily purchase items that are linked. I may earn a small commission from qualifying purchases but none of this costs you a thing so feel free to use the links! In addition, for some items, I have provided a special discount code for IBS Game Changers so be sure to use the code when you purchase an item to get the discount that has been arranged just for you.
More Deliciously Low FODMAP™ salad recipes
5 Minutes prep • 30 Minutes cook • Low FODMAP • Serves 6-8 • Ok to make-ahead: Steps 1 - 3
5 Minutes prep • 15 Minutes cook • Low FODMAP • Gluten-free • Lactose-free • Vegan • Serves 4
15 Minutes prep • Low FODMAP • Gluten-free • Lactose-free • Vegetarian • Vegan • Serves 4
Ginger Sesame Chicken and Sweet Peppers (low FODMAP)
15 Minutes prep • 4 Hours Marinate • 10 Minutes cook • Low FODMAP • Gluten-free
15 Minutes prep • 4 Hours Marinate • 10 Minutes cook • Low FODMAP • Gluten-free • Serves 4 • Ok to make ahead: Step 1
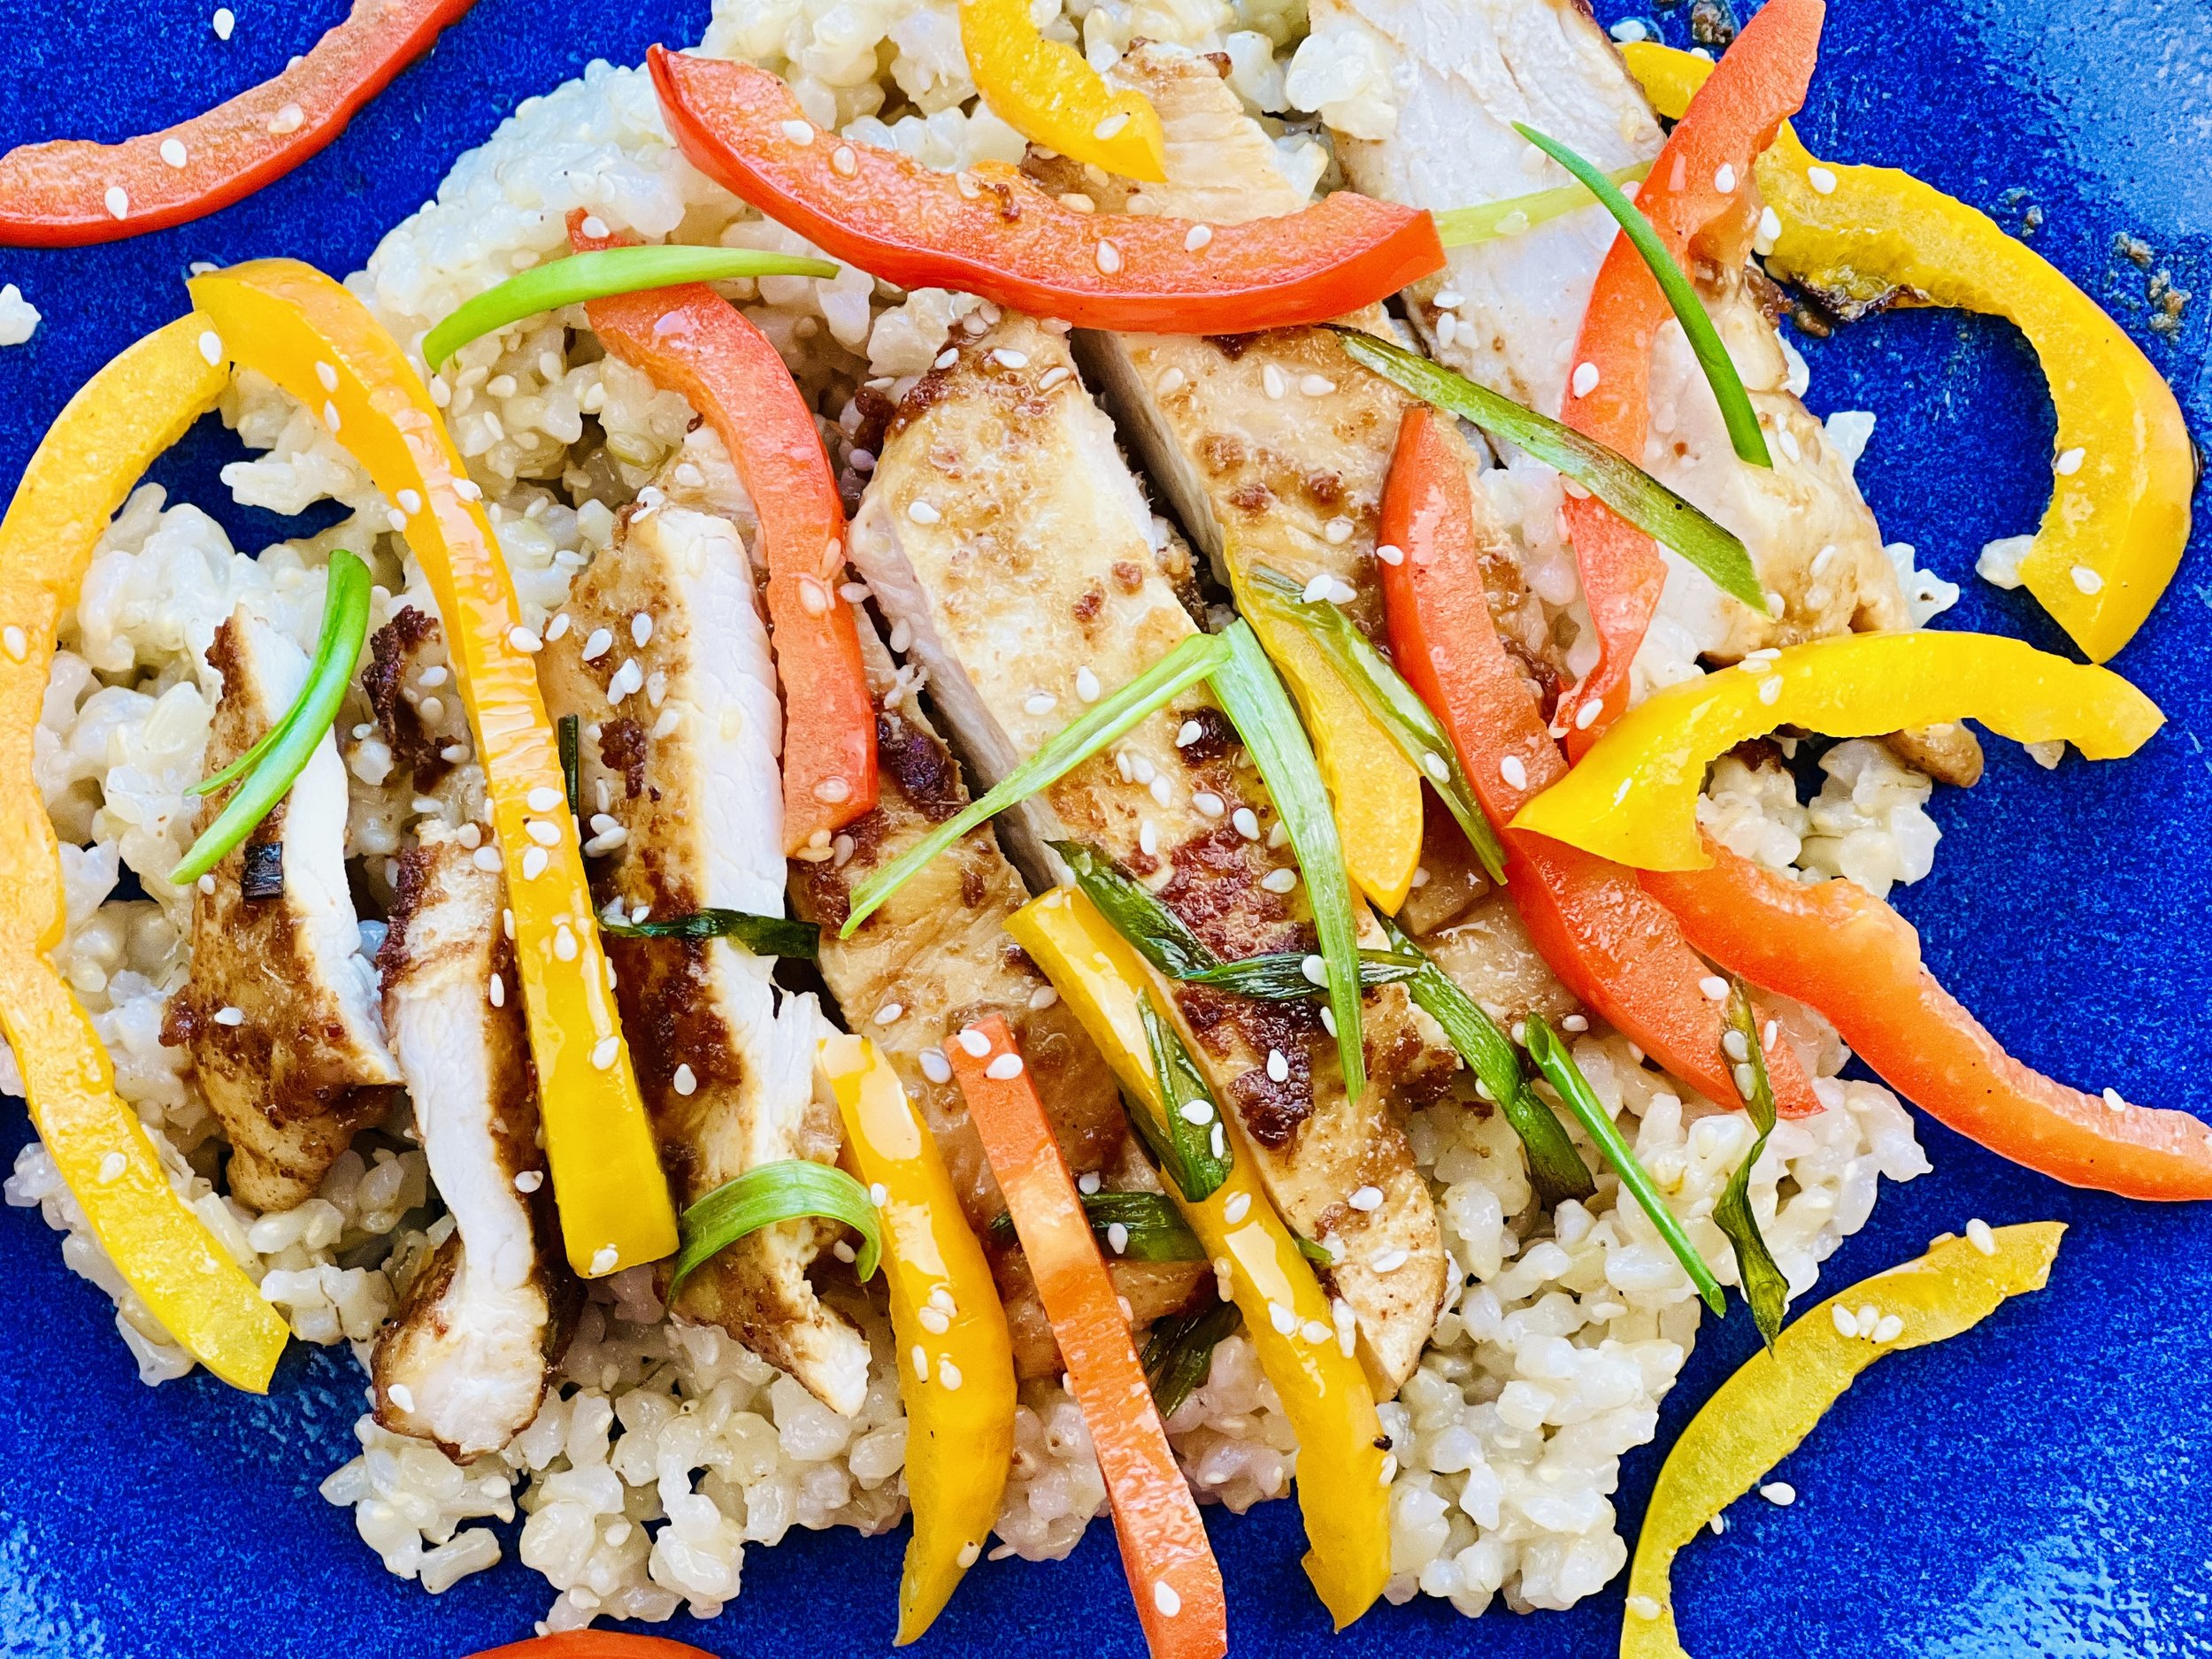
Simple to make for two or for a crowd, this chicken and sweet peppers is an easy and delicious weeknight staple. Peanut butter is the “secret” ingredient in the marinade that makes this chicken extra special. You can set the chicken to marinate in the morning and save even more time when you’re ready to cook dinner. Served with steamed rice, my Perfect Coconut Rice, or on its own for the low starch version, it’s a one-pan/one-bowl dinner, and leftovers make a terrific lunch the next day. Toss in some water chestnuts or other quick-cooking veggies you have on hand for even more variety if you like.
Ingredients: Chicken
1 ½ pounds chicken breasts, thin cut, or sliced horizontally
1 bell pepper, seeded and sliced (use two or three different colors for variety)
3 tablespoons garlic-infused olive oil, divided
Ingredients: Marinade
1/4 cup soy sauce (gluten-free)
2 tablespoons garlic-infused olive oil
2 tablespoons toasted sesame oil
3 inch piece of fresh ginger peeled and grated
Pinch red pepper flakes (optional)
1/4 cup natural creamy peanut butter
3 scallions (green part only) – thinly sliced (plus more for serving)
2 tablespoons sesame seeds, toasted (optional for serving)
Directions
(1) Prepare: Combine all marinade ingredients in a medium bowl and whisk to combine. Slice chicken horizontally unless it’s already thin cut, and add to the bowl with the marinade. Stir to coat. Cover and refrigerate for about 4 hours (more or less is ok). Make steamed brown or white rice per package instructions or, make my Perfect Coconut Rice, if you are planning to serve the chicken over rice.
(2) Cook the chicken: Place a large frying pan over medium-high heat. Add 1-2 tablespoons of garlic-infused olive oil to the pan and heat for a minute until the oil is quite hot. Add as much chicken as you can in one layer and flatten out the slices as much as possible so it cooks quickly. Use a pair of tongs to flip each chicken breast over to cook on the reverse side. It should only take about 2-3 minutes to cook the chicken through. When it’s cooked through remove from the pan and set aside. Continue in one or two more small batches to cook all the chicken in the same way. Remove, and set aside on a plate.
(3) Cook the vegetables: When the chicken is cooked, add another tablespoon of garlic-infused olive oil to the pan and heat. When hot, add the scallion greens, and sliced bell peppers to the pan (and other quick-cooking veggies such as water chestnuts, sliced zucchini, sliced summer squash, finely-chopped oyster mushrooms, etc). Cook for about 3 minutes until the peppers are hot but still brightly colored.
(4) Finish: Meanwhile, slice the cooked chicken into strips or bite-size pieces. Add the chicken back into the pan with the vegetables and stir to combine, and reheat the chicken if it has cooled.
(5) Plate and Serve: Serve in bowls with steamed rice (optional) and with toasted sesame seeds and a few more green onion greens sprinkled on top.
Eat and enjoy every bite because you can!
Recipe note: I use Diamond Crystal Kosher salt in all my recipes because it has a wonderful flat and crisp flake that tastes delicious. It is also the least salty salt available so you can use it more liberally as a seasoning than you can table salt or sea salt. If you use another type of salt, you may need to reduce the amount so it is not over-salted.
Have a question you’d like to have answered? Email me at hello@ibsgamechanger.com
Link note: This post may contain affiliate links for you to easily purchase items that are linked. I may earn a small commission from qualifying purchases but none of this costs you a thing so feel free to use the links! In addition, for some items, I have provided a special discount code for IBS Game Changers so be sure to use the code when you purchase an item to get the discount that has been arranged just for you.
More Deliciously Low FODMAP™ main course recipes
45 Minutes • Low FODMAP • Gluten-free • Serves 4 15 Minutes prep • 30 Minutes cook • Low FODMAP • Gluten-Free • Serves 4
20 Minutes prep • 2 - 8 hours Marinate • 30 Minutes cook • Low FODMAP • Gluten-Free • Serves 4 - 6
15 Minutes prep • 20 Minutes - 4 hours marinate • 25 Minuste cook time • Low FODMAP • Gluten-Free • Serves 4
5 Minutes prep • 30 Minutes cook • Low FODMAP • Serves 6-8 • Ok to make-ahead: Steps 1 - 3
30 Minutes prep • 40 Minutes cook • Low FODMAP • Gluten-Free • Serves 8 • Ok to make-ahead: Steps 1 - 4 FODMAP
Creamy Lemon Basil “Hummus” (Low FODMAP)
25 Minutes prep • Low FODMAP • Gluten-free • Vegetarian • Makes 2 cups
25 Minutes prep • Low FODMAP • Gluten-free • Vegetarian • Makes 2 cups • Serving size 1/2 cup • Ok to make ahead: Steps 1-3
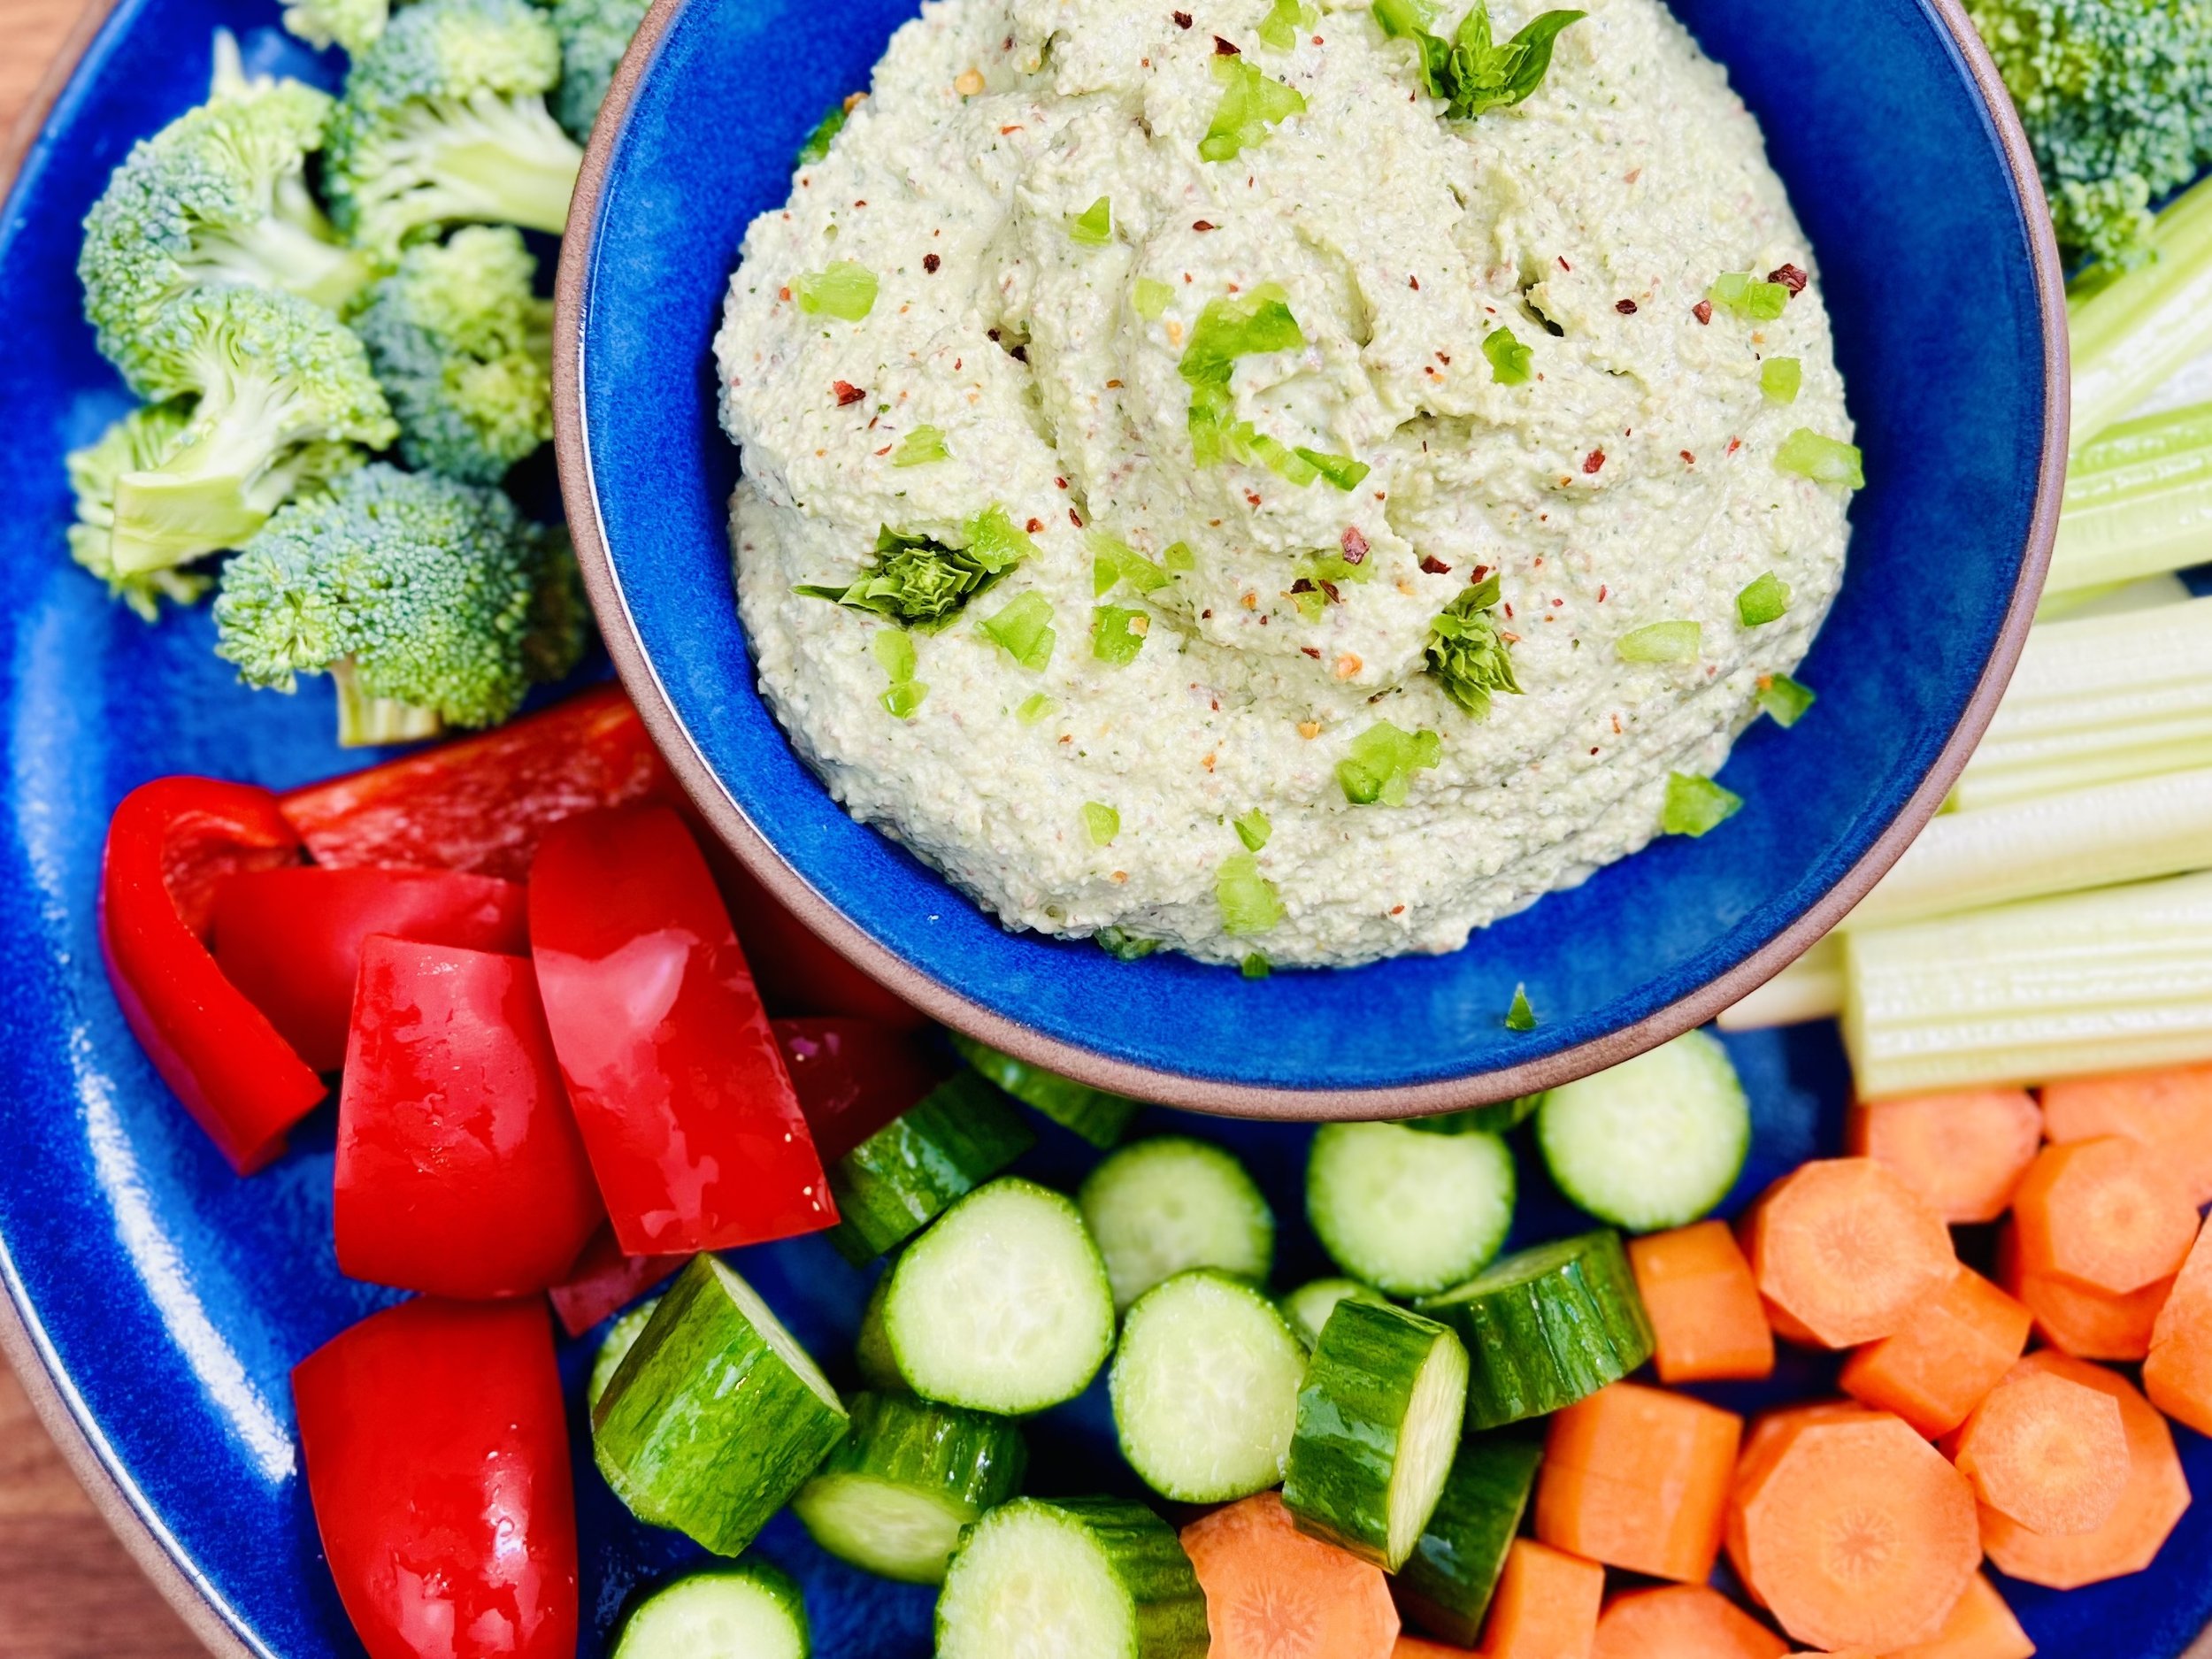
This dip is a great way to expand your low FODMAP food variety (keep the serving size in mind of course). Made with fresh basil, almonds, and macadamia nuts this delicious dip is similar to hummus but with a whole different flavor profile! It pairs perfectly with veggies, my seed crackers, or chips for dipping and it’s loaded with protein and flavor. It also makes an excellent sandwich spread paired with your favorite sandwich fixings. It makes a great vegan addition to the classic cheese and meat charcuterie board so there’s truly something for everyone.
This is an exclusive recipe just for recipe club members.
In addition to the two free recipes I create each week I am creating and delivering one very special recipe just for my recipe club members. If you’re not yet a member, I encourage you to join! Membership in the club includes access to the complete archive of recipes with filters so it can become your virtual low FODMAP cookbook plus, I am creating and delivering one special NEW recipe every week ONLY for recipe club members.
Your membership in the club helps me continue creating new, delicious, easy-to-make, low-FODMAP recipes just for you.
As always, all recipes will emphasize simple ingredients, easy preparation, and delicious low FODMAP results. Recipes will be for everything from main courses, salads, soups, side dishes, appetizers, desserts, sauces, breakfast and lunch, and even mocktails and cocktails. Everything you need to prepare fantastic low-FODMAP meals everyone will love.
Join the club. Let’s keep making delicious Low FODMAP meals together.
More Deliciously Low FODMAP™ appetizer recipes
5 Minutes prep • 15 Minutes cook • Low FODMAP • Gluten-Free • Lactose-Free • Makes 2 cups
10 Minutes Prep • 50 Minutes Cook • Low FODMAP • Gluten-free • Dairy Free • Vegan • Serving size 3 - 4 crackers
10 Minutes prep • 15 Minutes rest • Low FODMAP • Gluten-free • Dairy-free • Serving size 3 tablespoons
10 Minutes prep • 20 Minutes cook • Low FODMAP • Gluten-free • Lactose-free • Vegan • Serves 5
15 Minutes prep • 1 hour chill • Low FODMAP • Gluten-free • Vegetarian • Serves 4 or more
10 Minutes prep • Low FODMAP • Gluten-Free • Lactose-free • Vegetarian • Vegan • Makes 1.5 cups
10 Minutes Prep • 50 Minutes Cook • Gluten-free • Dairy-free • Low FODMAP • Serving size 3-4 crackers
5 Minutes prep • 10 Minutes cook • Low FODMAP • Gluten-free • Lactose-free • Makes 1 cup
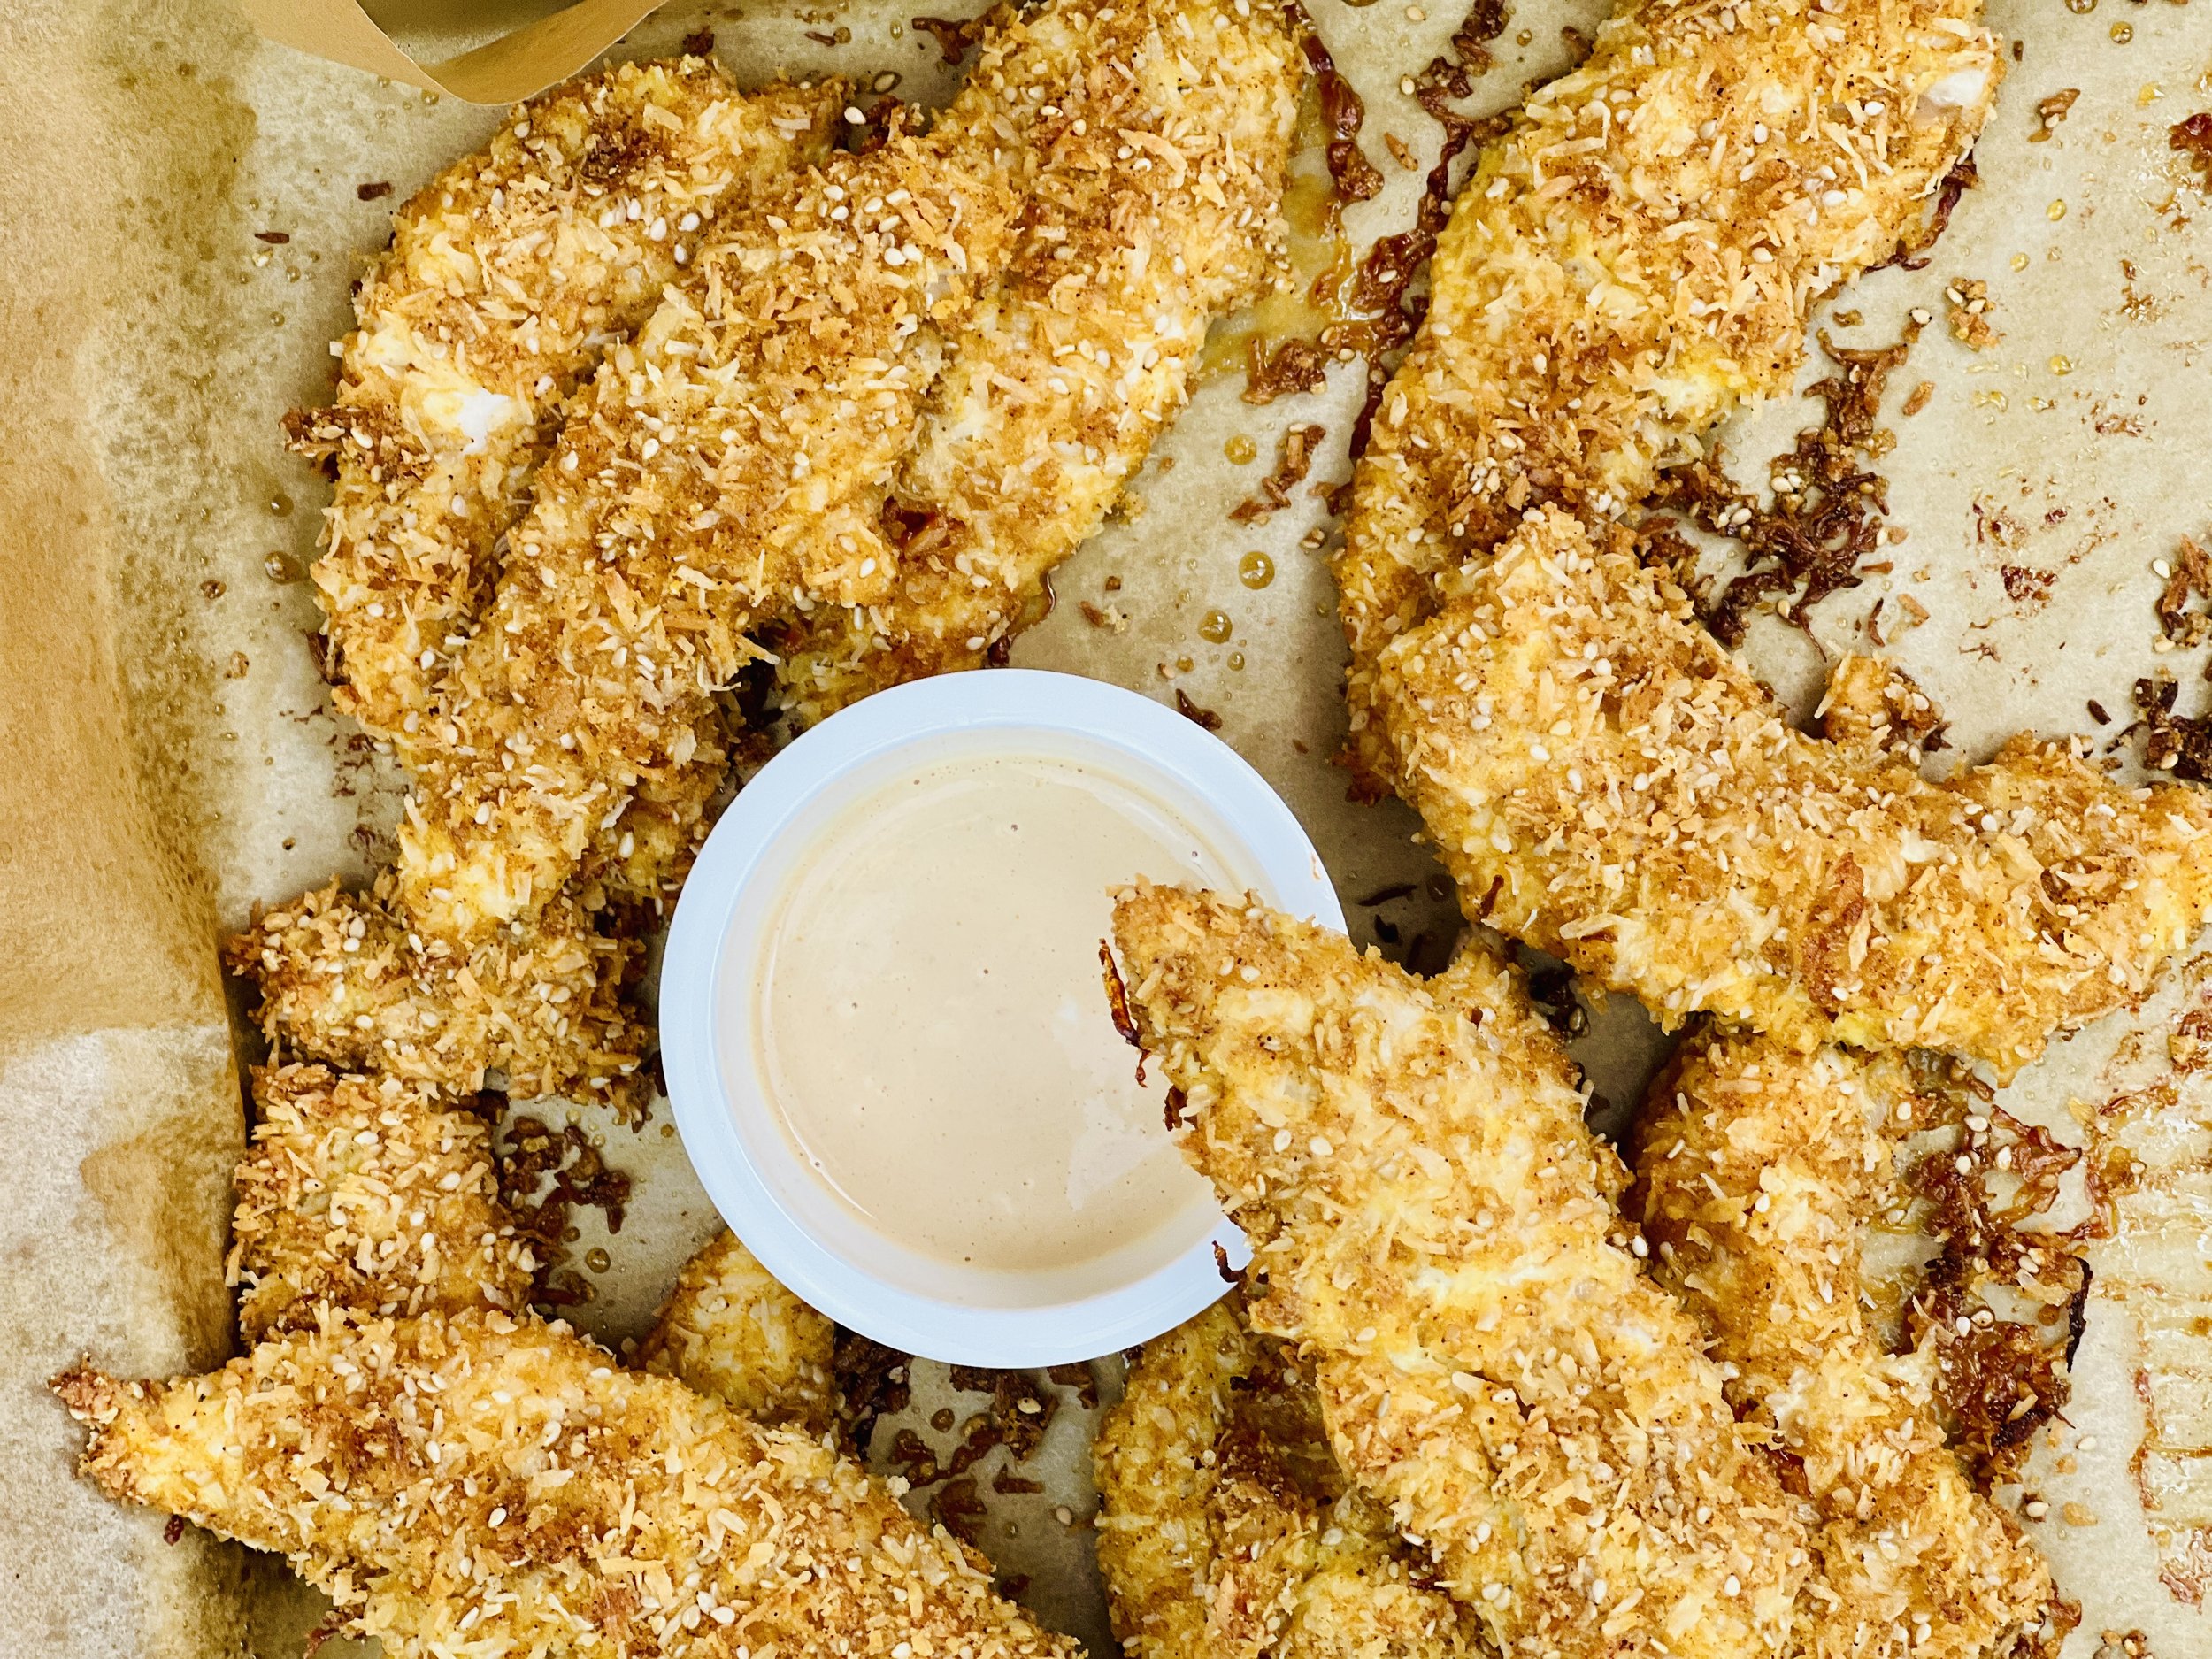
Coconut Crunch Chicken Tenders (Low FODMAP)
15 Minutes prep • 20 Minutes cook • Low FODMAP • Gluten-free • Serves 4
15 Minutes prep • 20 Minutes cook • Low FODMAP • Gluten-free • Serves 4 • Ok to make ahead: Steps 1-3
Crispy, crunchy, and with enough coconut to add a delightful flavor, these chicken tenders are a great change of pace from the standard fare. And, made with pork panko, they are extremely low-carb so you can enjoy them gluten-free and starch-free! This recipe would be great with shrimp too so feel free to change it up! I baked these and they were delicious, but if you prefer, you can fry them in avocado oil for an even crispier finish.
Ingredients: Chicken
1 cup gluten-free Panko (or use Pork Panko for a very low-carb version)
3/4 cup shredded unsweetened coconut
1 teaspoon paprika
1/2 teaspoon Smoke N Sanity Essence of Garlic Salt (Use code IBSGC15 for 15% discount)
1/2 teaspoon Smoke N Sanity Essence of Onion Salt (Use code IBSGC15 for 15% discount)
1/2 teaspoon black pepper
2 tablespoons sesame seeds
2 eggs, beaten
1 tablespoon low FODMAP hot sauce or gluten-free soy sauce (use preferred taste)
1 pound boneless chicken tenders
Extra virgin olive oil spray, (or 1 tablespoon of olive oil for brushing)
Lime wedges, for serving
Dipping Sauce
1/2 cup mayonnaise
1/4 cup Smoke N Sanity low FODMAP ketchup (Use code IBSGC15 for 15% discount)
2 tablespoons gluten-free soy sauce
1 tablespoon hot sauce (optional)
Directions
(1) Prepare the chicken: This step is optional but results in a more flavorful and tender chicken. Remove chicken from the package, and put it in one layer on a rimmed plate or baking dish. Season both sides of each piece lightly with Kosher salt (about 1/4 - 1/2 teaspoon per side). Cover the dish with plastic wrap and refrigerate until ready to use, ideally about 4 hours before cooking or overnight.
(2) Prepare: Preheat the oven to 425 degrees F. Line a rimmed baking sheet with parchment paper. Make the sauce by combining all ingredients in a bowl or jar and whisk or shake to combine. Set aside in the refrigerator until ready to serve.
(3) Prepare the panko mixture: In a shallow bowl, combine the coconut, panko, paprika, Smoke N Sanity Essence of Onion Salt, Smoke N Sanity Essence of Garlic Salt, 1/4 teaspoon black pepper, and the sesame seeds. Stir until well combined.
(4) Dredge the chicken: Beat the eggs in a bowl and add the hot sauce or gluten-free soy sauce. Add the chicken and toss well to coat. Dredge the chicken pieces one at a time through the crumbs, covering each piece on all sides. Place on the prepared baking sheet, leaving some space between each piece to ensure maximum crispness.
(5) Bake: Spray or drizzle the chicken tenders with olive oil. Bake 15-20 minutes, until crisp and cooked through.
(6) Plate and serve: Serve the chicken with lime wedges, and dipping sauce.
Eat and enjoy every bite because you can!
Recipe note: I use Diamond Crystal Kosher salt in all my recipes because it has a wonderful flat and crisp flake that tastes delicious. It is also the least salty salt available so you can use it more liberally as a seasoning than you can table salt or sea salt. If you use another type of salt, you may need to reduce the amount so it is not over-salted.
Have a question you’d like to have answered? Email me at hello@ibsgamechanger.com
Link note: This post may contain affiliate links for you to easily purchase items that are linked. I may earn a small commission from qualifying purchases but none of this costs you a thing so feel free to use the links! In addition, for some items, I have provided a special discount code for IBS Game Changers so be sure to use the code when you purchase an item to get the discount that has been arranged just for you.
More Deliciously Low FODMAP™ appetizer recipes
5 Minutes prep • 15 Minutes cook • Low FODMAP • Gluten-Free • Lactose-Free • Makes 2 cups
10 Minutes Prep • 50 Minutes Cook • Low FODMAP • Gluten-free • Dairy Free • Vegan • Serving size 3 - 4 crackers
10 Minutes prep • 15 Minutes rest • Low FODMAP • Gluten-free • Dairy-free • Serving size 3 tablespoons
10 Minutes prep • 20 Minutes cook • Low FODMAP • Gluten-free • Lactose-free • Vegan • Serves 5
15 Minutes prep • 1 hour chill • Low FODMAP • Gluten-free • Vegetarian • Serves 4 or more
10 Minutes prep • Low FODMAP • Gluten-Free • Lactose-free • Vegetarian • Vegan • Makes 1.5 cups
10 Minutes Prep • 50 Minutes Cook • Gluten-free • Dairy-free • Low FODMAP • Serving size 3-4 crackers
5 Minutes prep • 10 Minutes cook • Low FODMAP • Gluten-free • Lactose-free • Makes 1 cup
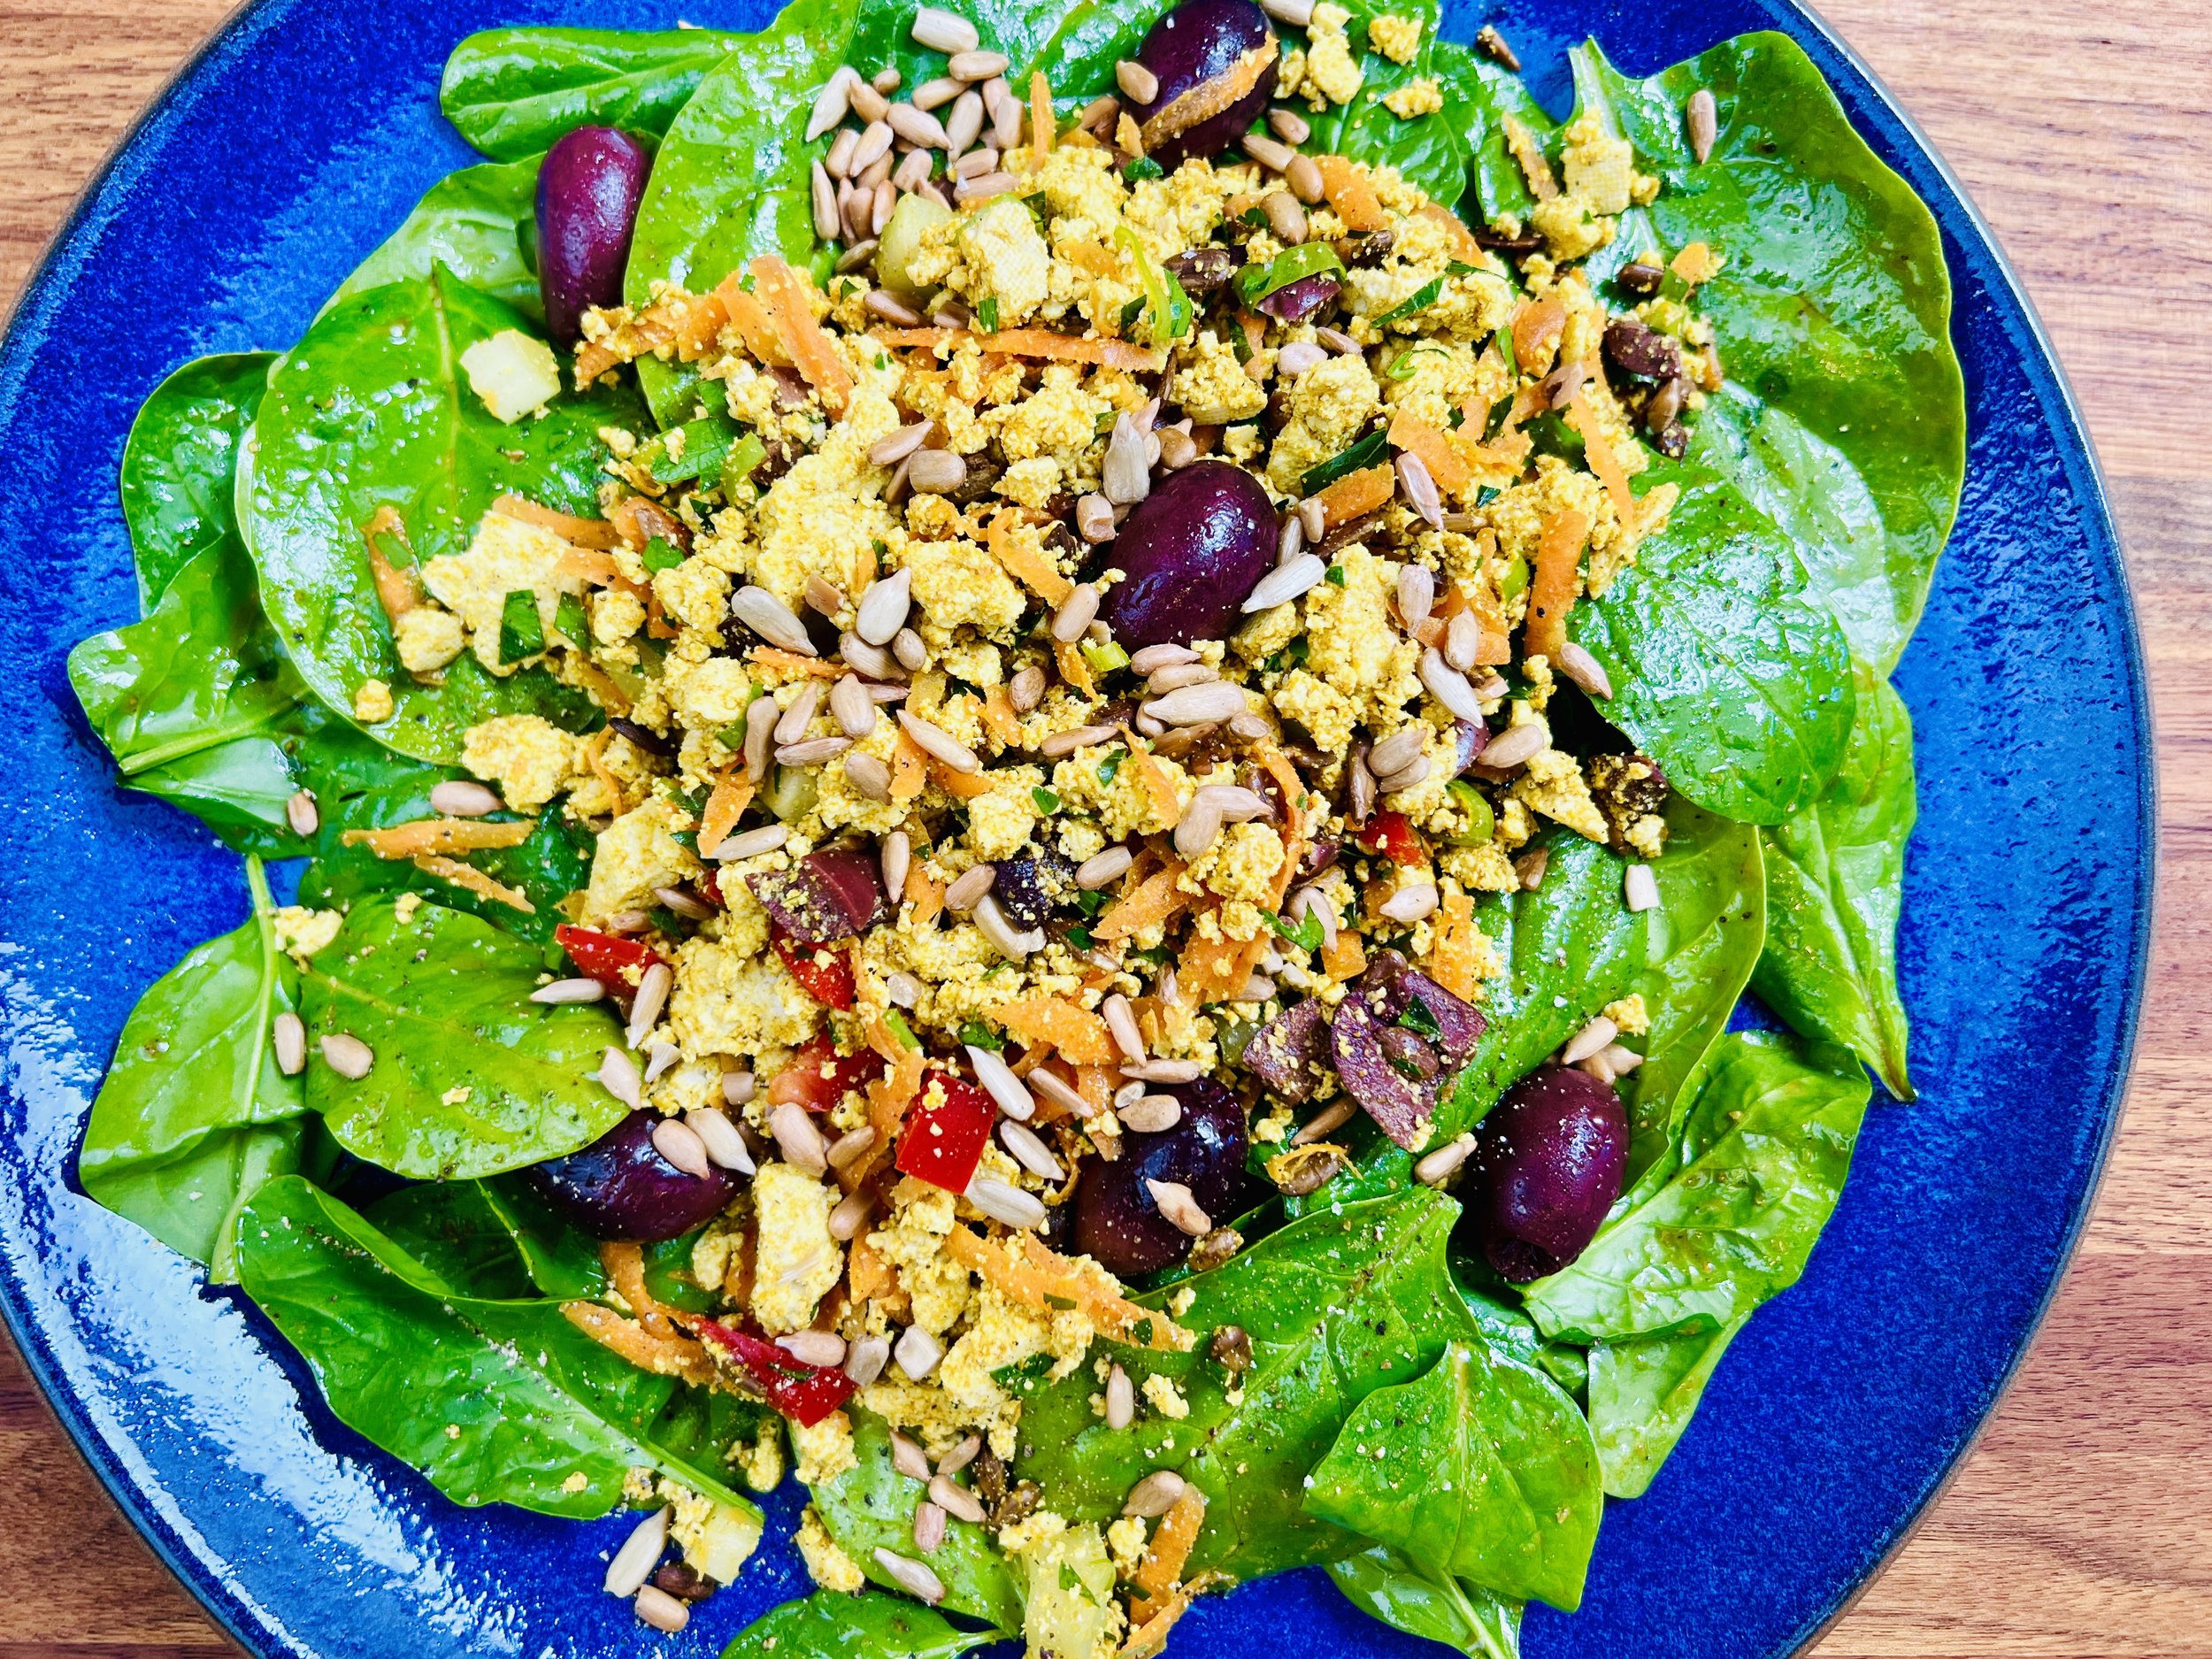
Curried Tofu and Spinach Salad (Low FODMAP)
20 Minutes prep • Low FODMAP • Gluten-free • Lactose-free • Vegetarian • Serves 4
20 Minutes prep • Low FODMAP • Gluten-free • Lactose-free • Vegetarian • Serves 4 • Ok to make ahead: Steps 1-3
Esalen is an amazing place located on the Northern California Coast near Big Sur. Famous for their incredible retreats and workshops, they are also well known for their amazing food. This recipe for curried tofu was featured in their 2006 Esalen Cookbook by Charlie Cascio, and it’s so delicious, I had to share (with a few small modifications of my own of course). Firm tofu is crumbled, seasoned, and combined with crispy vegetables, crunchy seeds, and a delightful dressing. I added a bed of spinach dressed in a complementary dressing and the combination was fantastic. It’s quick to make and your gut will thank you for a meal as nourishing and flavorful as this.
Ingredients: Curried Tofu
1 pound extra-firm tofu, drained
1/2 cup sunflower seeds (roasted)
2 tablespoons freshly-squeezed lemon juice
1 teaspoon gluten-free, low-sodium soy sauce
2 tablespoons yellow curry powder
1 tablespoon cumin
1 1/2 teaspoons Kosher salt
2 teaspoons nutritional yeast
2 green onions (green part only) thinly sliced
1/2 cup grated carrots
1/2 cup finely diced celery
1/2 cup finely diced red bell pepper
1/2 cup finely chopped Kalamata olives (plus a few whole ones if you like)
1/2 cup minced flat-leaf parsley
1/4 teaspoon black pepper
Ingredients: Spinach Salad
2 cups baby spinach, washed and long stems removed
2 tablespoons white balsamic vinegar
2 tablespoons extra-virgin olive oil (plus extra for drizzling)
2 teaspoons gluten-free soy sauce
1/2 teaspoon curry powder
1/4 teaspoon black pepper
Directions
(1) Prepare the tofu: Remove the tofu from the package and set it on a plate with folded paper towels under it. Put another (heavy) plate on top and set the whole thing in the refrigerator. This will gradually press the extra water out of the tofu. Leave it there for a few minutes or a few hours, or overnight, depending on how much time you have.
(2) Roast the sunflower seeds: Meanwhile, put the sunflower seeds on a small rimmed baking sheet in a 375-degree F oven for 2-3 minutes until toasted and golden brown. Set aside.
(3) Crumble the tofu: You can cut the tofu into small cubes, or turn it into crumbles by breaking it up with your fingers, then using two knives or a pastry cutter to break it up into evenly-sized crumbles. Set aside.
(4) Make the dressing: In a small bowl, combine the lemon juice, soy sauce, curry powder, cumin, salt, and nutritional yeast.
(5) Assemble the salad: Add this to the crumbled tofu and toss well to combine. Add green onions, carrots, celery, peppers, olives, roasted sunflower seeds, and parsley. Toss together until well blended.
Make-ahead note: At this point, you may put the tofu in a covered container and keep it in the refrigerator for a few hours or overnight, until you’re ready to serve.
(5) Make the spinach salad: Combine dressing ingredients in a small jar and shake to blend. Toss the dressing with the spinach.
(6) Plate and serve: Serve on a bed of spinach salad. Sprinkle with toasted sunflower seeds and a bit of salt and pepper. If you like, drizzle with a bit more olive oil before serving.
Eat and enjoy every bite because you can!
Recipe note: I use Diamond Crystal Kosher salt in all my recipes because it has a wonderful flat and crisp flake that tastes delicious. It is also the least salty salt available so you can use it more liberally as a seasoning than you can table salt or sea salt. If you use another type of salt, you may need to reduce the amount so it is not over-salted.
Have a question you’d like to have answered? Email me at hello@ibsgamechangercom
Link note: This post may contain affiliate links for you to easily purchase items that are linked. I may earn a small commission from qualifying purchases but none of this costs you a thing so feel free to use the links! In addition, for some items, I have provided a special discount code for IBS Game Changers so be sure to use the code when you purchase an item to get the discount that has been arranged just for you.
More Deliciously Low FODMAP™ plant-forward recipes
10 Minutes prep • 15 Minutes cook • Low FODMAP • Gluten-Free • Keto Friendly • Makes 36 bars
45 Minutes prep • 60 Minutes cook • Low FODMAP • Gluten-free • Vegetarian • Serves 6 - 8
10 Minutes prep • 20 Minutes cook • Low FODMAP • Gluten-free • Lactose-free • Vegan • Makes 6 cups
5 Minutes prep • 15 Minutes cook • Low FODMAP • Gluten-free • Lactose-free • Vegan • Serves 4
15 Minutes prep • 55 Minutes cook (if using brown rice) • Low FODMAP • Gluten-free • Lactose-free • Vegan • Serves 4
10 Minutes prep • 10 Minutes cook • Low FODMAP • Gluten-free • Lactose-free • Vegan • Serves 4
10 Minutes prep • 25 Minutes cook • Low FODMAP • Gluten-free • Vegetarian • Plant Forward • Serves 4
20 Minutes prep • 40 Minutes cook • Low FODMAP • Gluten-free • Vegetarian • Serves 4 - 6 • Ok to make ahead: Steps 1-4
15 Minutes prep • Low FODMAP • Gluten-free • Lactose-free • Vegetarian • Vegan • Serves 4
10 Minutes prep • 20 Minutes cook • Low FODMAP • Vegetarian Option • Gluten-free • Serves 4
10 Minutes prep • Overnight Chill • Low FODMAP • Gluten-free • Lactose-free • Serves 2 - 4
20 Minutes prep • 20 Minutes cook • Low FODMAP • Serves 4 as main • Serves 6-8 as a side
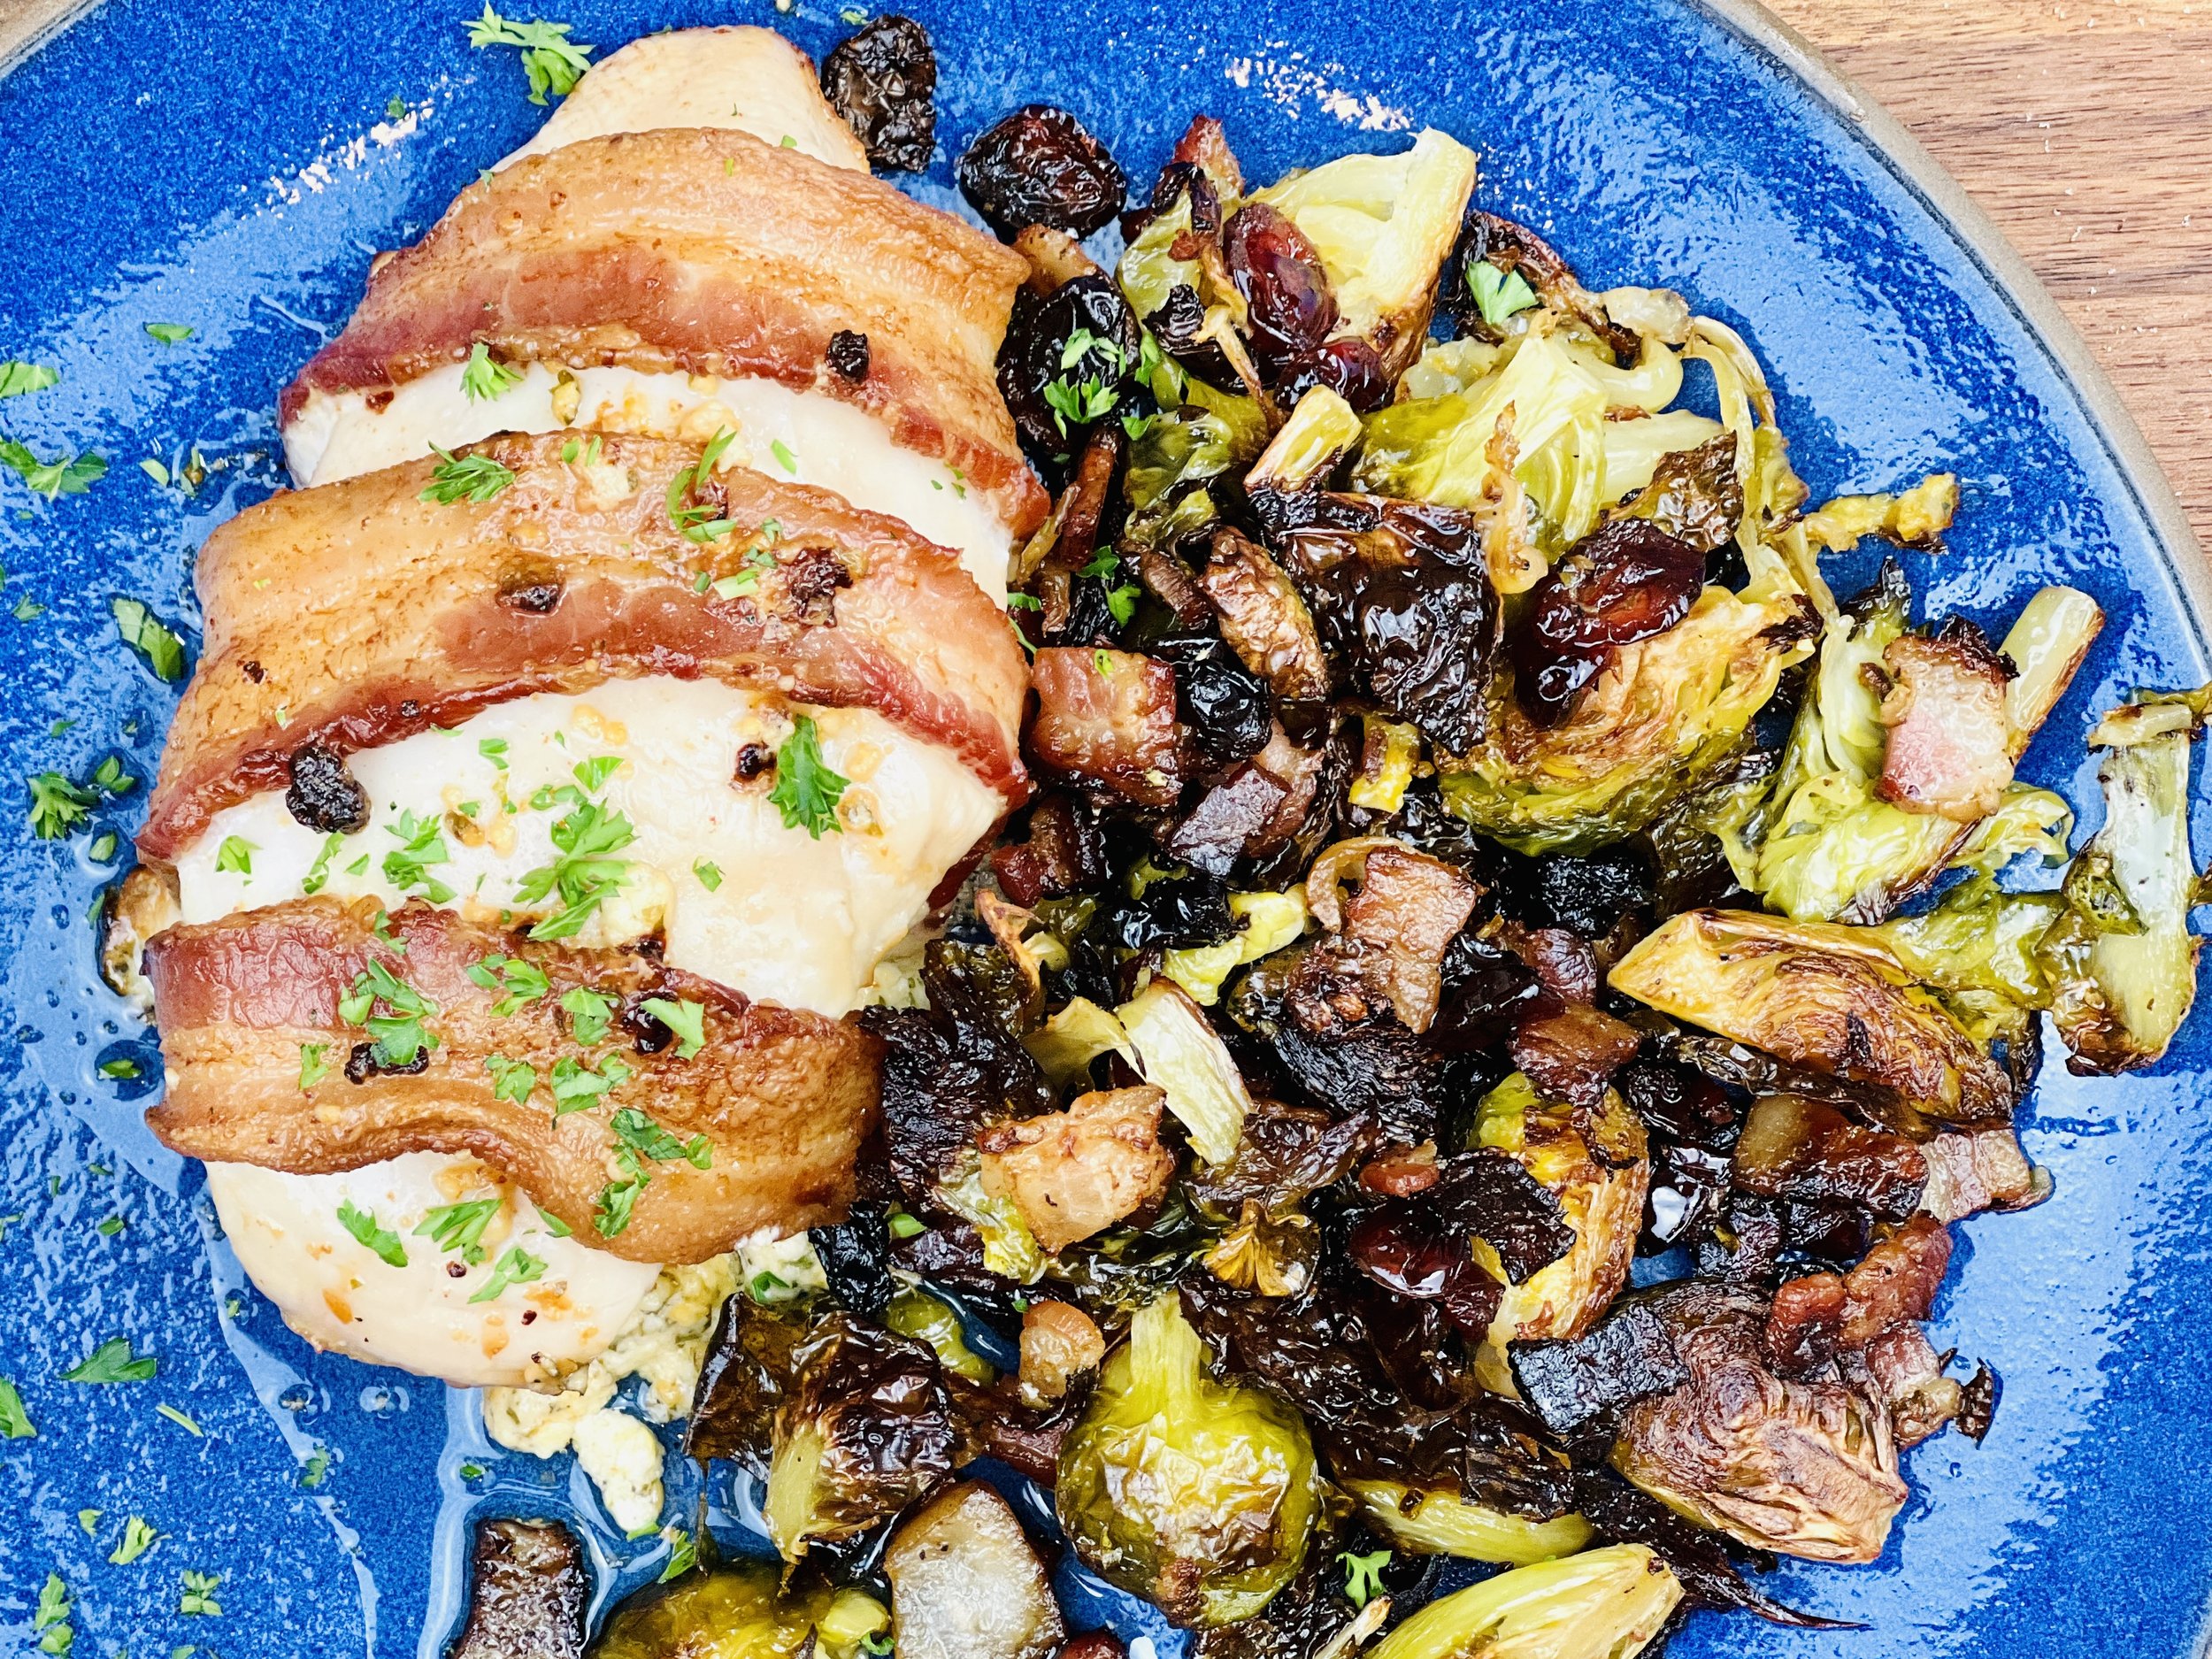
Three Cheese Stuffed Chicken Breasts (Low FODMAP)
20 Minutes prep • 40 Minutes cook • Low FODMAP • Gluten-free • Serves 4
20 Minutes prep • 40 Minutes cook • Low FODMAP • Gluten-free • Serves 4 • Ok to make ahead: Steps 1-5
This sheet pan chicken recipe is easy to make just for two or for a whole table full of people. Cutting into the chicken breast reveals the delicious filling with a combination of cheeses that is wonderful with the bacon. I served this chicken with Brussels sprouts roasted on the same pan with the chicken, but you can use potatoes if you prefer. You can stuff and wrap the chicken breasts ahead of time and cook them when you’re ready, so this can be a great make-ahead meal if you’re pressed for time.
Ingredients
4 boneless skinless chicken breasts
2 ounces lactose-free cream cheese, at room temperature
1/4 cup shredded cheddar cheese
1/4 cup shredded Havarti, Mozerella, or fontina cheese
1 teaspoon finely chopped parsley
1/4 teaspoon Smoke N Sanity Essence of Garlic Salt
1/4 teaspoon black pepper or to taste
8 slices bacon
1 pound small new potatoes, cut in half or quarters if they are large (or substitute Brussels sprouts for a lower carb version)
2 tablespoons olive oil
Chopped parsley (optional) for serving
Directions
(1) Prepare the chicken: This step is optional but results in a more flavorful and tender chicken. Remove chicken from the package, and put it in one layer on a rimmed plate or baking dish. Season both sides of each piece lightly with Kosher salt (about 1/4 teaspoon per side). Cover the dish with plastic wrap and refrigerate until ready to use, ideally about 4 hours before cooking or overnight.
(2) Prepare: Preheat the oven to 400 degrees F. Line a rimmed baking sheet with parchment paper. Grate the cheeses. Chop the parsley.
(3) Make the filling: In a small bowl, combine the cream cheese with the other two cheeses, parsley, garlic salt, and pepper.
(4) Stuff the chicken breasts: Using a small sharp knife, cut a deep pocket in each chicken breast by slicing into the breast down the thicker long side of the meat. Spoon 1/4 of the cheese mixture into the pocket of each chicken breast. You may need to press it in a bit to get it to stay.
(5) Wrap the chicken breasts: If you didn’t salt the chicken ahead of time, sprinkle the surface lightly with salt, then wrap two bacon slices around each chicken breast. Lay them on the pan using the weight of the chicken to hold the ends of the bacon slices in place.
Make-ahead note: At this point, you may put the wrapped chicken breasts in the refrigerator for up to a few hours until you’re ready to cook them.
(6) Add the vegetables: Add the chopped potatoes or Brussels sprouts to one side of the pan. Drizzle with olive oil. Sprinkle with 1/2 teaspoon salt and 1/4 teaspoon pepper. (If using Brussels sprouts, add 2 tablespoons each of raisins and cranberries if you like.)
(5) Cook the chicken: Put the pan in the preheated oven and bake for about 40 minutes. You may want to toss the vegetables 1/2 way through cooking.
(6) Finish: Turn the oven to broil and, watching carefully, broil the chicken for about 3 minutes until the bacon is browned and crispy on top.
(5) Plate and serve: Serve warm with chopped parsley.
Eat and enjoy every bite because you can!
Recipe note: I use Diamond Crystal Kosher salt in all my recipes because it has a wonderful flat and crisp flake that tastes delicious. It is also the least salty salt available so you can use it more liberally as a seasoning than you can table salt or sea salt. If you use another type of salt, you may need to reduce the amount so it is not over-salted.
Have a question you’d like to have answered? Email me at hello@ibsgamechanger.com
Link note: This post may contain affiliate links for you to easily purchase items that are linked. I may earn a small commission from qualifying purchases but none of this costs you a thing so feel free to use the links! In addition, for some items, I have provided a special discount code for IBS Game Changers so be sure to use the code when you purchase an item to get the discount that has been arranged just for you.
More Deliciously Low FODMAP™ main course recipes
45 Minutes • Low FODMAP • Gluten-free • Serves 4 15 Minutes prep • 30 Minutes cook • Low FODMAP • Gluten-Free • Serves 4
20 Minutes prep • 2 - 8 hours Marinate • 30 Minutes cook • Low FODMAP • Gluten-Free • Serves 4 - 6
15 Minutes prep • 20 Minutes - 4 hours marinate • 25 Minuste cook time • Low FODMAP • Gluten-Free • Serves 4
5 Minutes prep • 30 Minutes cook • Low FODMAP • Serves 6-8 • Ok to make-ahead: Steps 1 - 3
30 Minutes prep • 40 Minutes cook • Low FODMAP • Gluten-Free • Serves 8 • Ok to make-ahead: Steps 1 - 4 FODMAP
Caprese Chicken (low FODMAP)
15 Minutes prep • 25 Minutes cook • Low FODMAP • Gluten-free • Serves 4
15 Minutes prep • 25 Minutes cook • Low FODMAP • Gluten-free • Serves 4 • Ok to make-ahead: Steps 1 - 2
The Caprese style combines basil, tomato, and mozzarella cheese that, when blended together, amplify each other in a wonderful way. This recipe takes that blend up a few notches by adding our lemon basil pesto and bacon to deliver chicken that is truly special. The chicken gains a creamy quality and the flavors are rich and comforting.
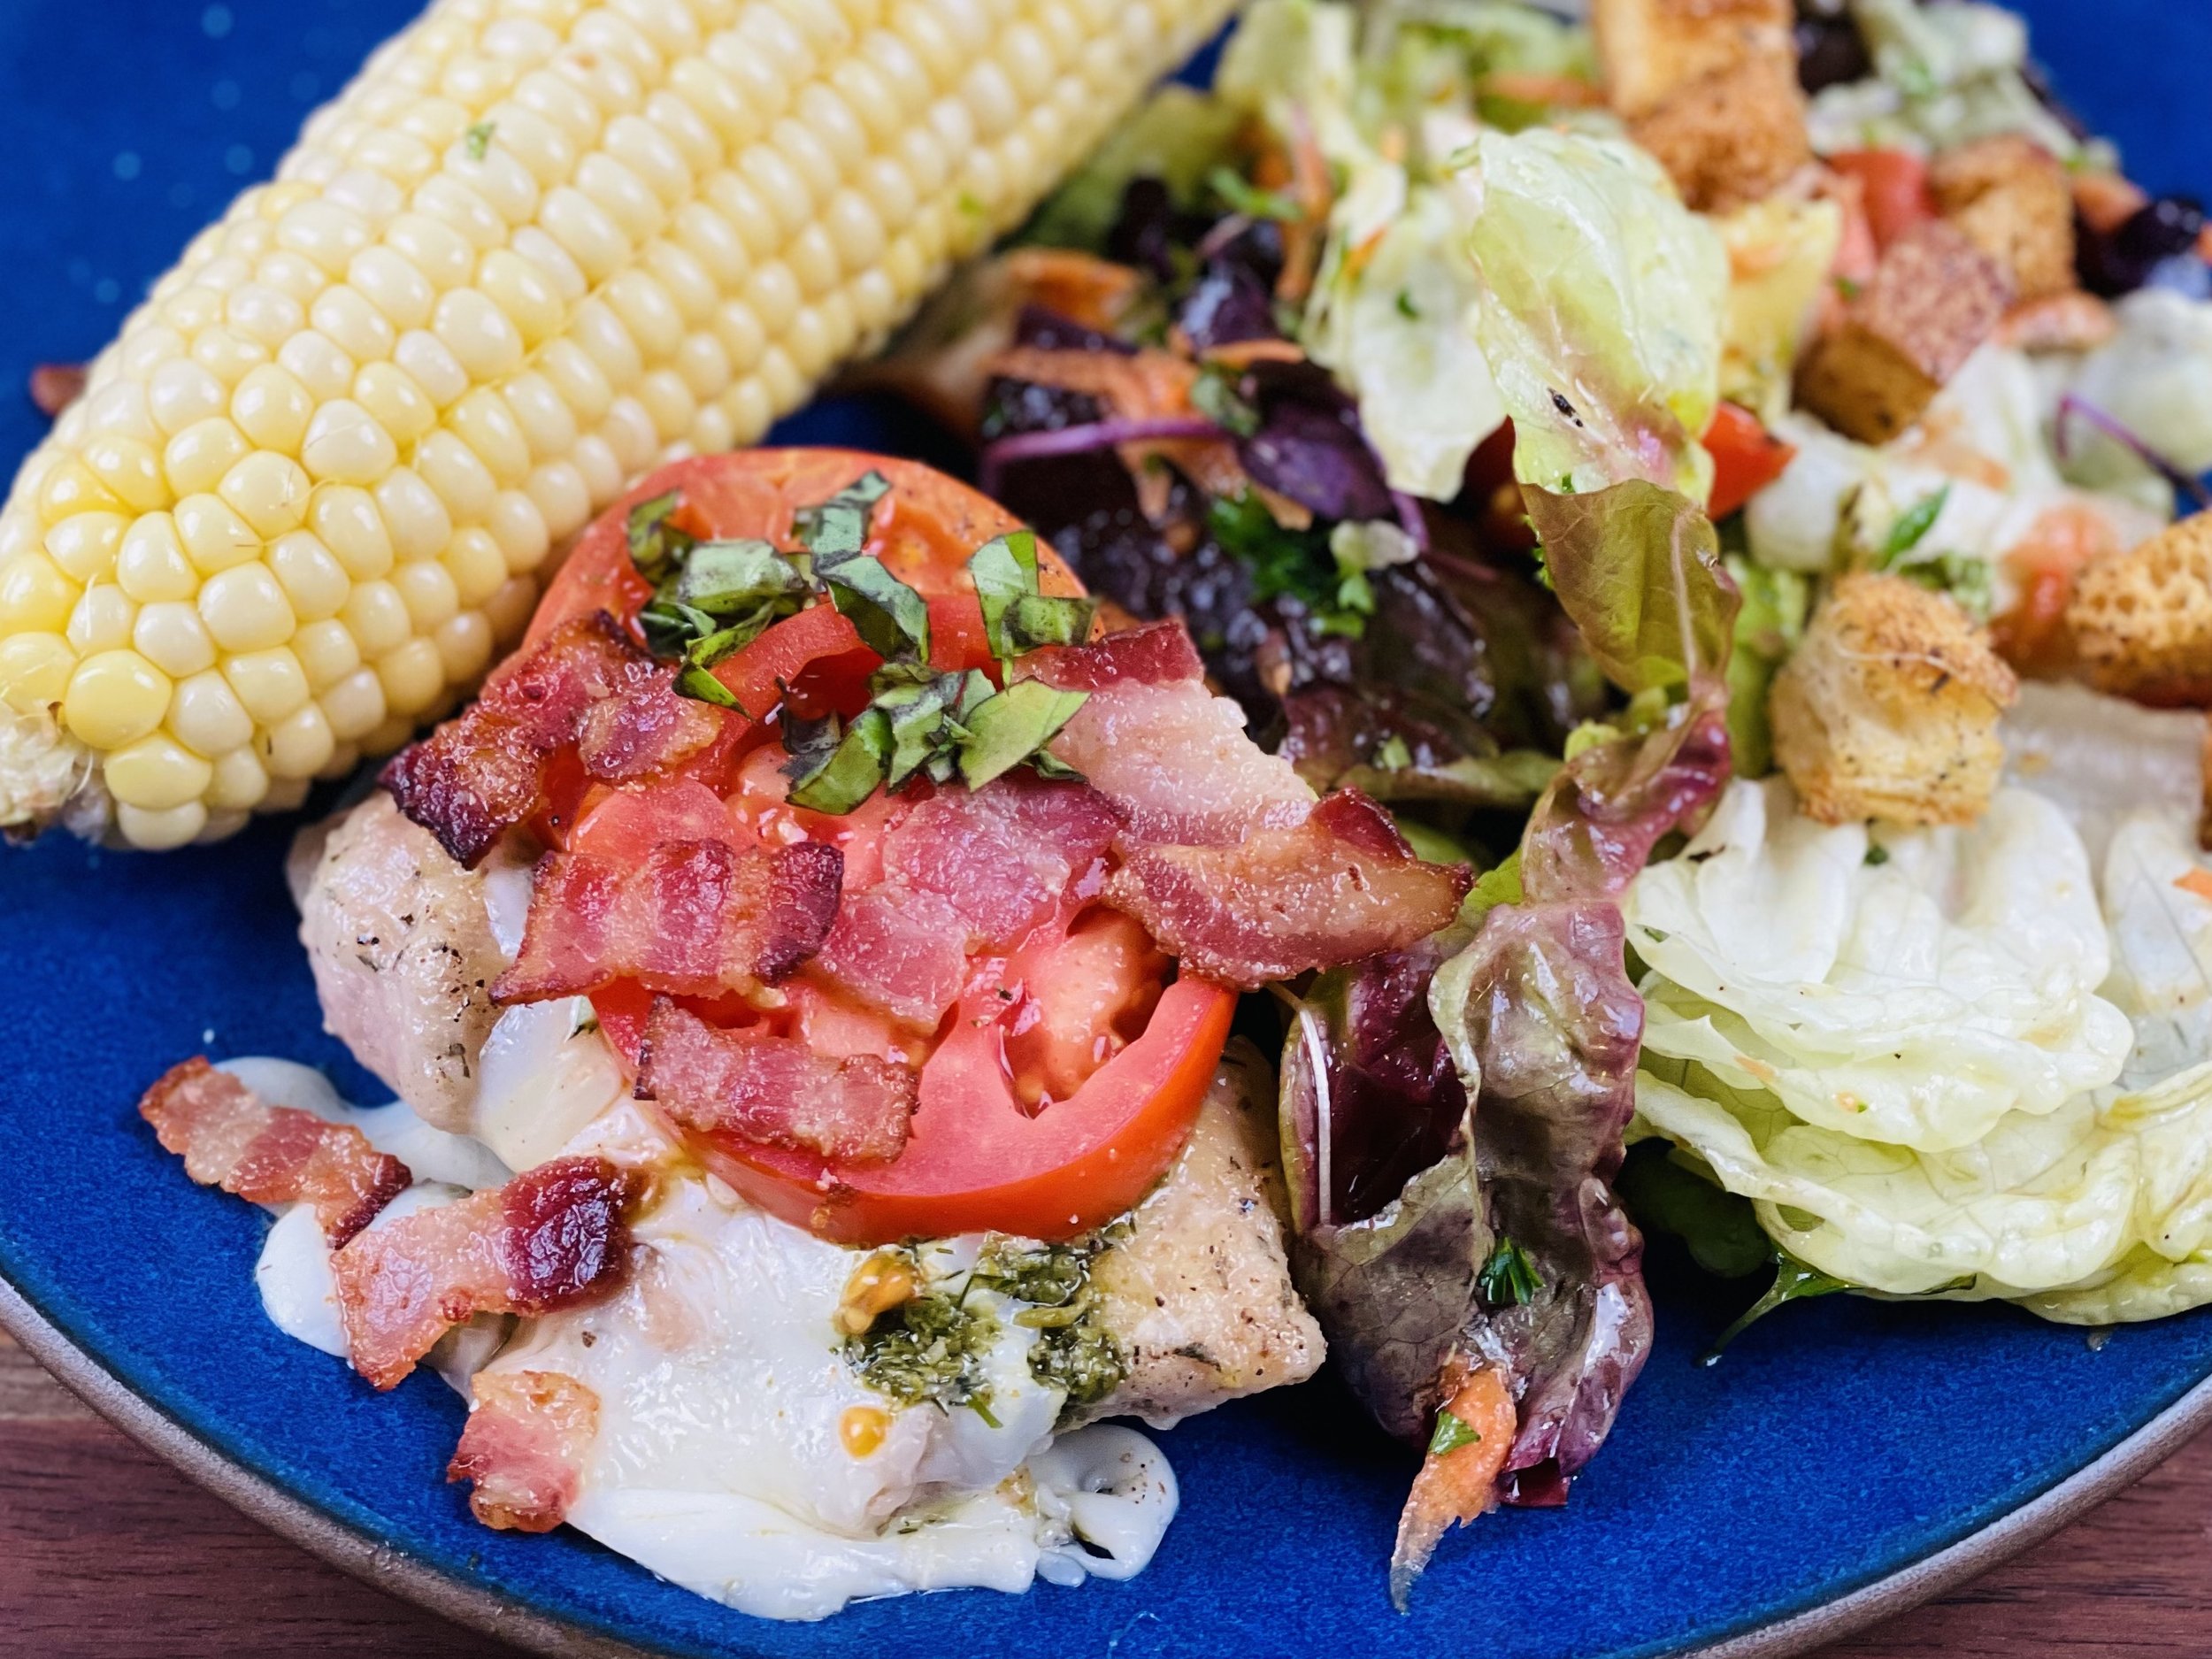
Ingredients
1/4 cup gluten-free all-purpose flour (I used Bob’s Red Mill 1 to 1)
1/4 cup grated parmesan
1 tablespoon fresh rosemary, chopped
1 teaspoon freshly ground black pepper
4 boneless skinless chicken thighs (or chicken breasts if you prefer)
4 slices thick-cut bacon, chopped
3 tablespoons extra virgin olive oil
3/4 cup dry white wine, such as Pinot Grigio or Sauvignon Blanc
1/3 cup of our lemon basil pesto (or other low FODMAP pest)
6 ounces mozzarella cheese, sliced (one low FODMAP serving of Mozerella is 1.4 ounces)
1-2 heirloom, on the vine, or early girl tomatoes, sliced thickly
1/2 teaspoon Kosher salt
1/4 teaspoon black pepper to taste
1/2 cup fresh basil, chopped
Directions
(1) Prepare the chicken: For best flavor and texture, salt the chicken a day, or at least 4-6 hours before you plan to cook it. This allows the salt time to get into the meat so the flavor is carried throughout instead of just on the surface. I take the chicken out of the package, lay it in a dish that allows the chicken to be in one layer, and then salt it with Diamond Crystal Kosher salt, using about 1/2 teaspoon per piece of chicken and sprinkling the salt as evenly over the meat as possible. Cover the dish with plastic wrap and refrigerate until ready to use. If you miss this step, don’t worry.
(2) Make the pesto: See my lemon basil pesto recipe. This too can be done ahead of time and refrigerated.
(3) Preheat the oven to 425 degrees F.
(4) Dredge the chicken: Place the flour, parmesan, pepper, and chopped rosemary in a shallow bowl and make sure it is well-mixed. Dredge both sides of the chicken through the mixture, tossing to coat. Set aside on a plate until you’re ready to cook.
(5) Cook the bacon: In an oven-safe skillet large enough to hold the chicken in one layer. cook the bacon until crisp but not burned. Remove the bacon from the skillet and set it aside on paper towels to absorb excess grease.
(6) Cook the chicken: In the same skillet, add 2 tablespoons of olive oil to the bacon grease that’s in the pan and heat the oil over medium-high heat. When the oil is hot, add the chicken and cook until golden on both sides, about 3 minutes per side. Reduce the heat to medium-low and pour in the wine. Simmer for 5 minutes until the meat is cooked through and the sauce has reduced a bit, then remove from the heat.
(7) Finish: Spoon the pesto over each piece of chicken, then add a slice of mozzarella, and 1-2 tomato slices over the top of each piece of chicken. Drizzle everything with 1 tablespoon of olive oil and season with salt and pepper. Bake 8-10 minutes until the cheese is melted.
(8) Plate and serve: If serving family style, keep chicken in the baking dish and top each piece with bacon and fresh basil. Otherwise, plate and add the bacon and basil to the top of each piece before serving. Serve with one of my delicious salads and a half a cob of corn for a perfect meal.
Eat and enjoy every bite because you can!
Recipe note: I use Diamond Crystal Kosher salt in all my recipes because it has a wonderful flat and crisp flake that tastes delicious. It is also the least salty salt available so you can use it more liberally as a seasoning than you can table salt or sea salt. If you use another type of salt, you may need to reduce the amount so it is not over-salted.
Have a question you’d like to have answered? Email me at hello@ibsgamechanger.com
Link note: This post may contain affiliate links for you to easily purchase items that are linked. I may earn a small commission from qualifying purchases but none of this costs you a thing so feel free to use the links! In addition, for some items, I have provided a special discount code for IBS Game Changers so be sure to use the code when you purchase an item to get the discount that has been arranged just for you.
More Deliciously Low FODMAP™ main course recipes
45 Minutes • Low FODMAP • Gluten-free • Serves 4 15 Minutes prep • 30 Minutes cook • Low FODMAP • Gluten-Free • Serves 4
20 Minutes prep • 2 - 8 hours Marinate • 30 Minutes cook • Low FODMAP • Gluten-Free • Serves 4 - 6
15 Minutes prep • 20 Minutes - 4 hours marinate • 25 Minuste cook time • Low FODMAP • Gluten-Free • Serves 4
5 Minutes prep • 30 Minutes cook • Low FODMAP • Serves 6-8 • Ok to make-ahead: Steps 1 - 3
30 Minutes prep • 40 Minutes cook • Low FODMAP • Gluten-Free • Serves 8 • Ok to make-ahead: Steps 1 - 4 FODMAP


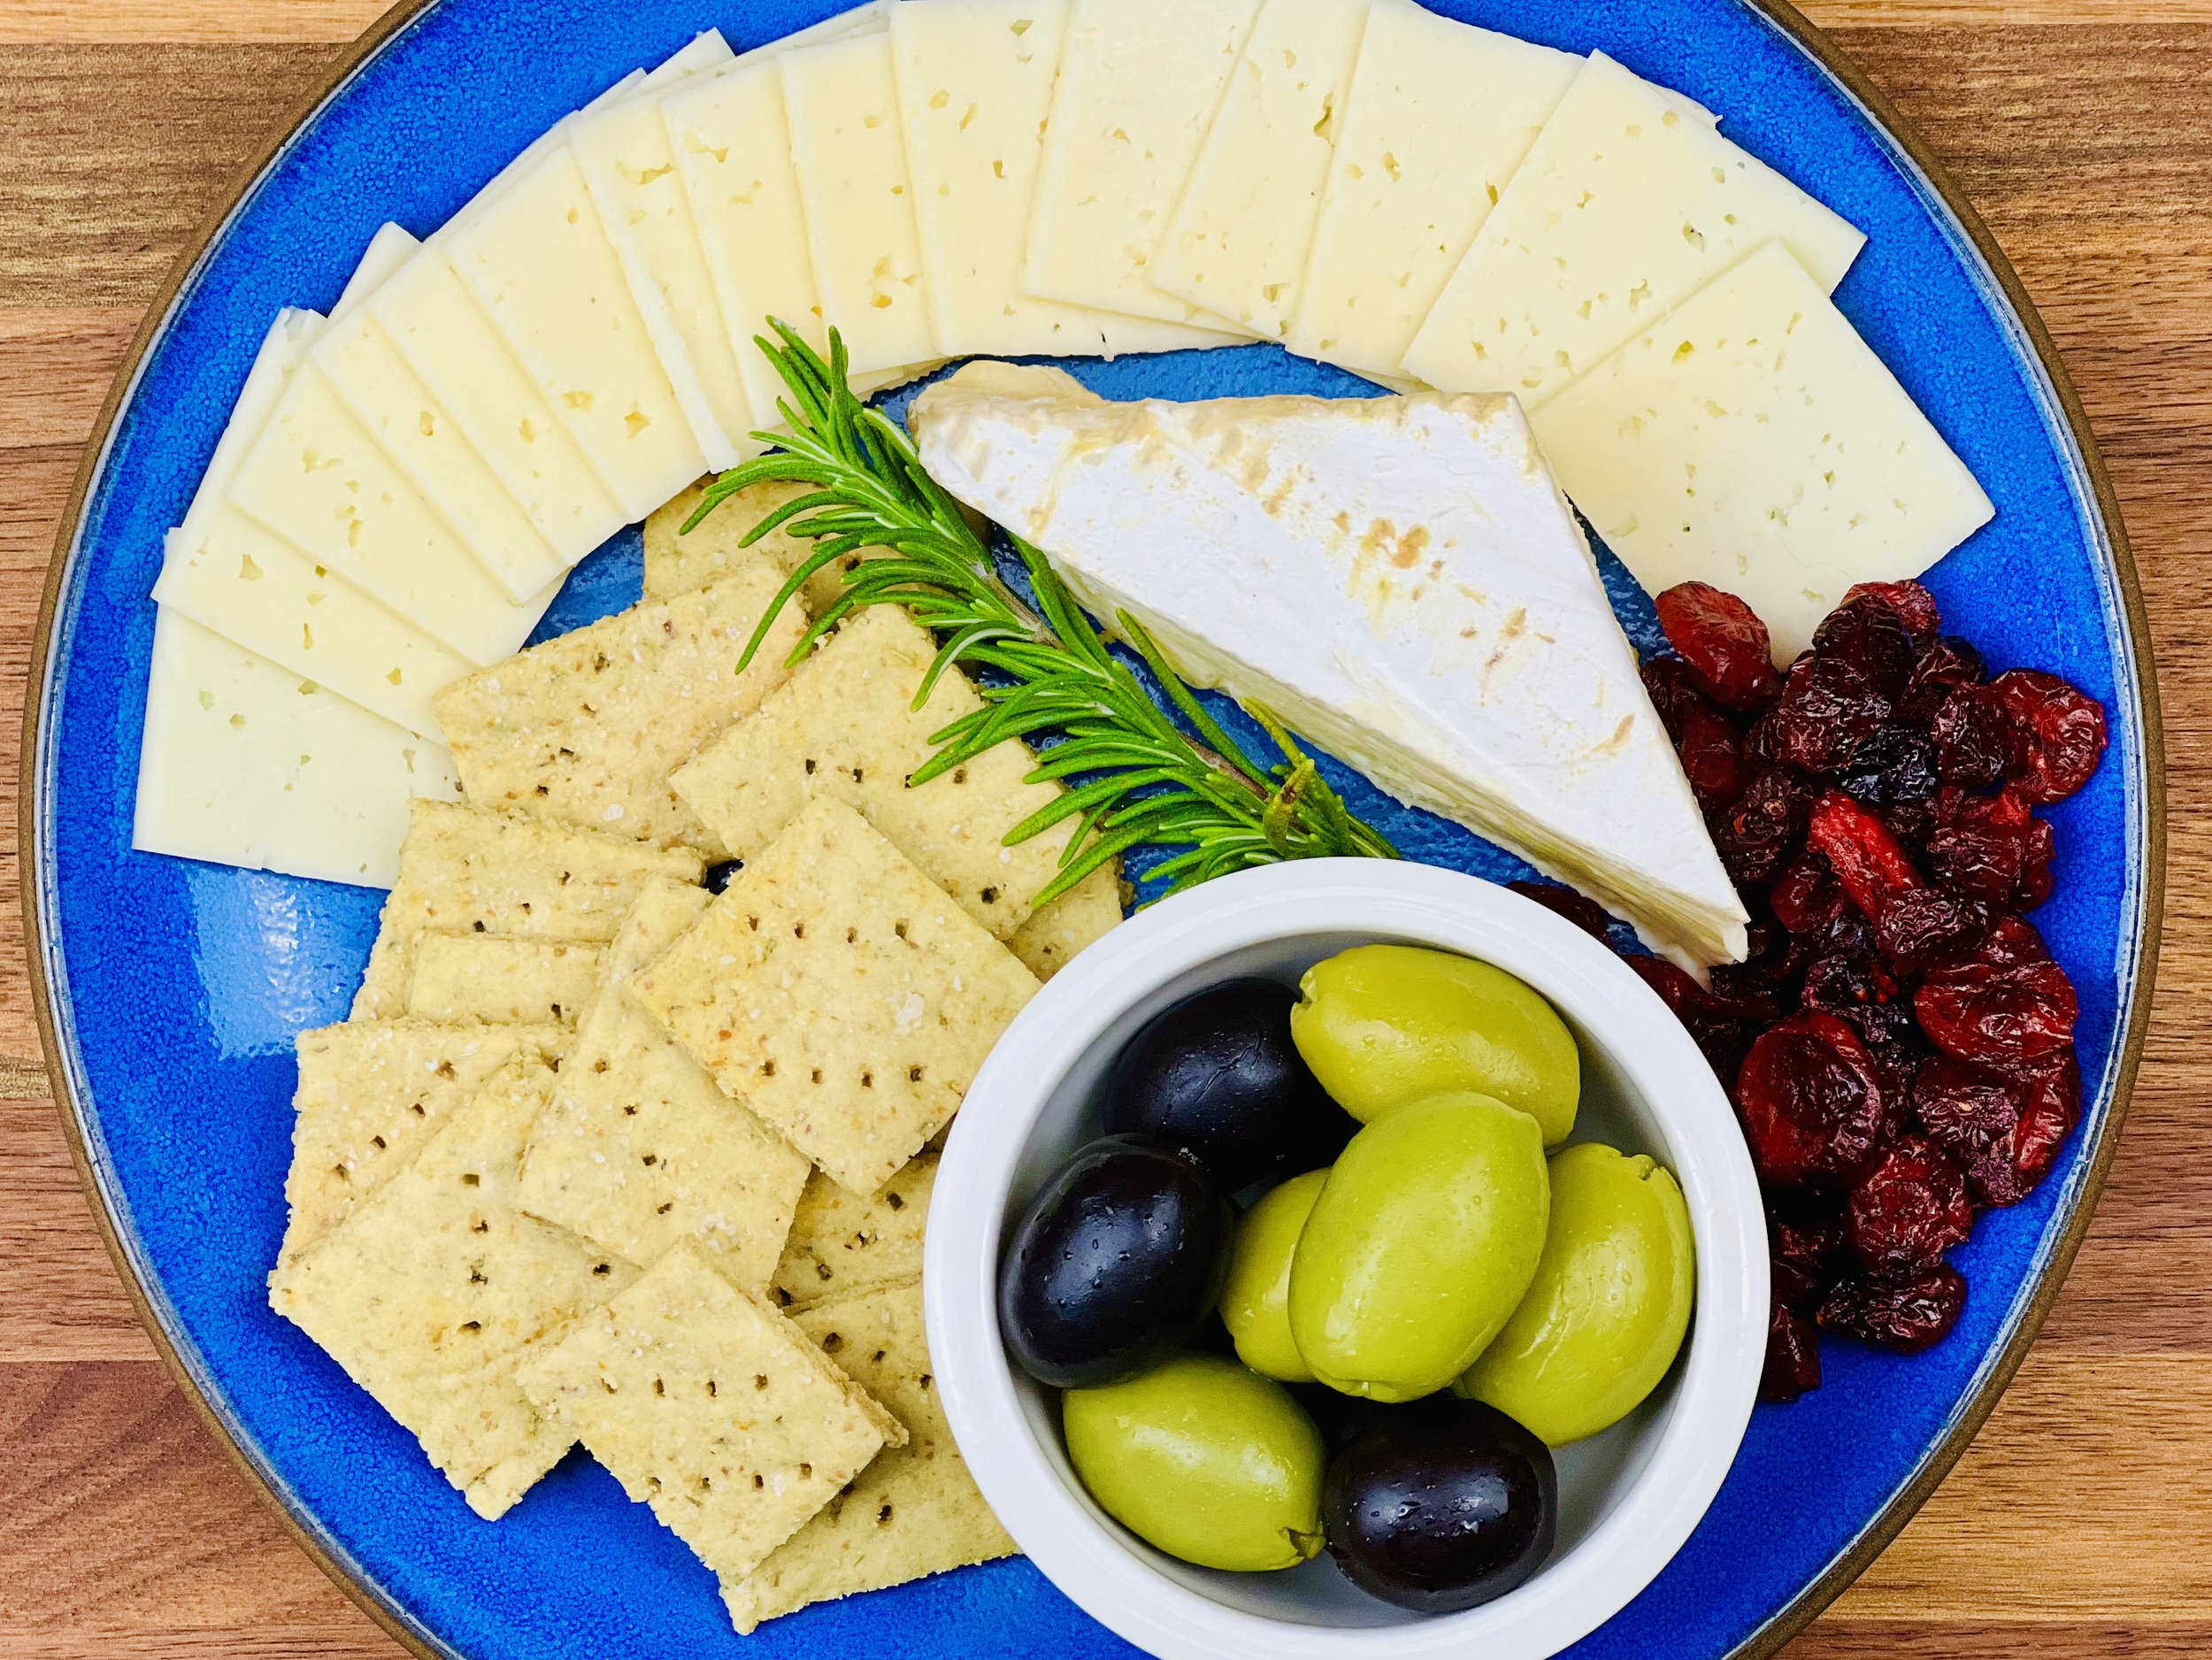
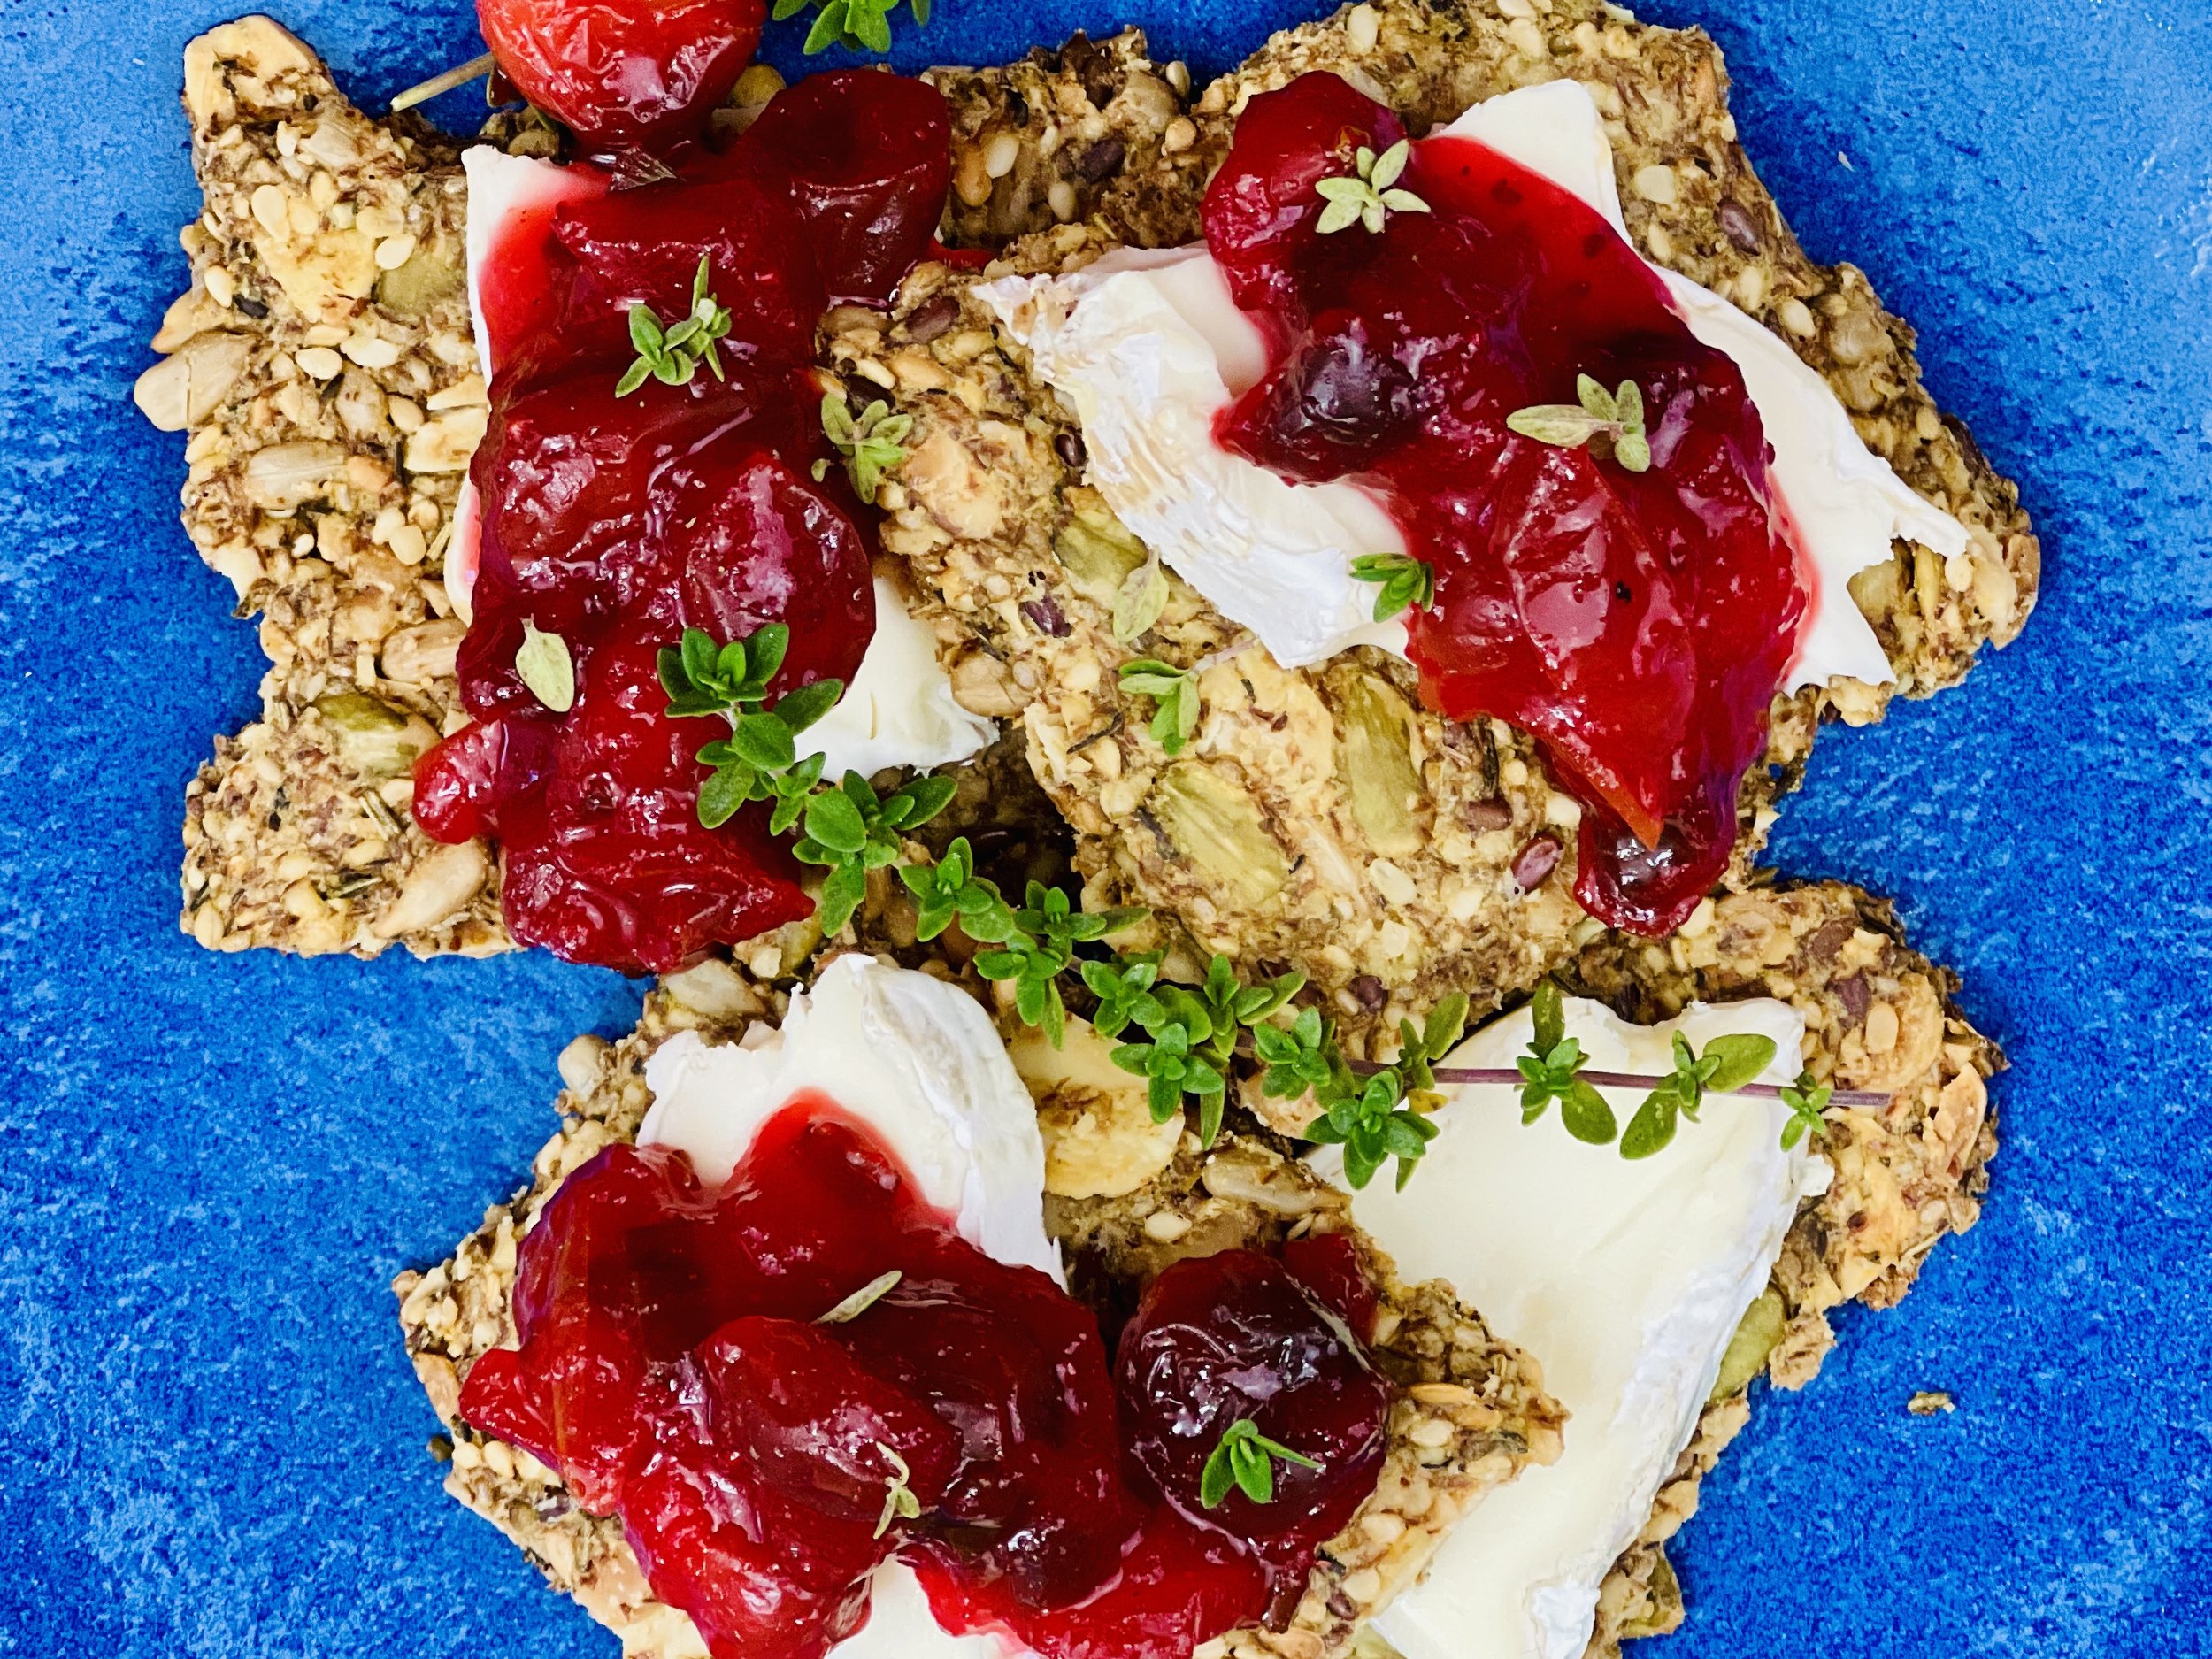
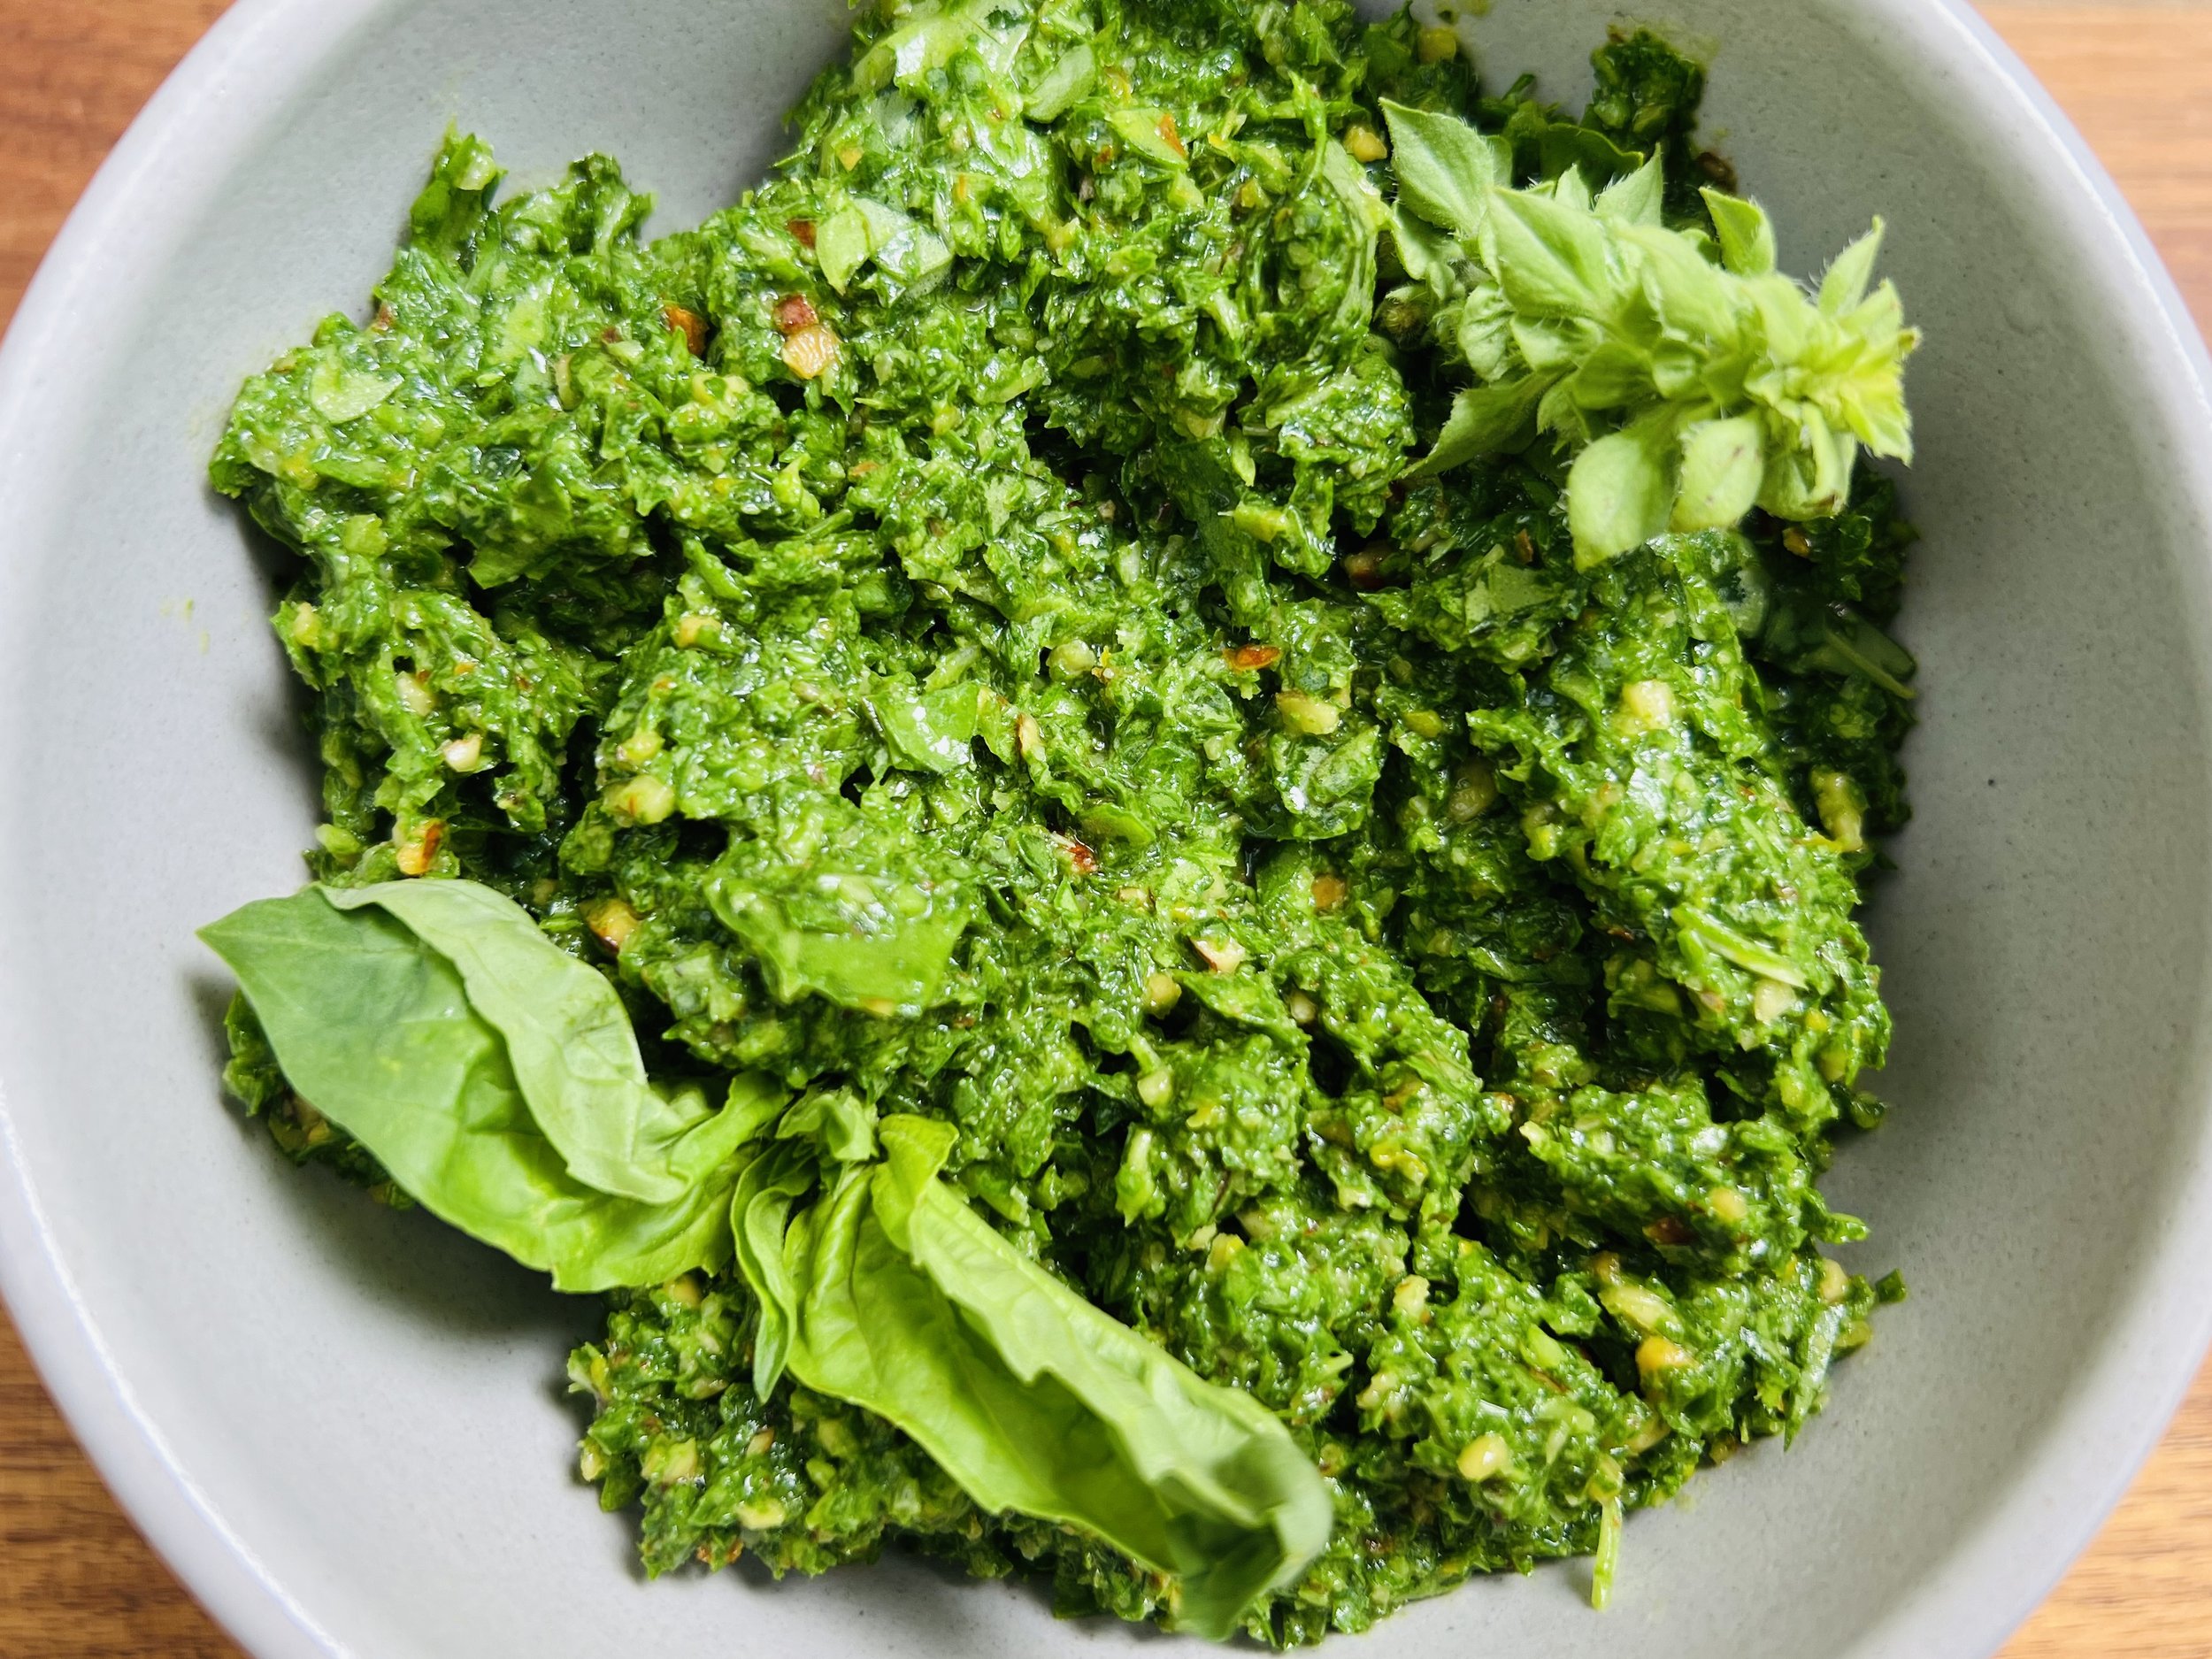

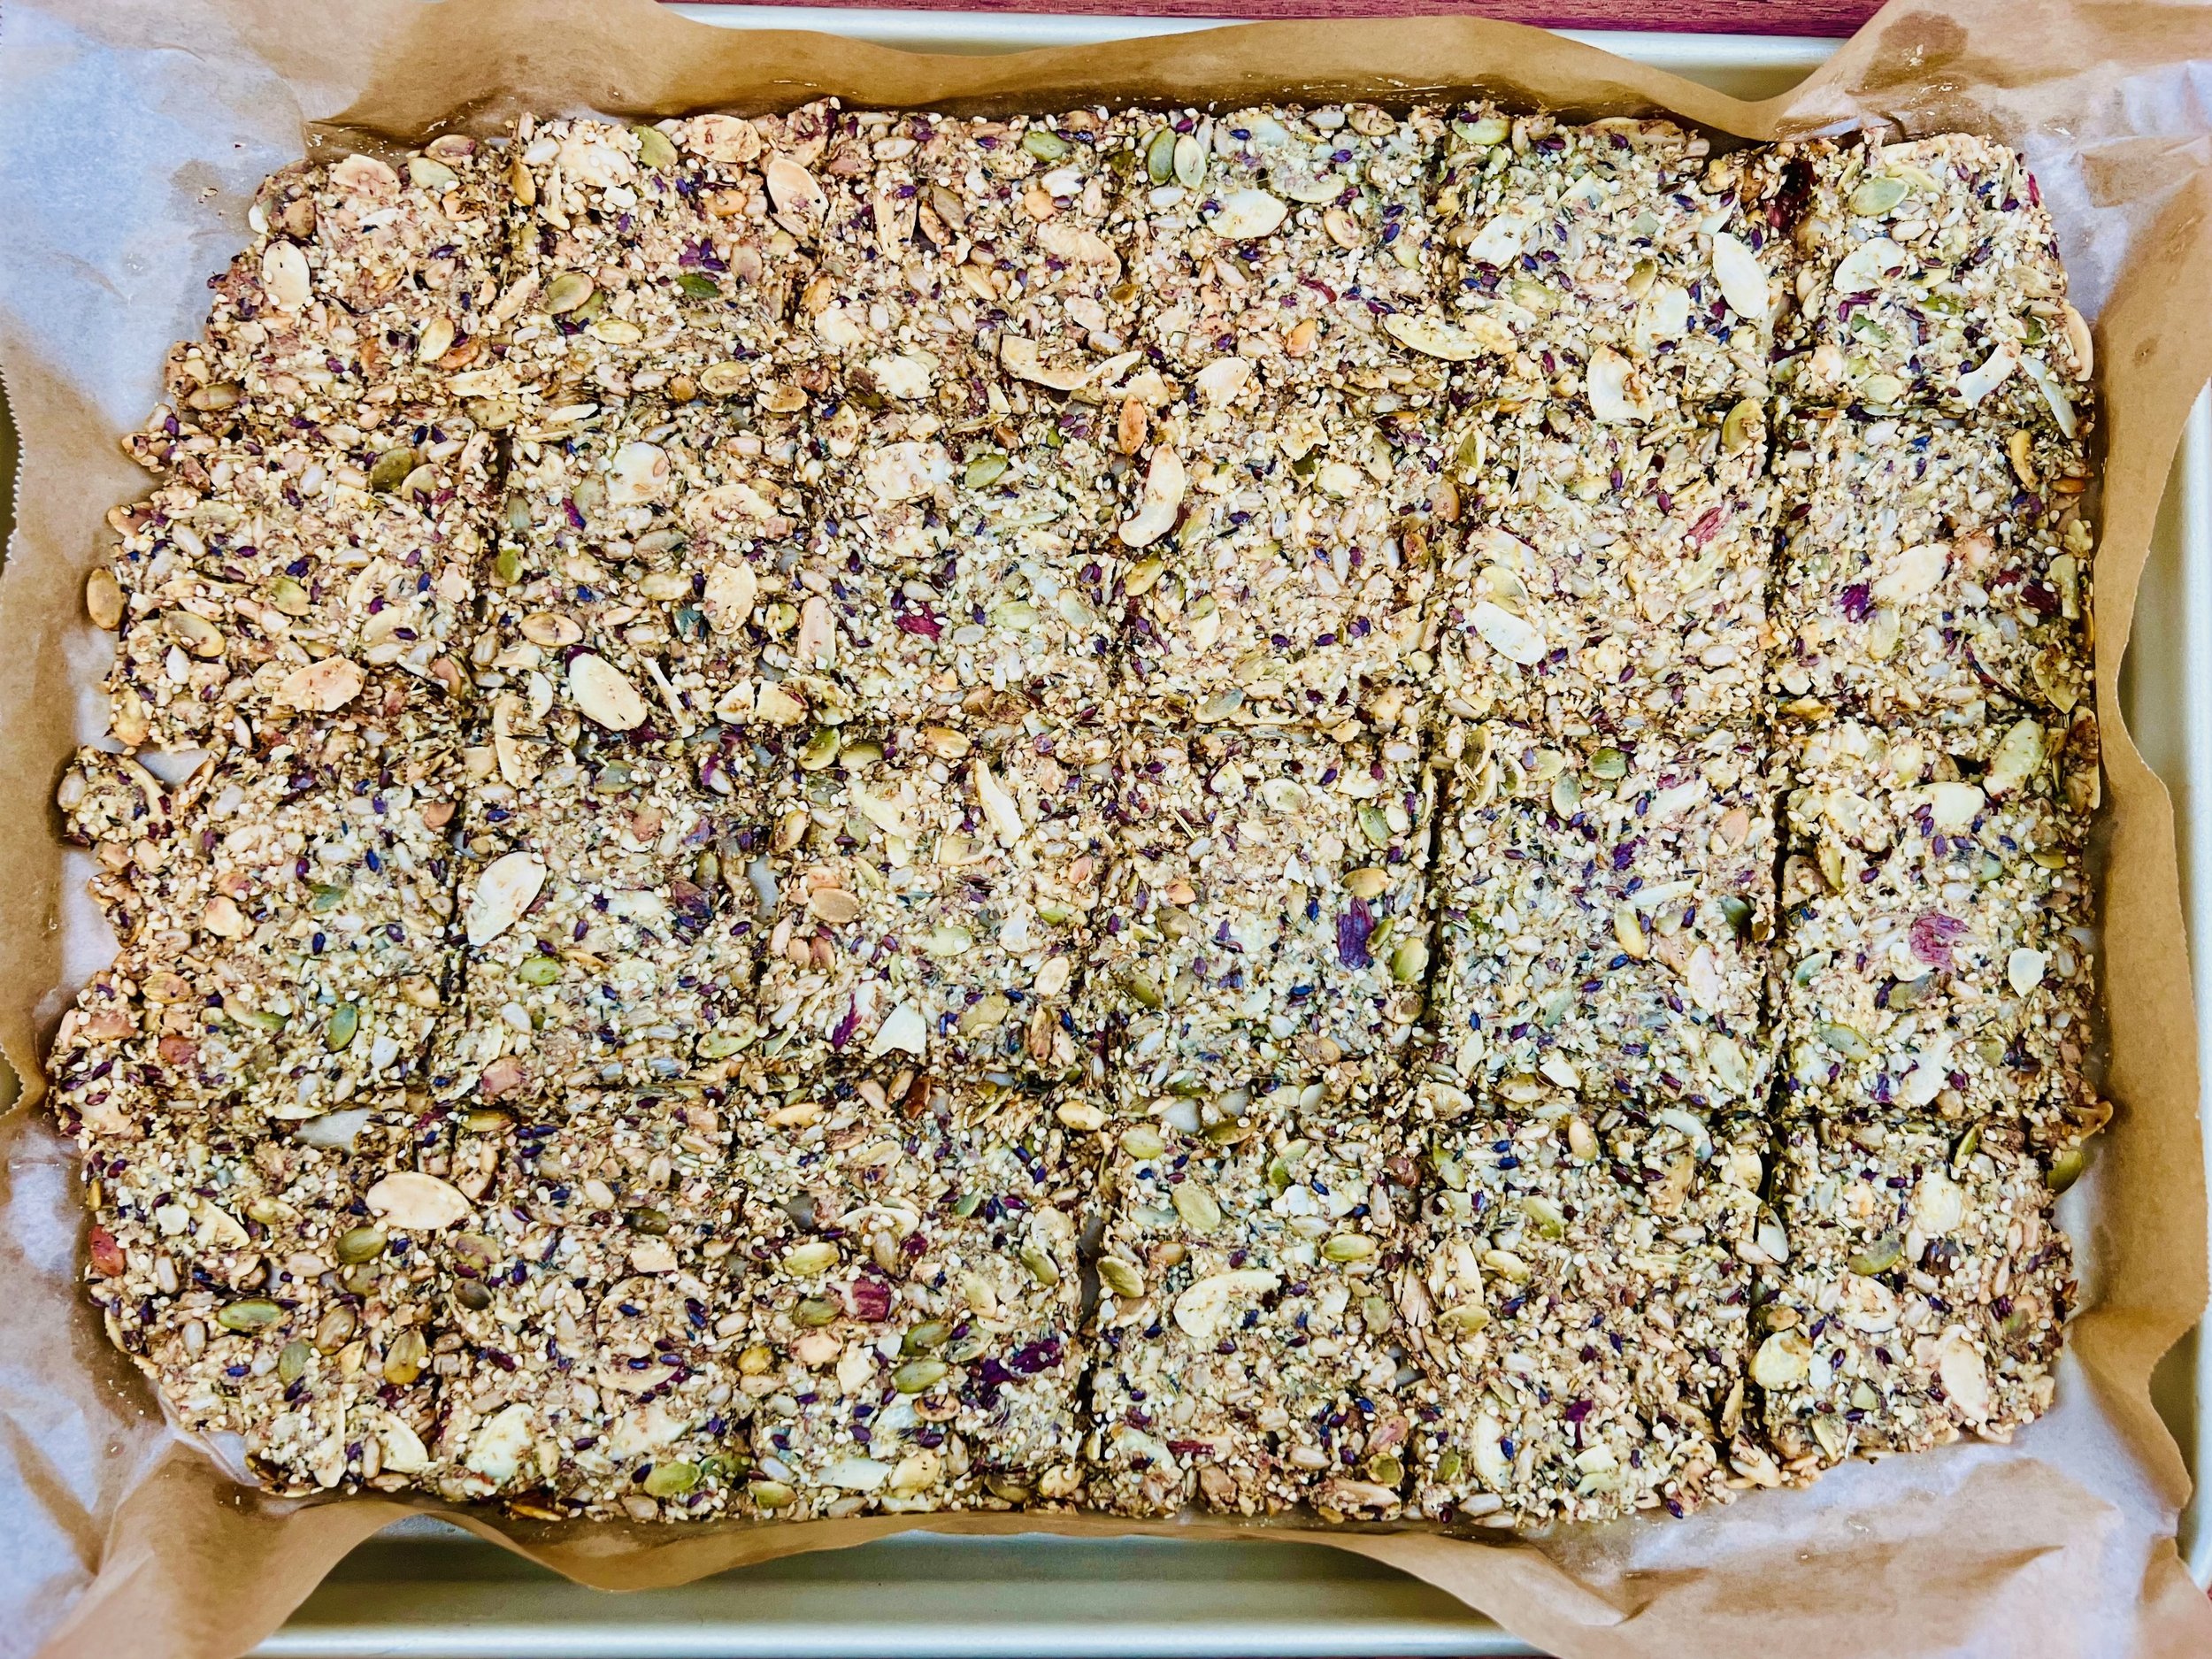
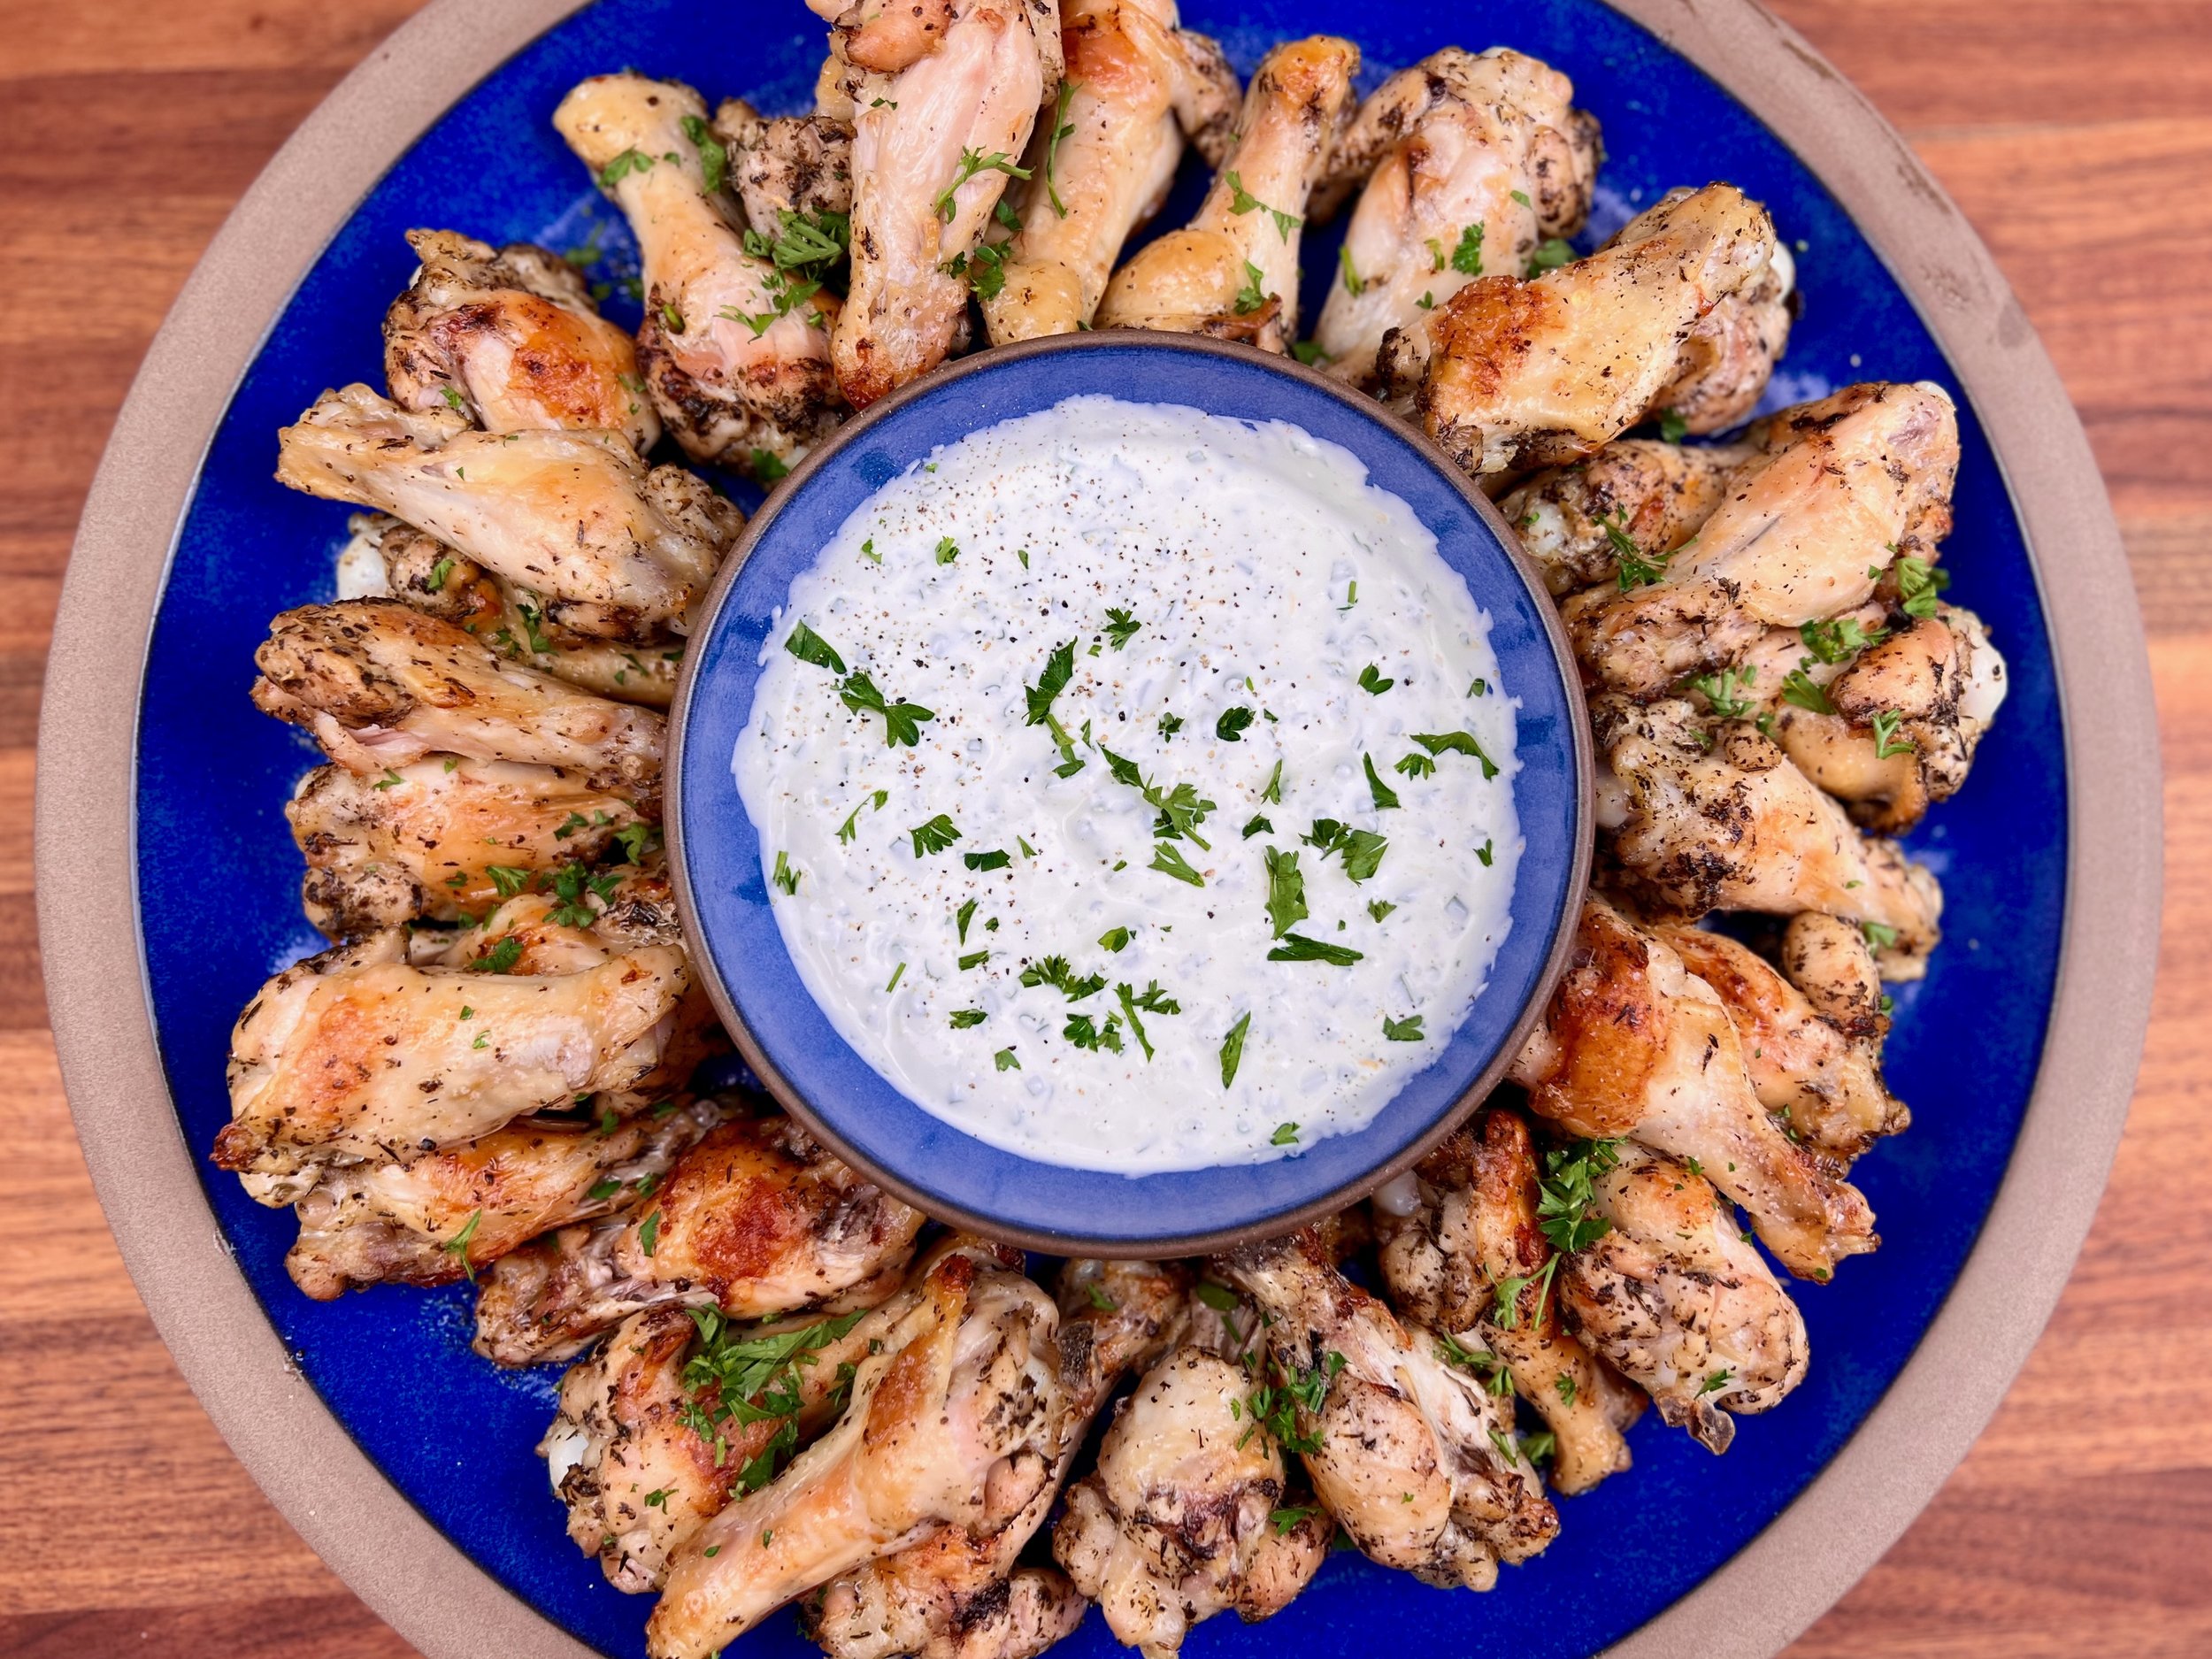

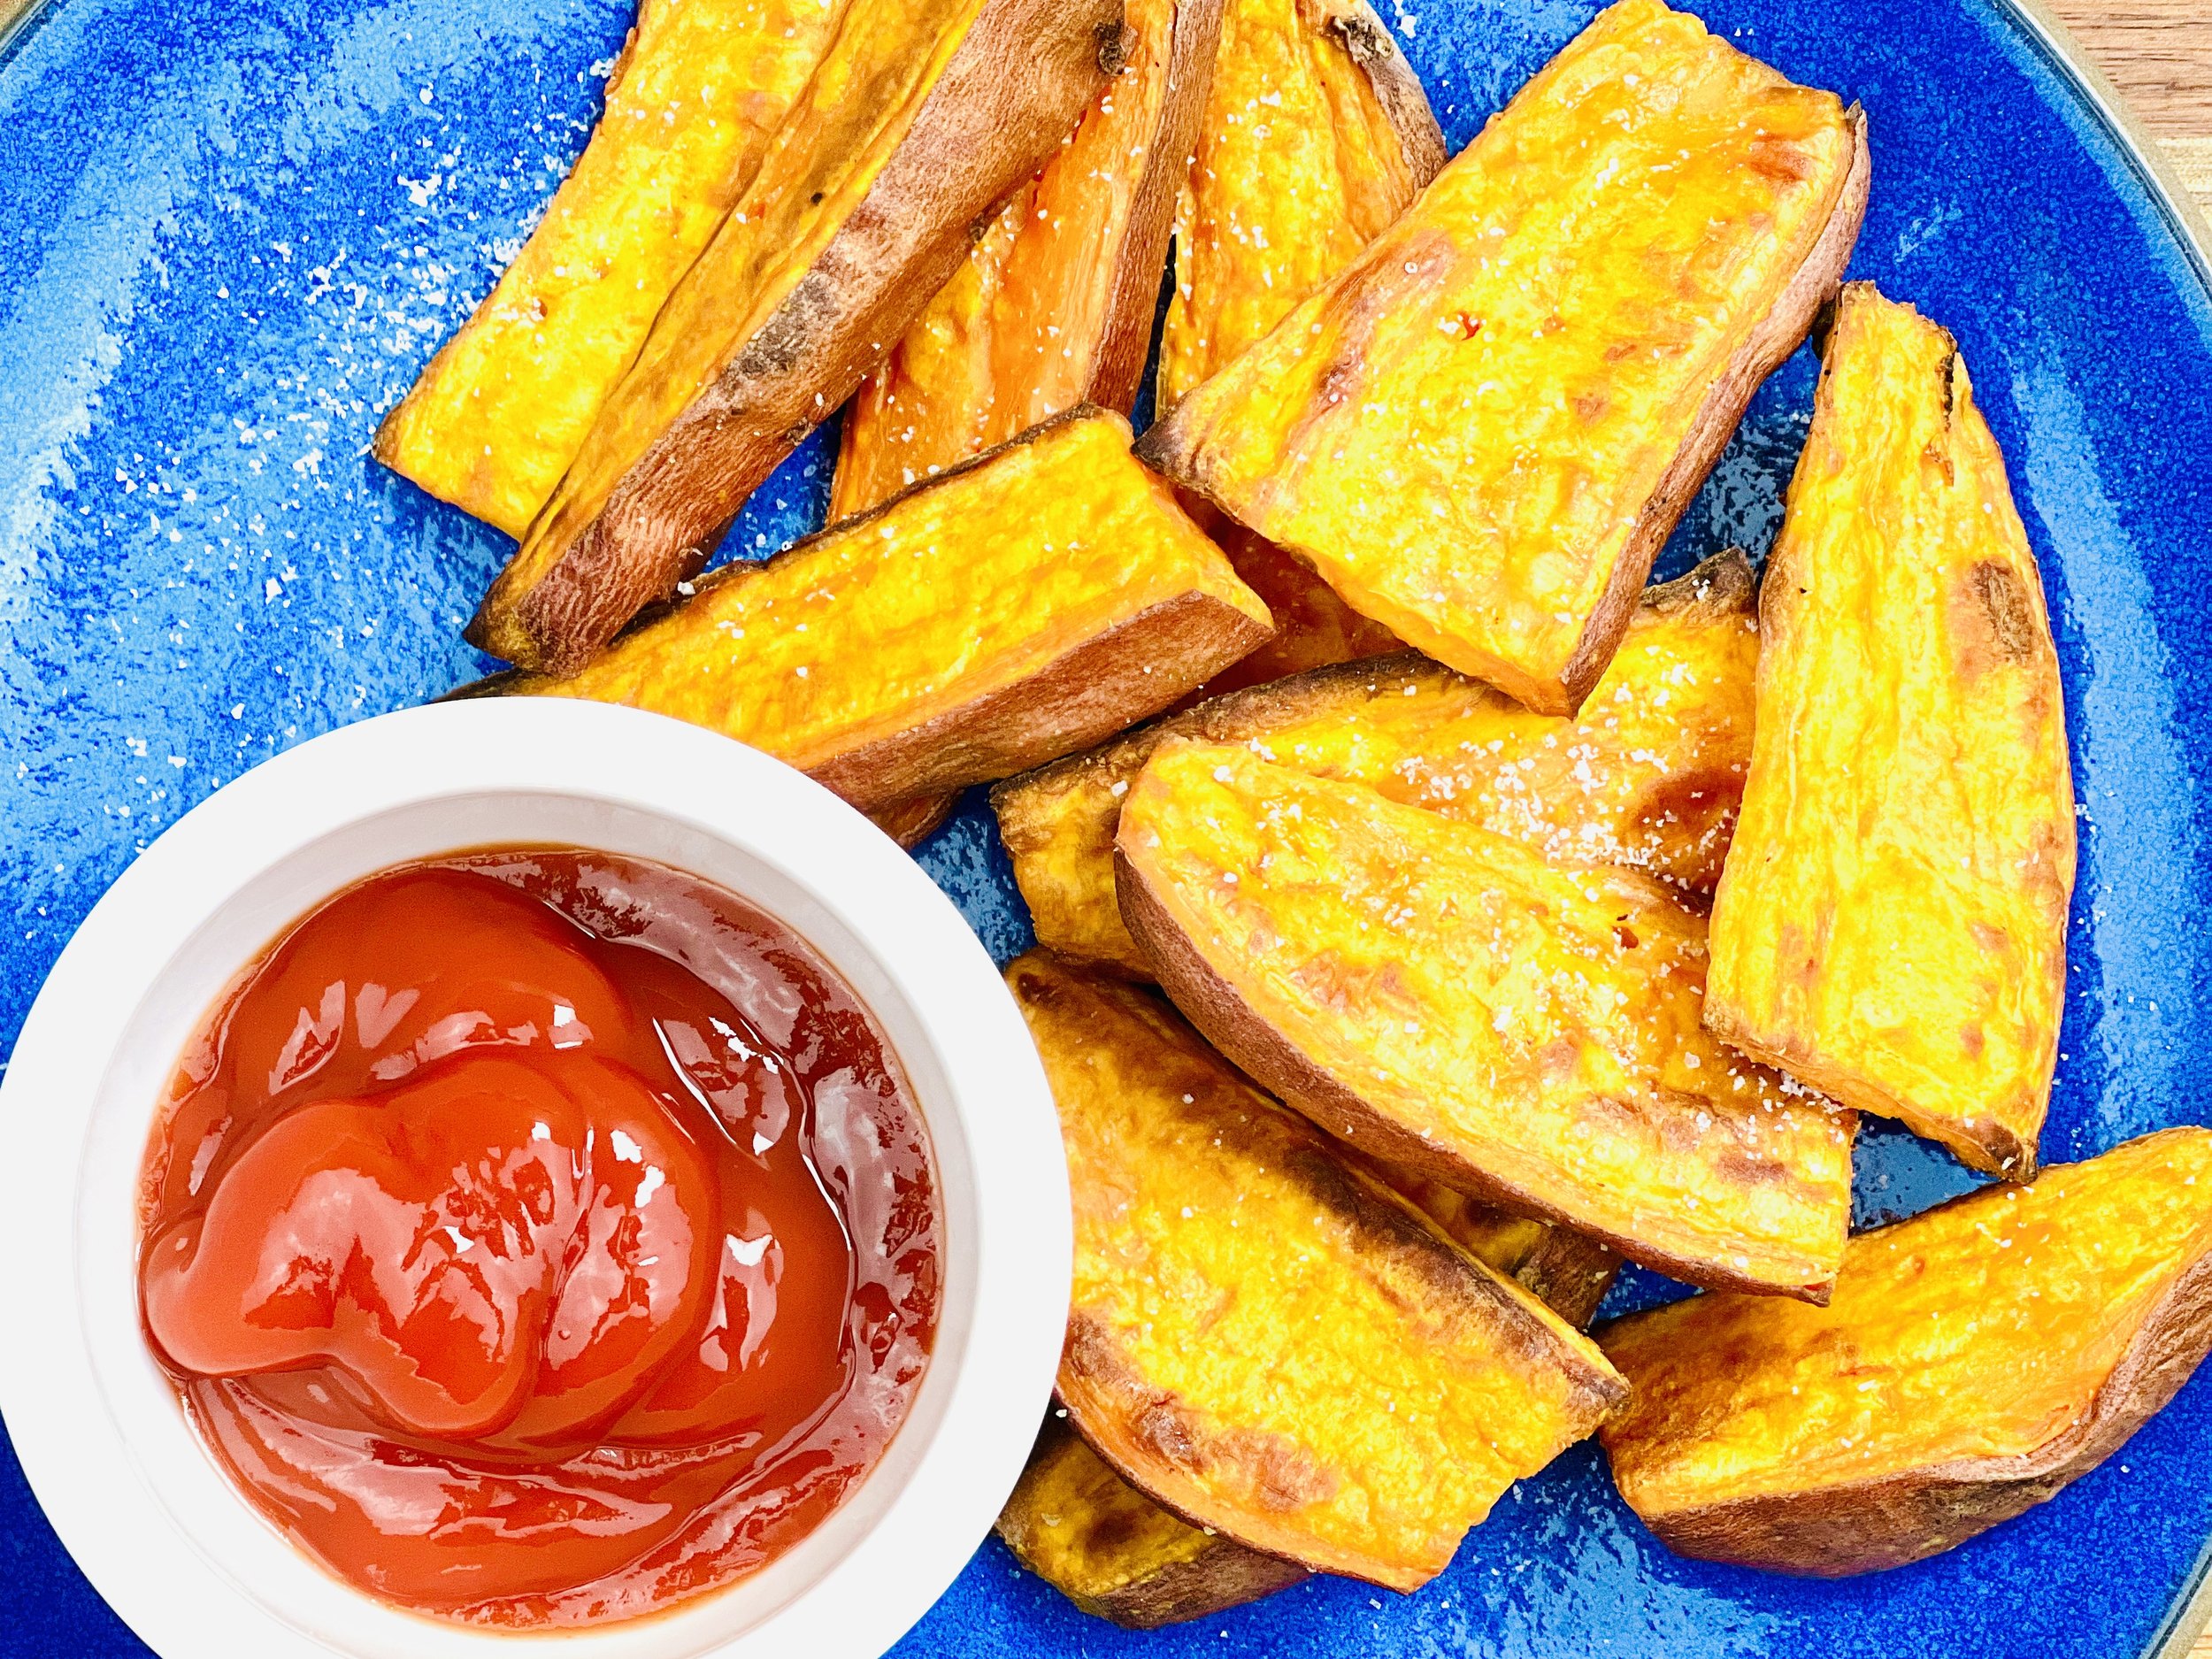
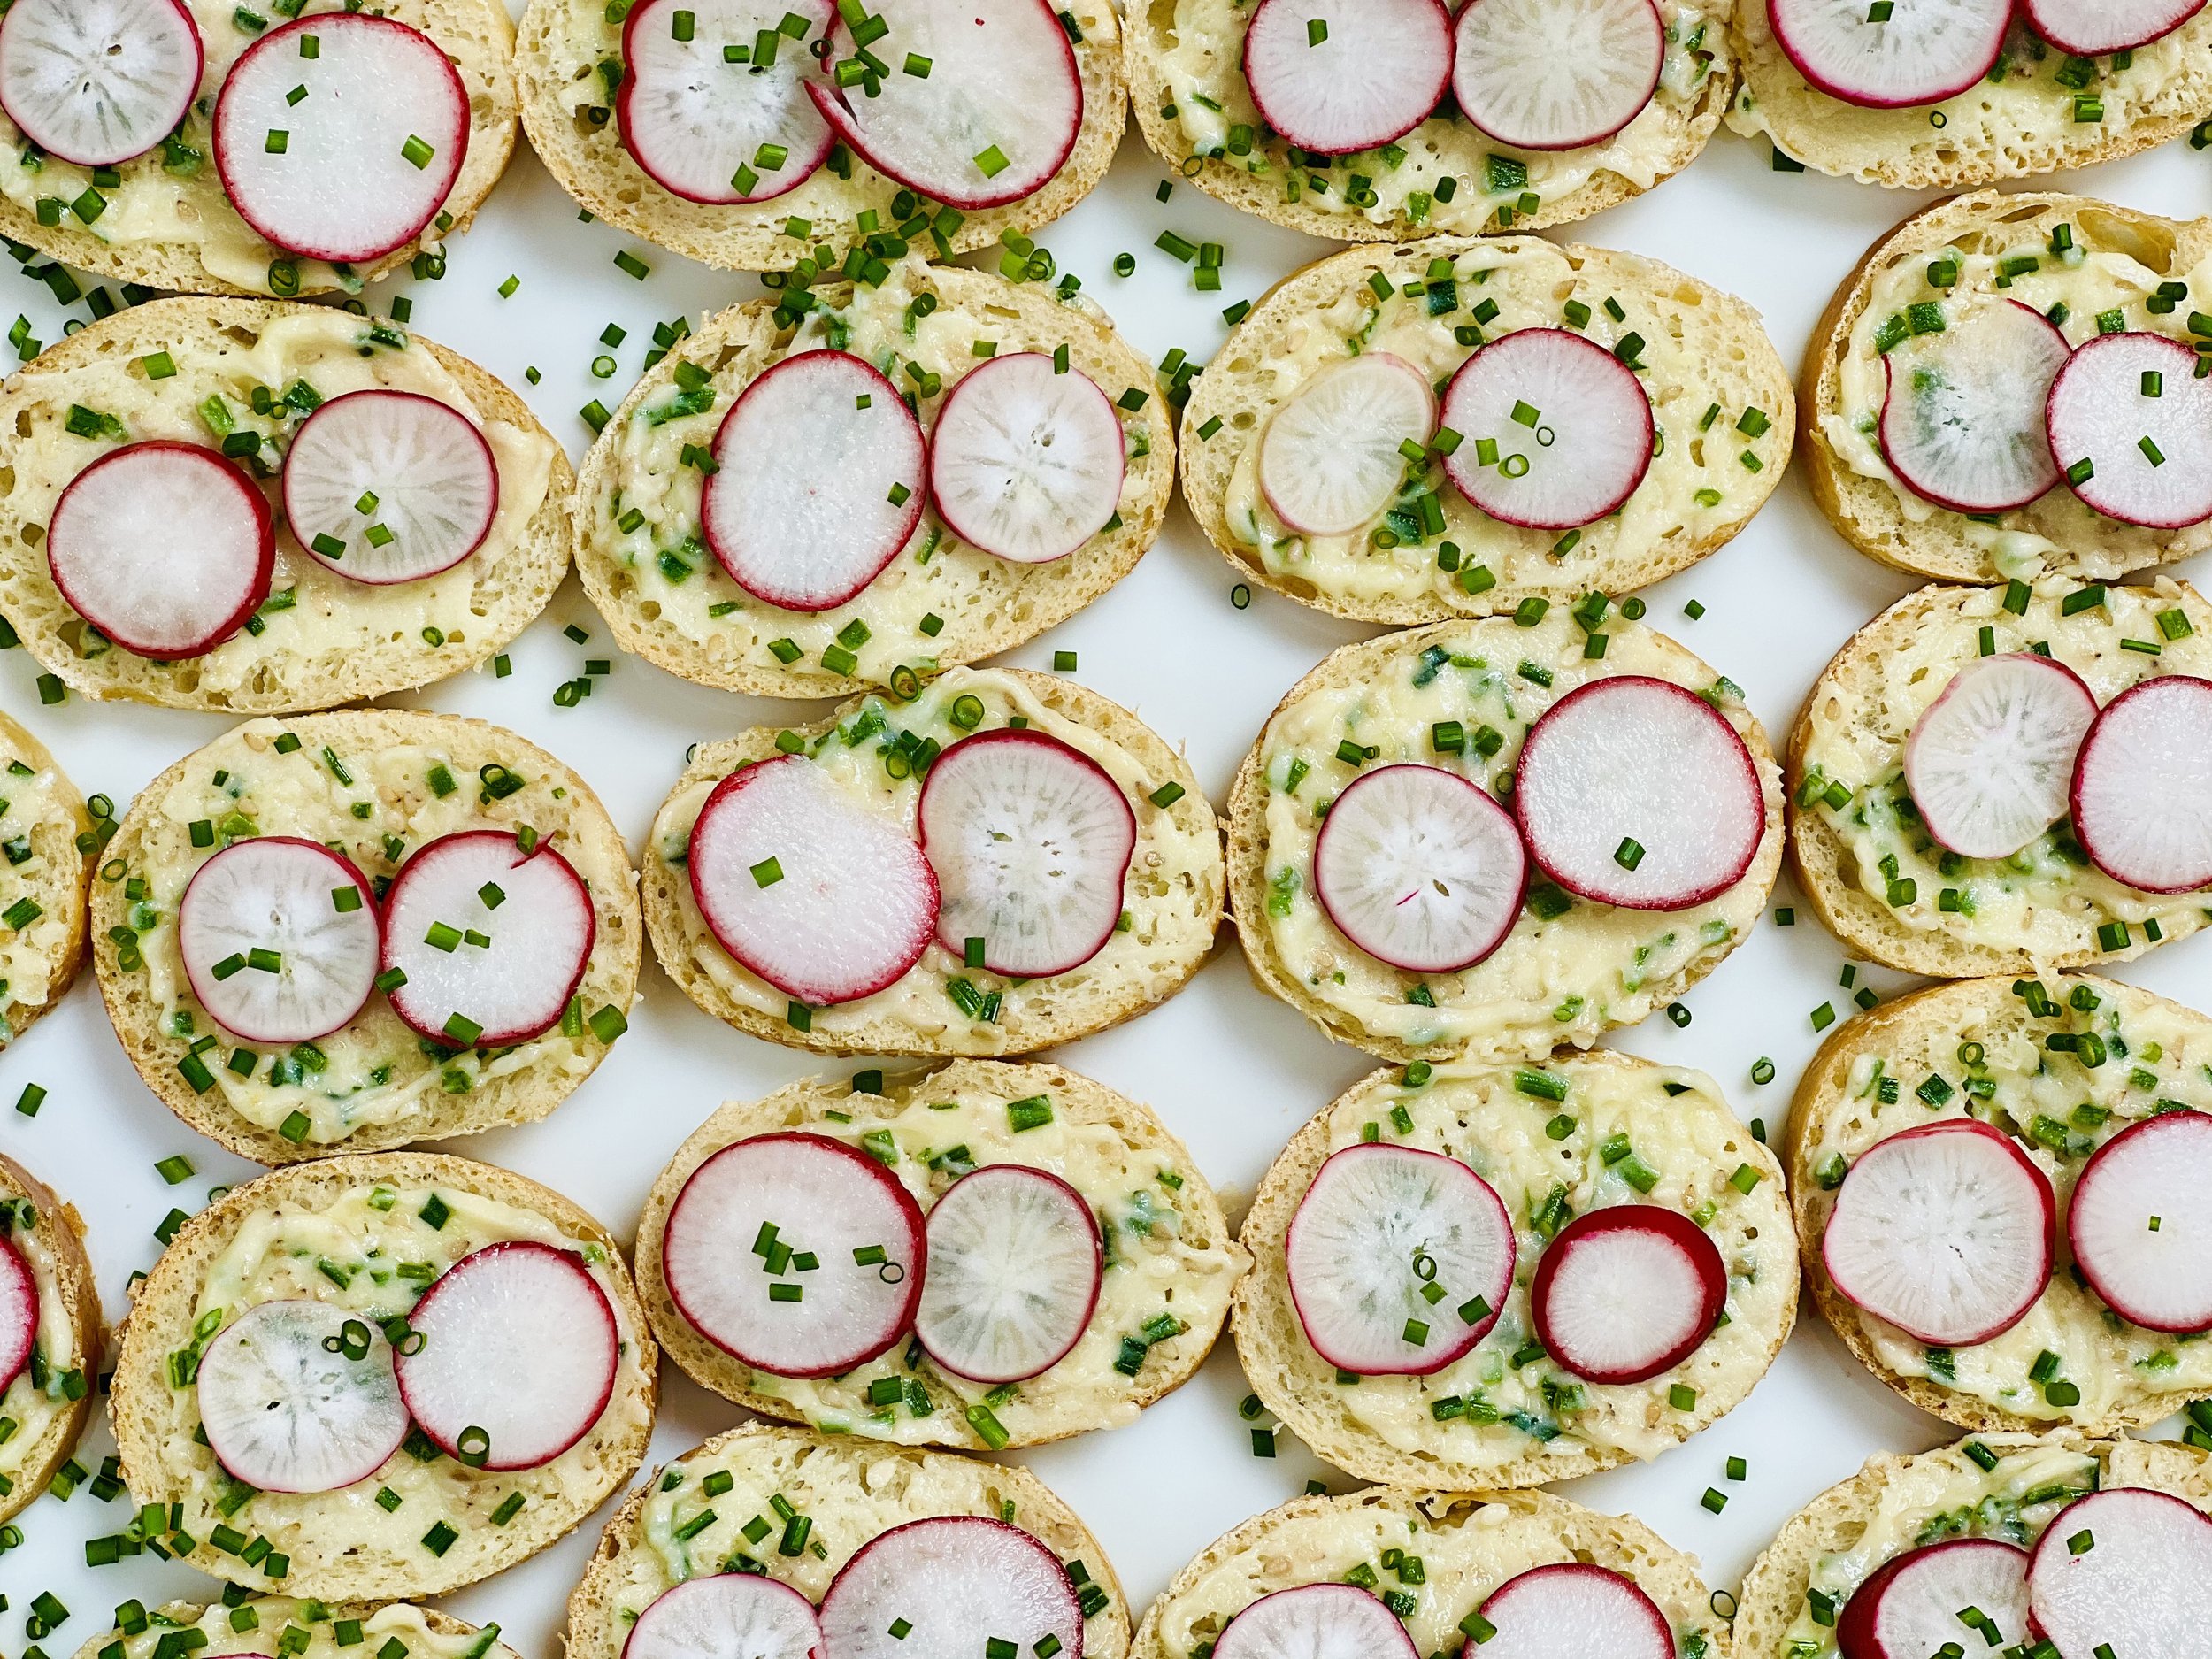
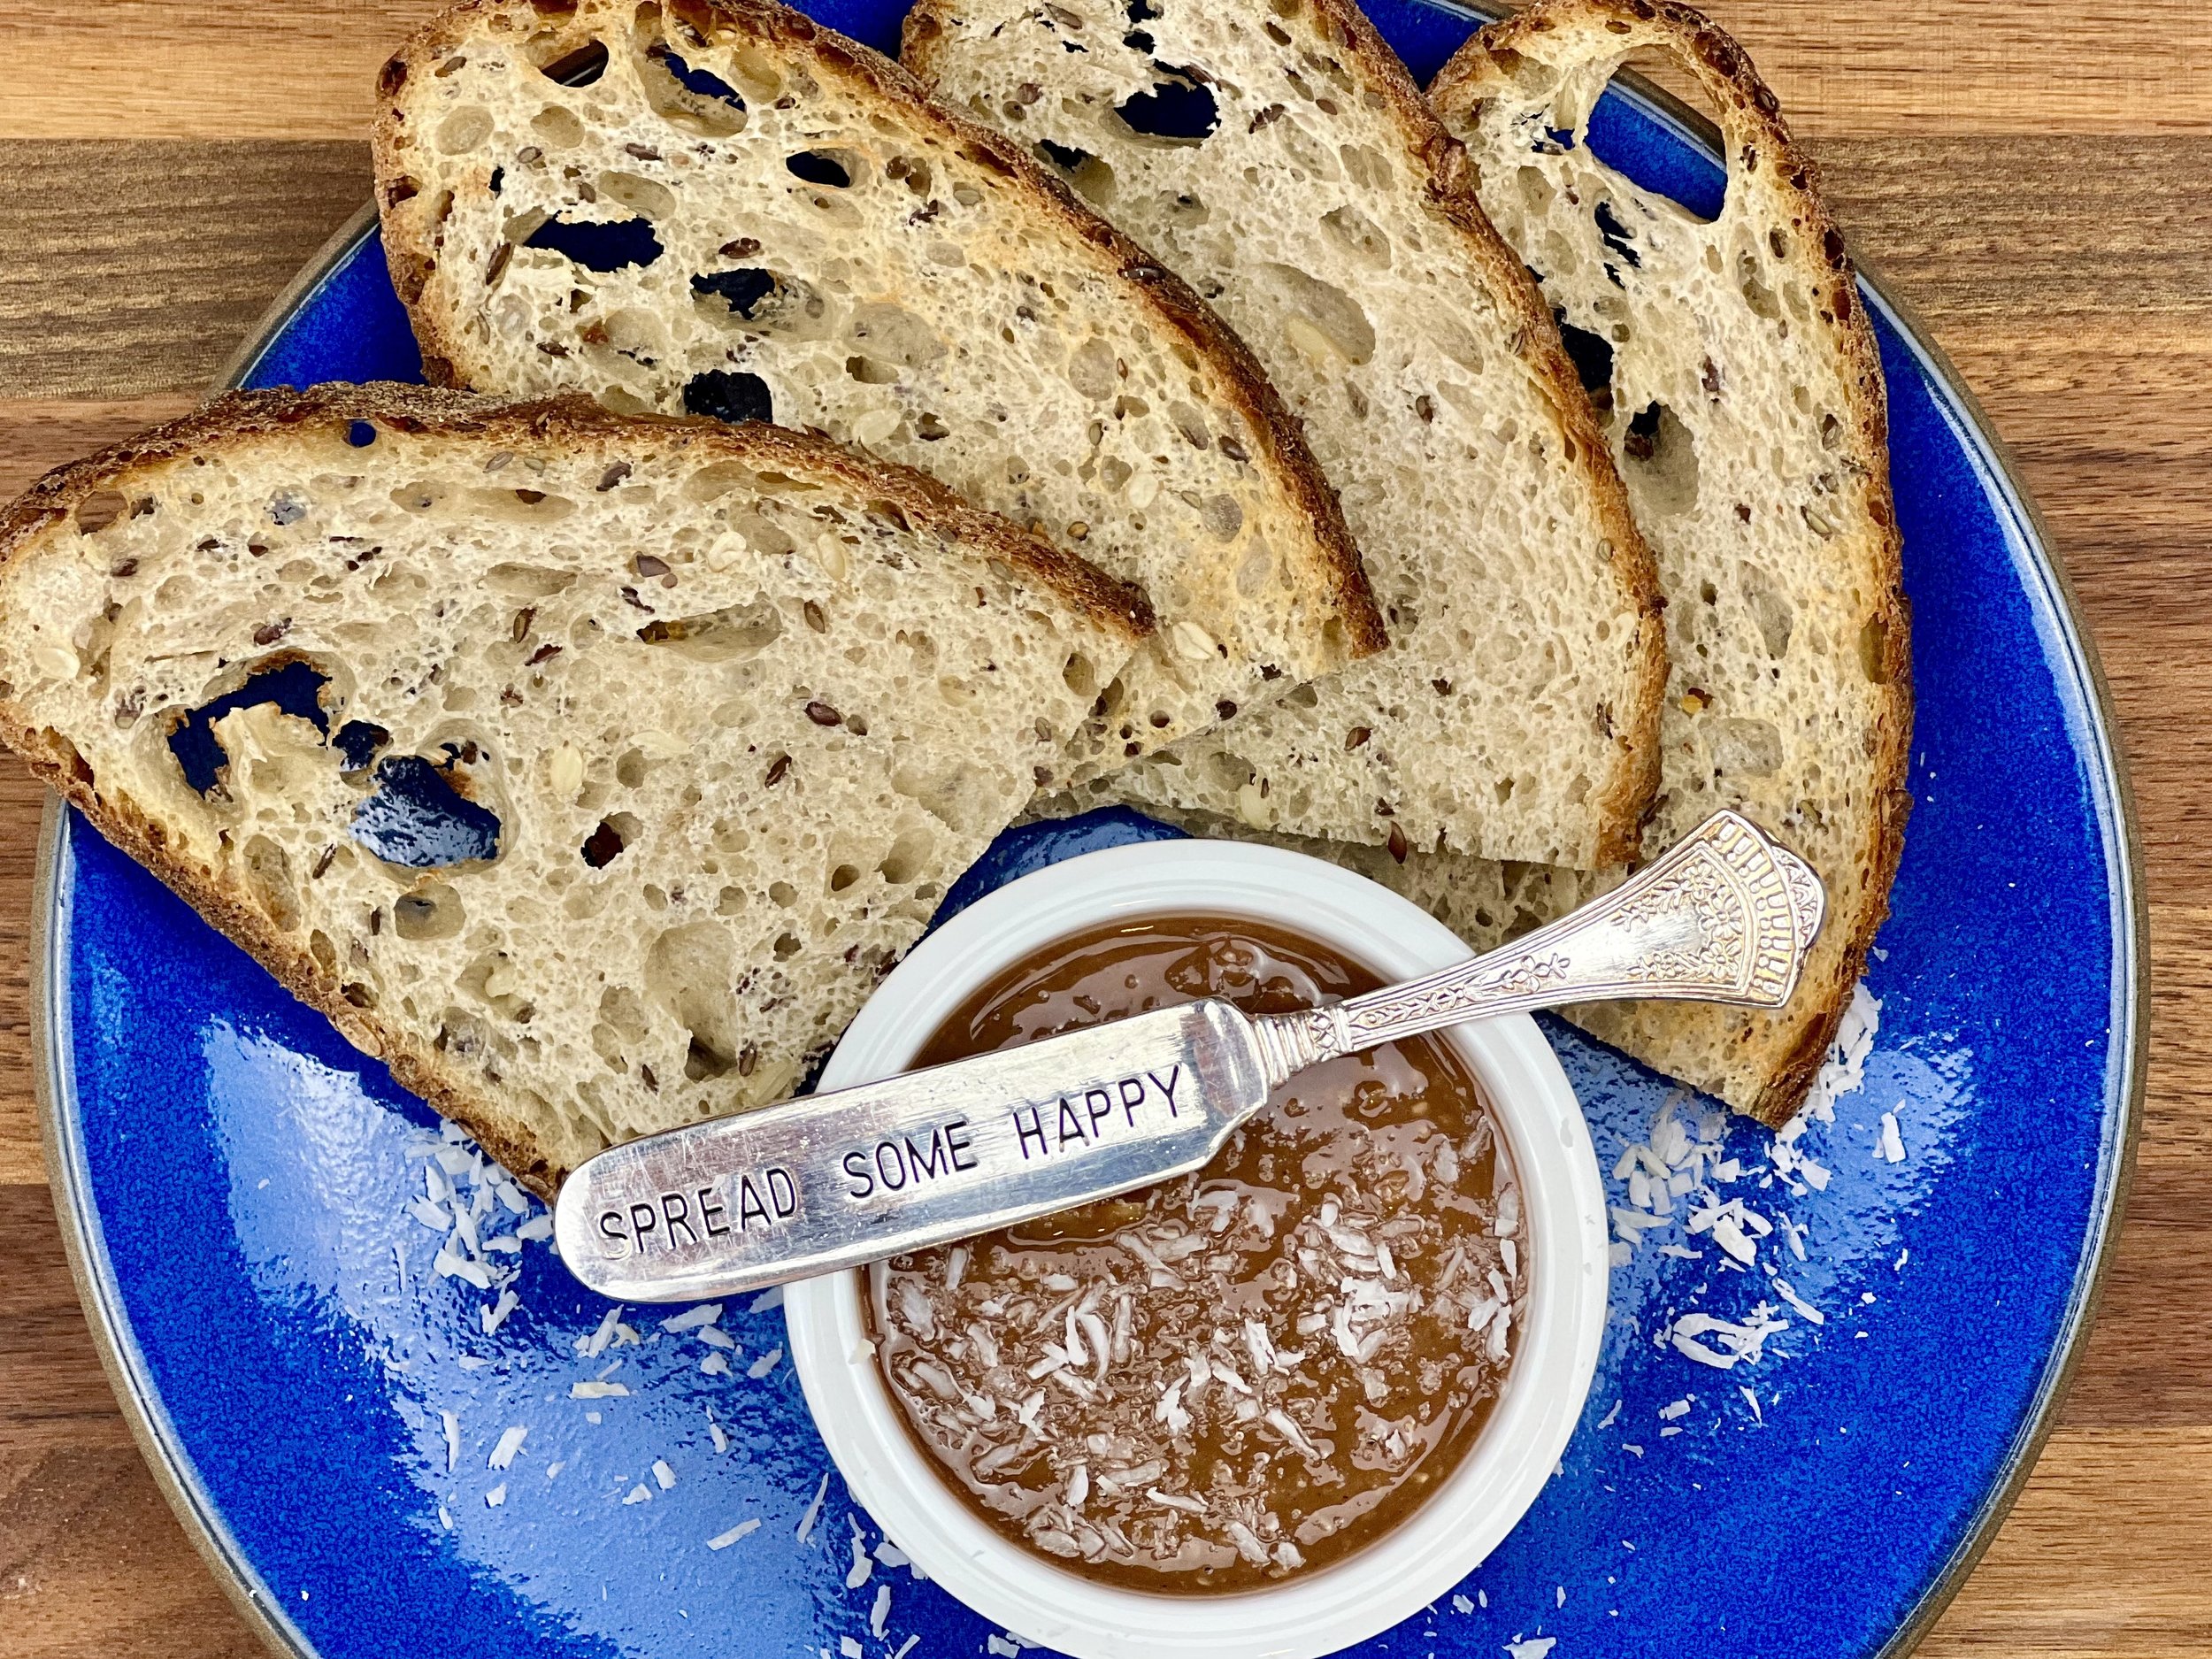
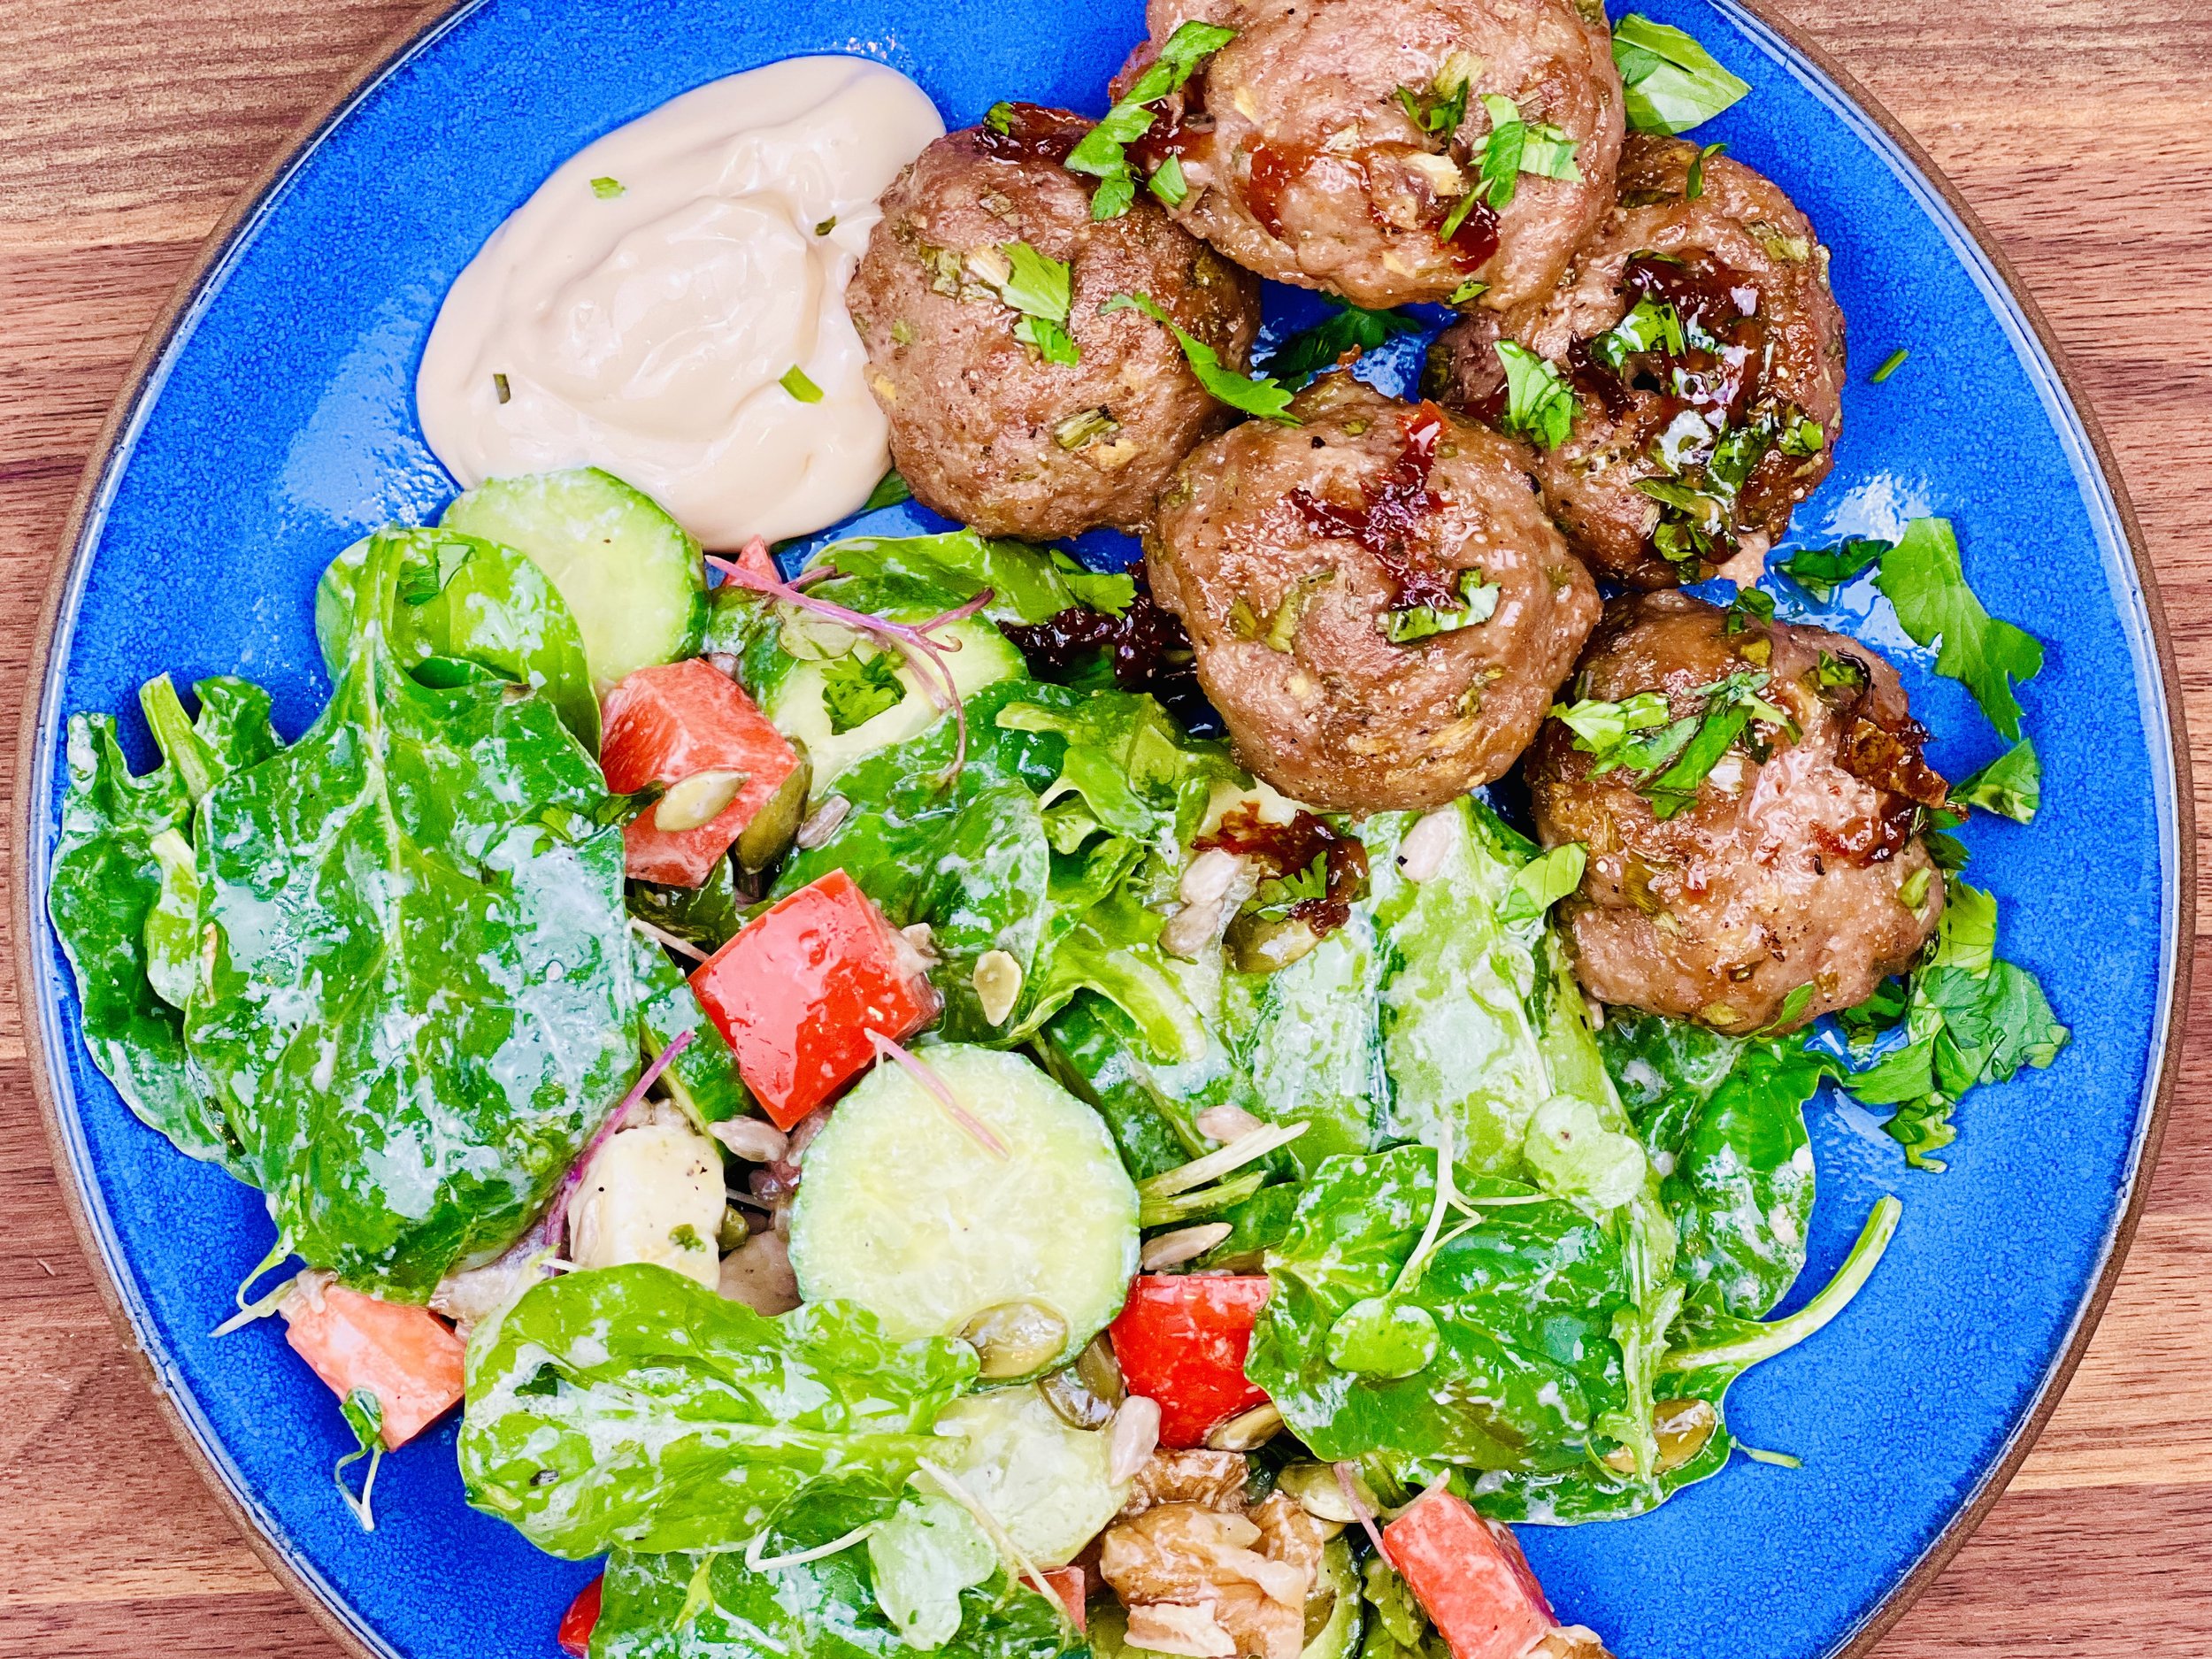
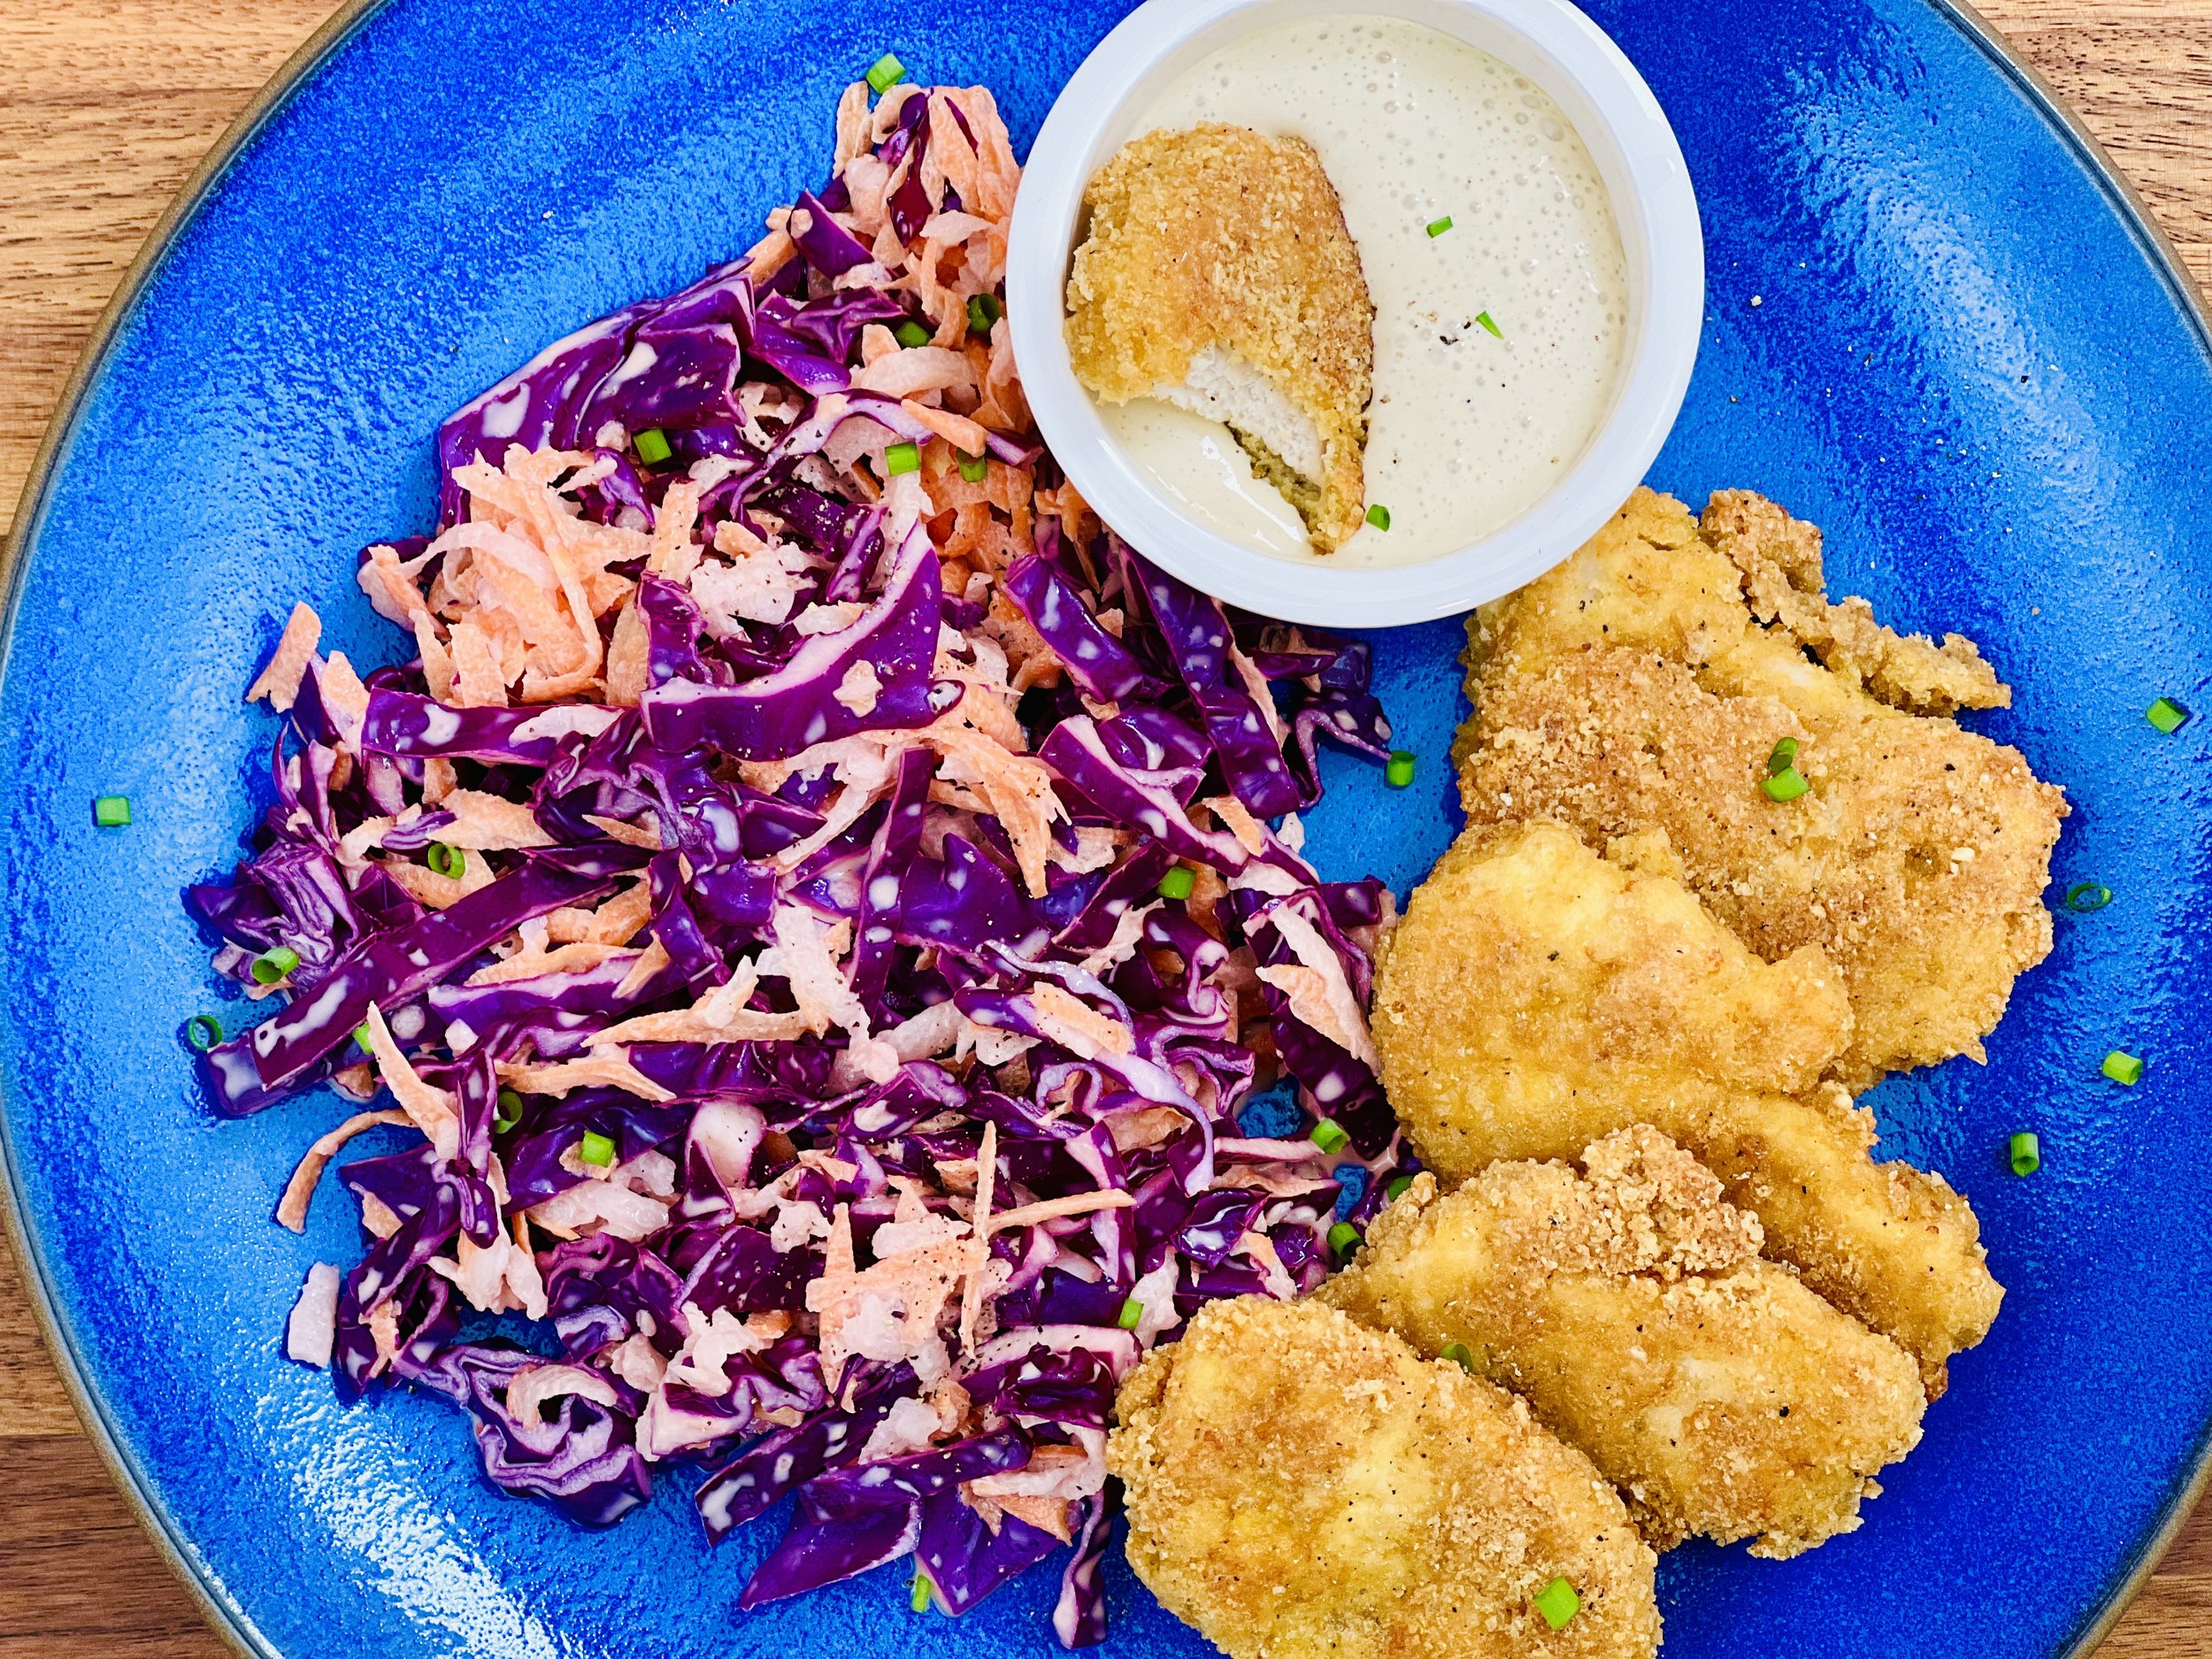

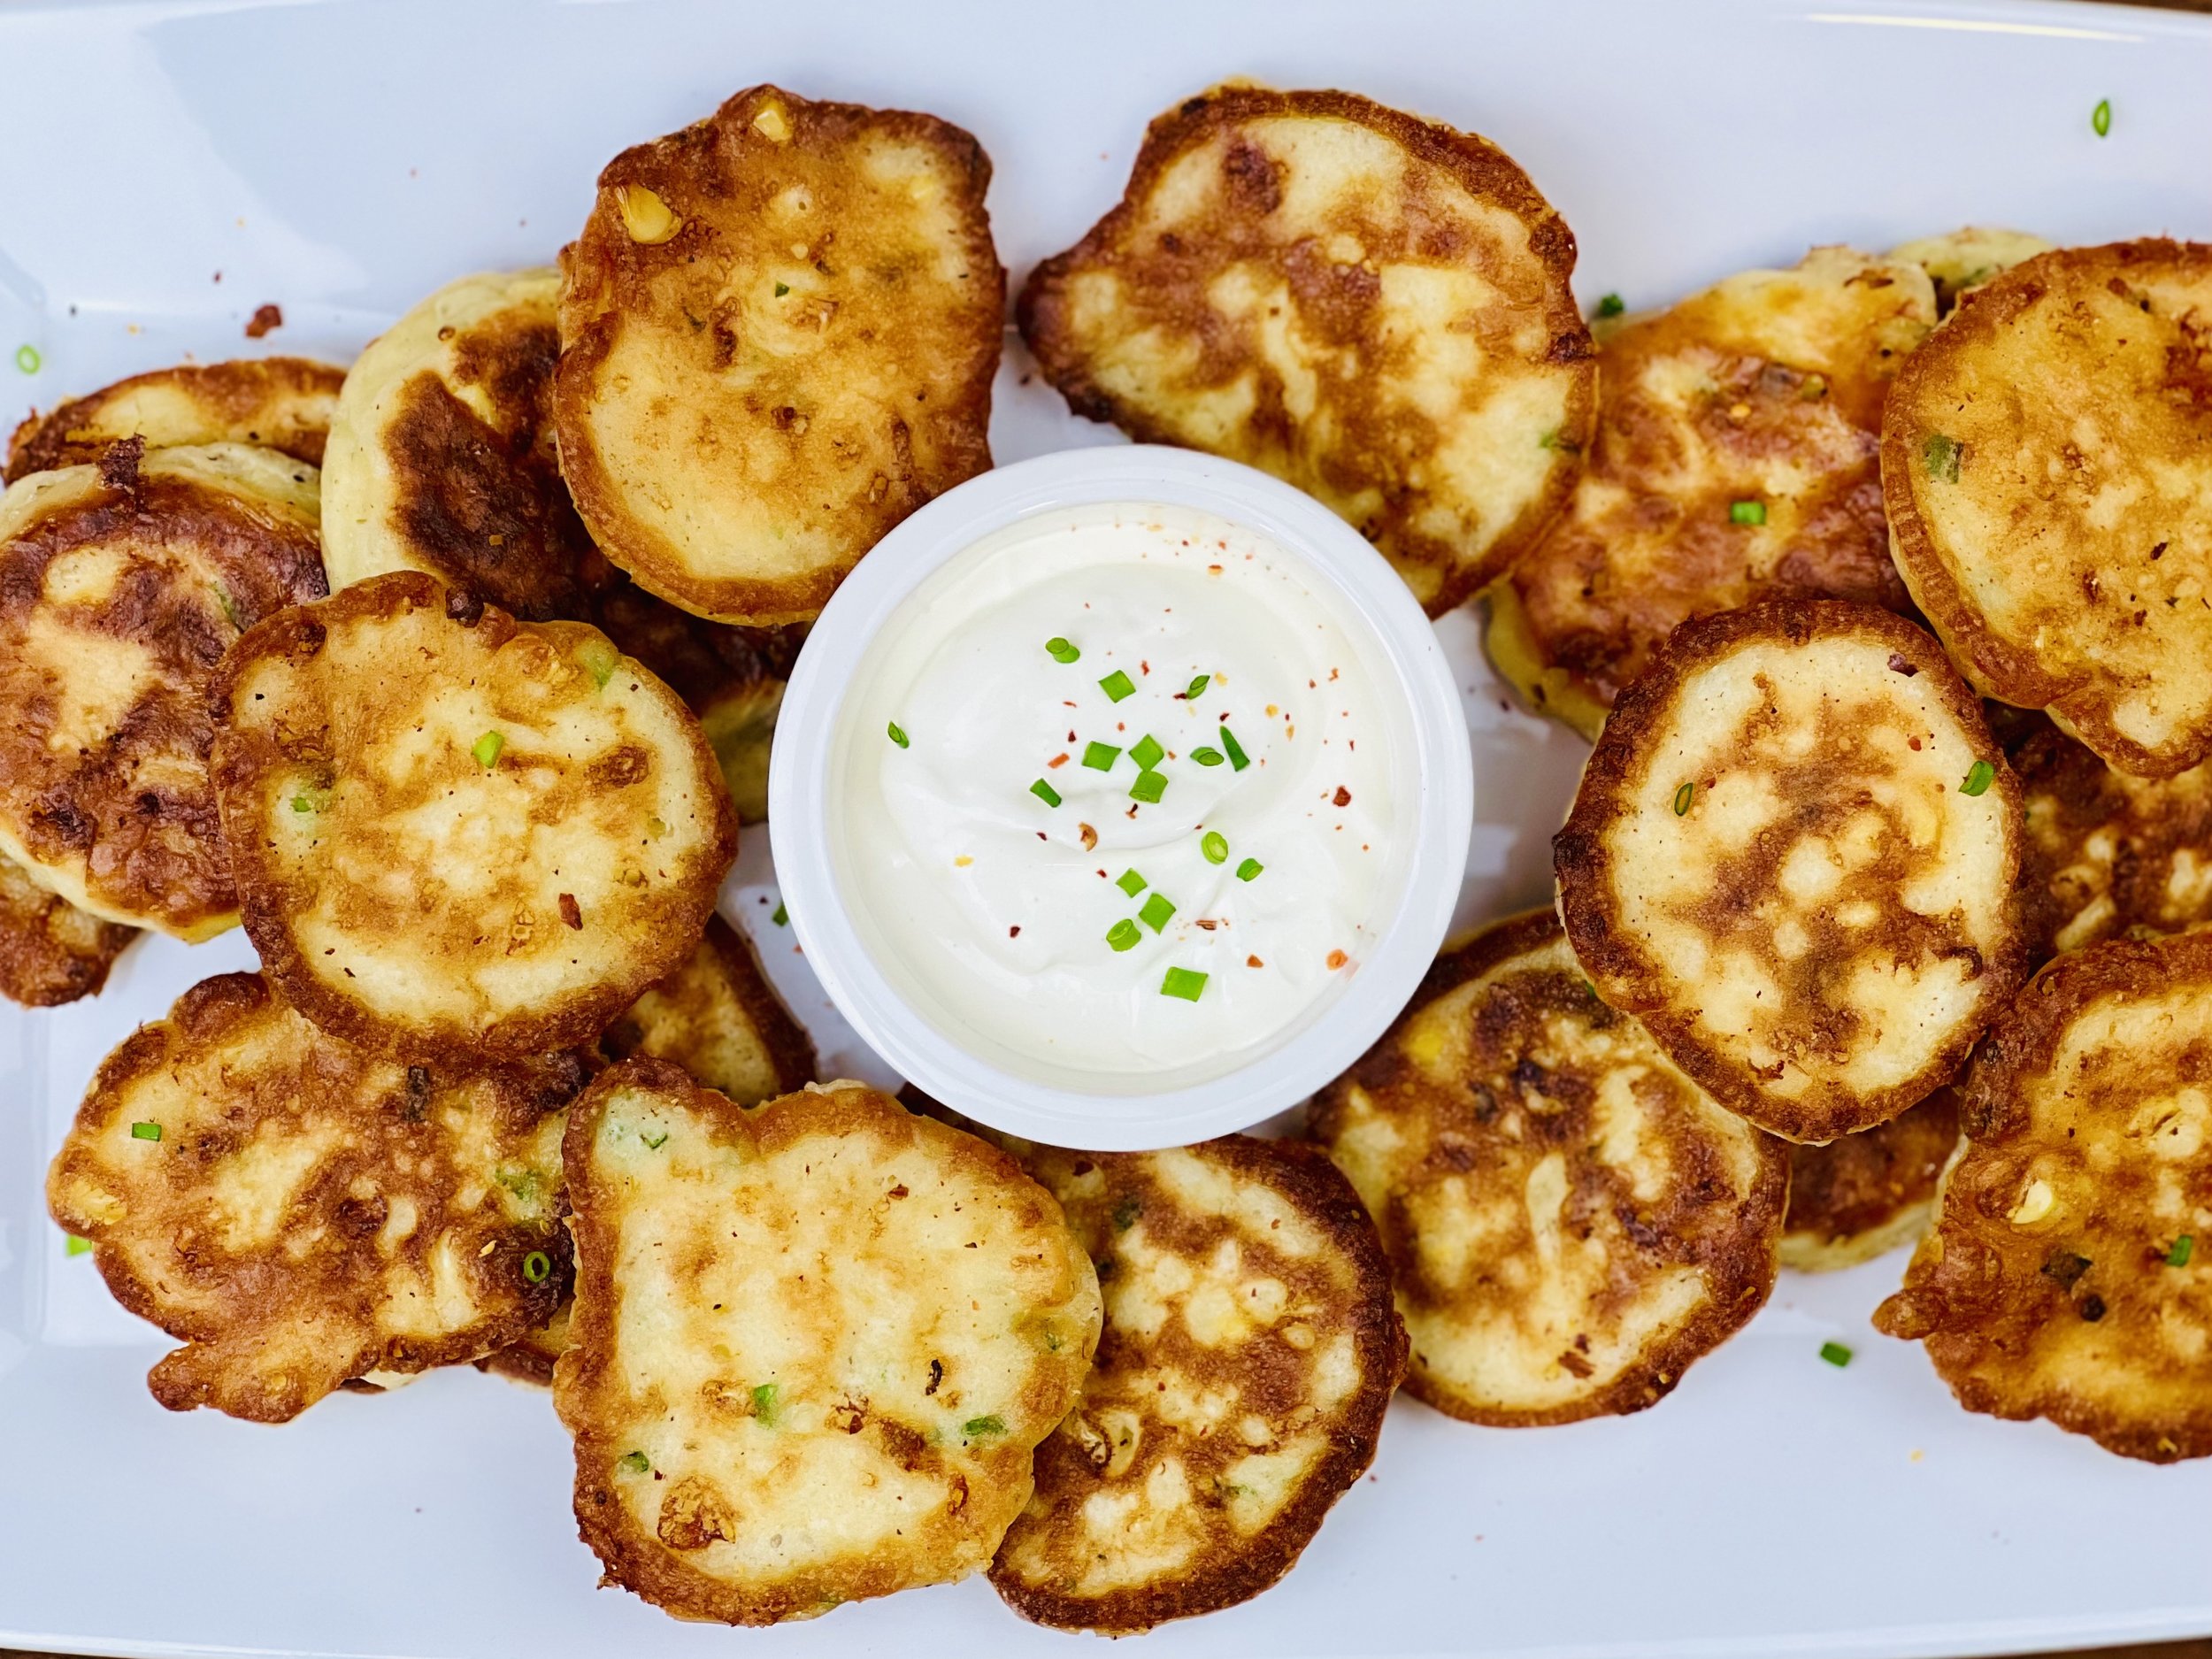
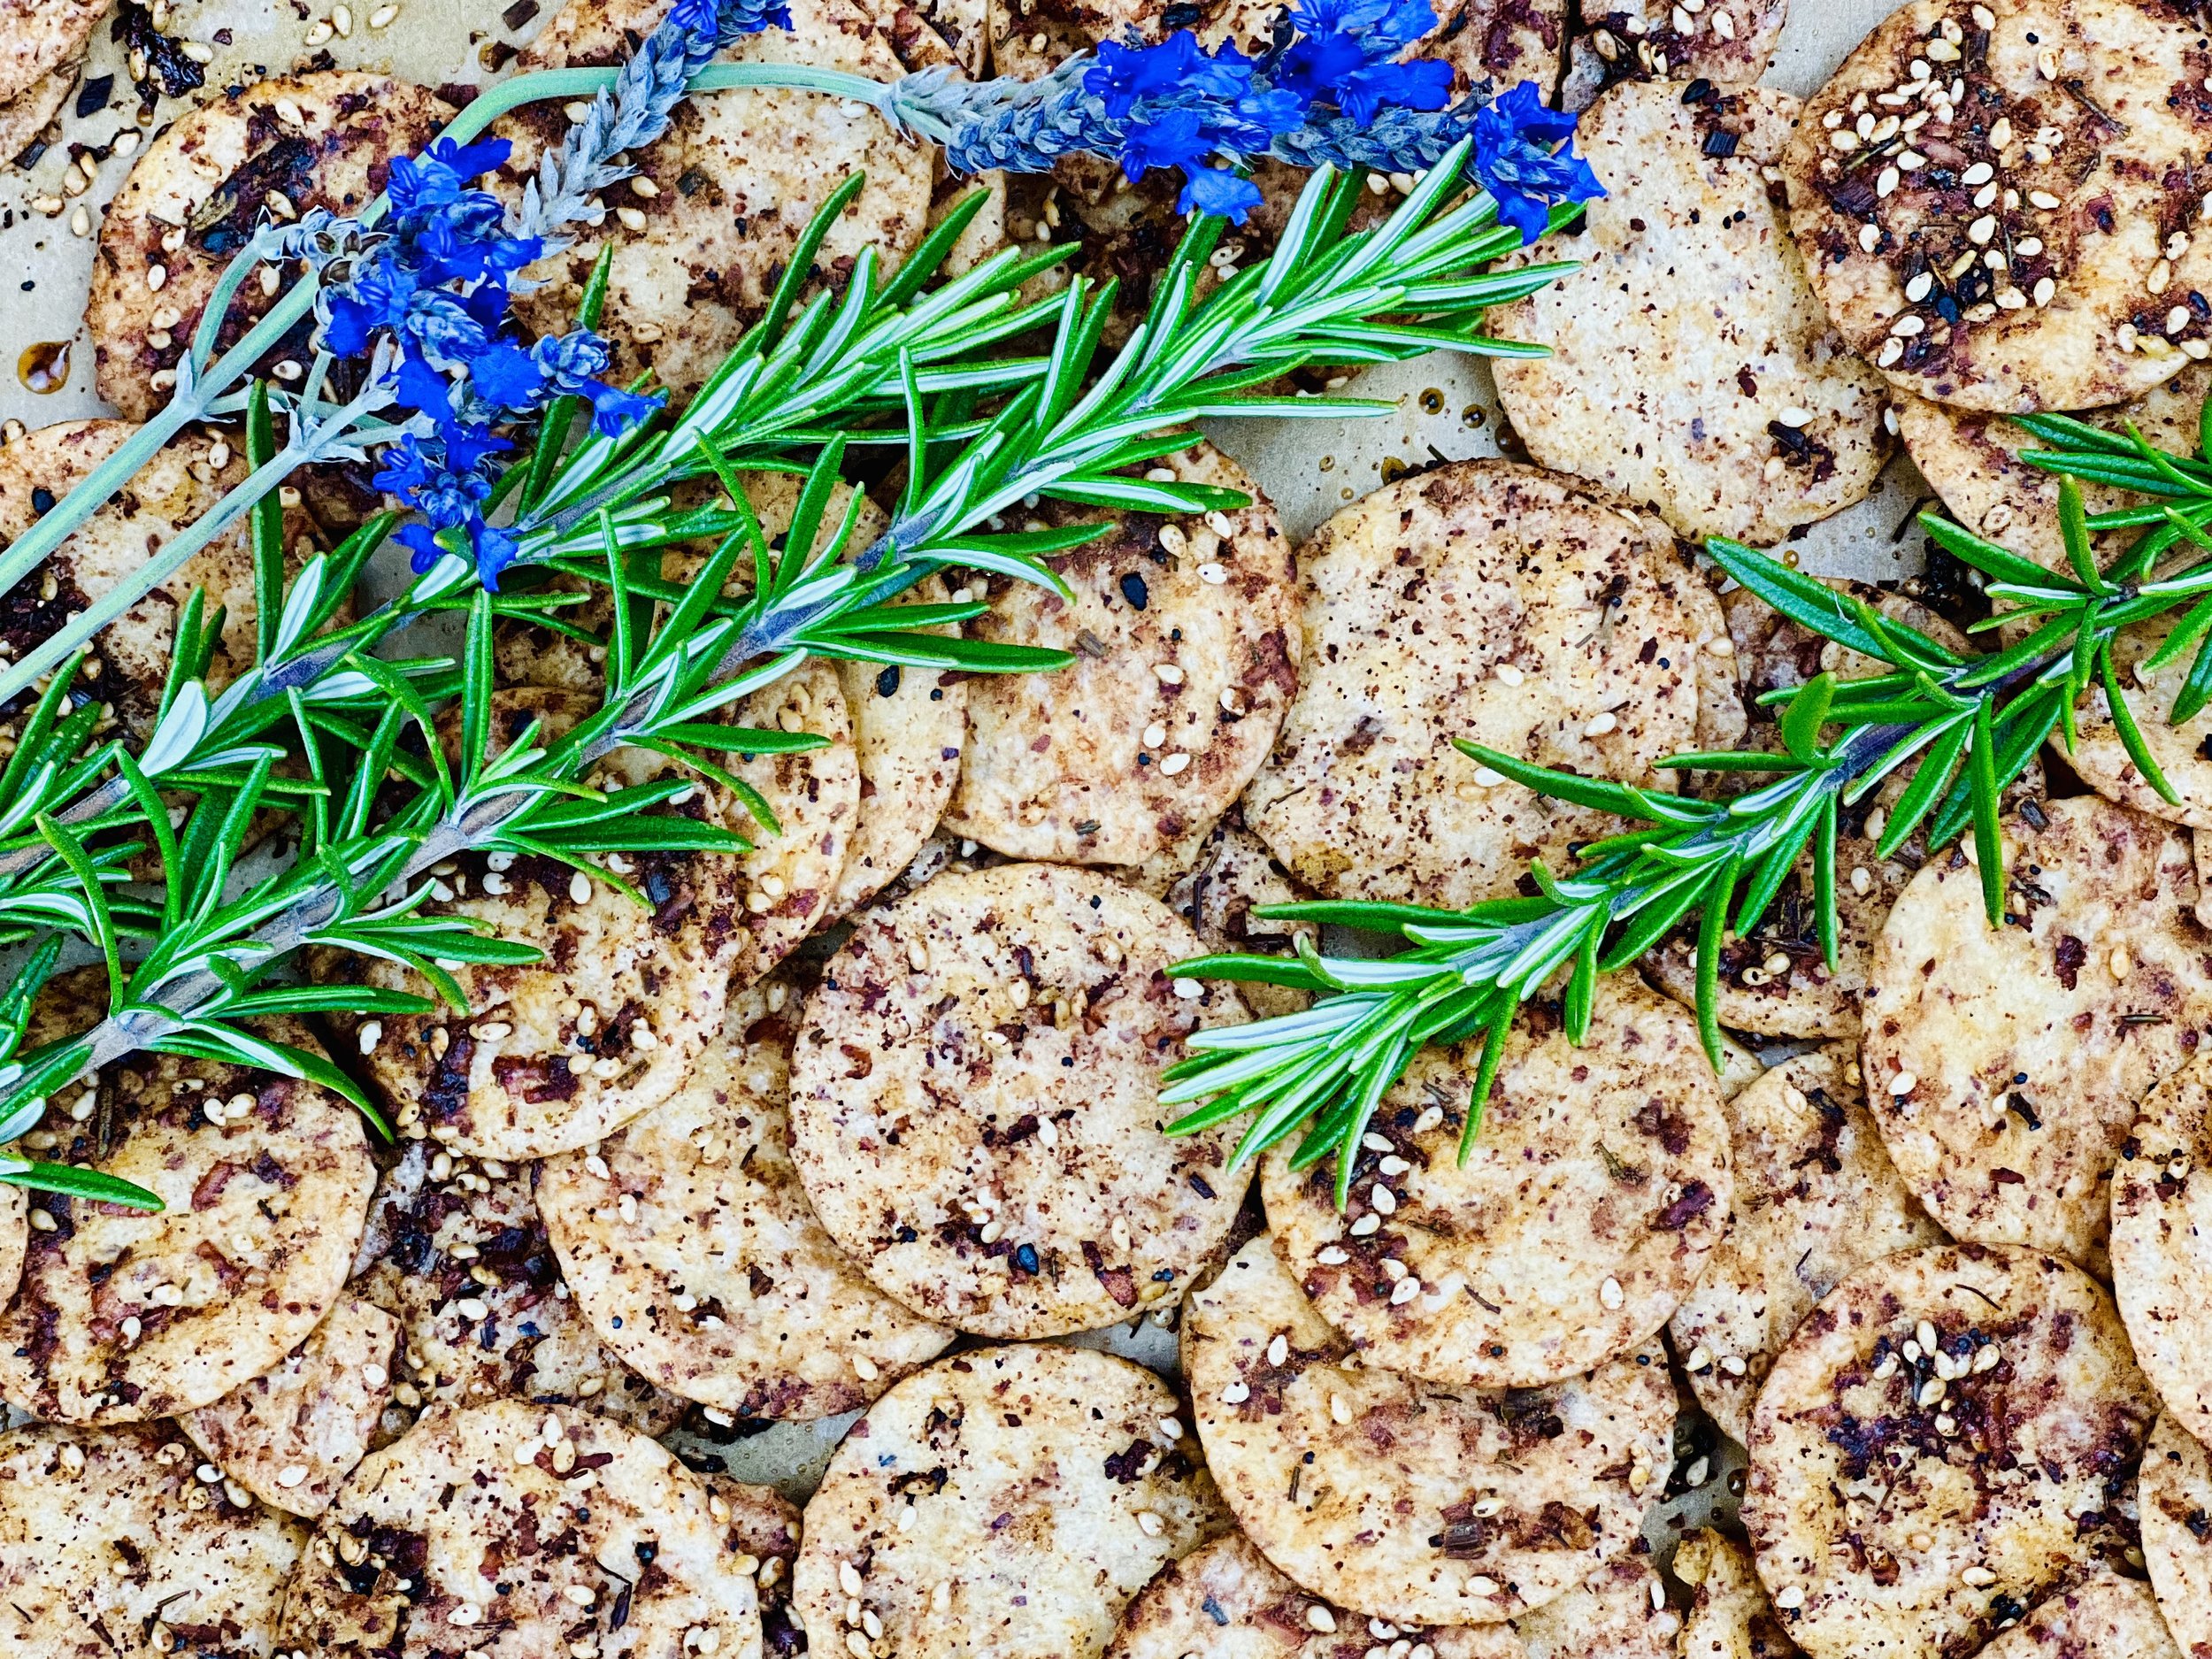
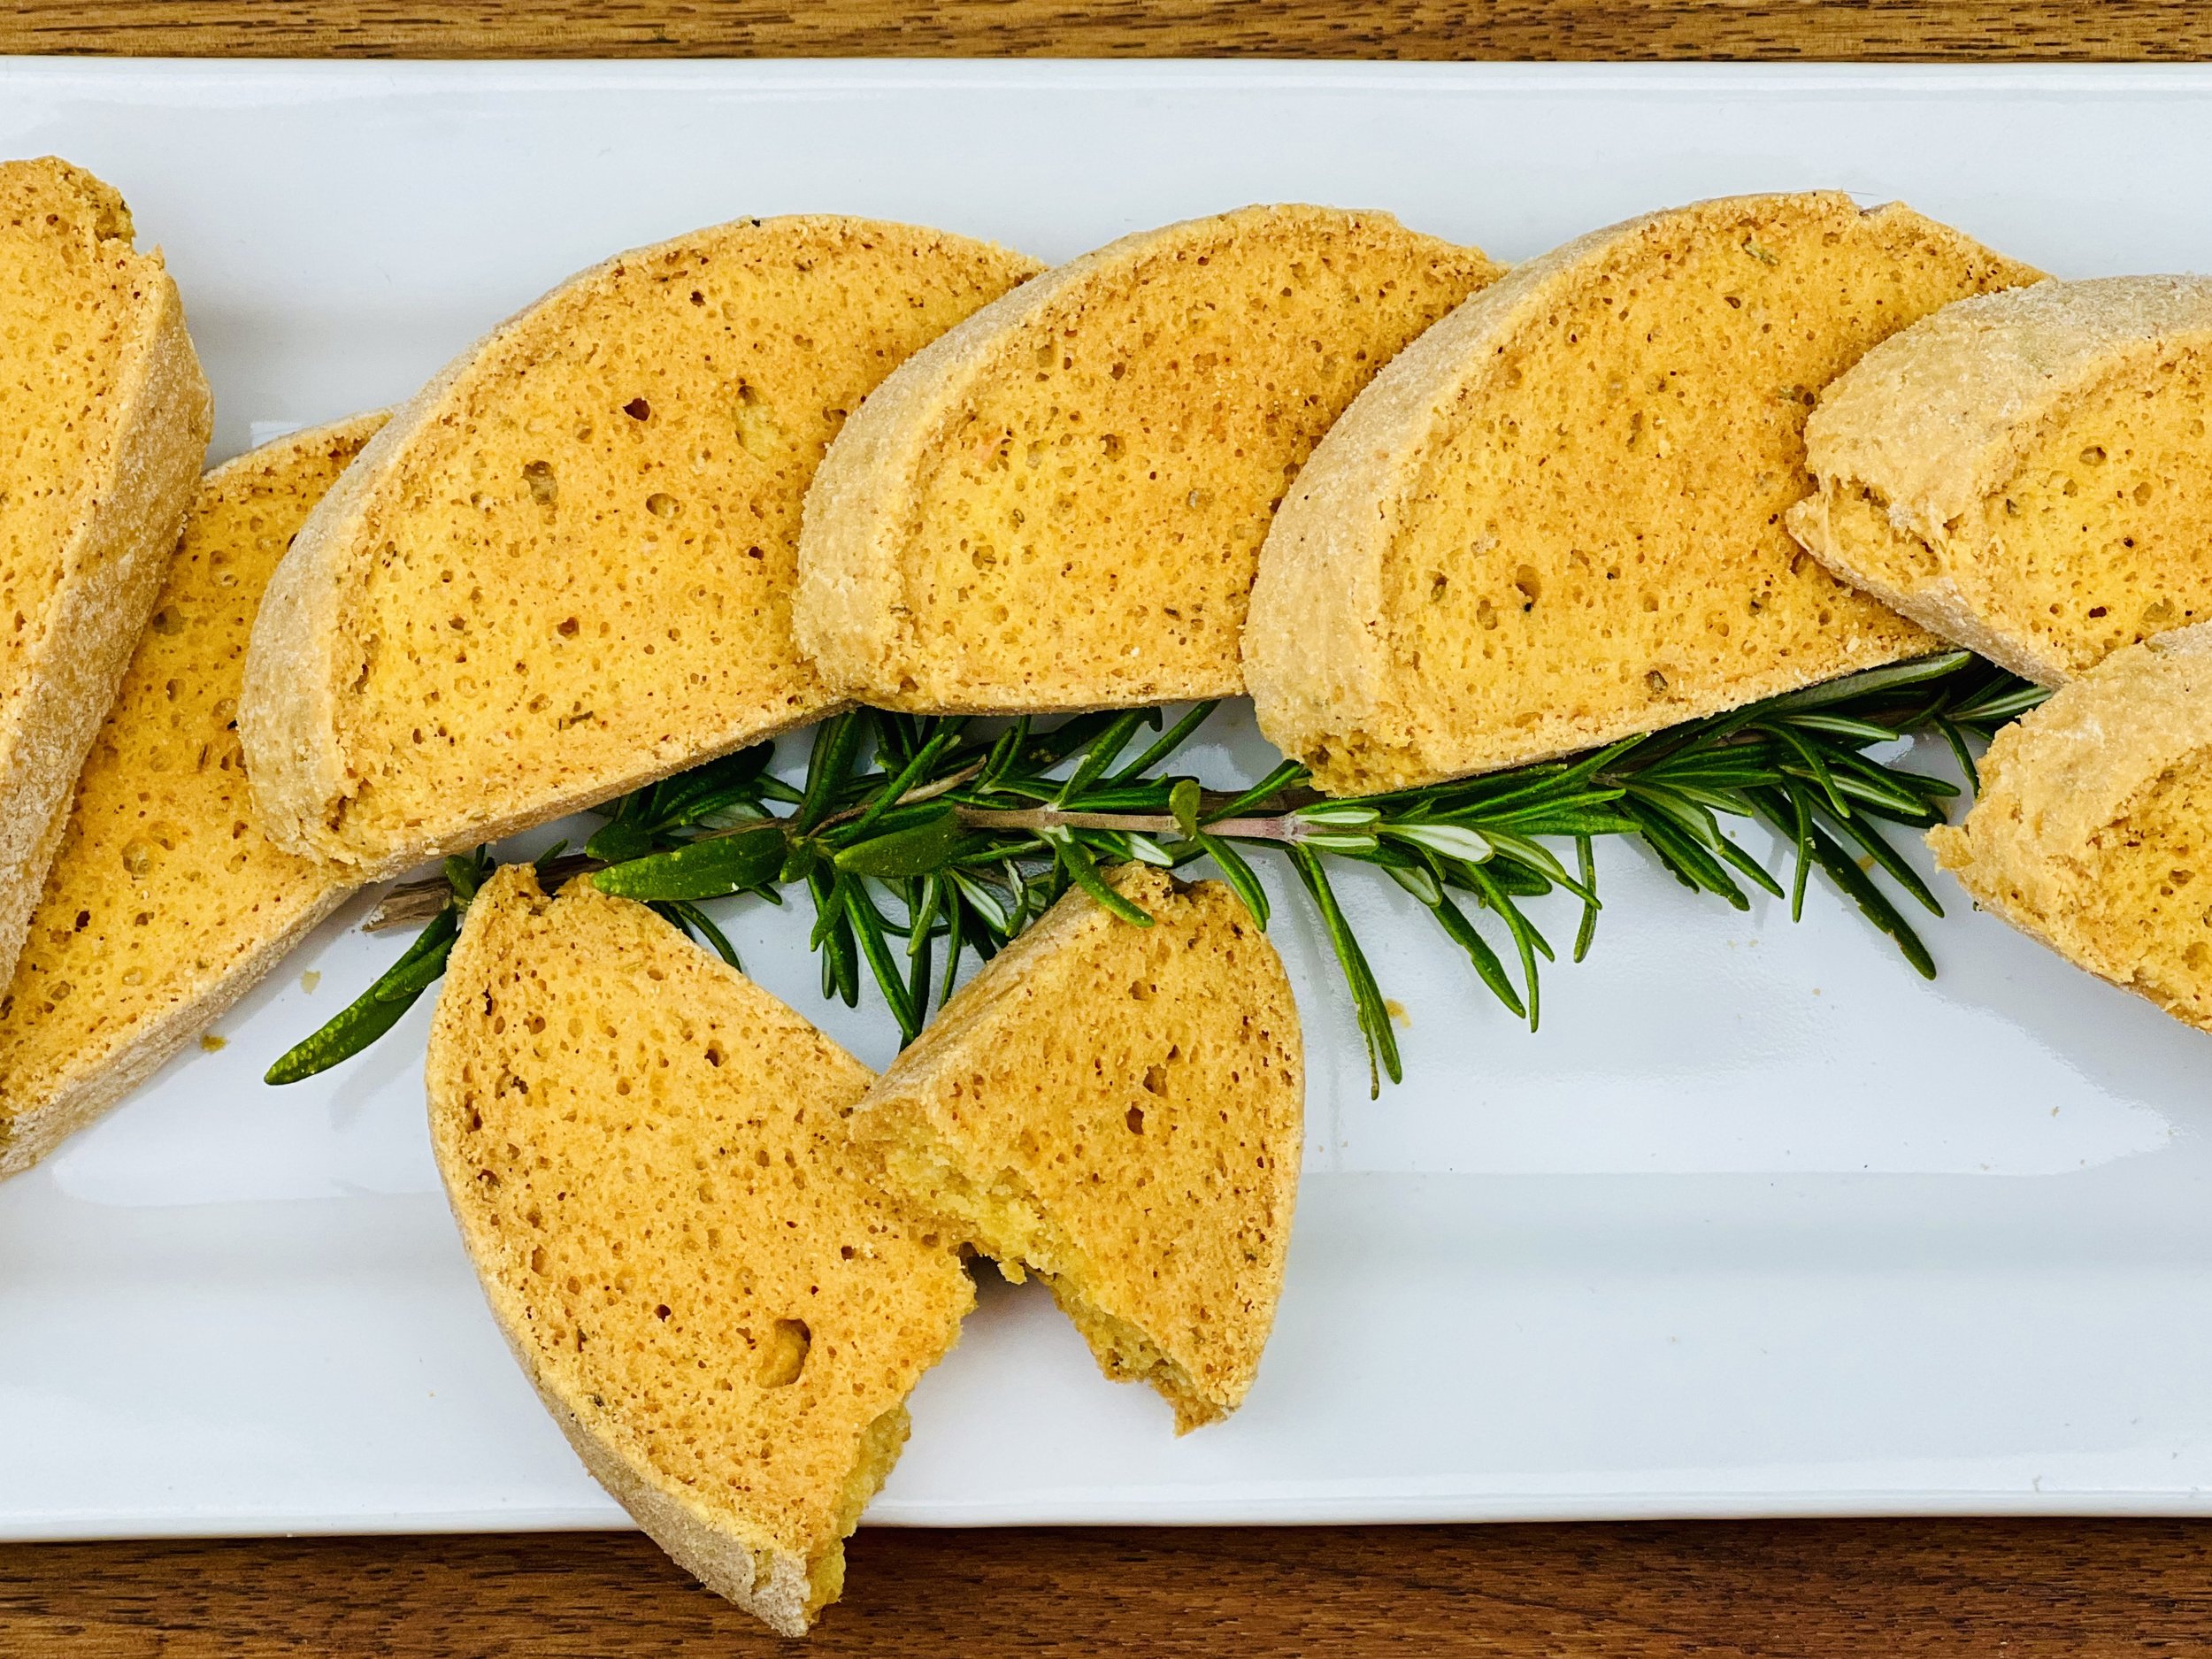
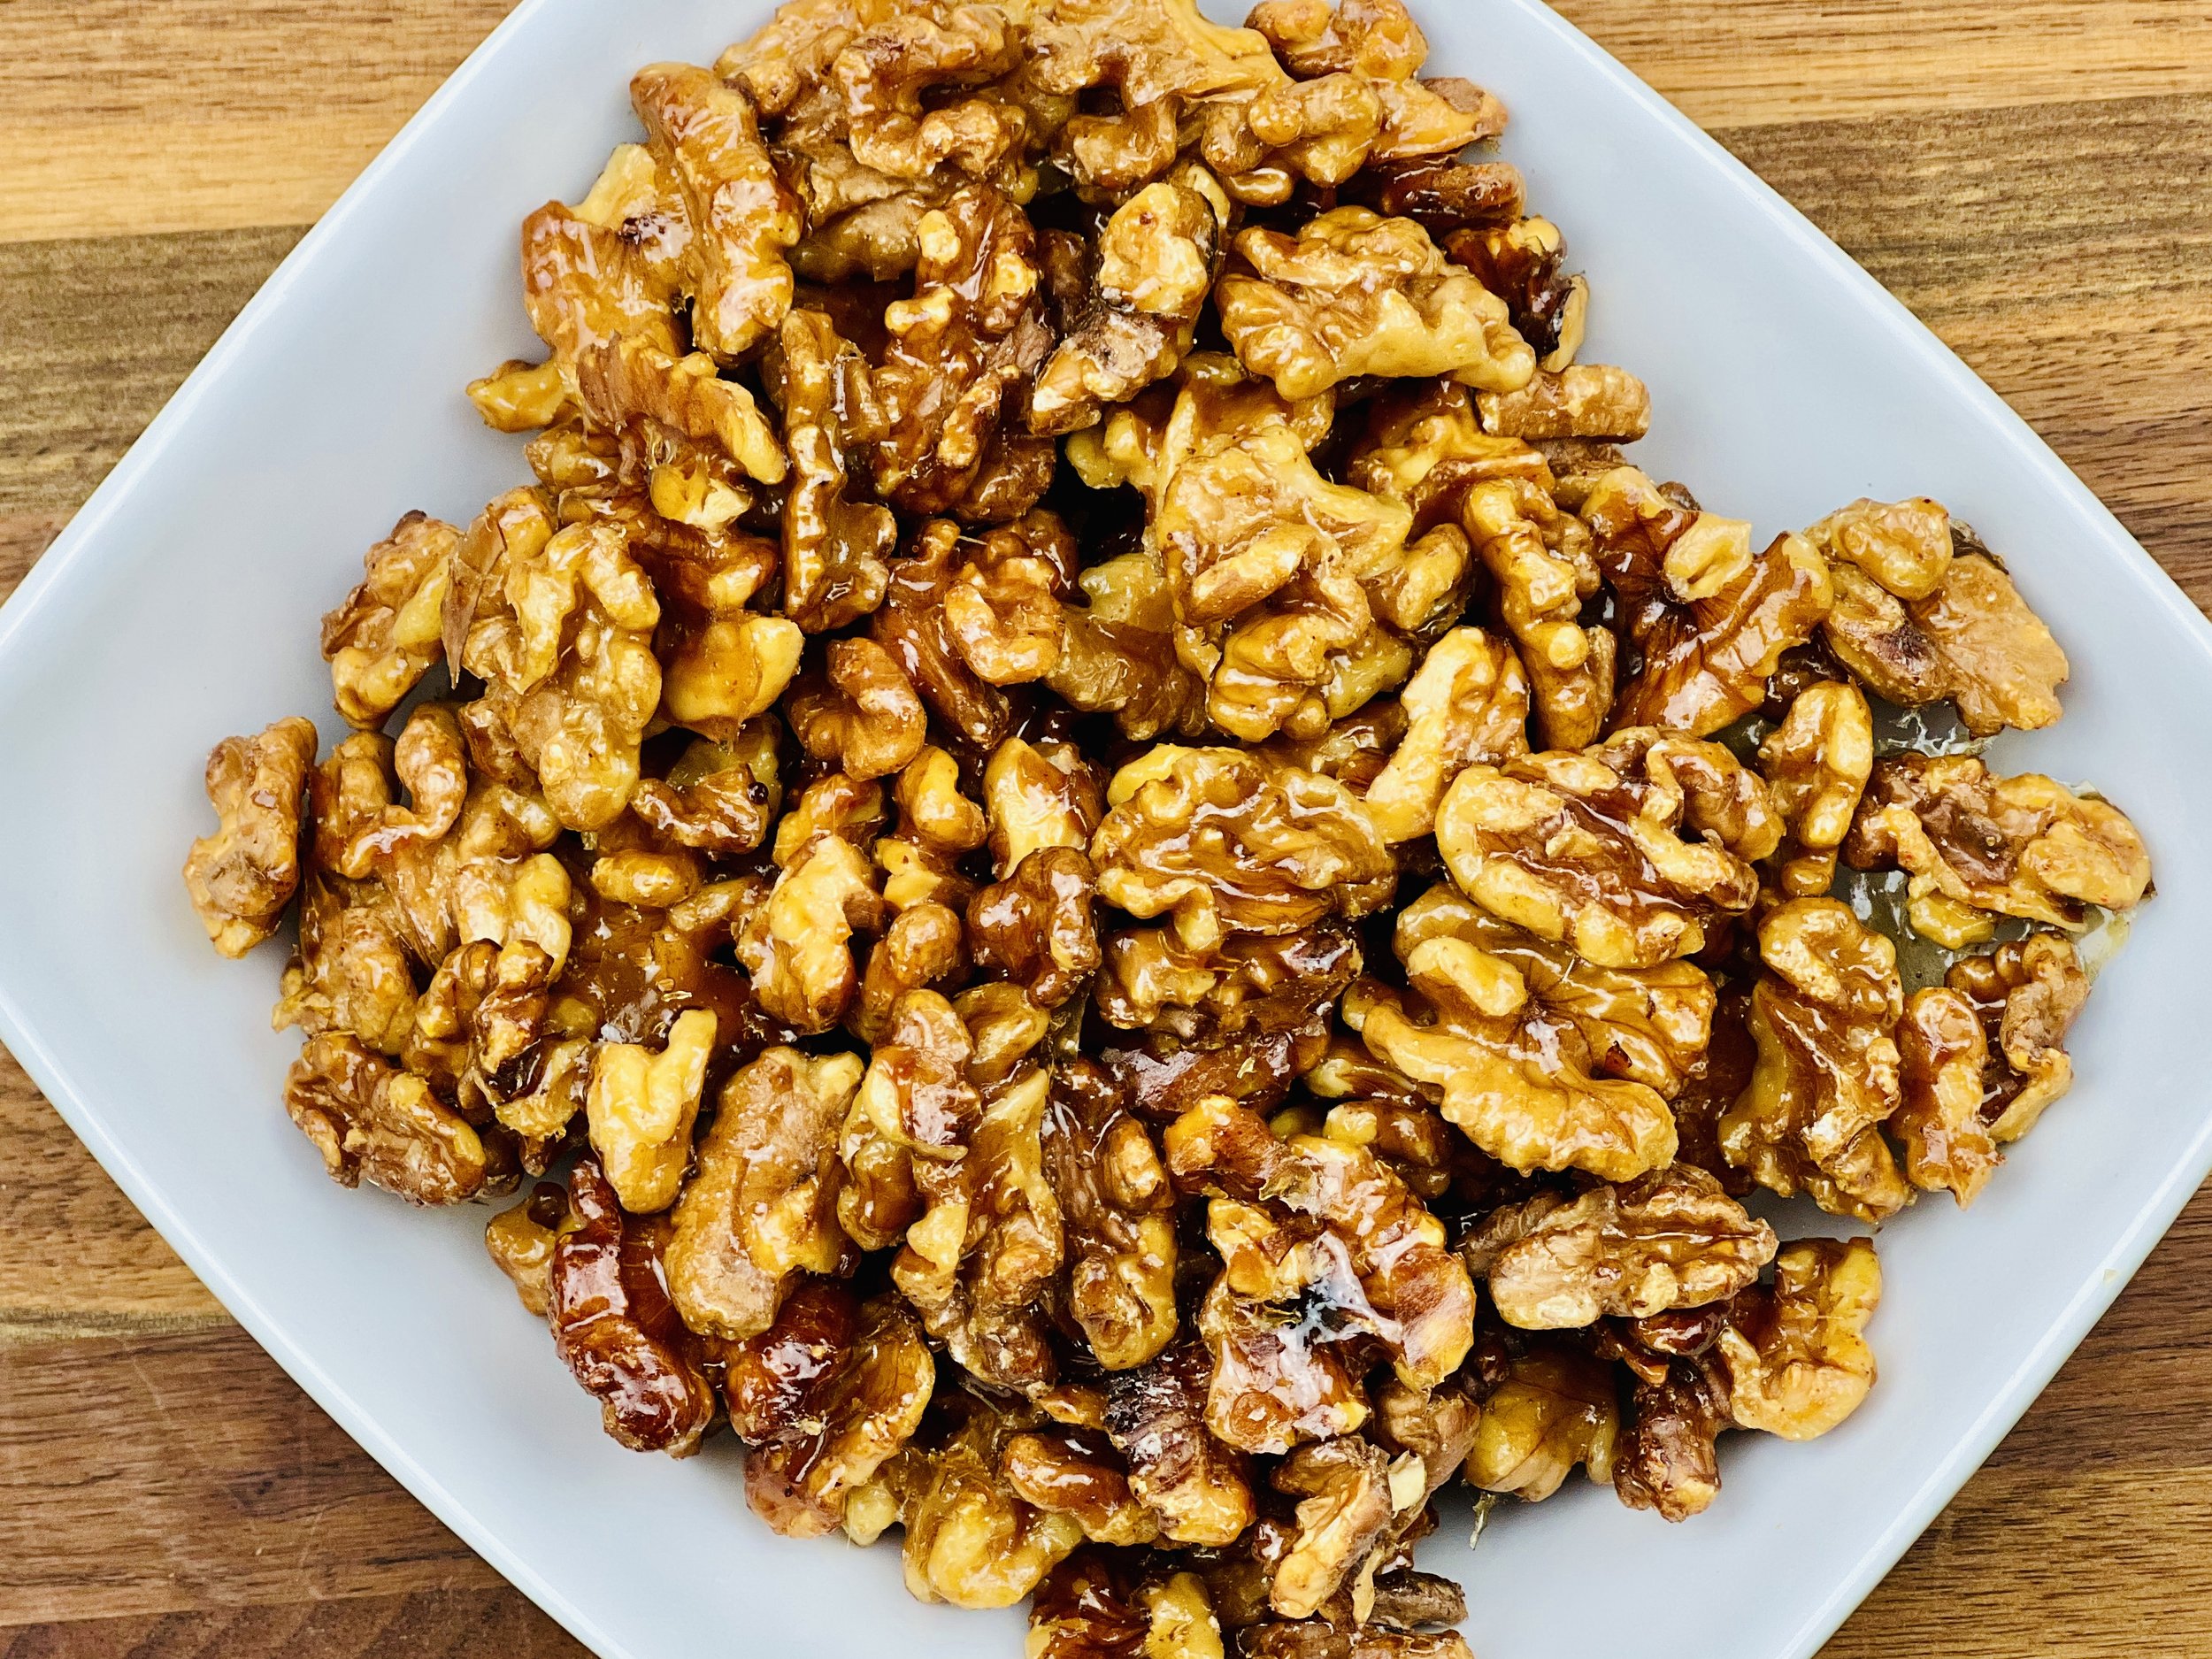
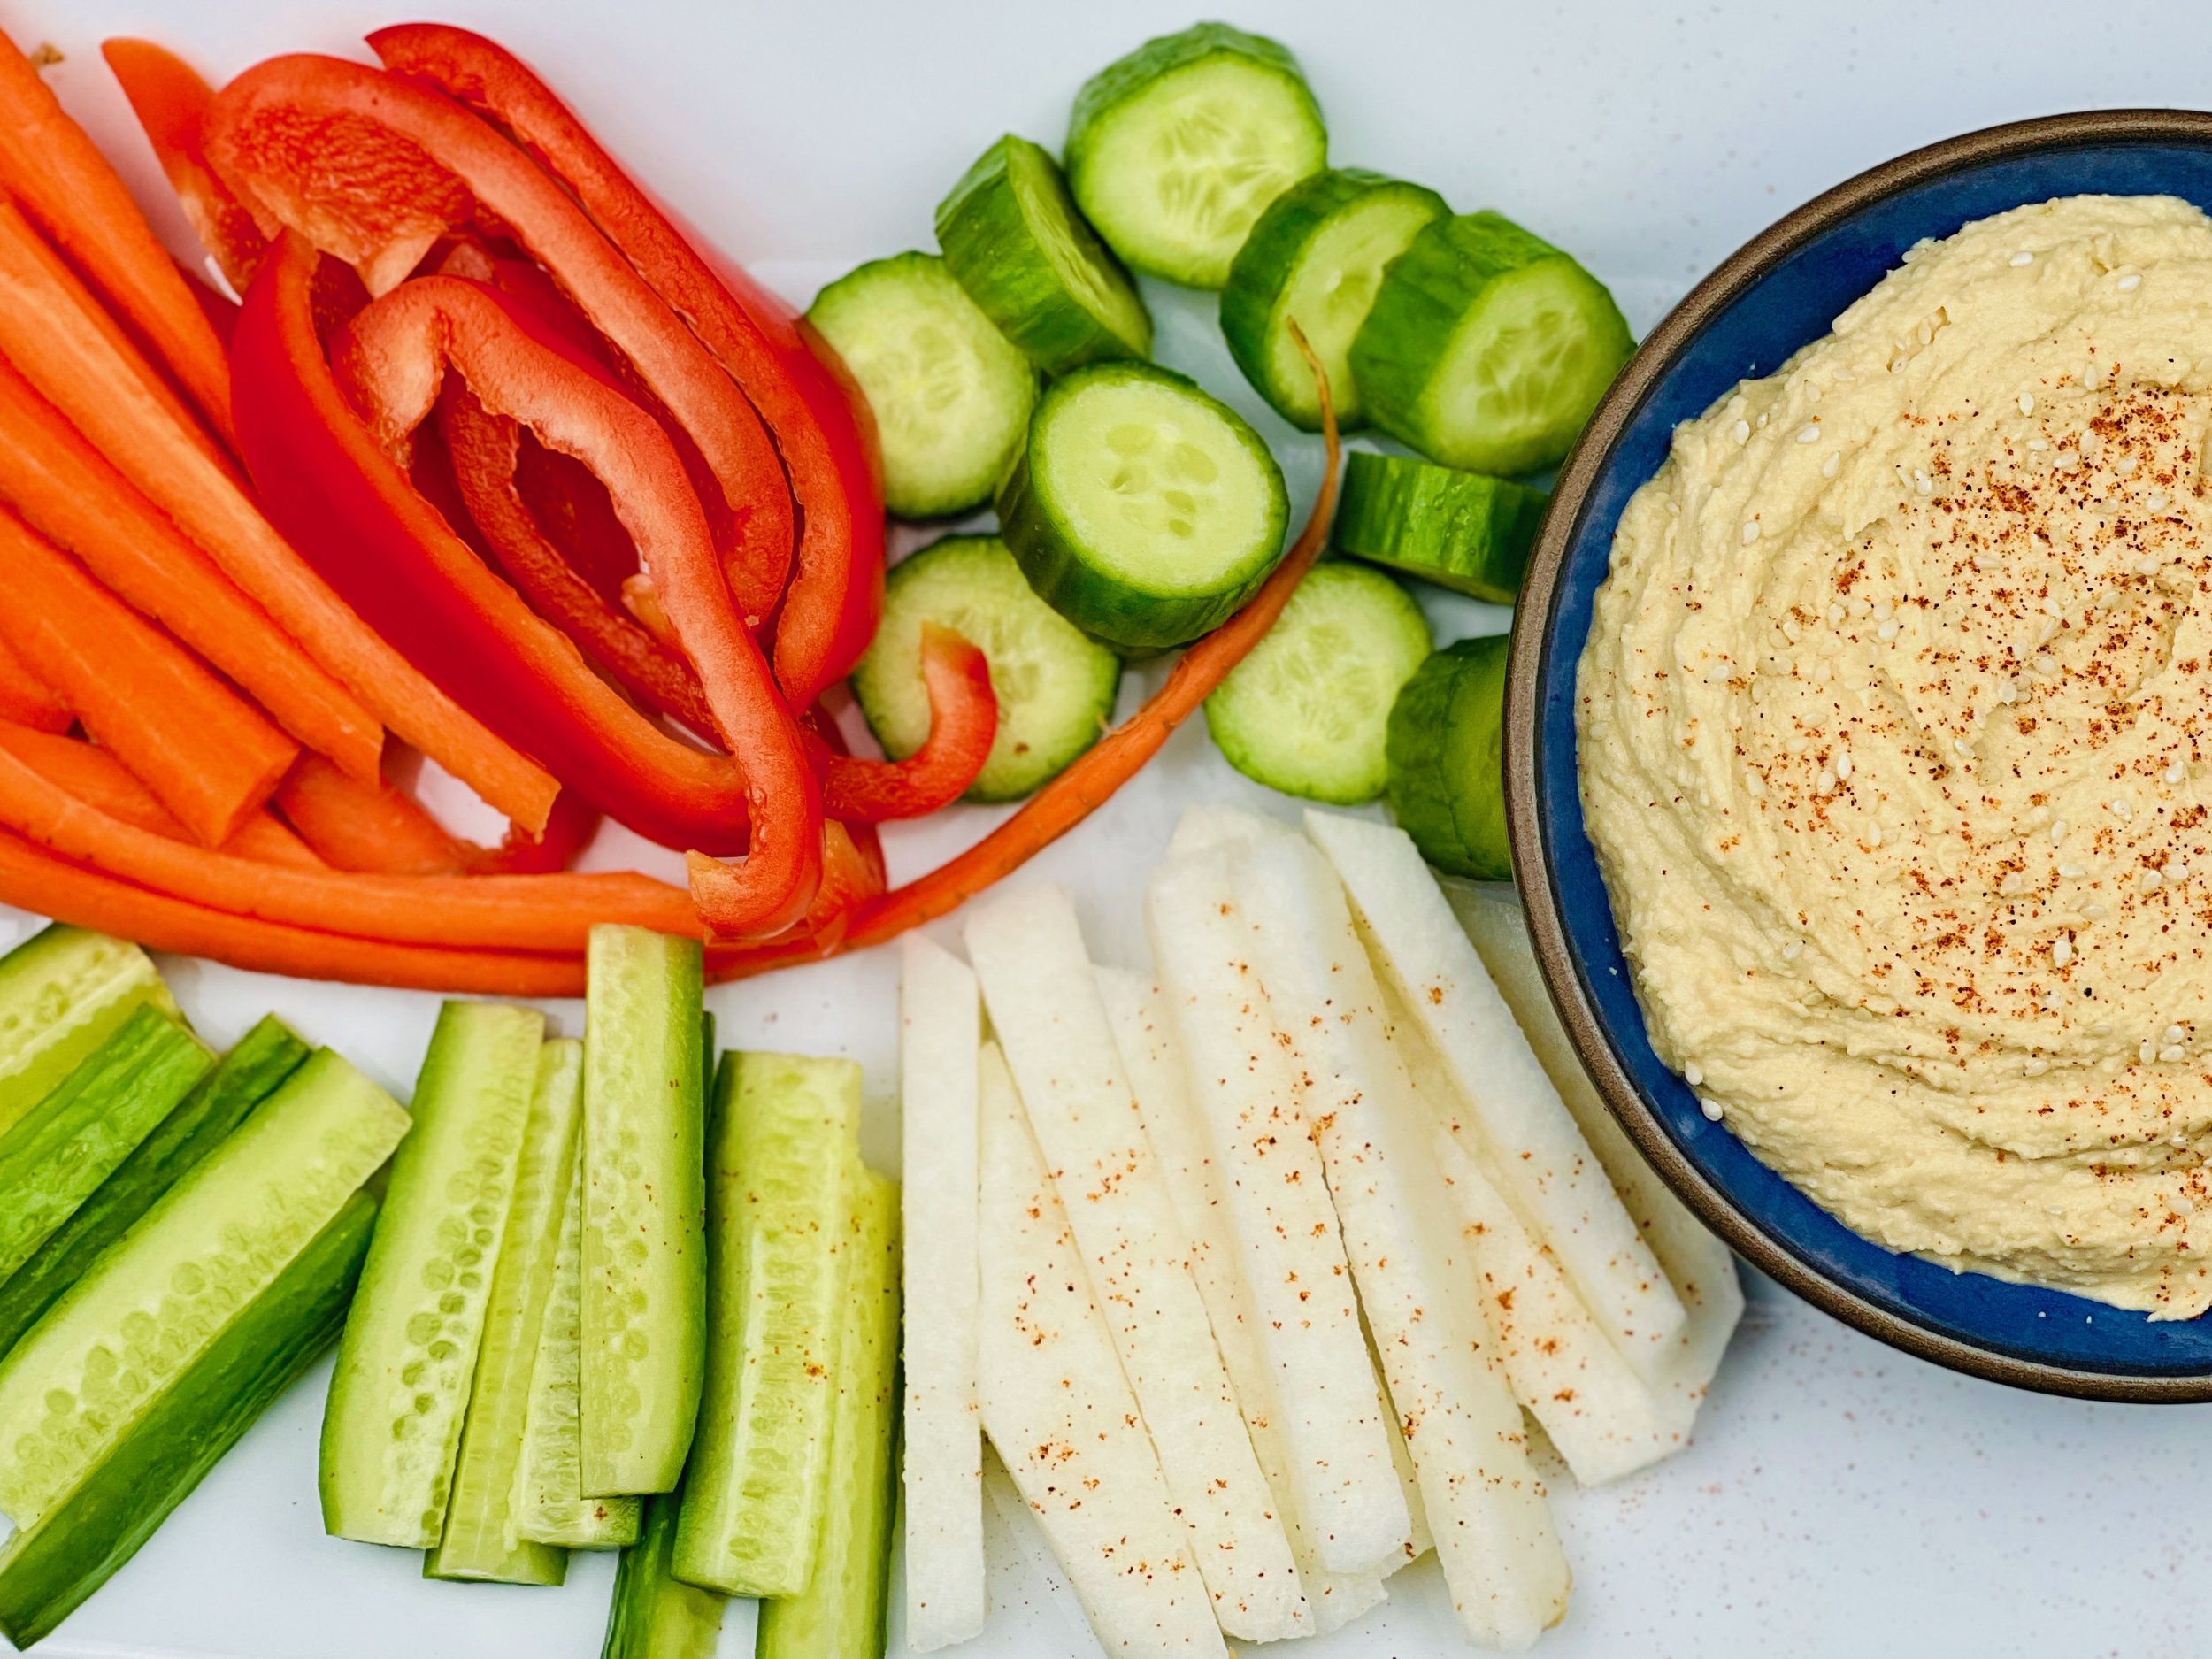
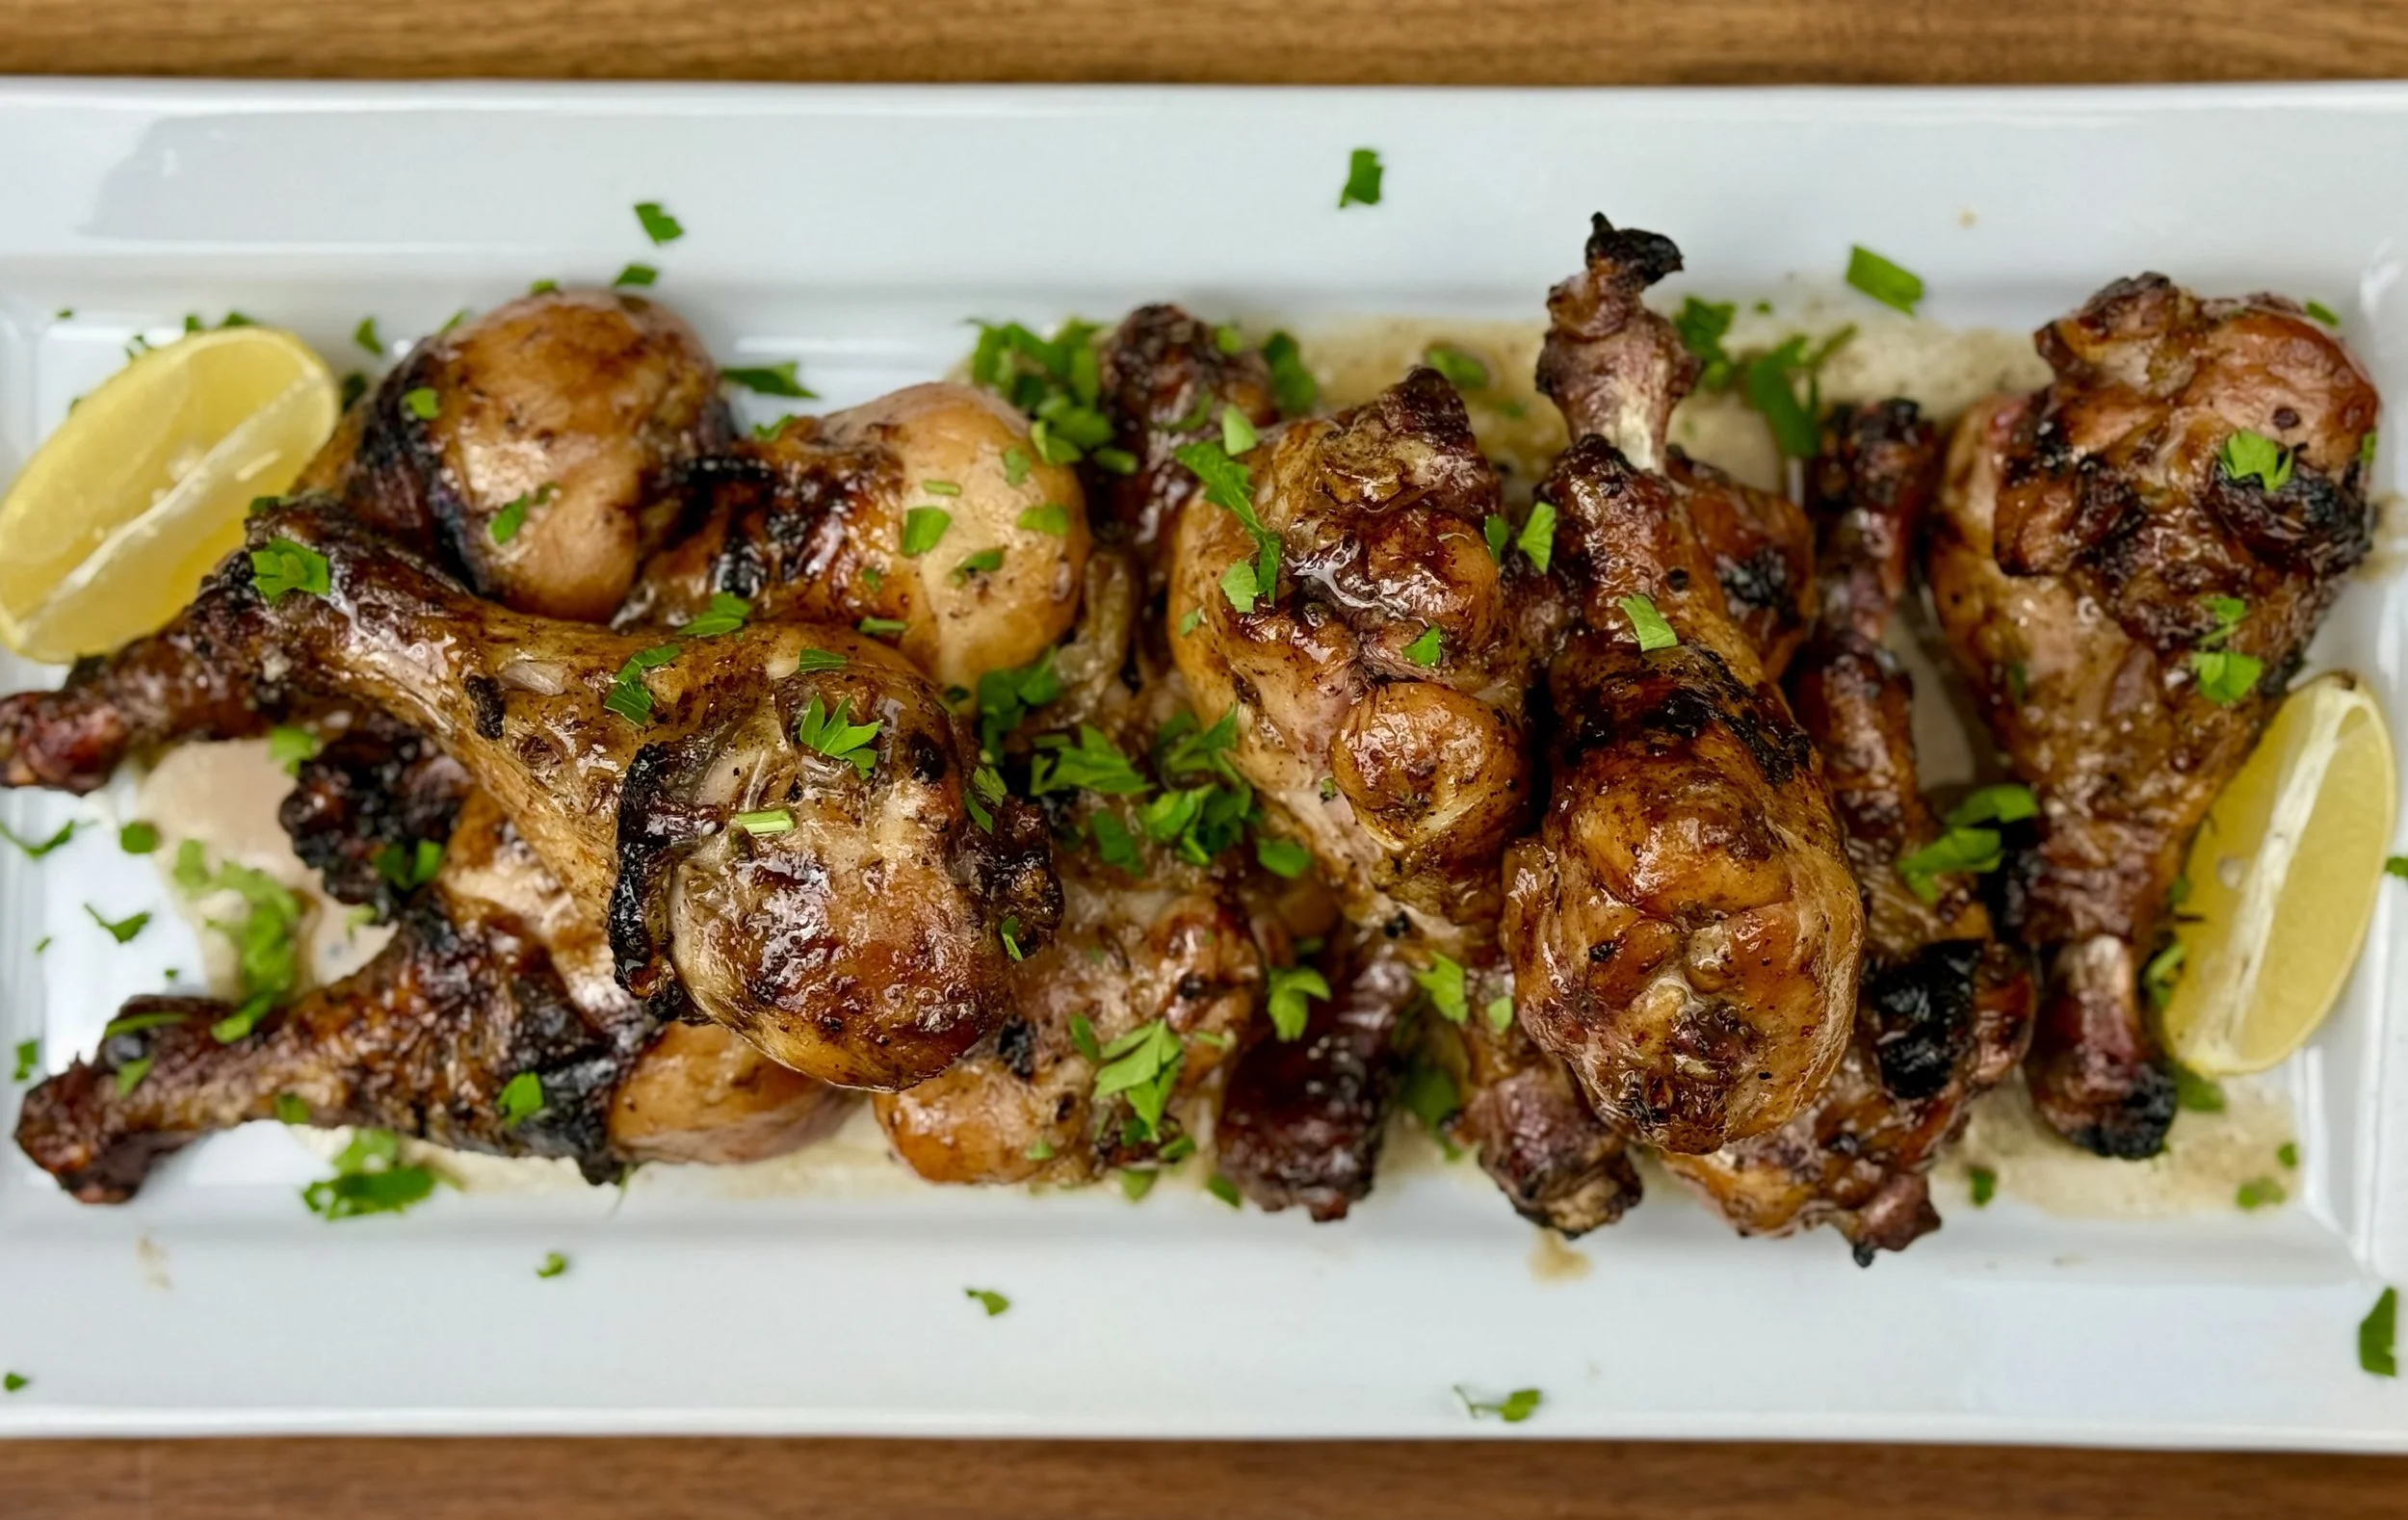

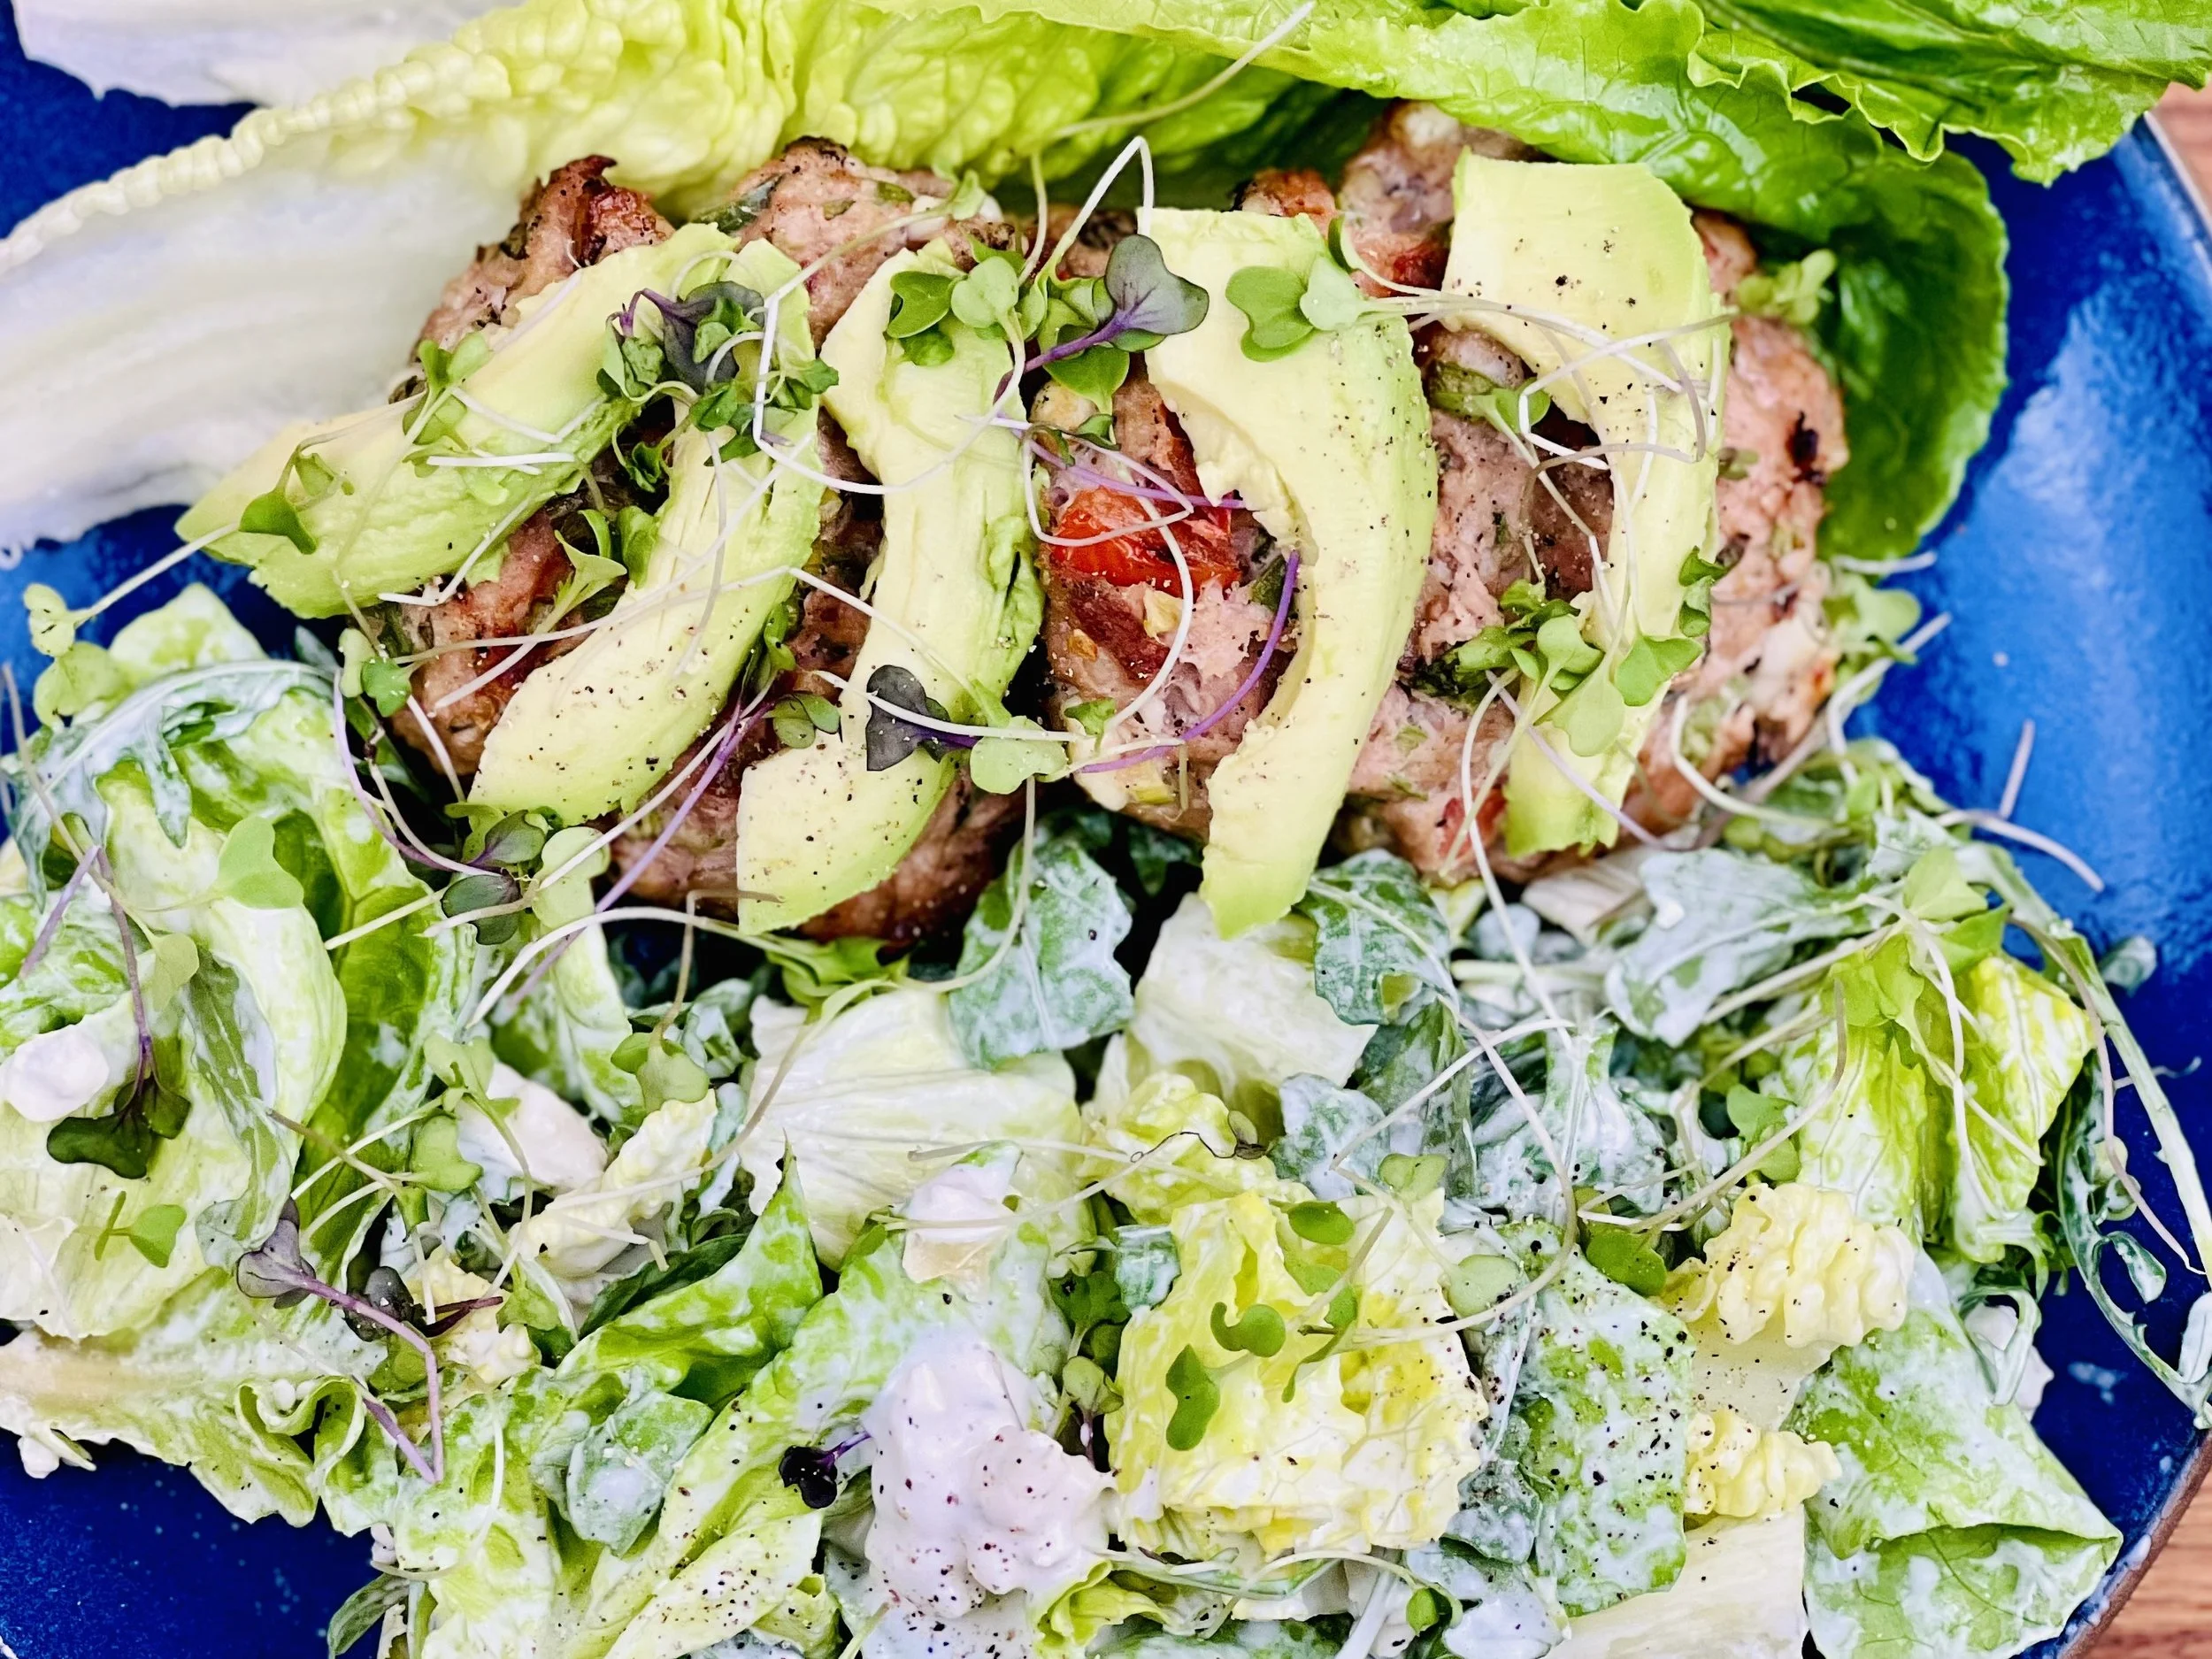
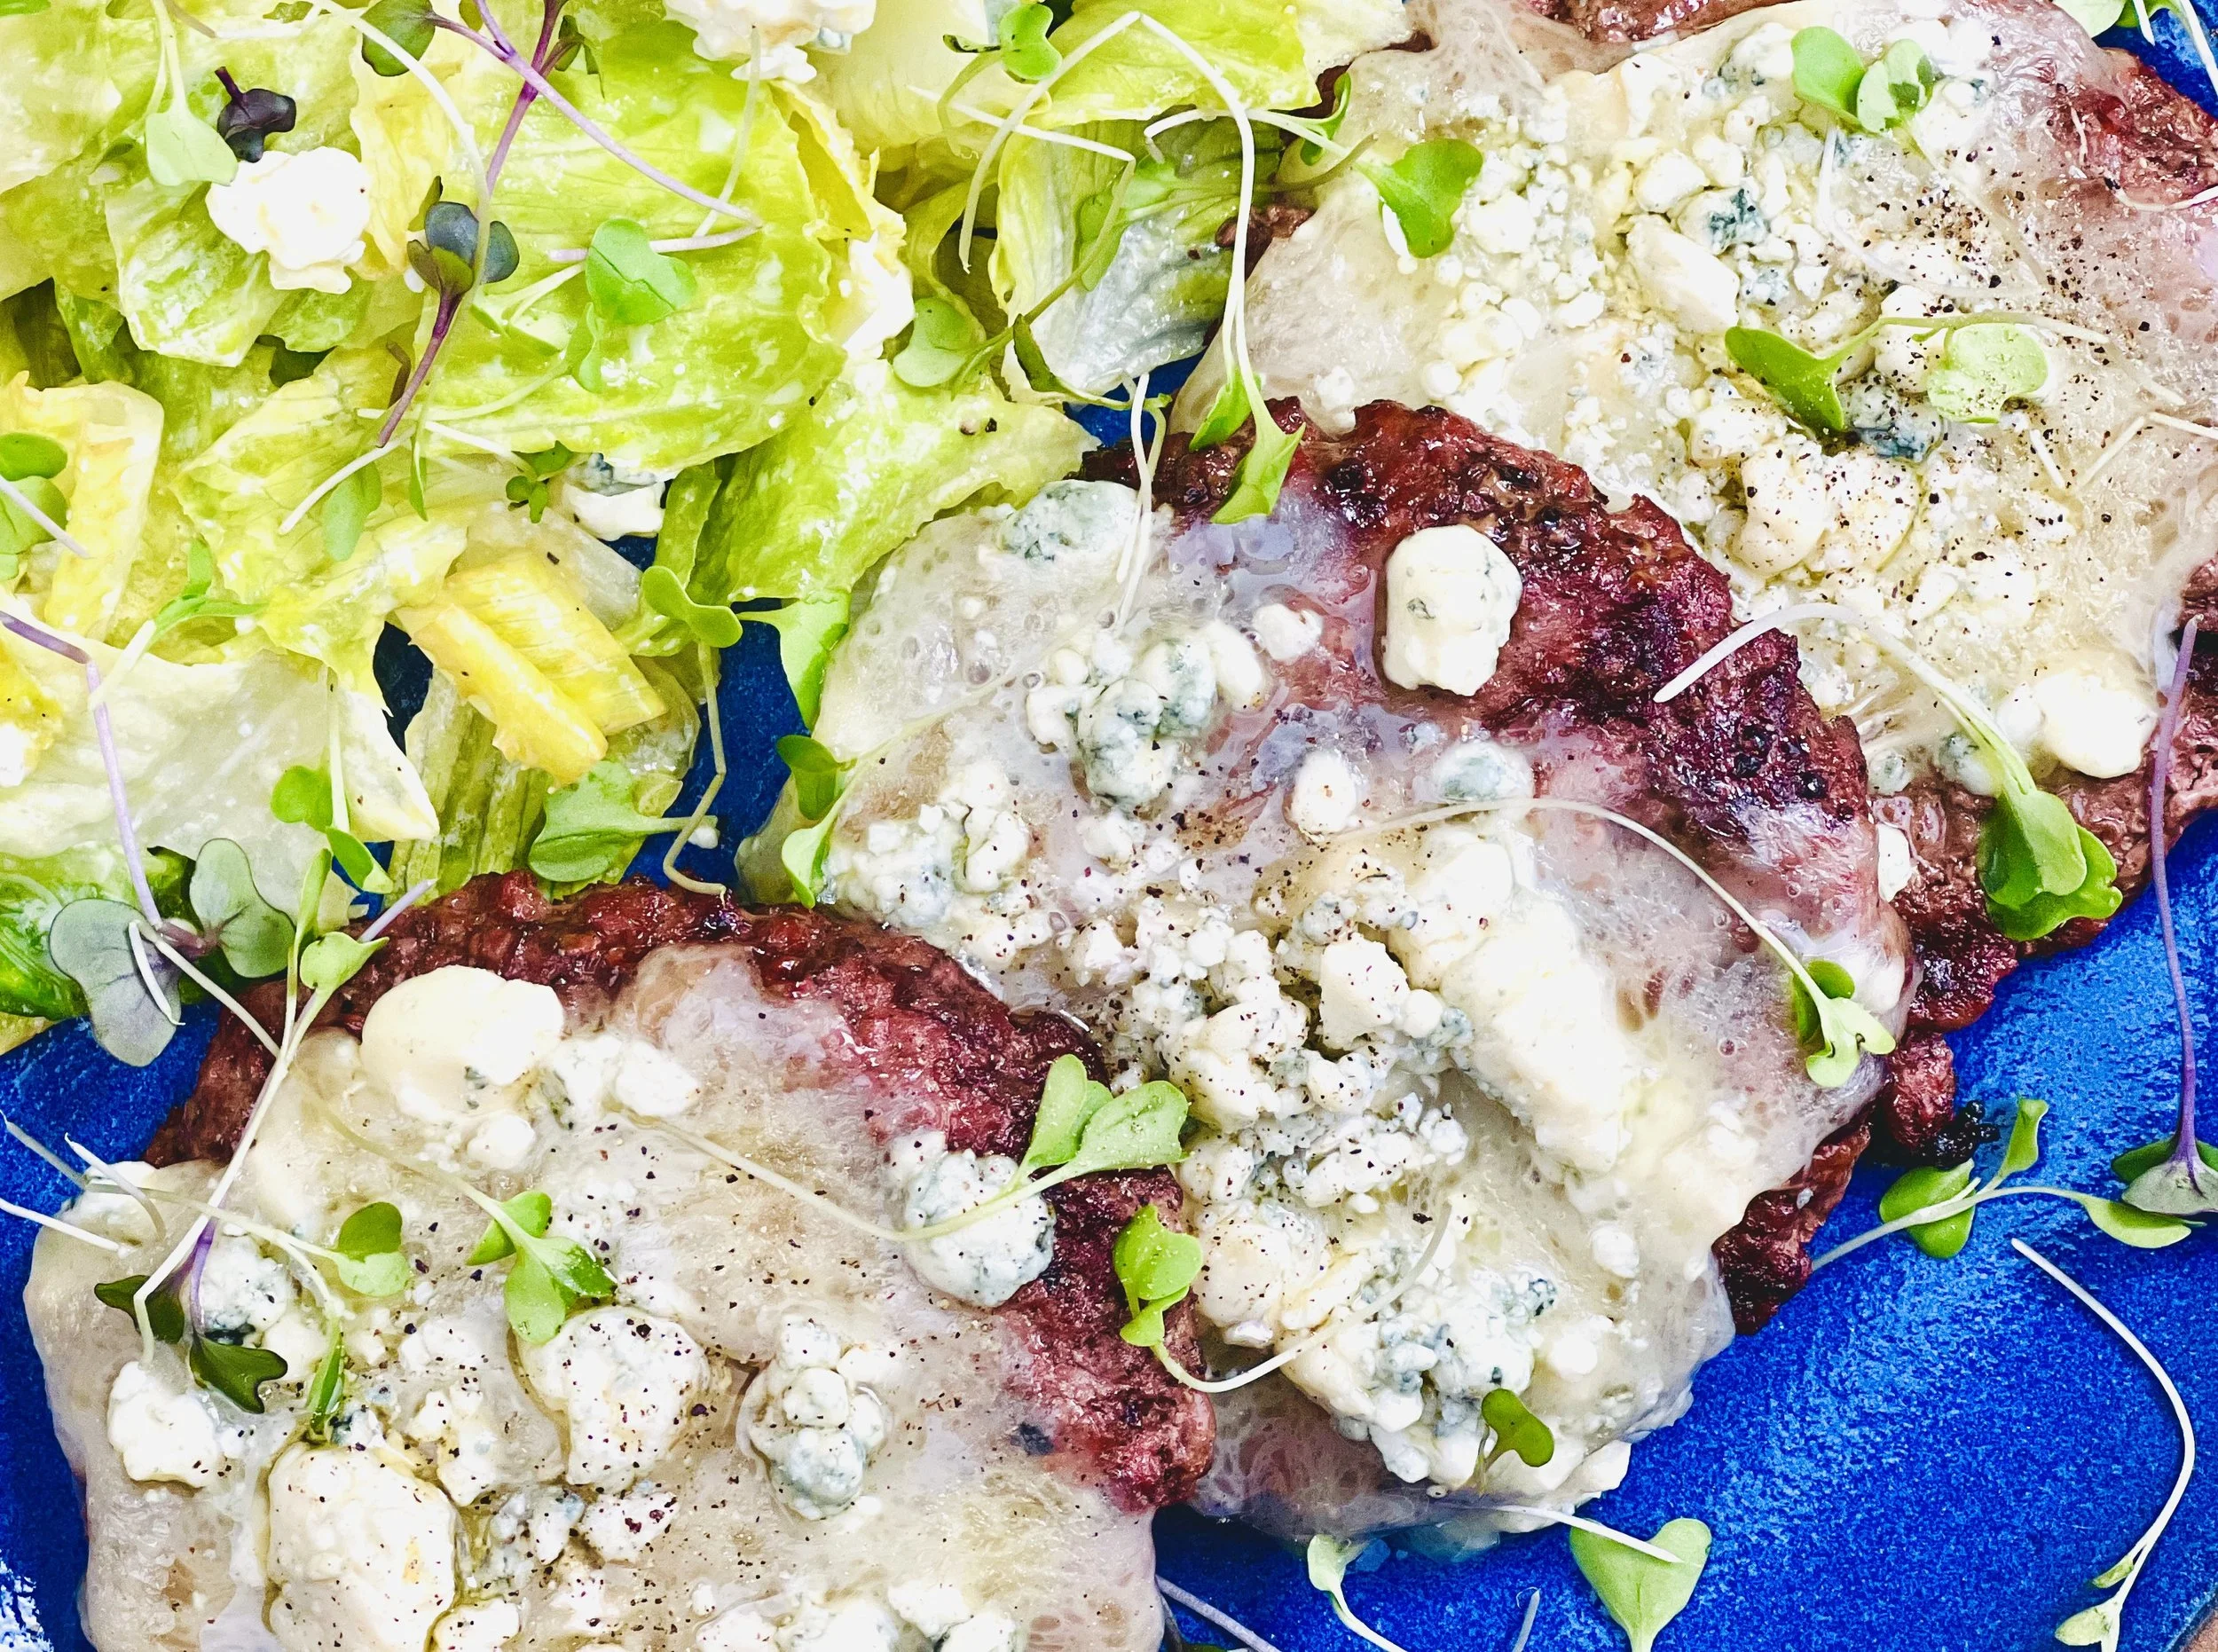
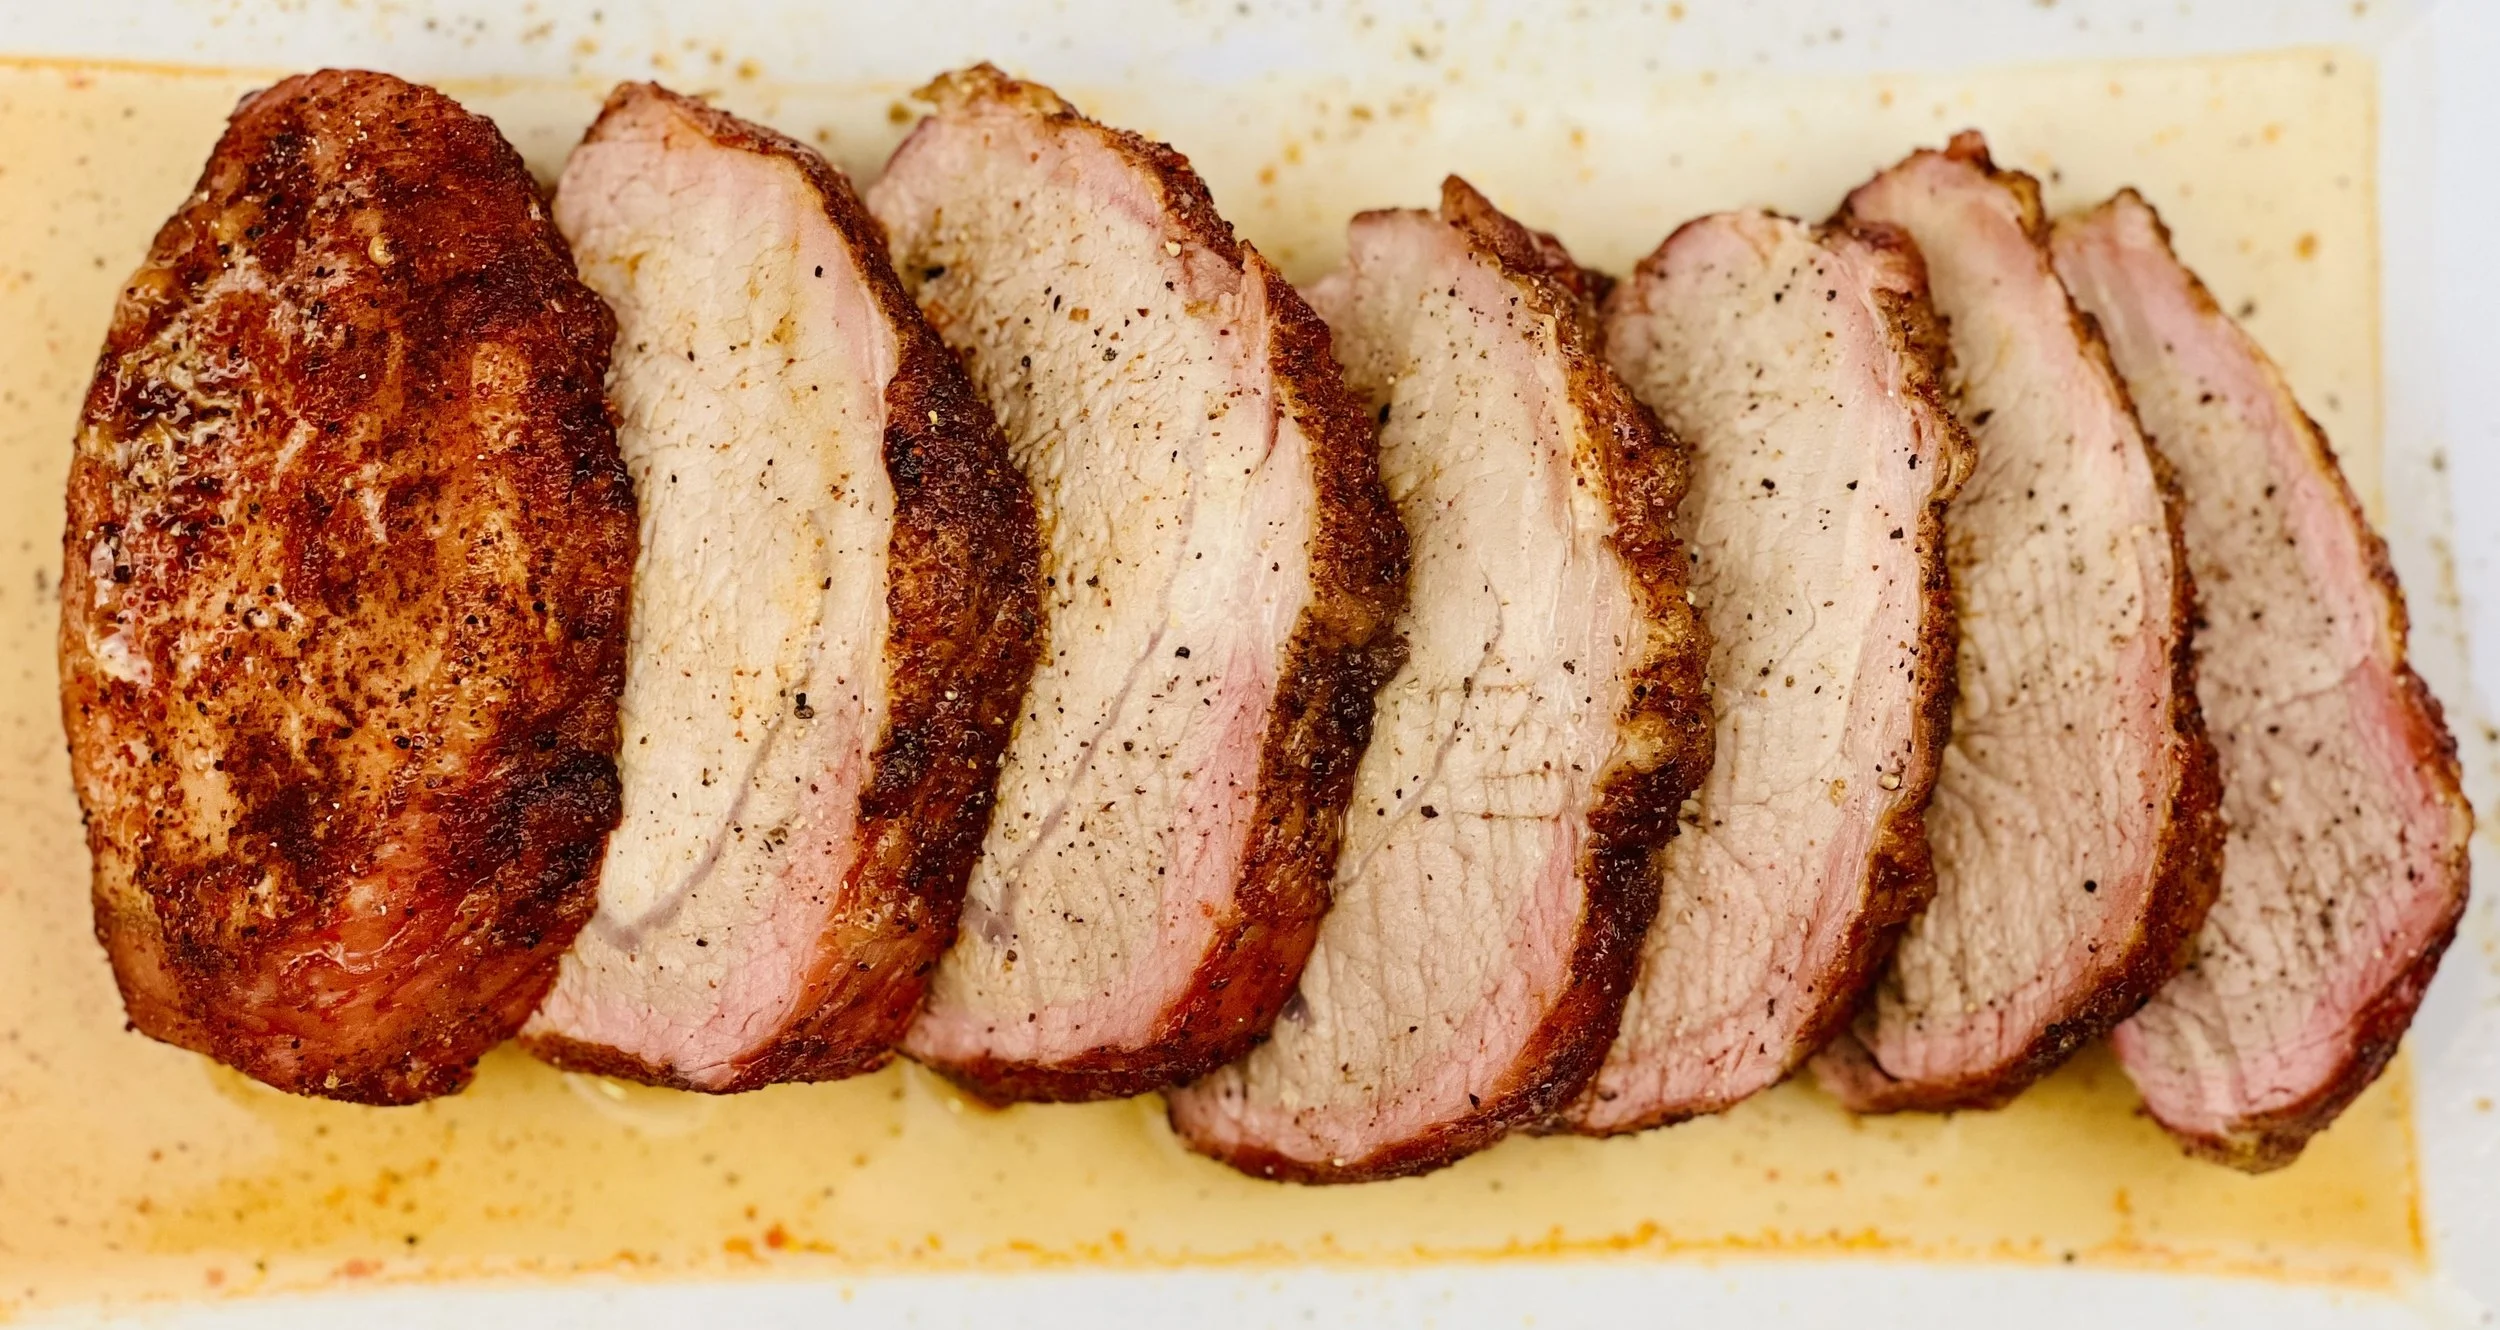
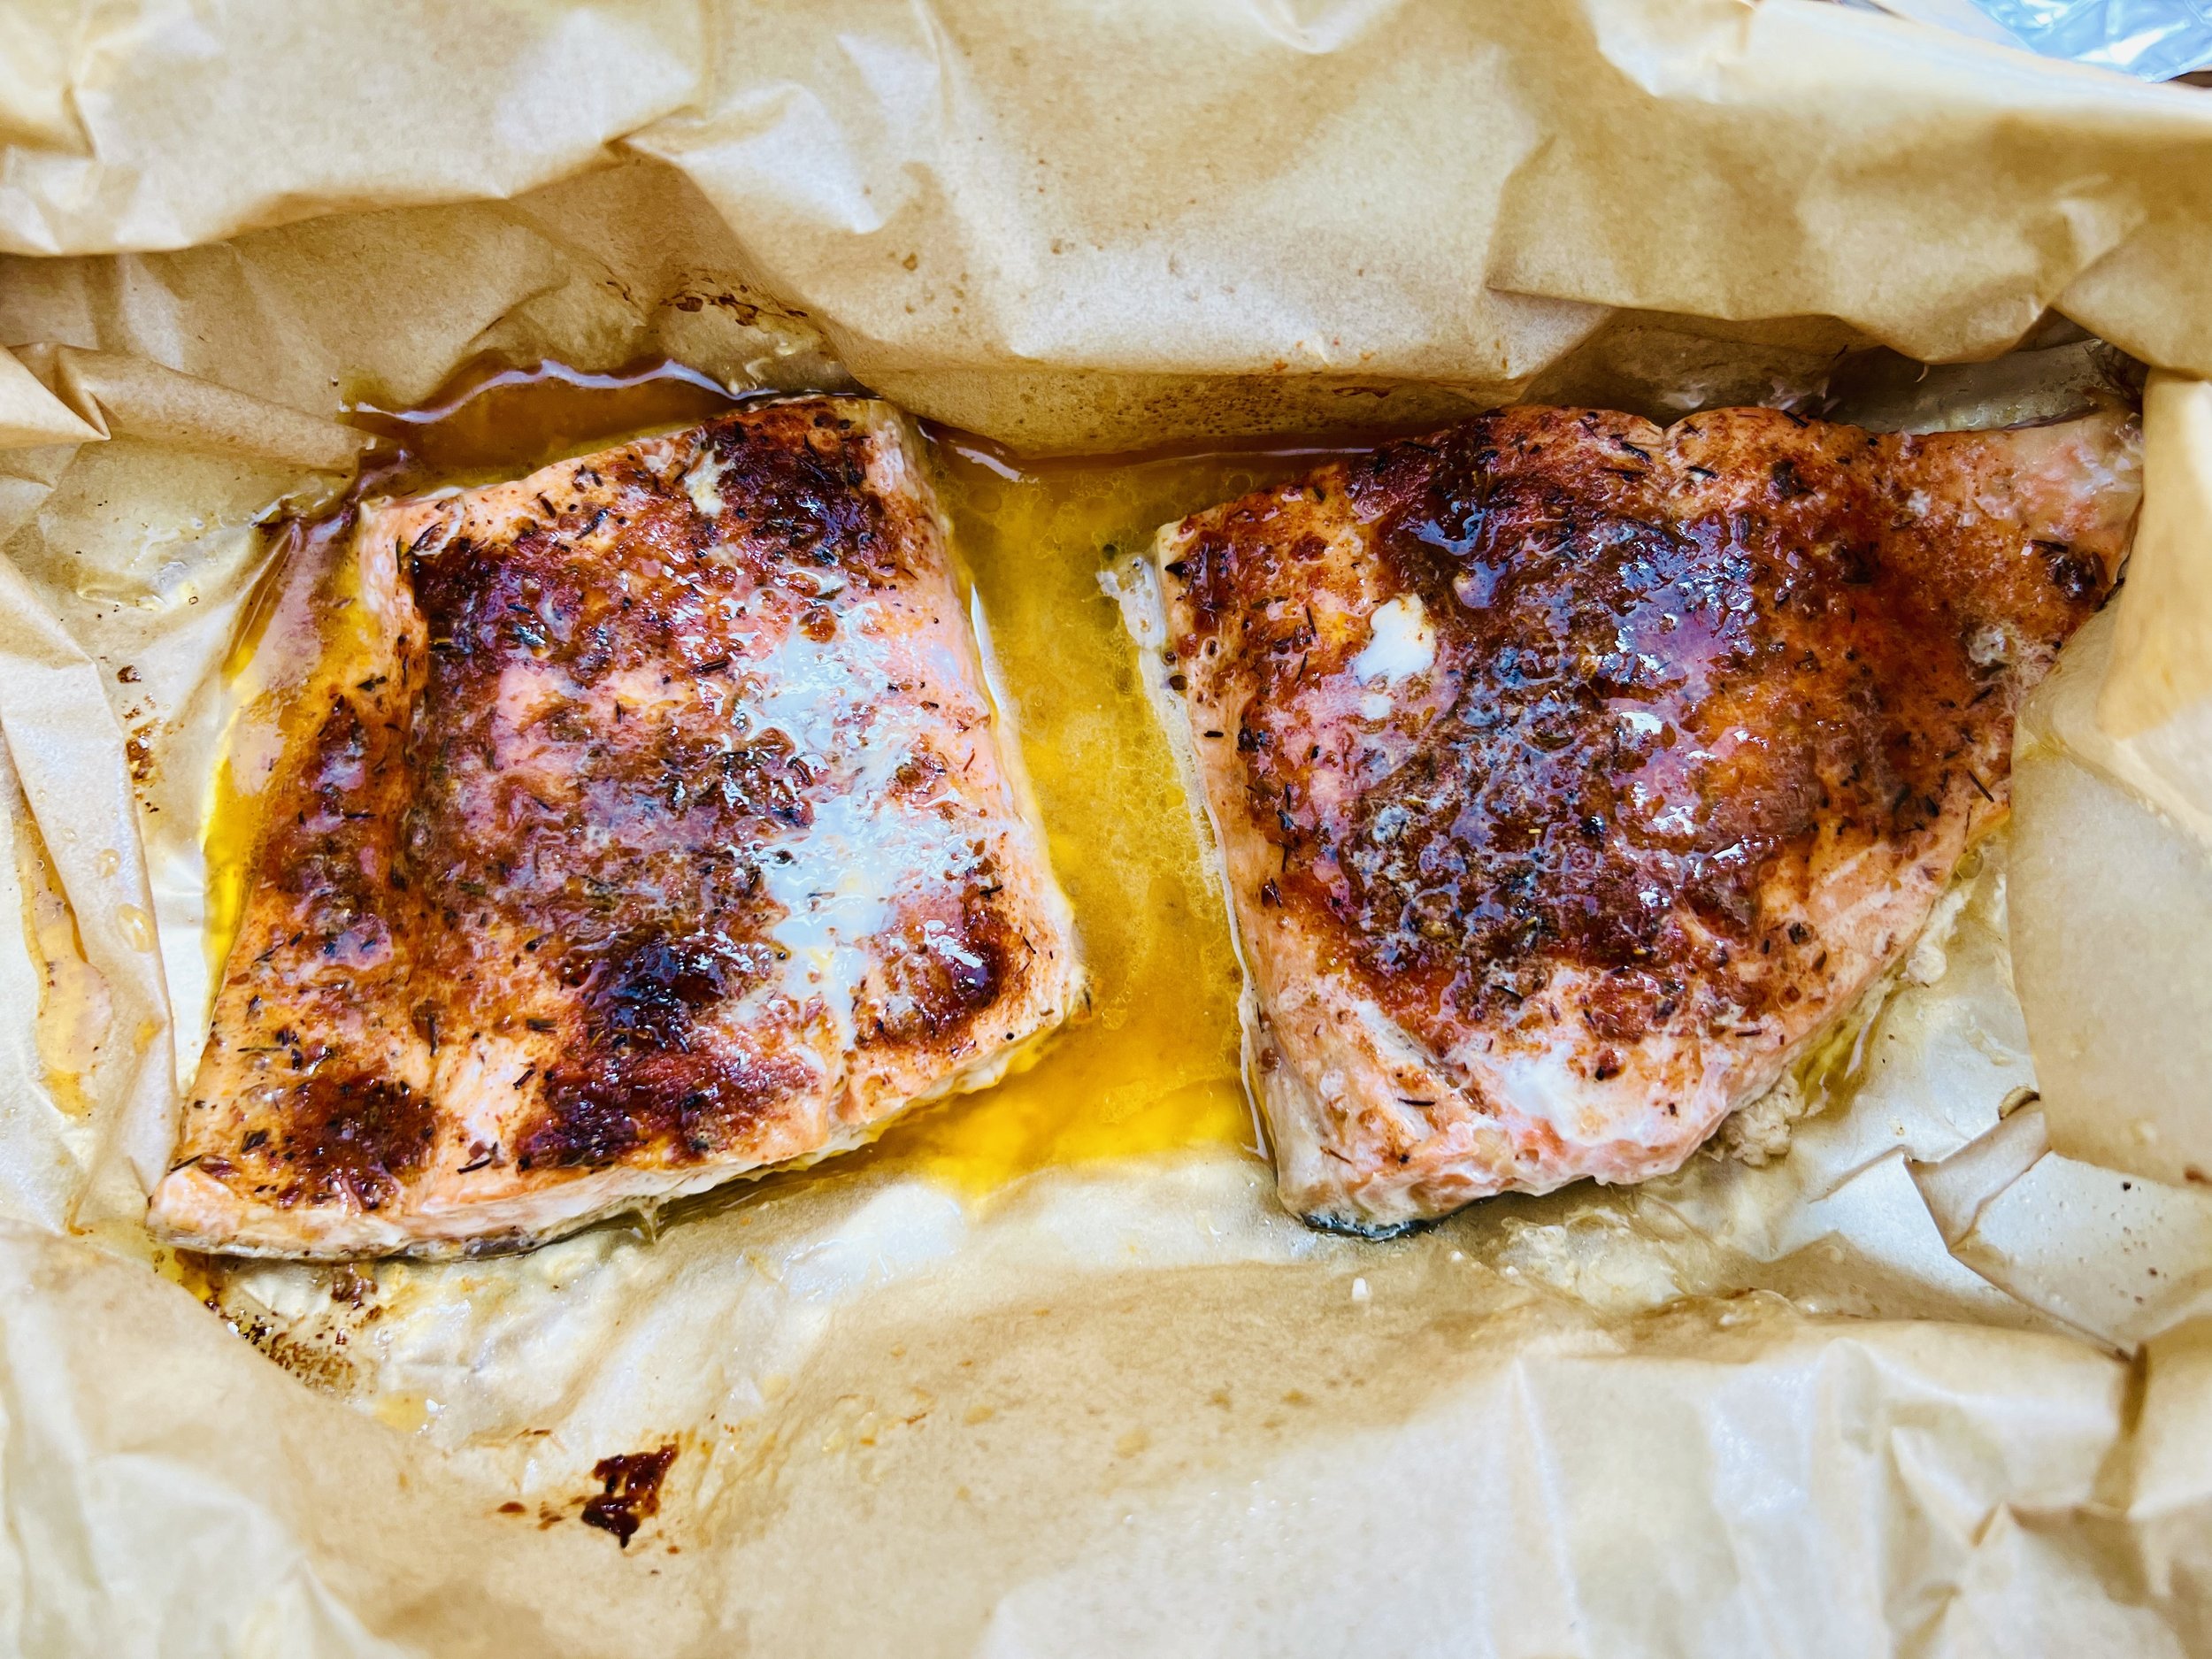
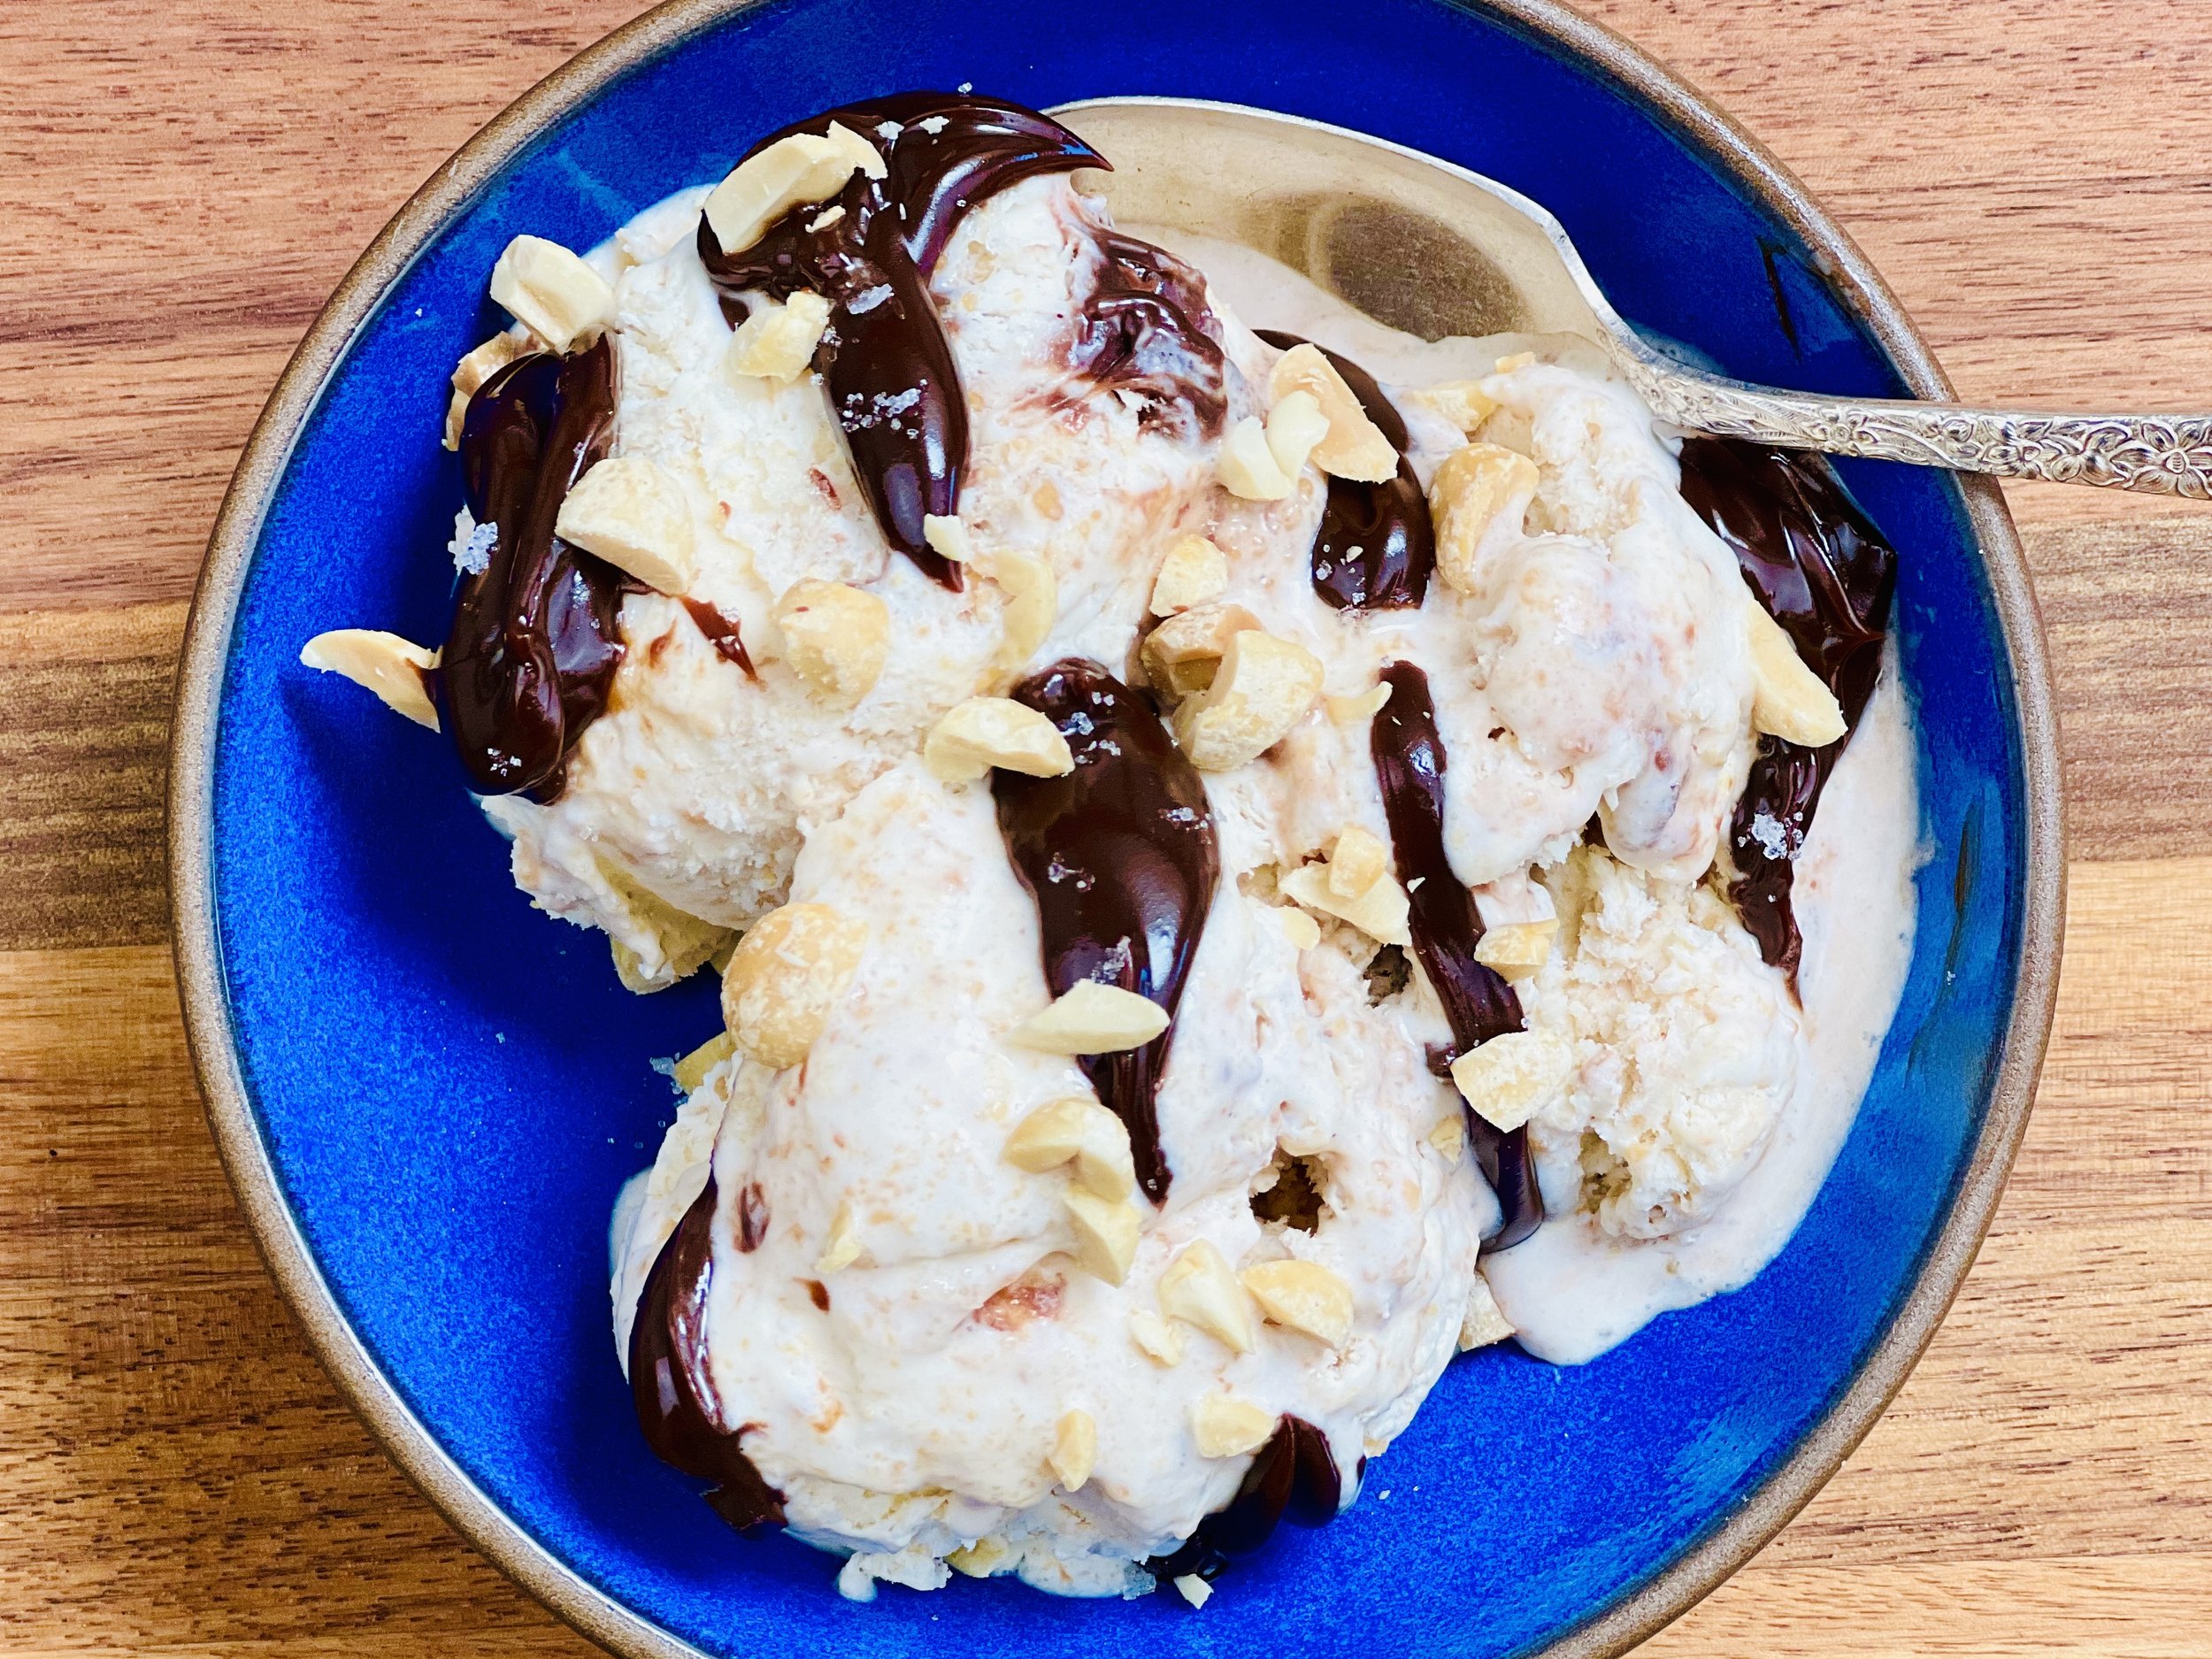

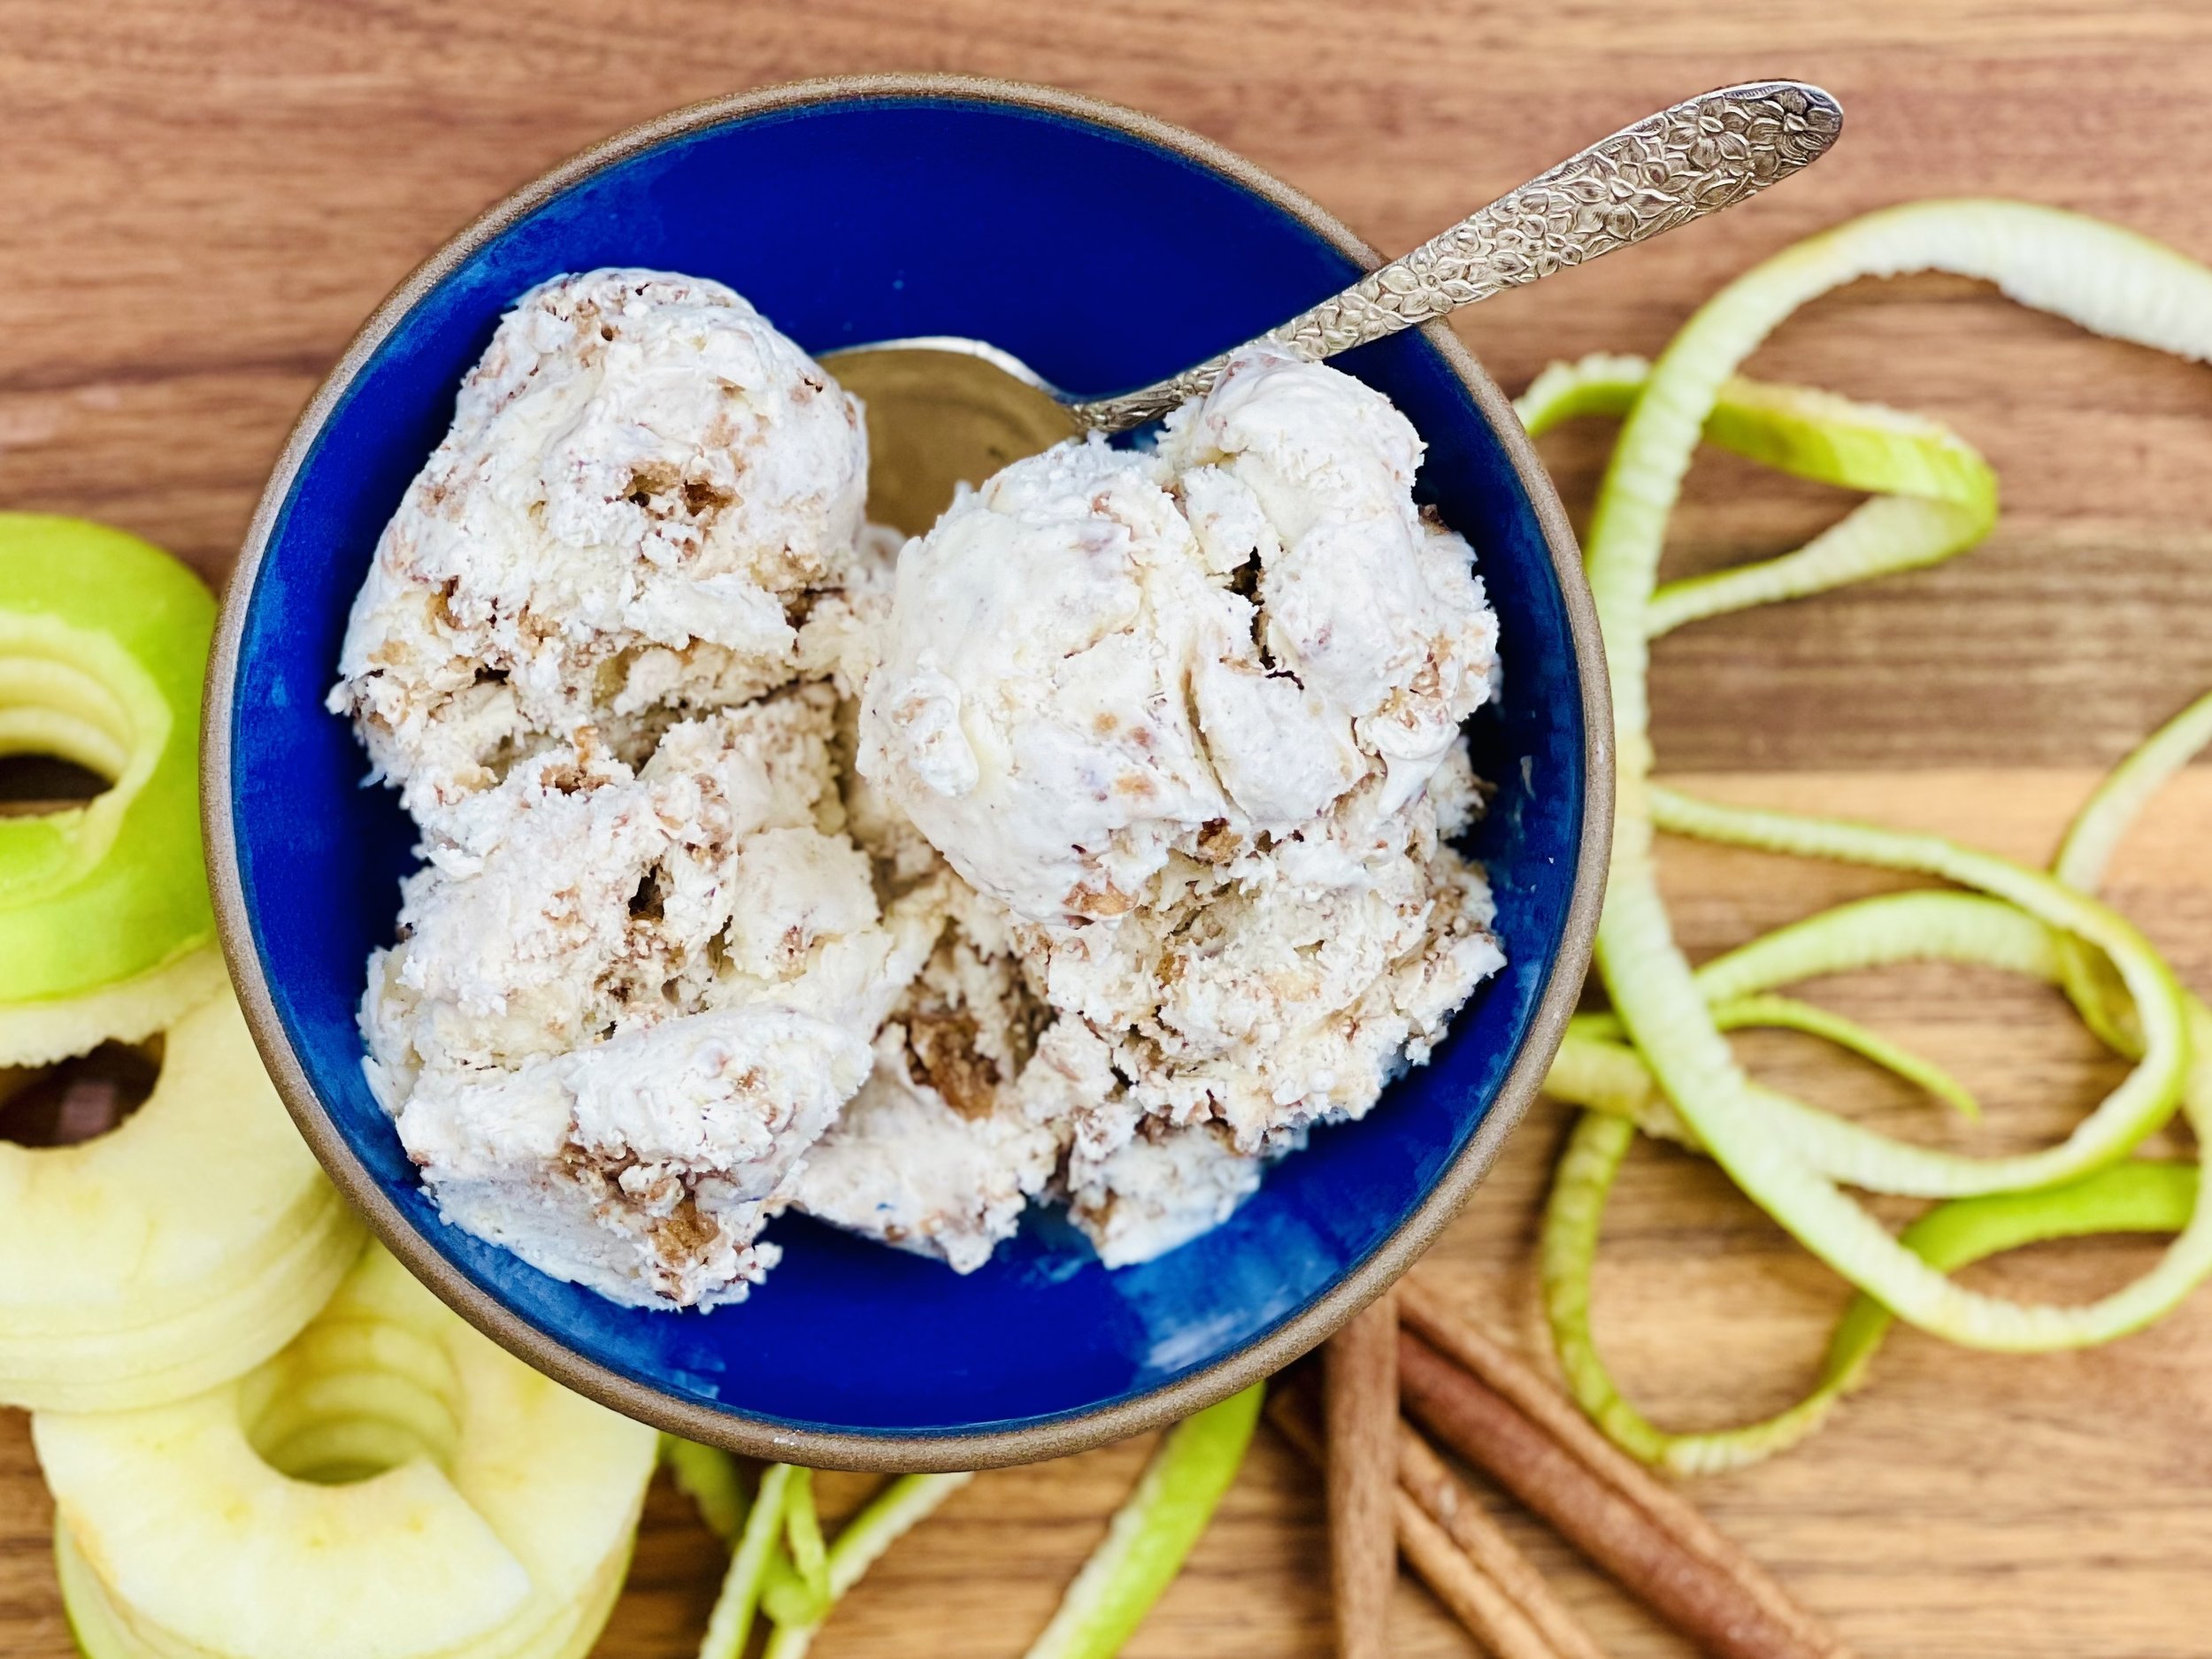
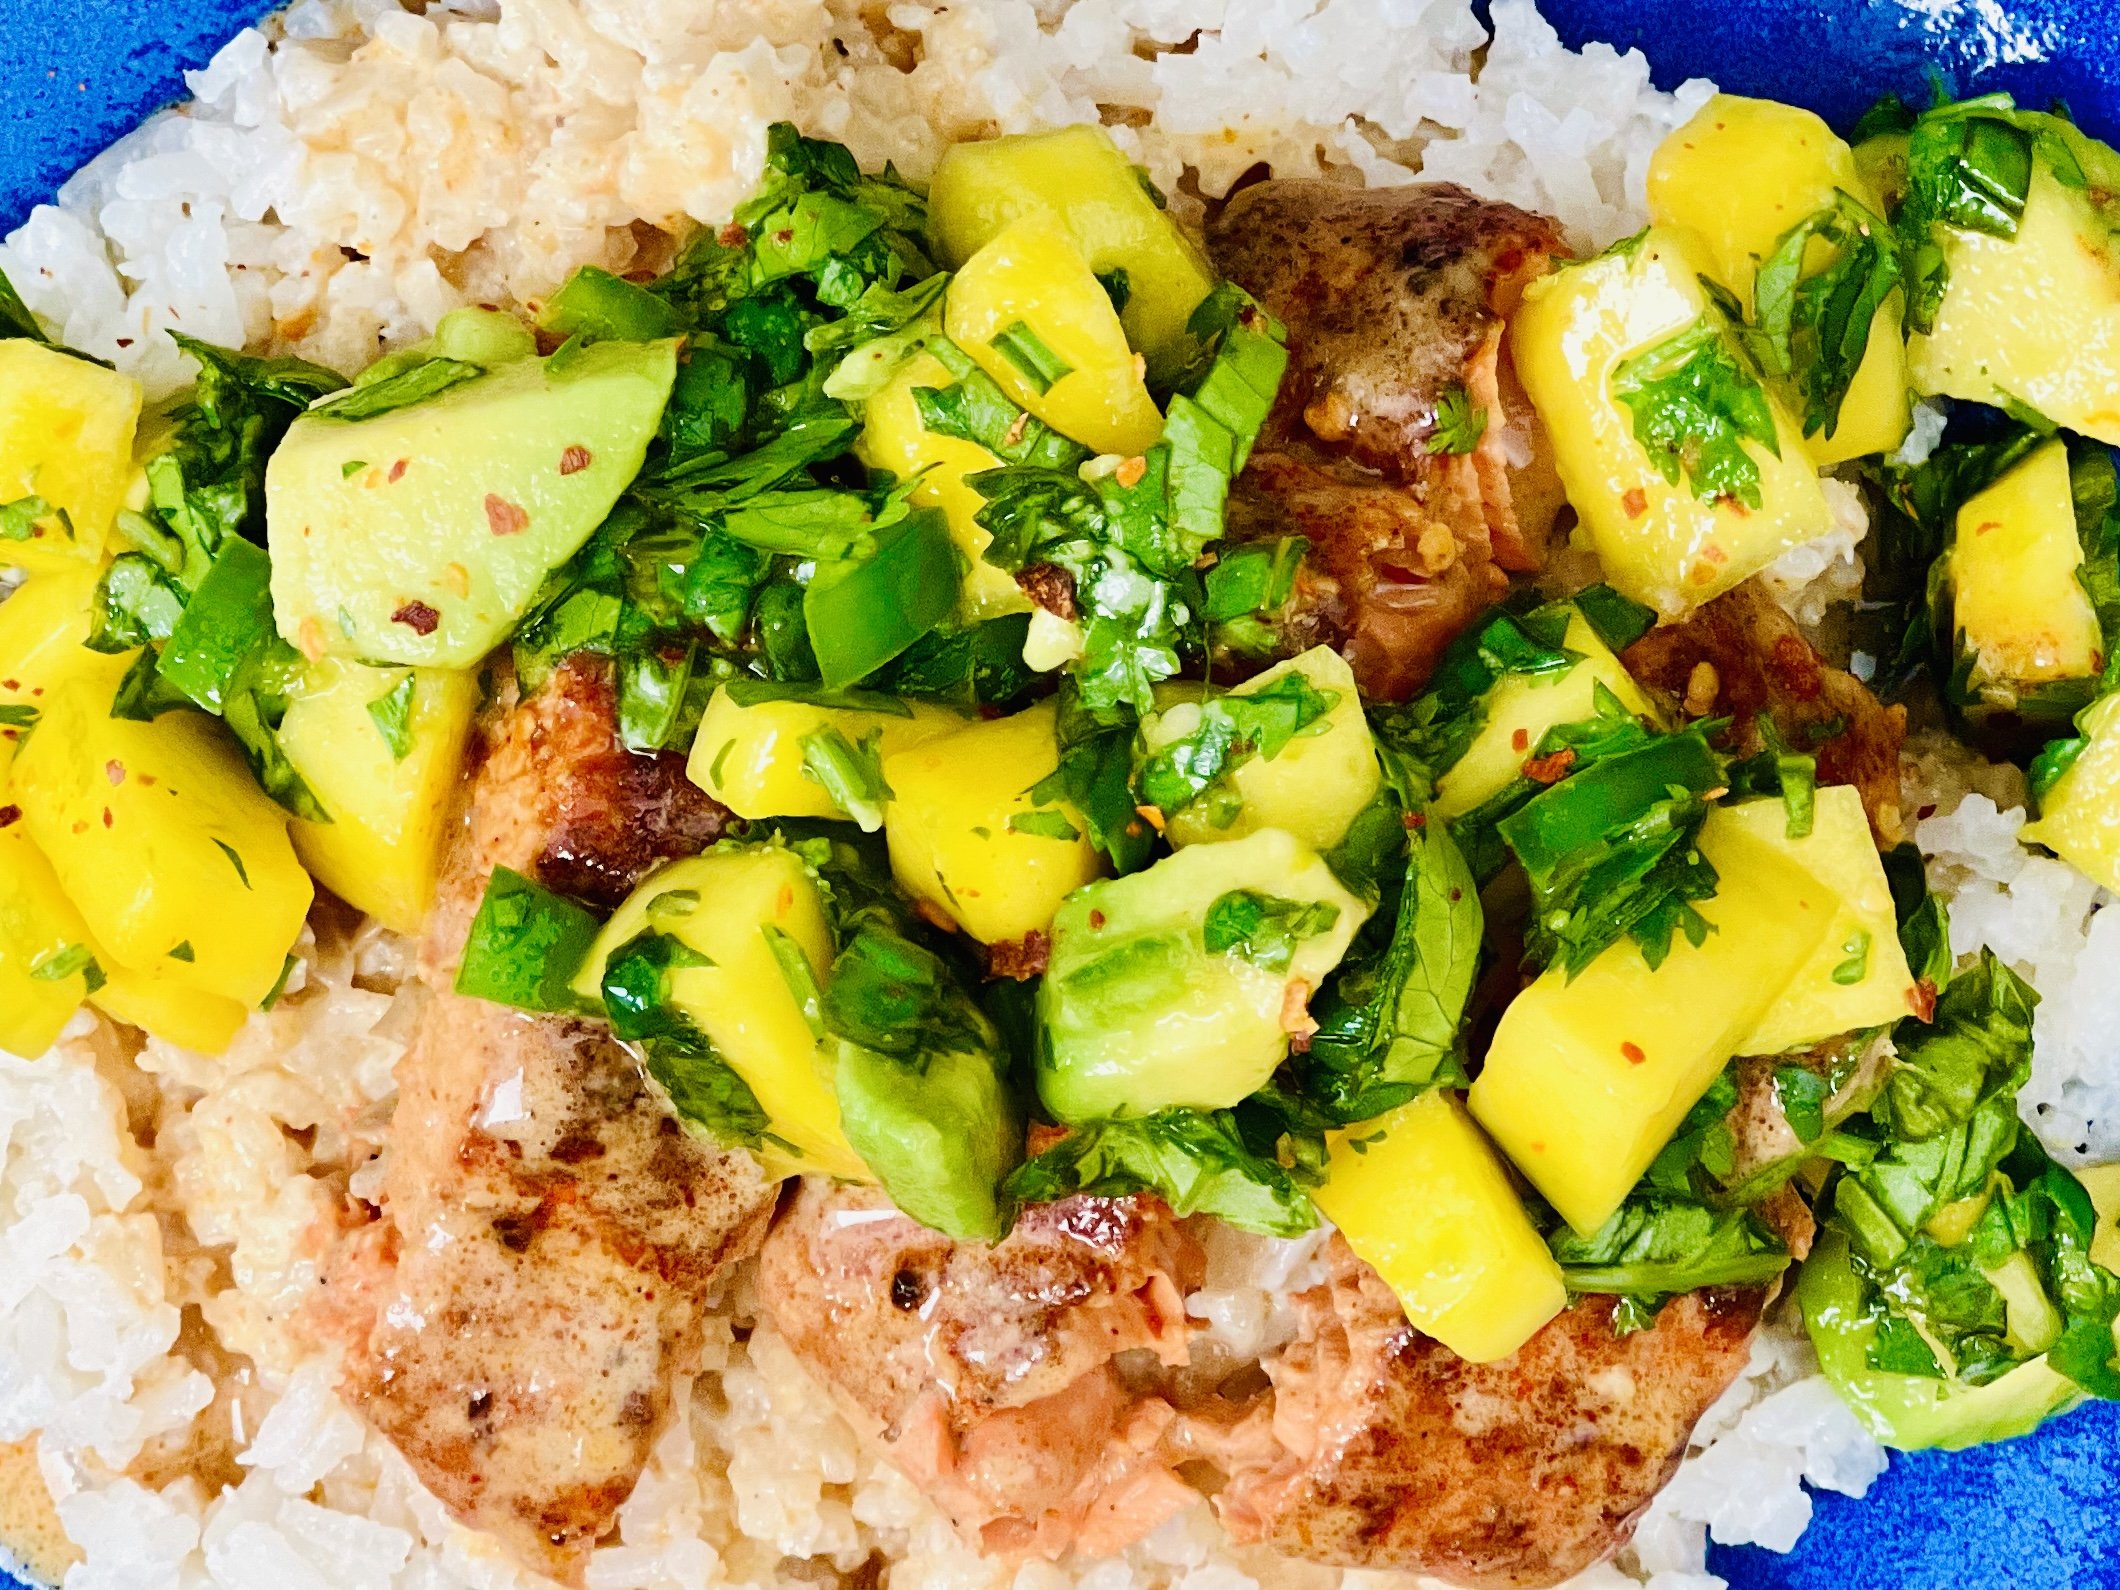
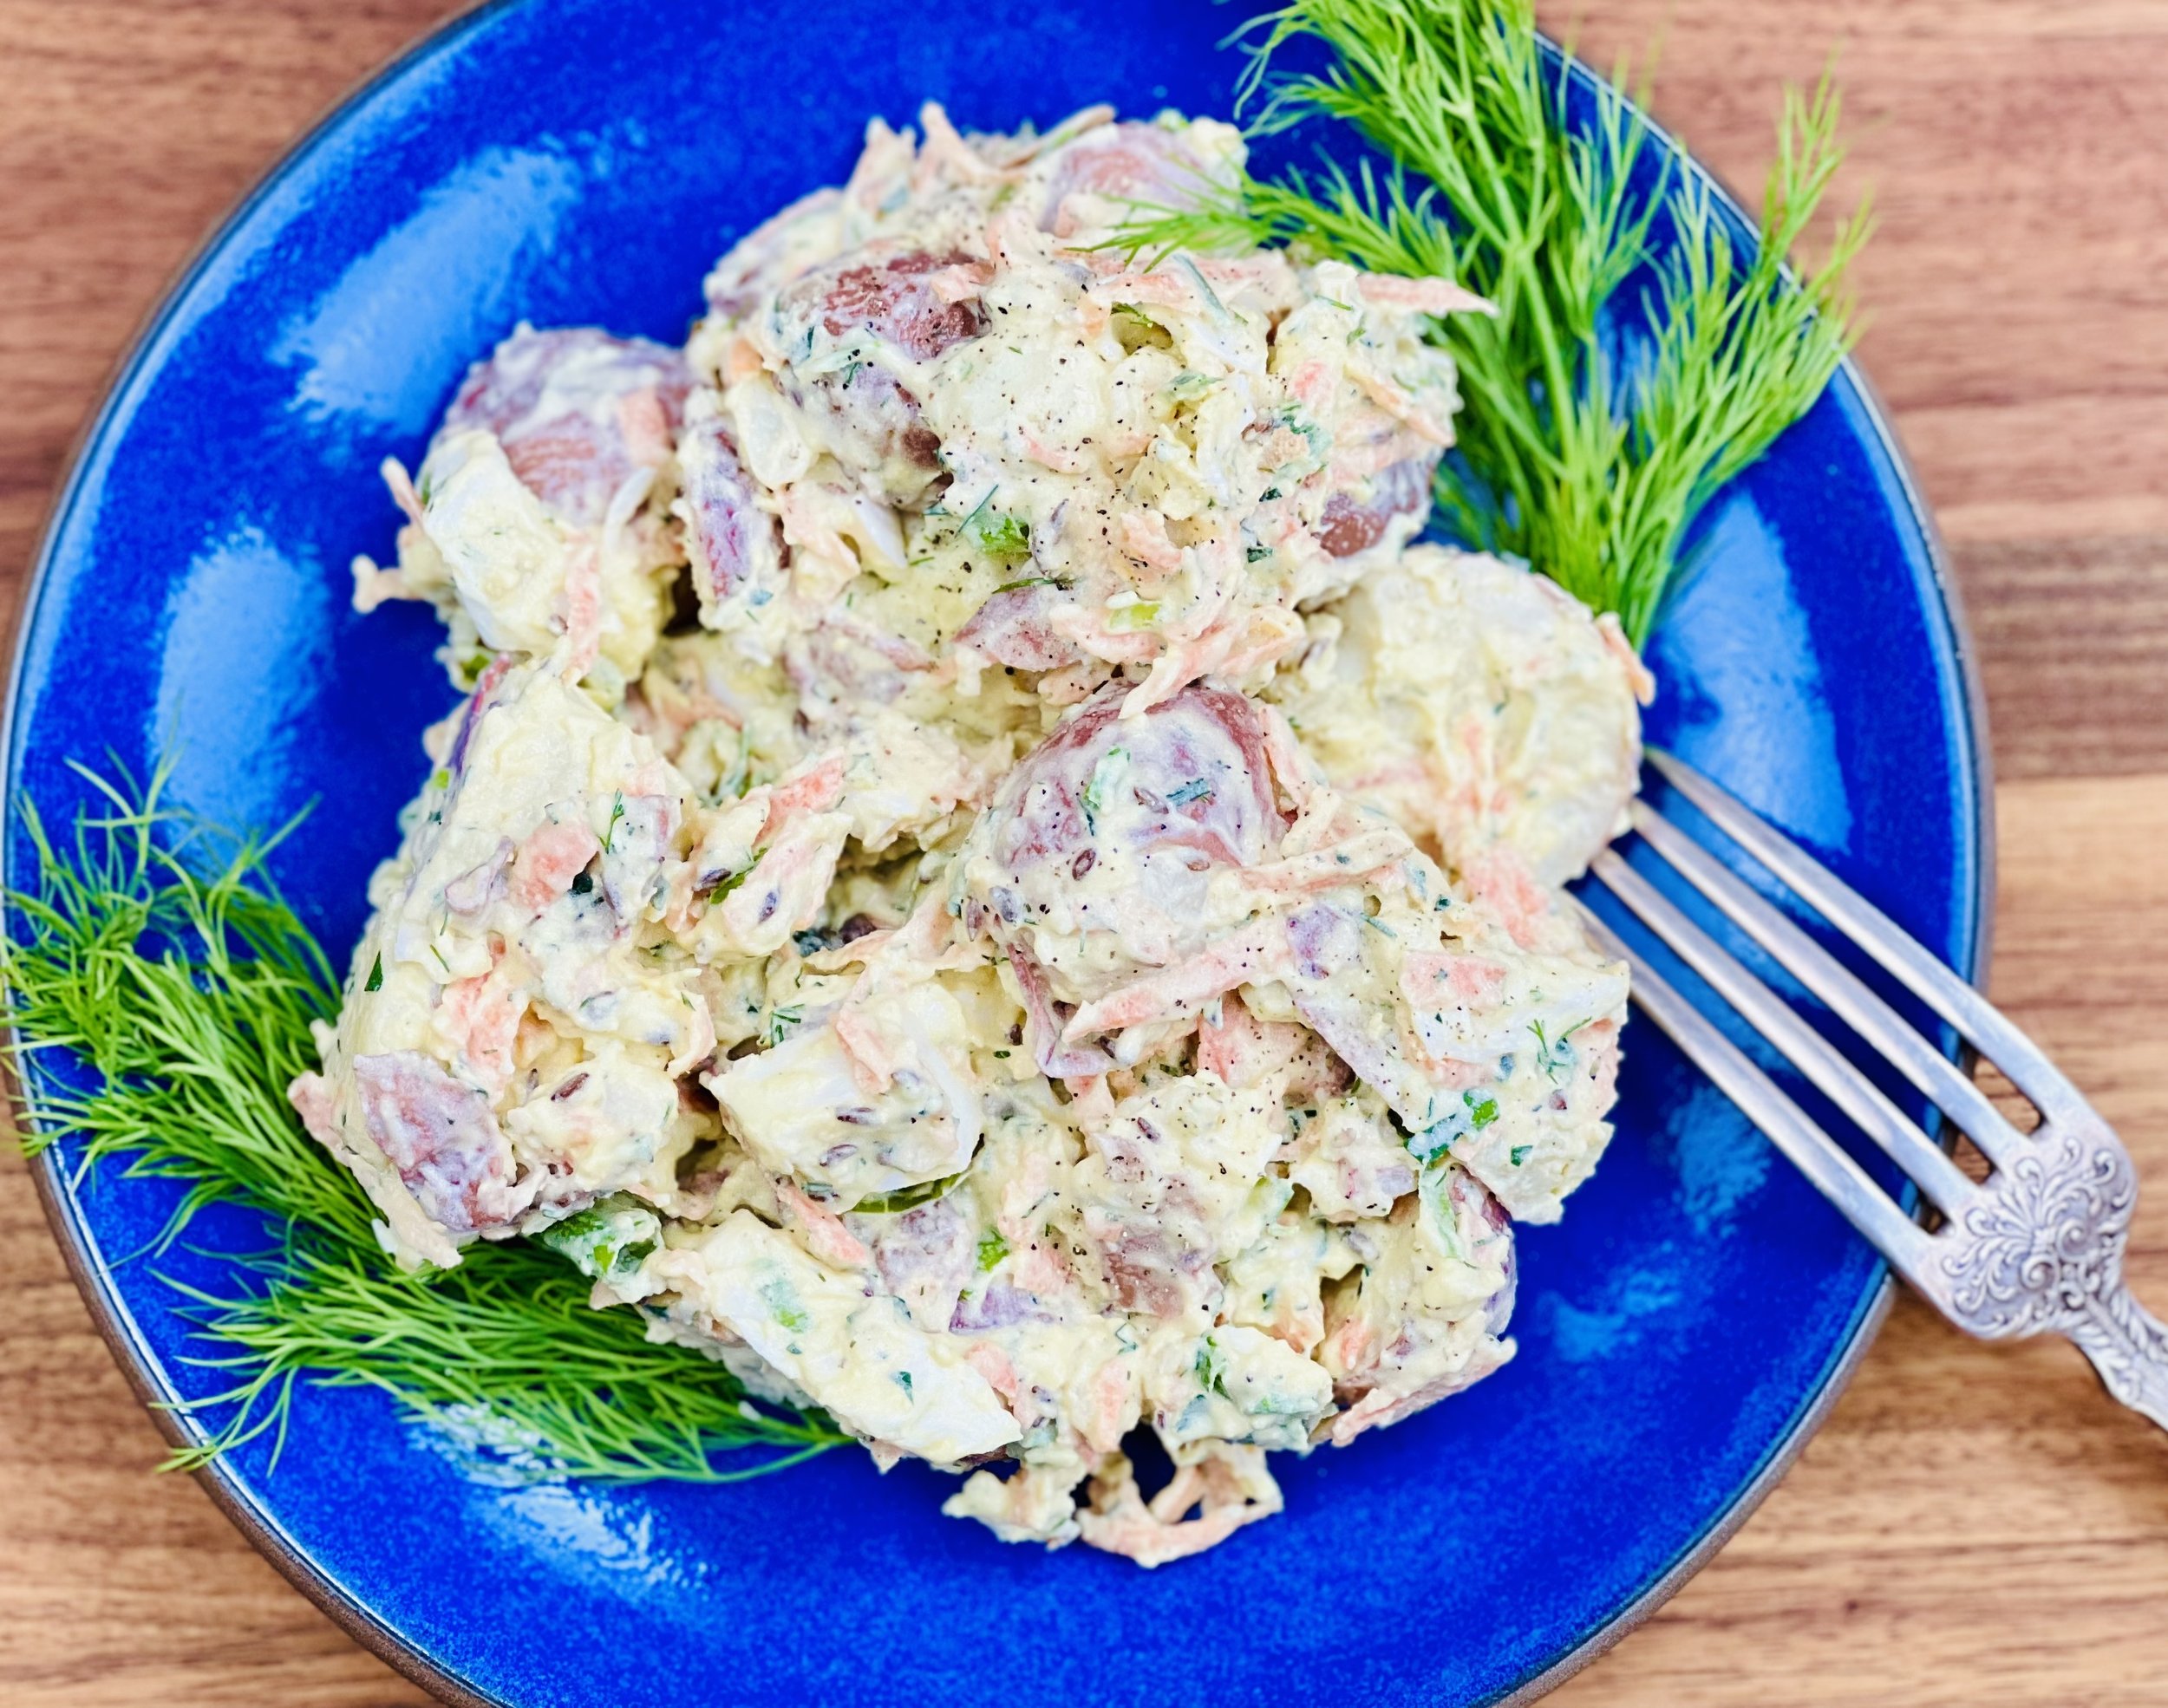
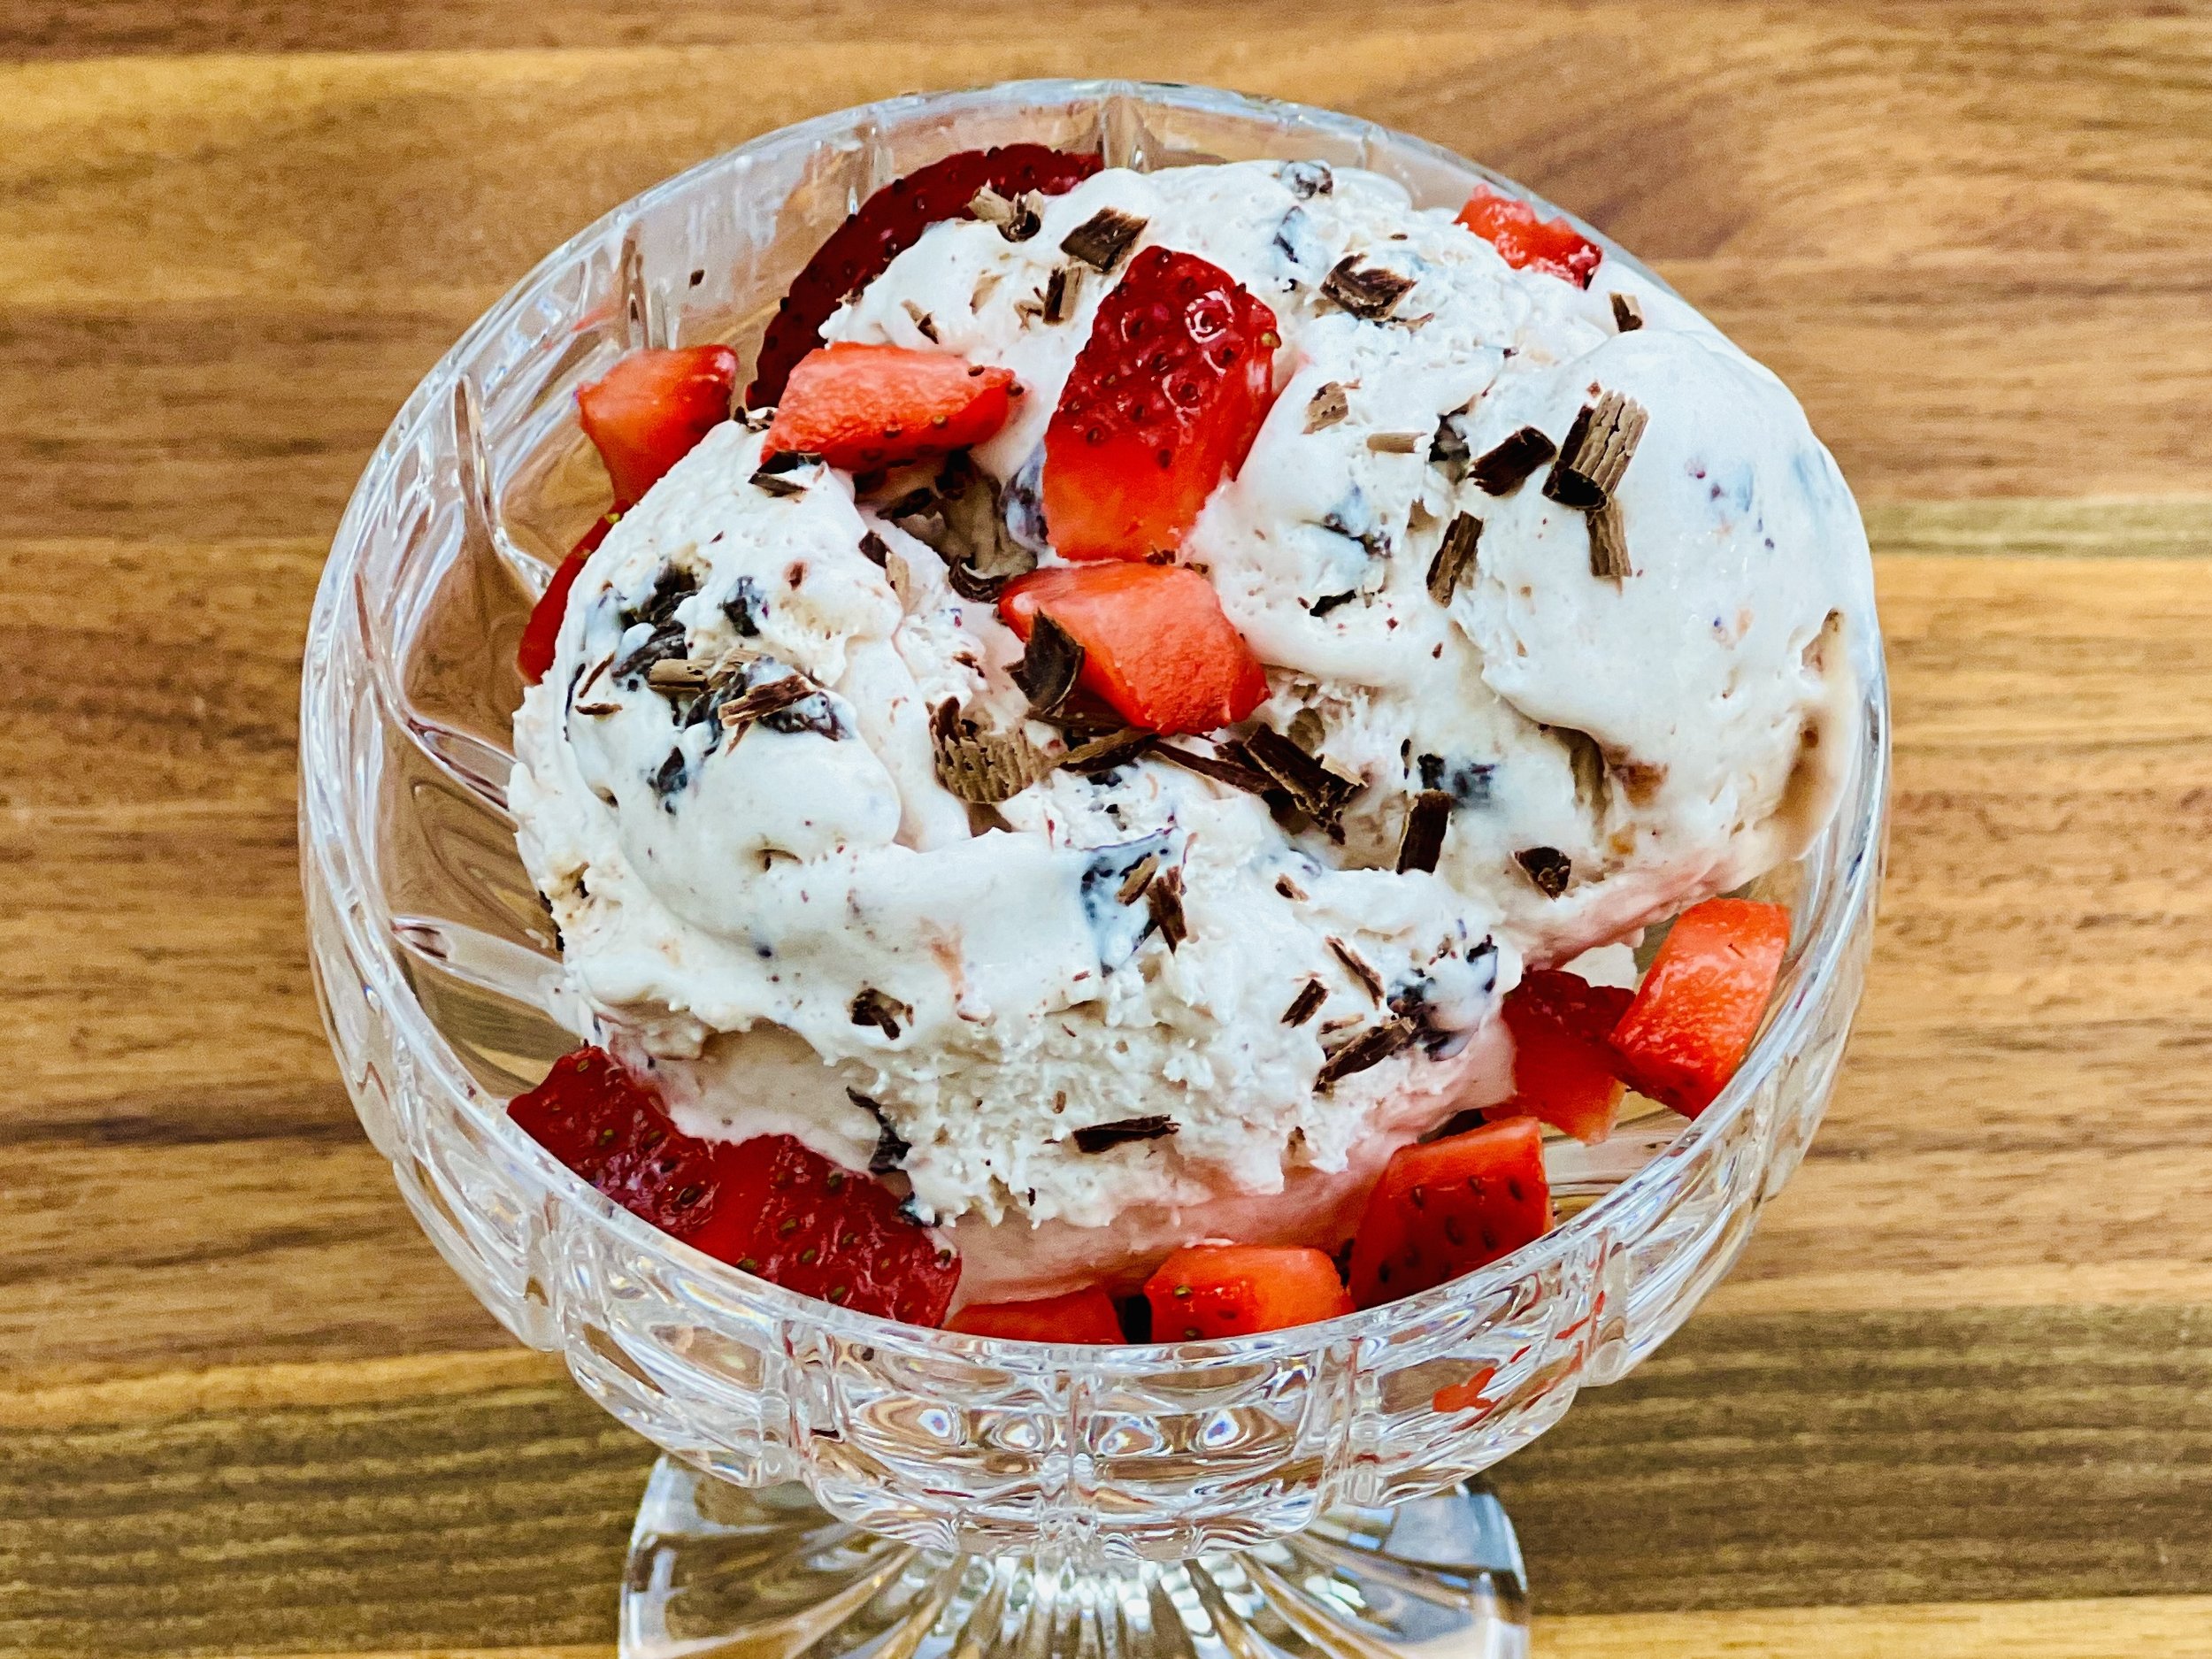
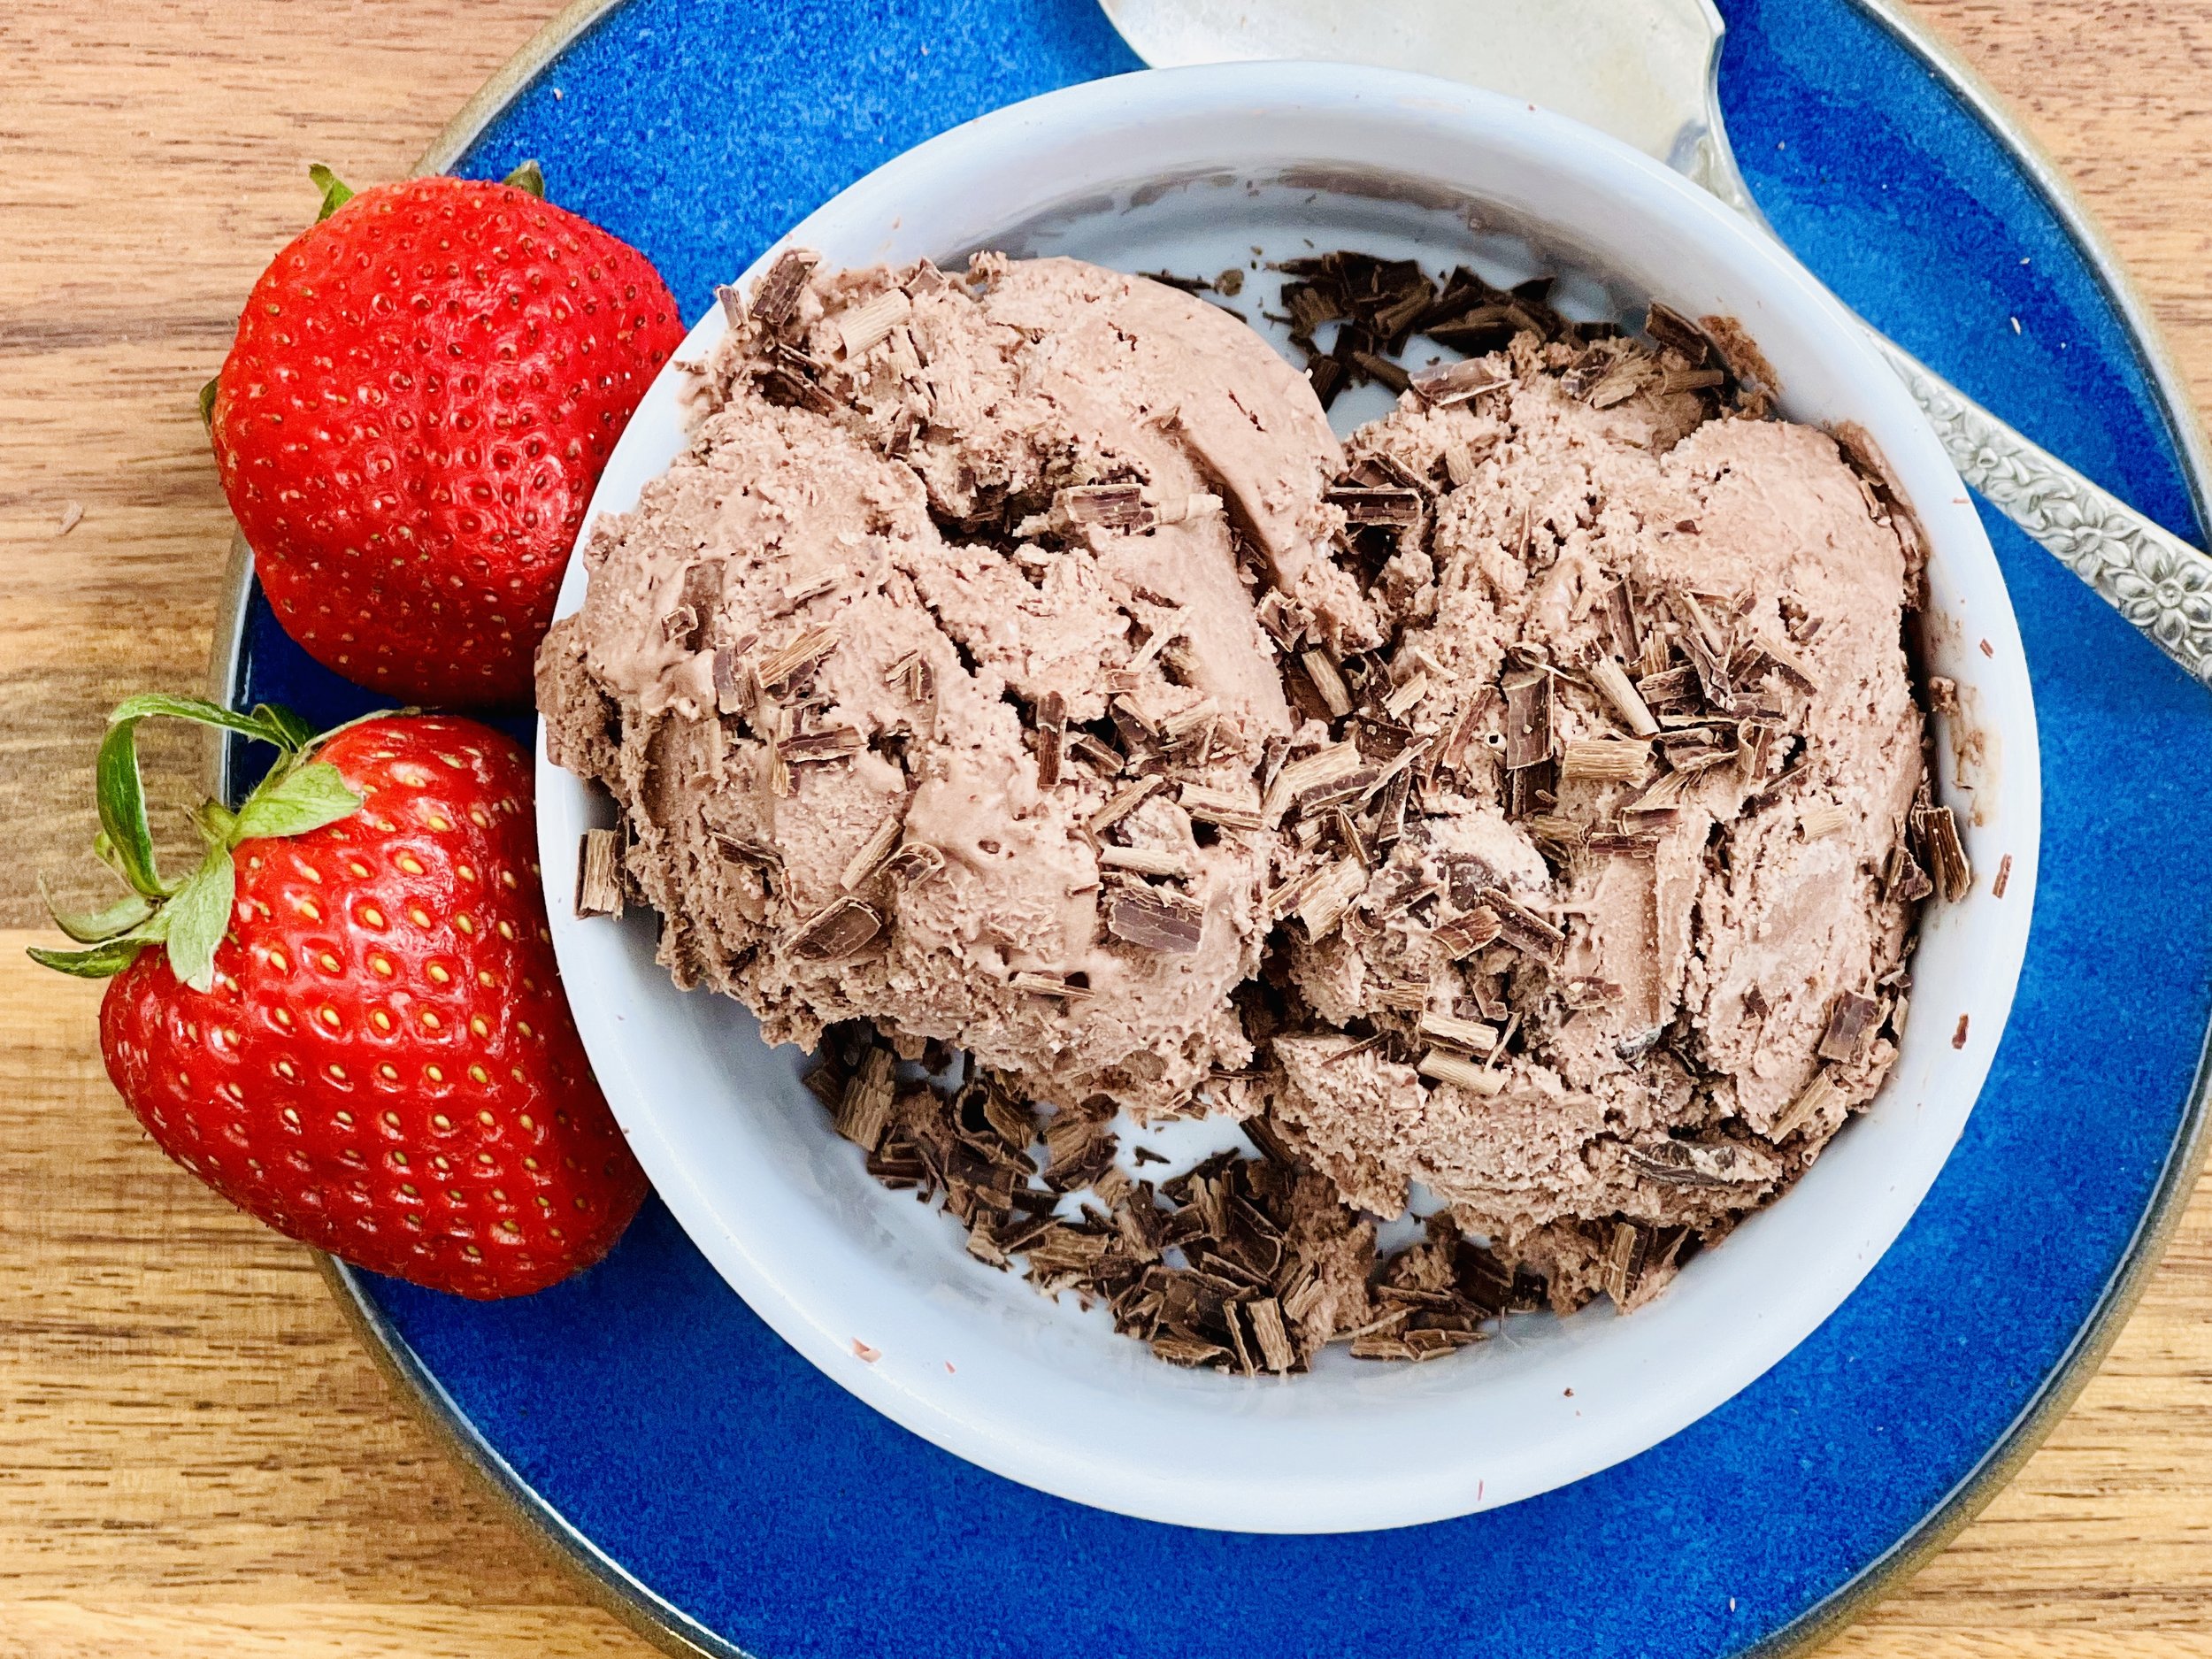
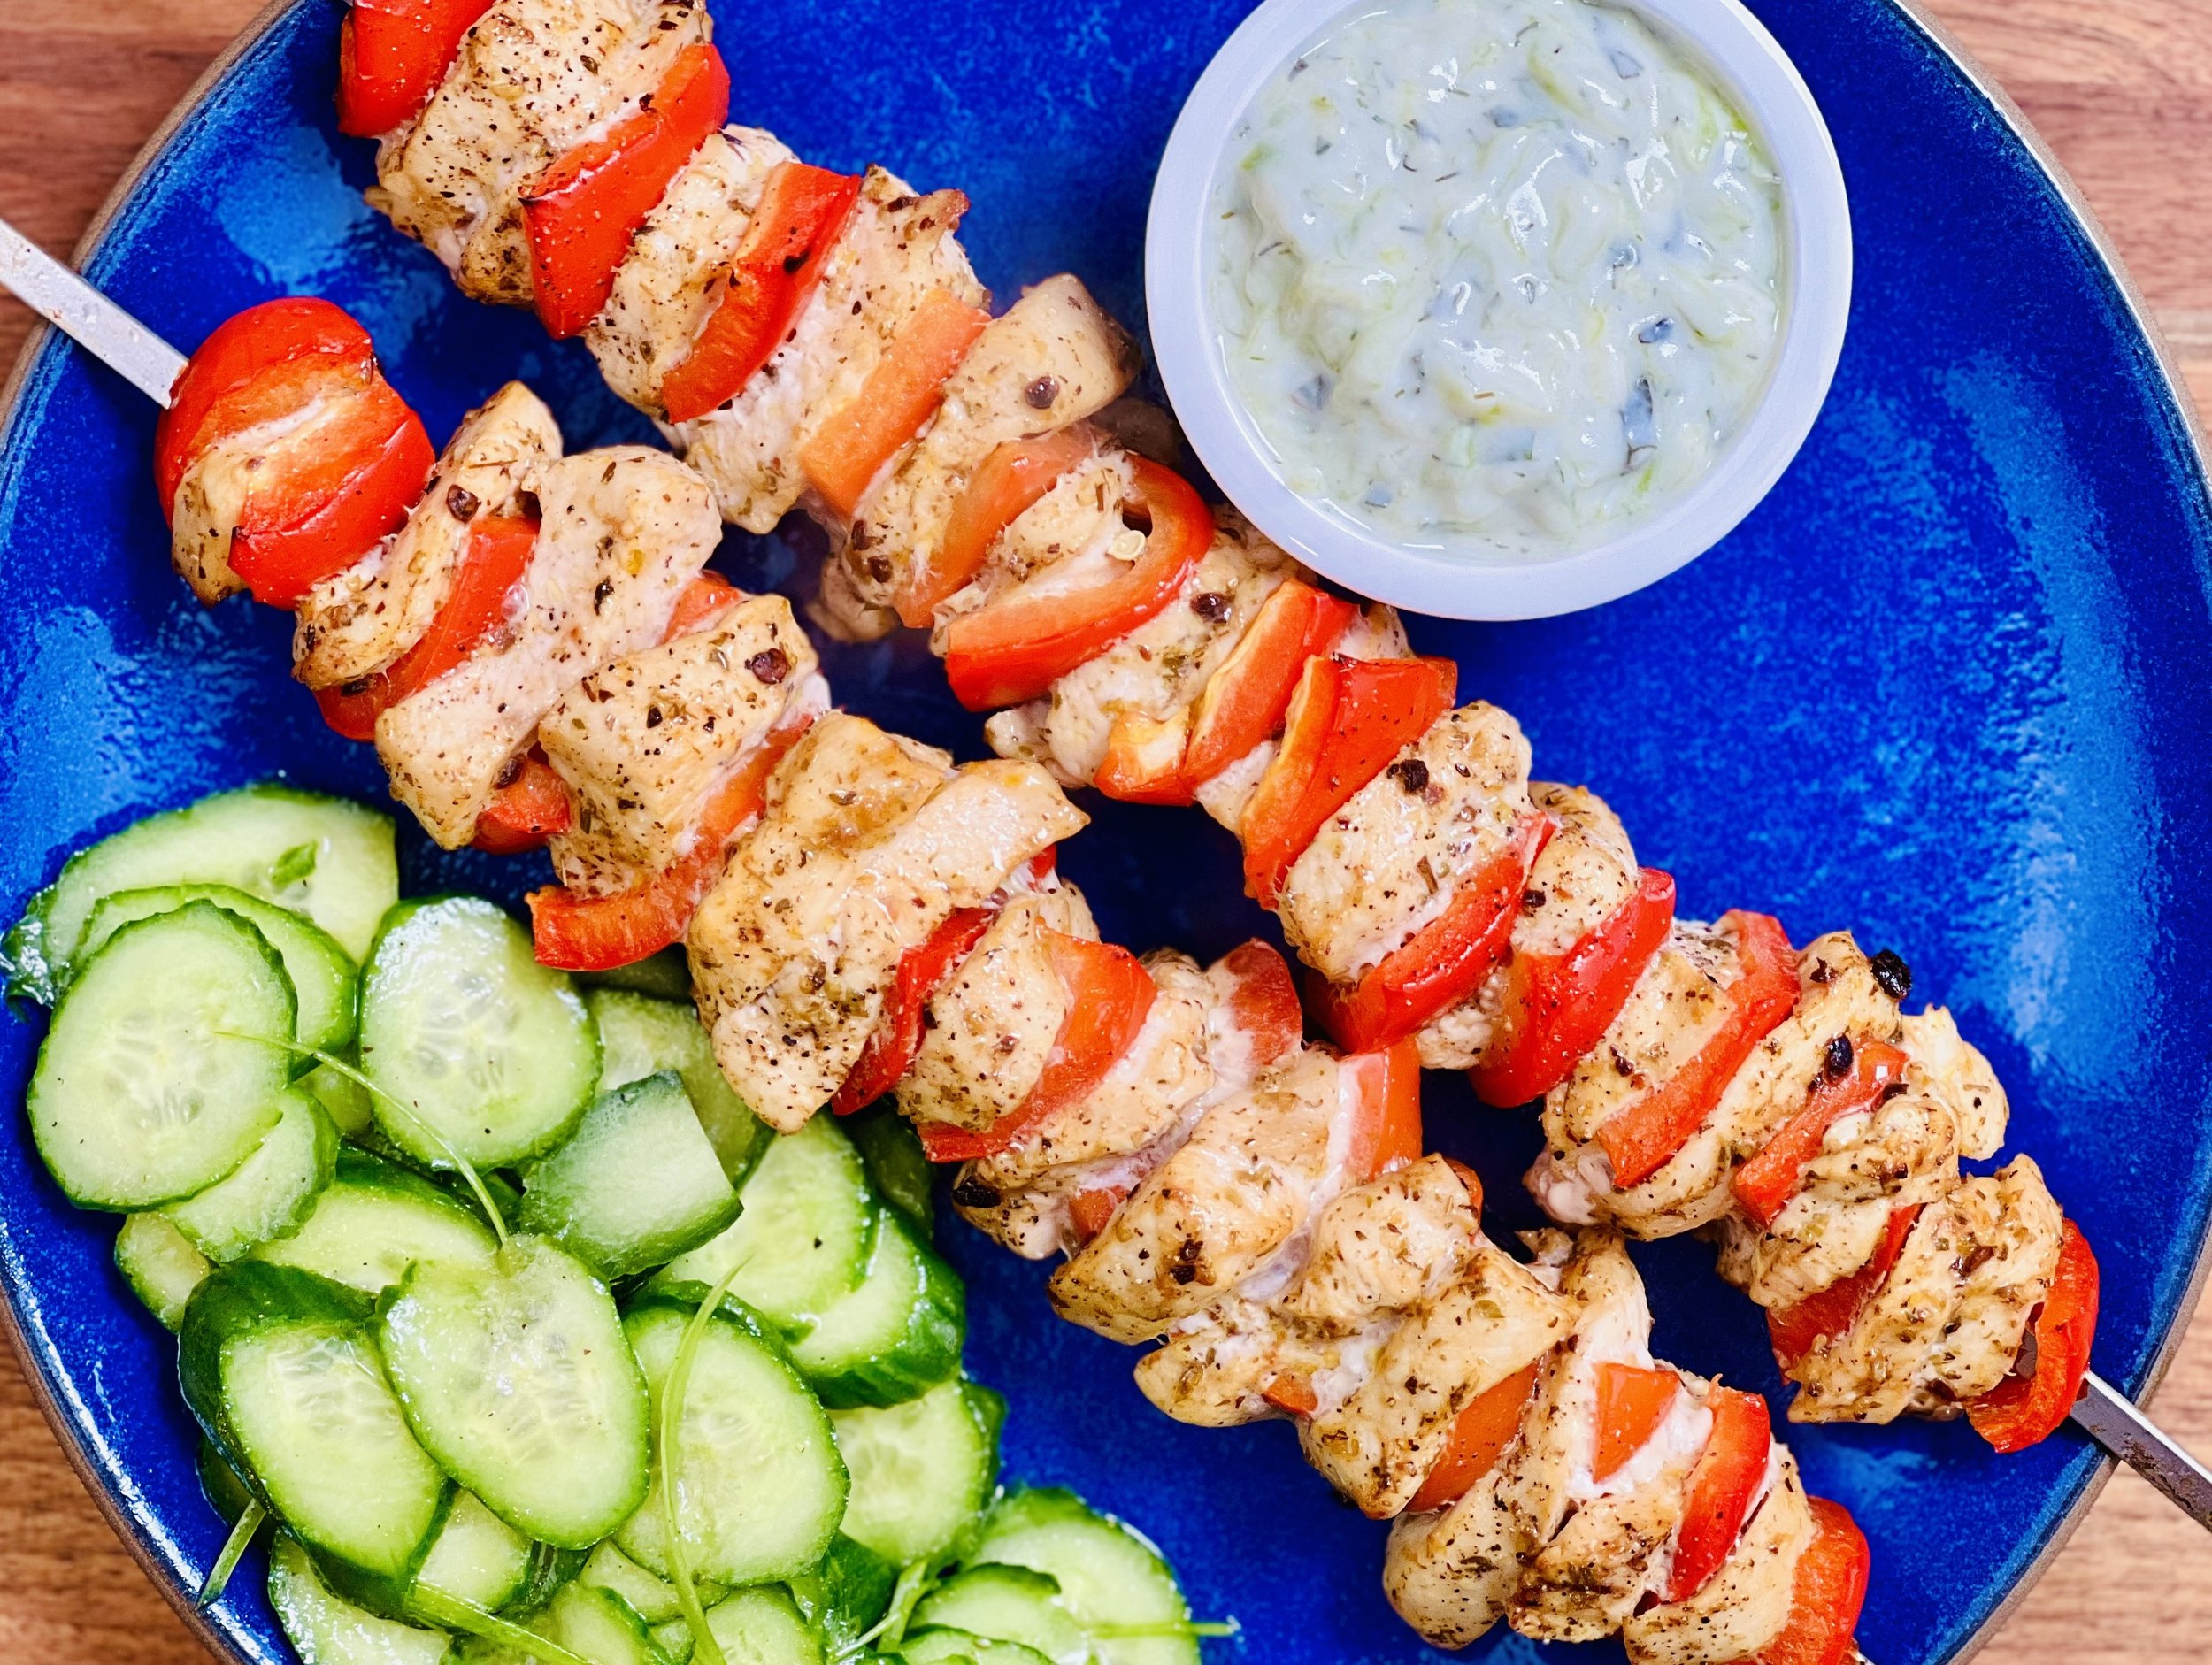
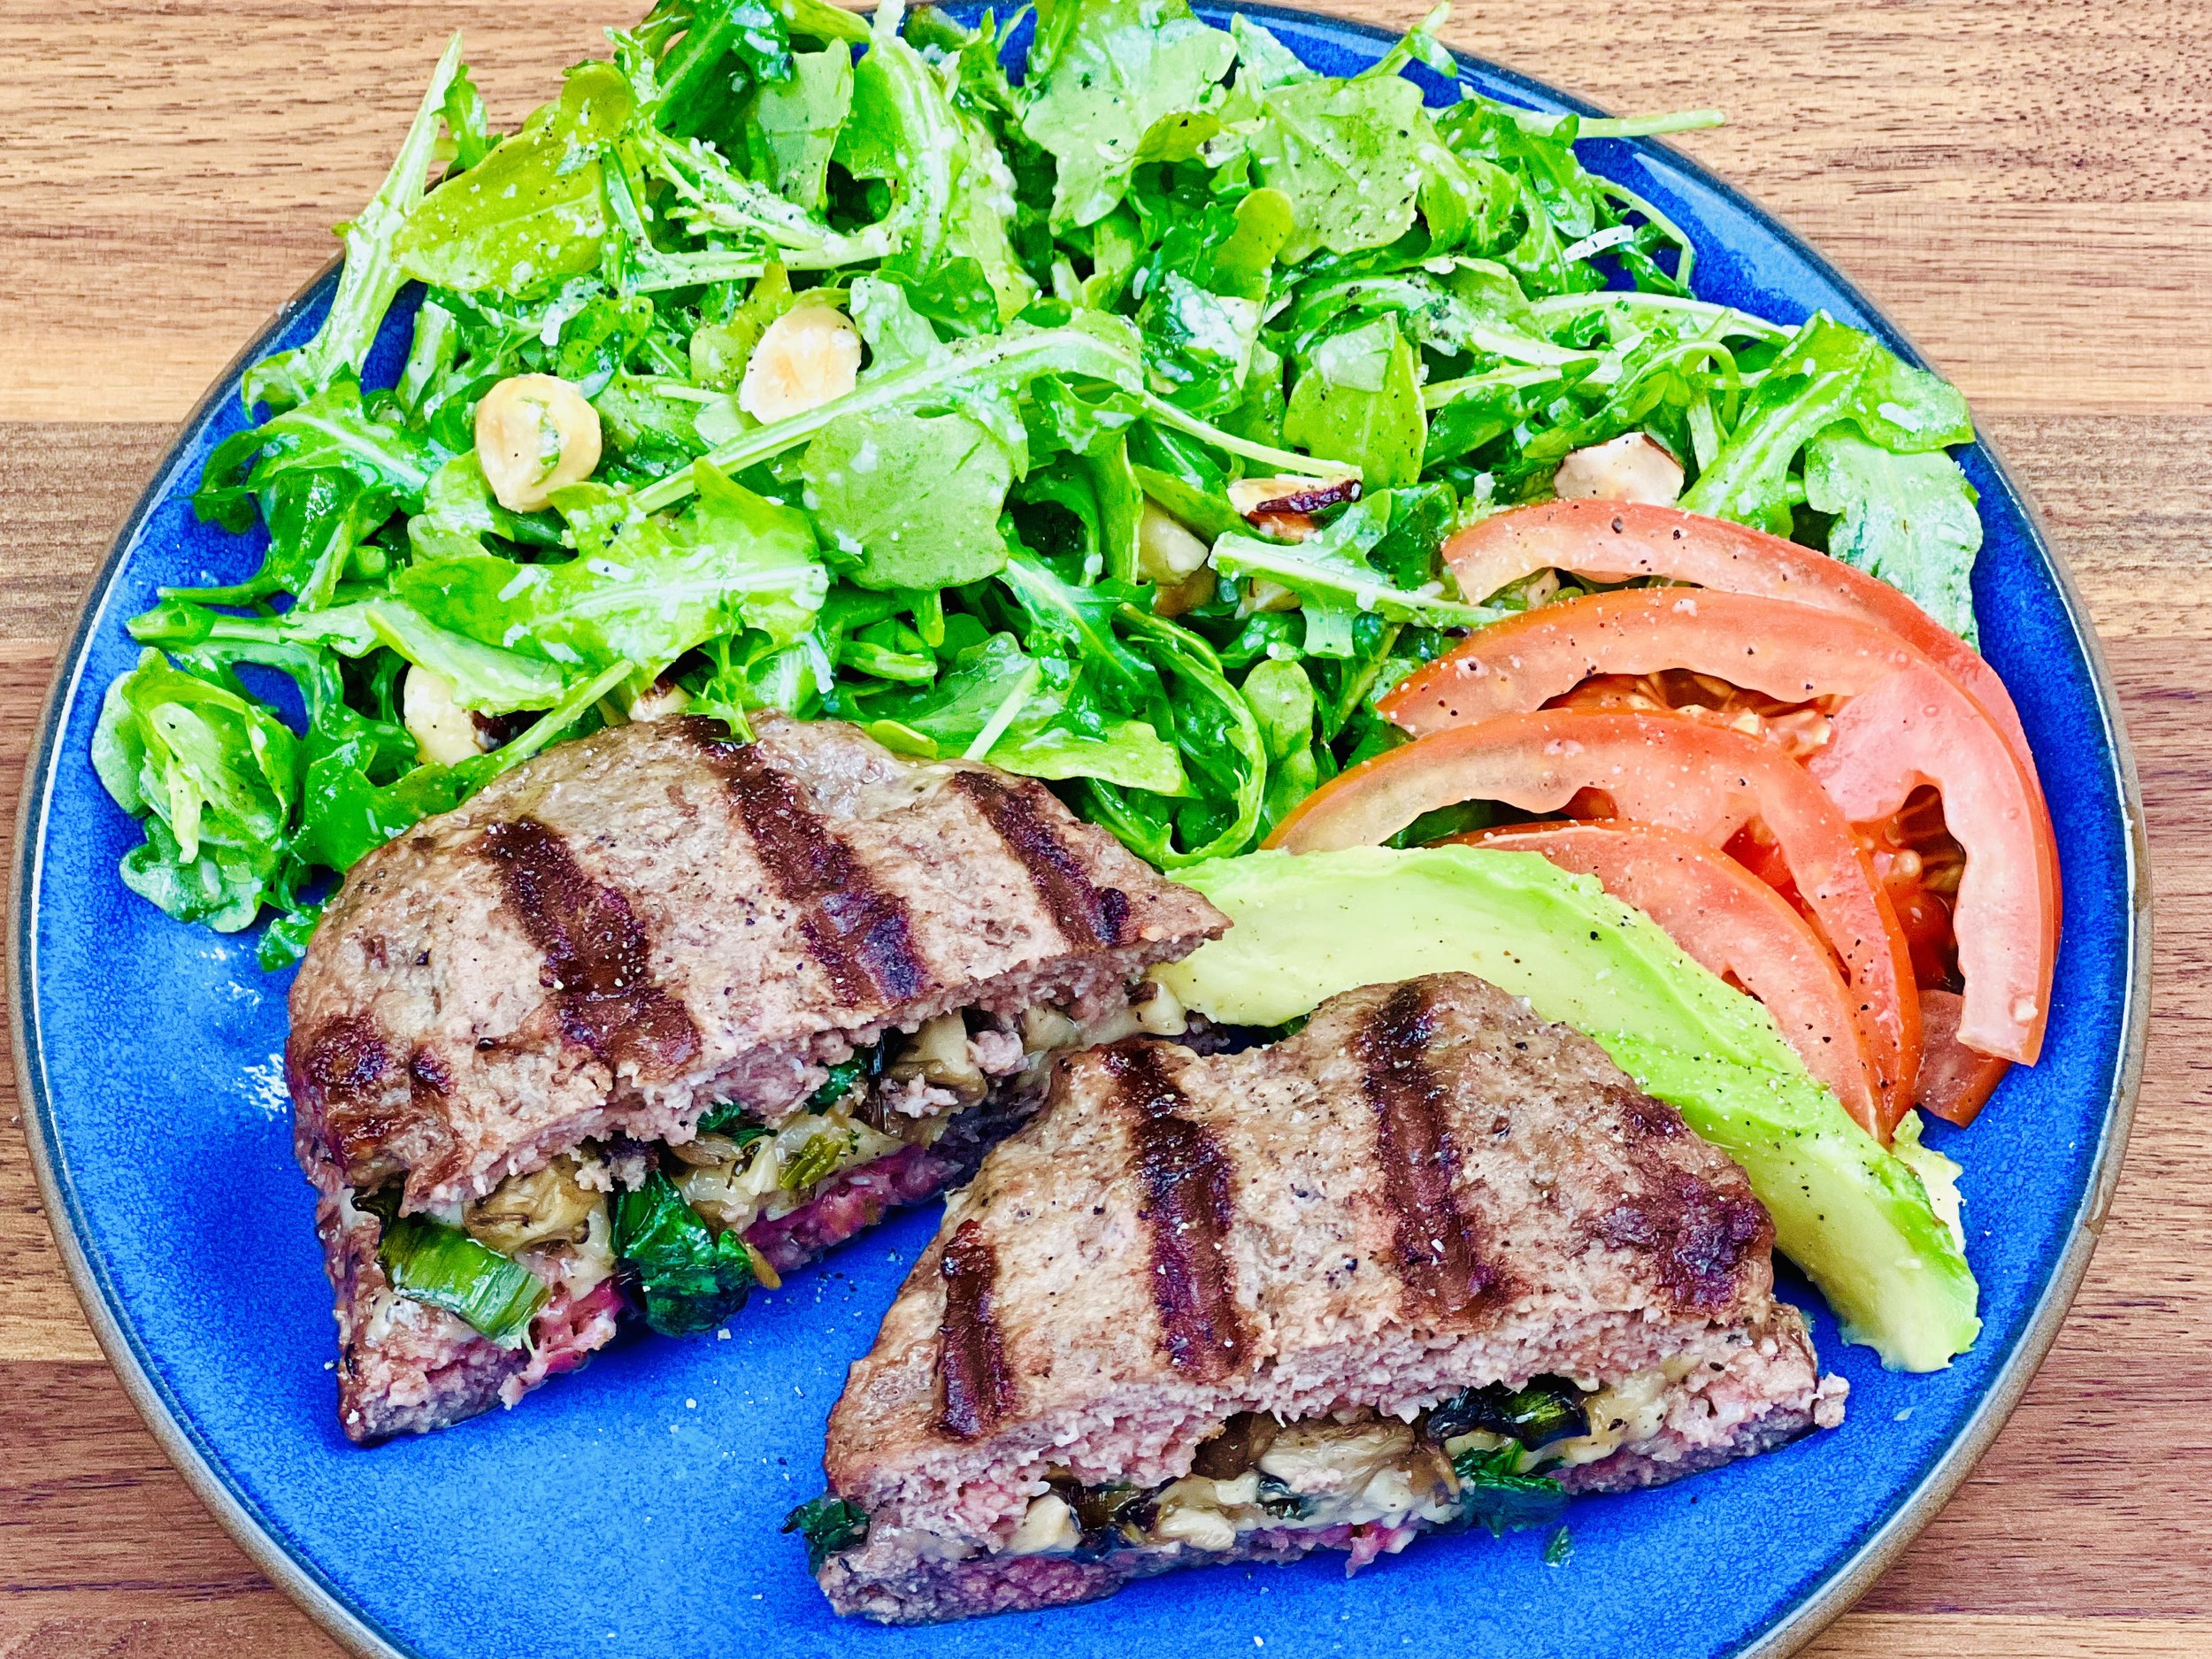
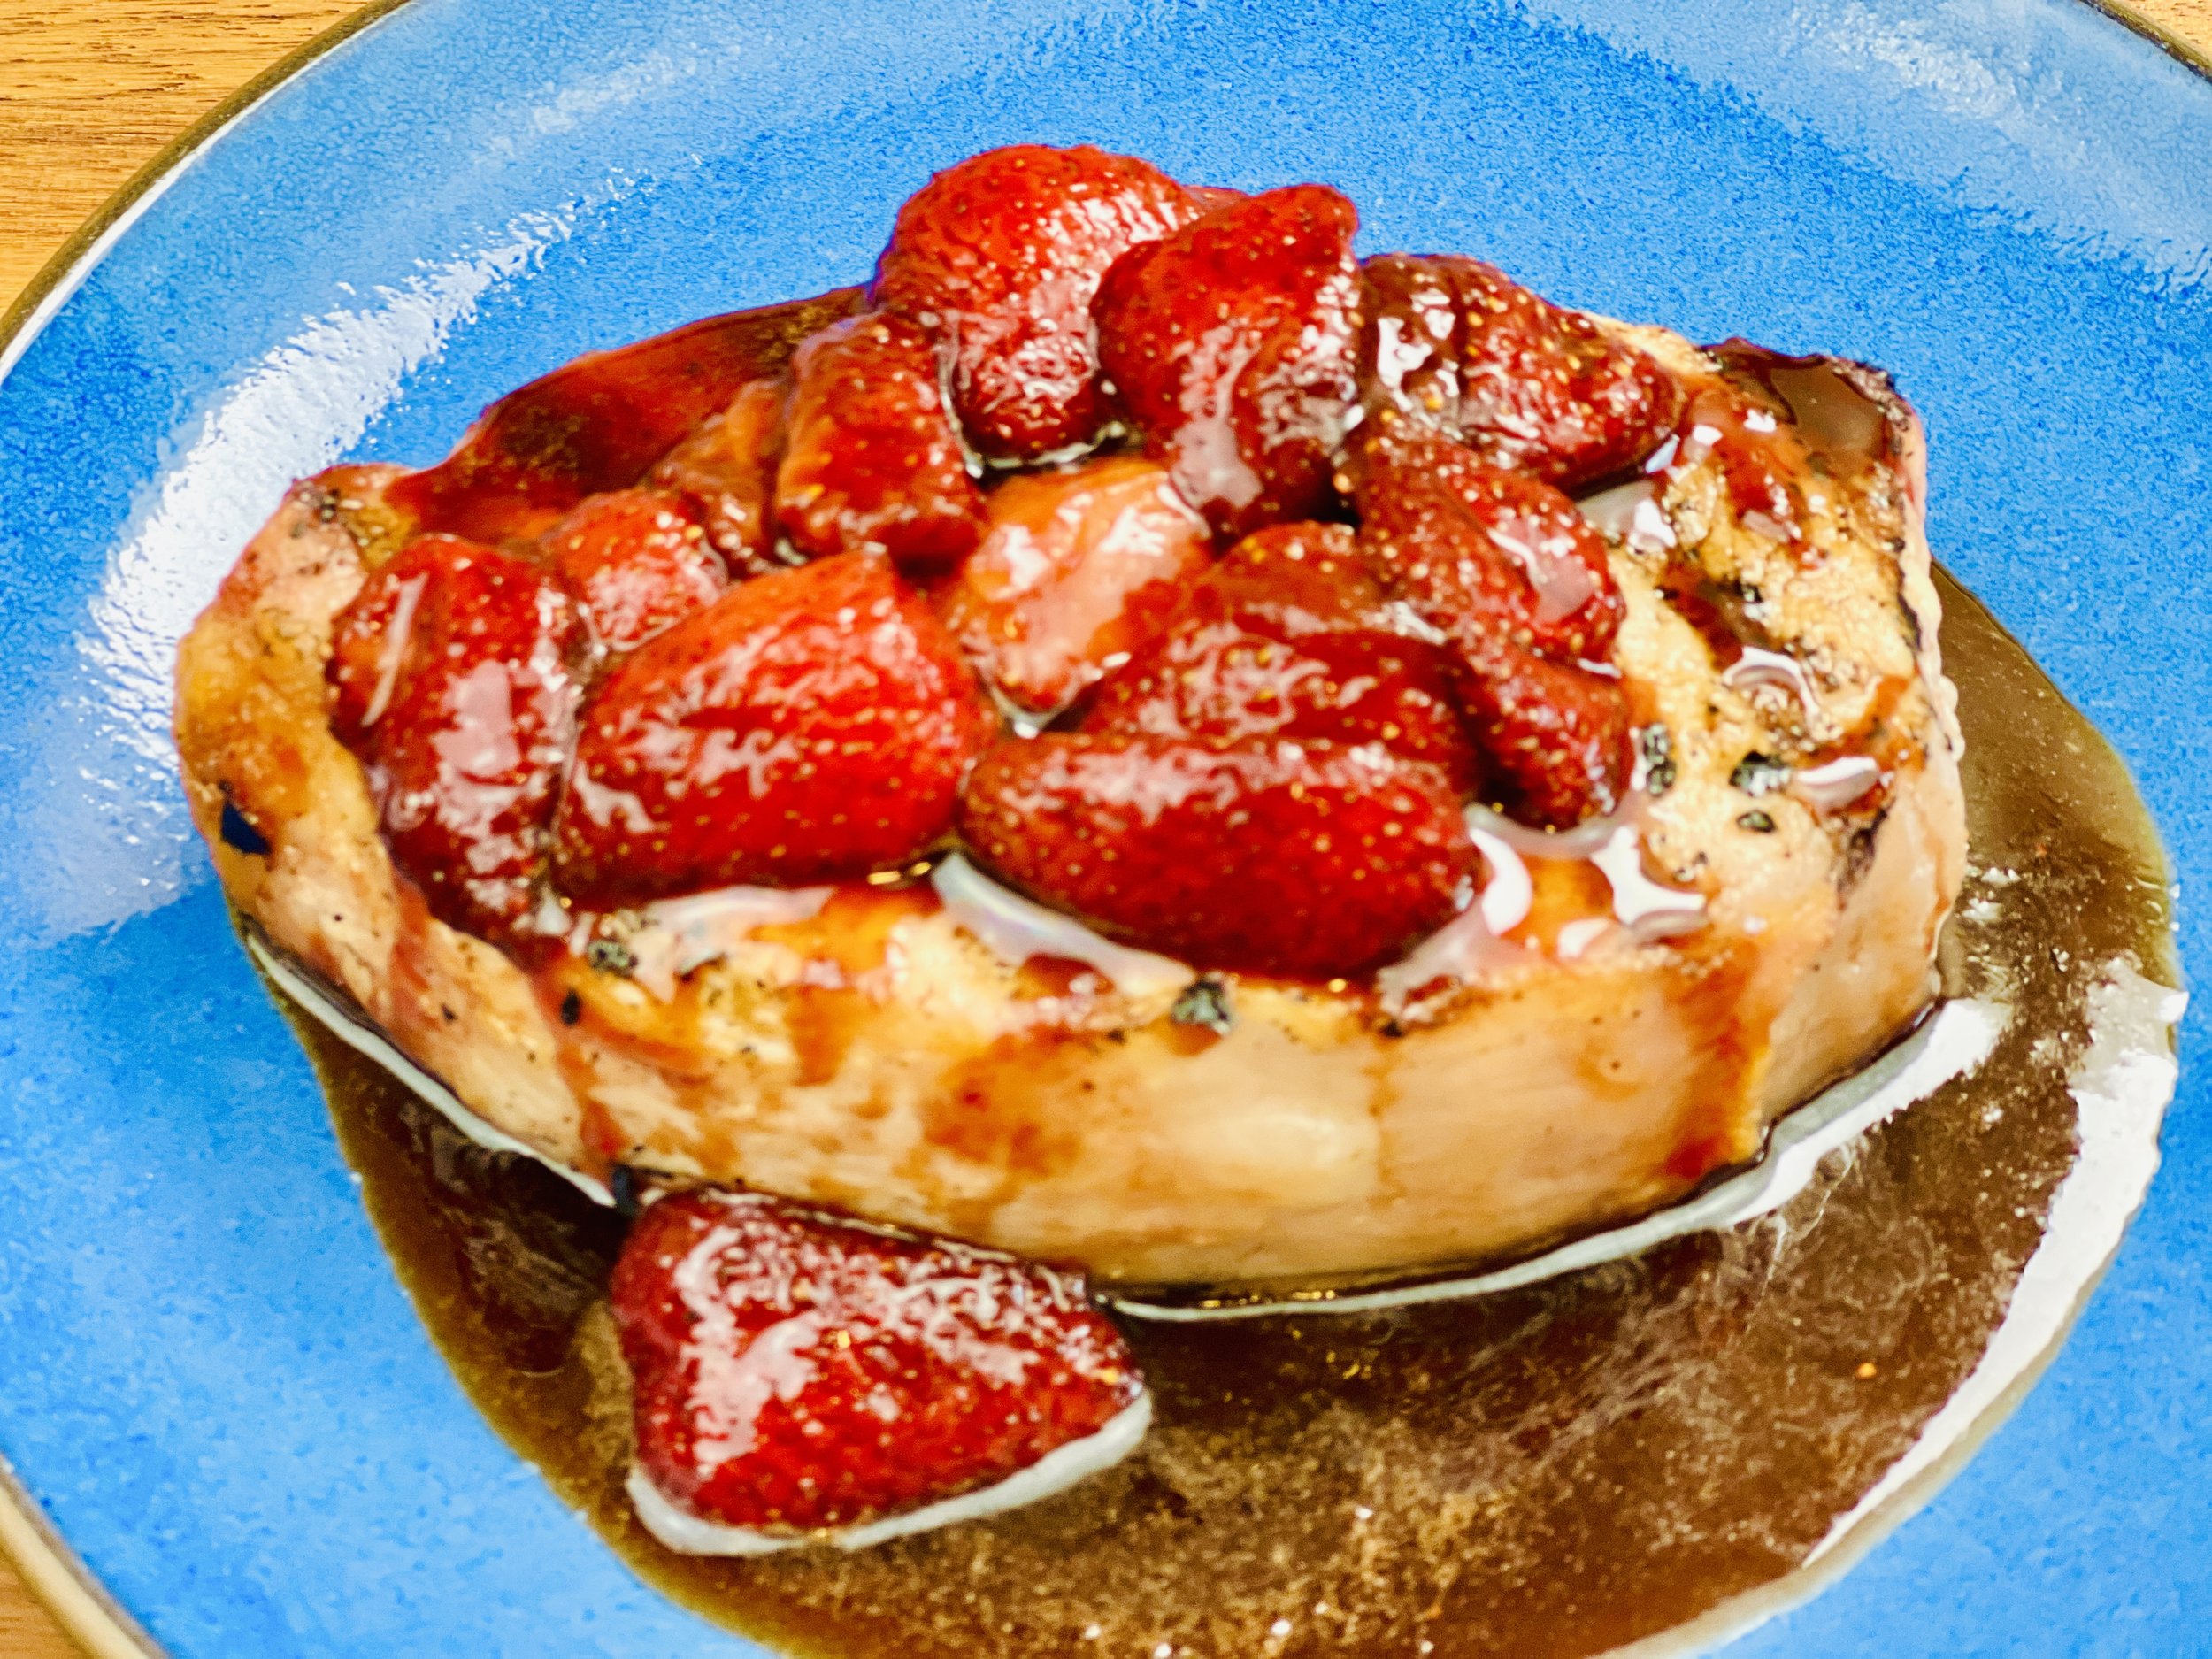
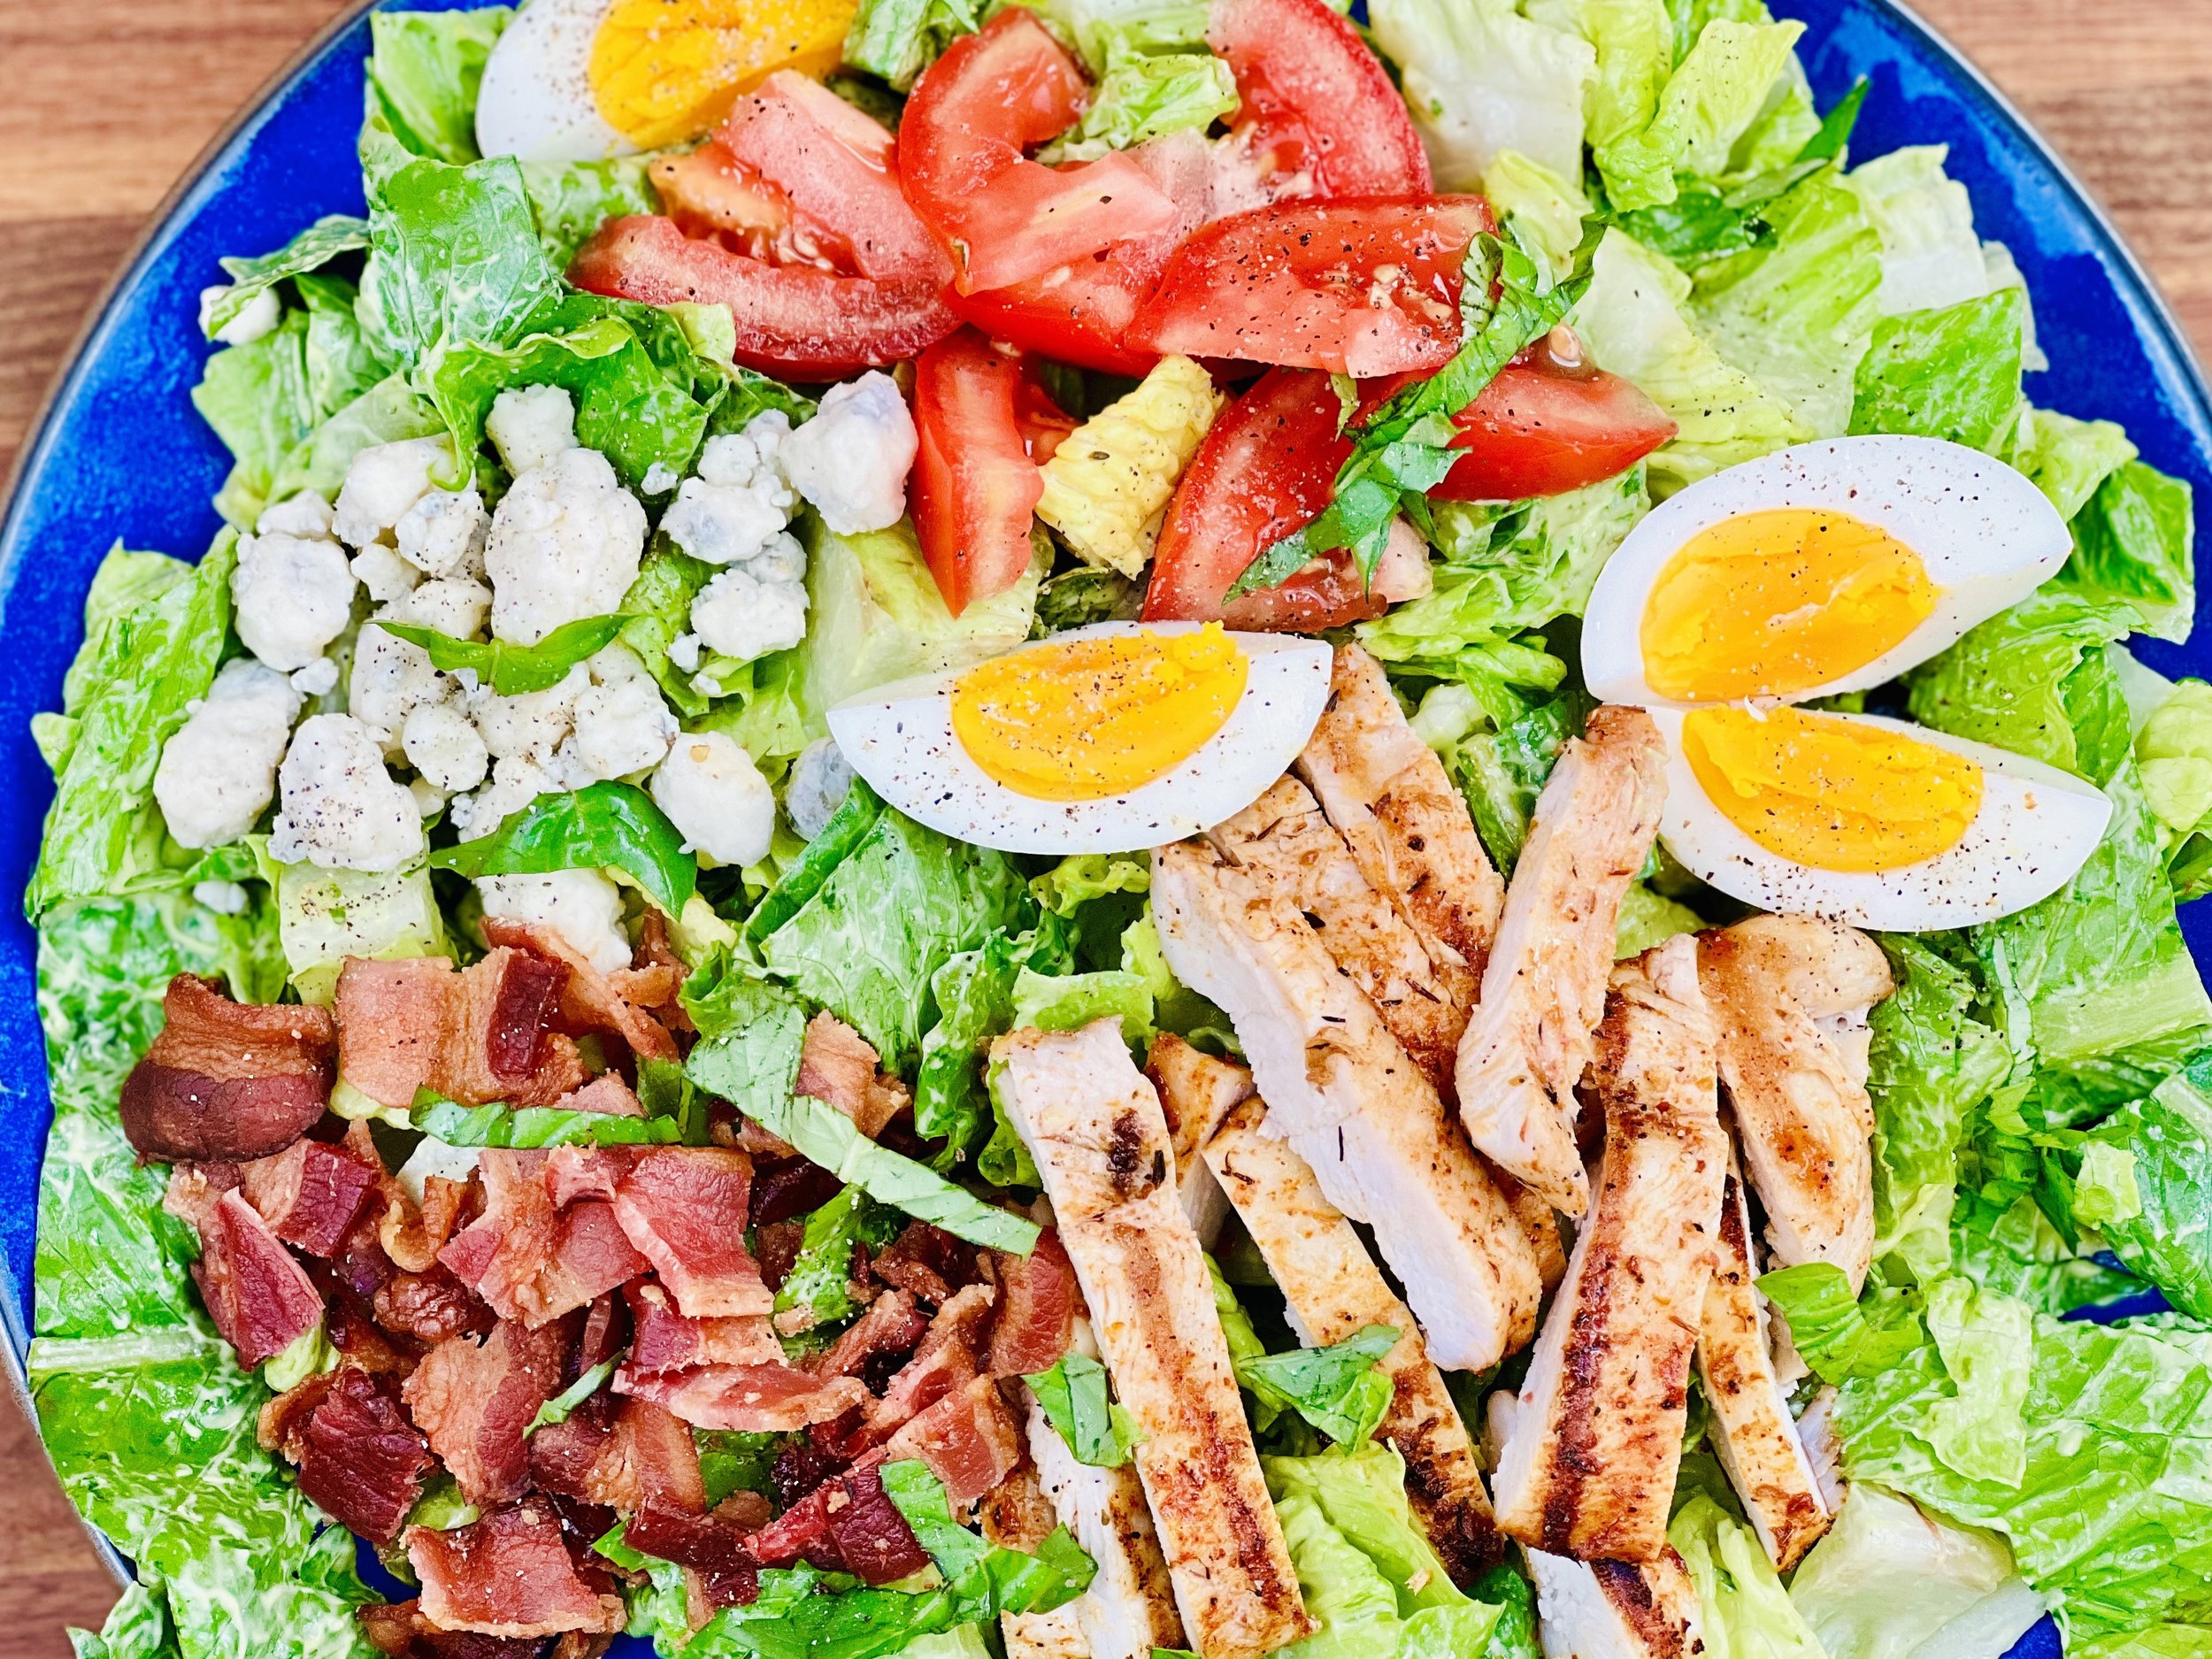
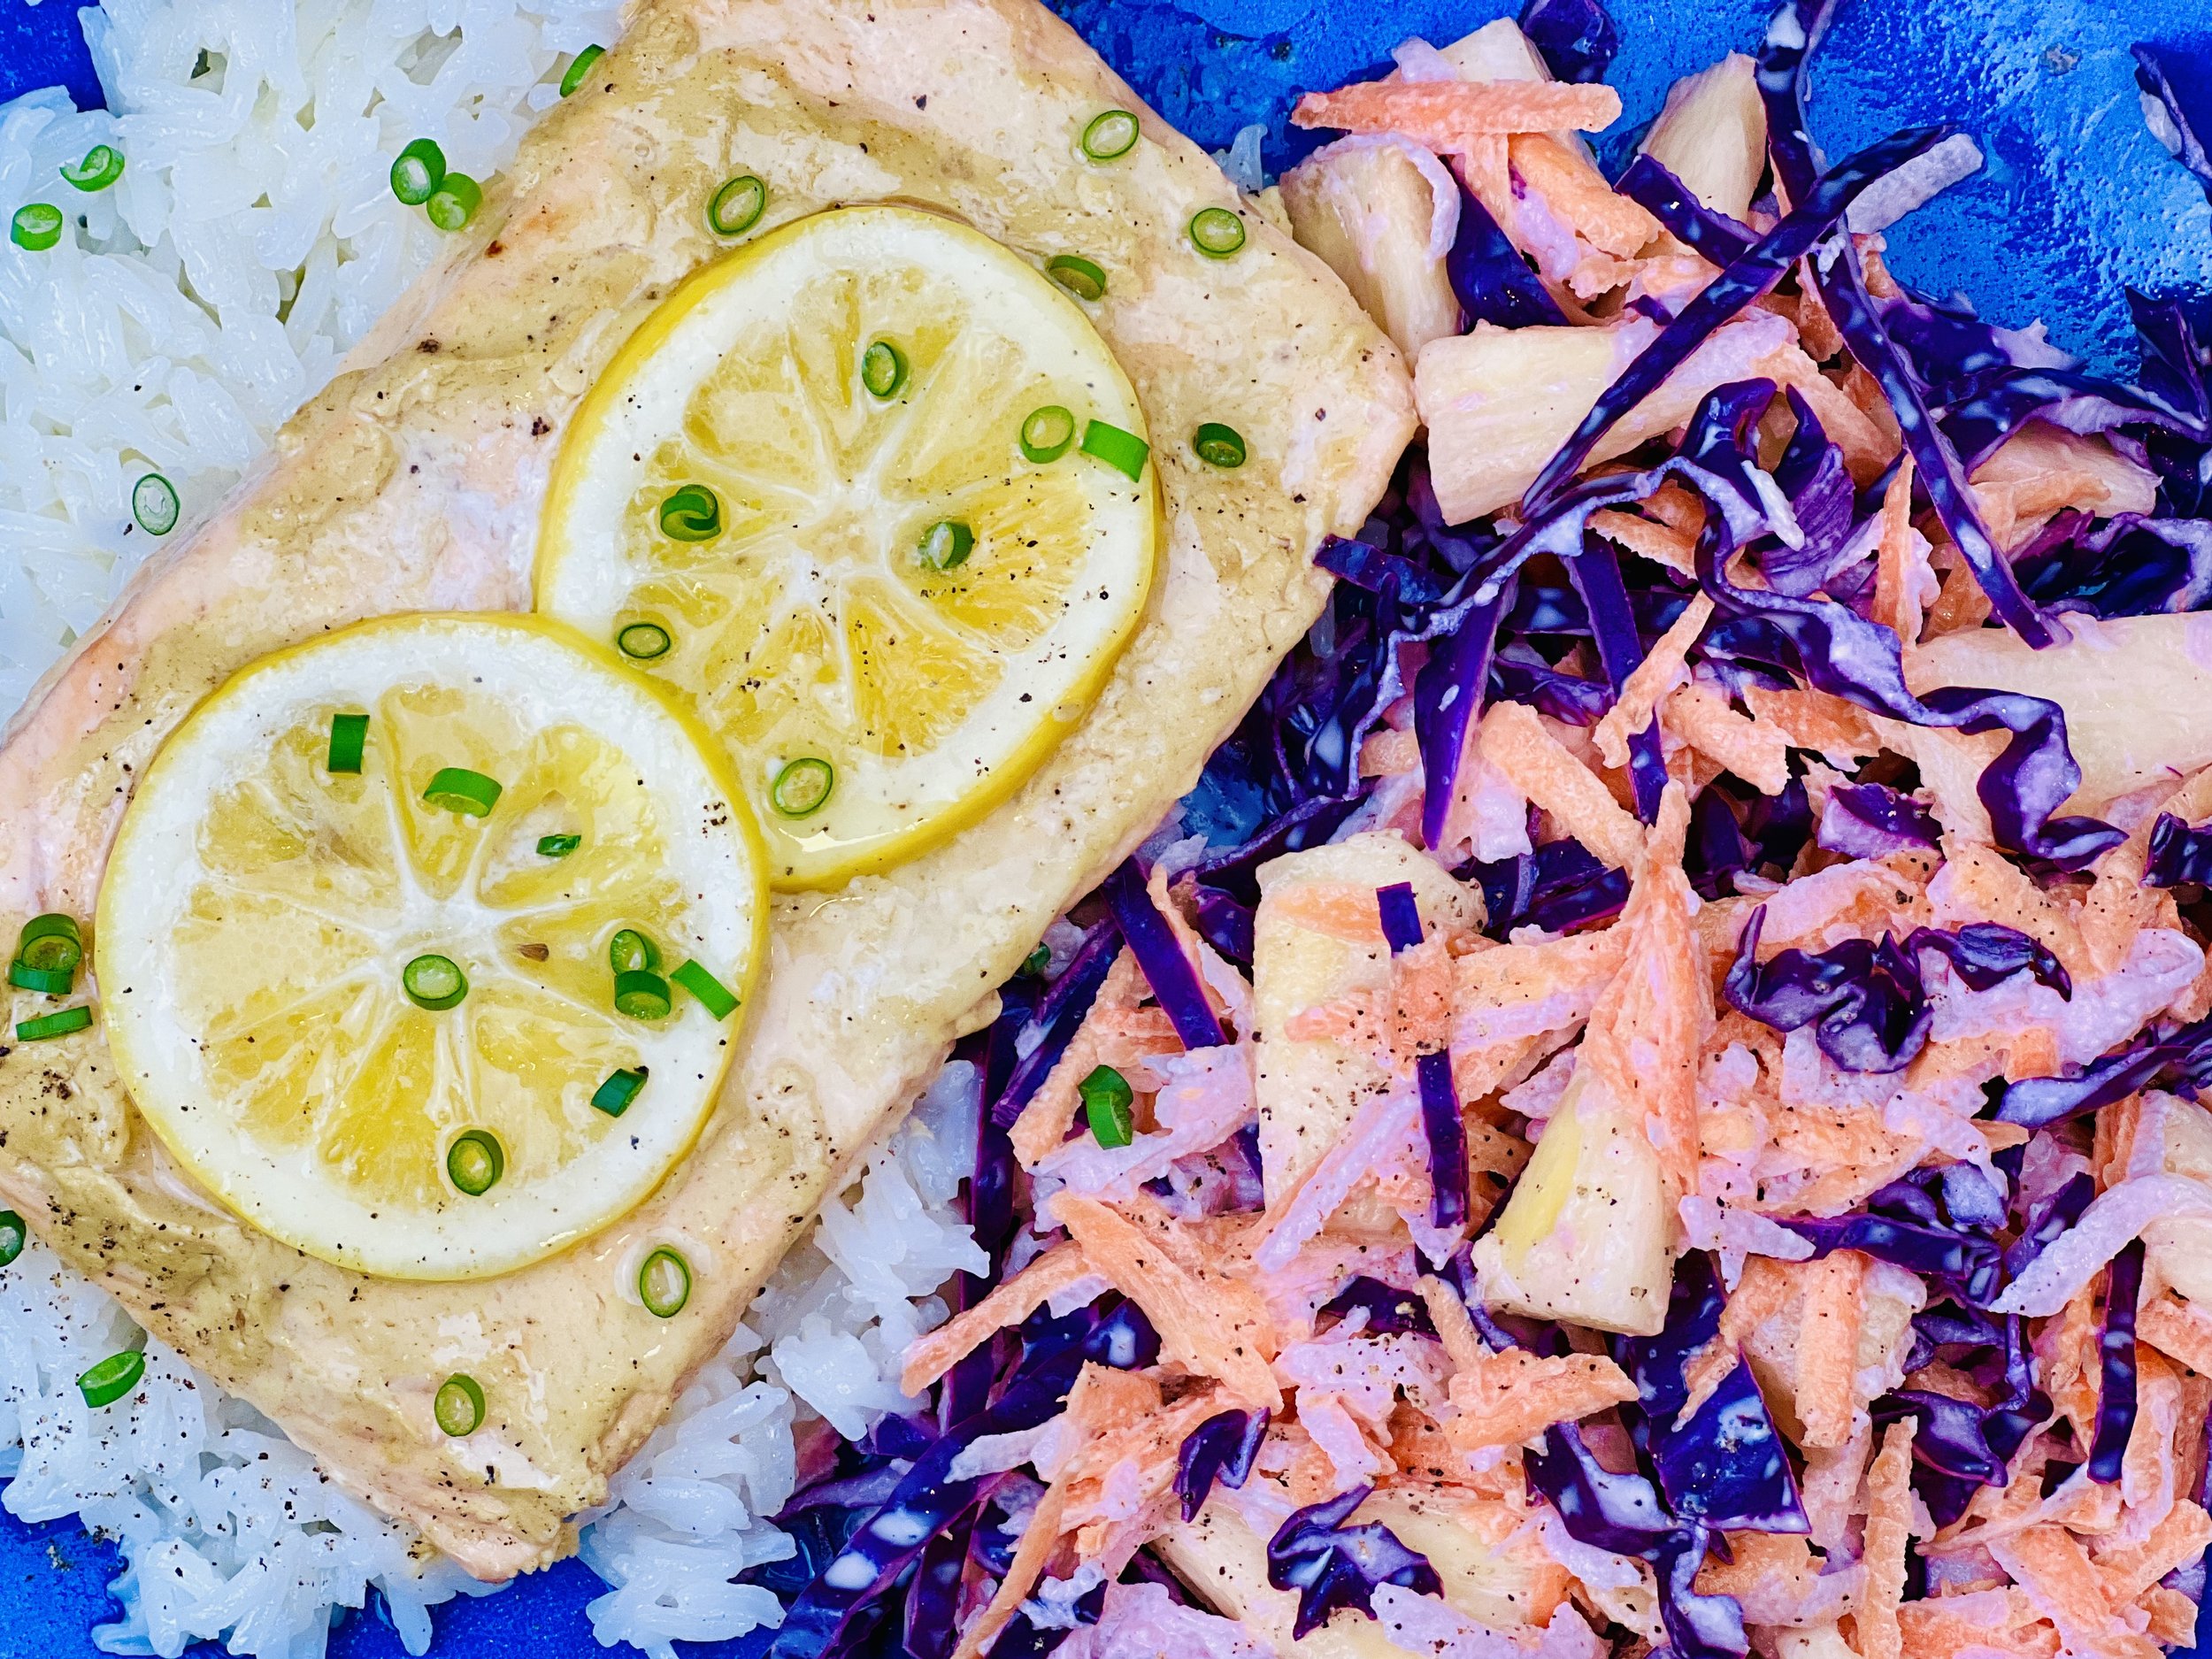

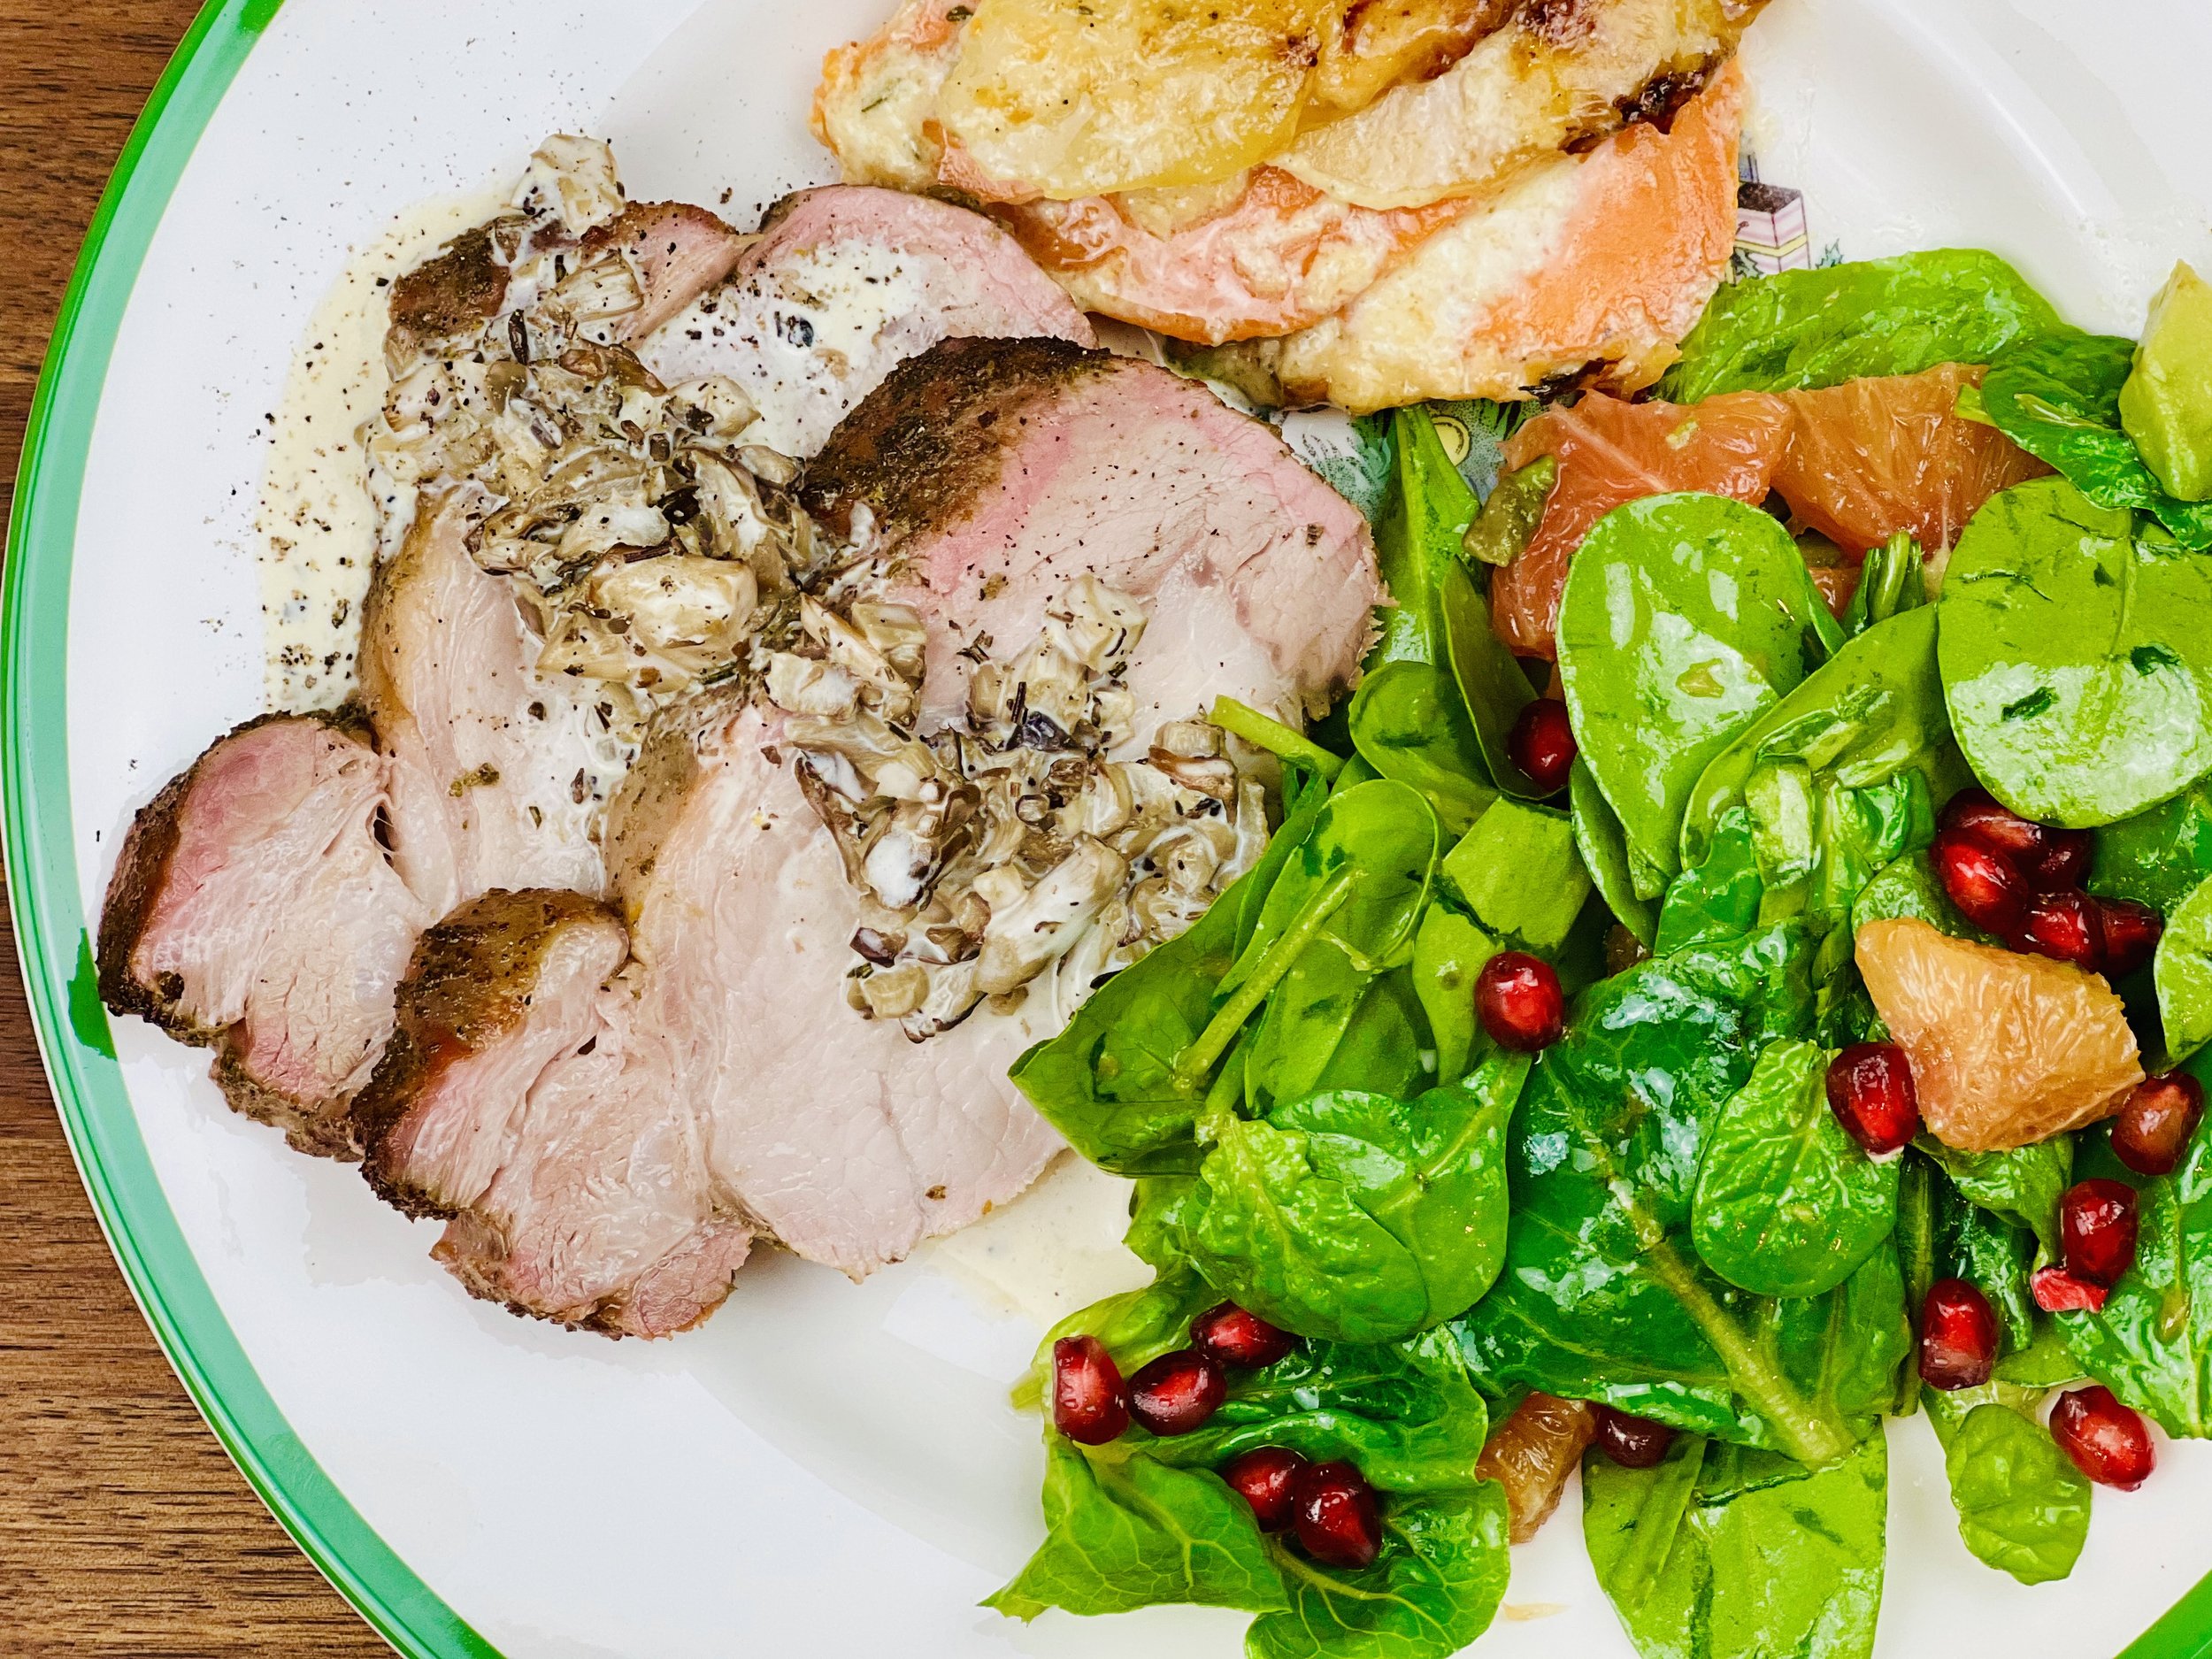
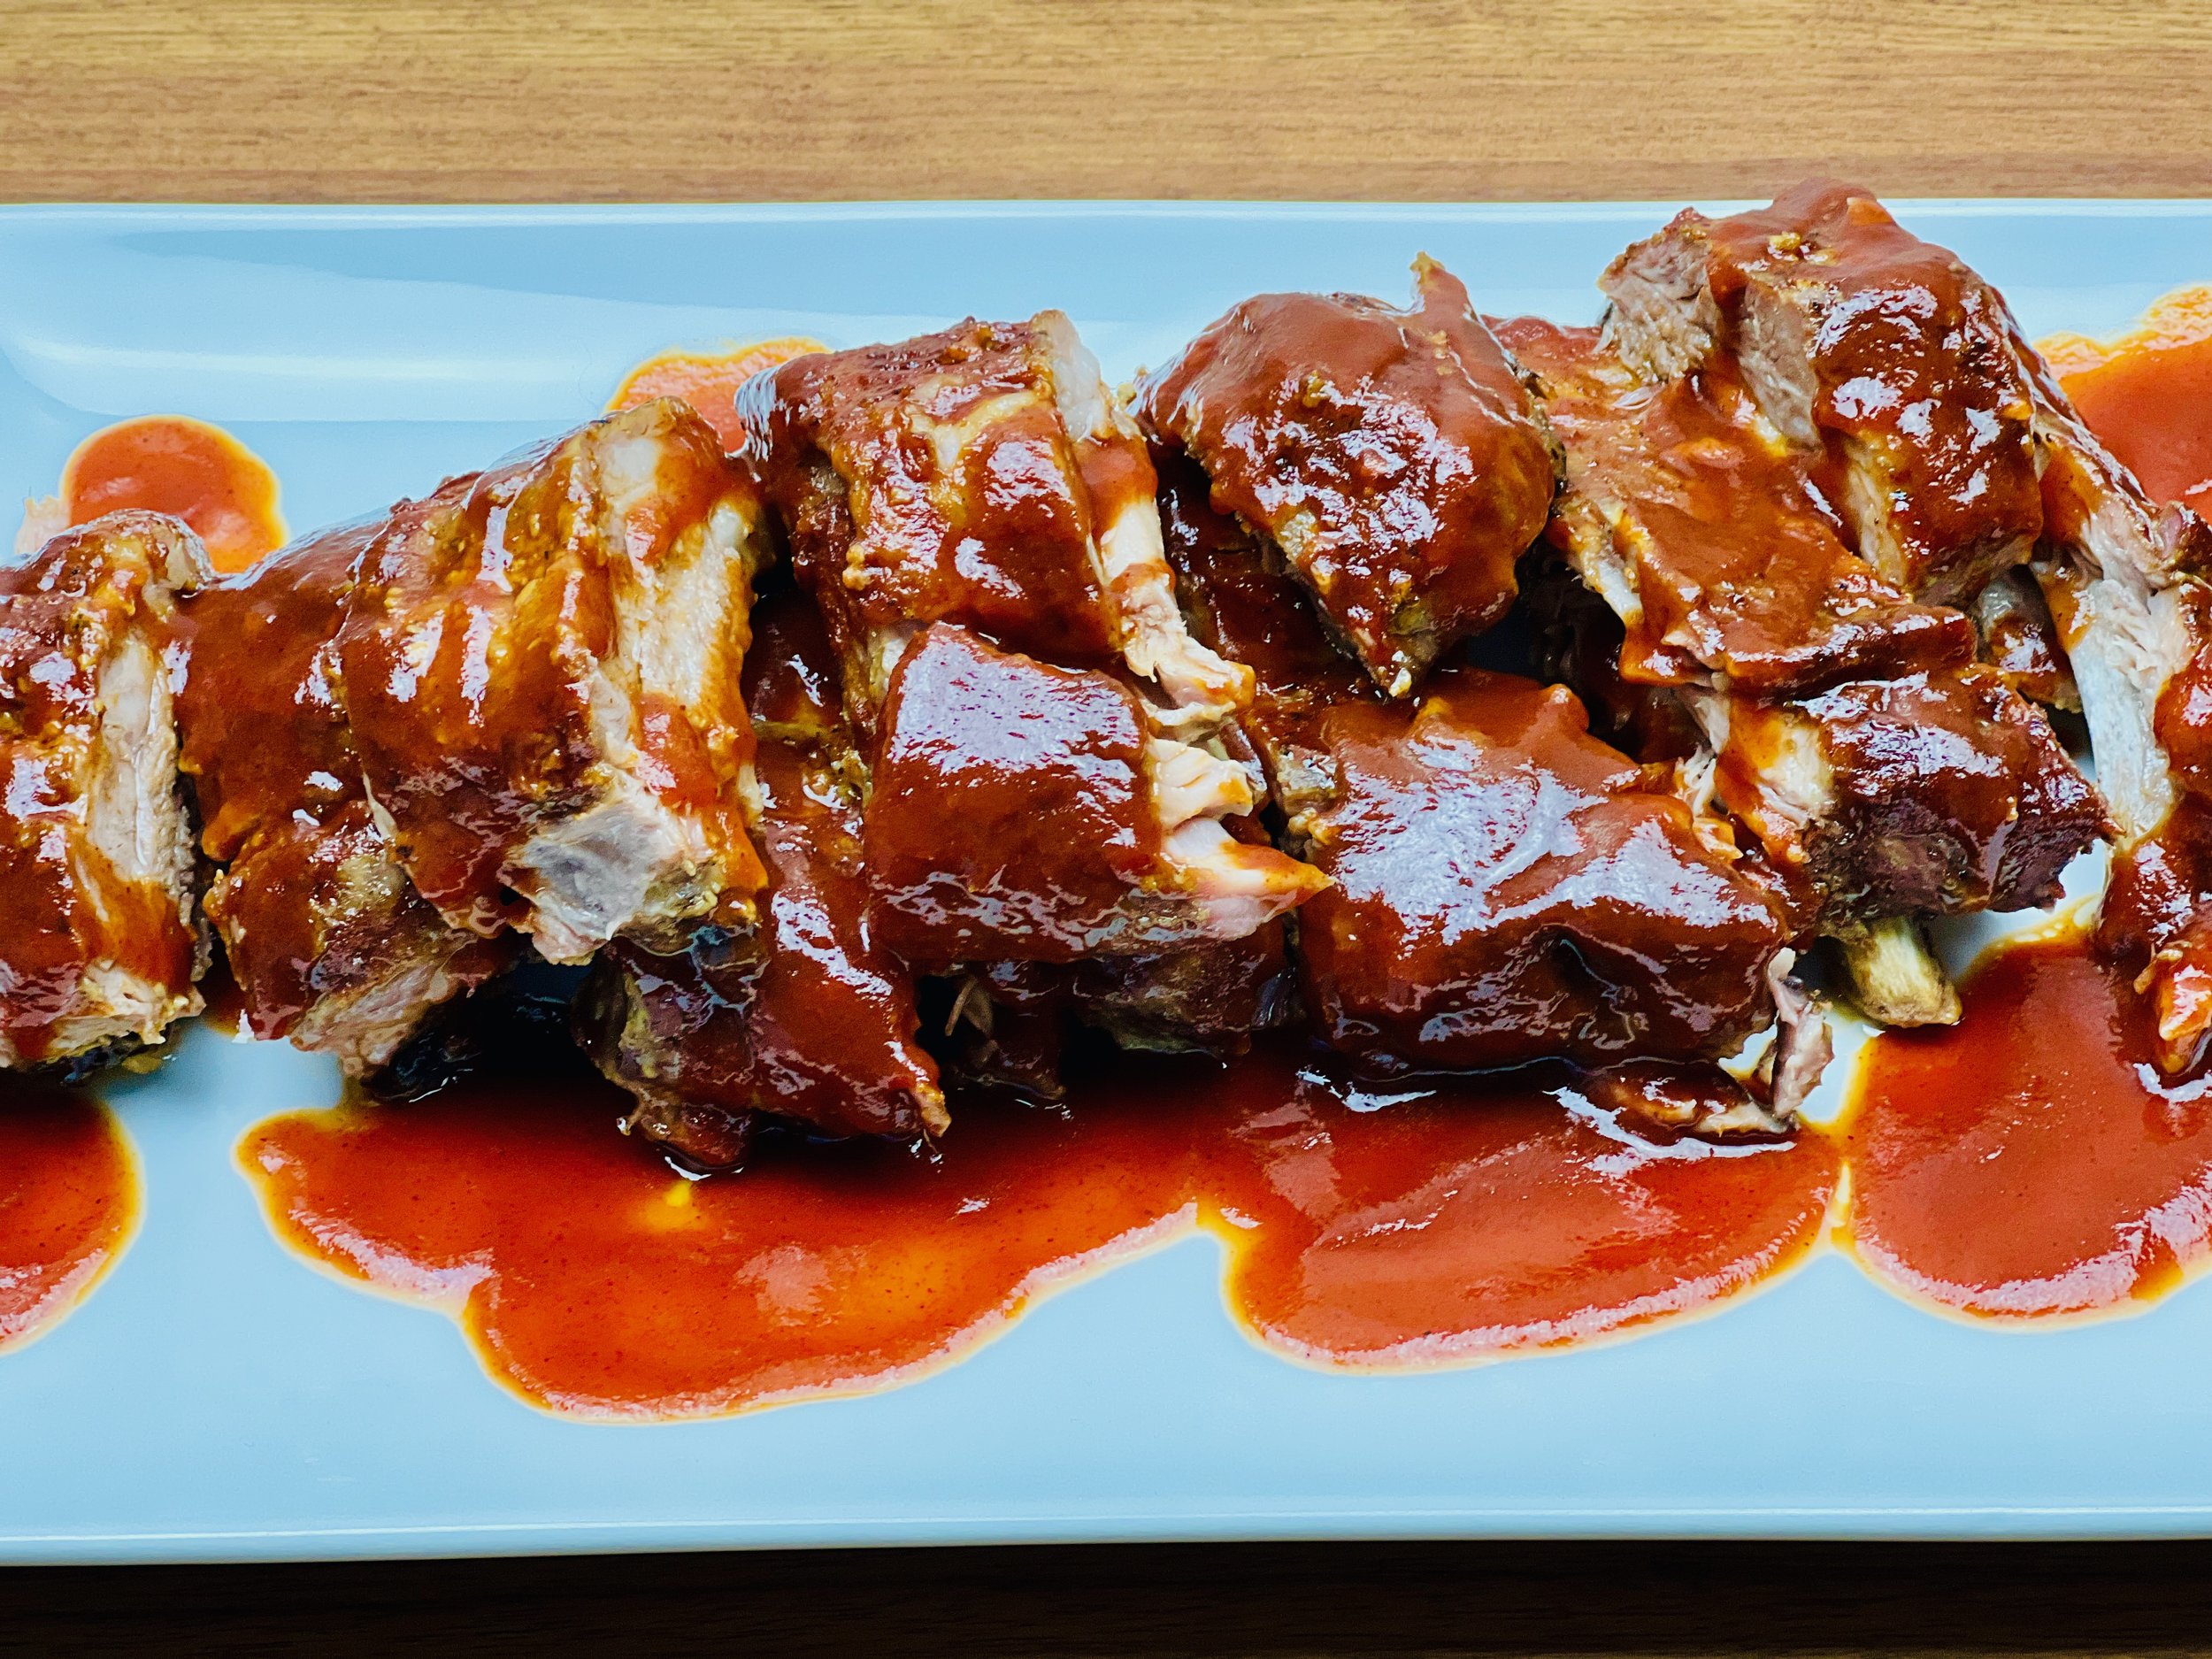
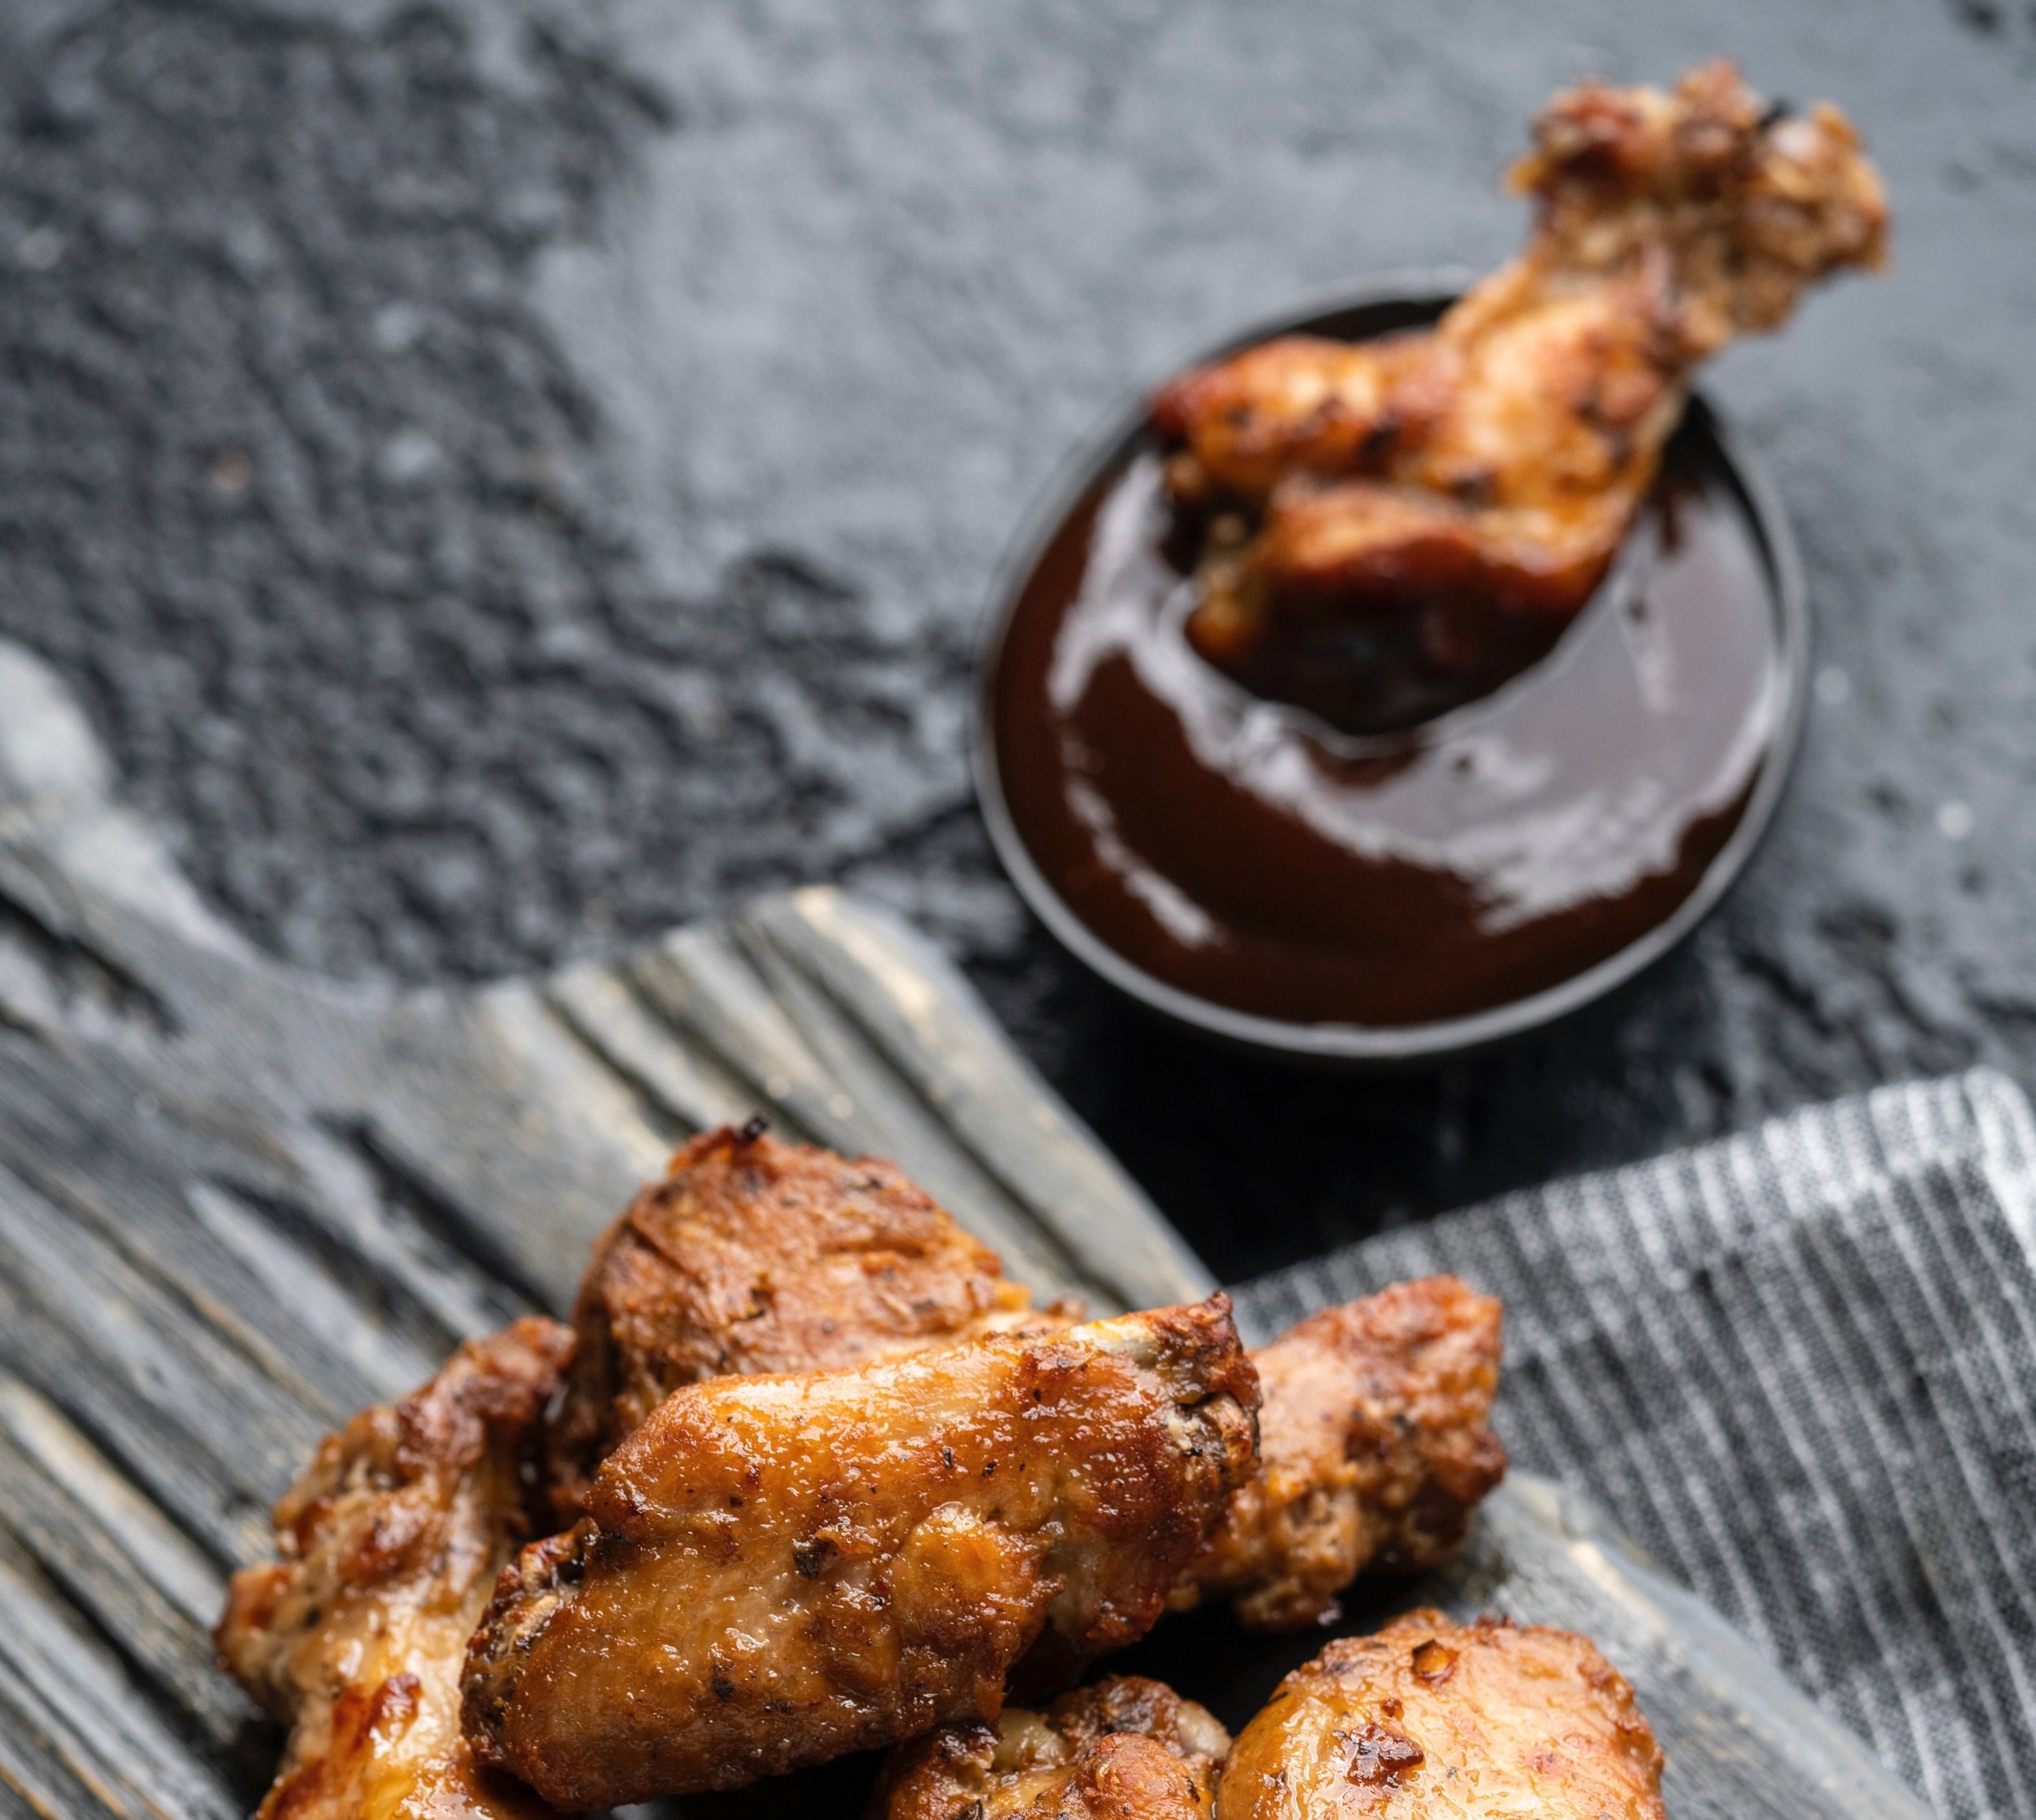
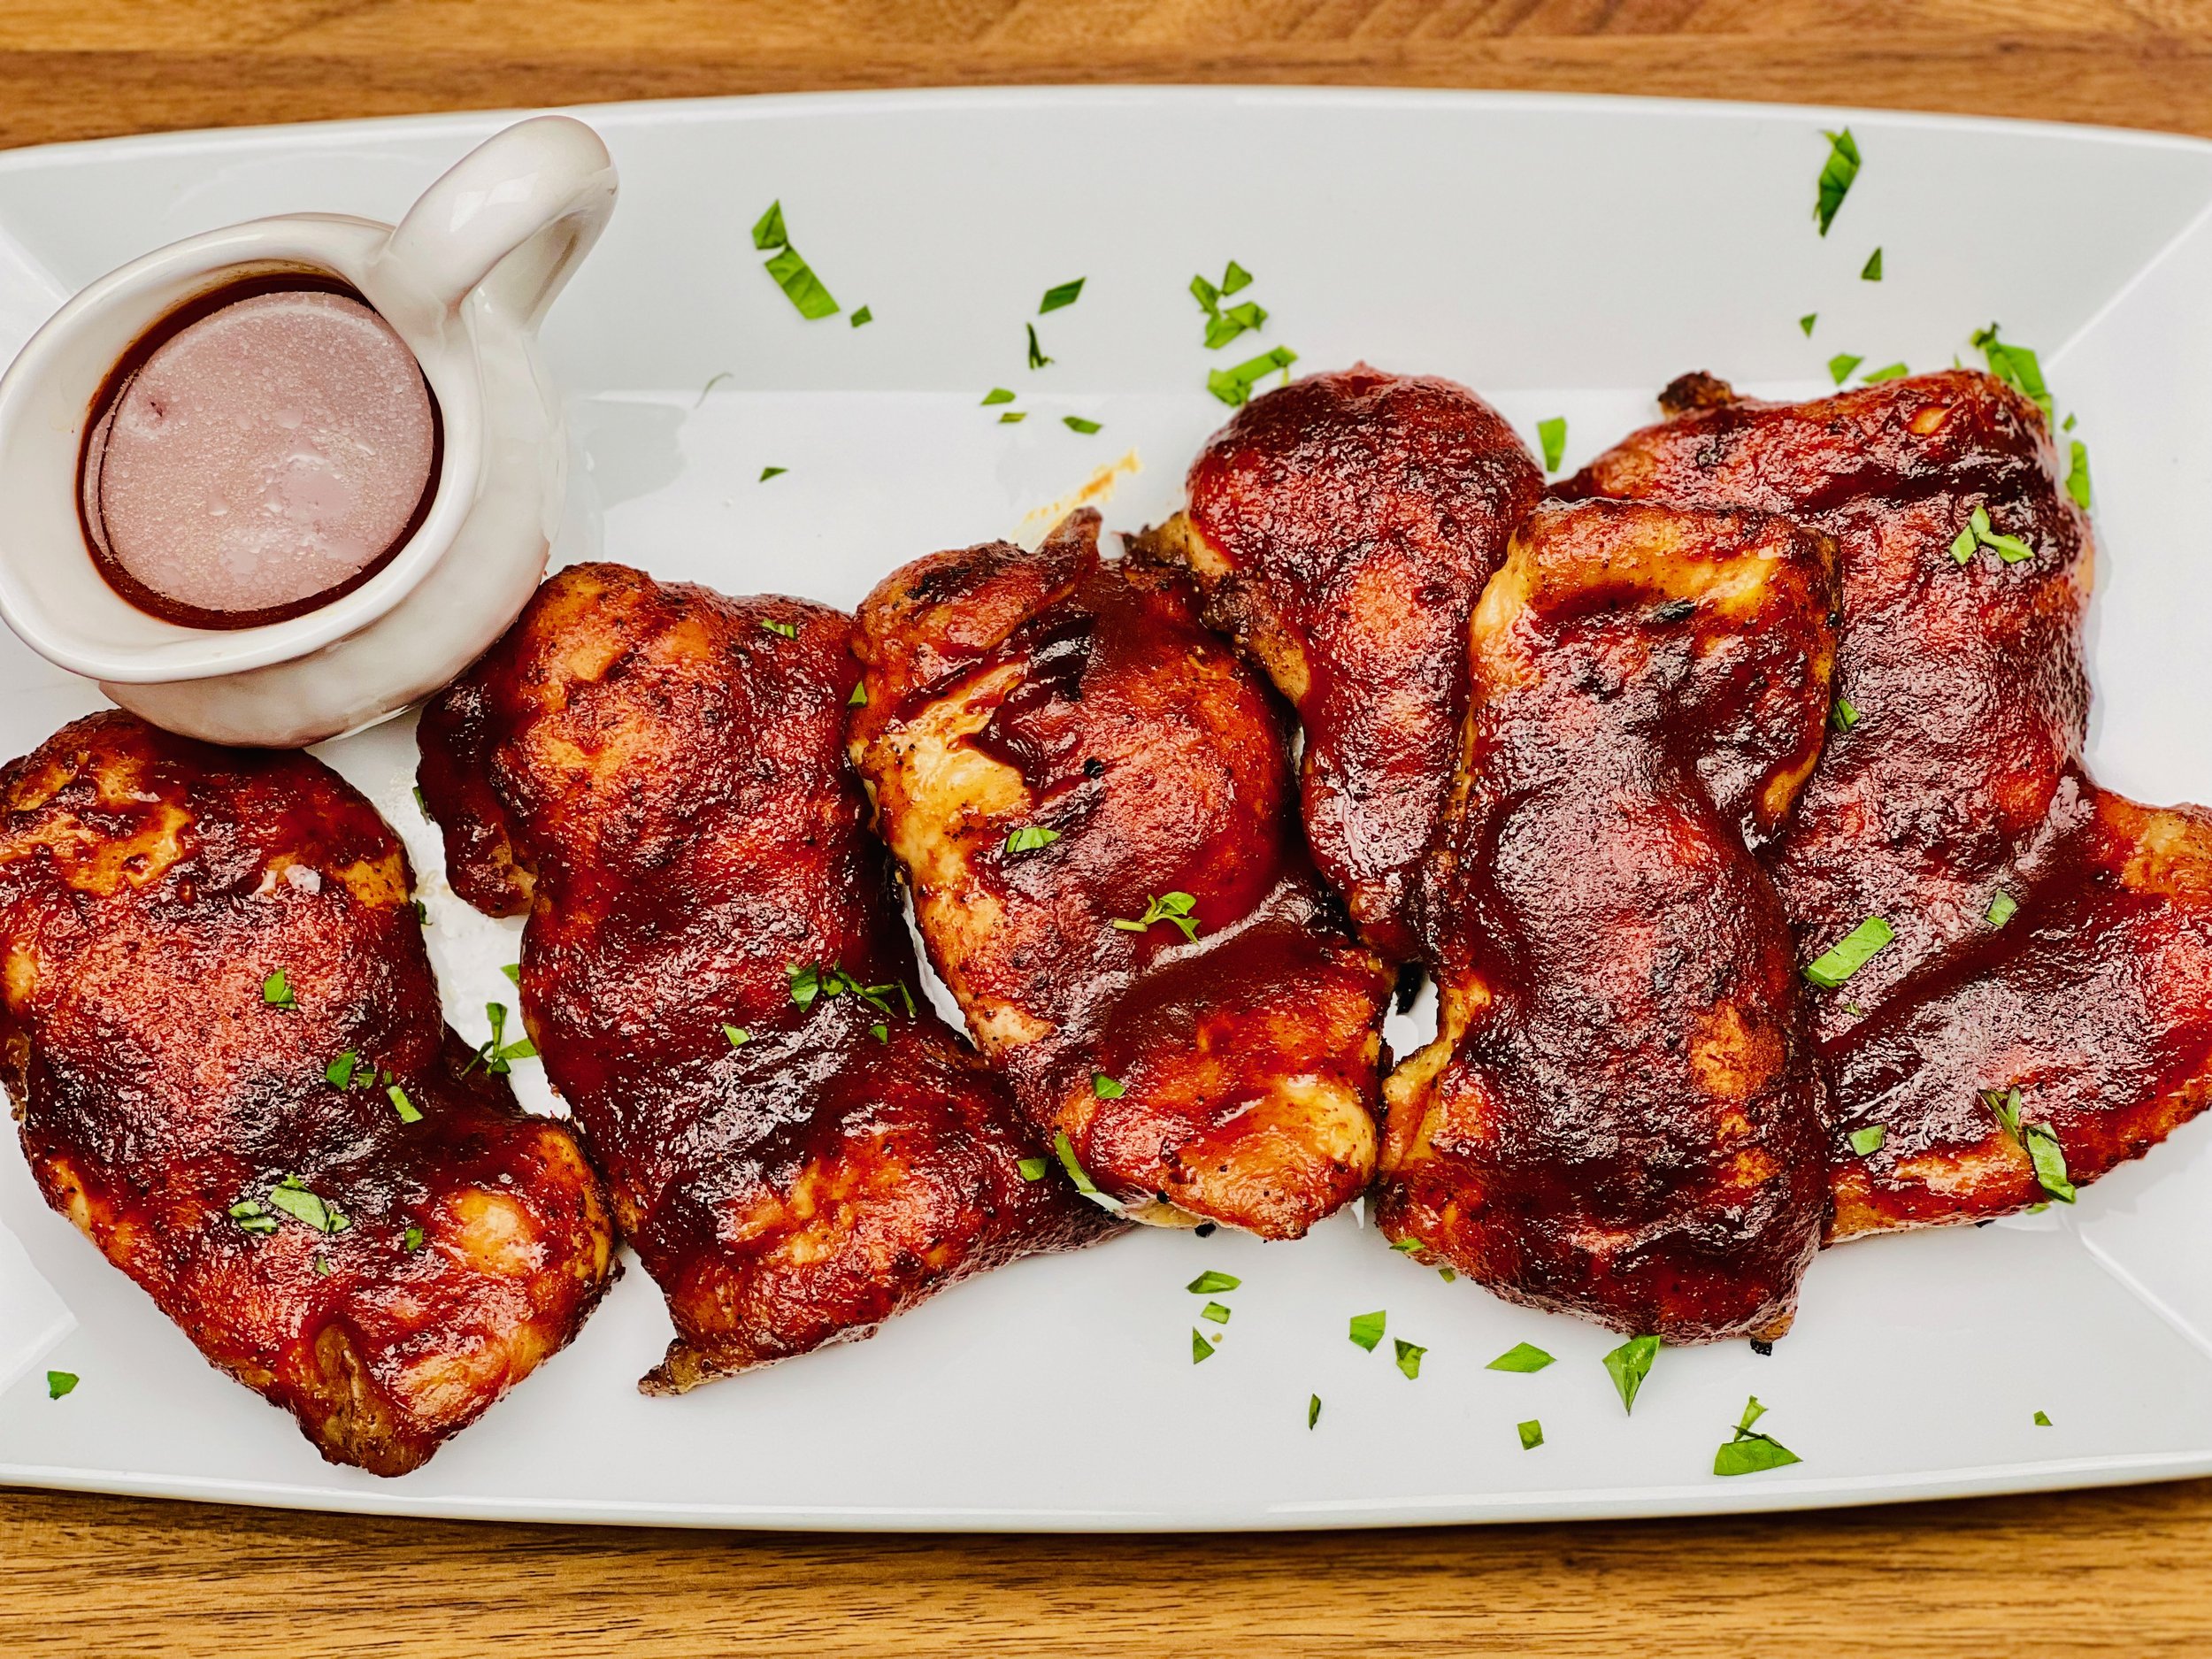
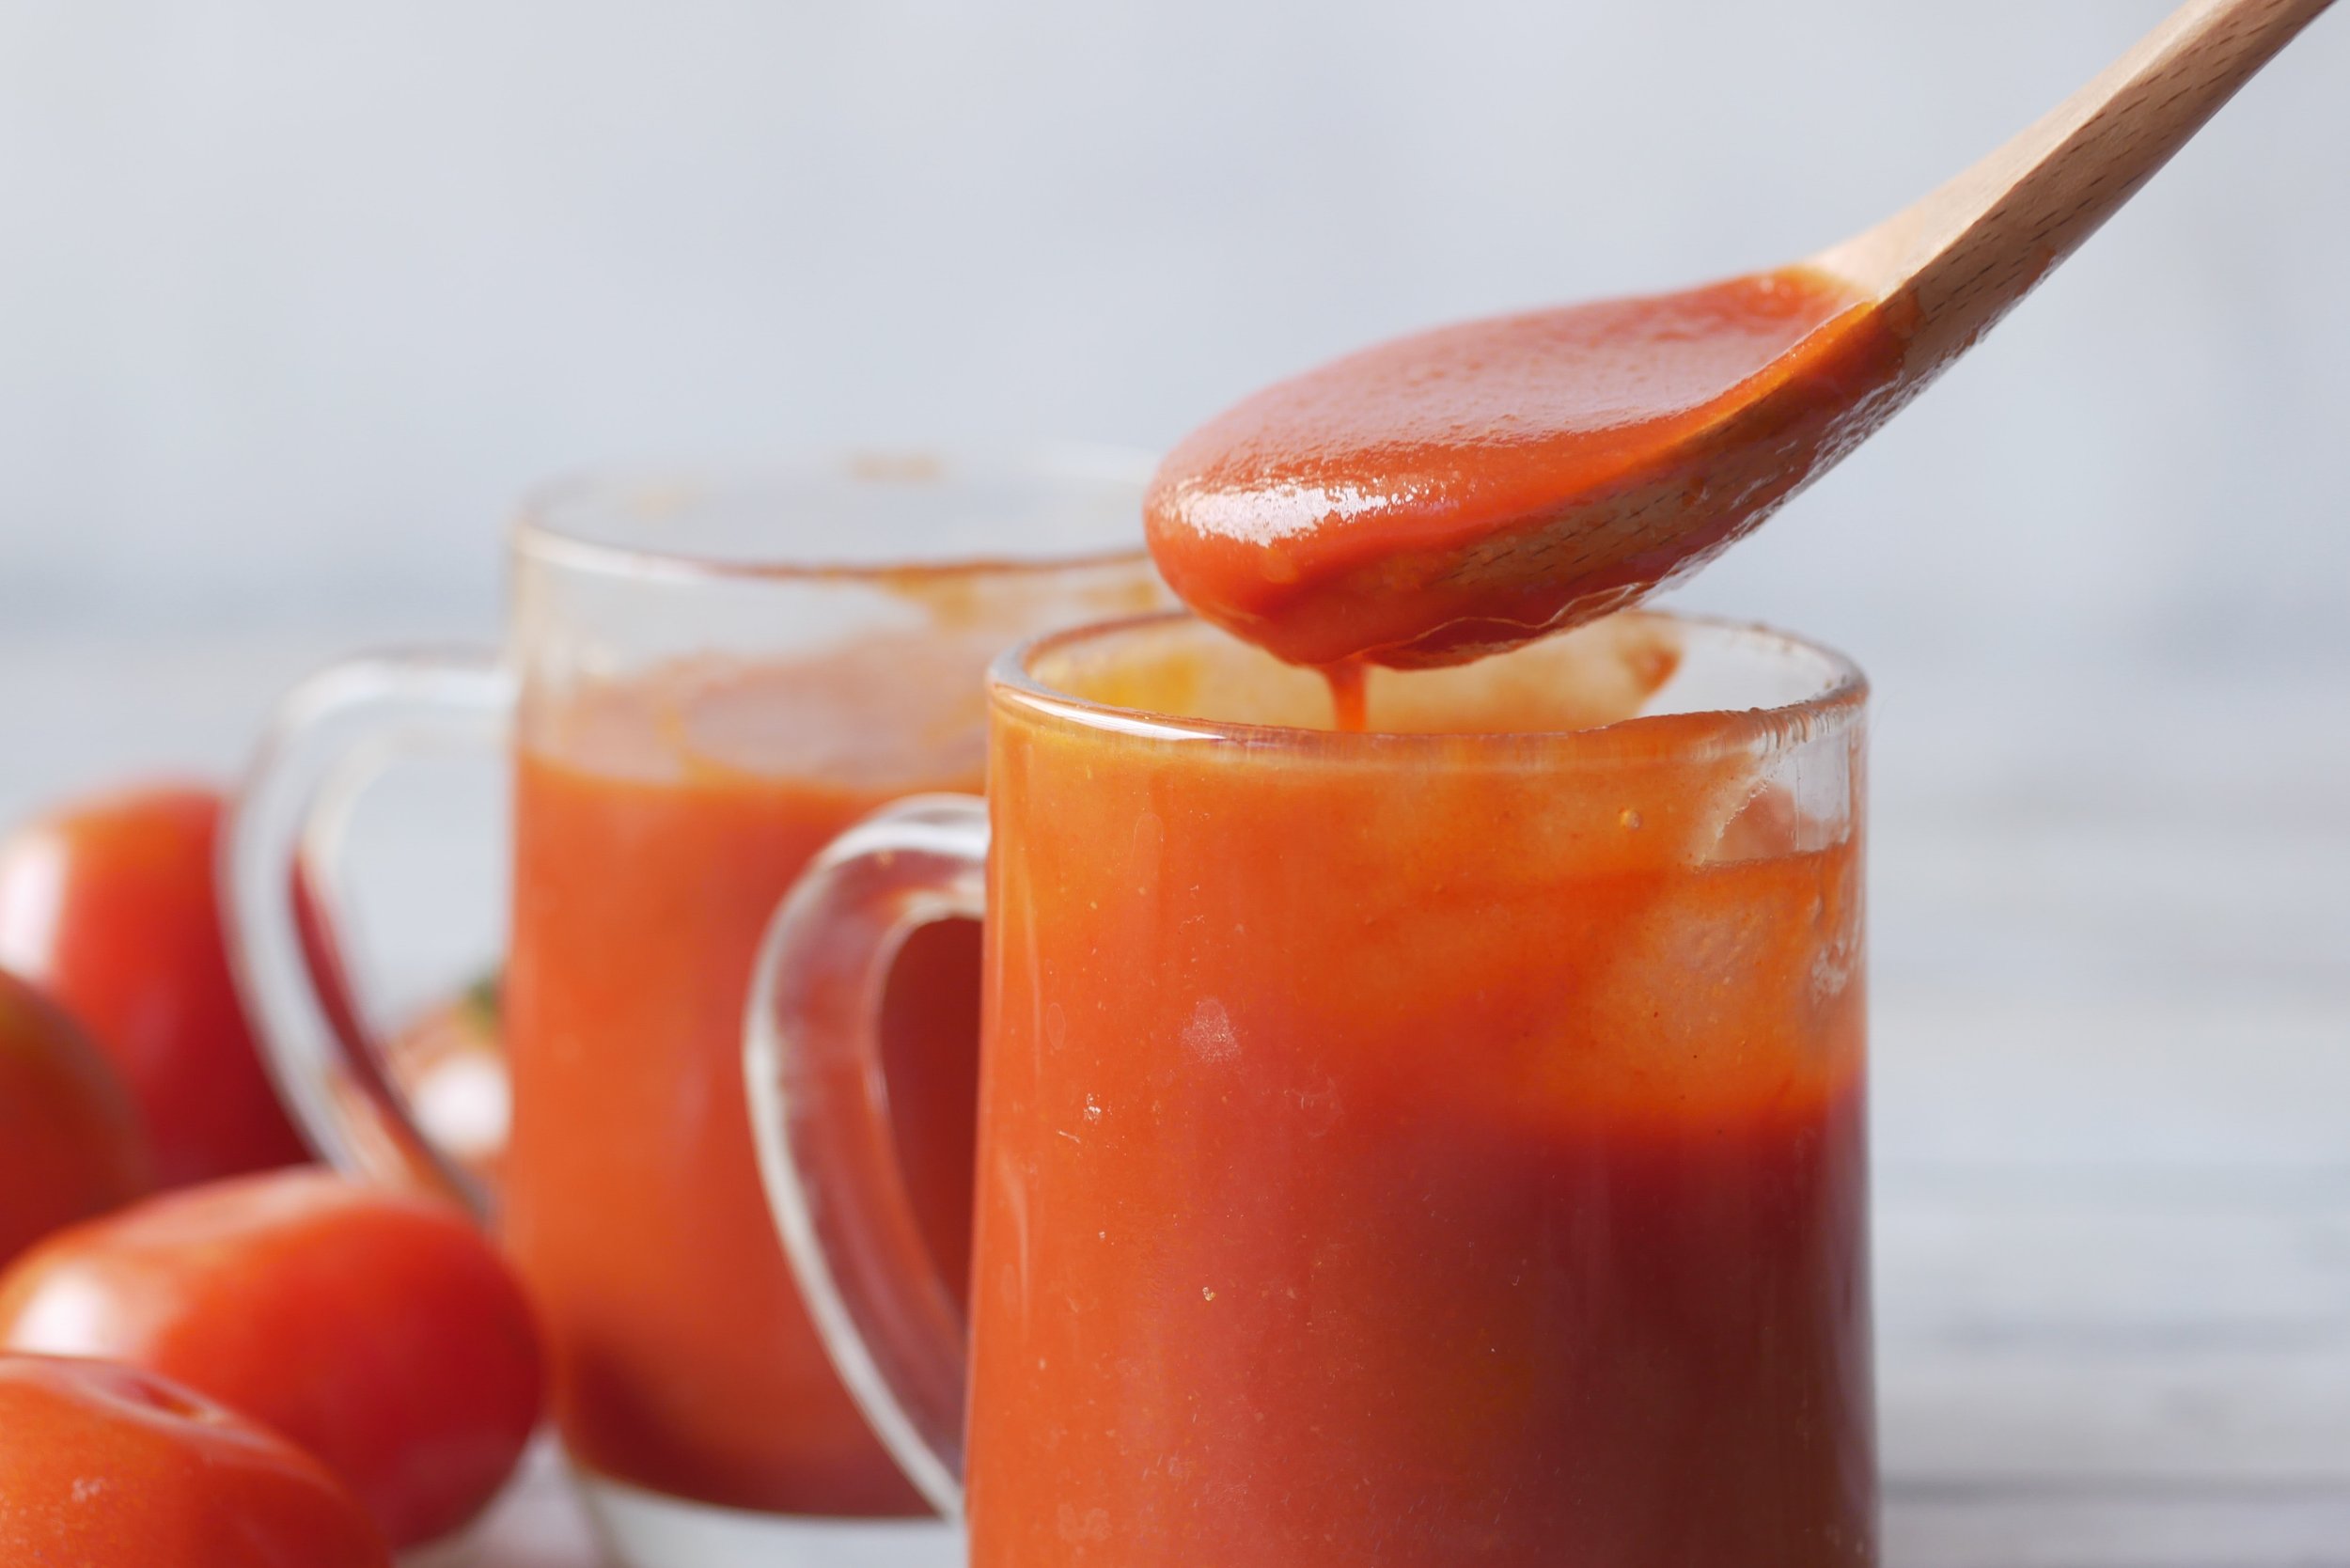
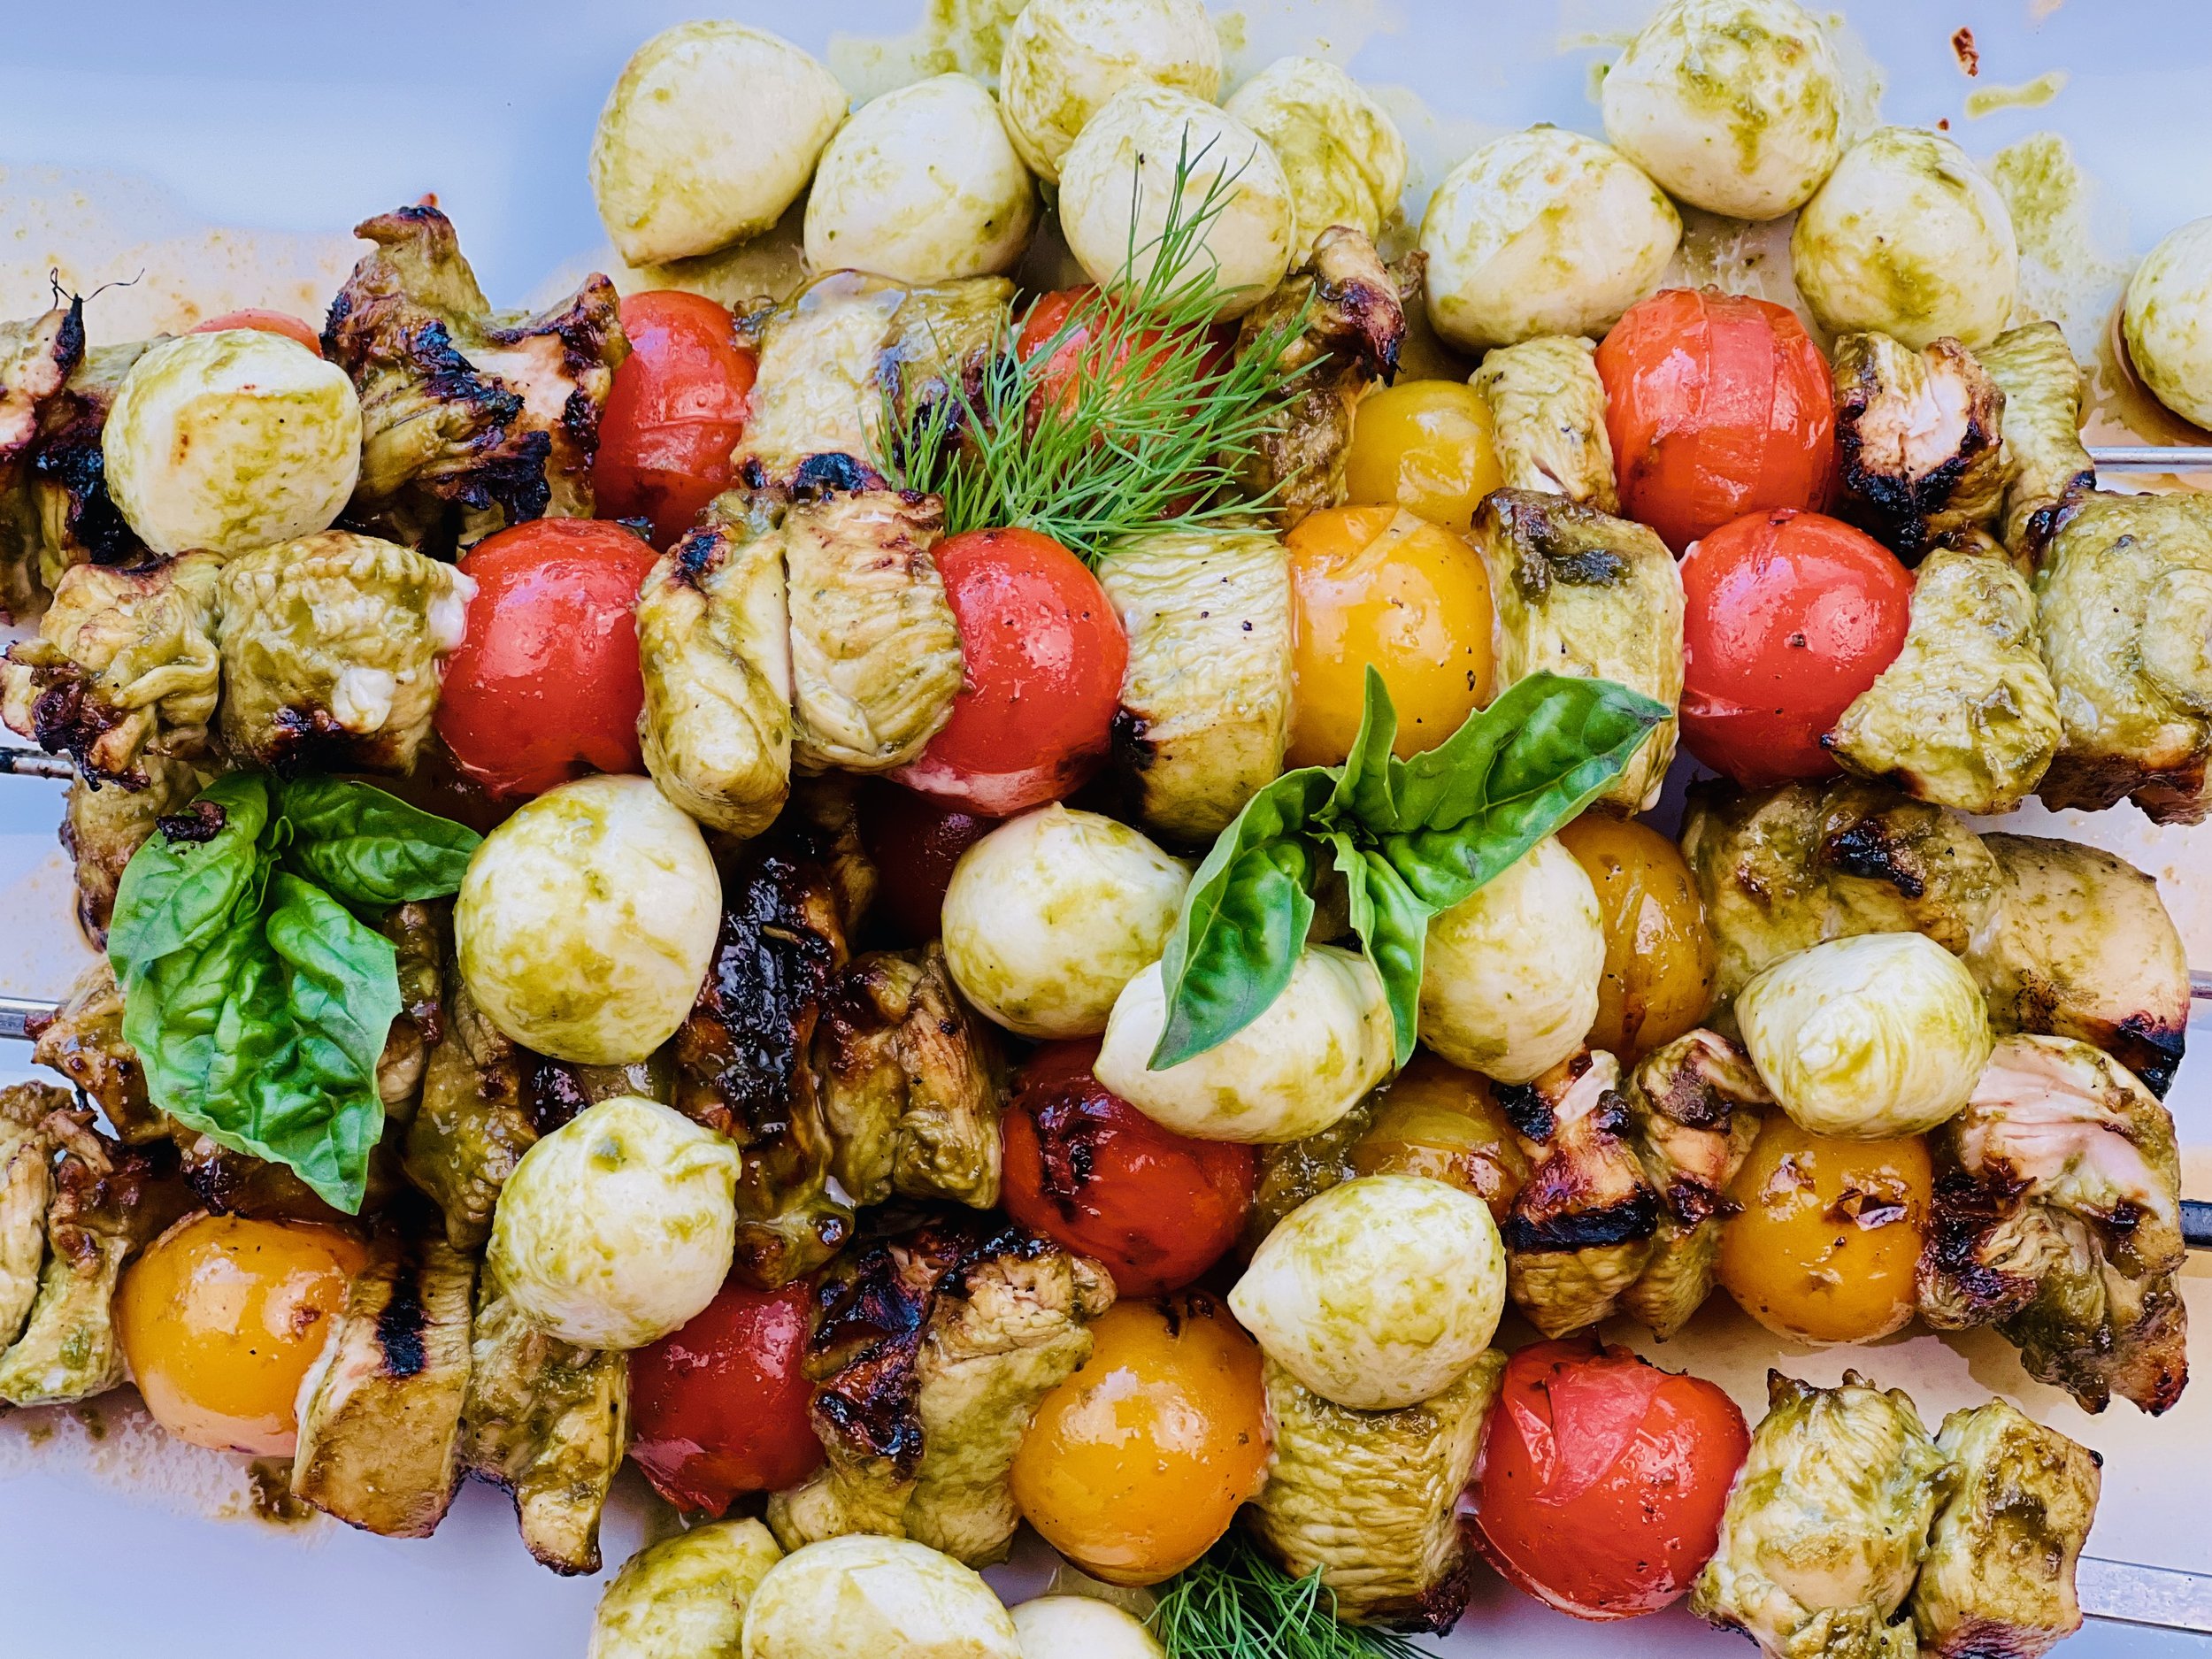
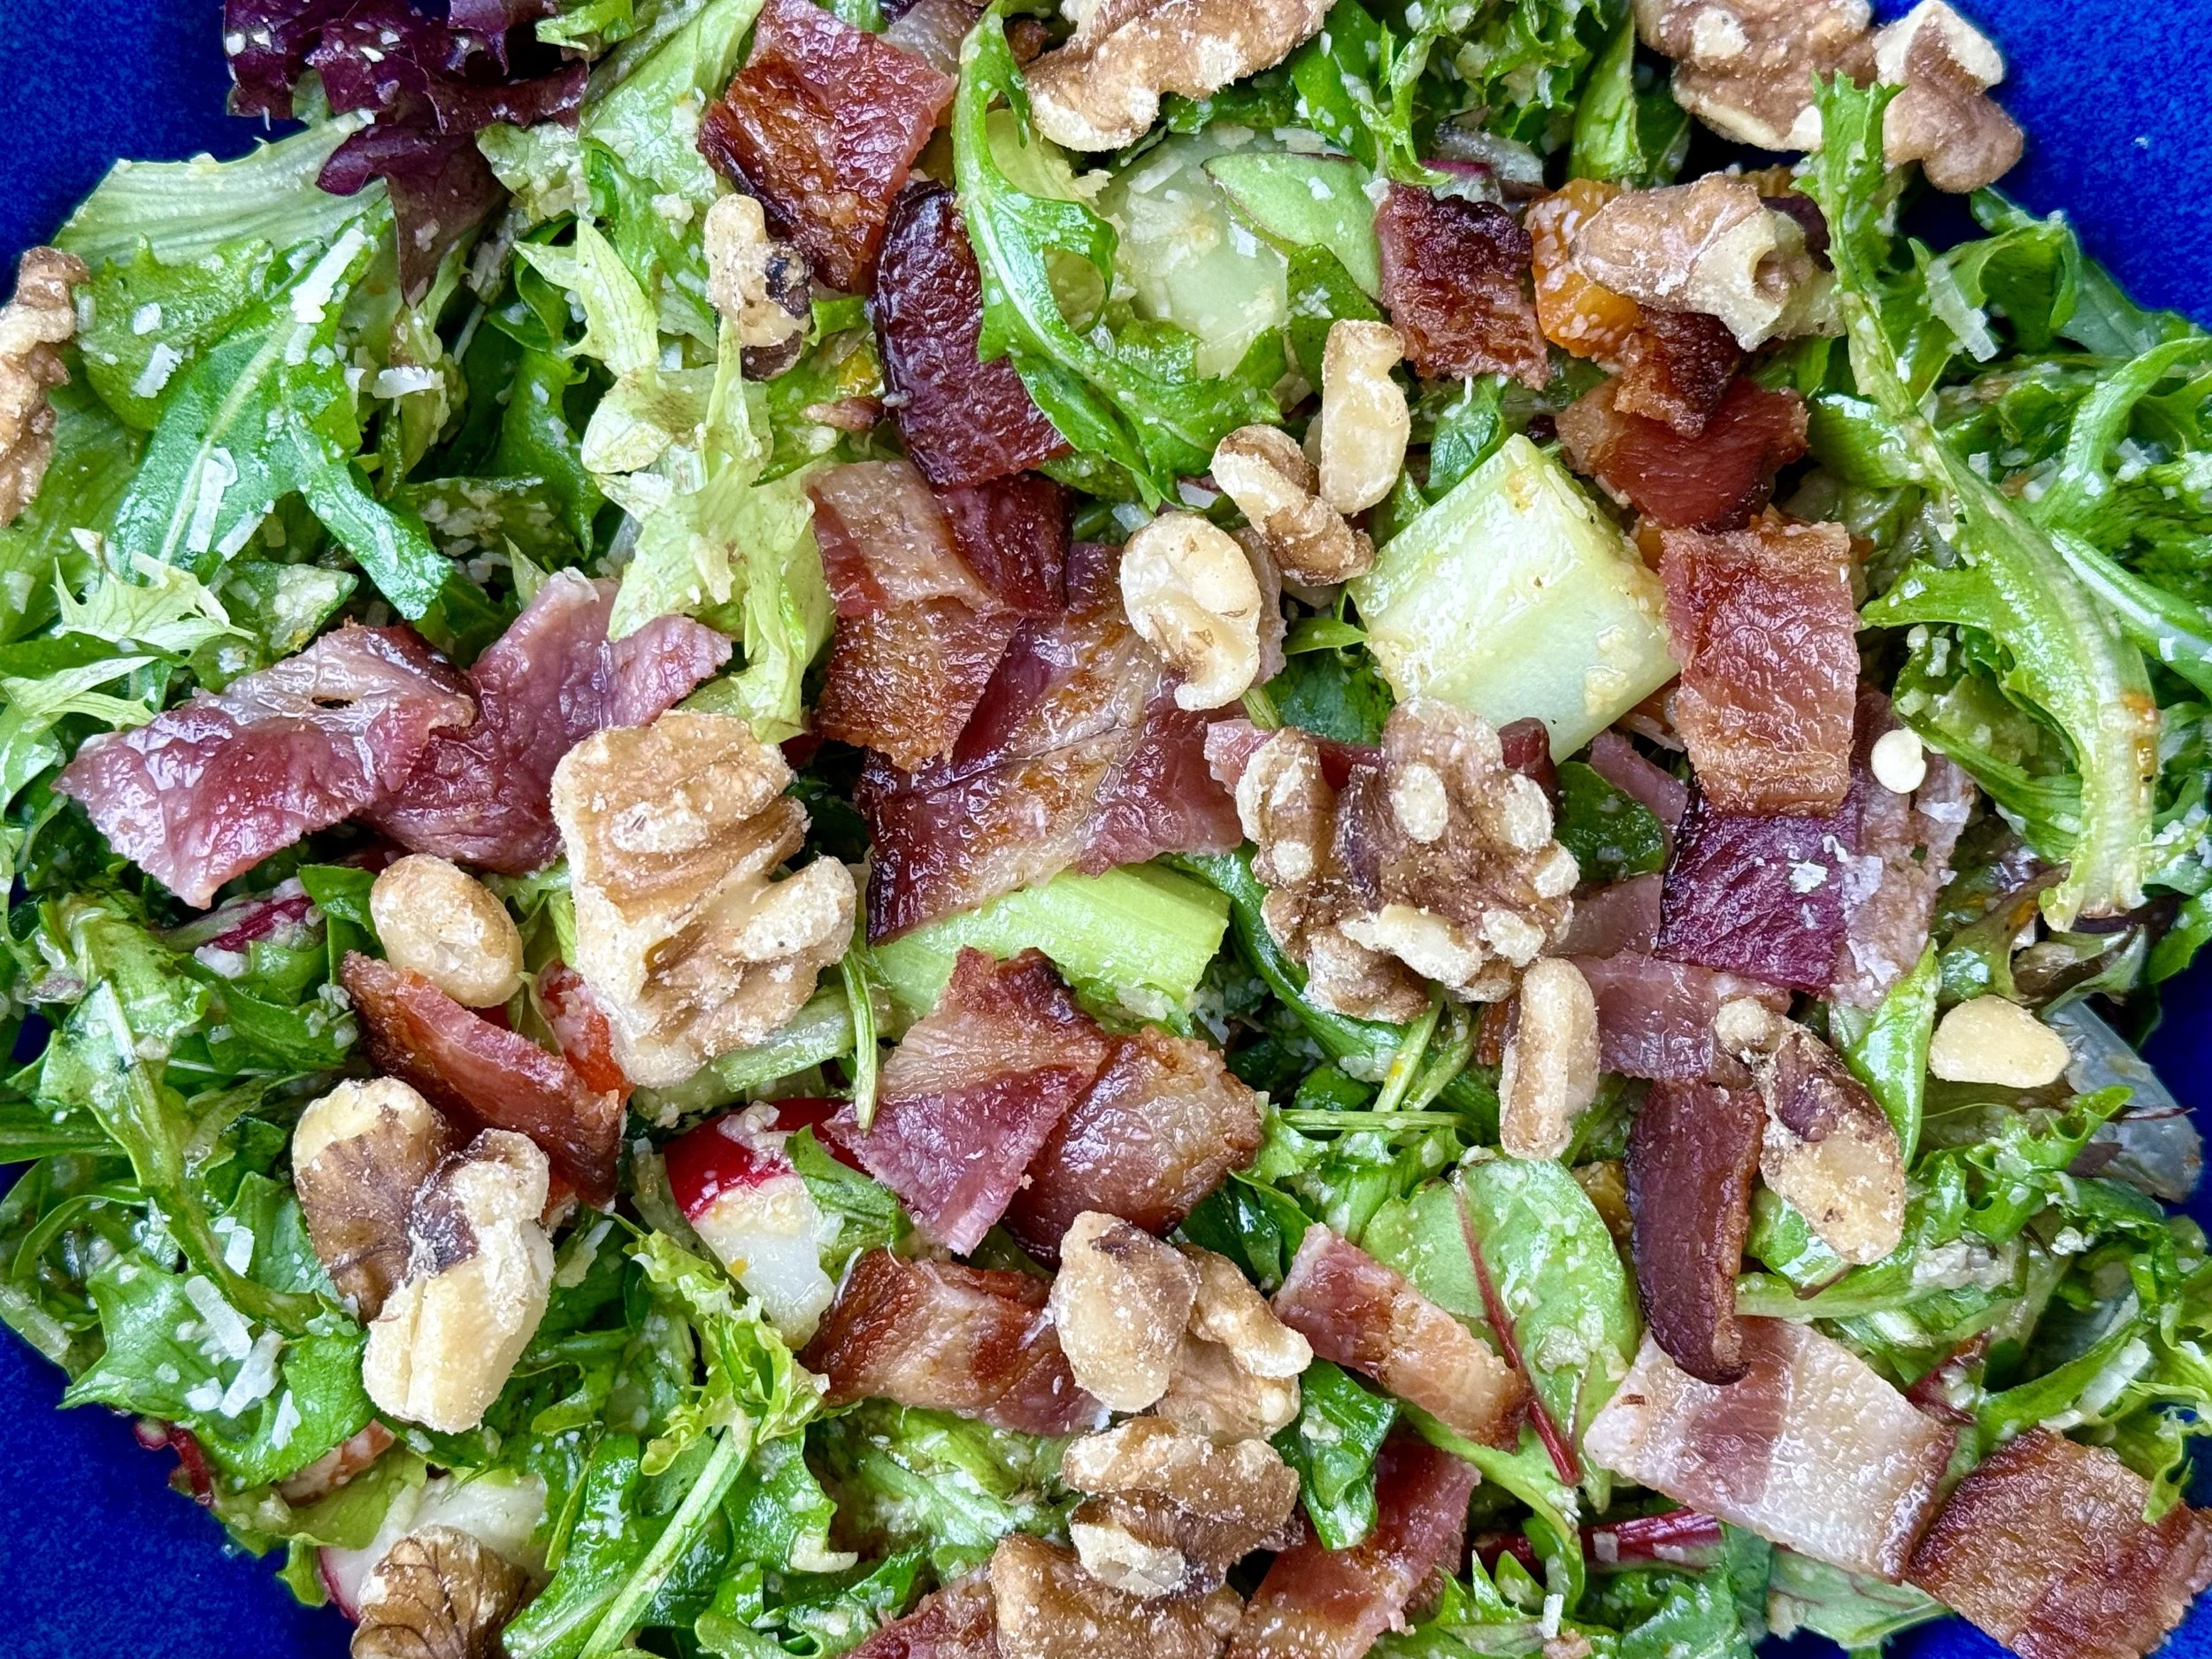


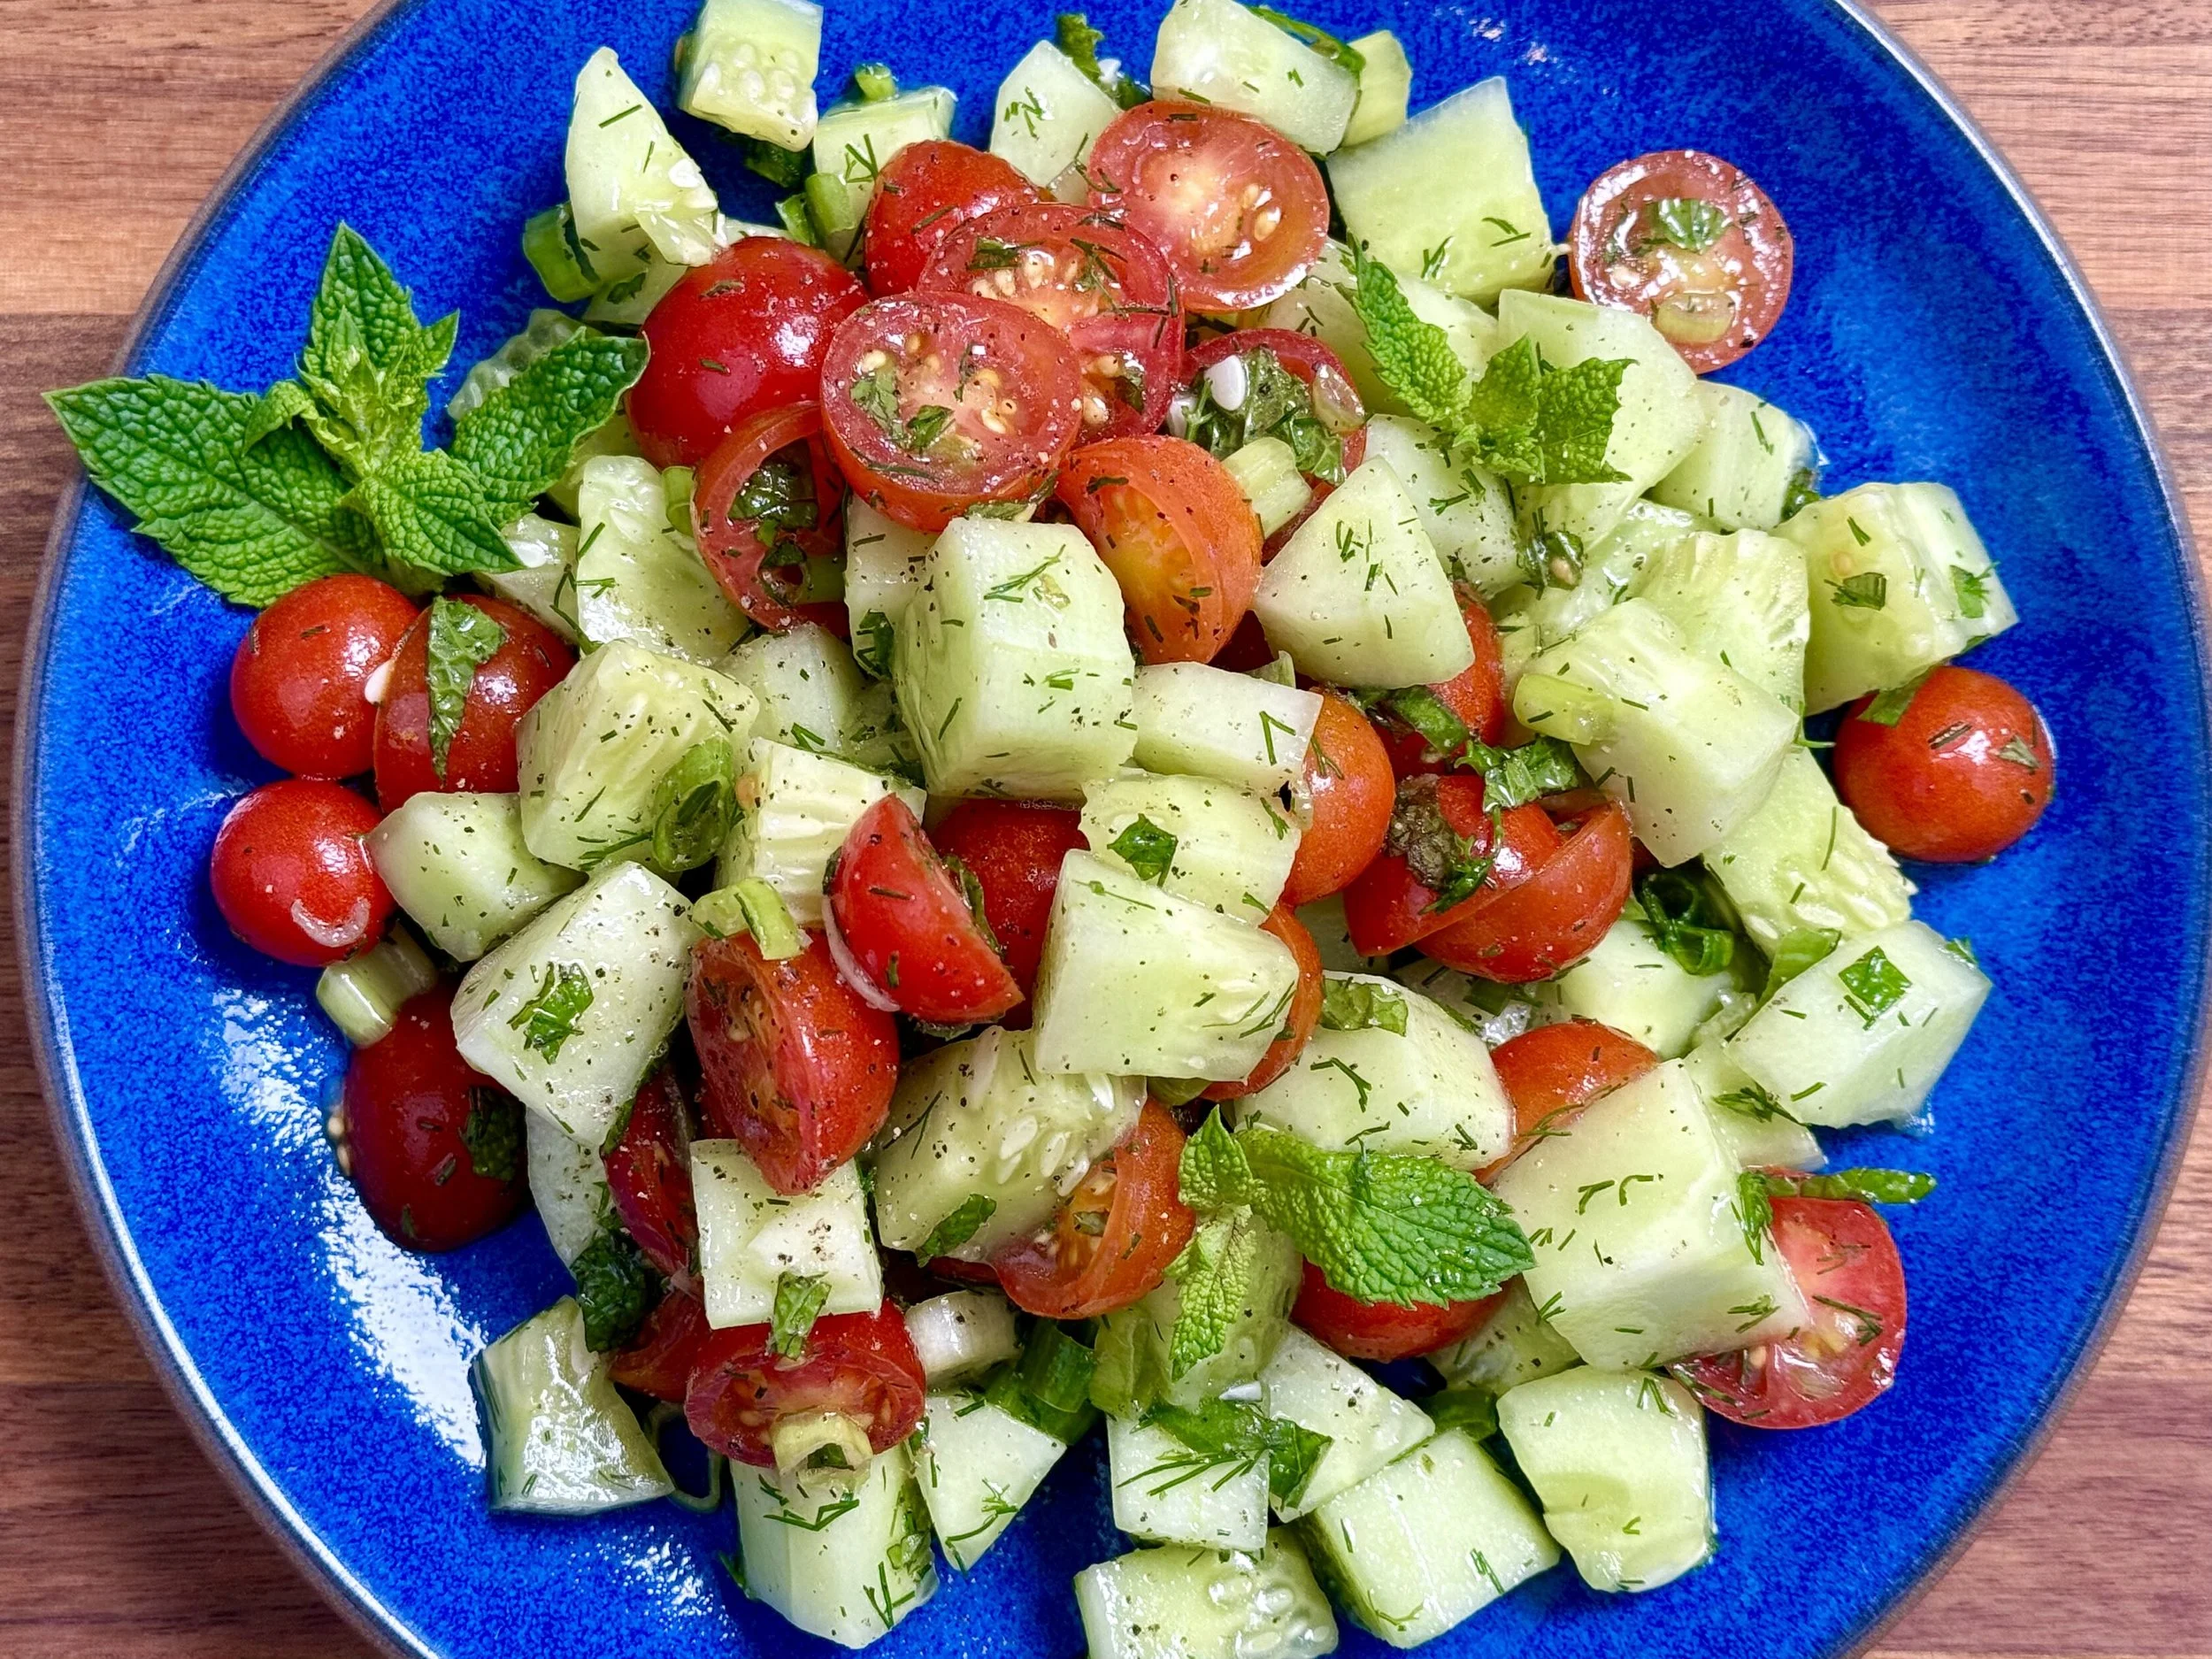


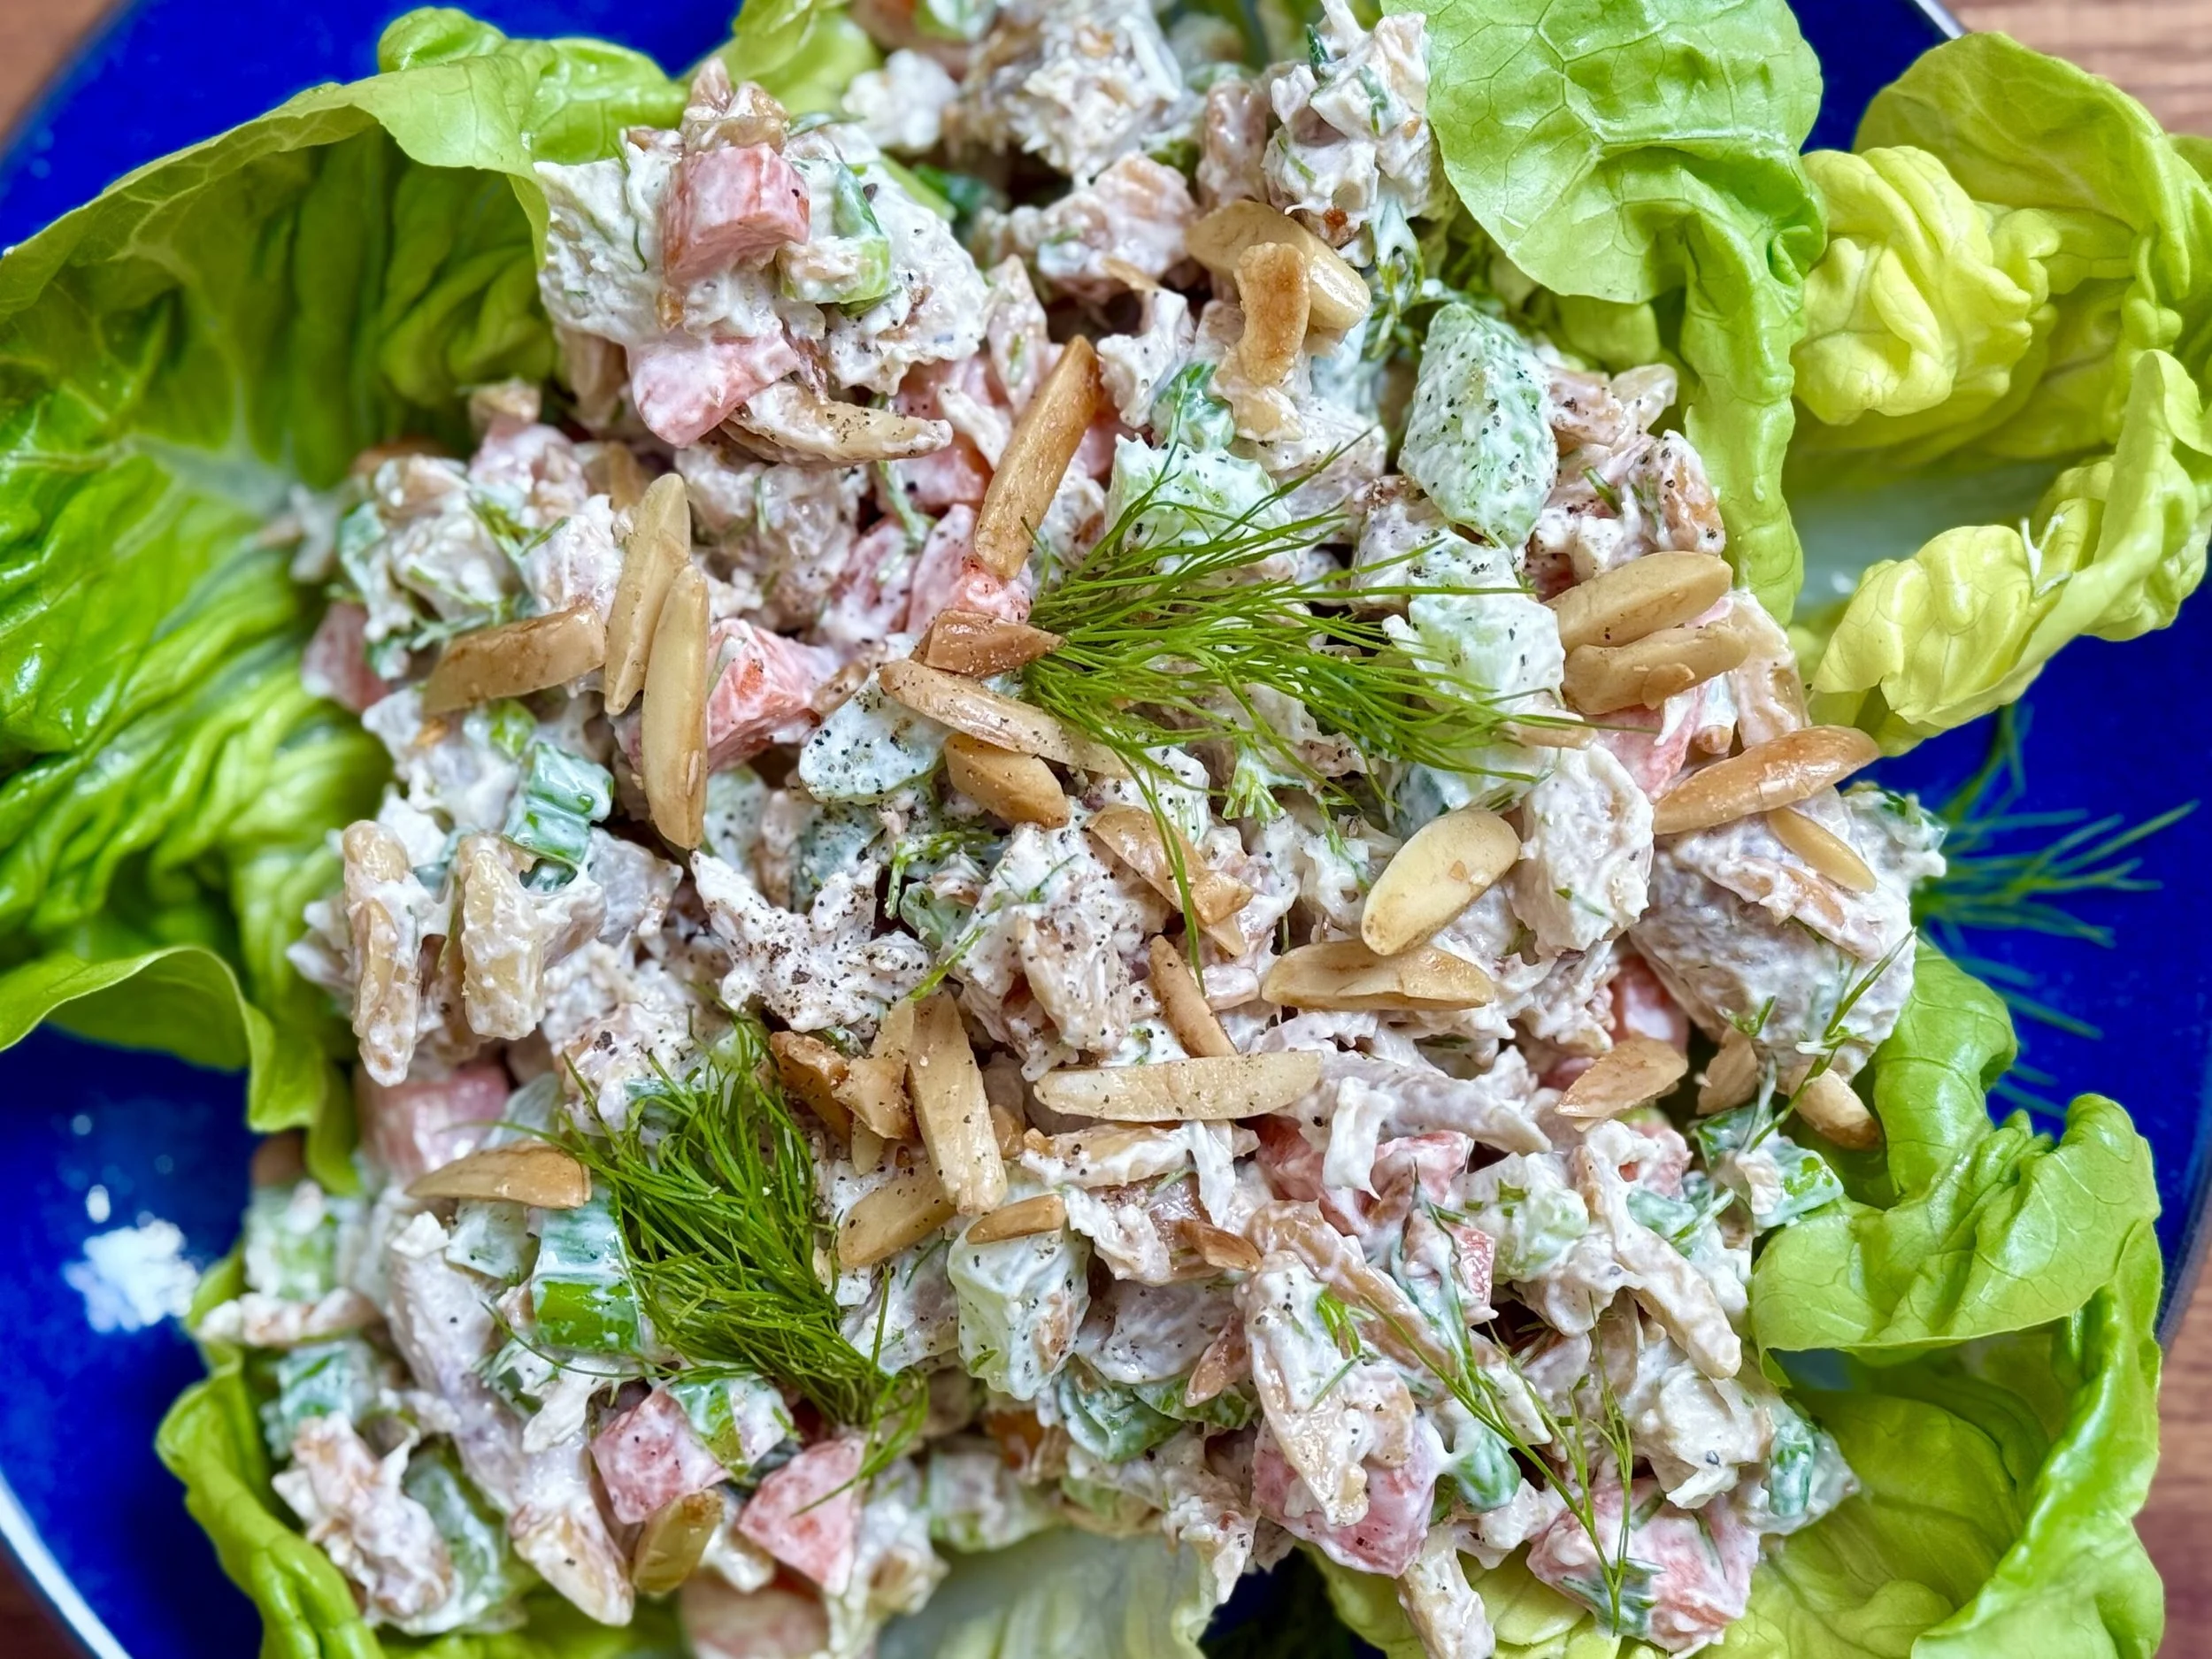


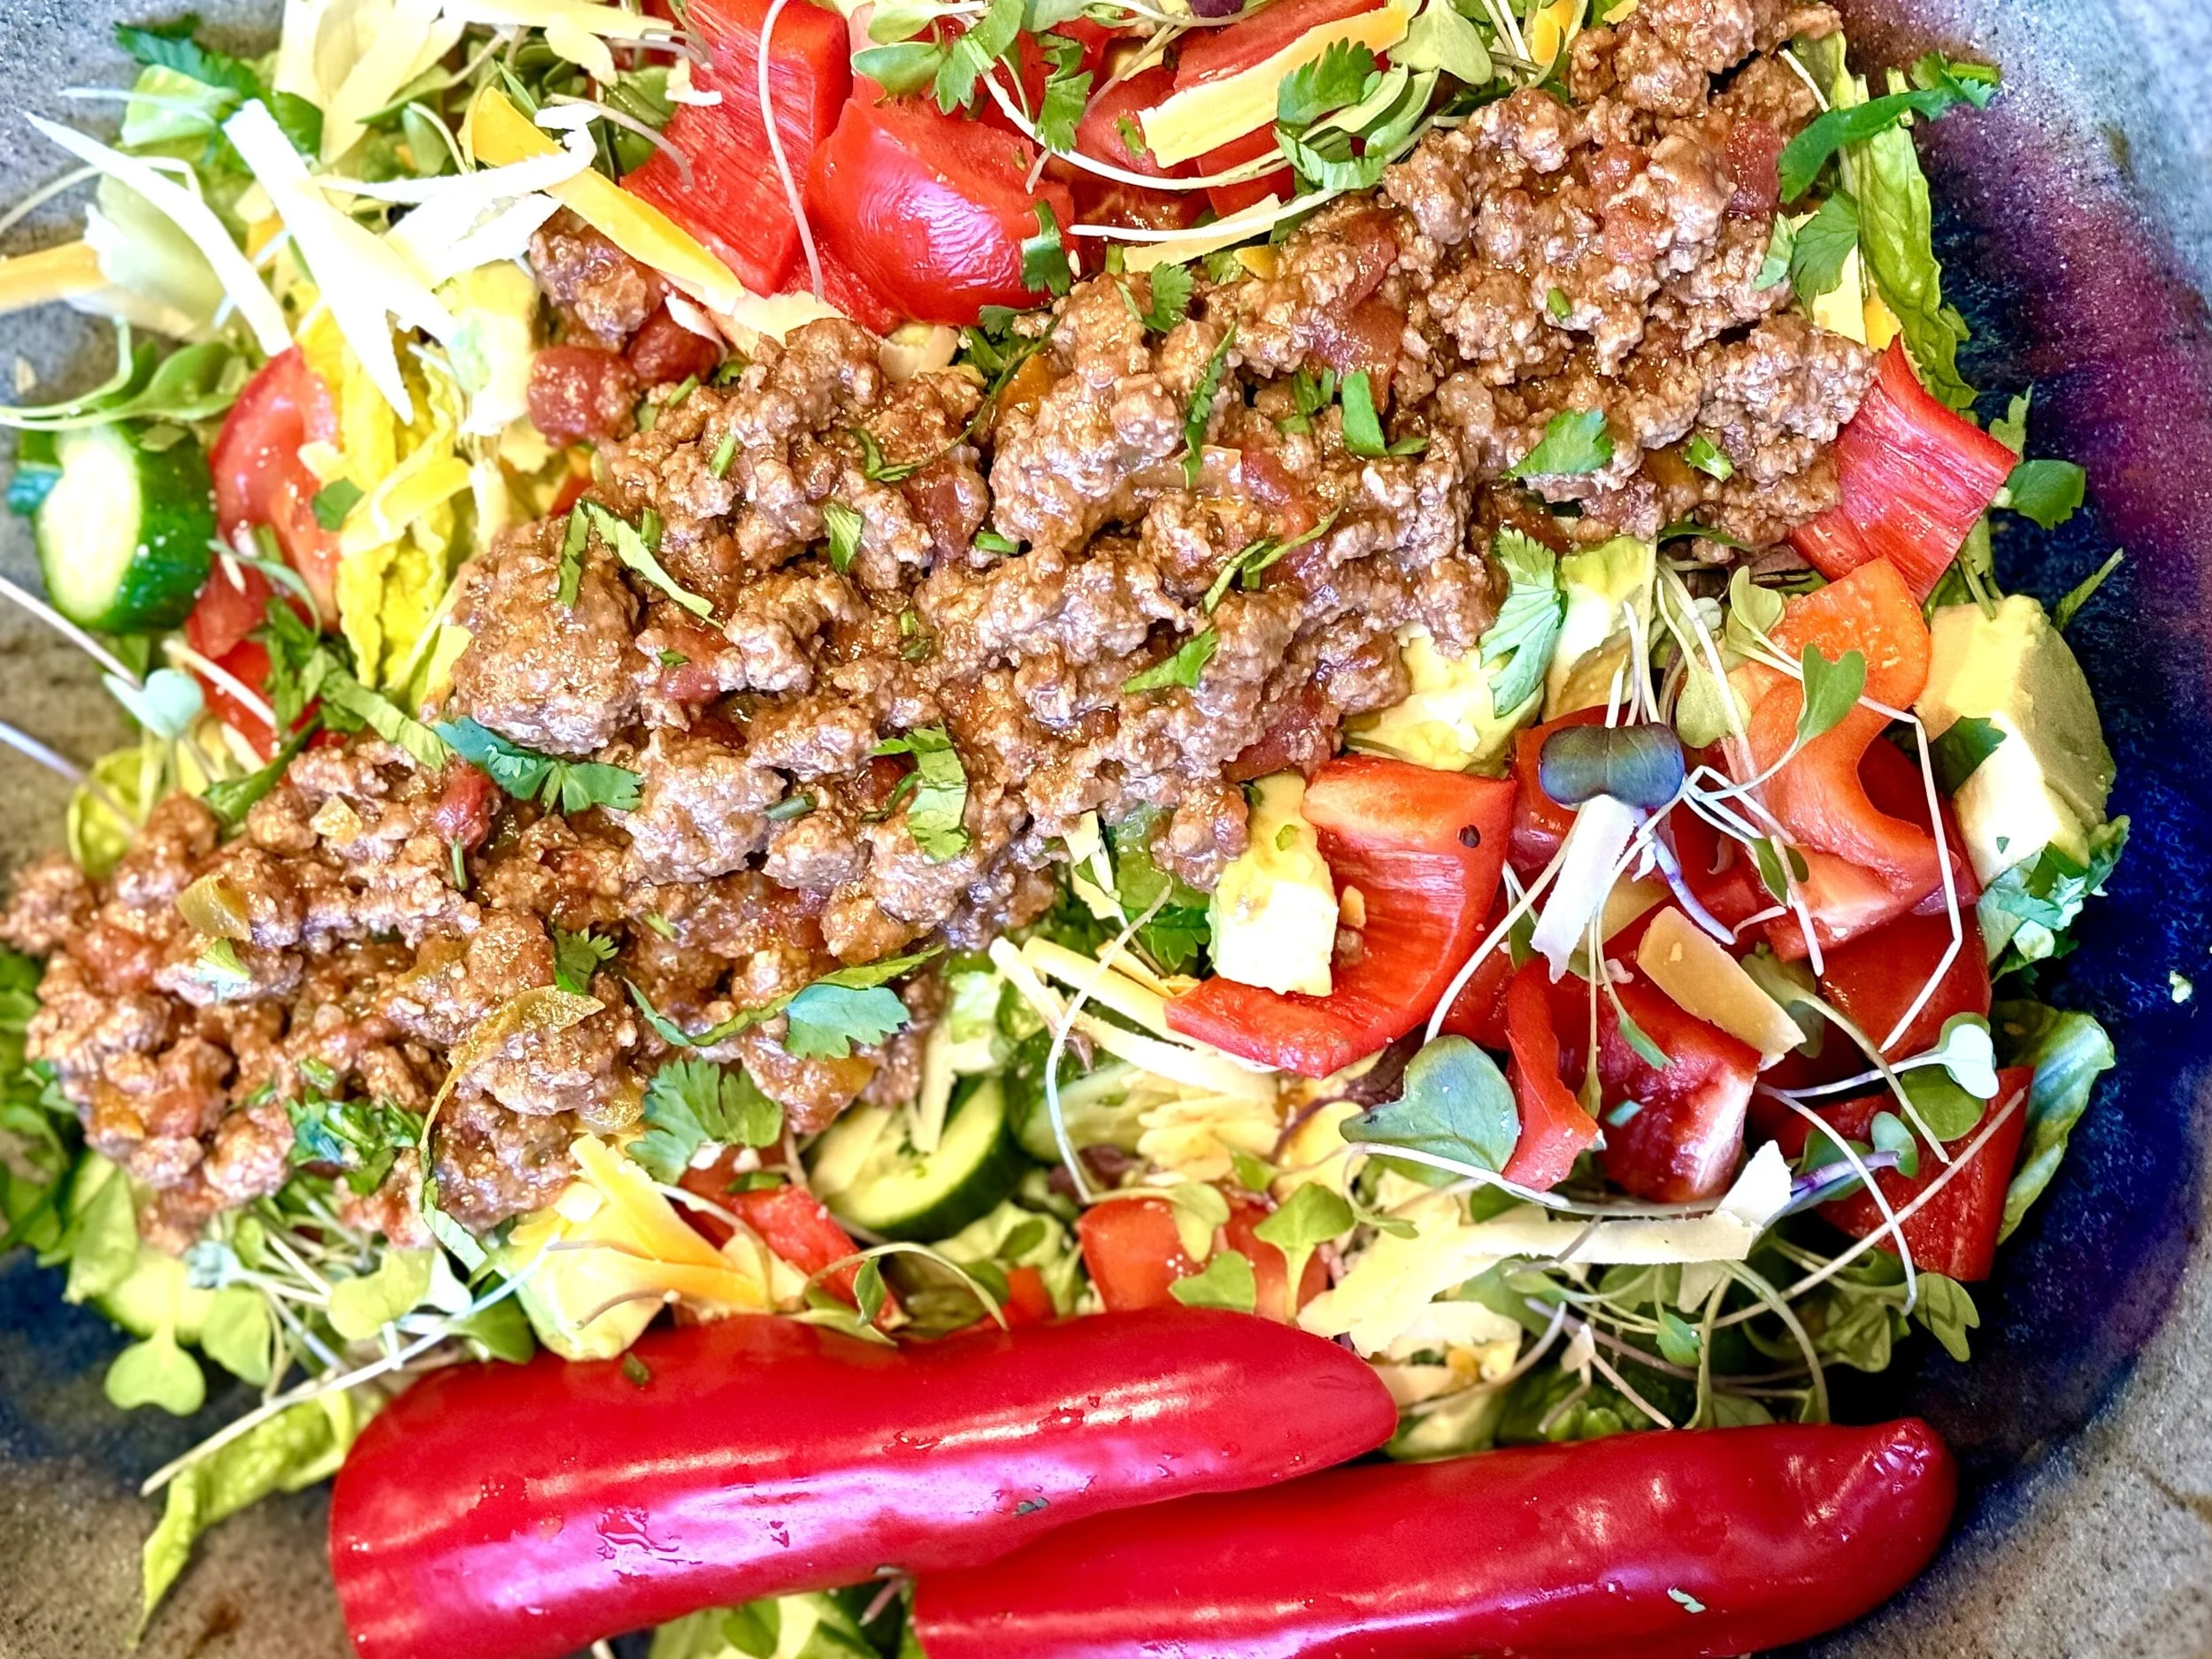

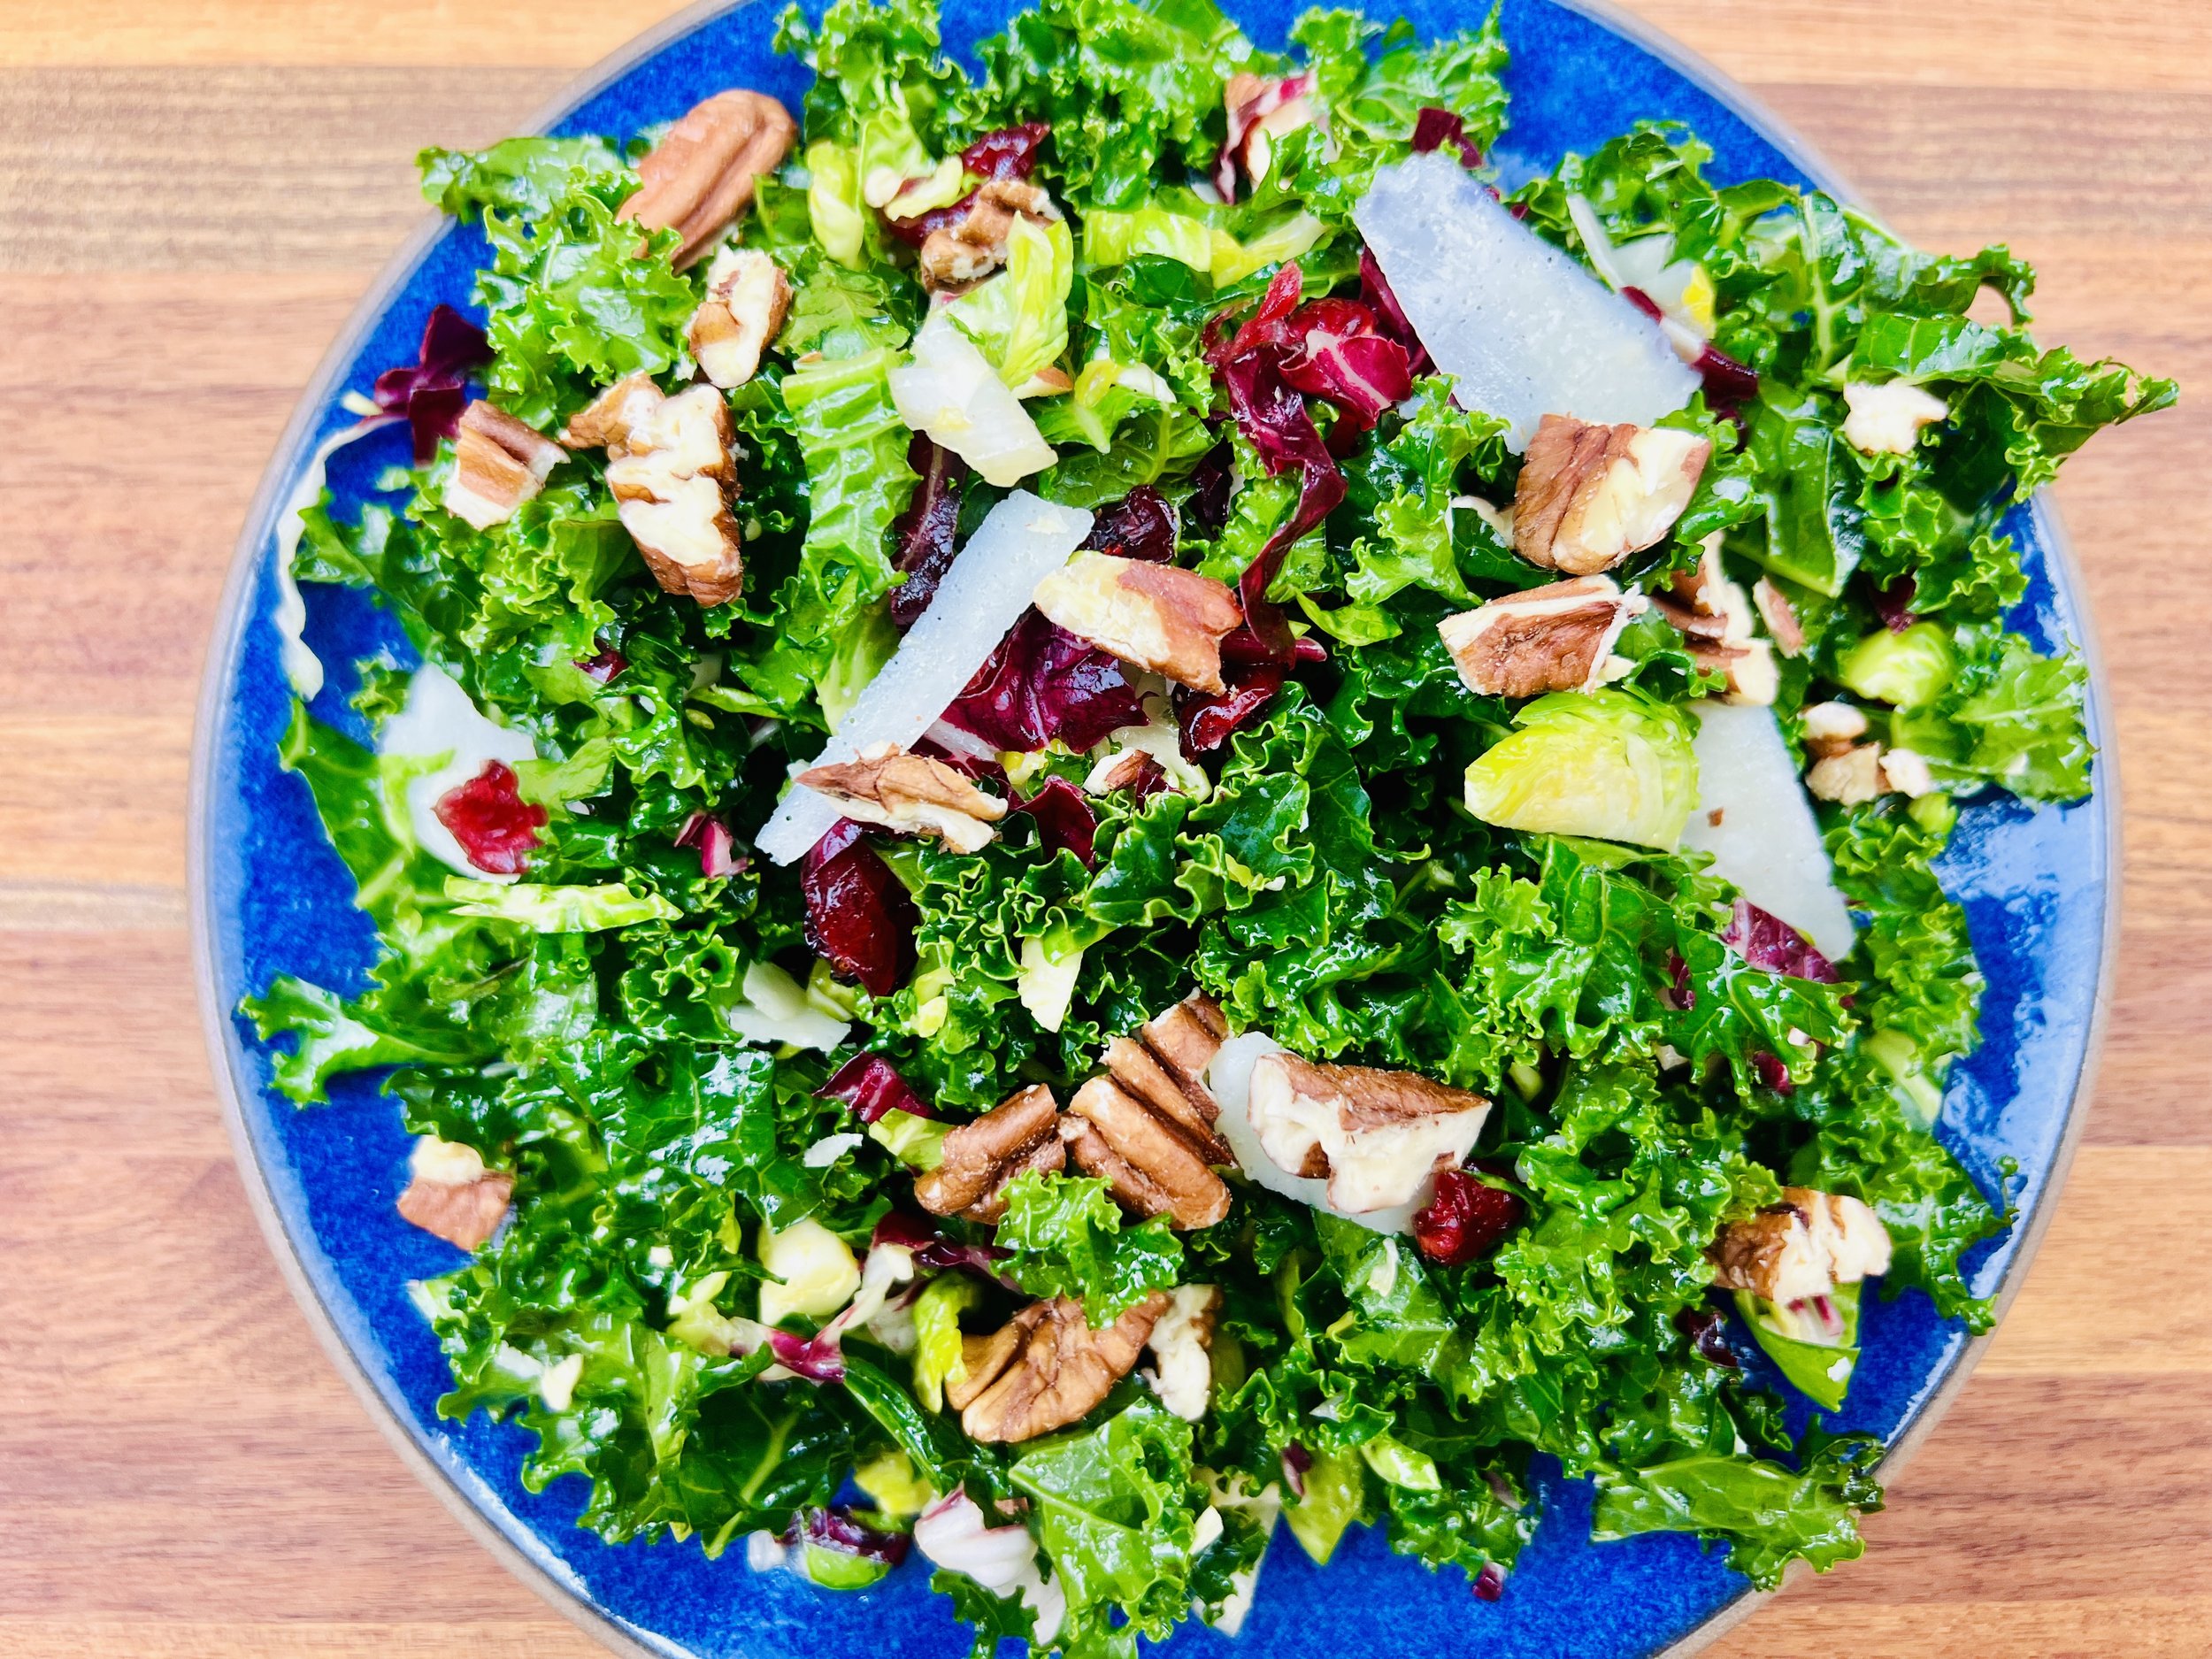
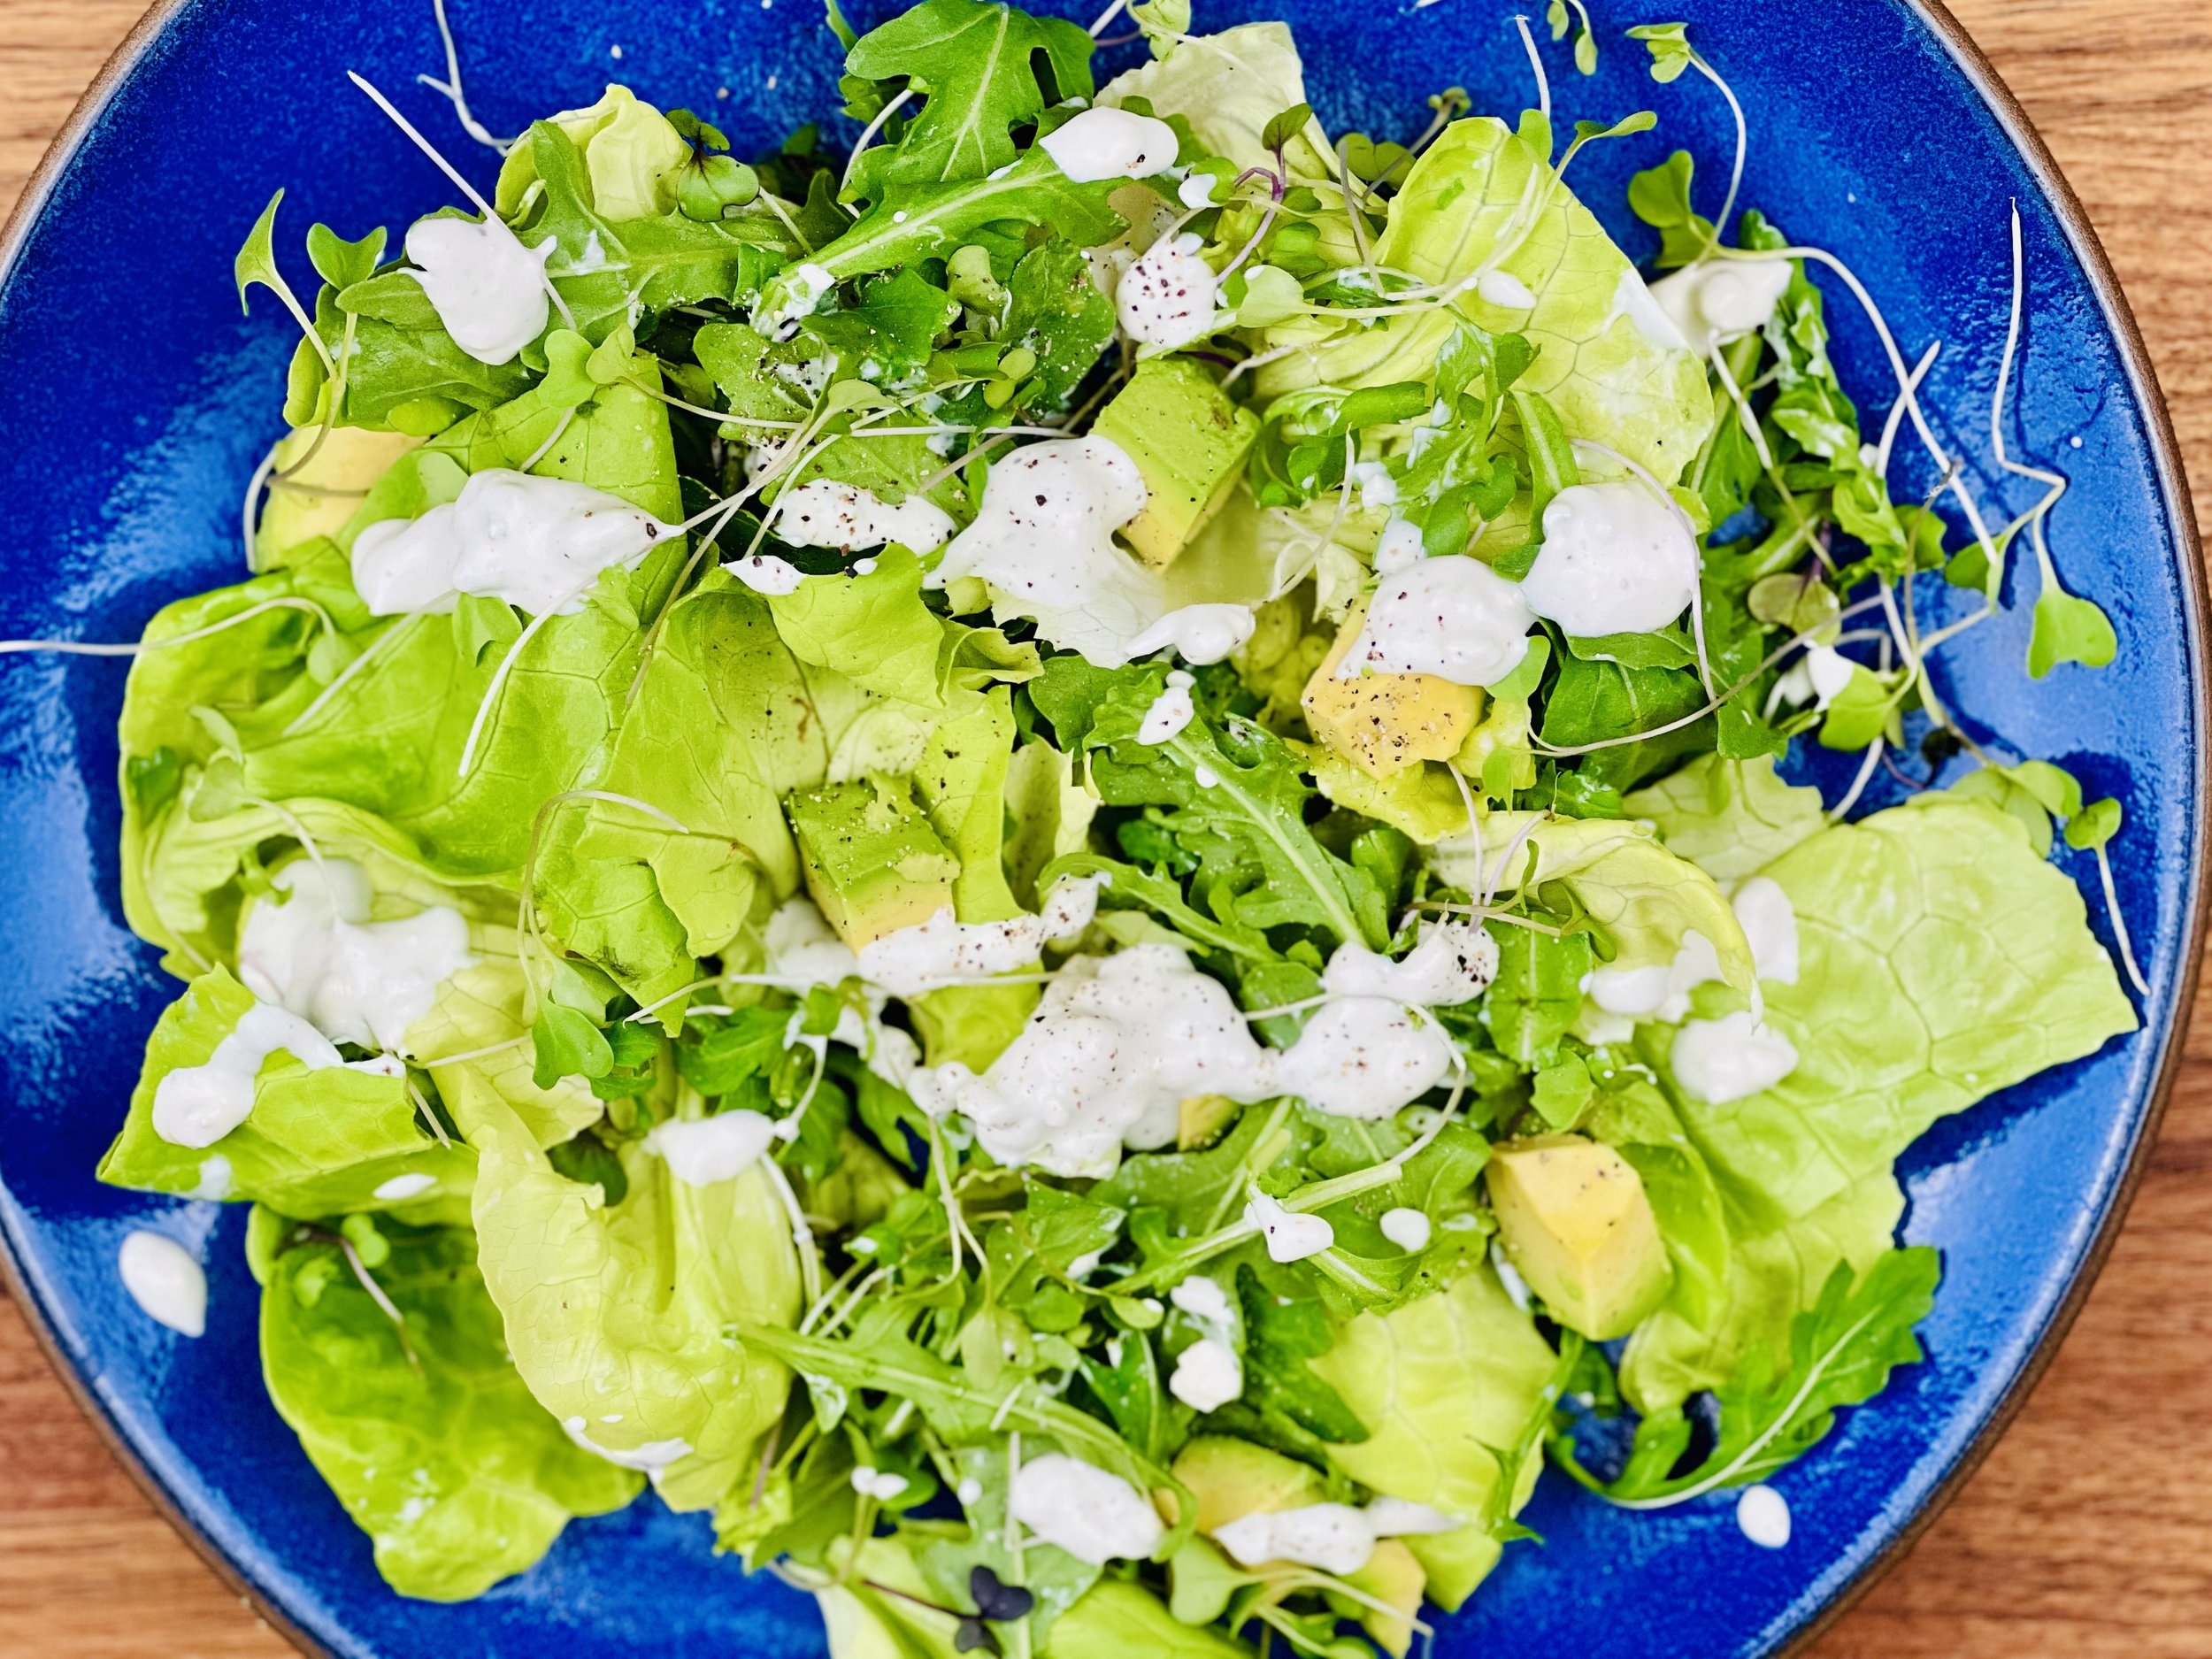
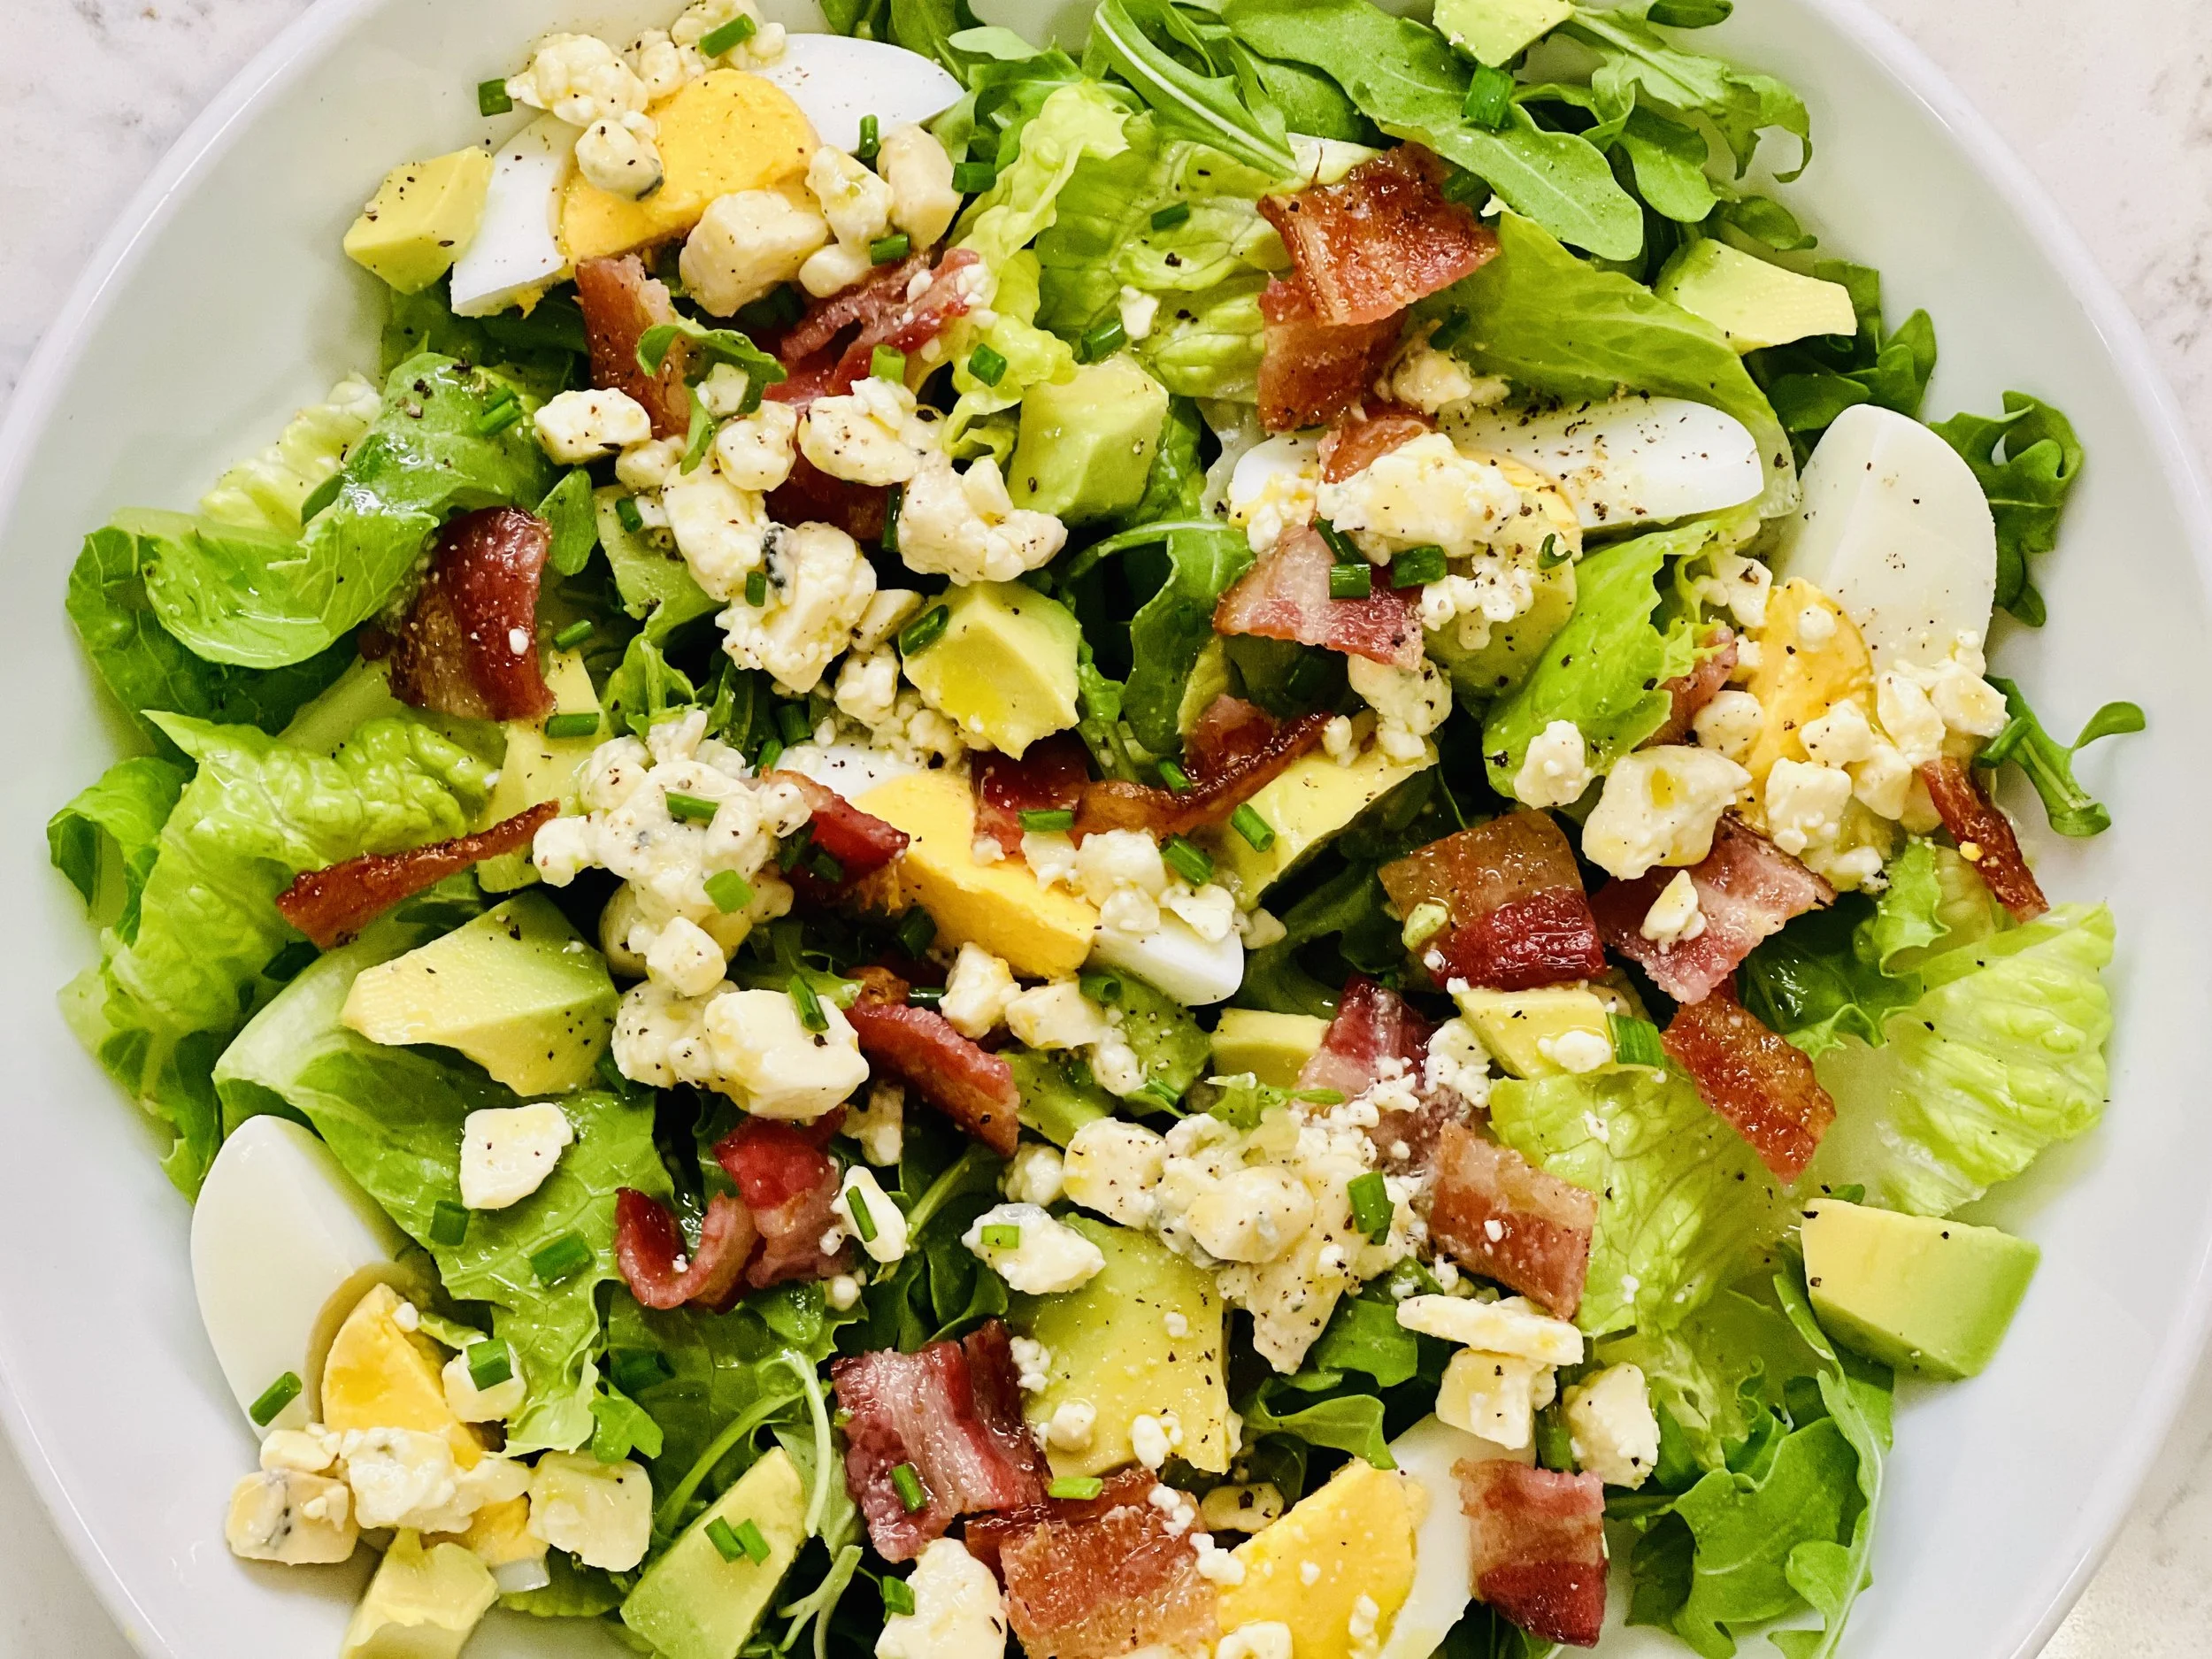
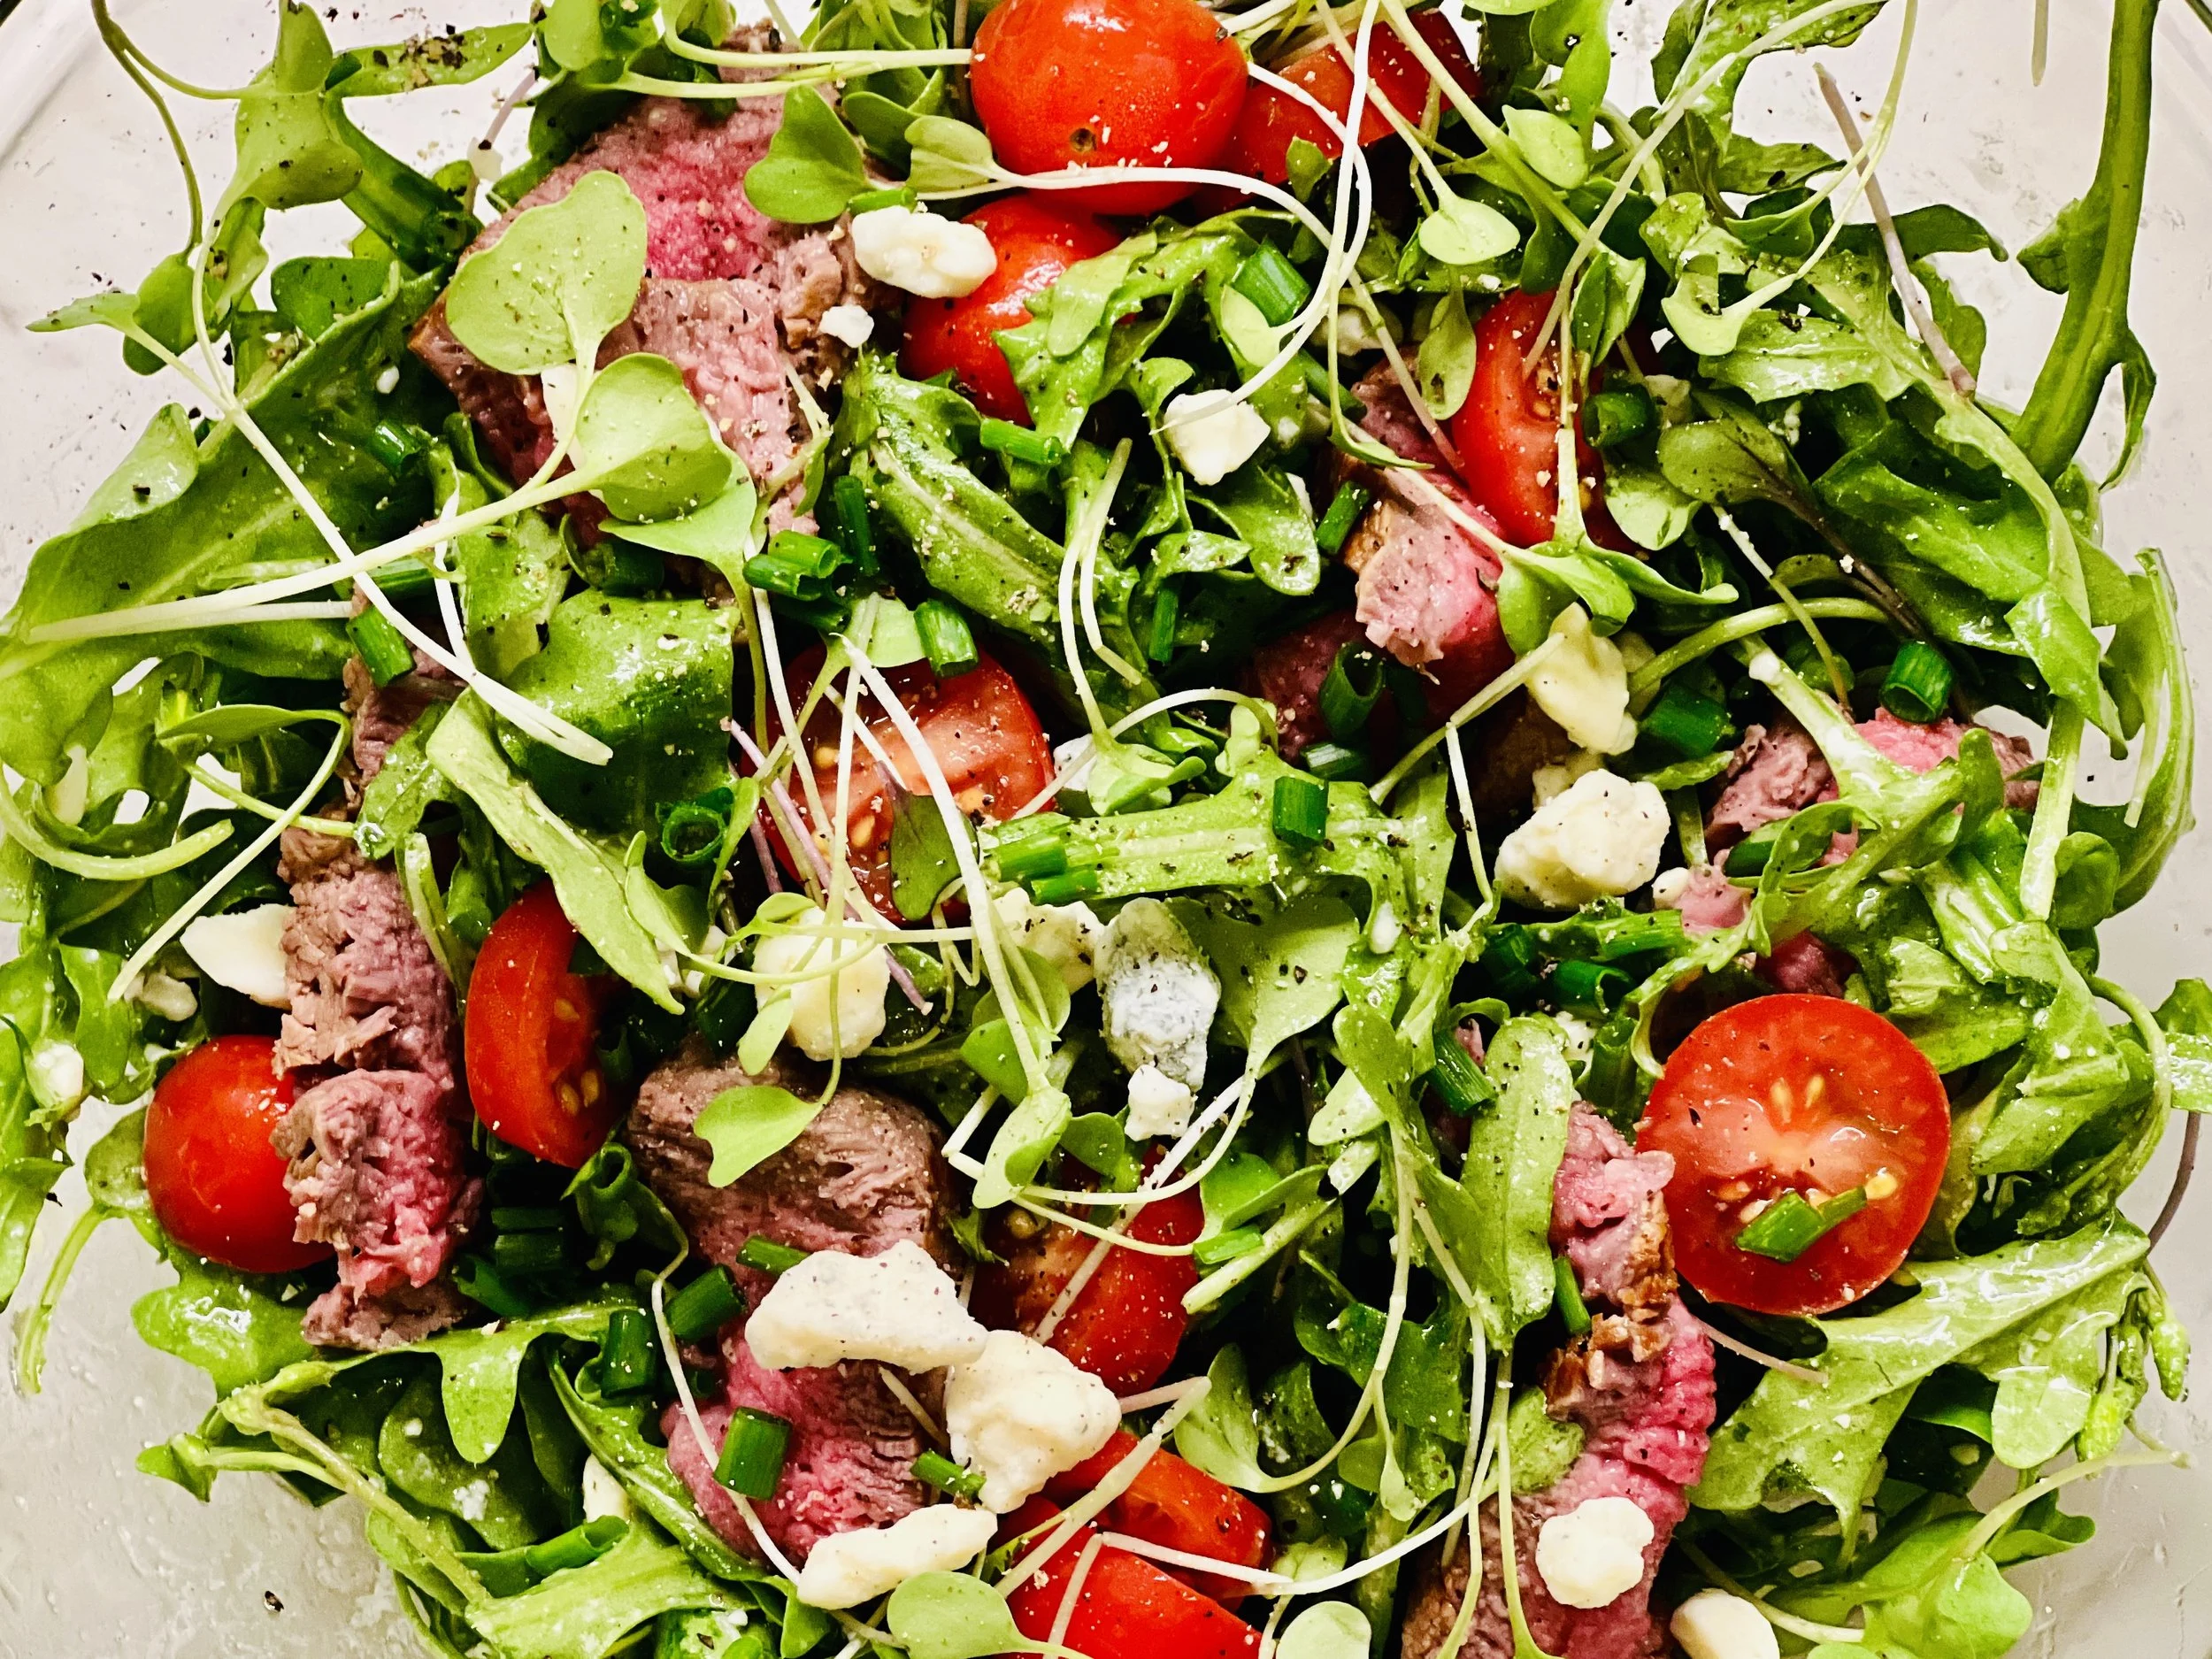
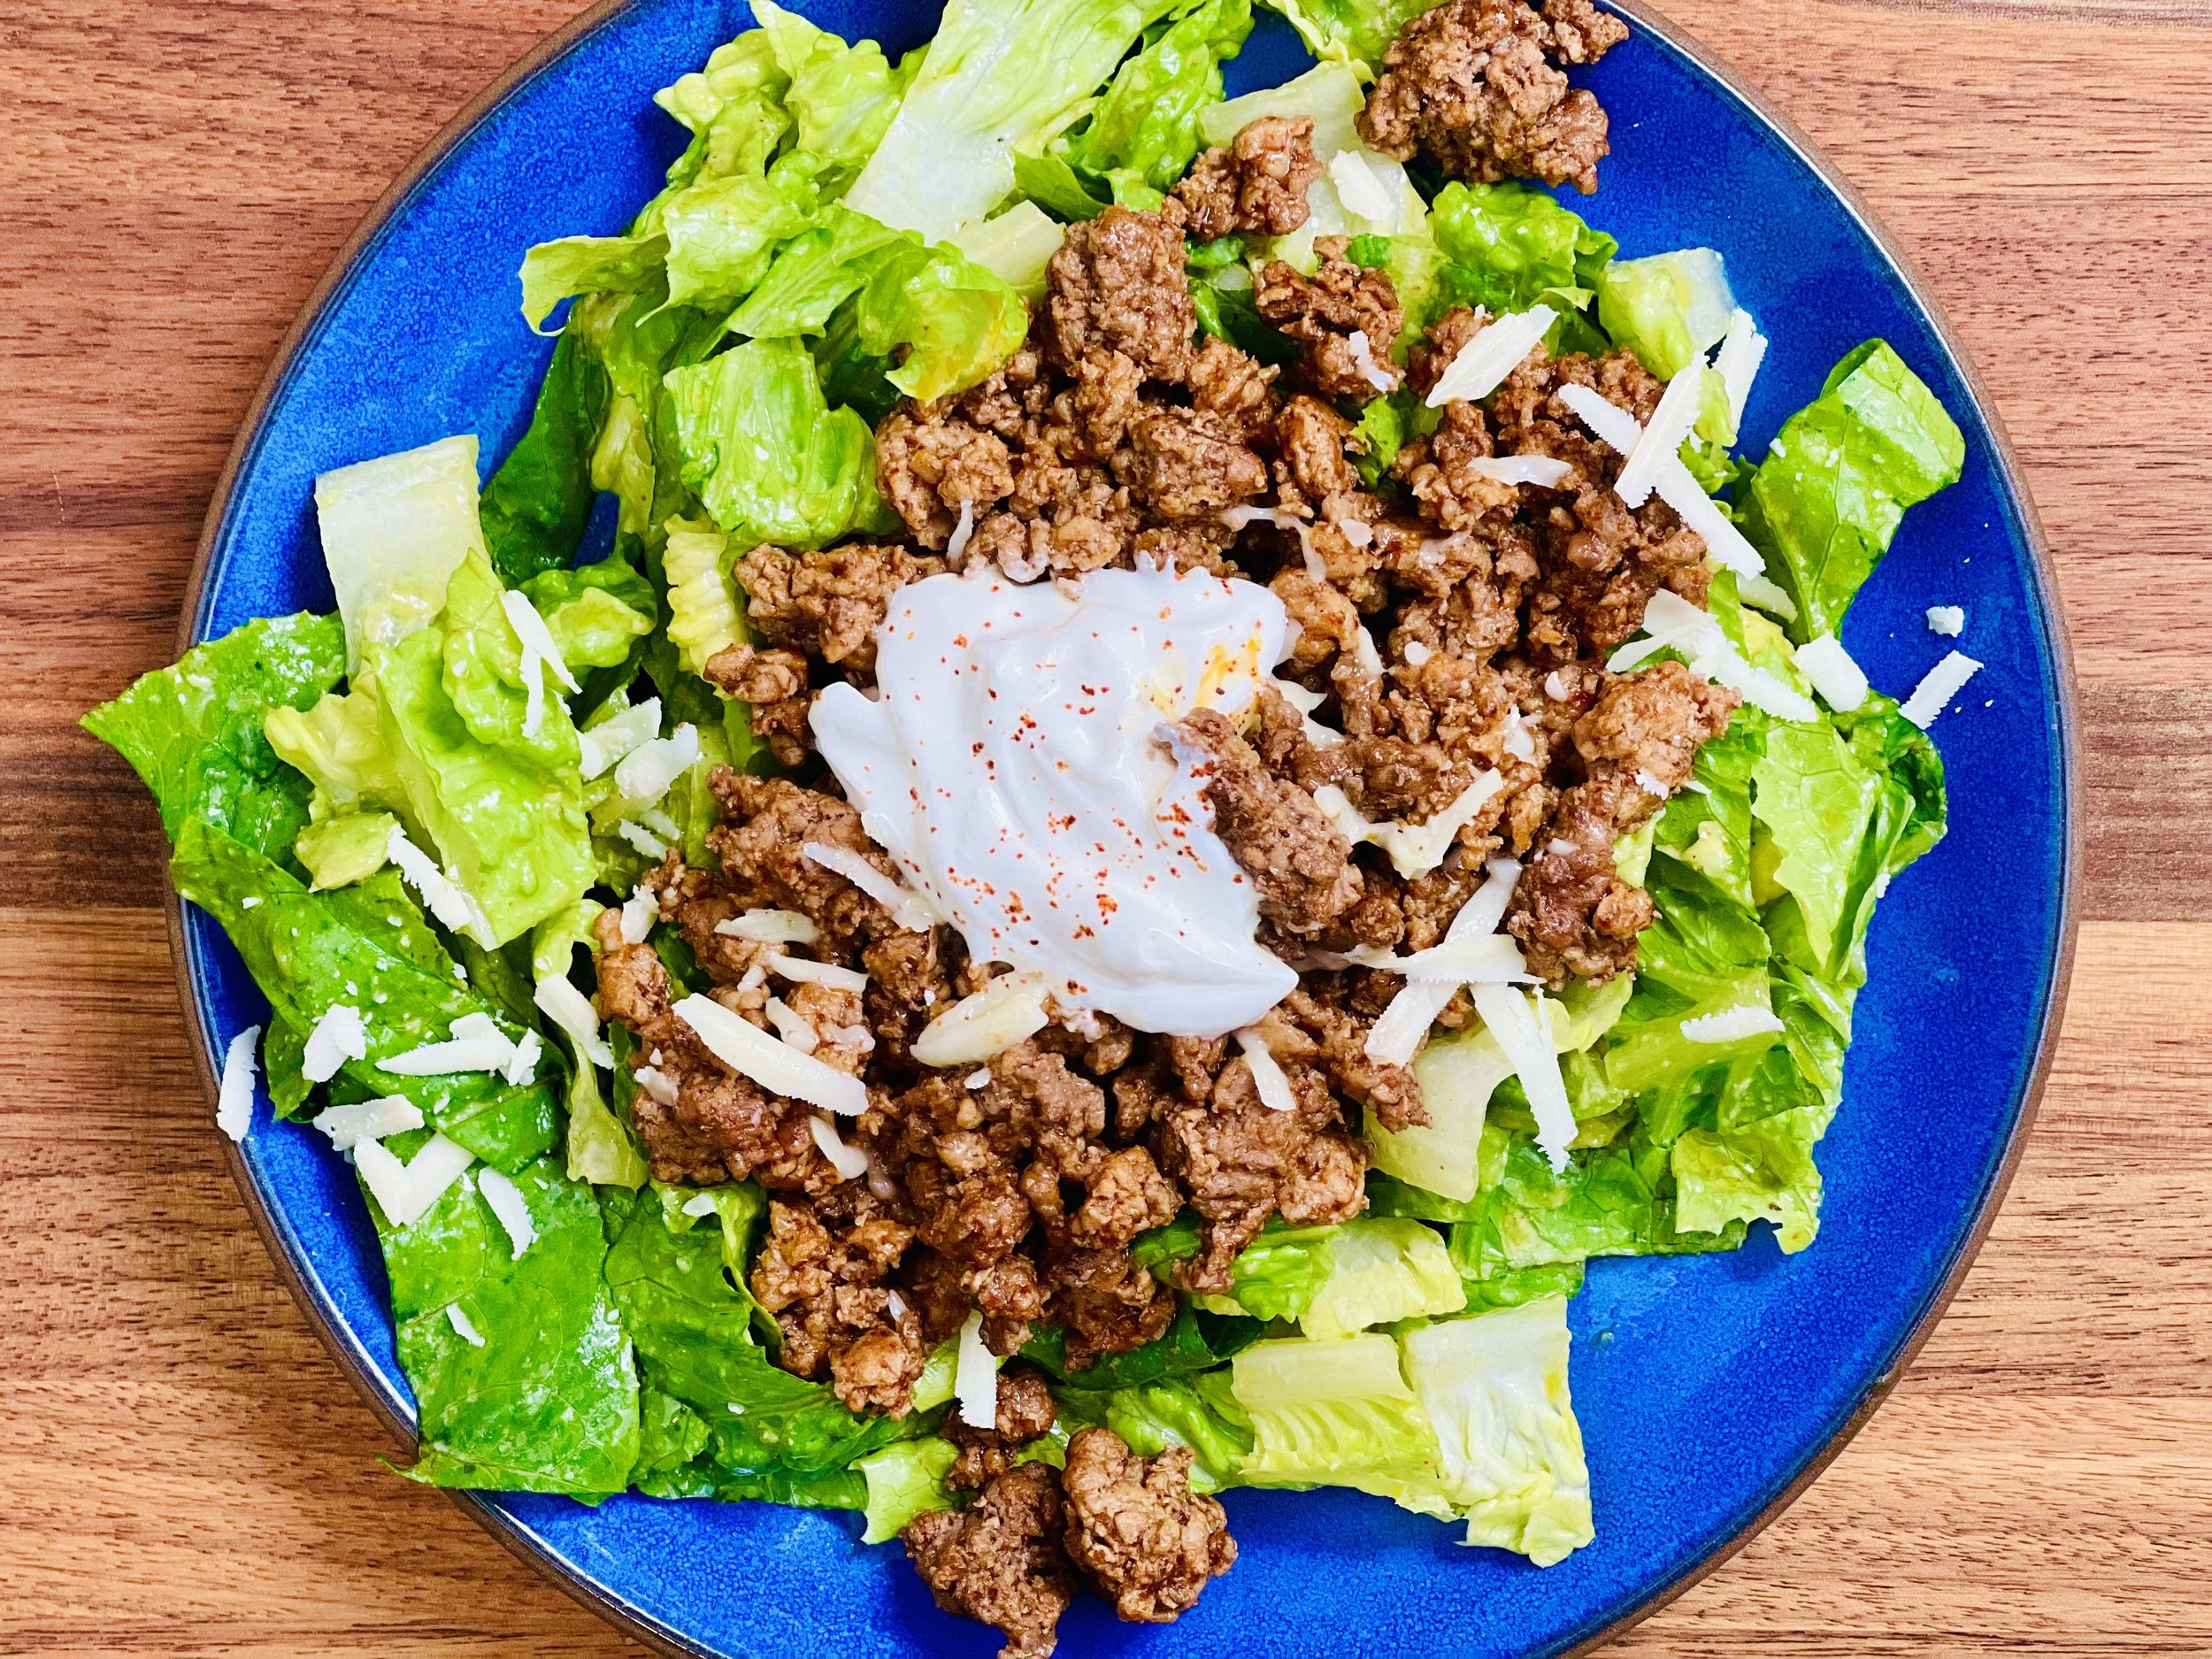

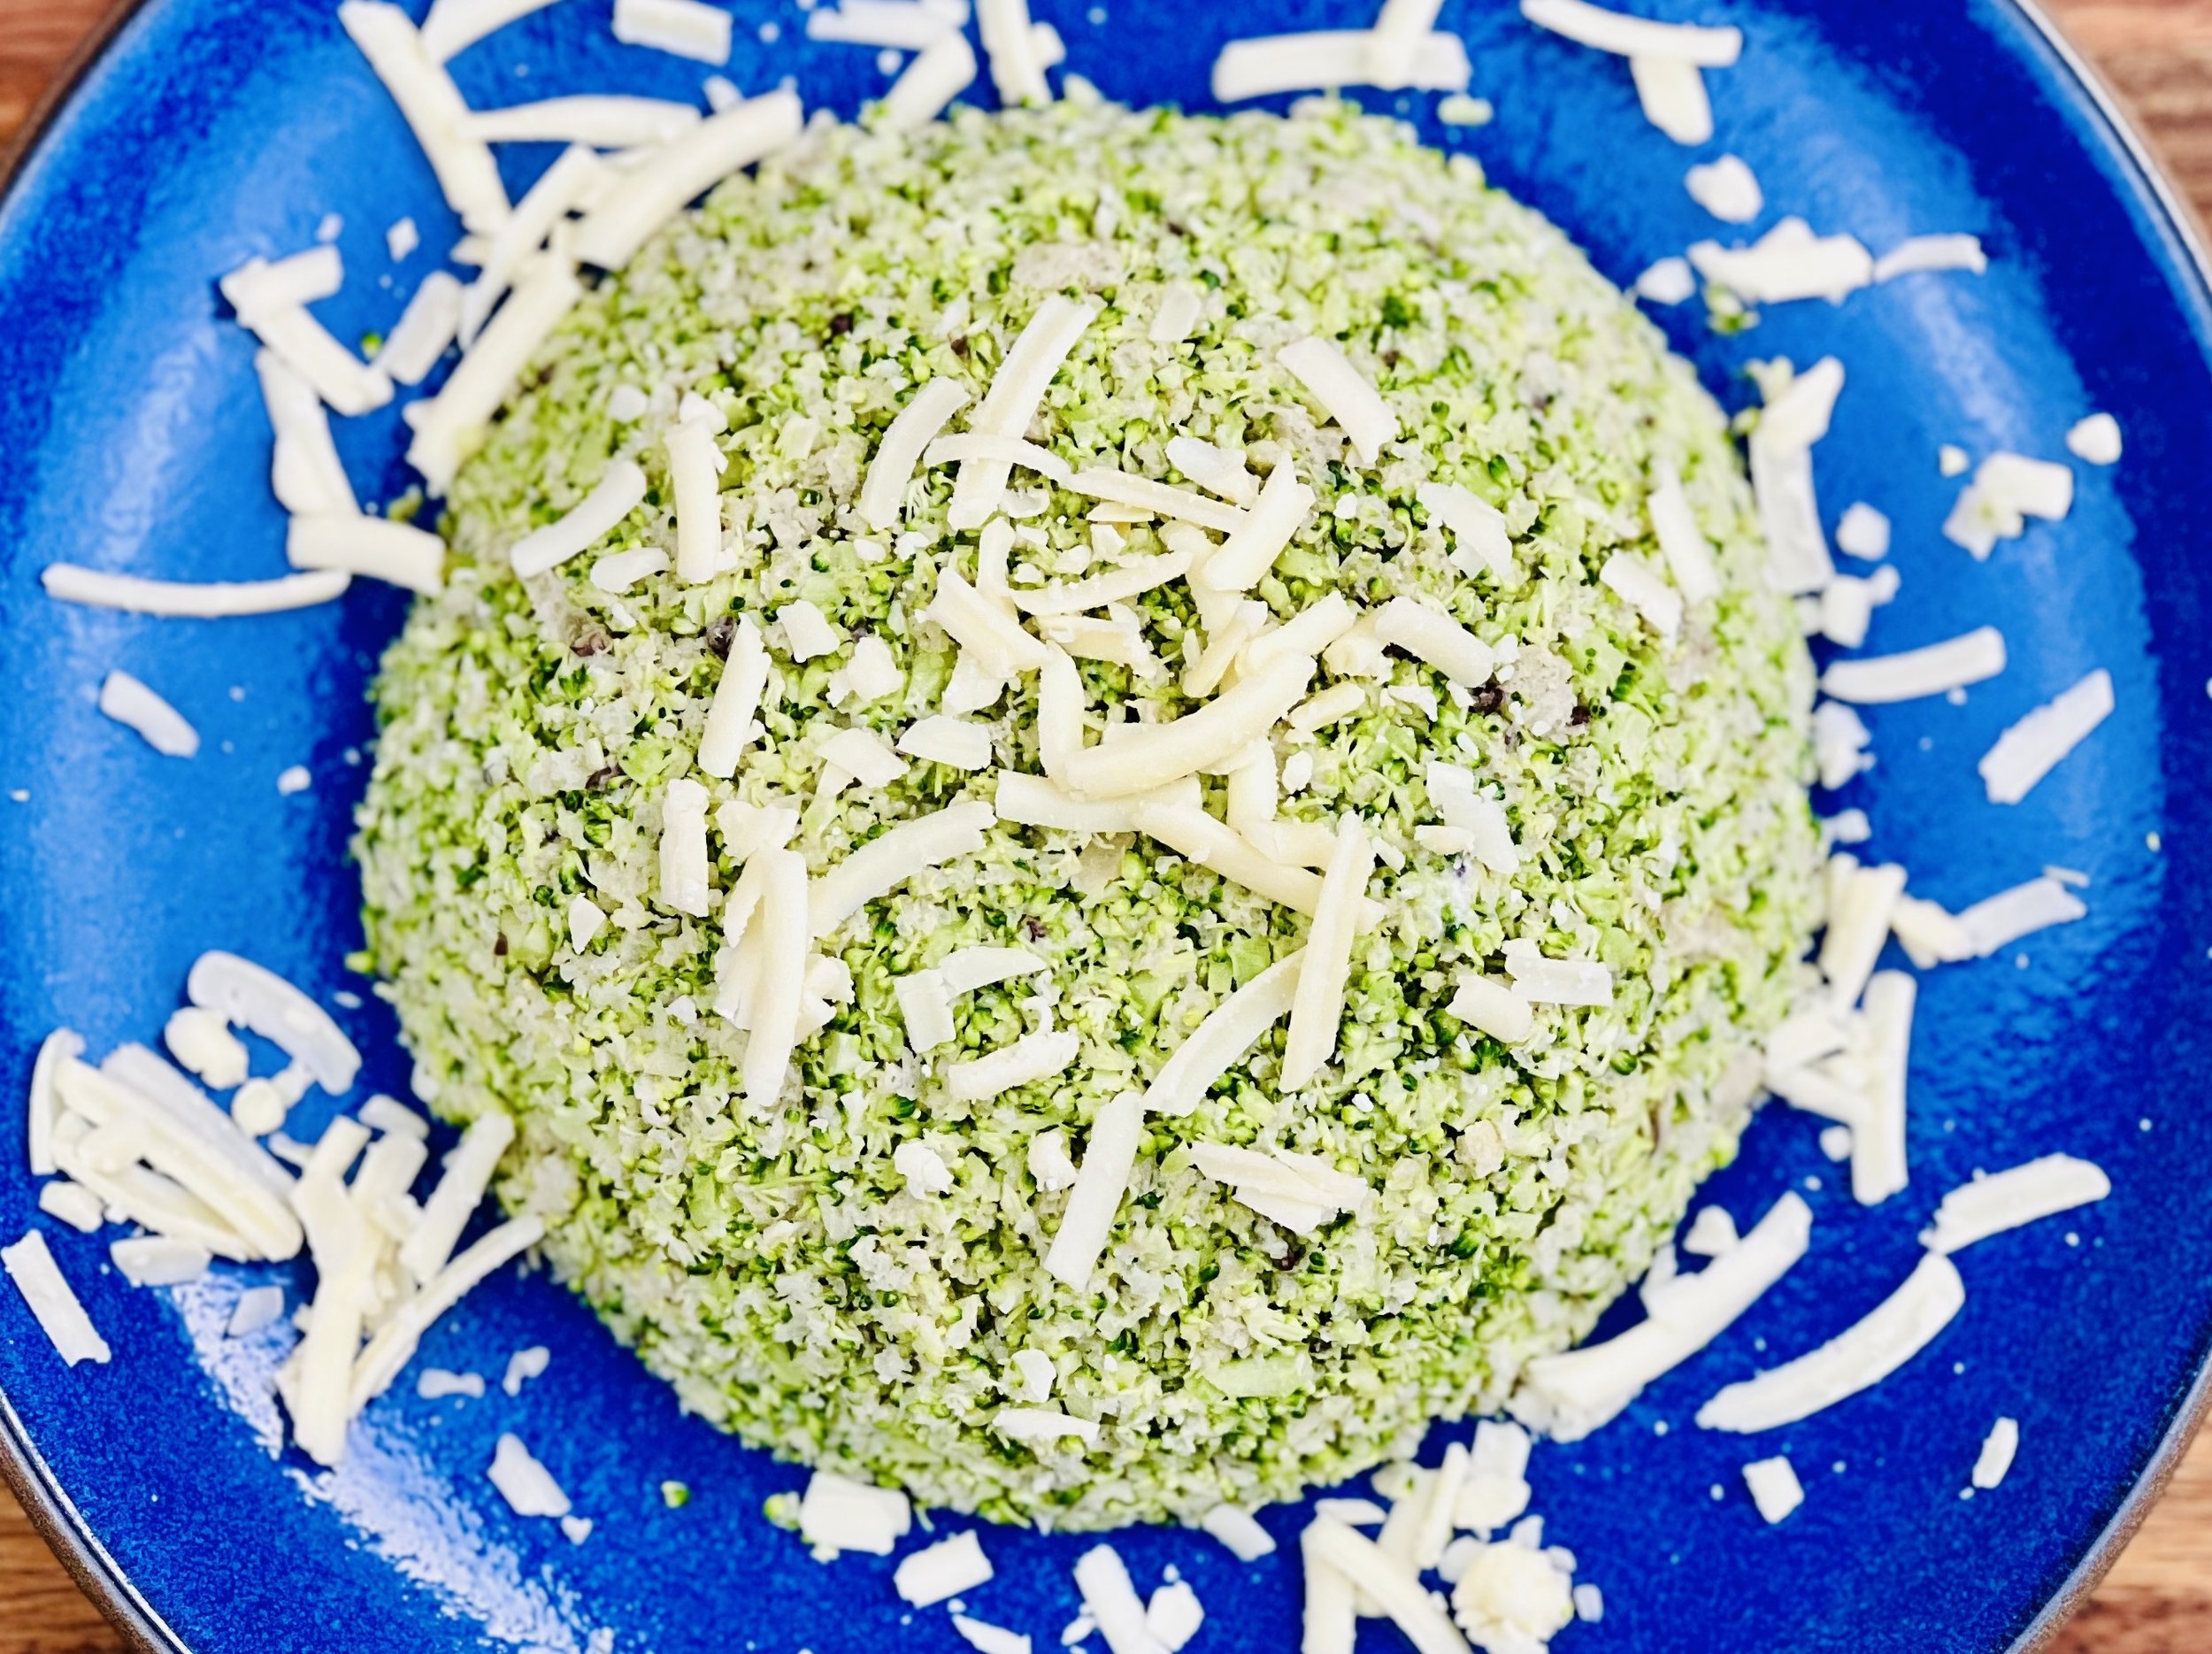
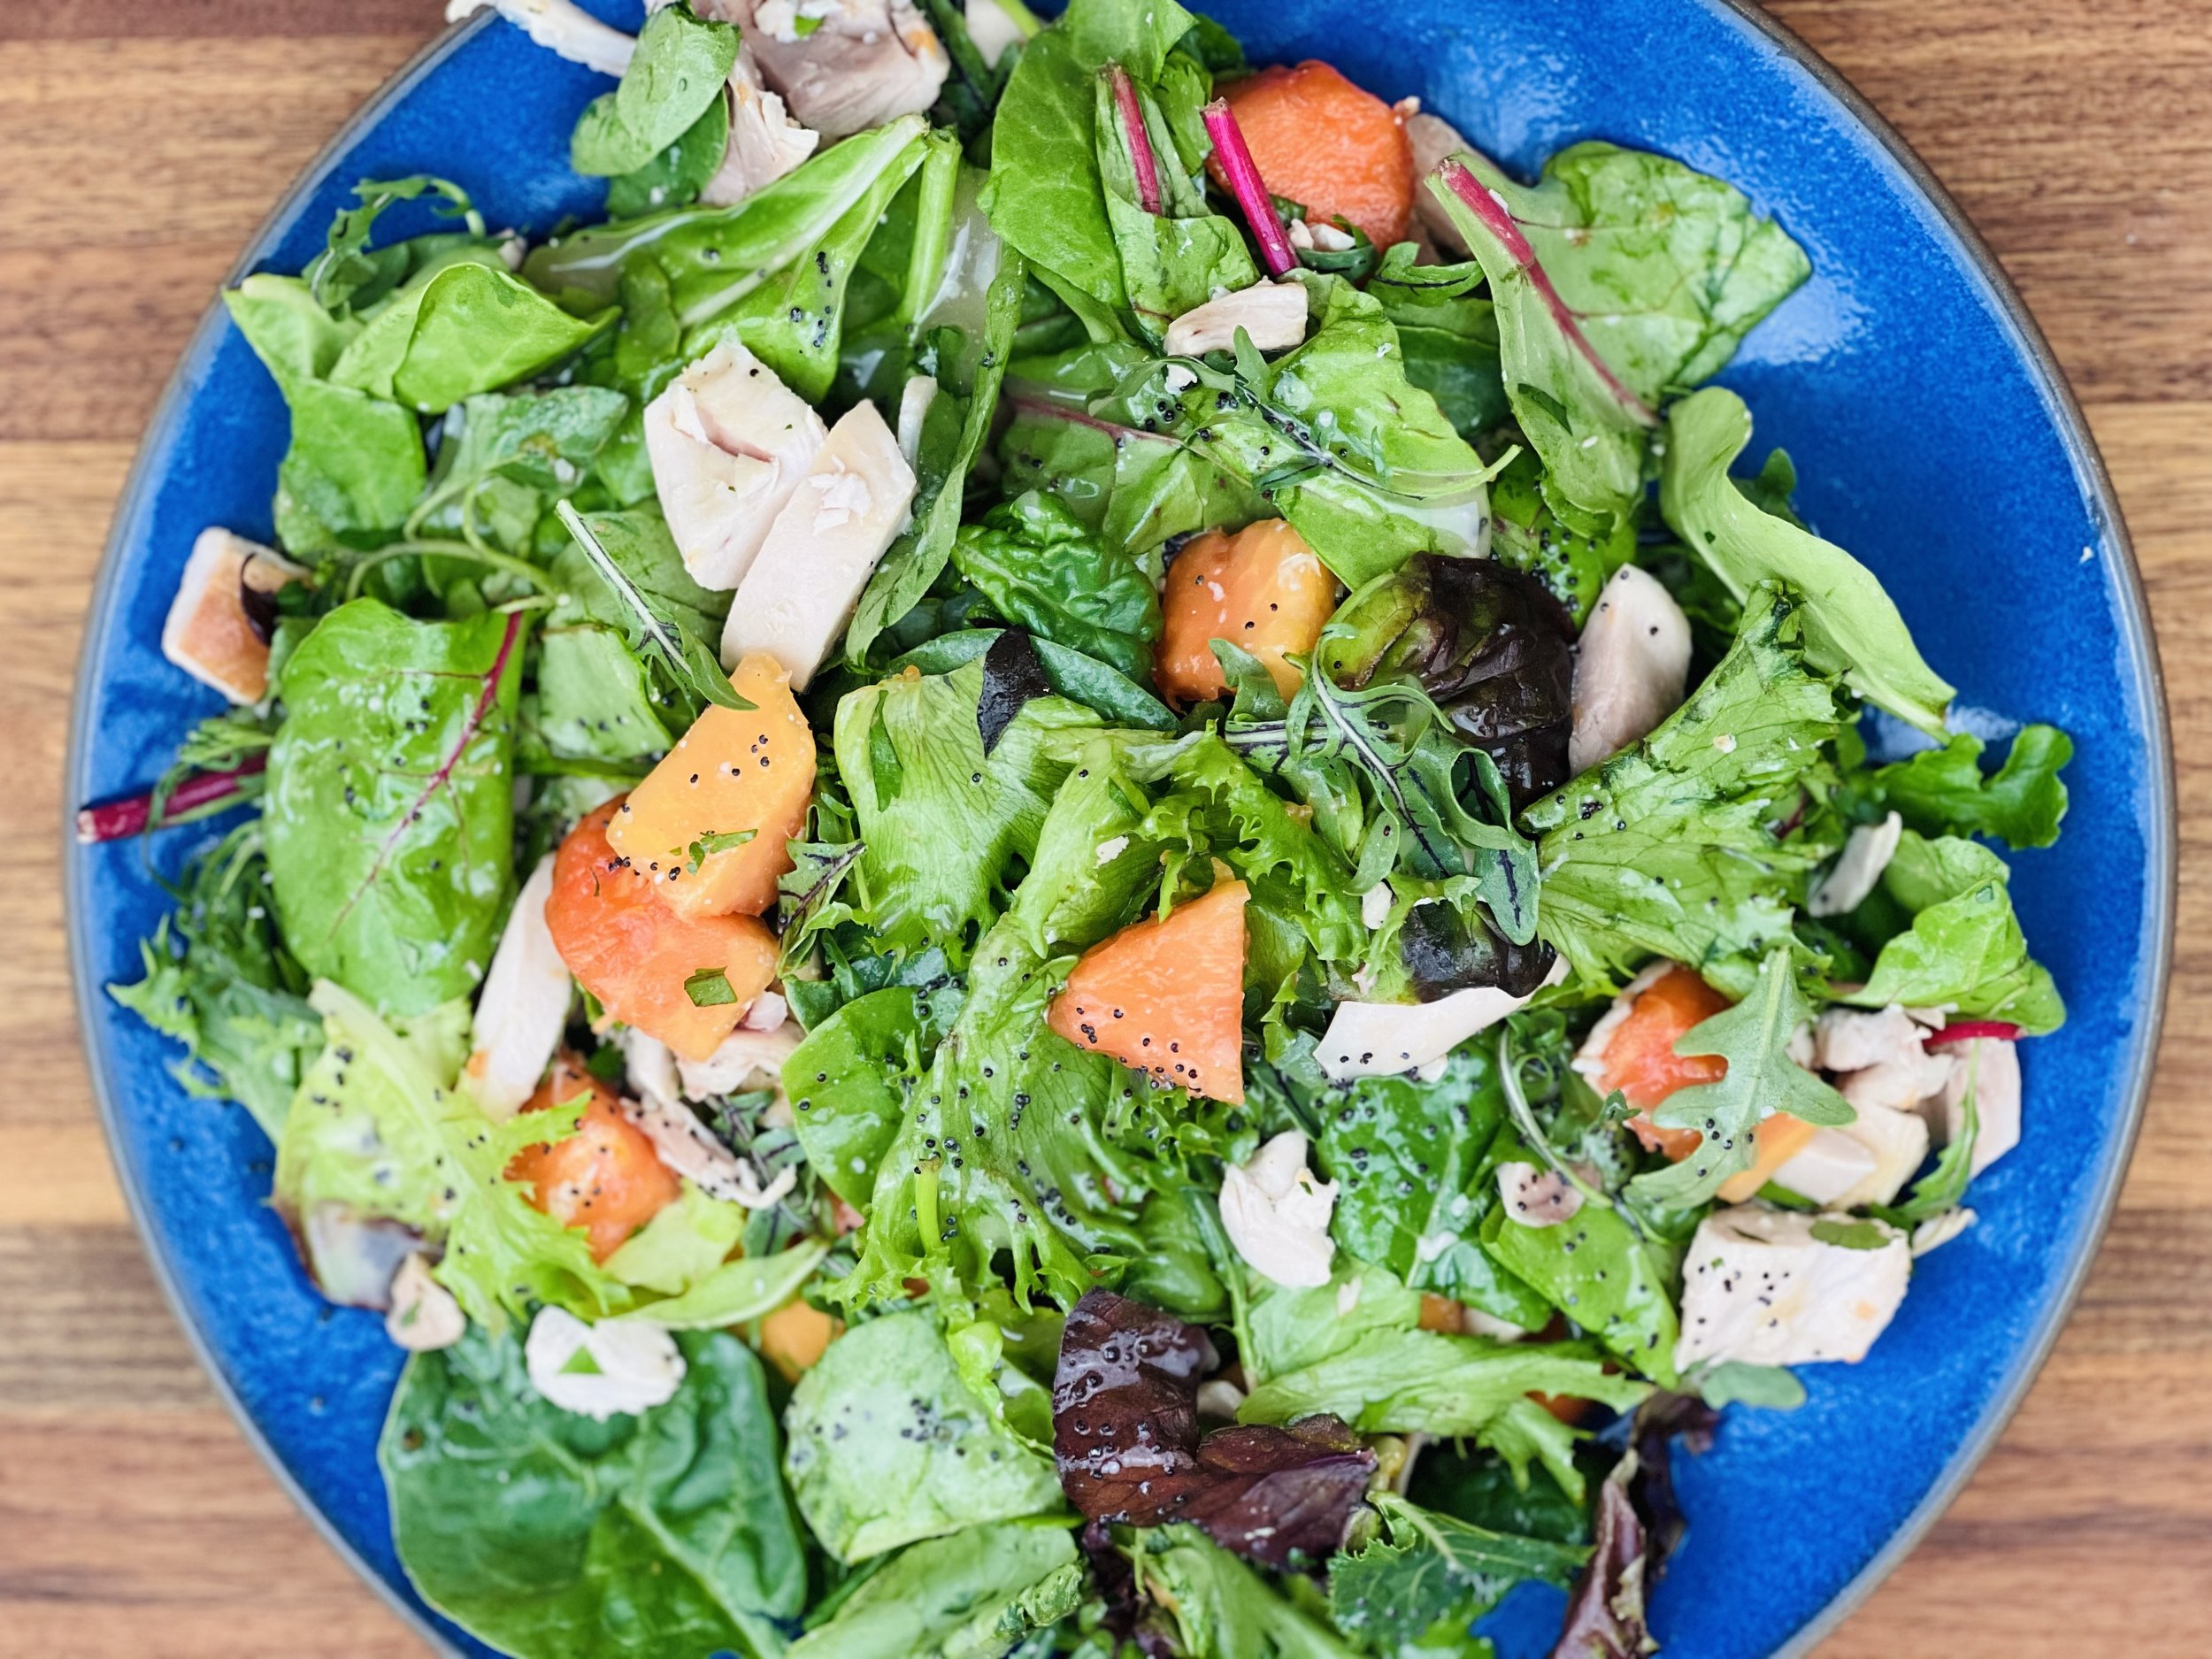
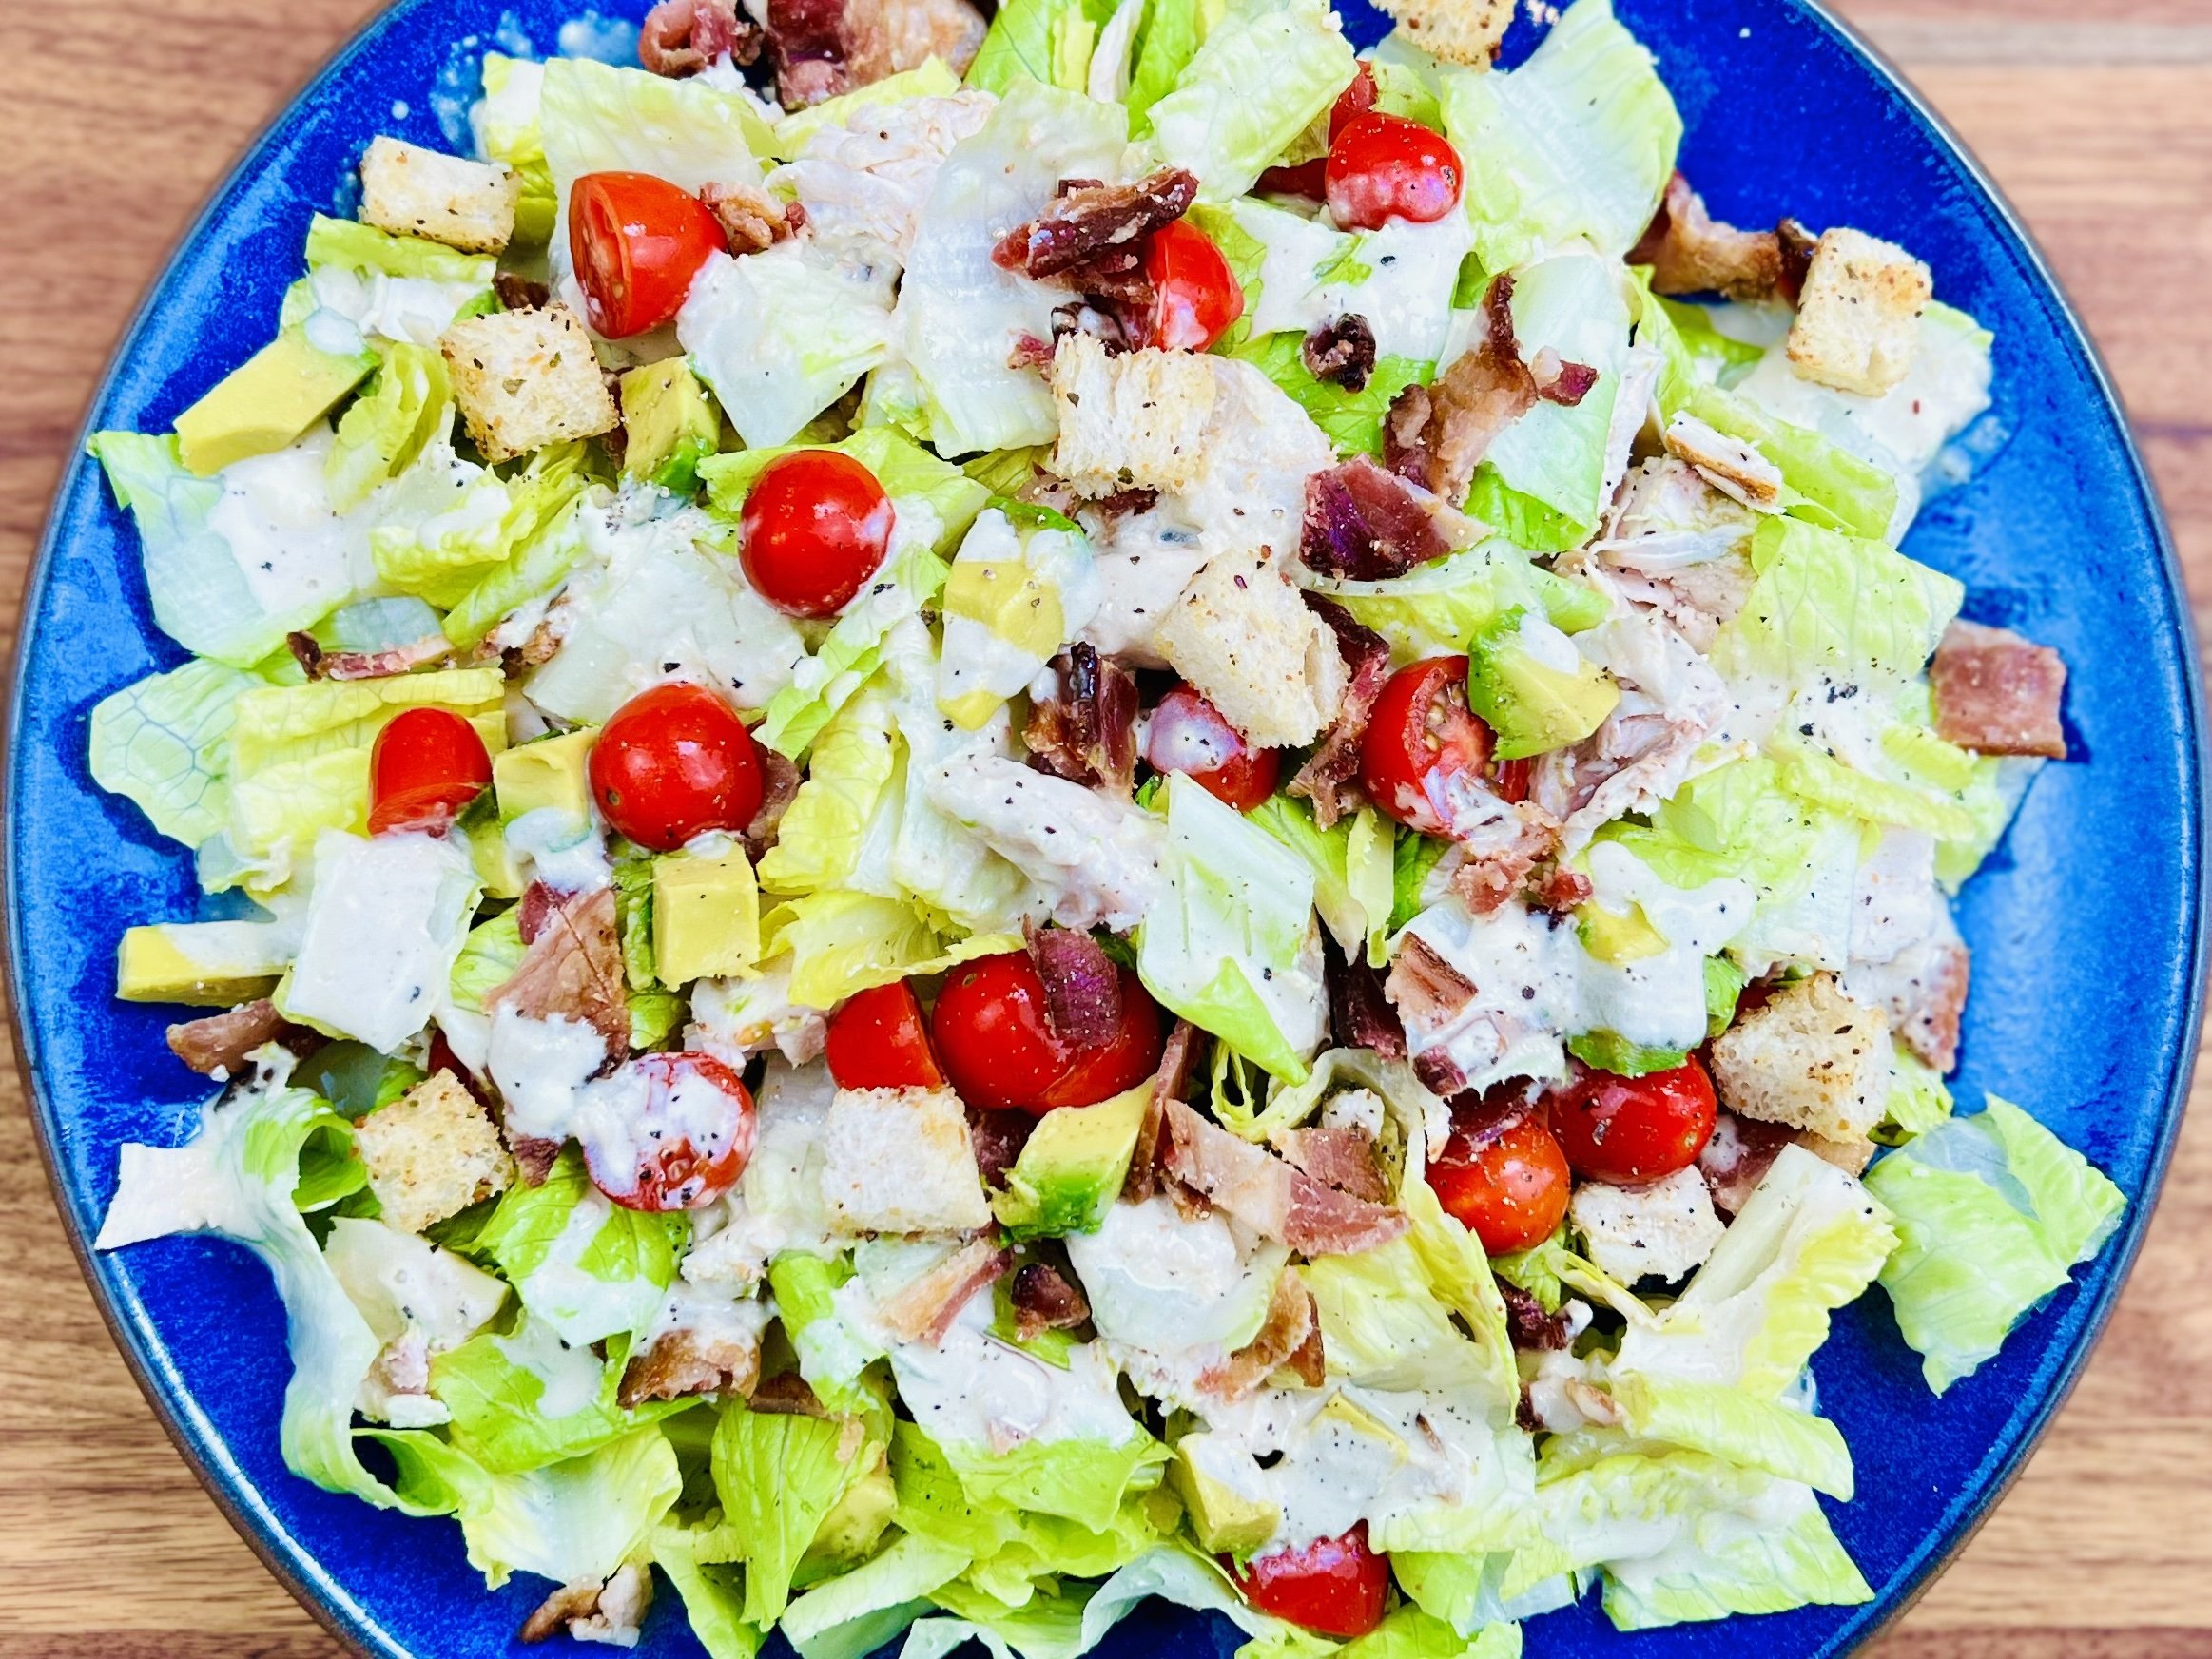
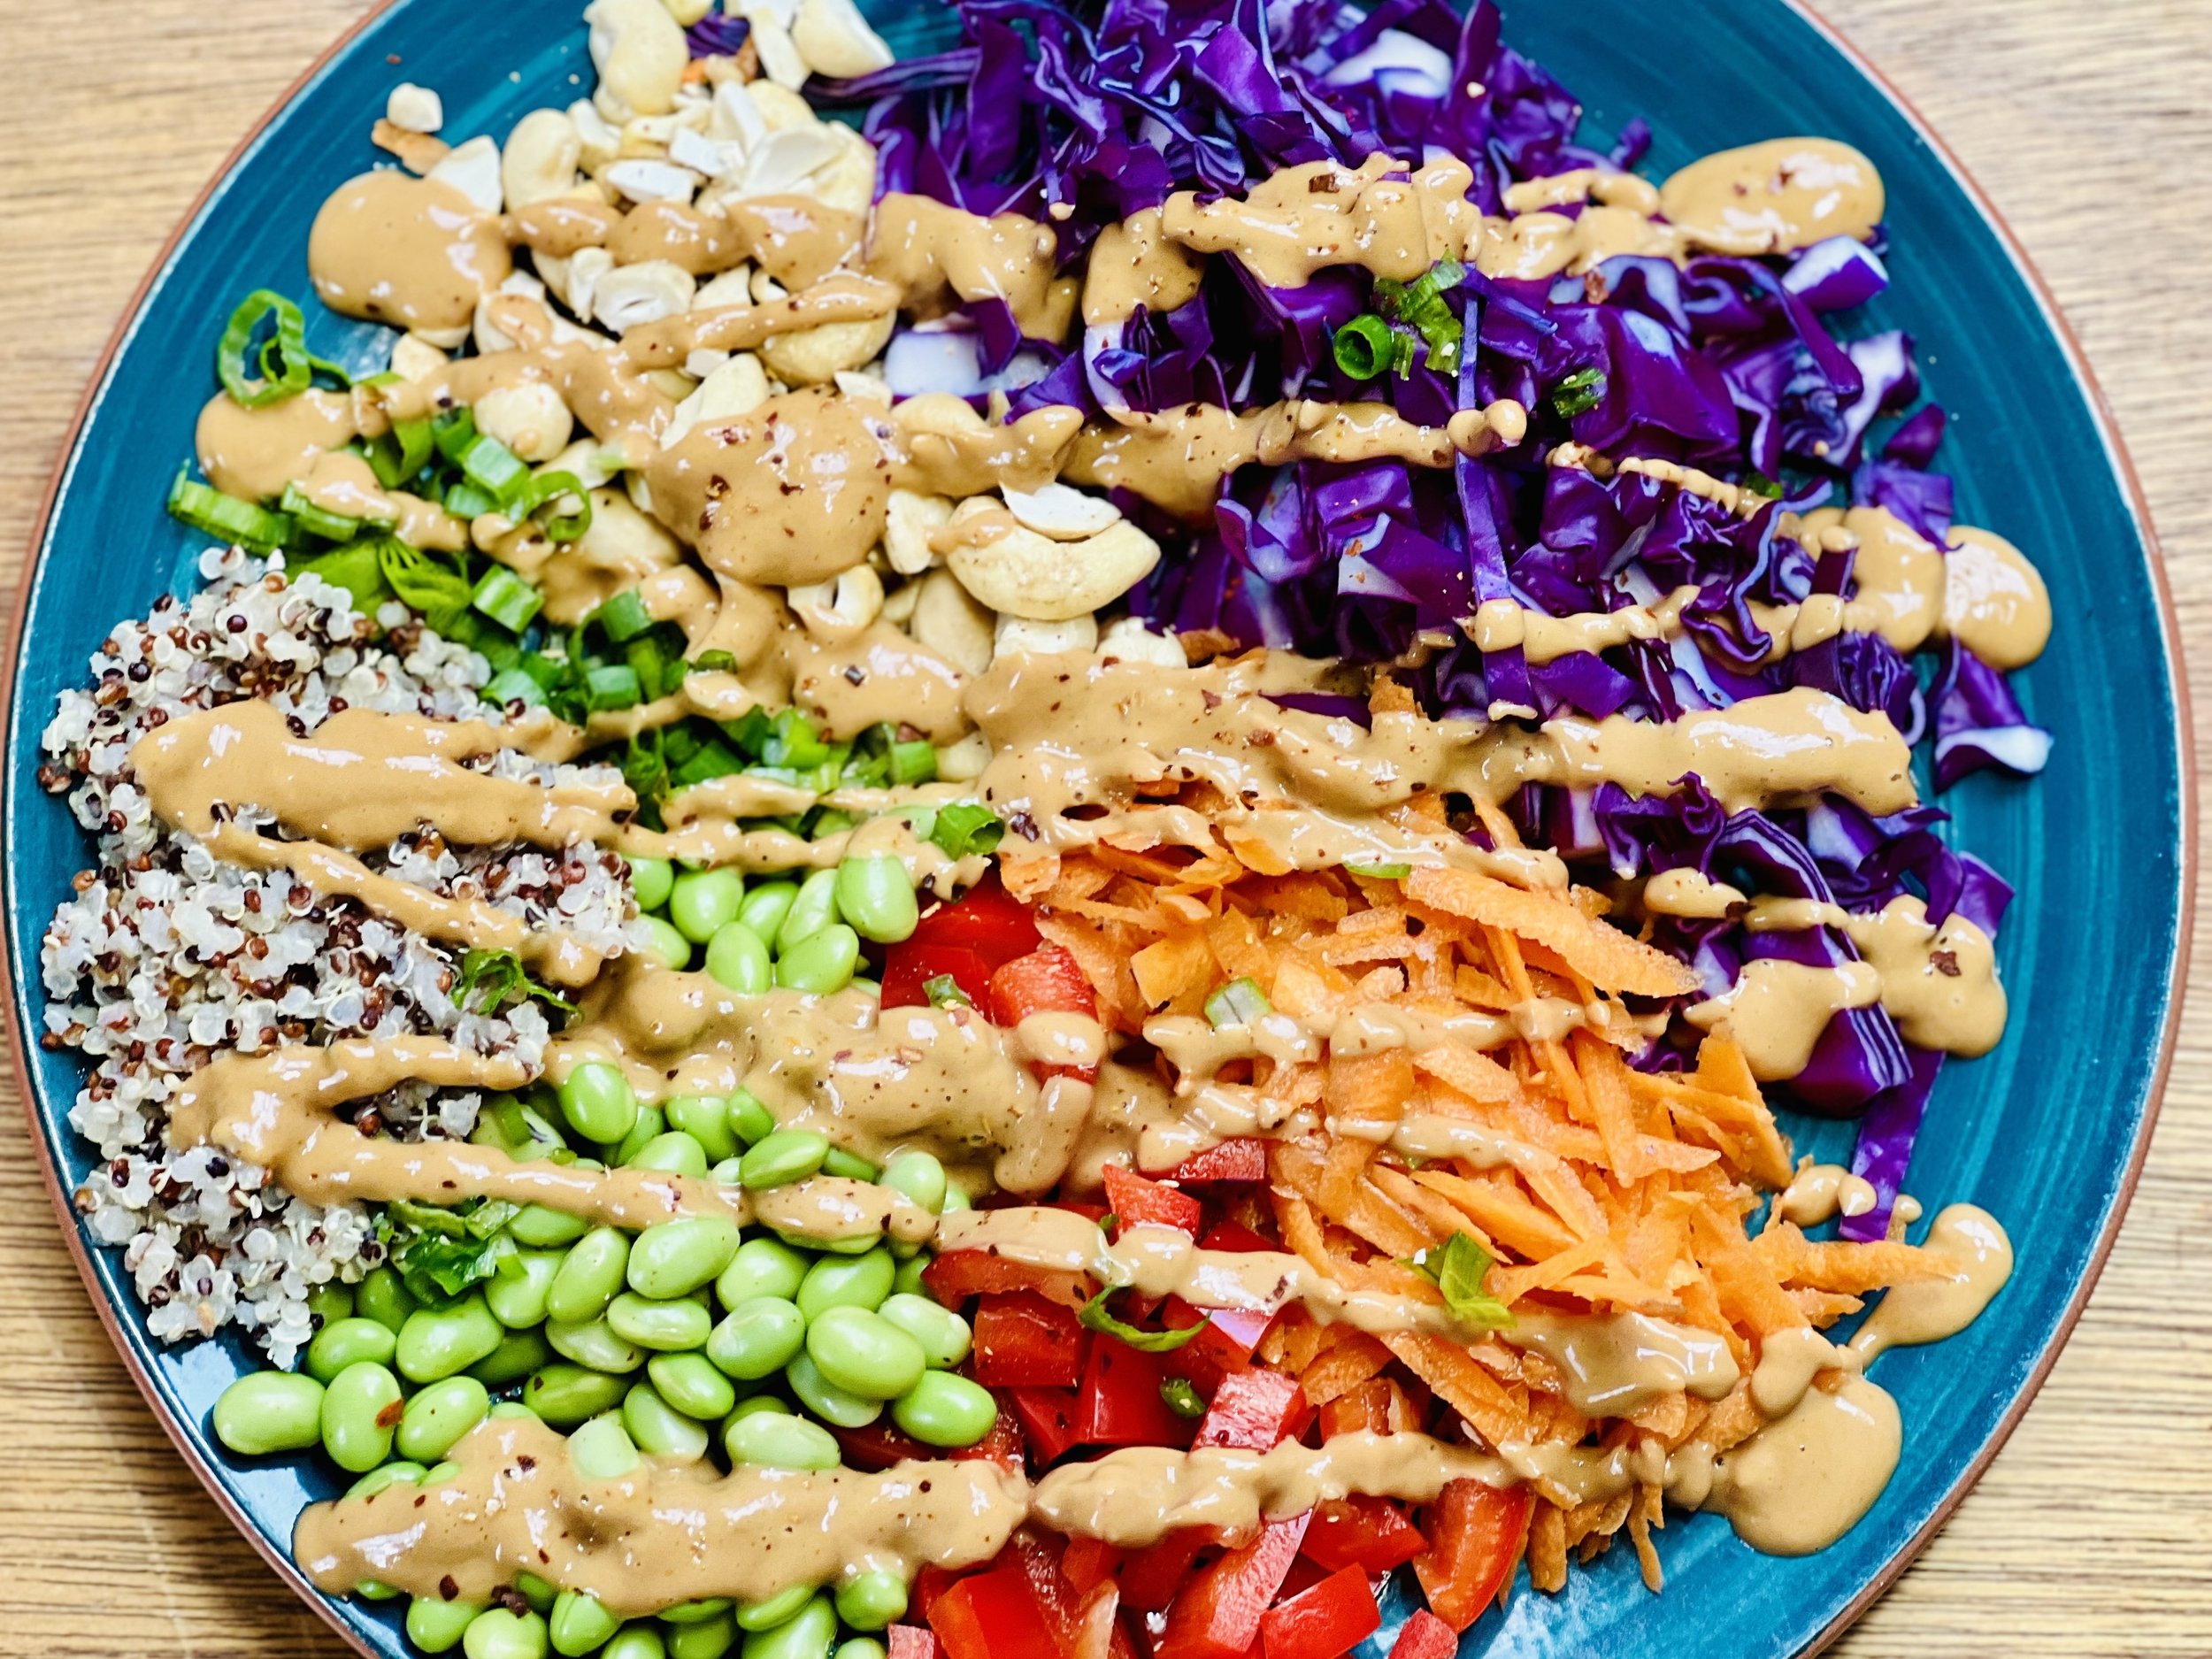
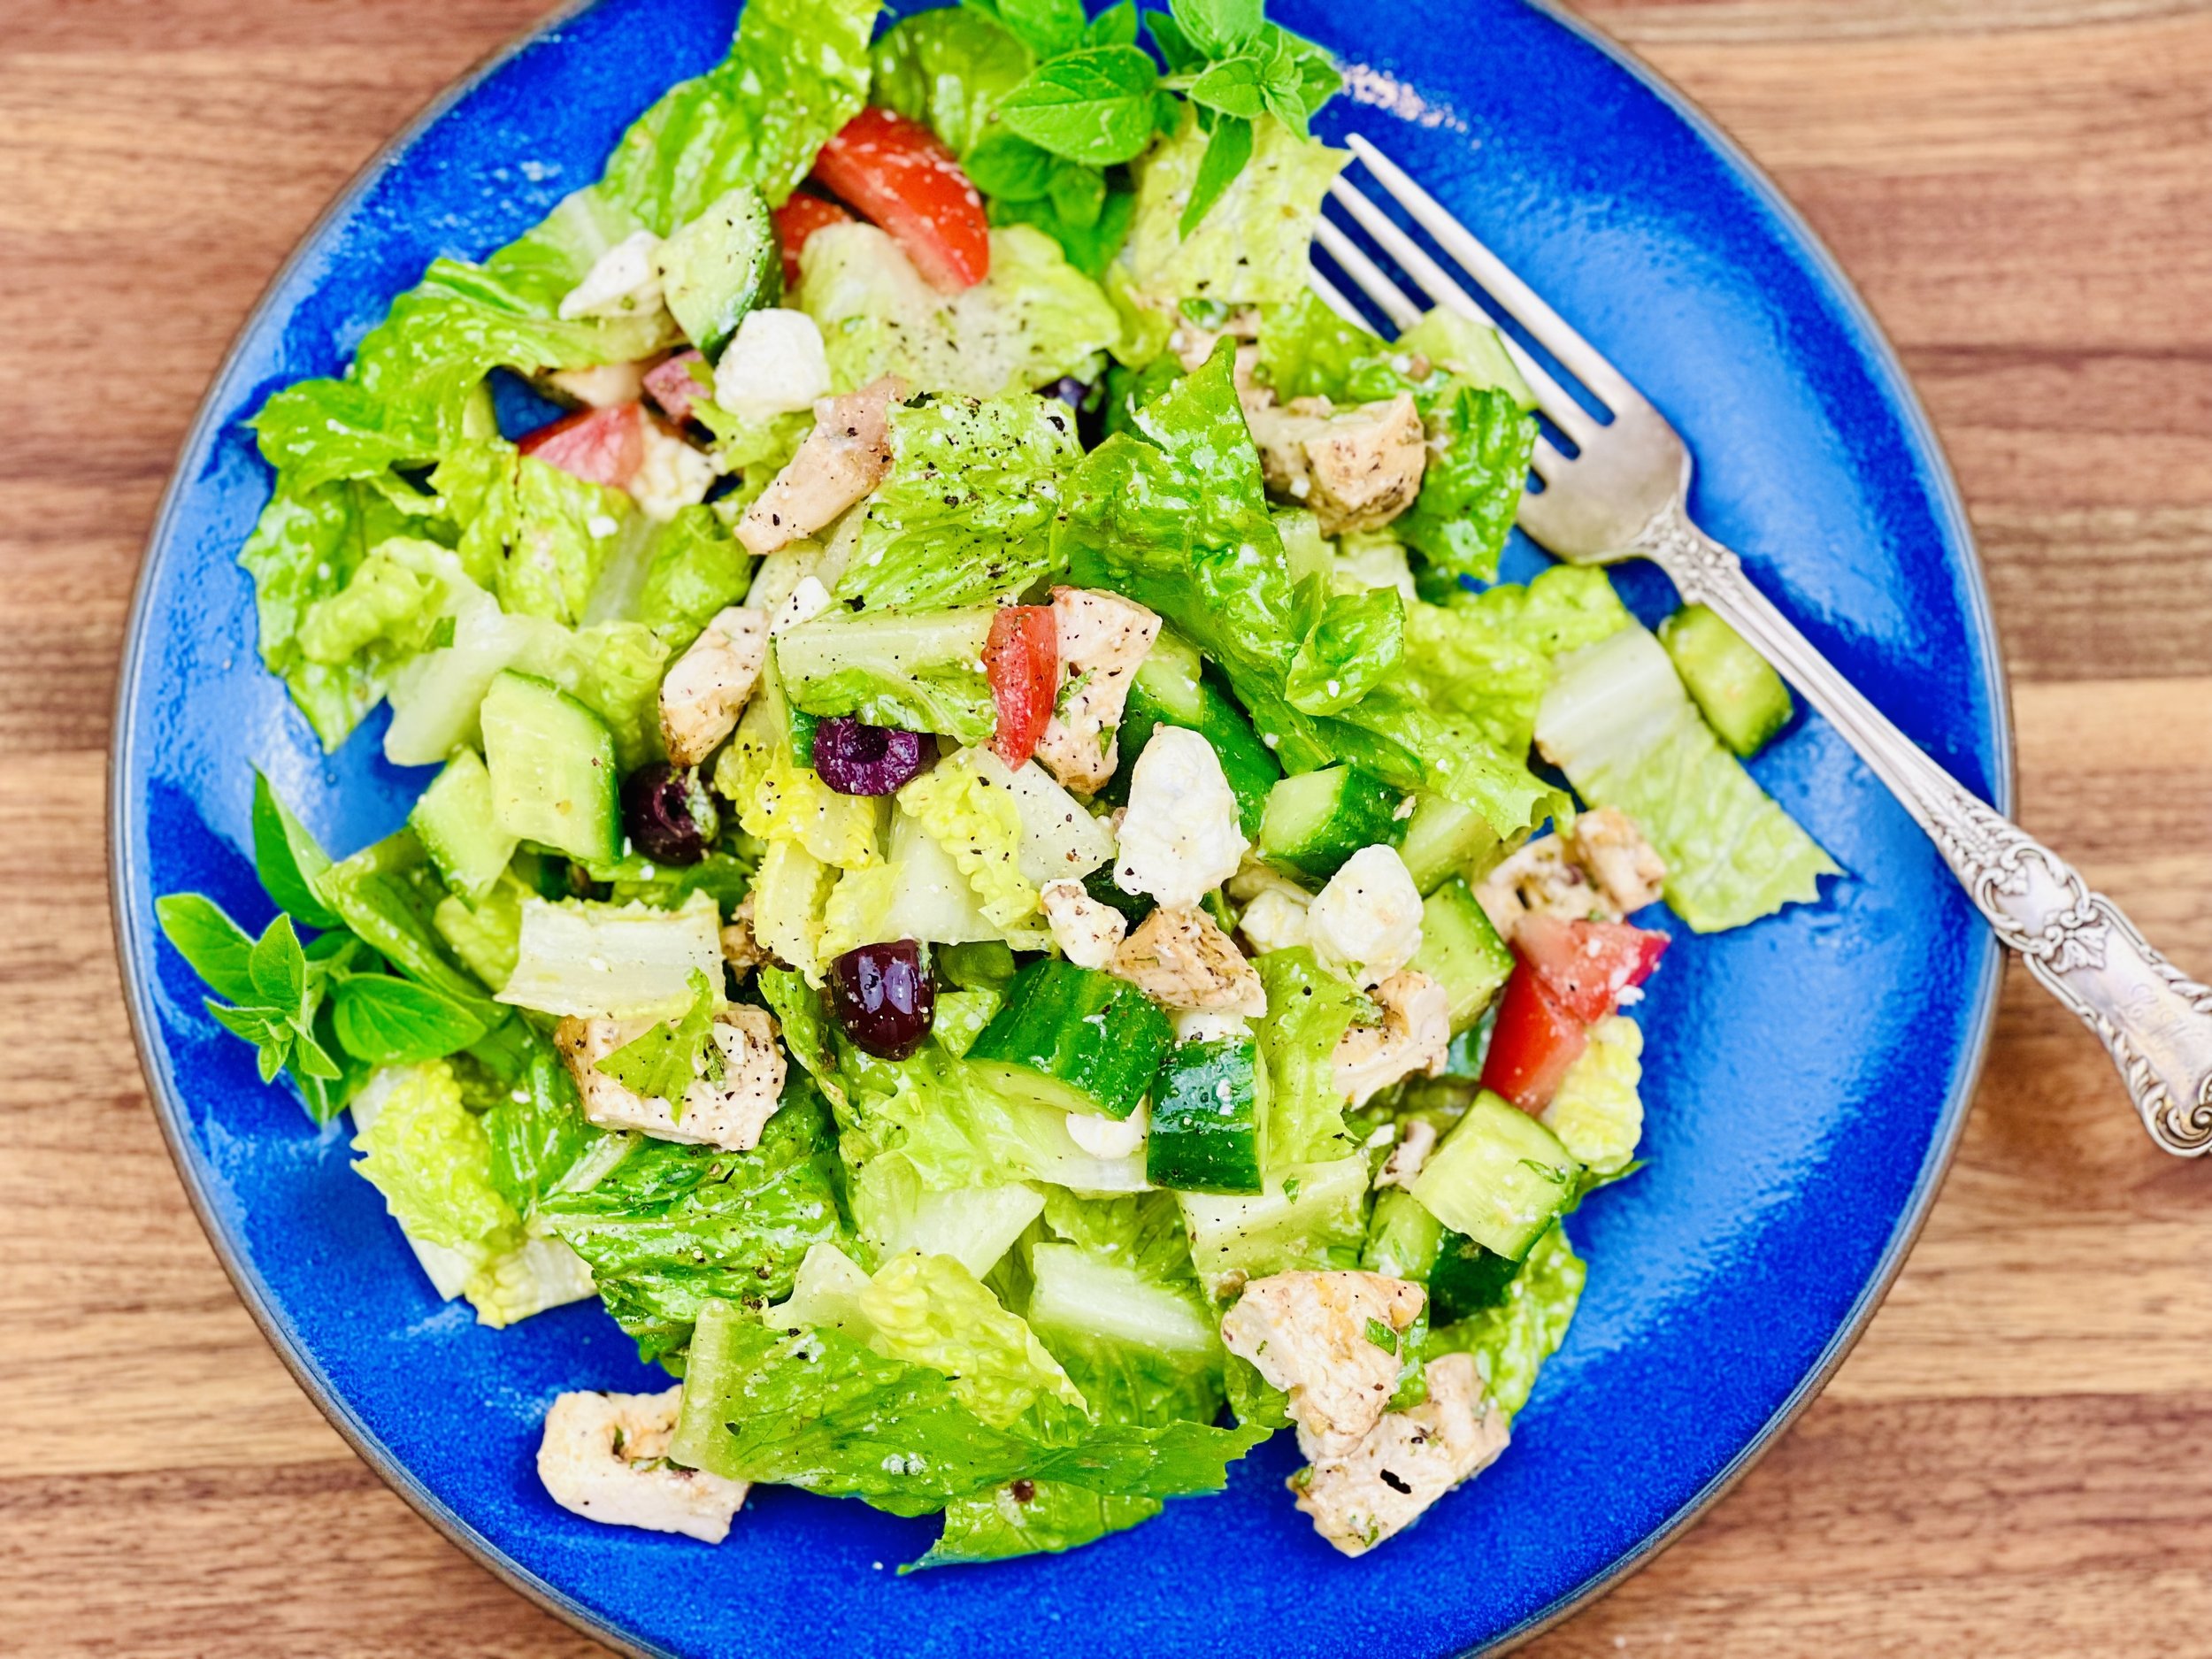
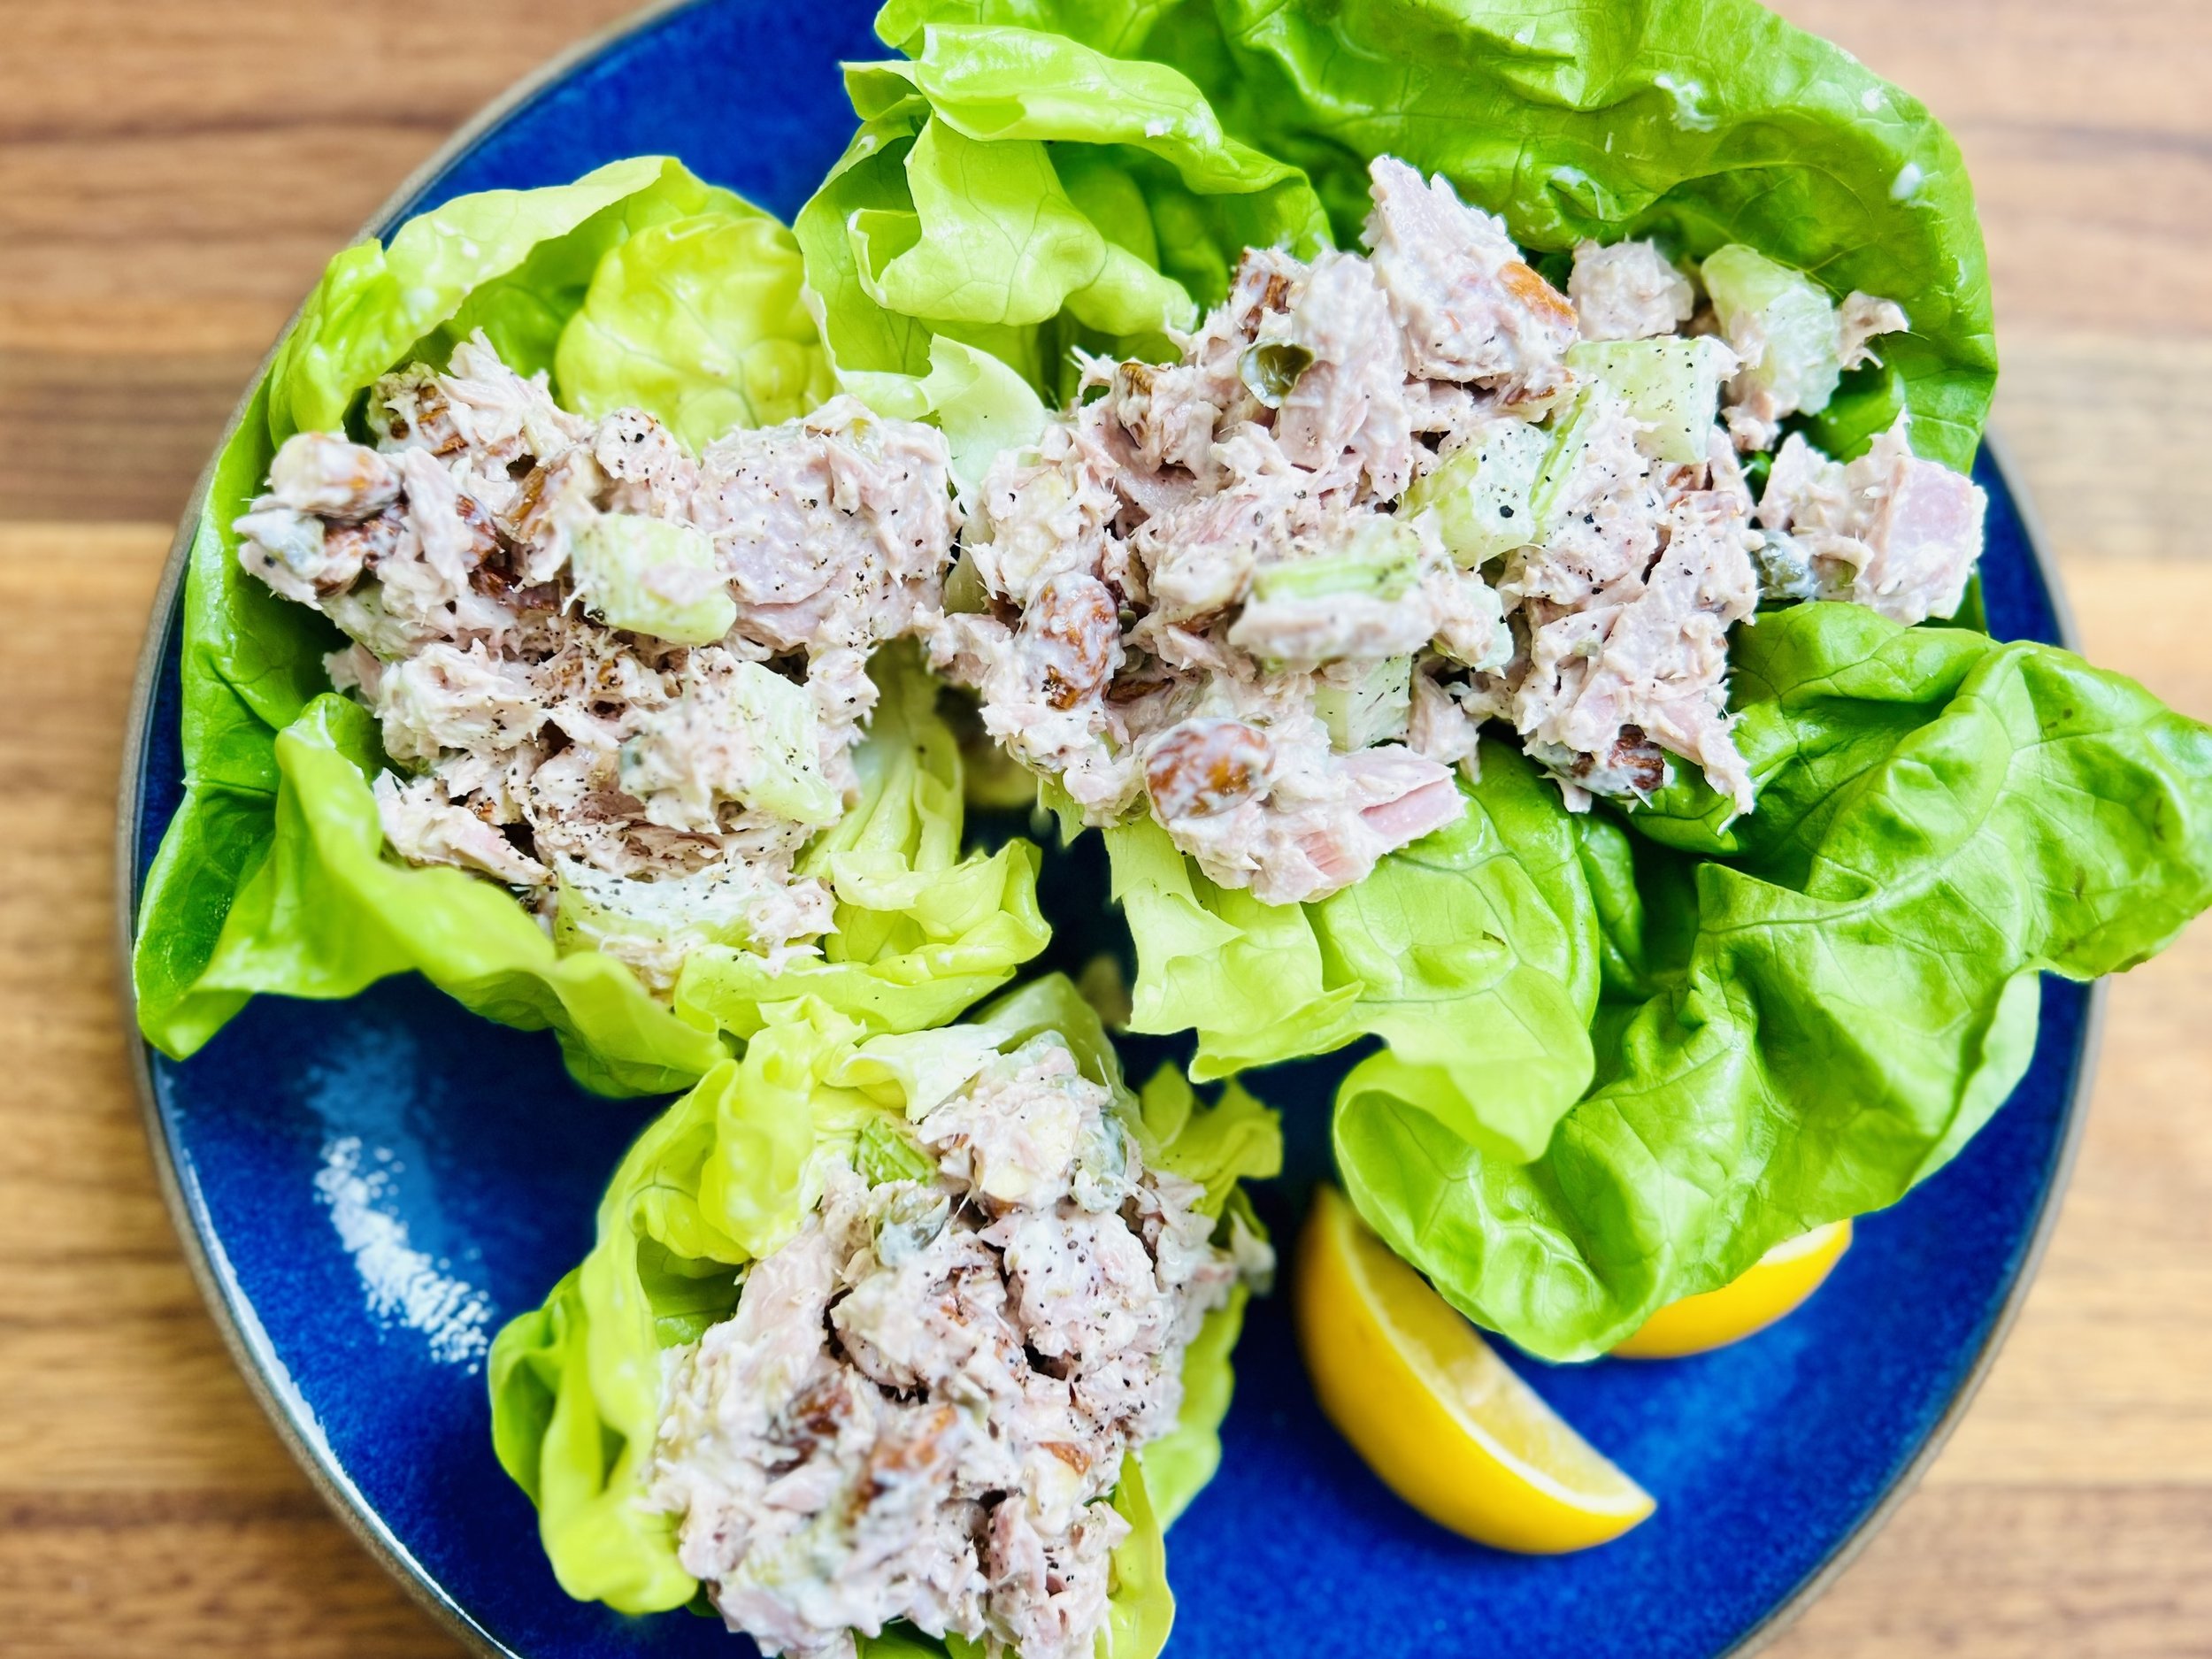
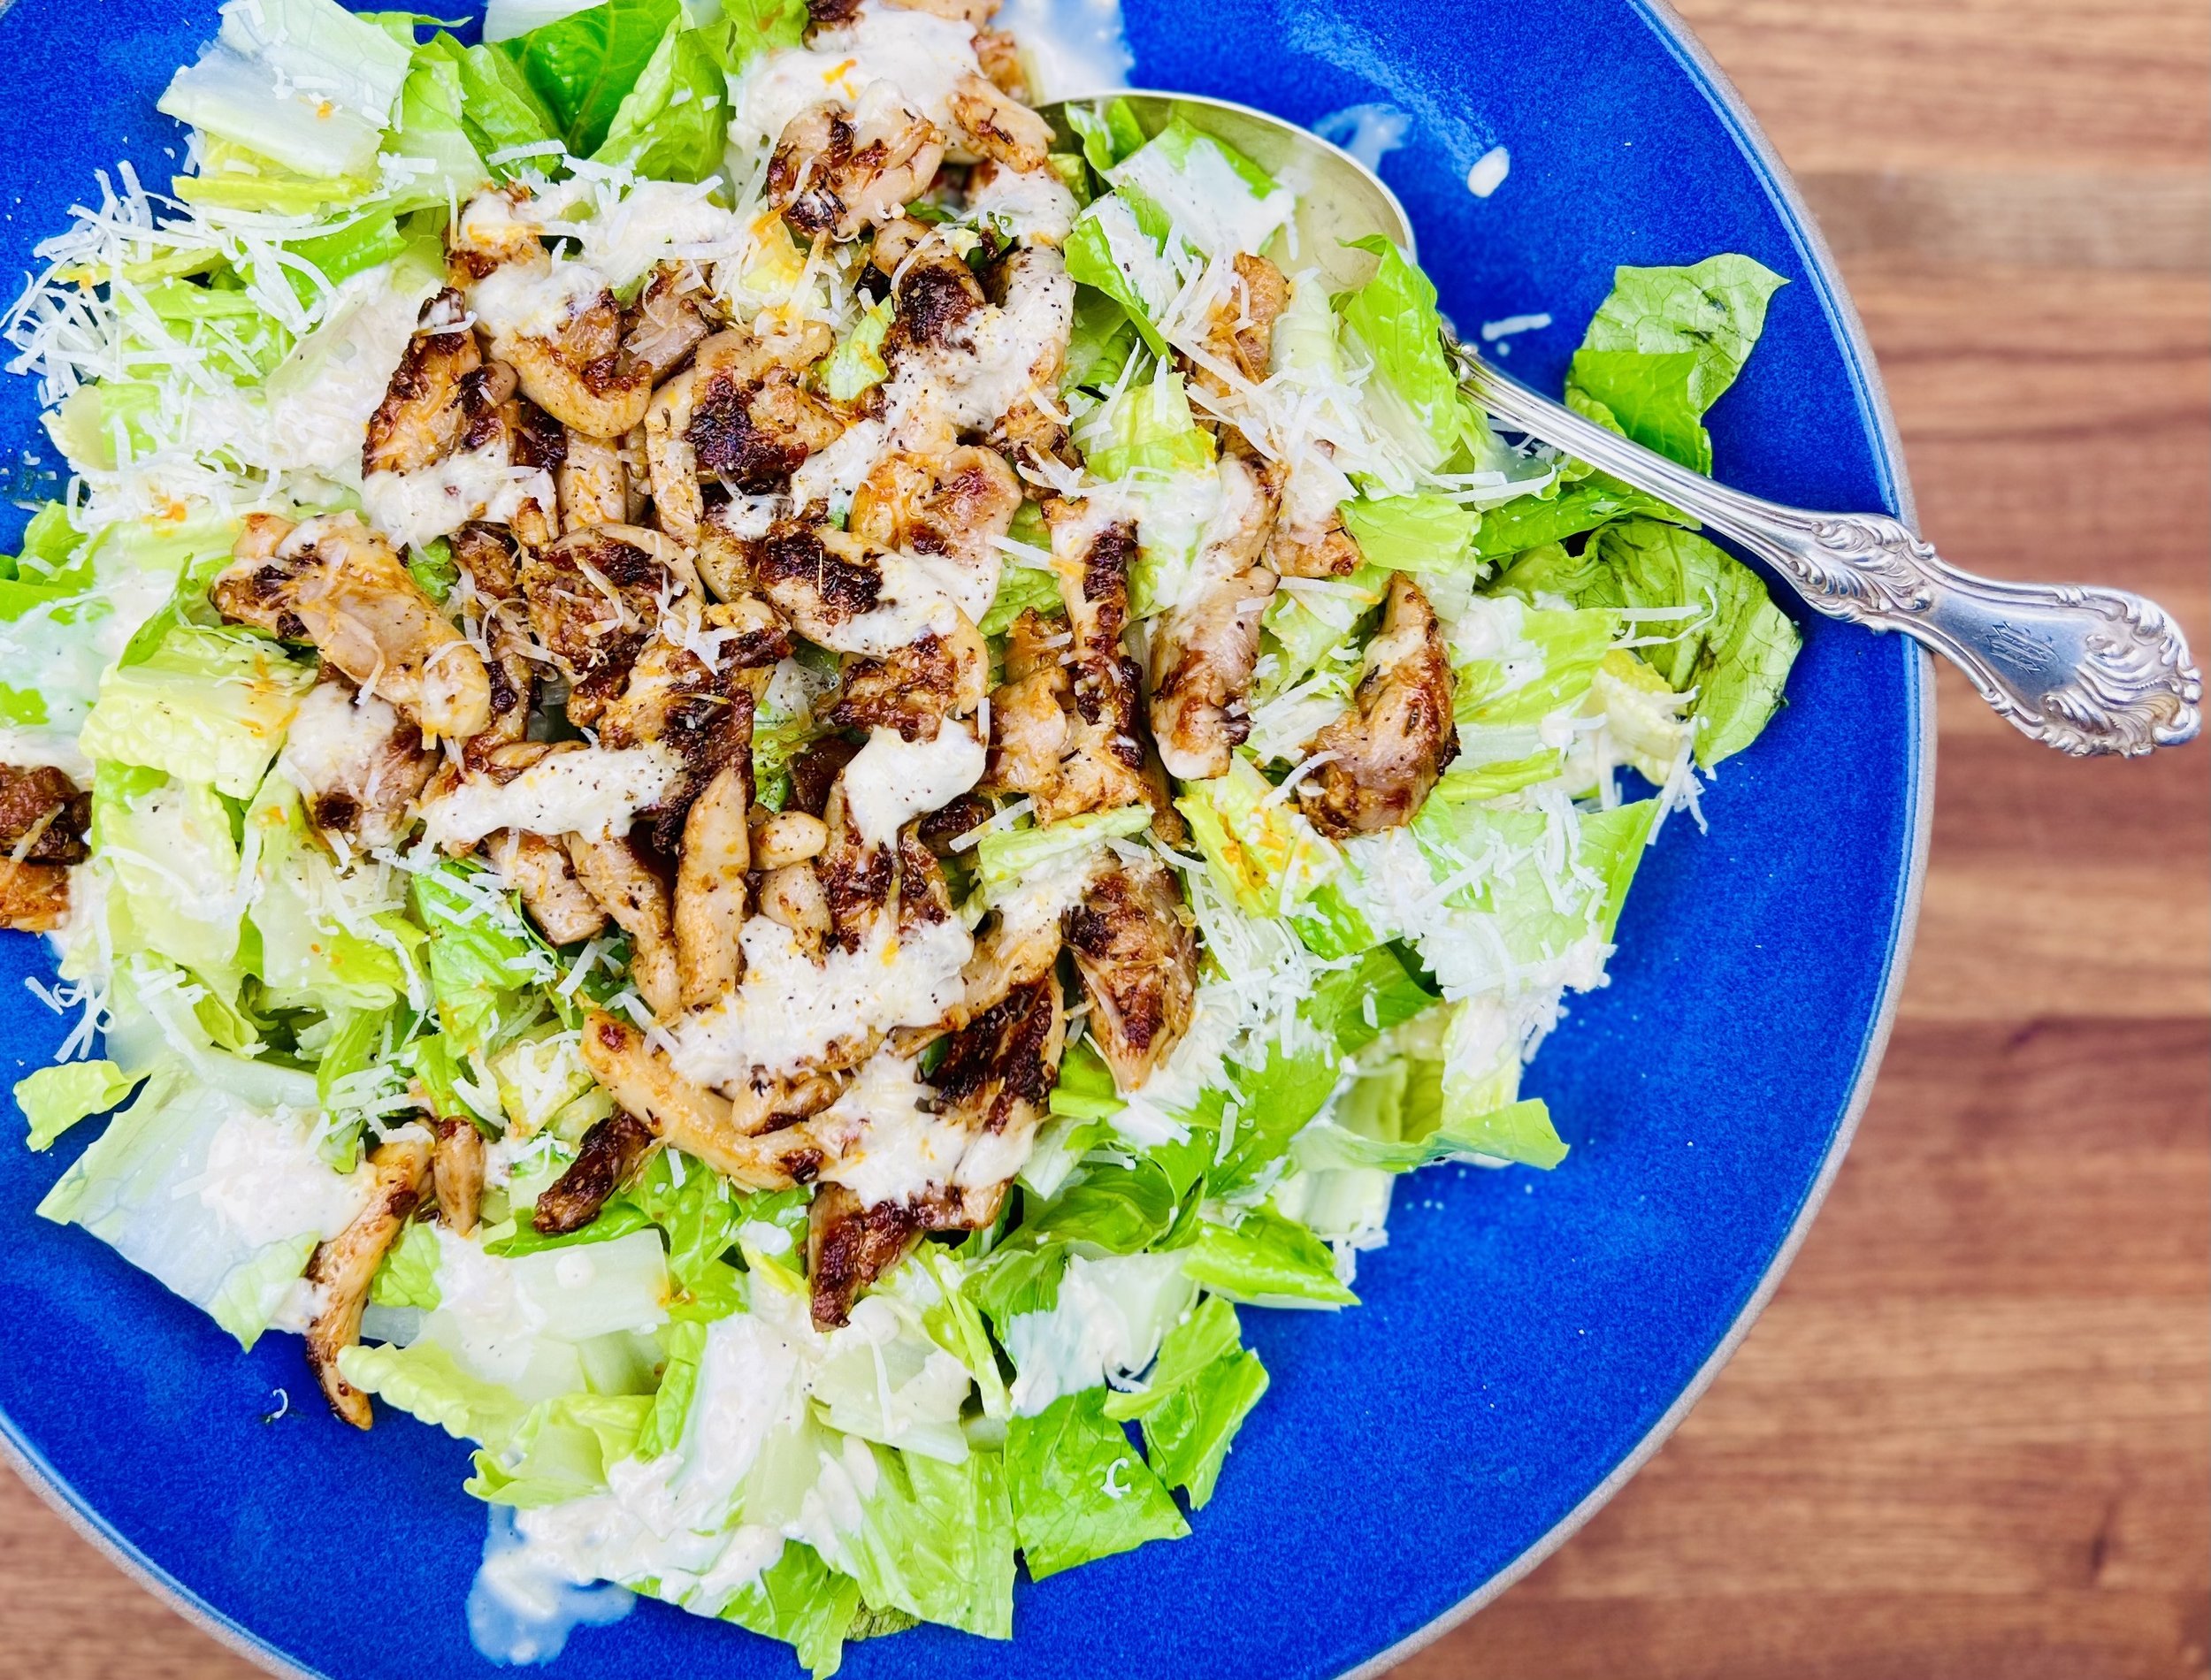

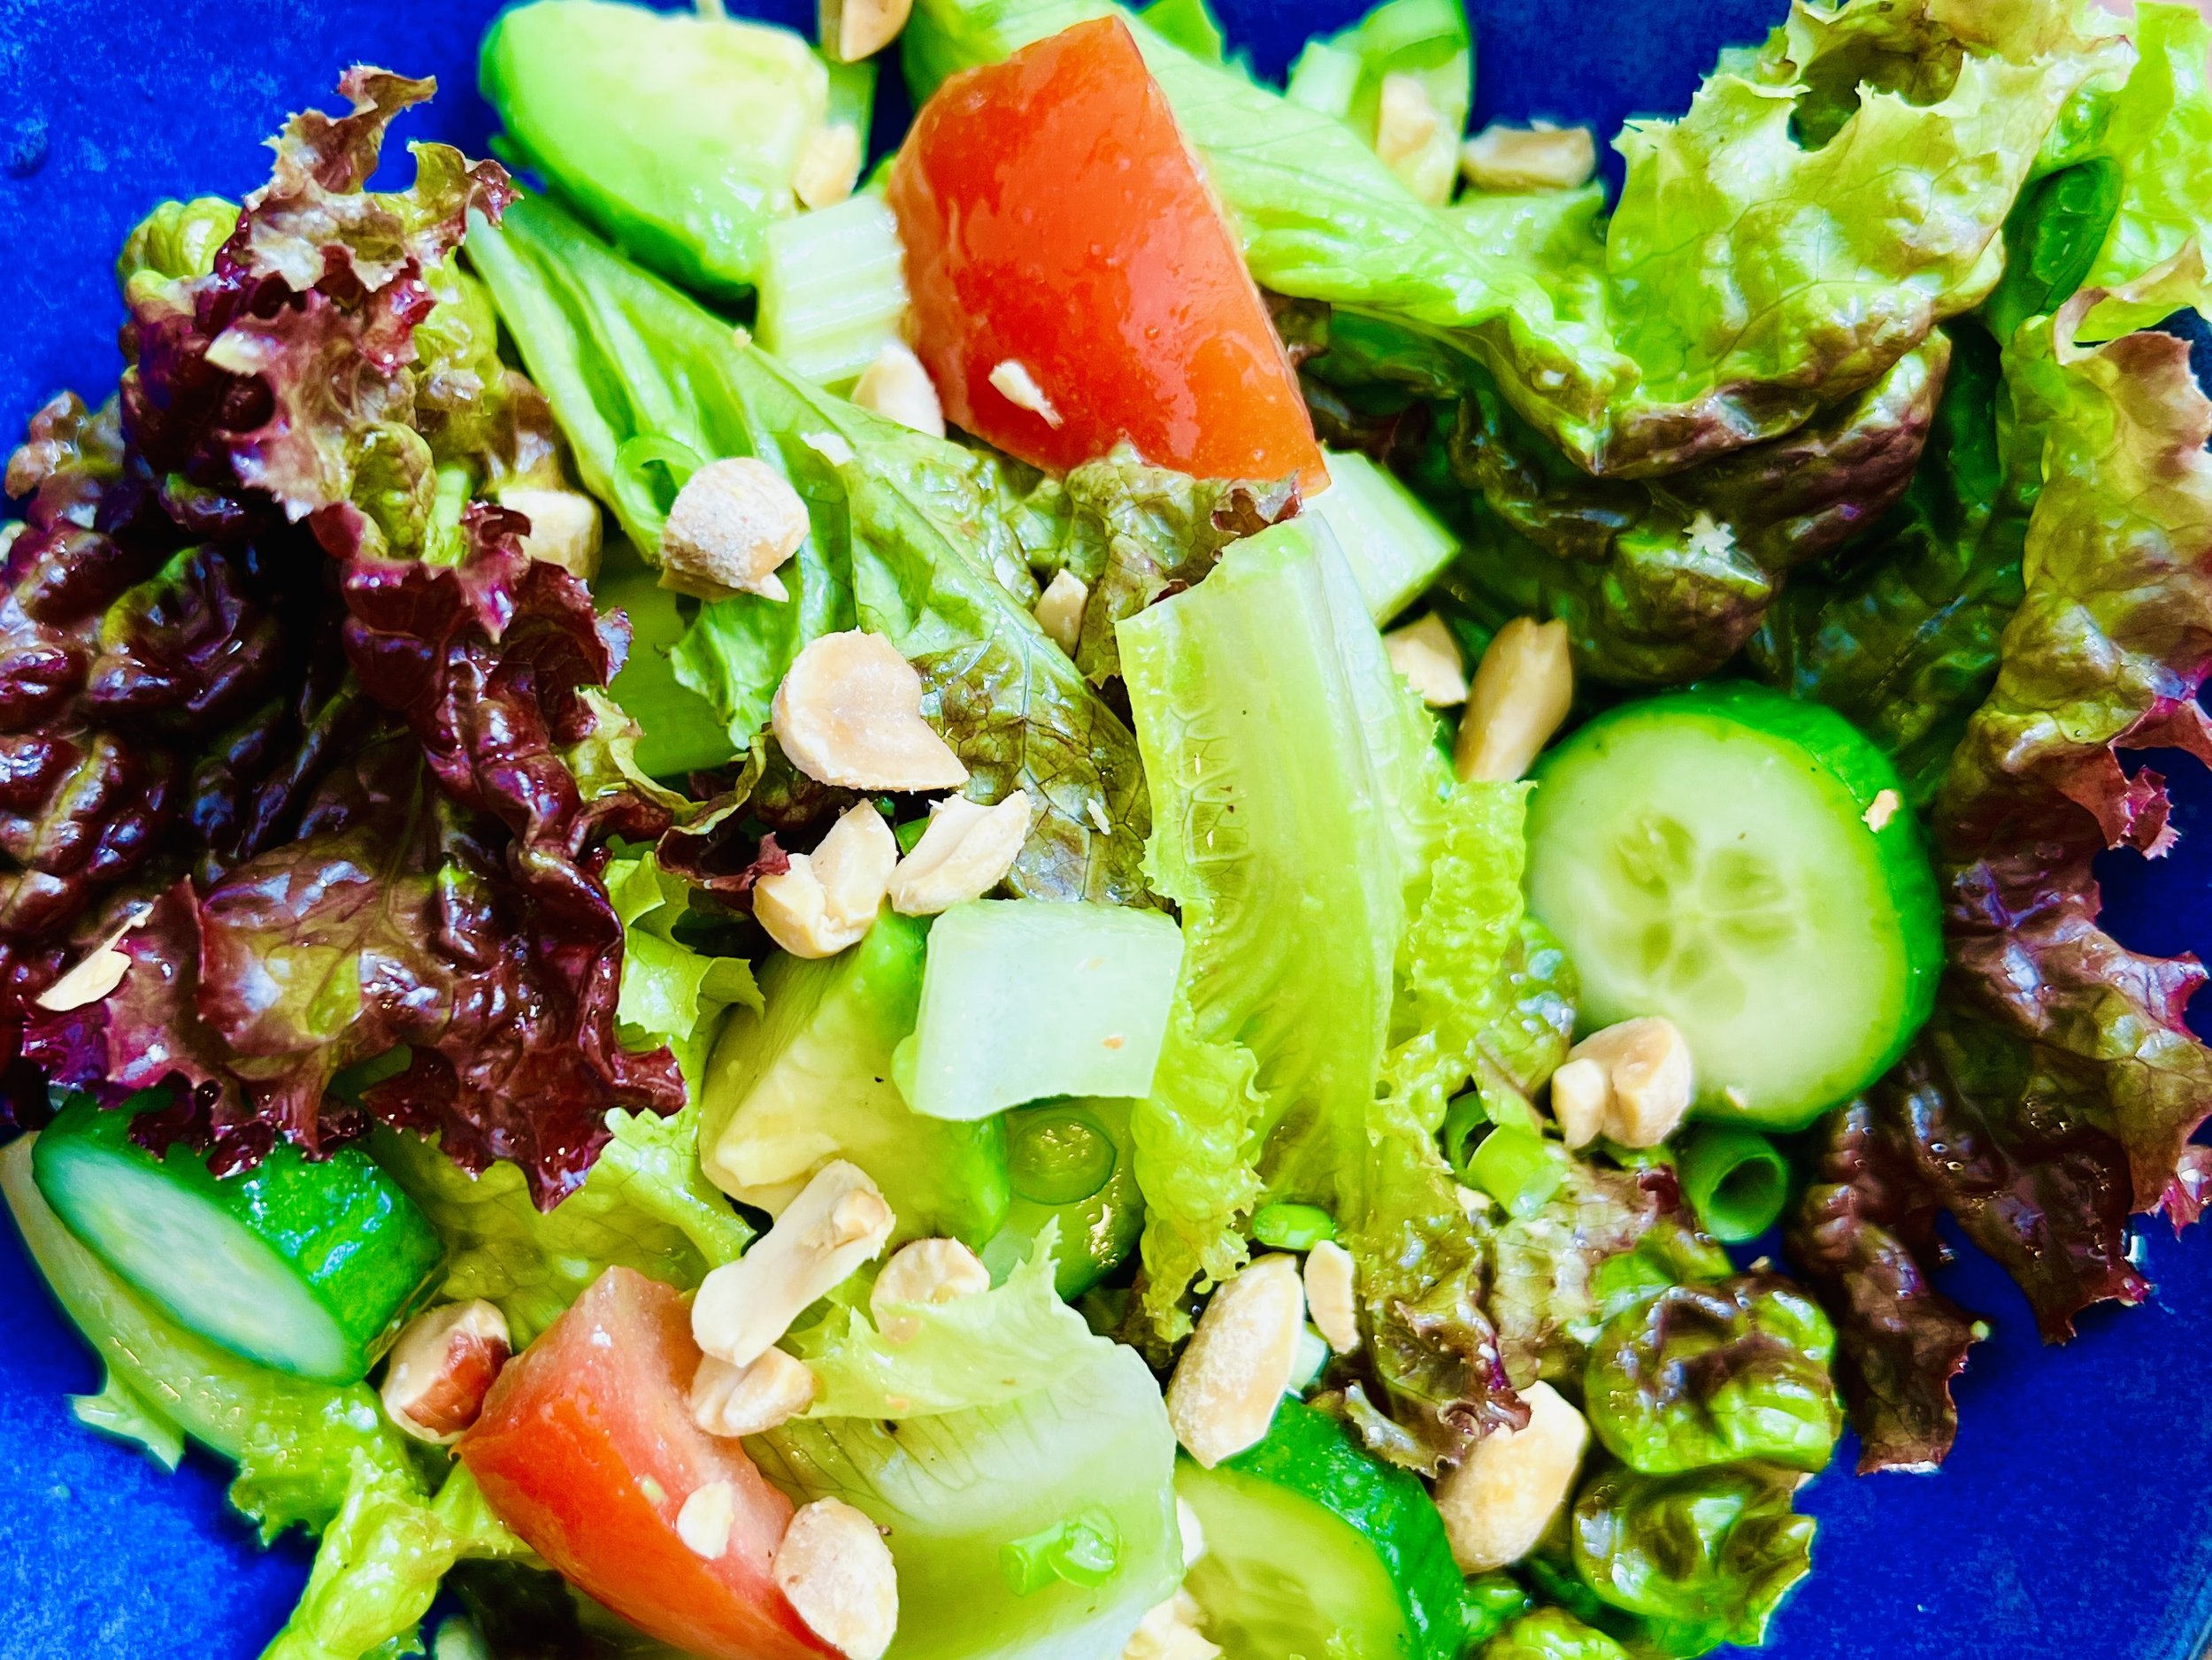
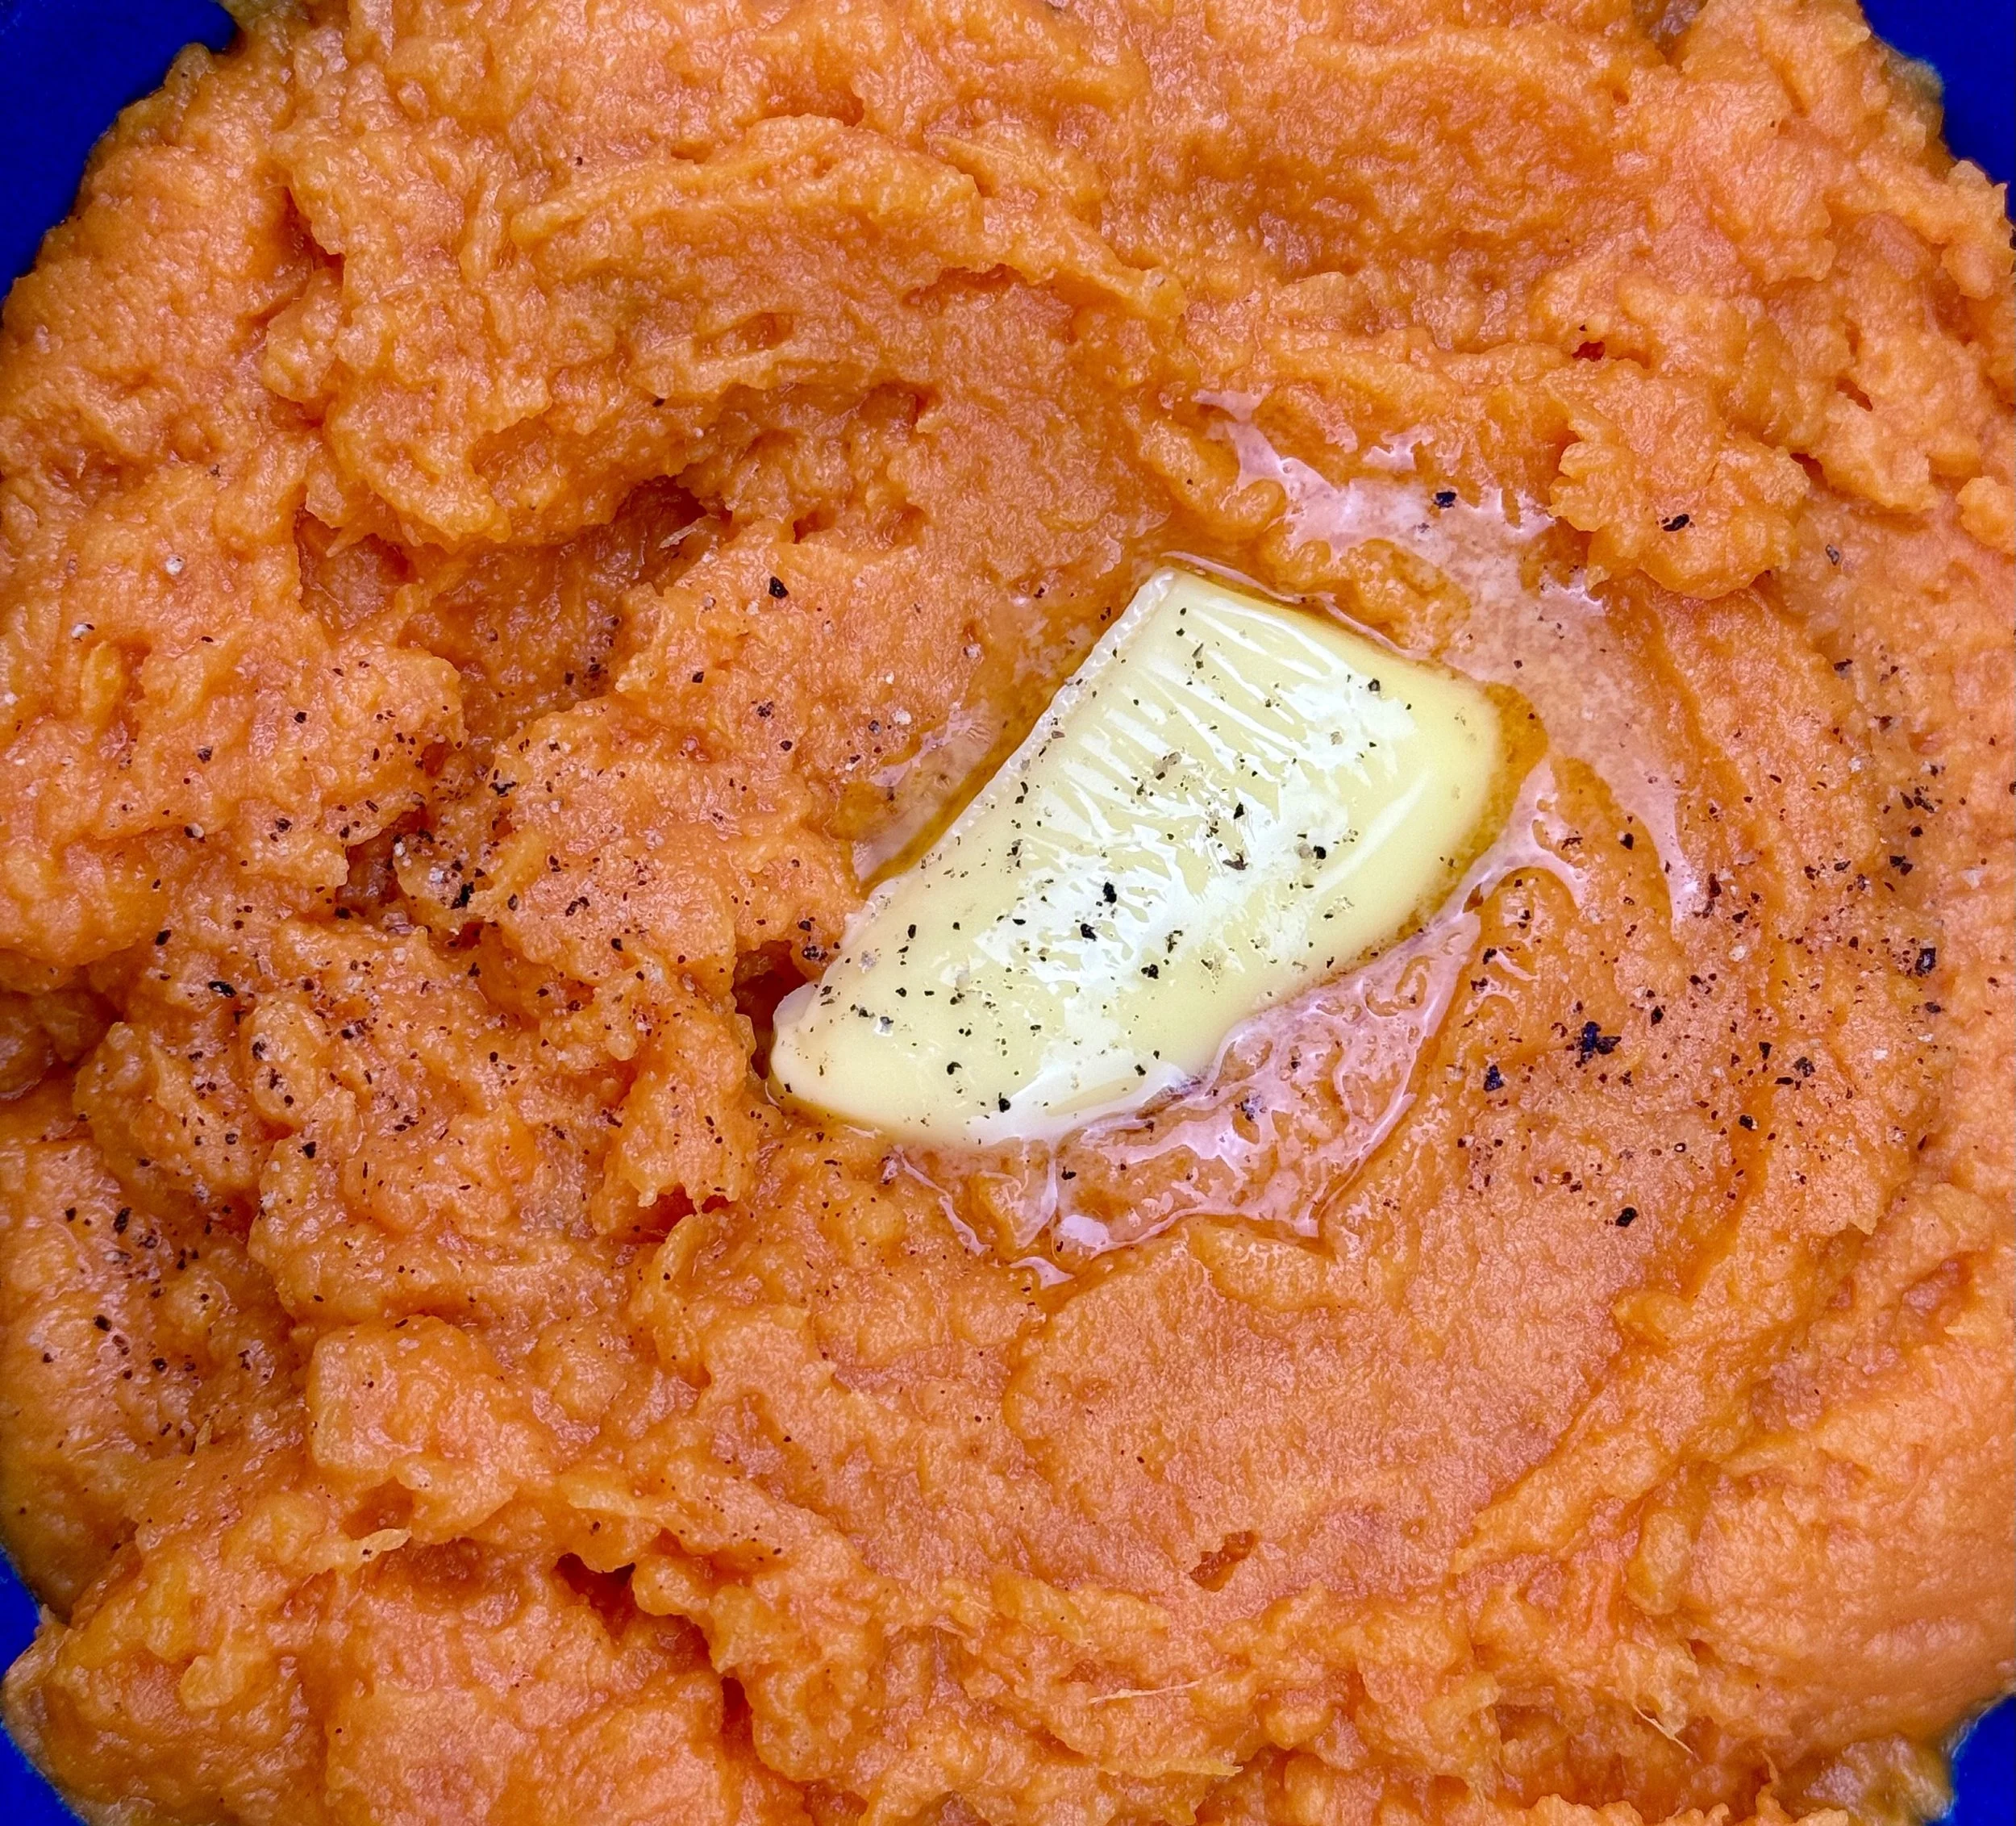
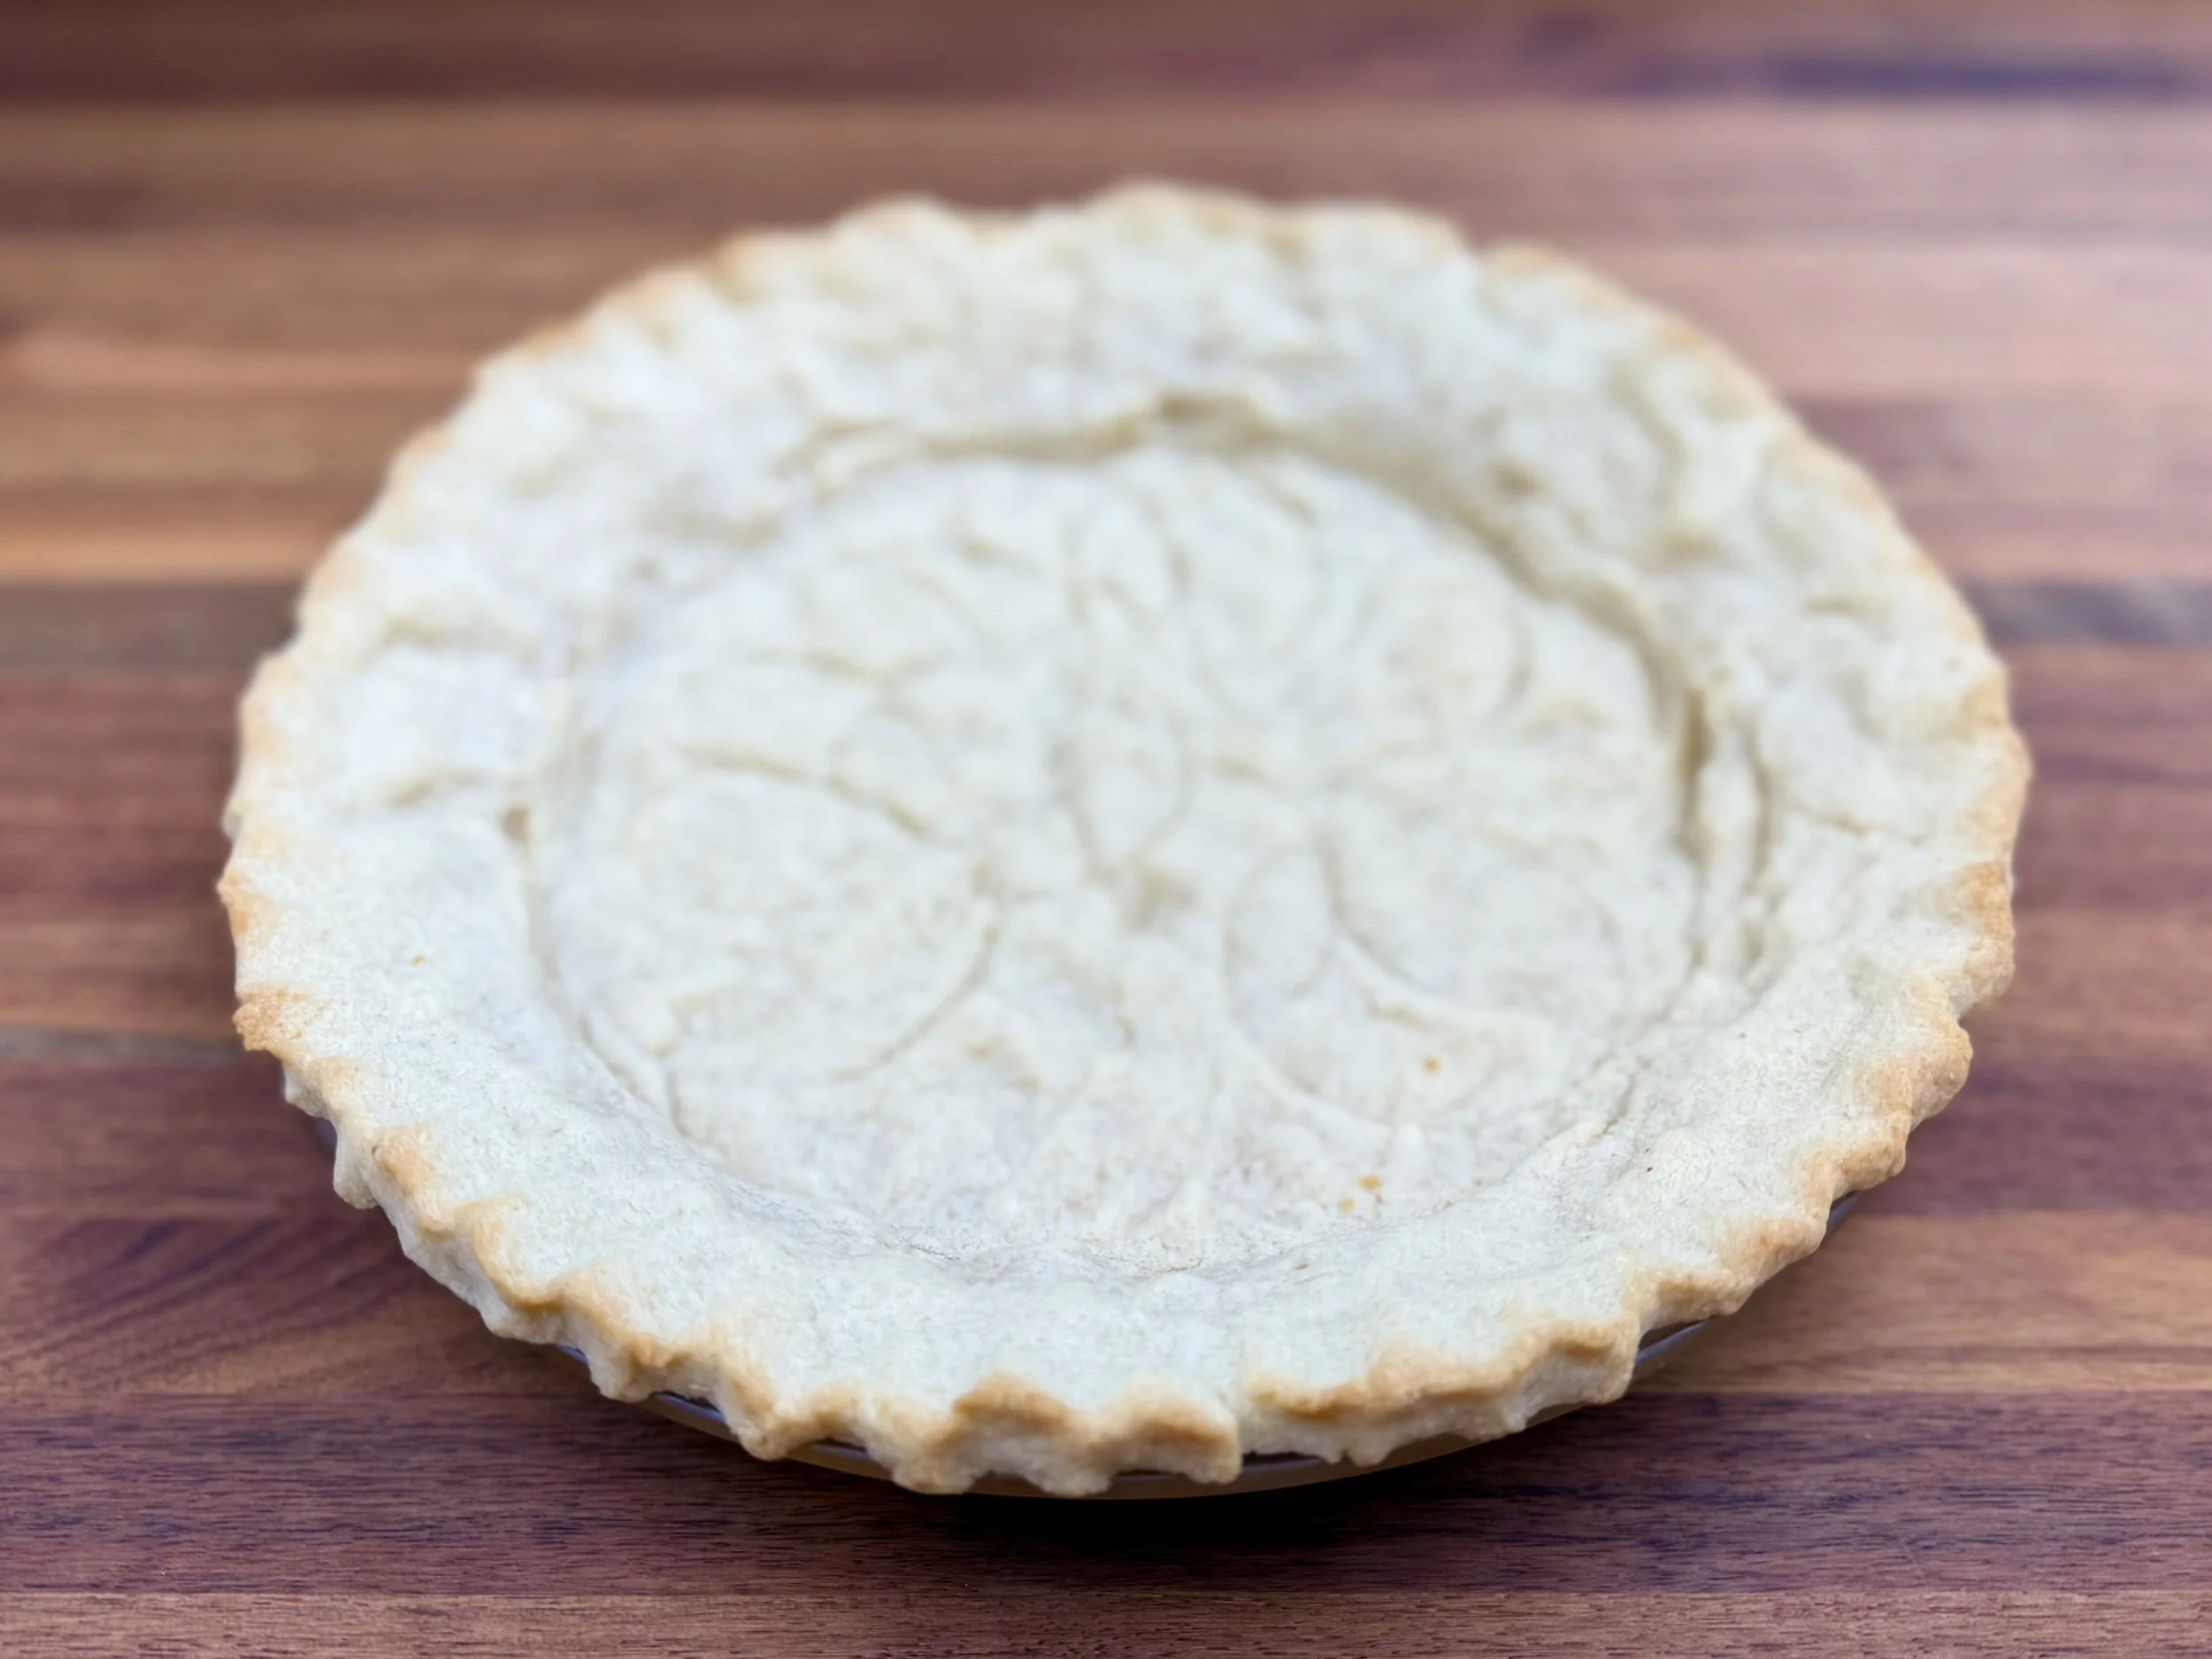


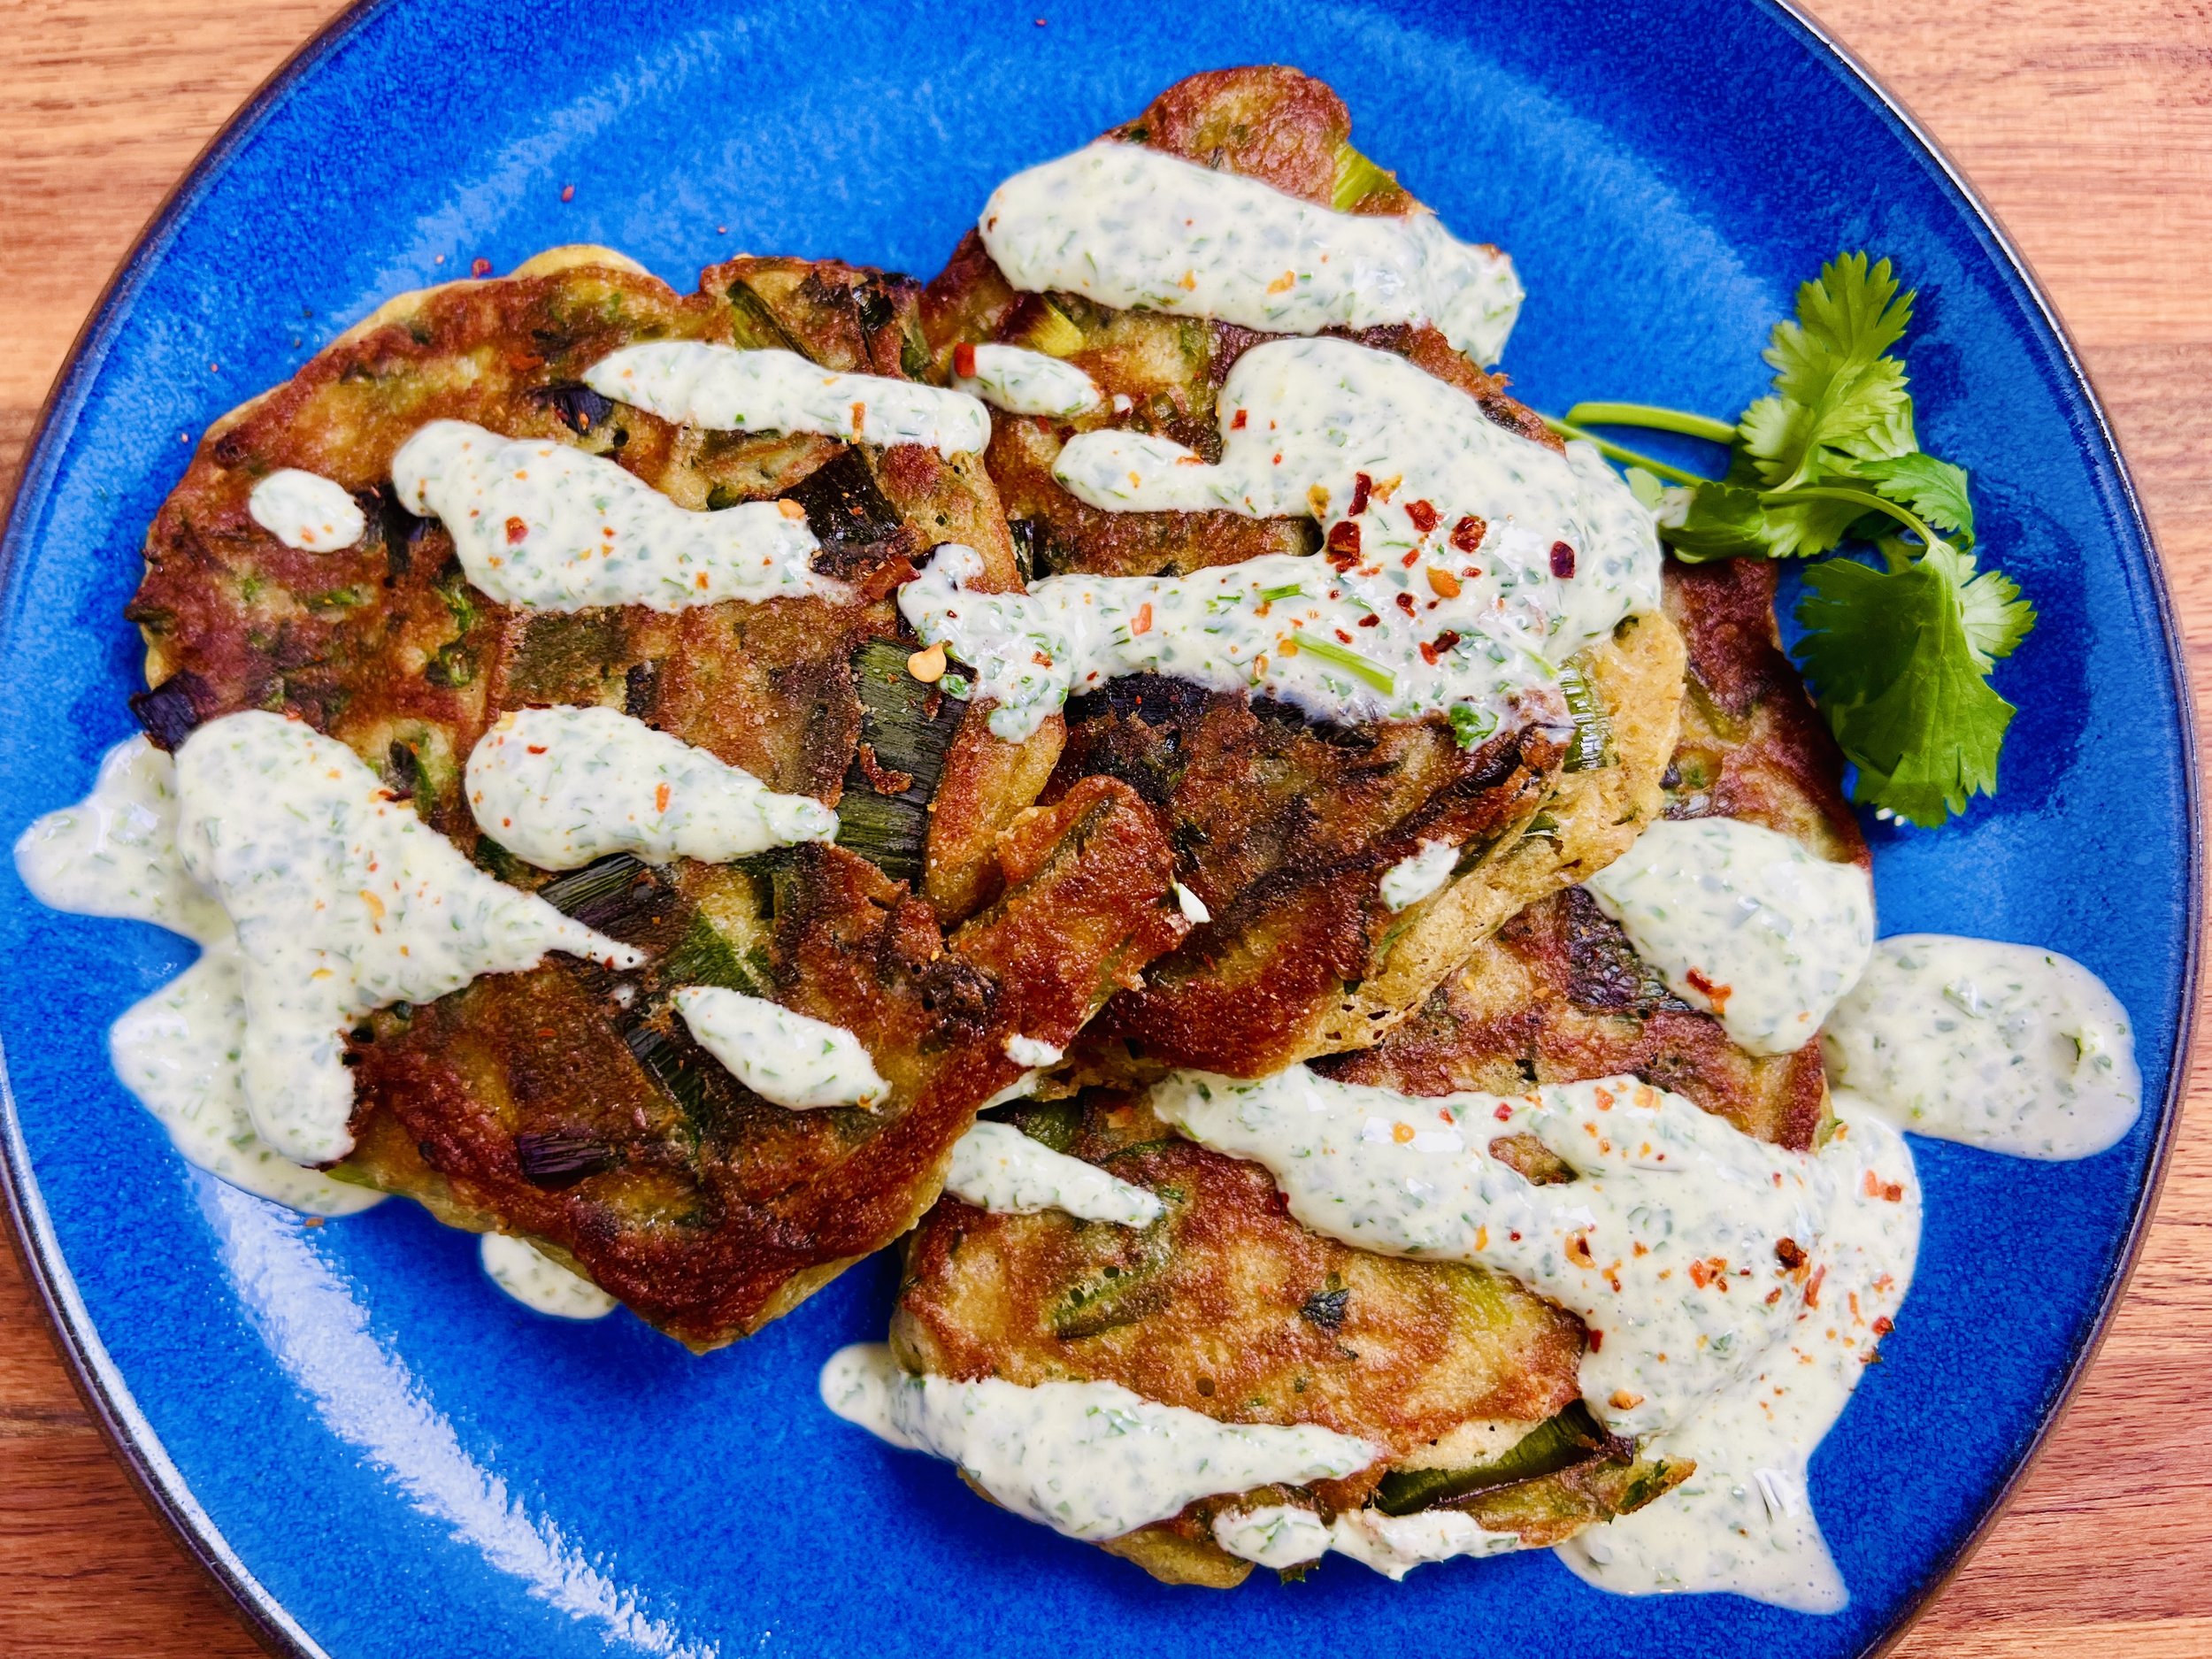
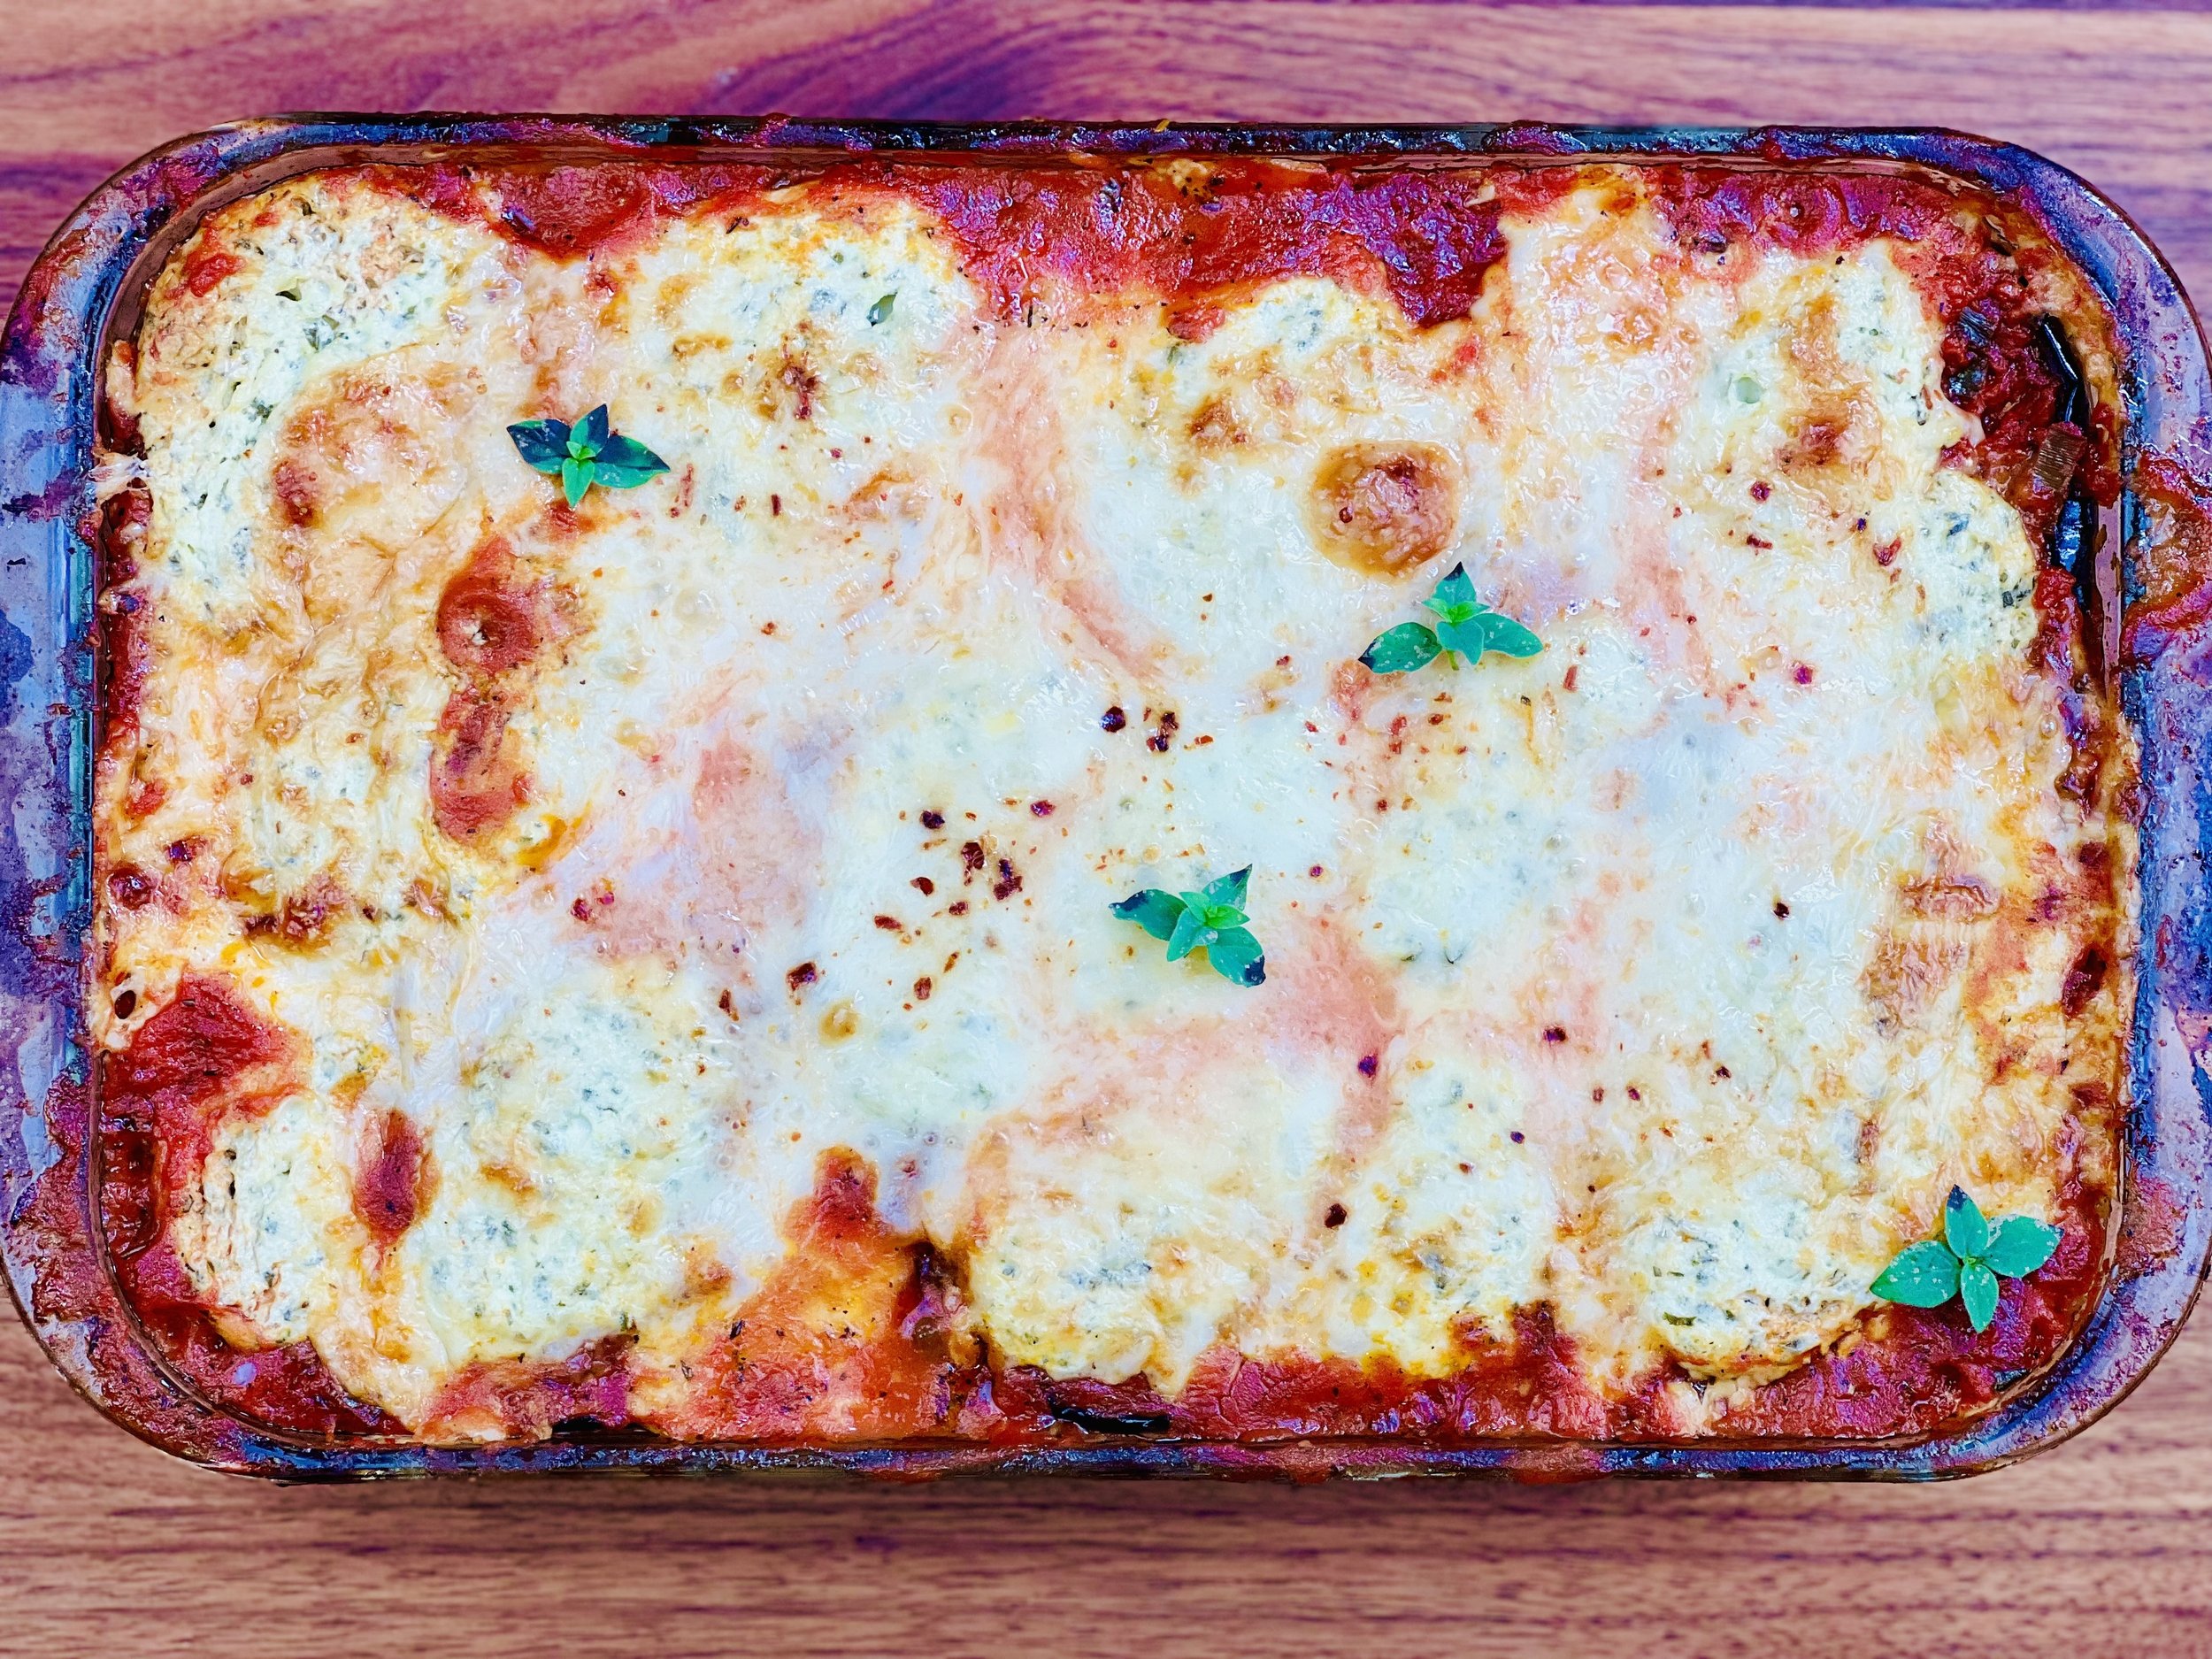
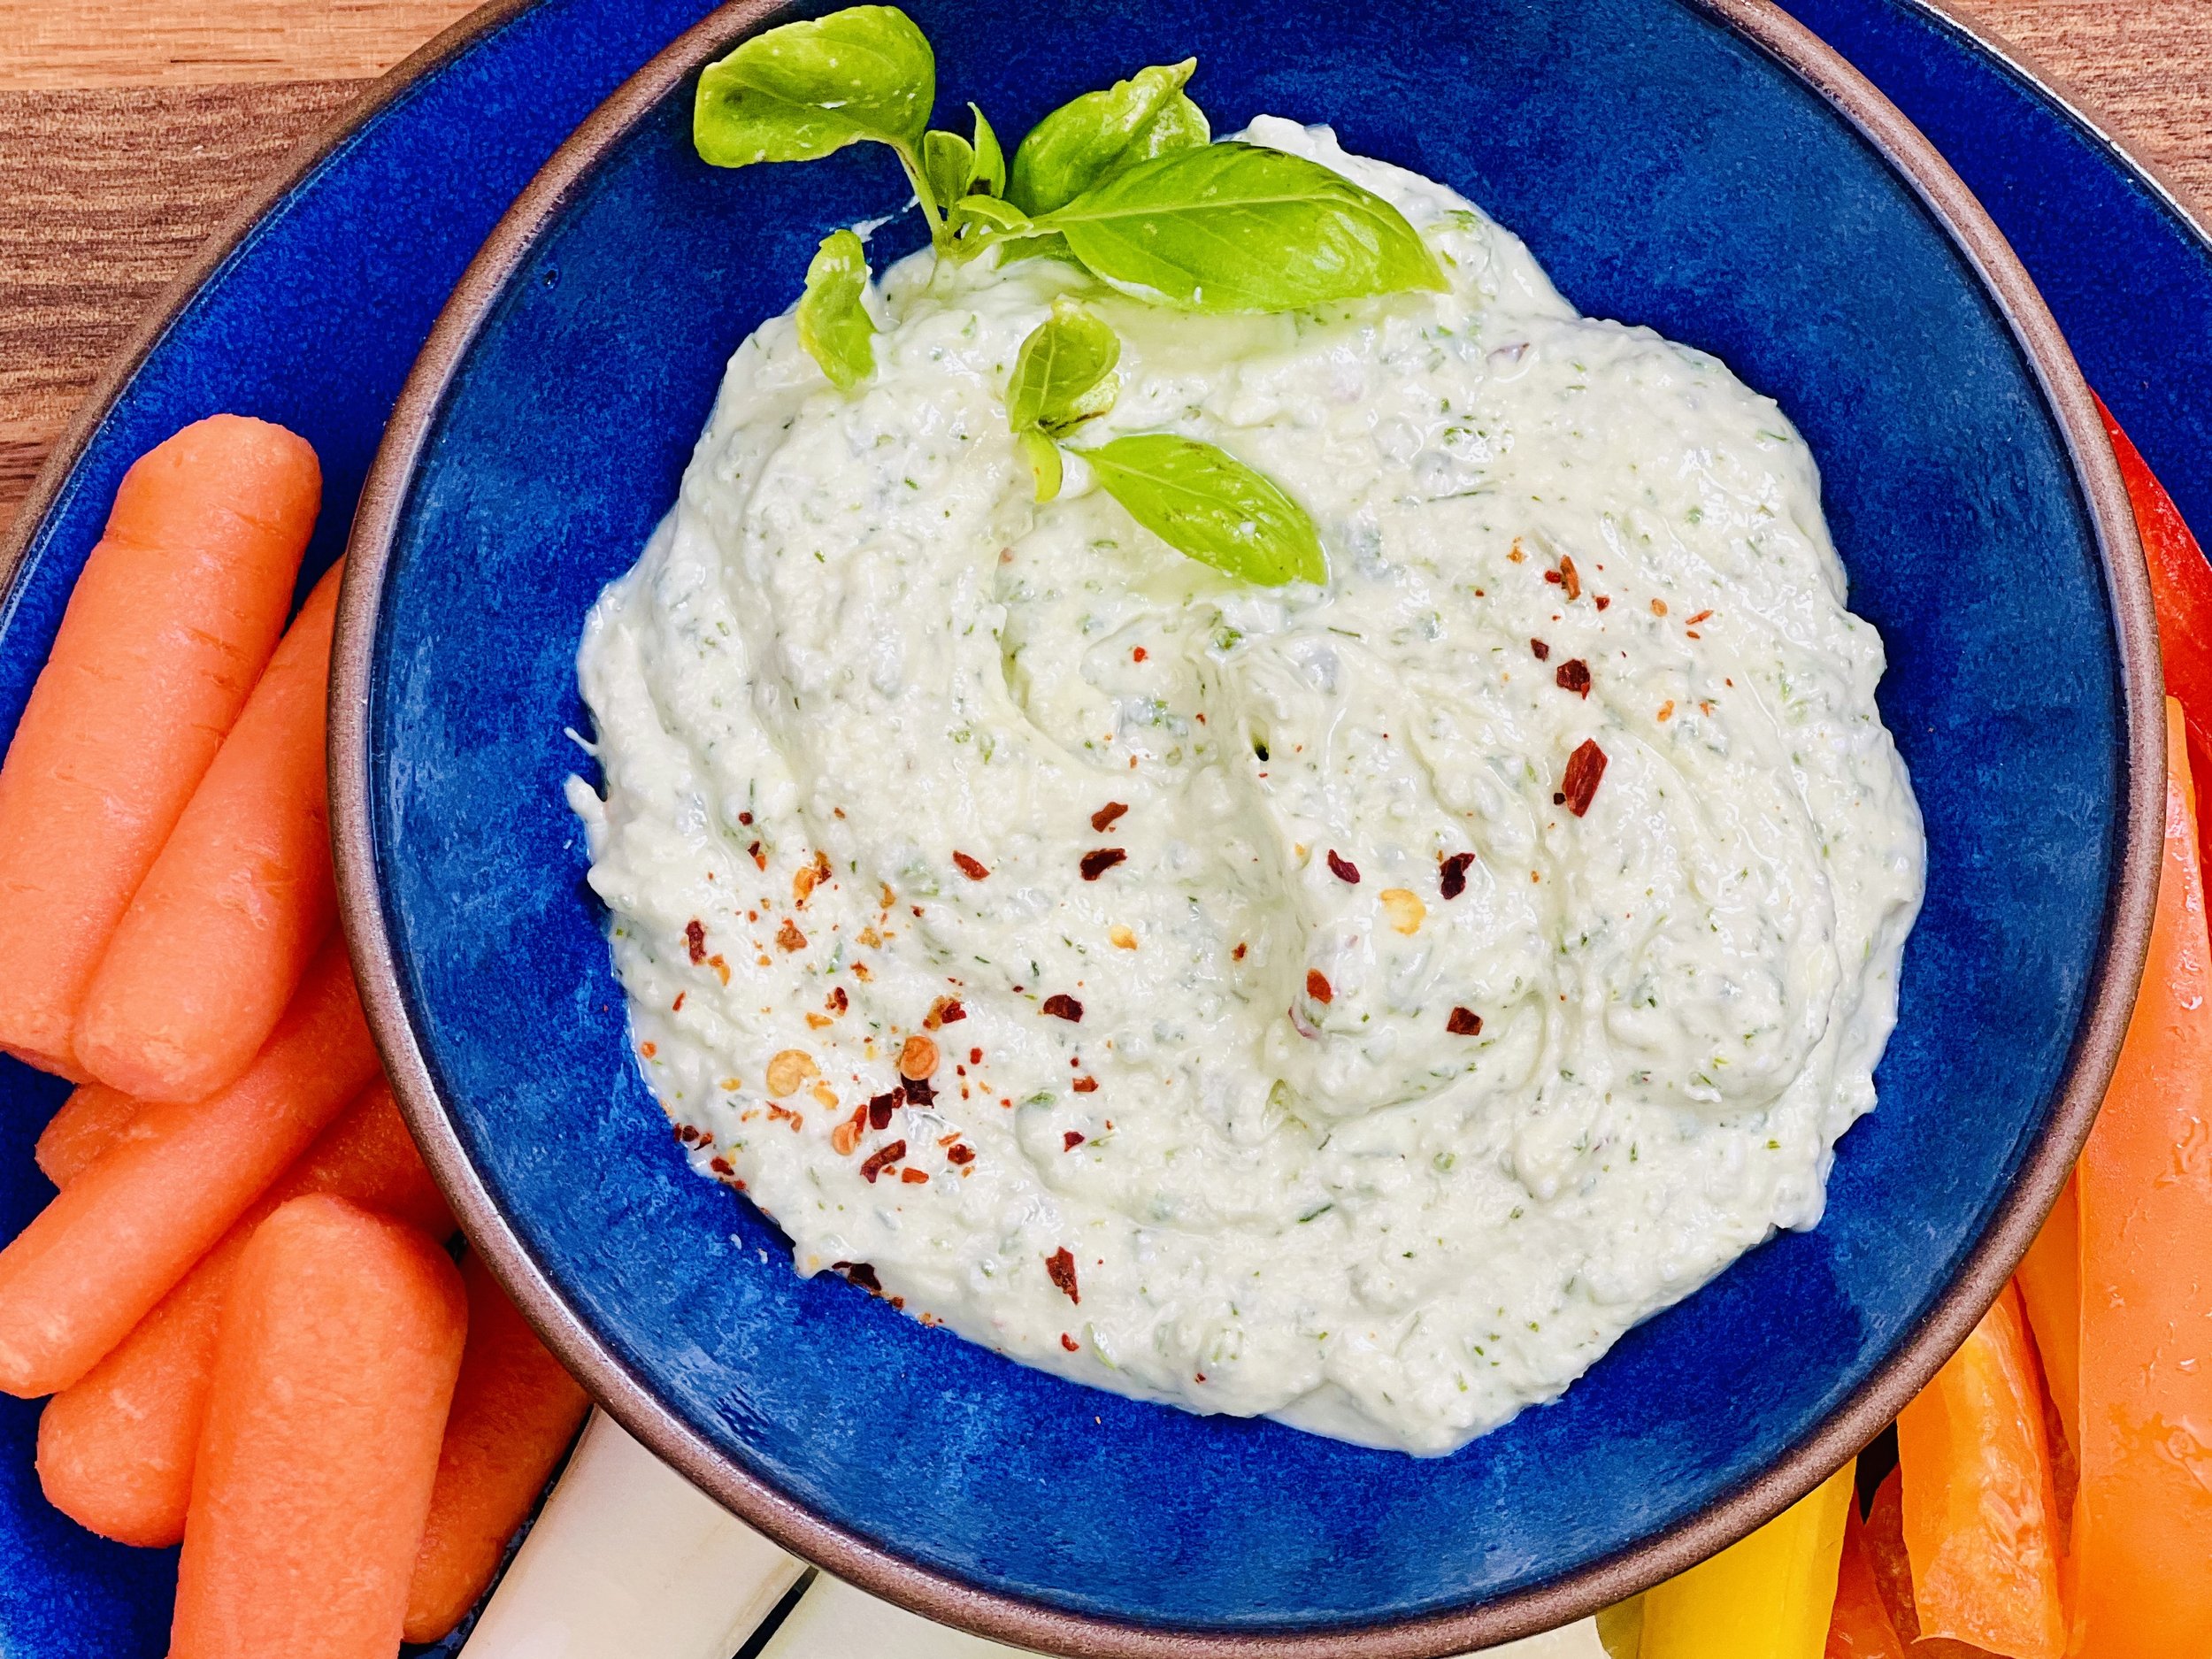
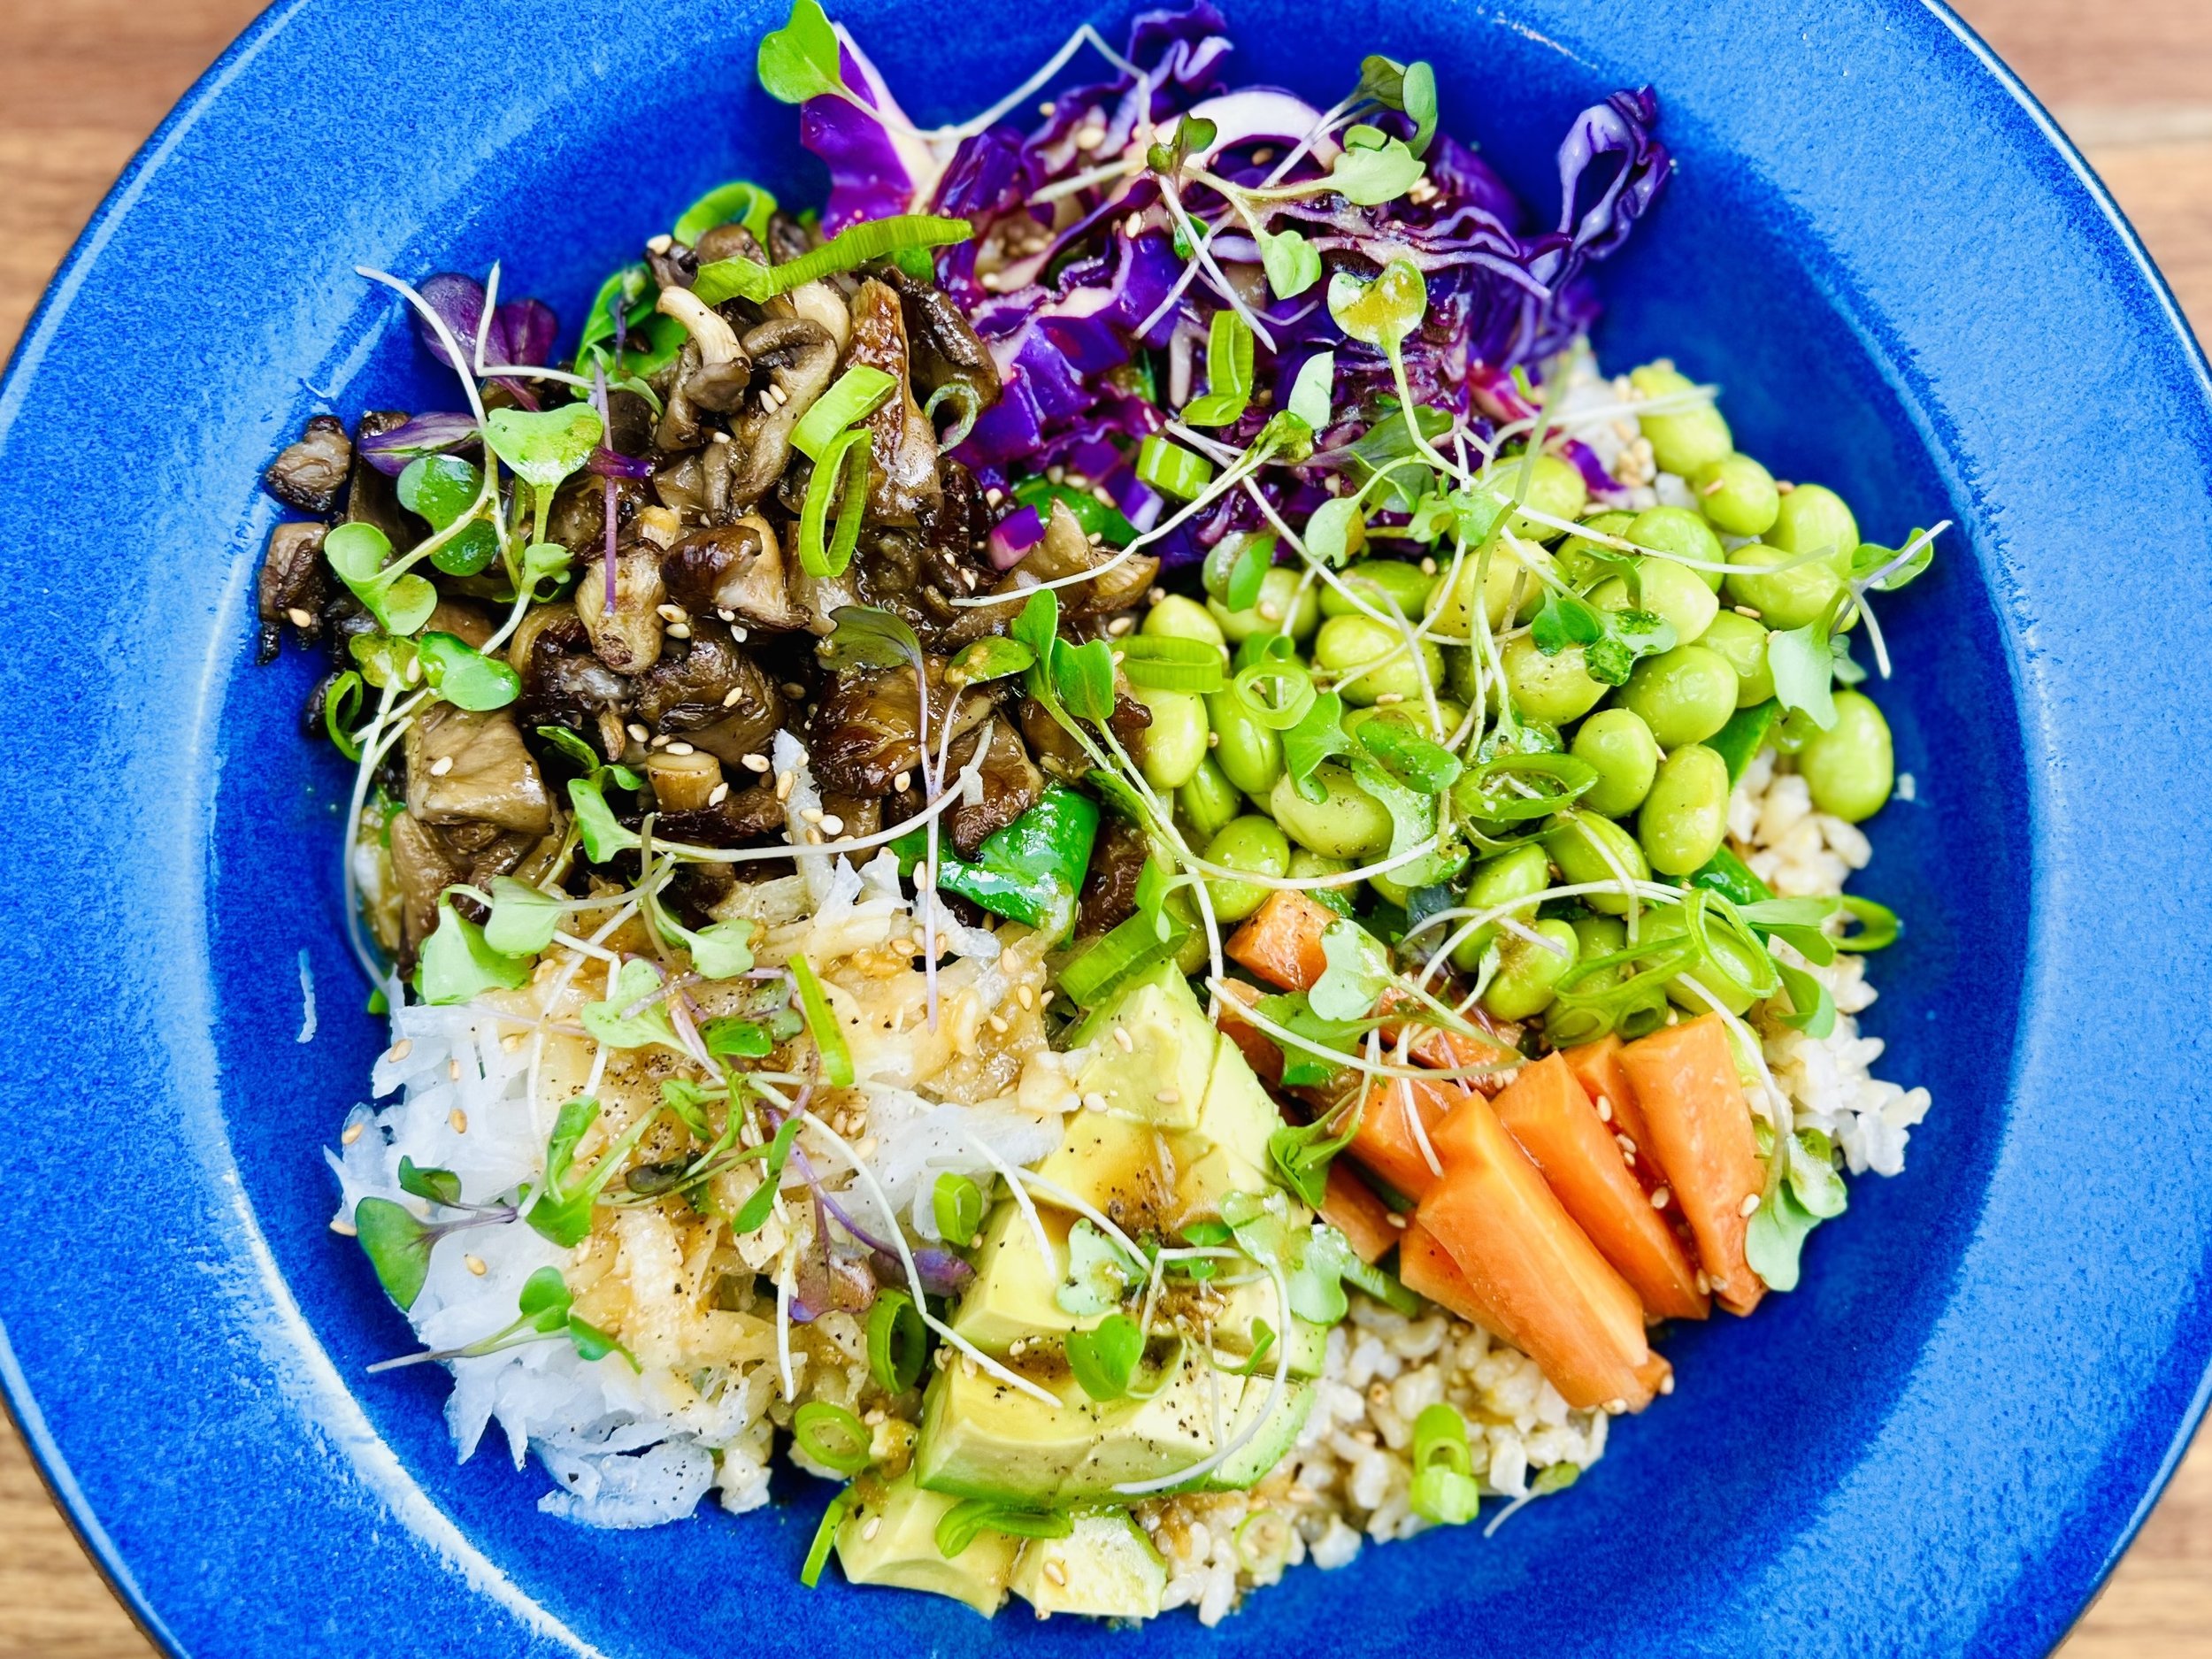
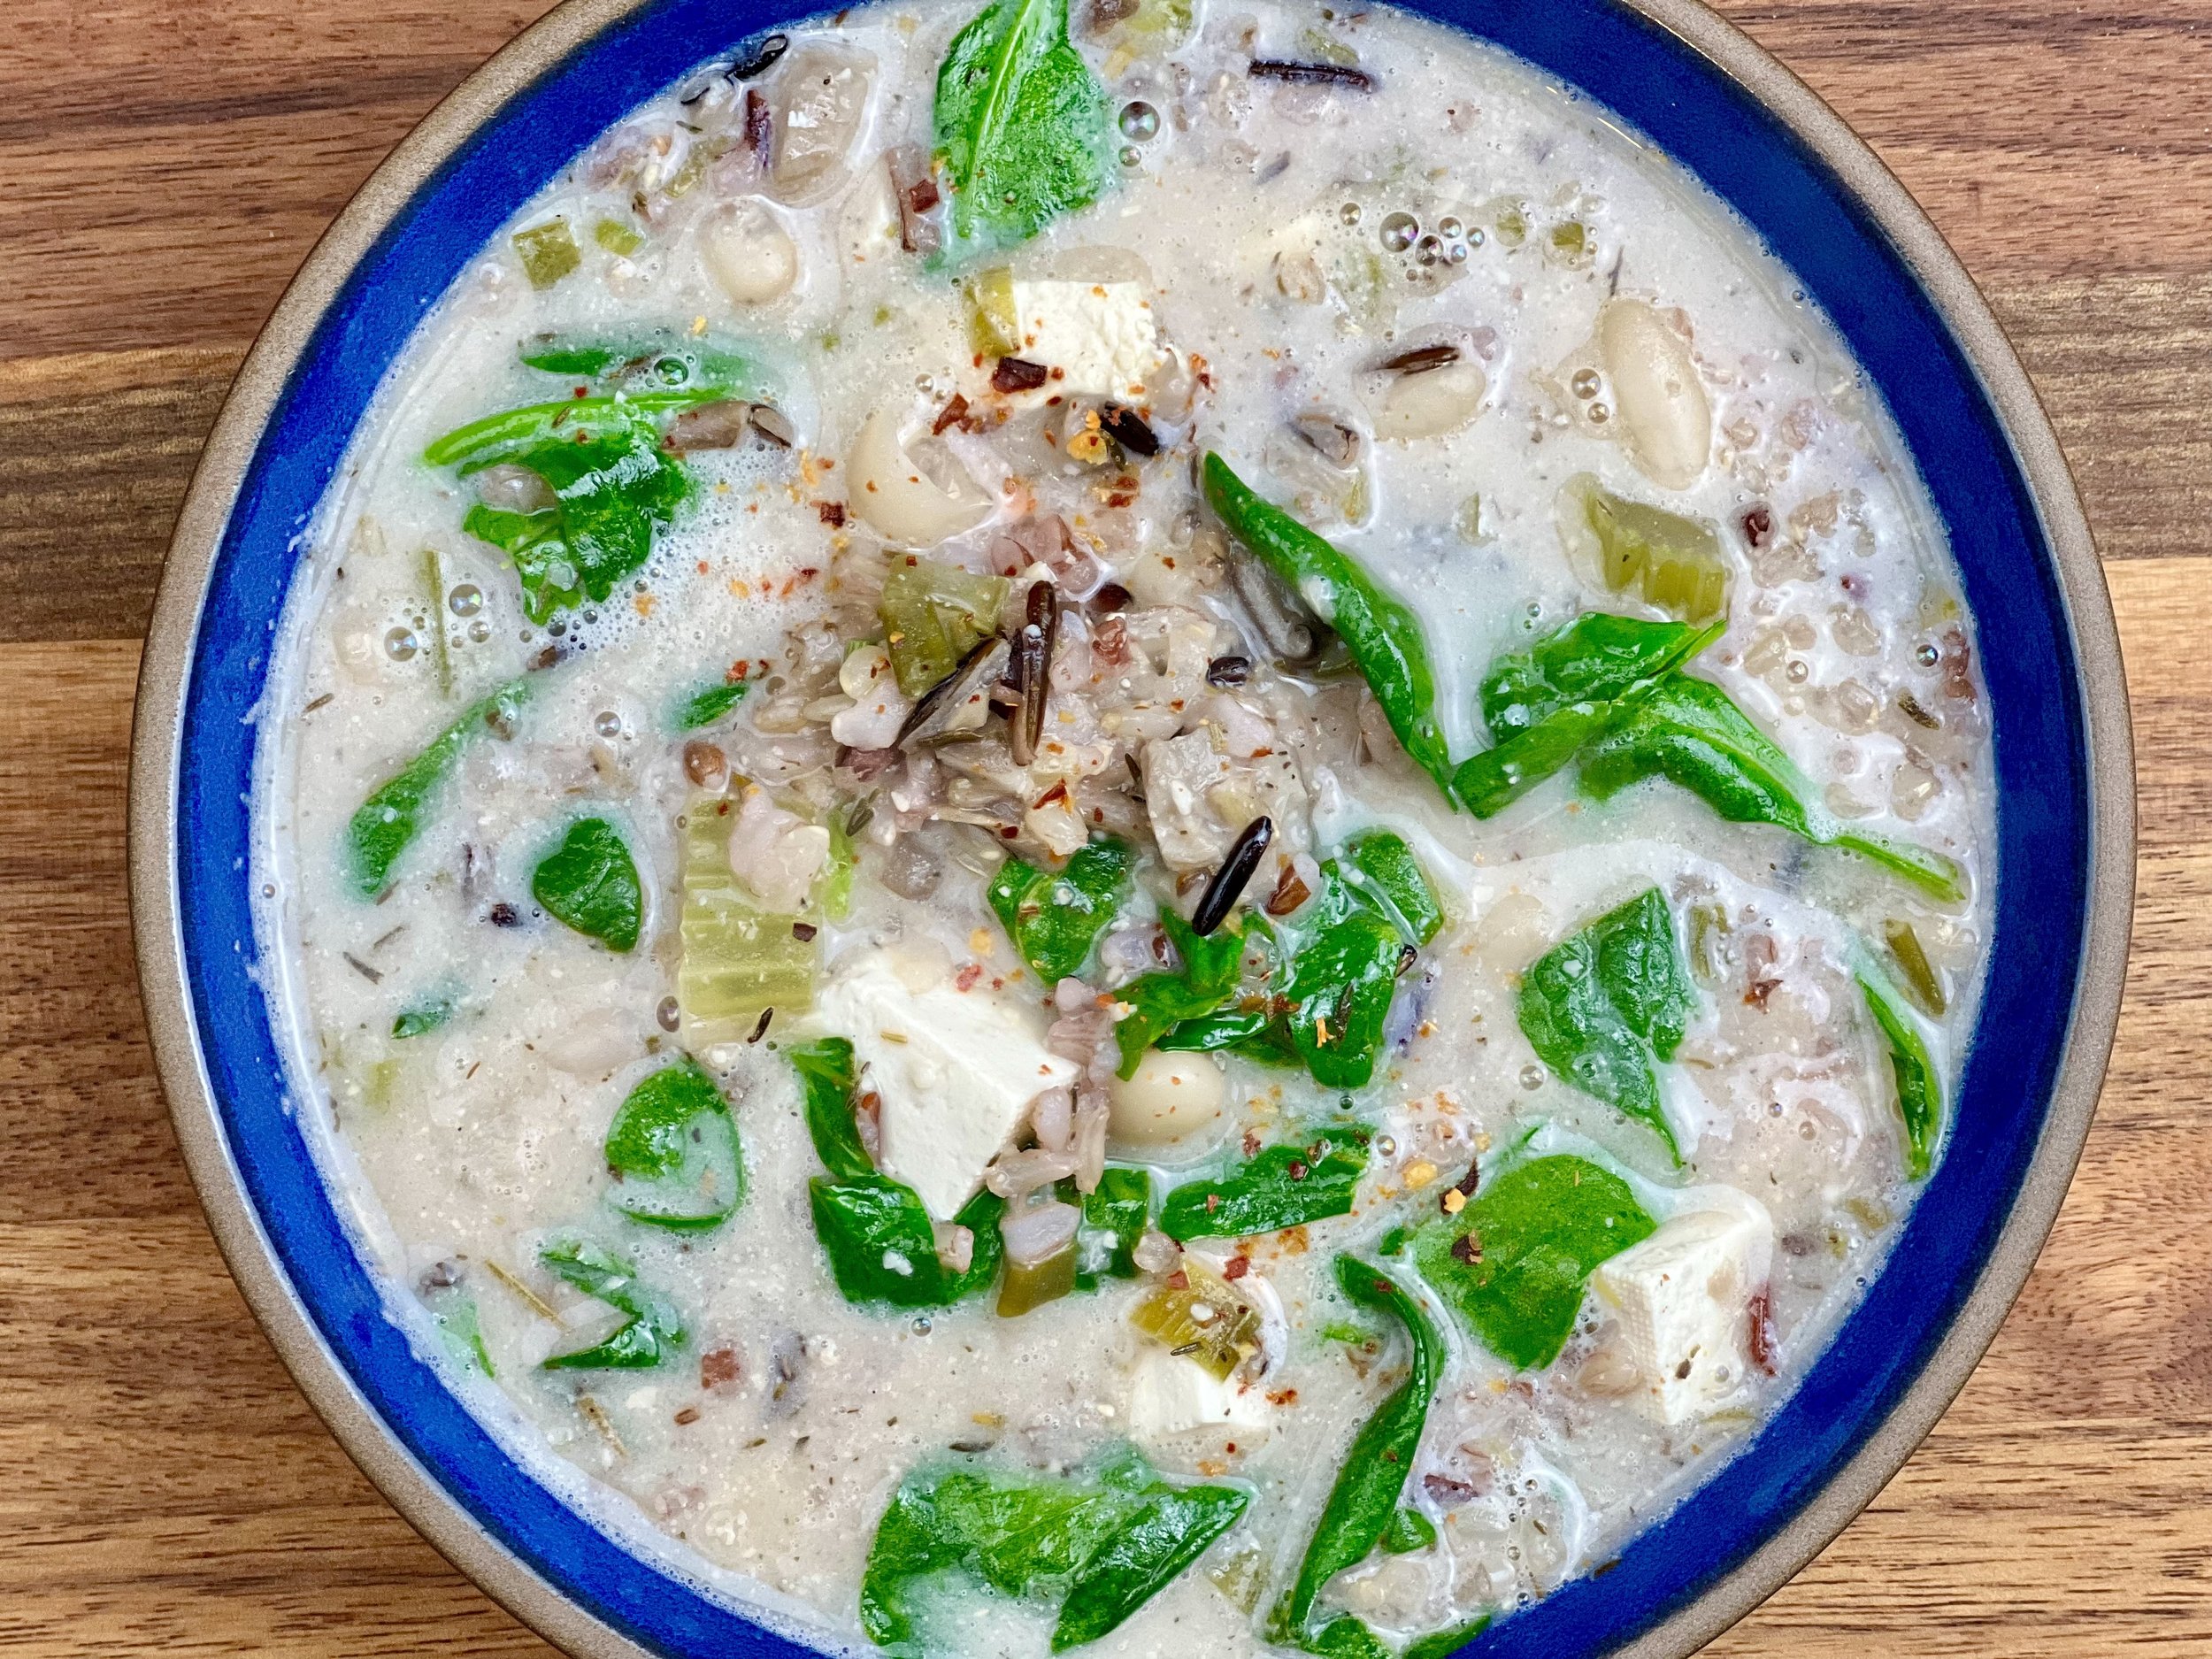
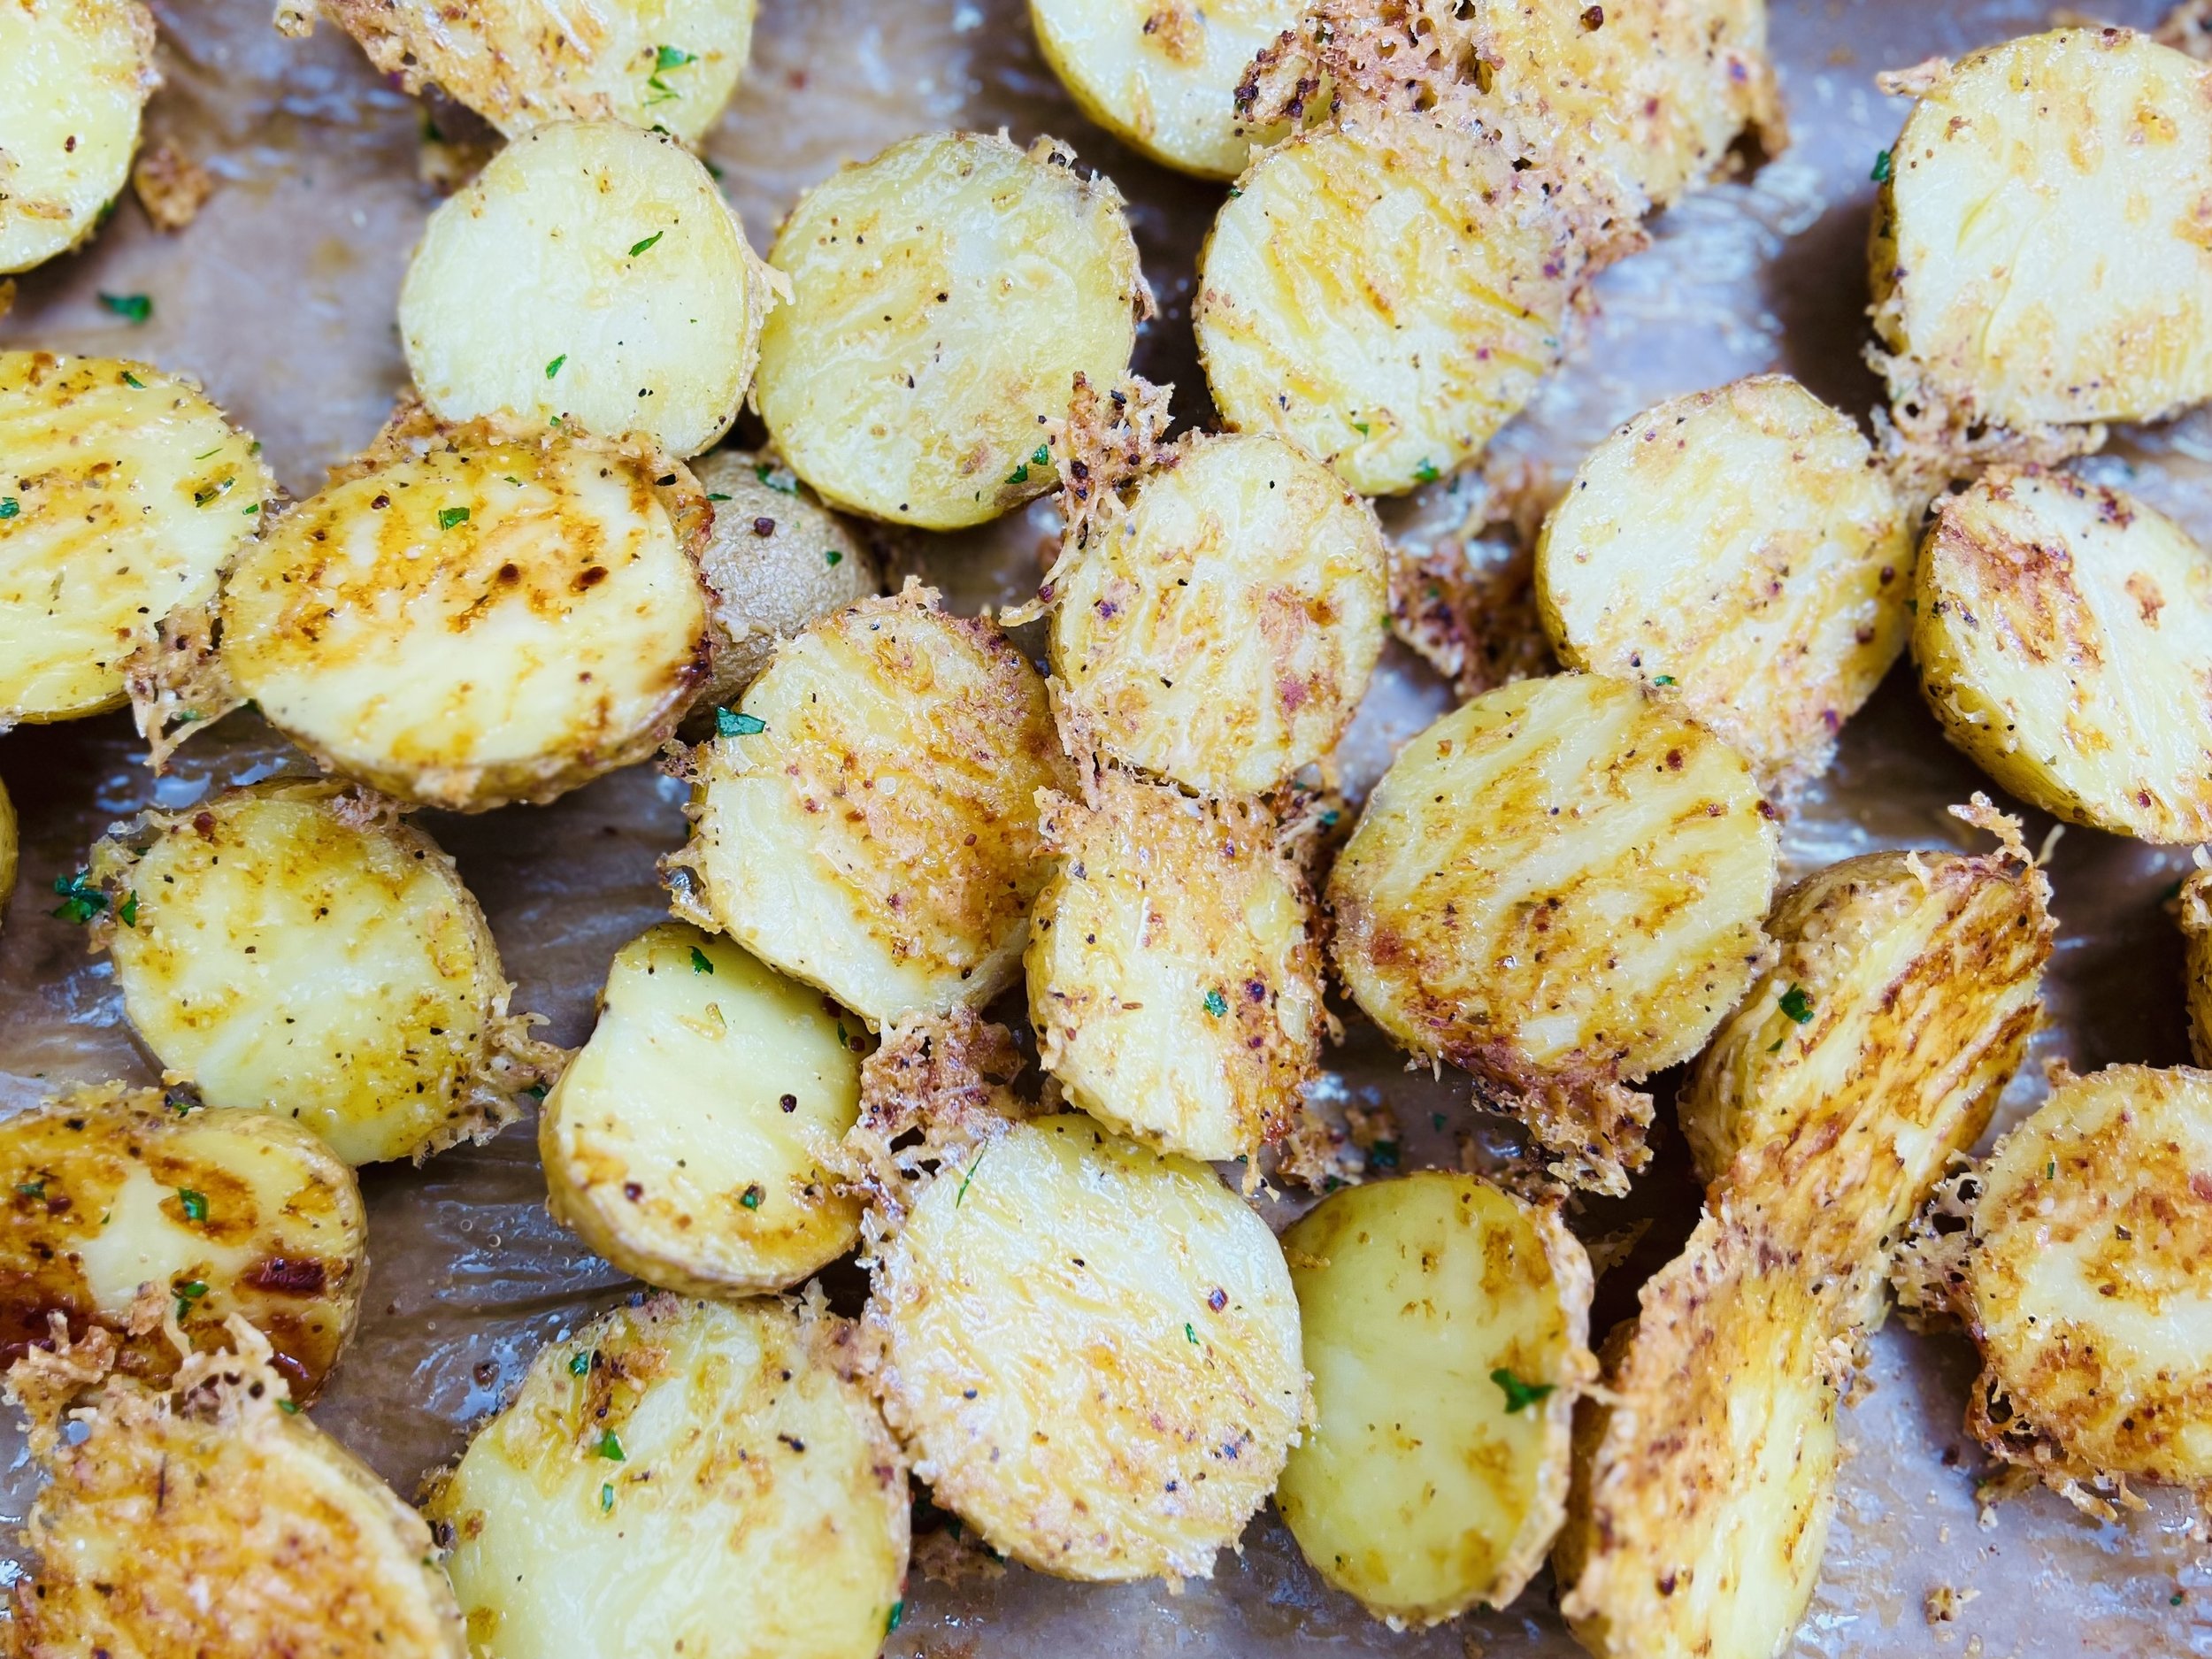
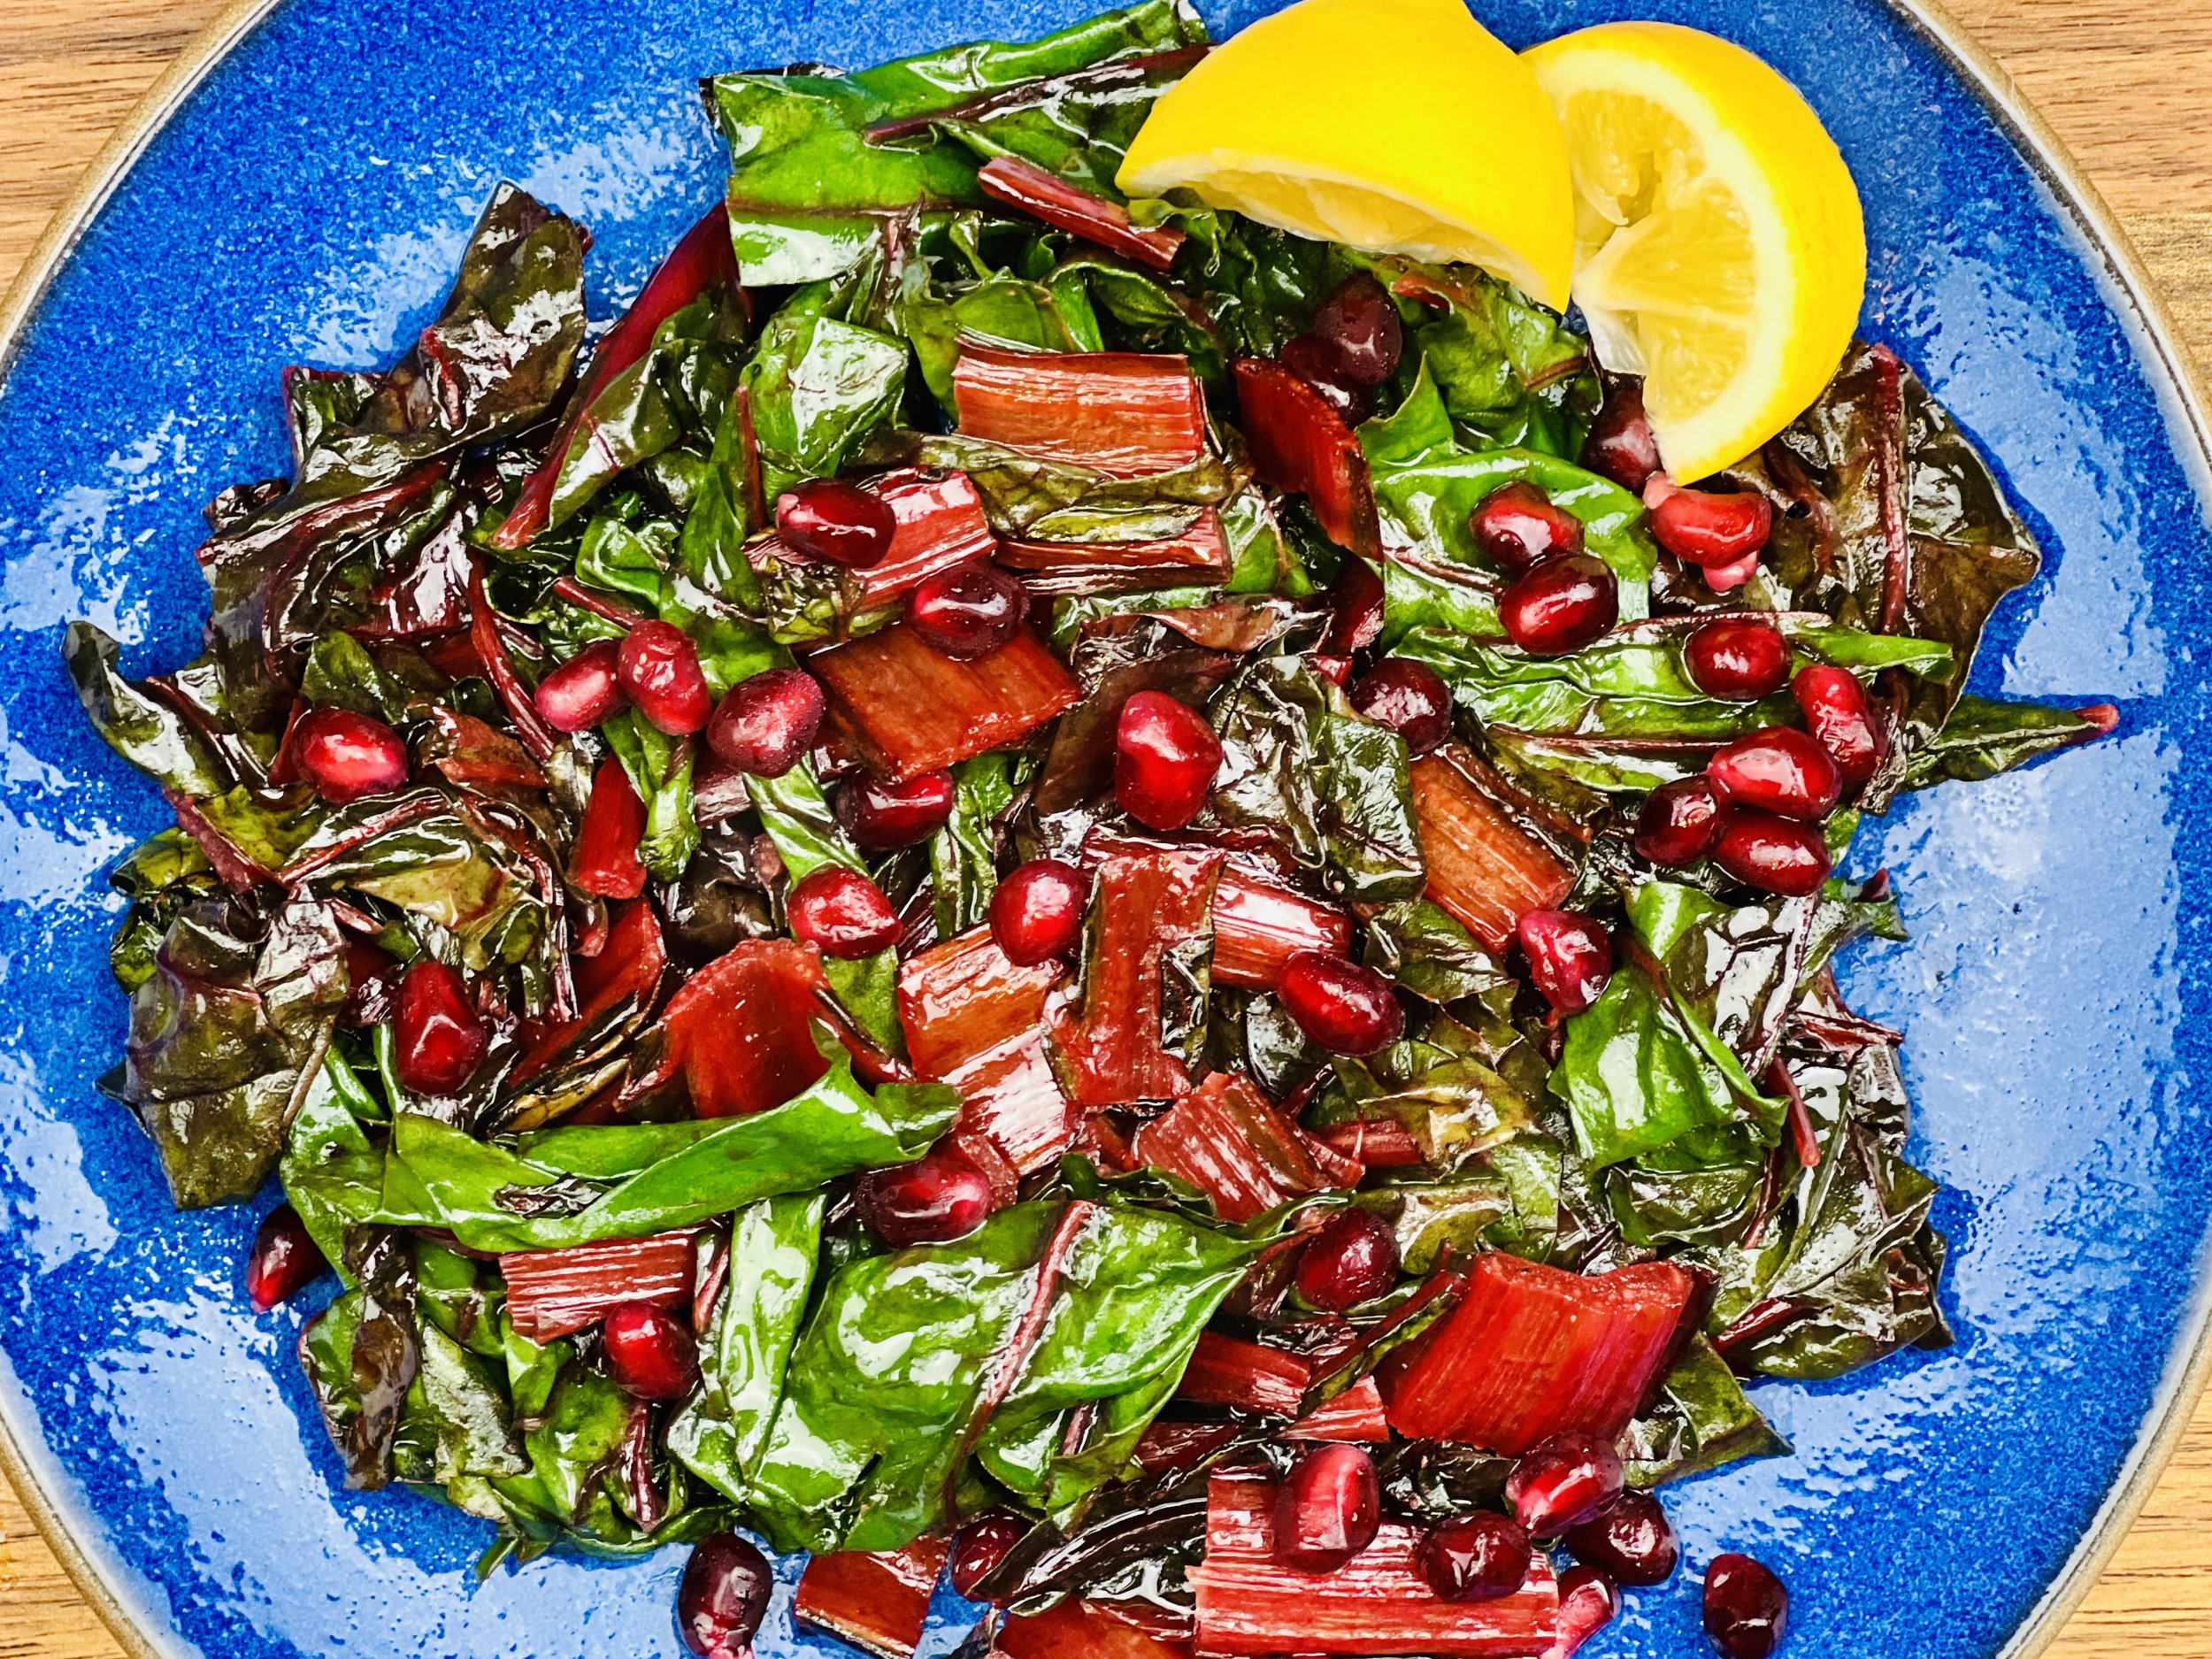
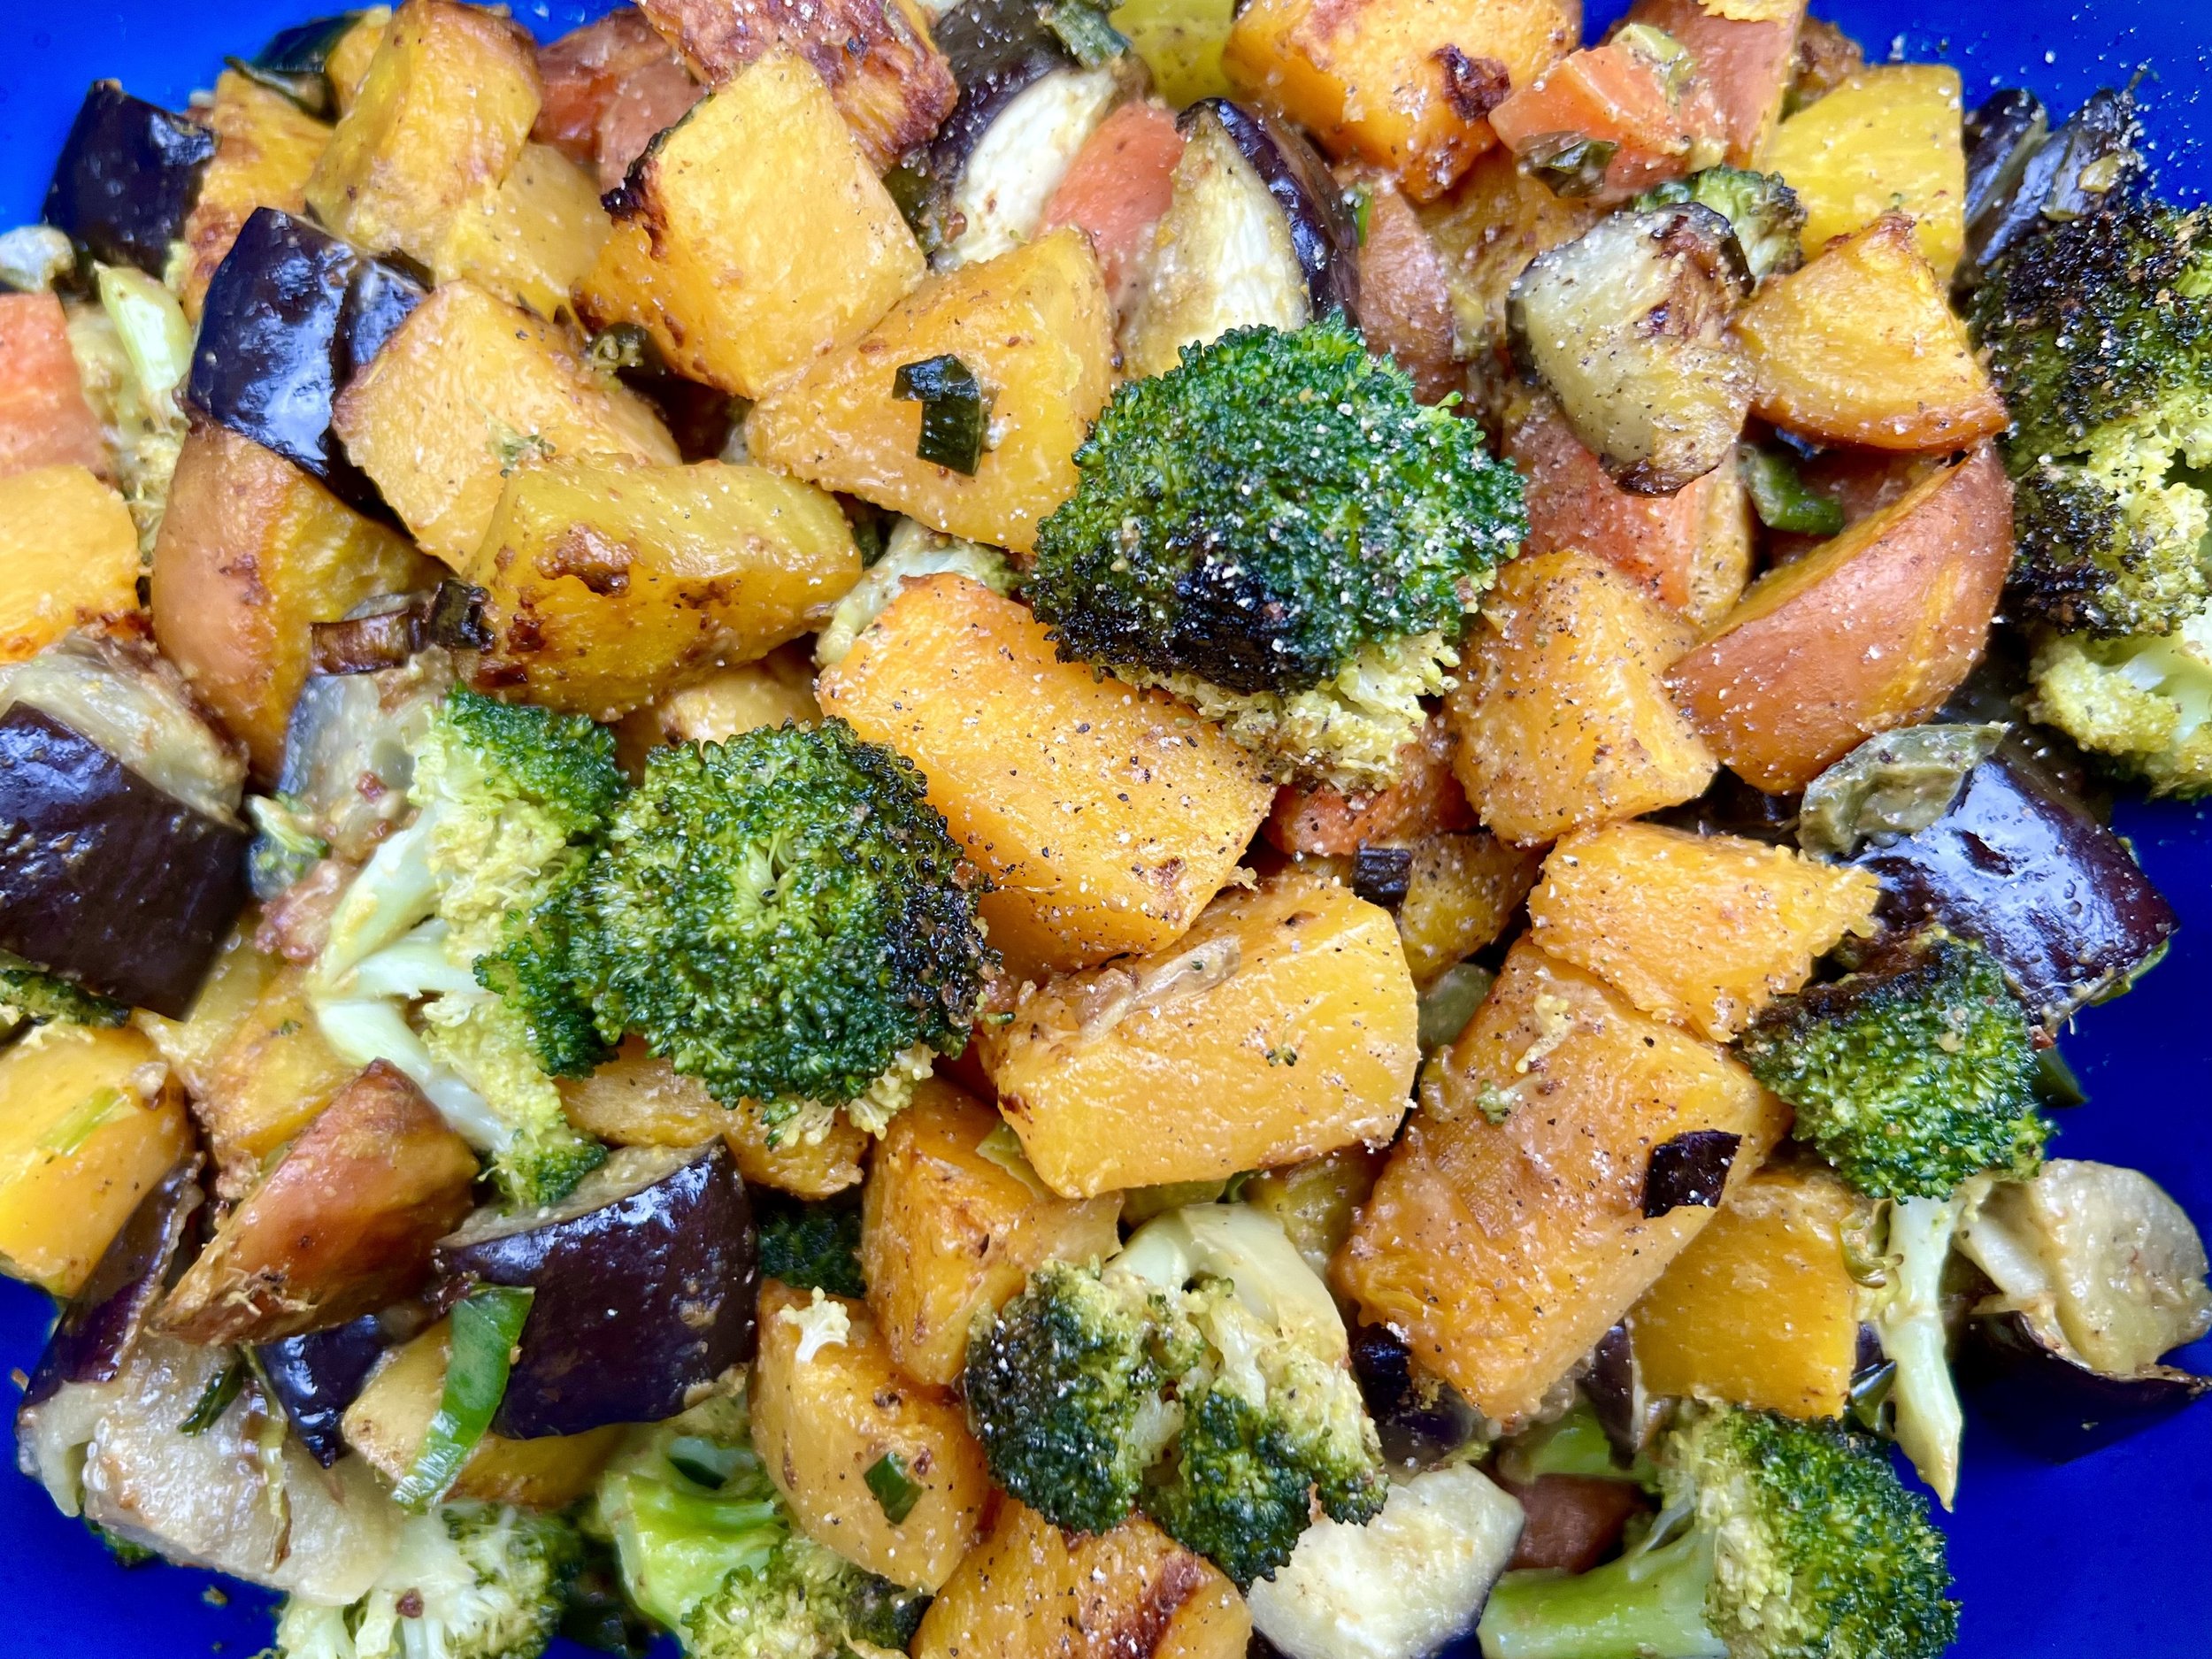
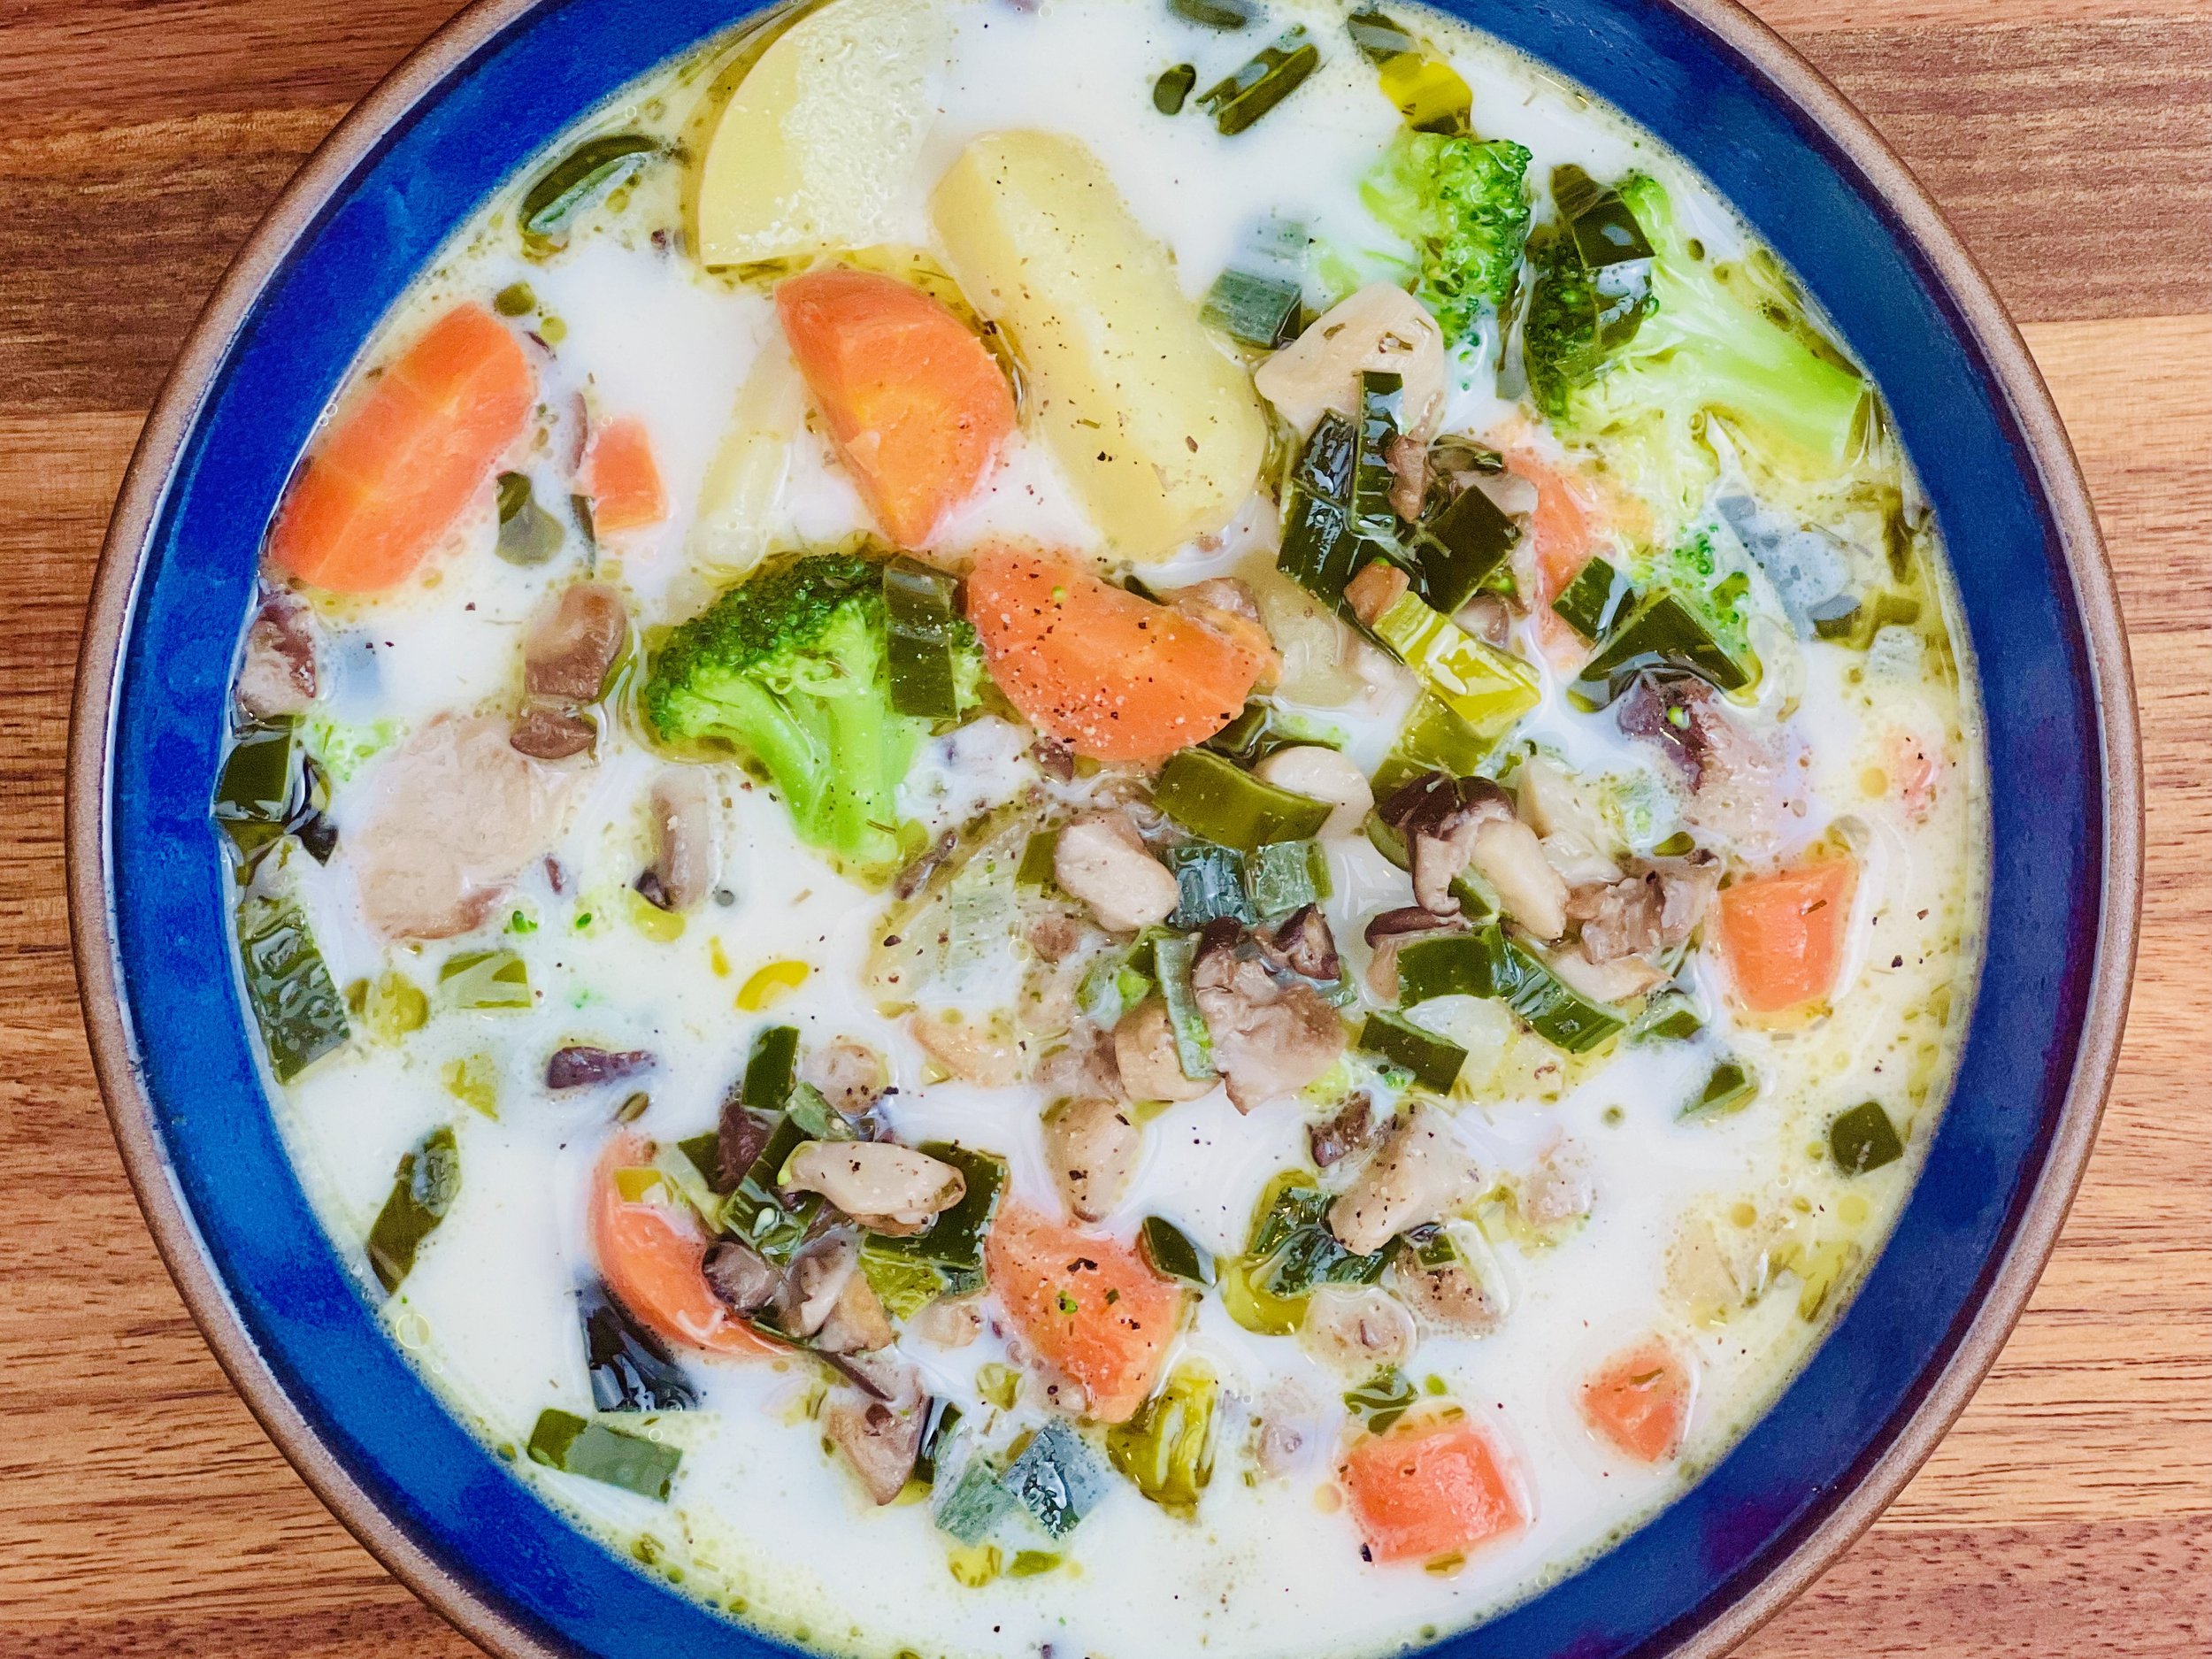
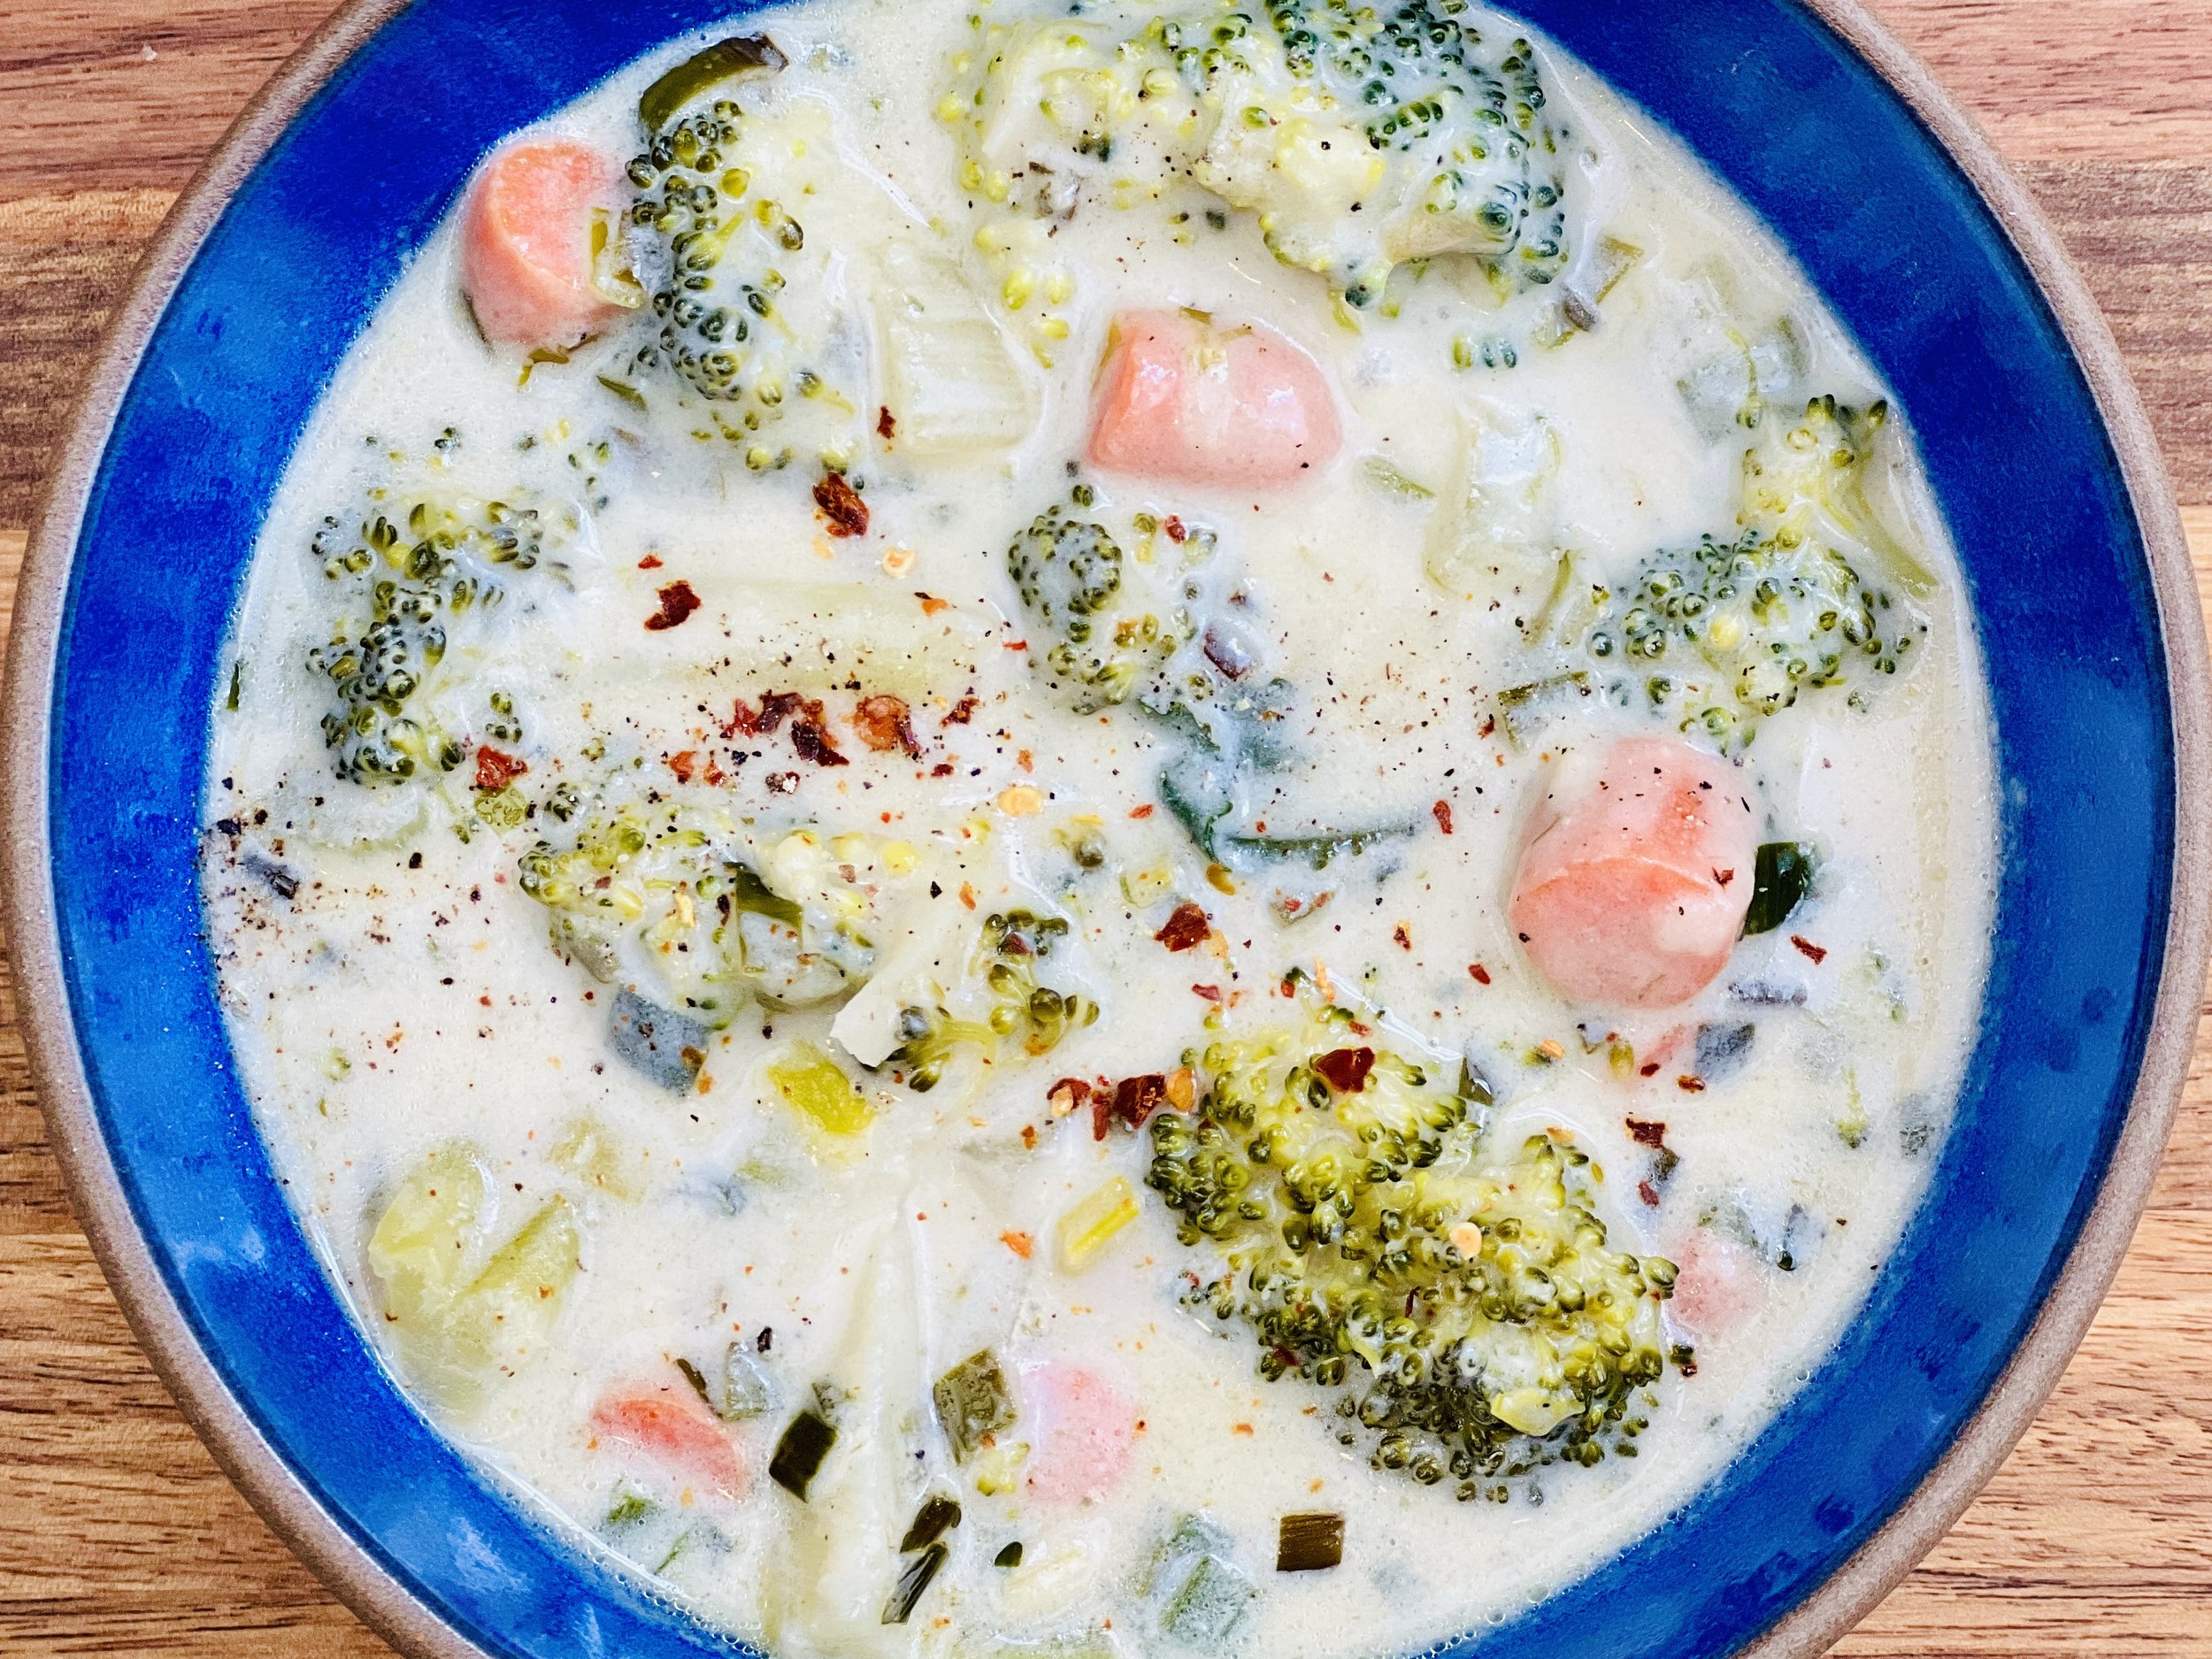
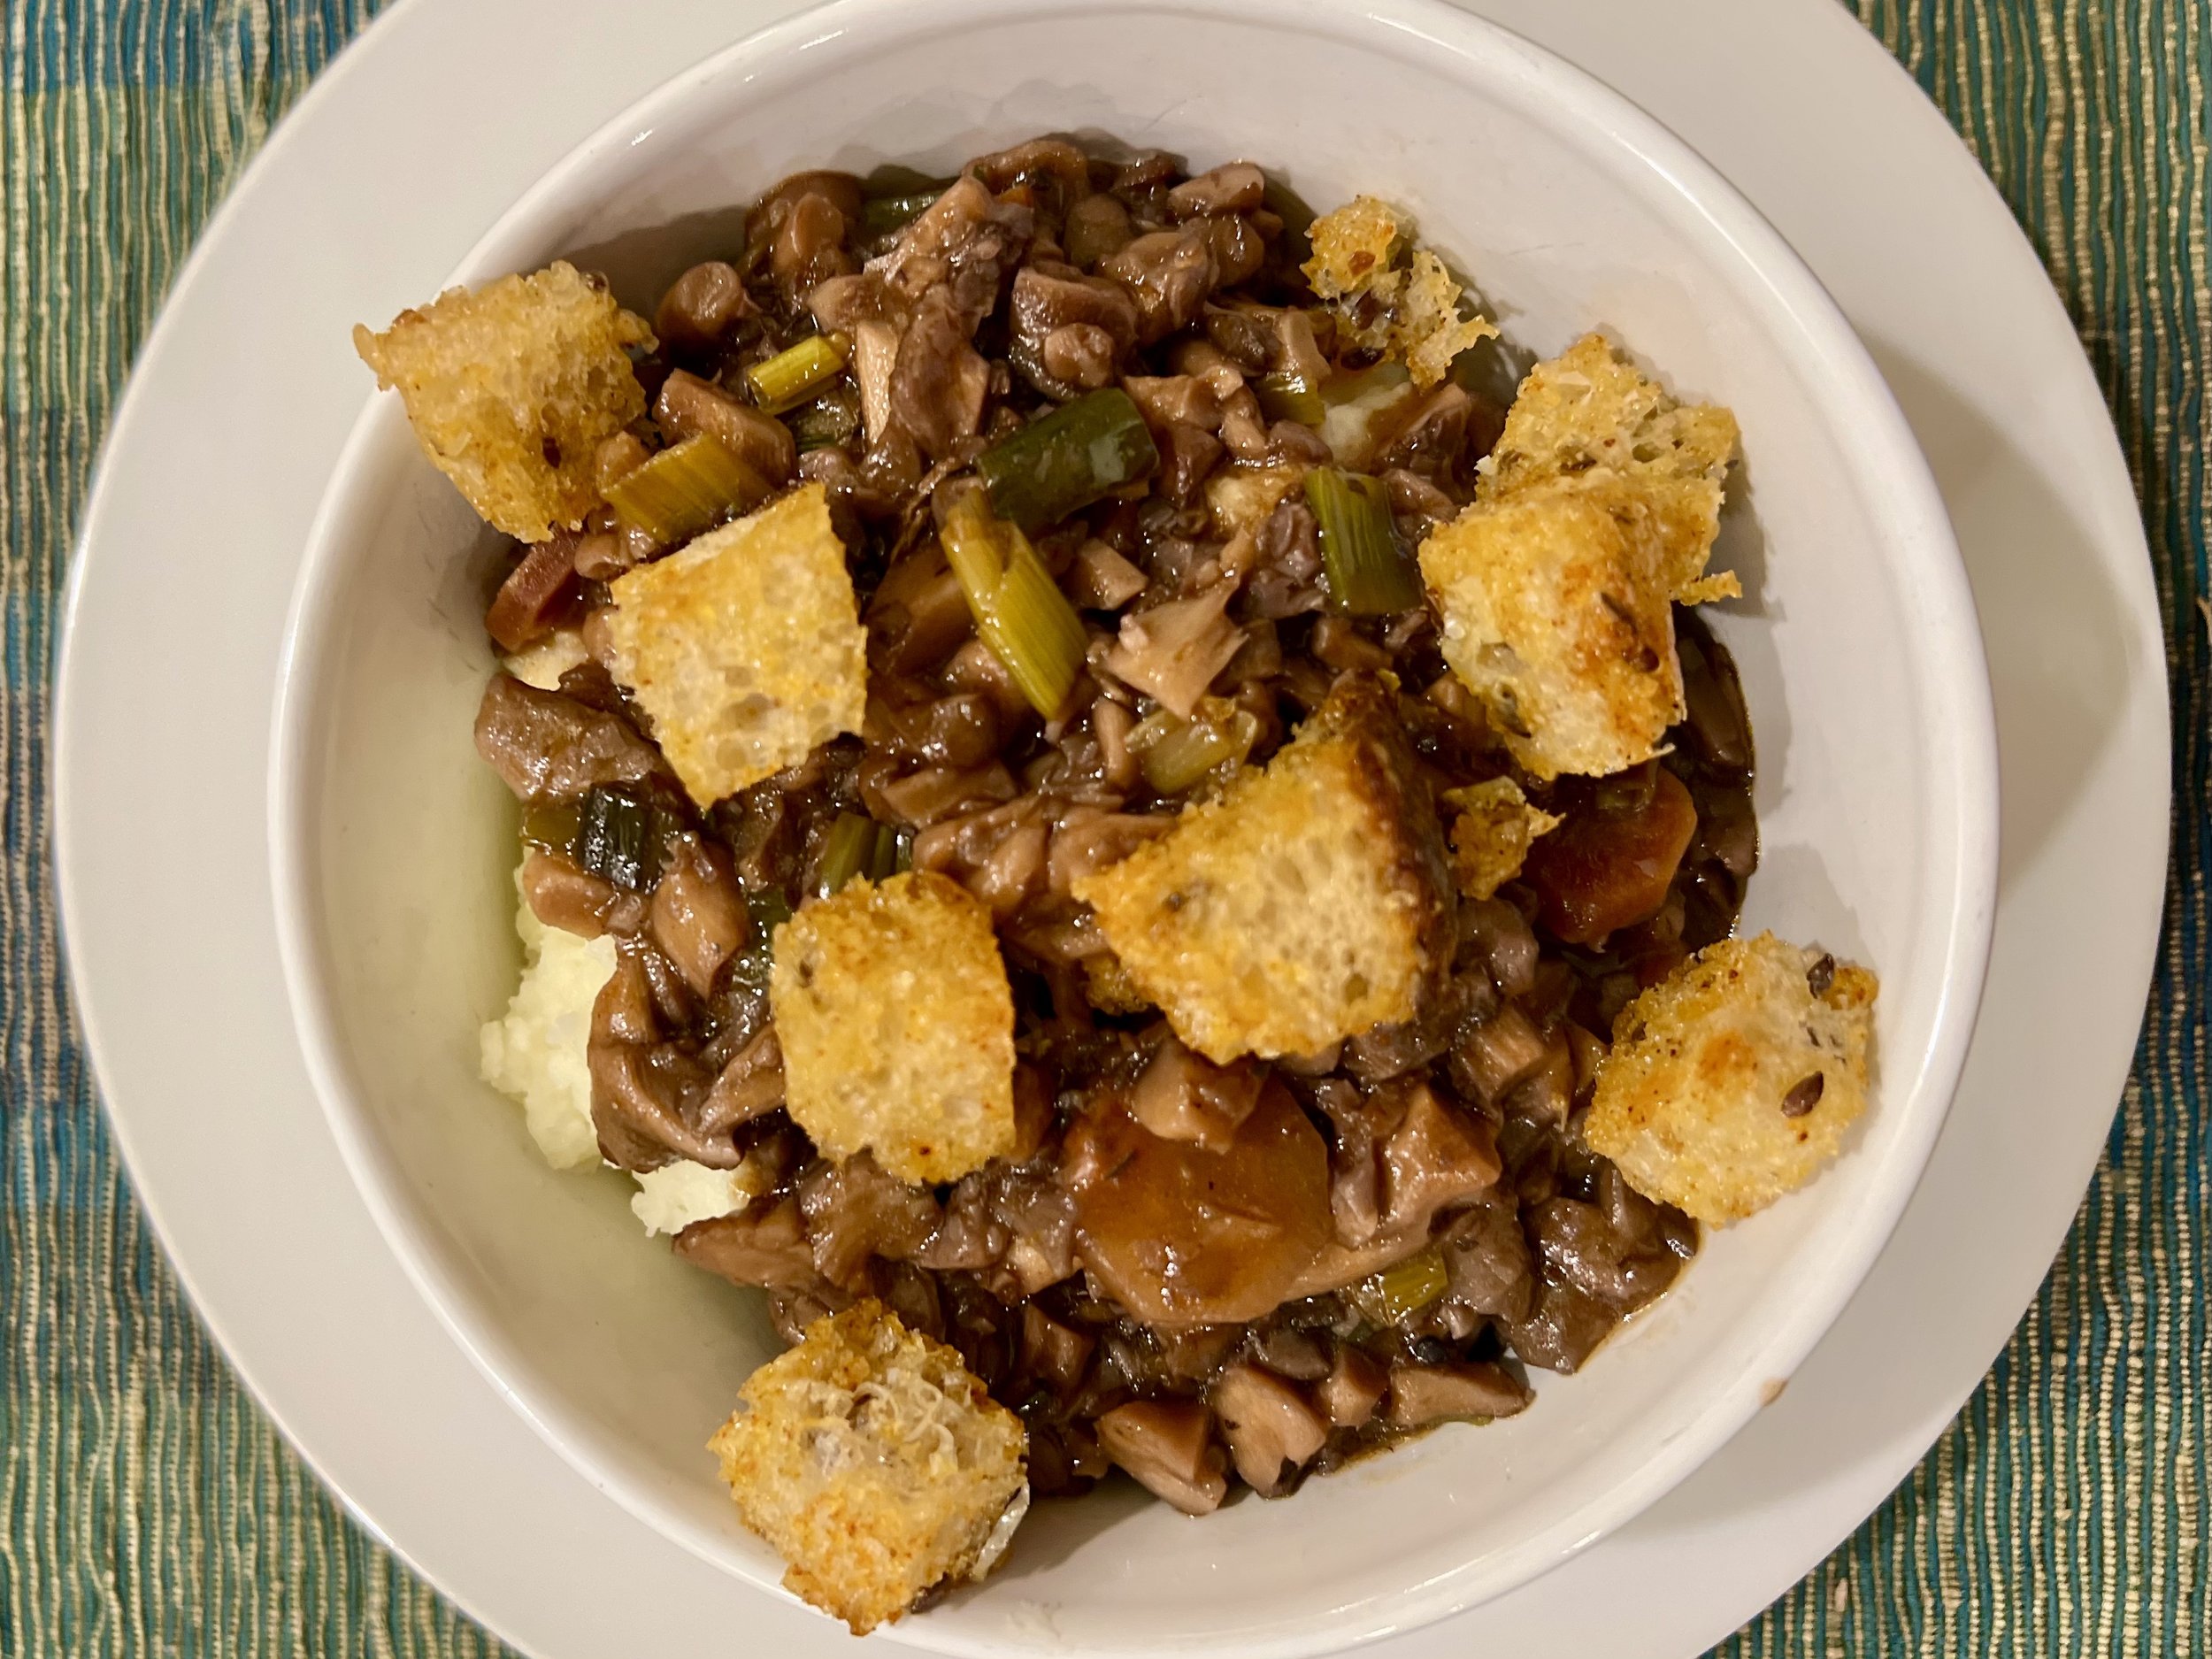
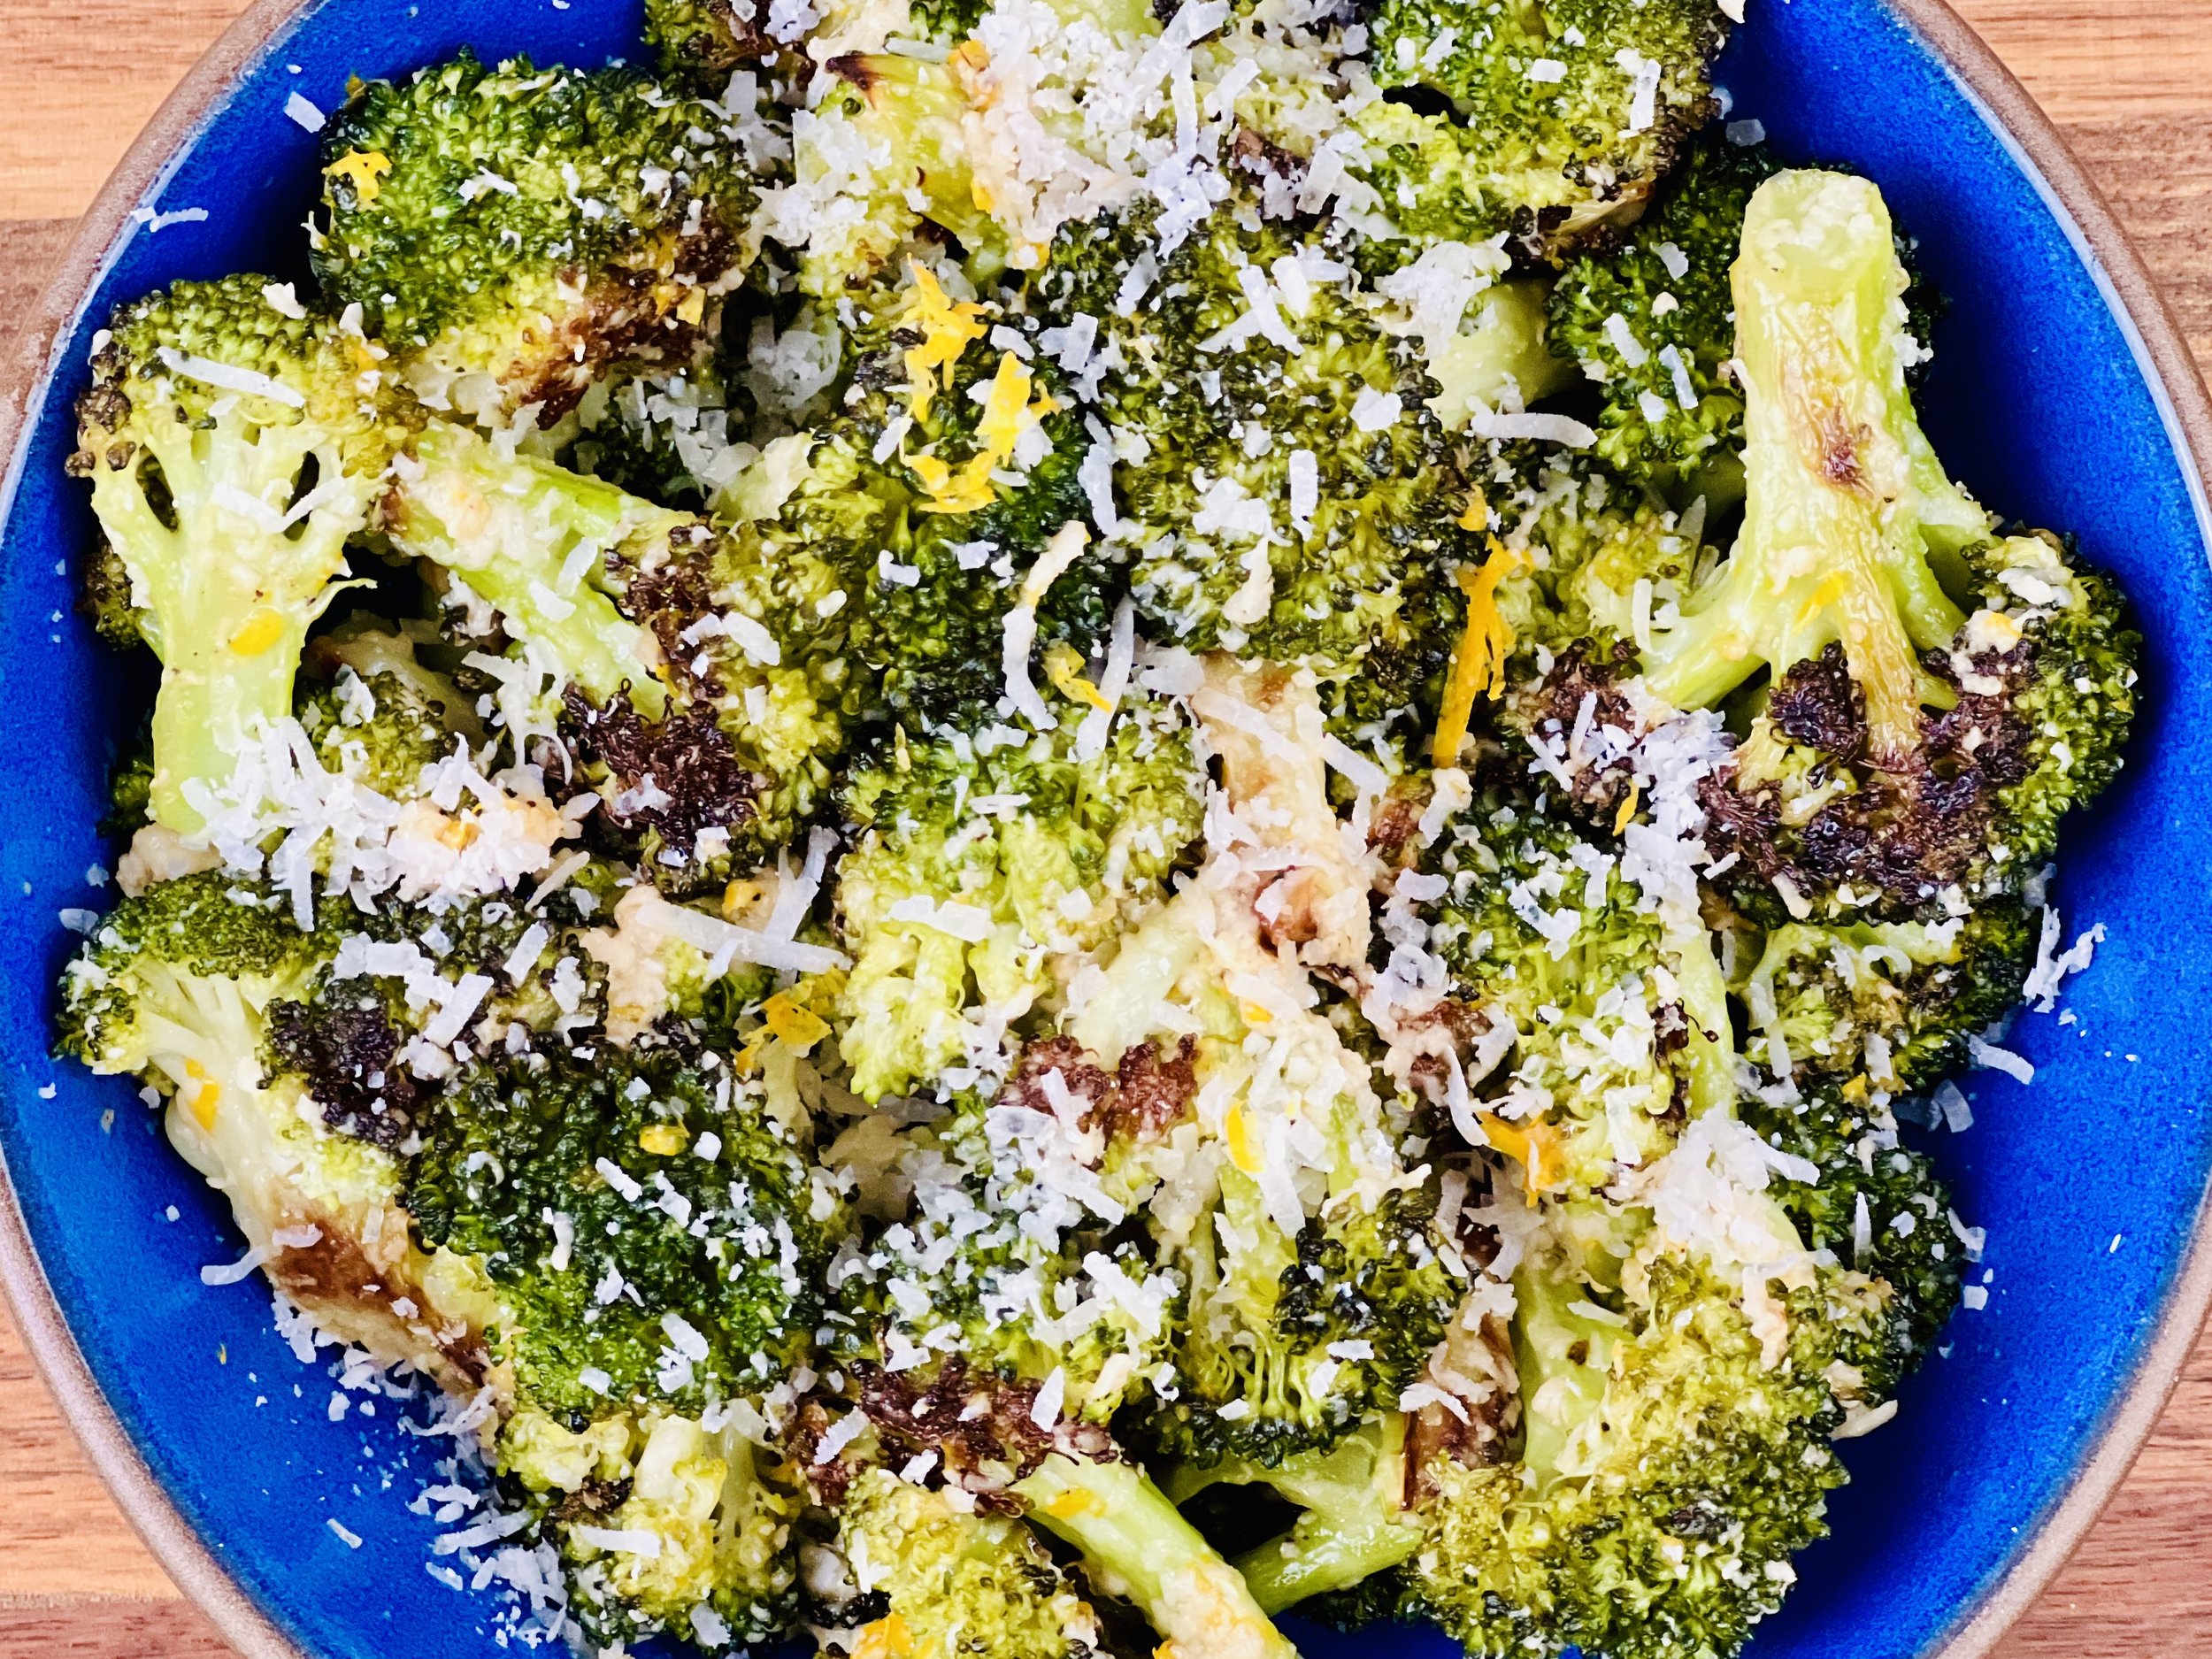
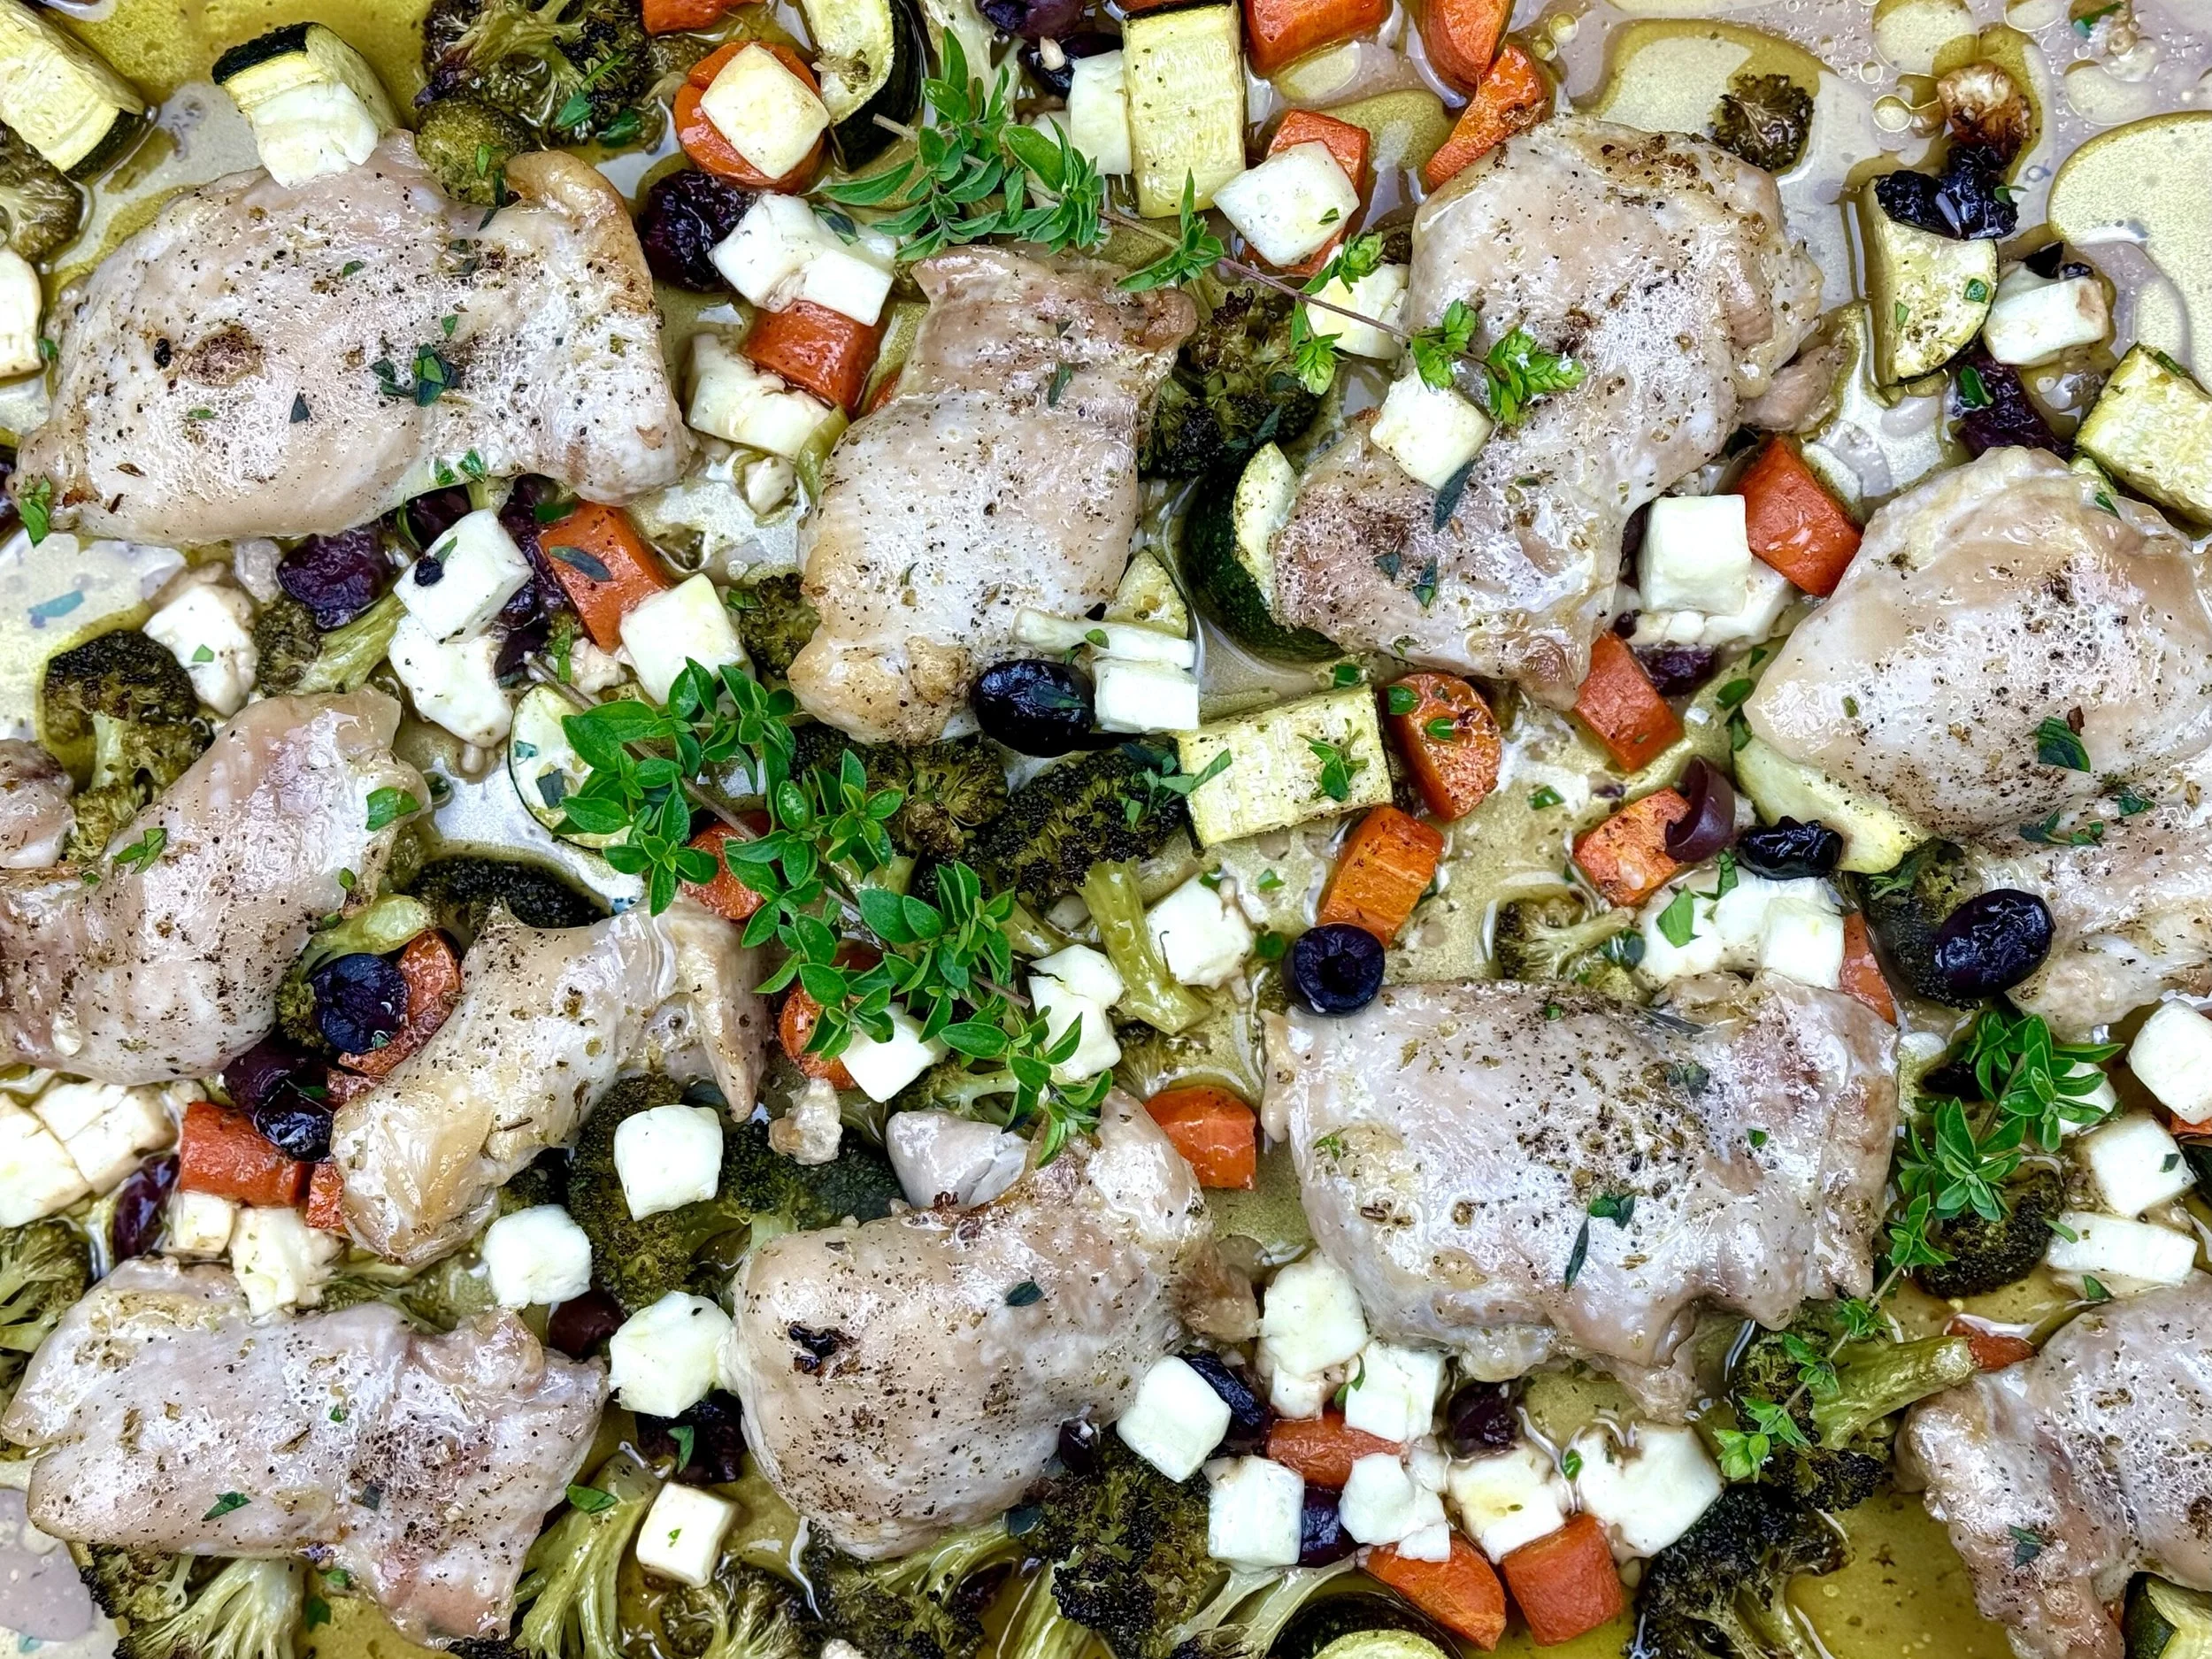


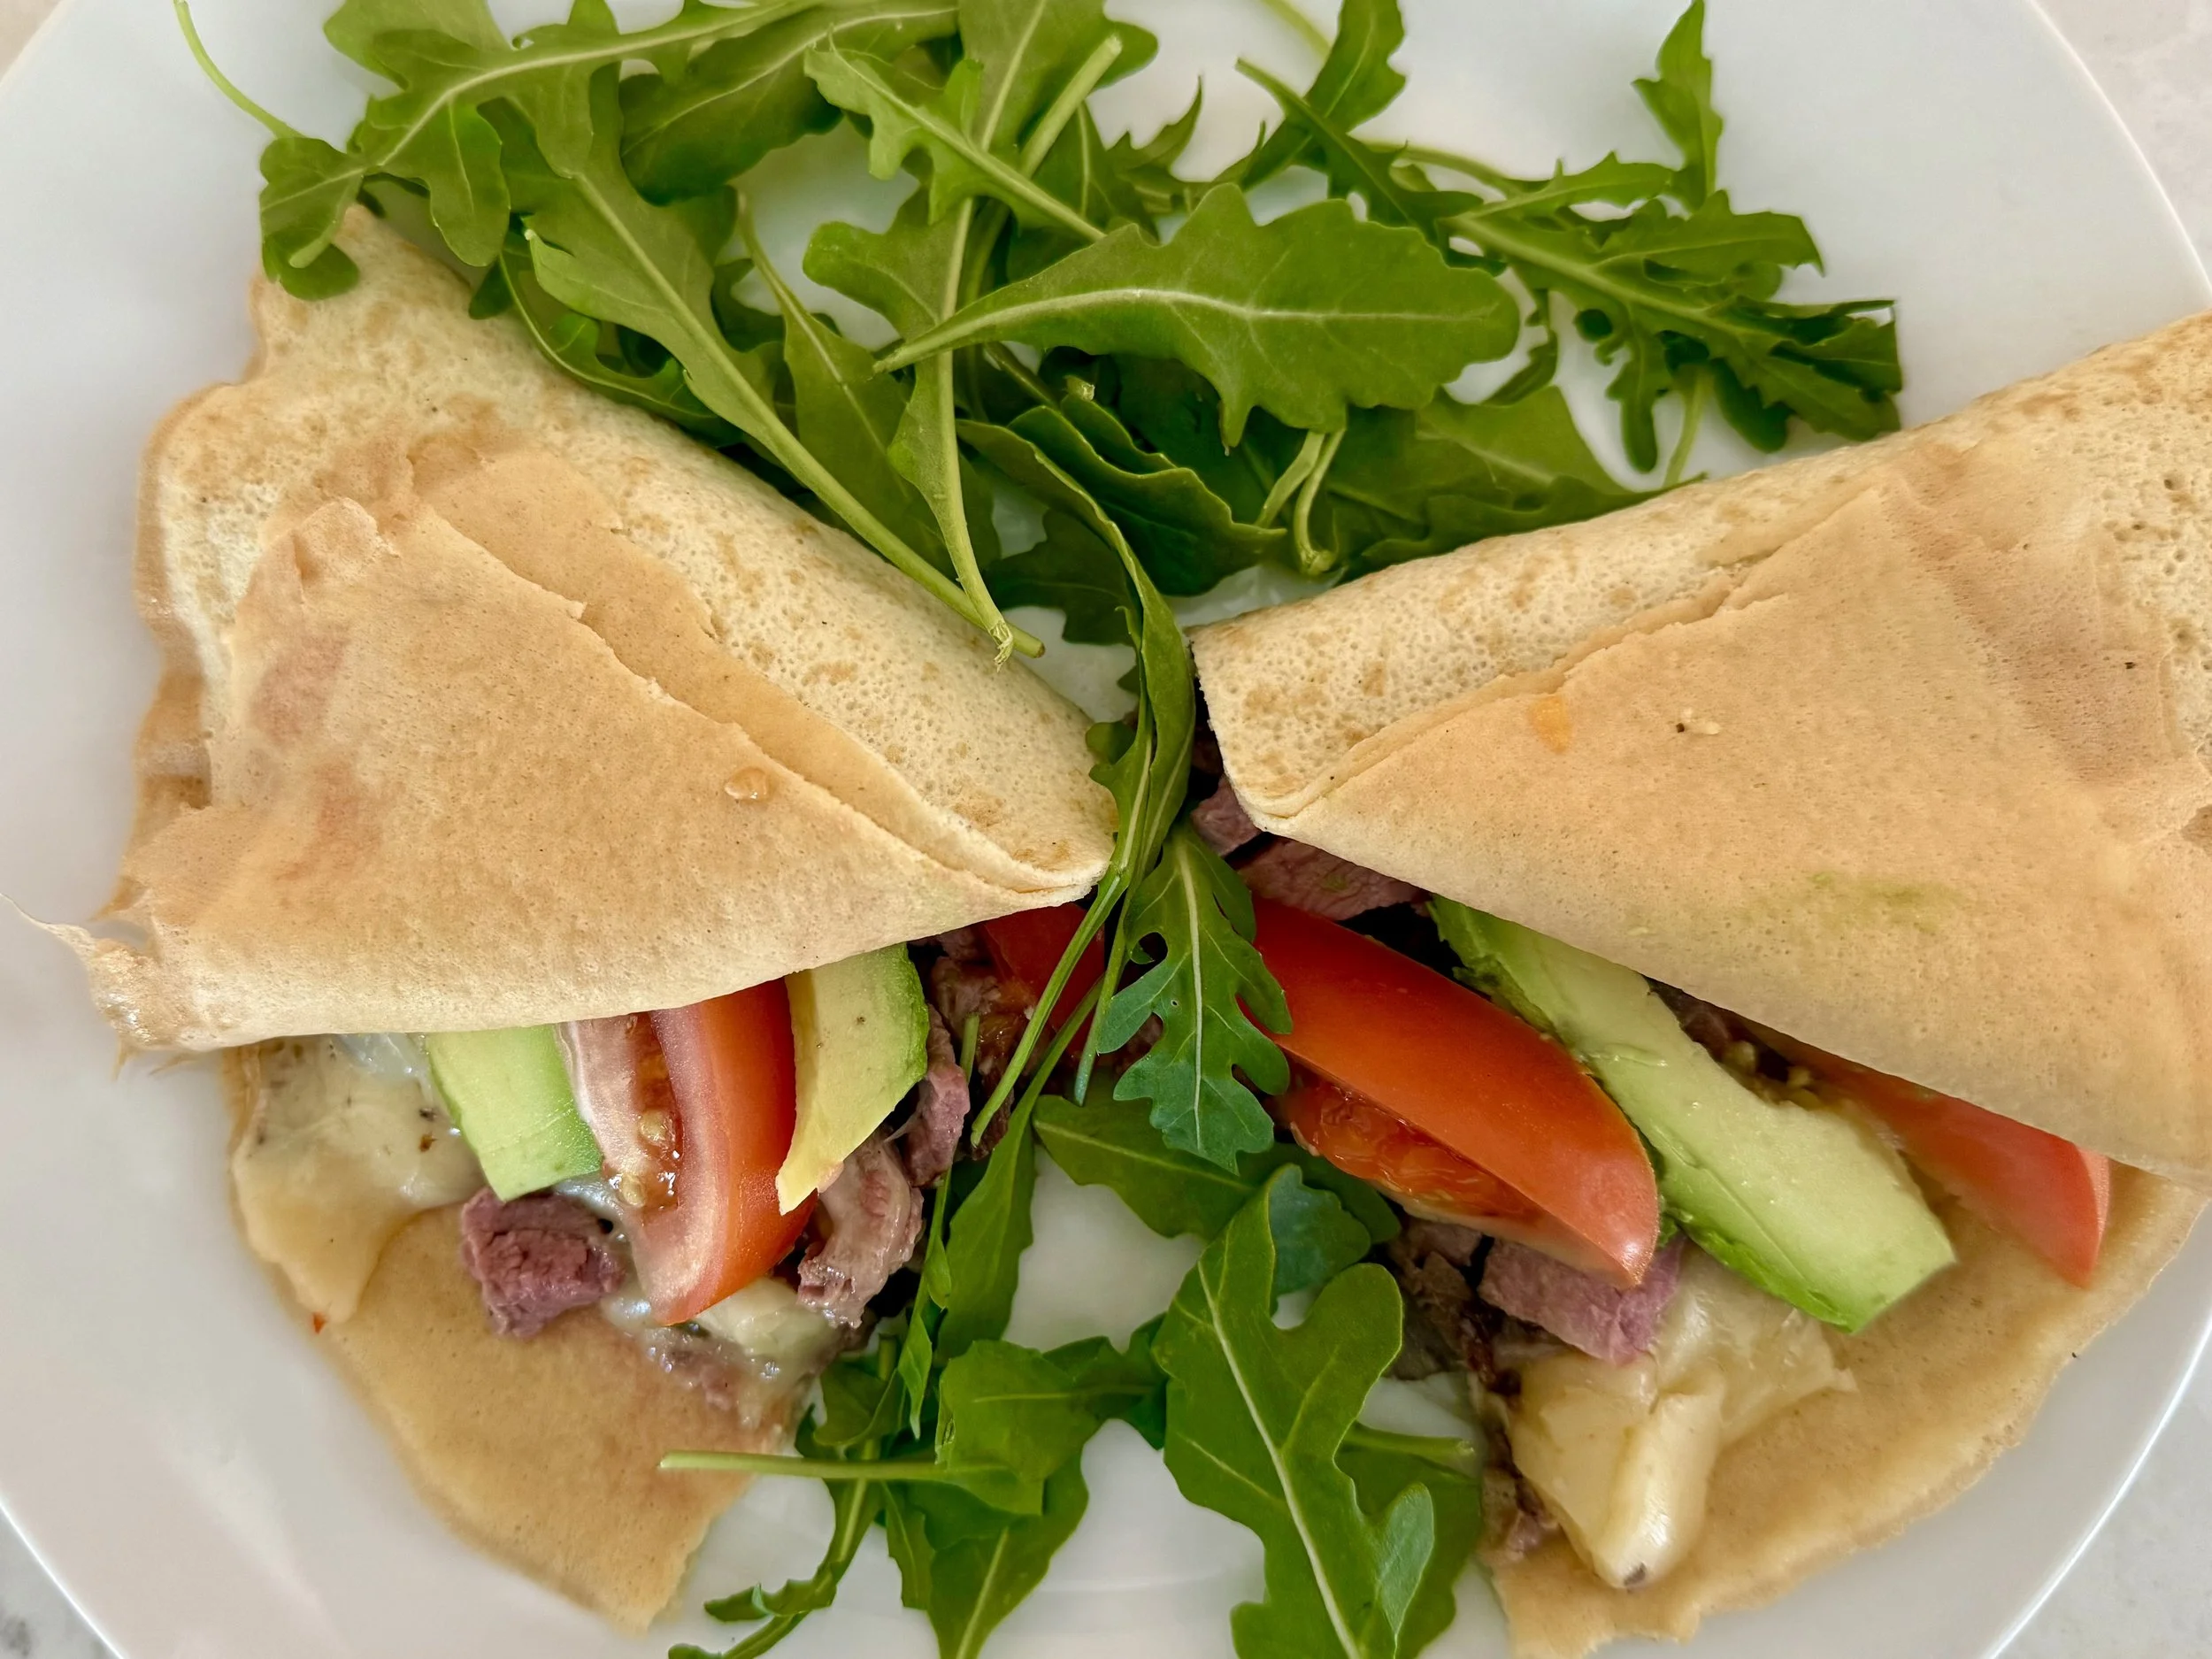
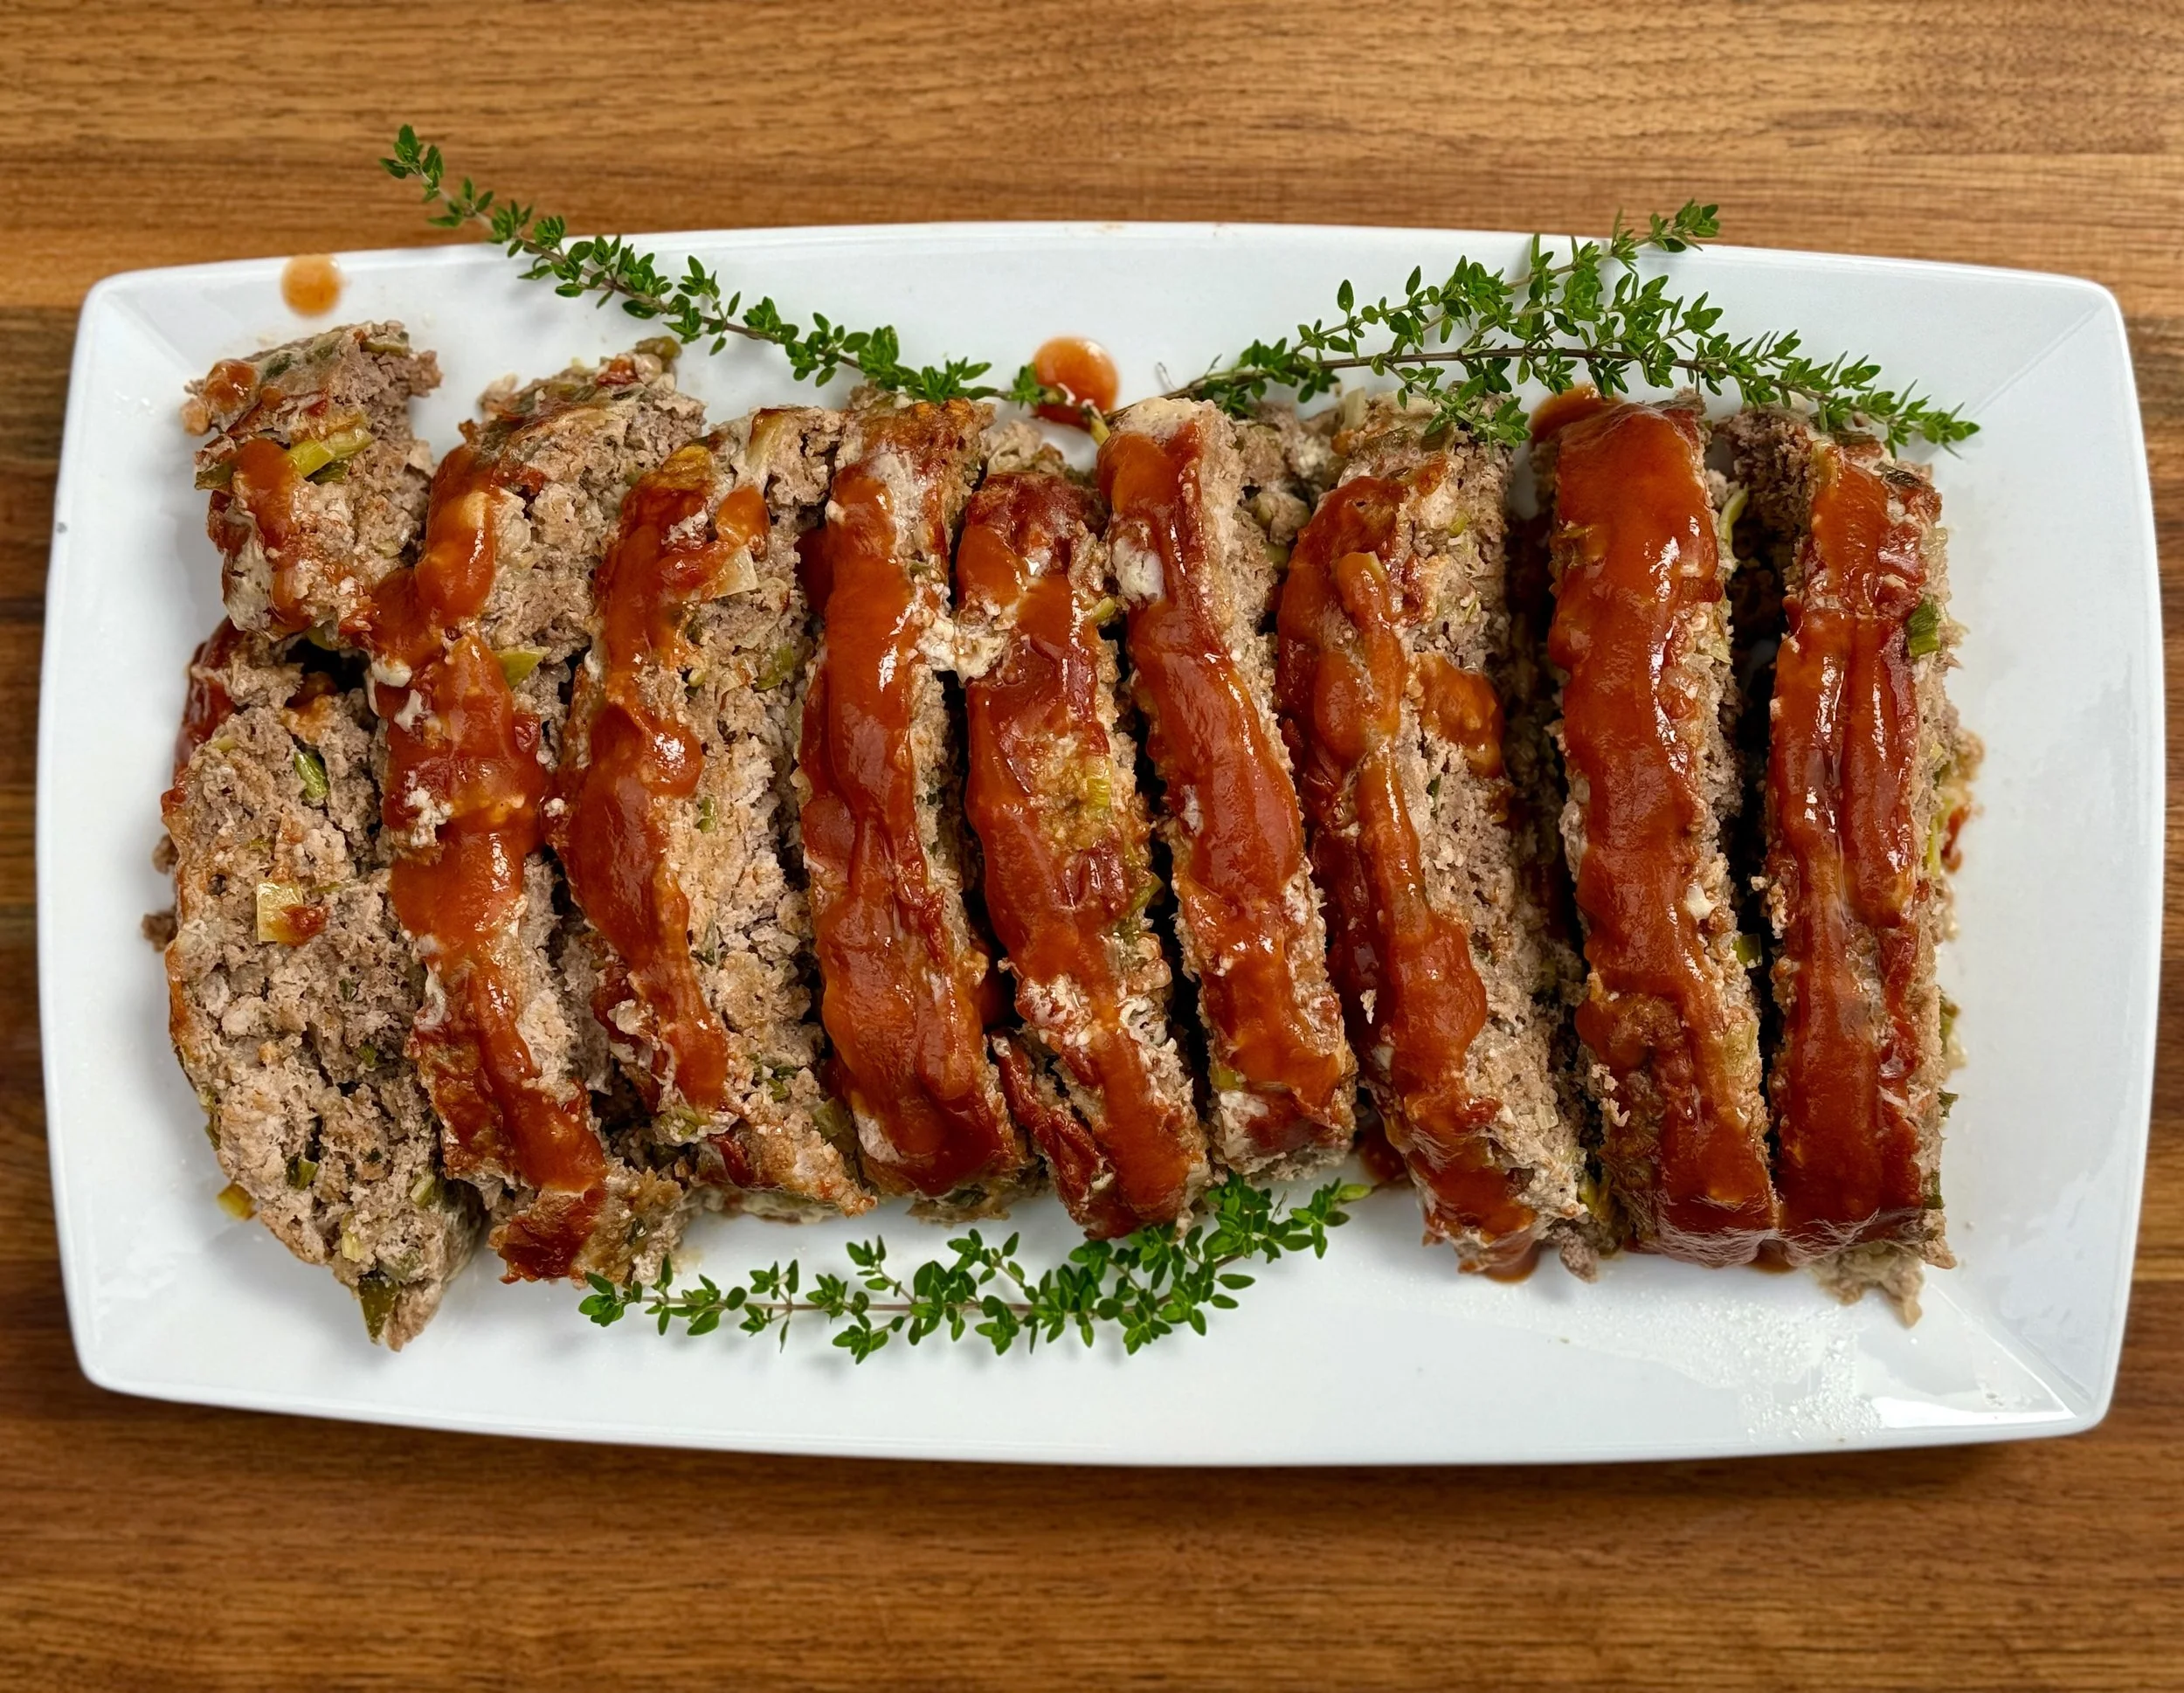

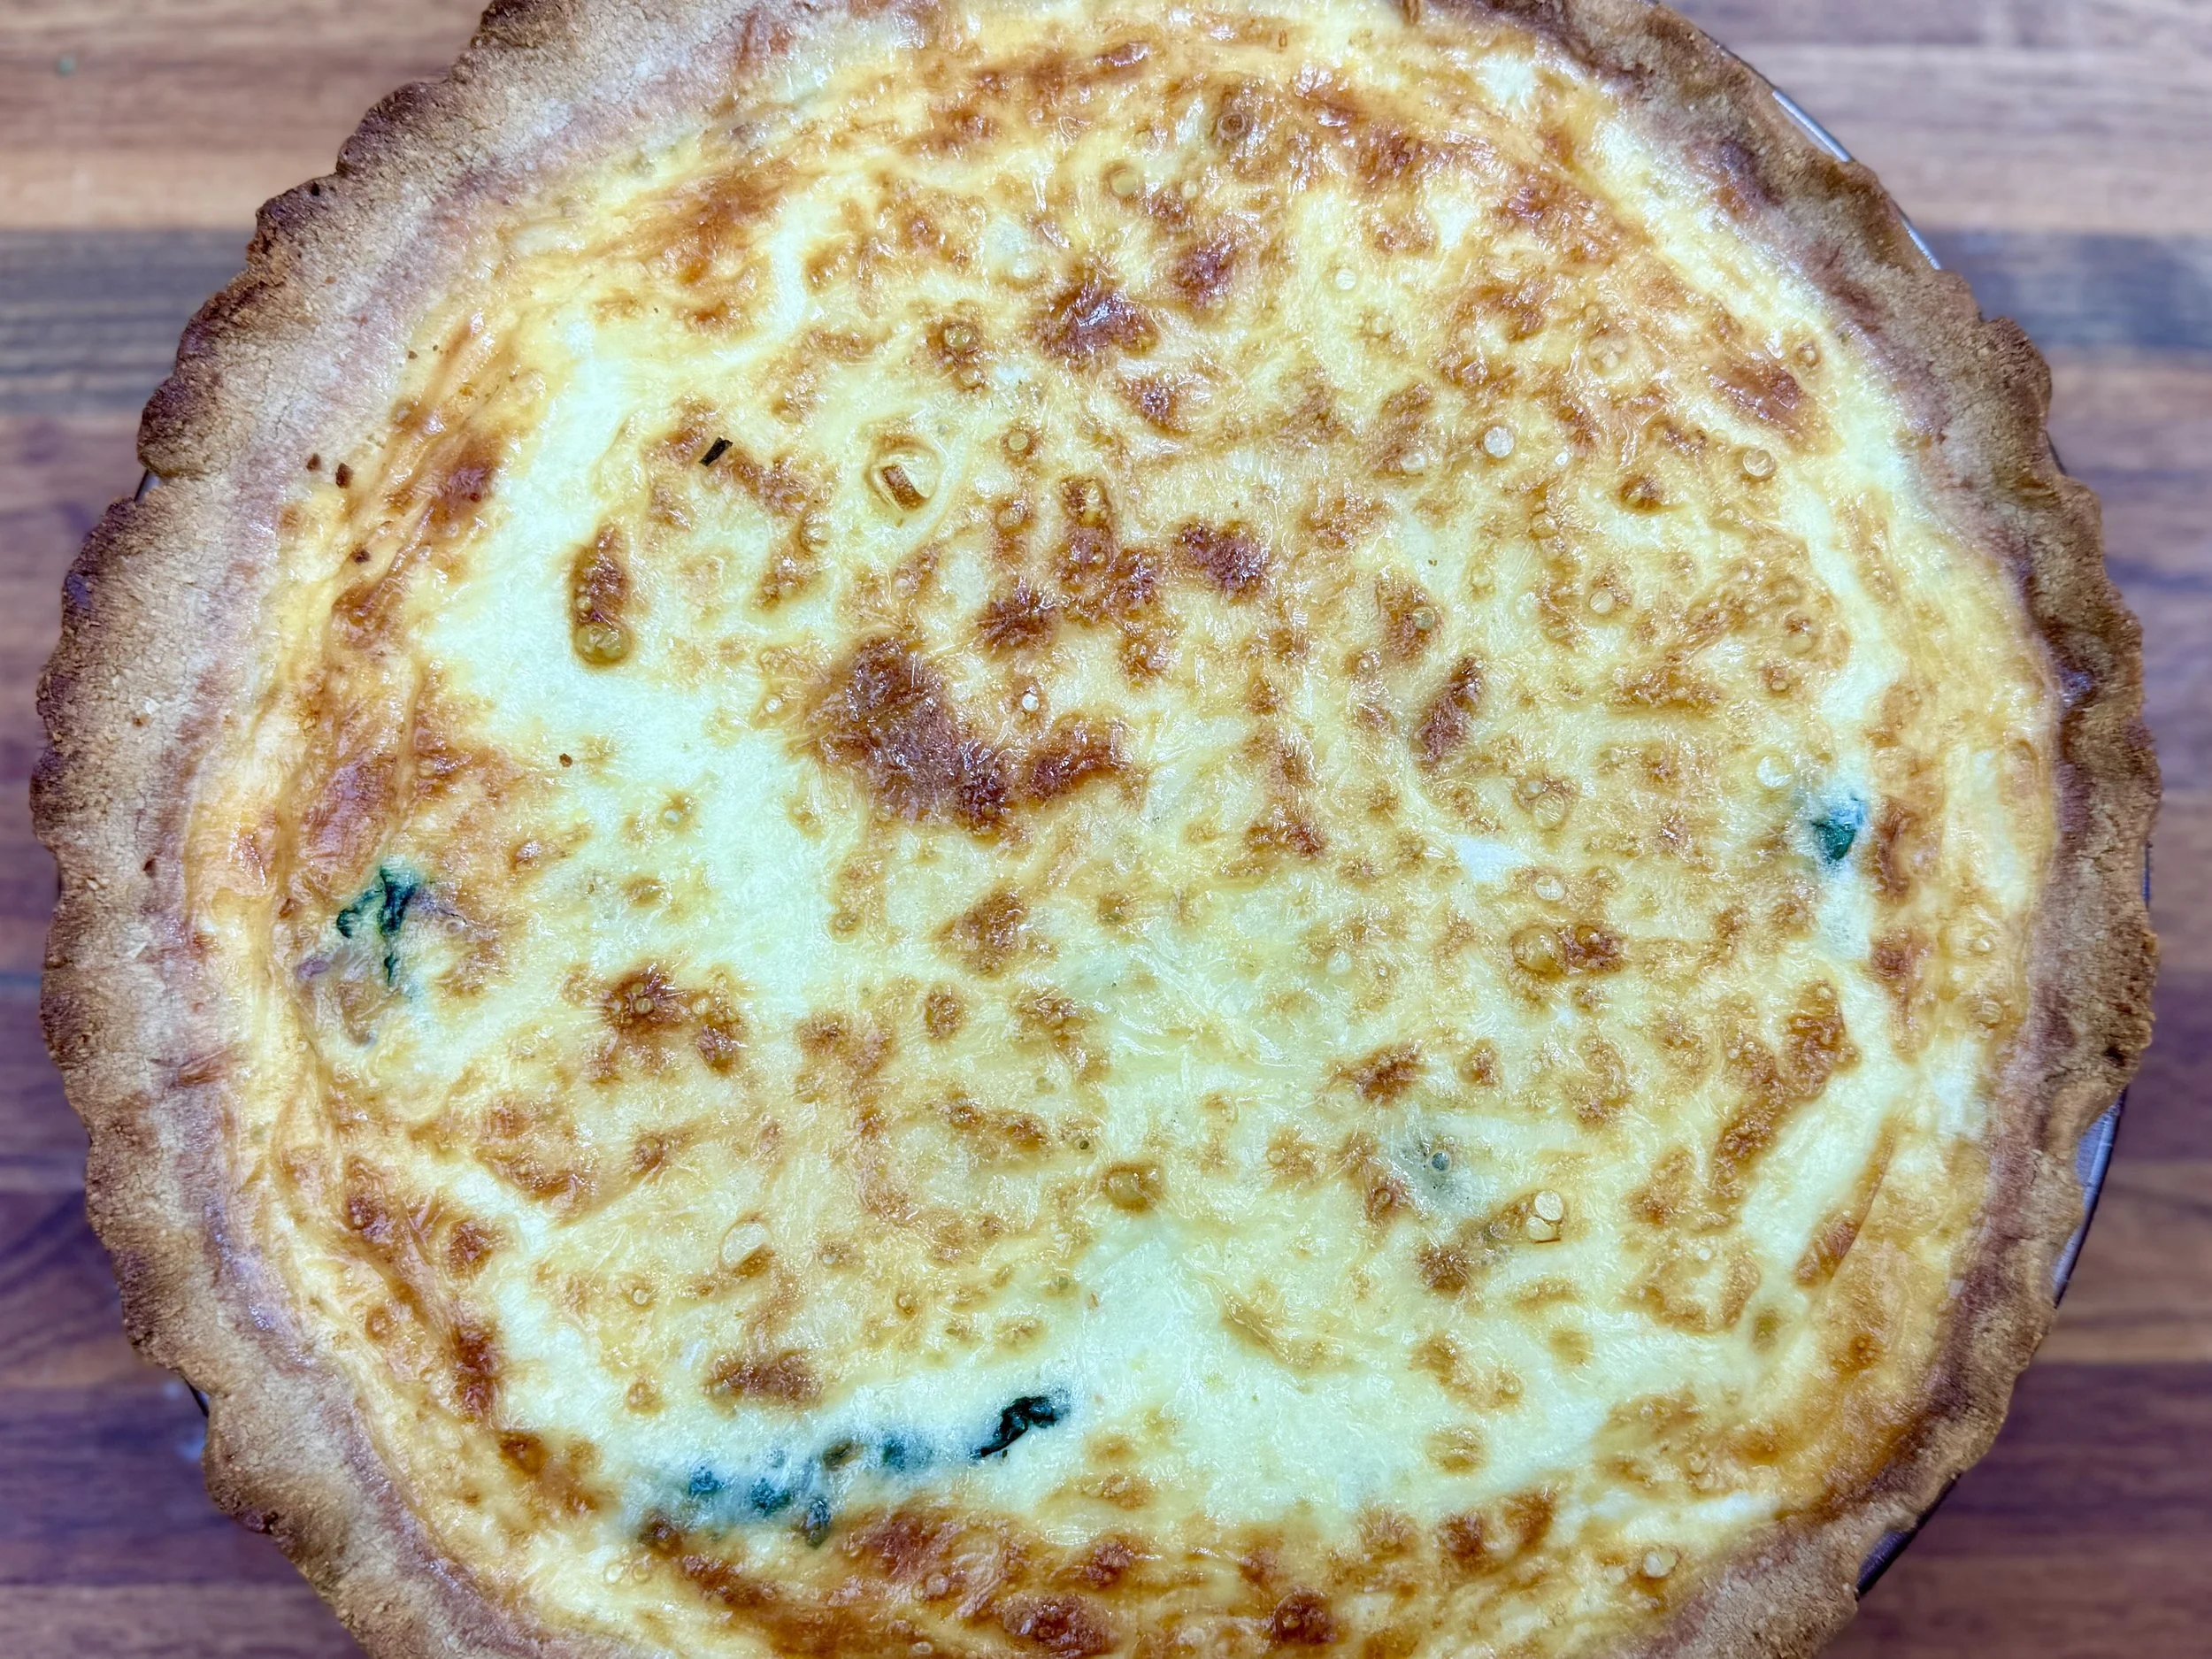

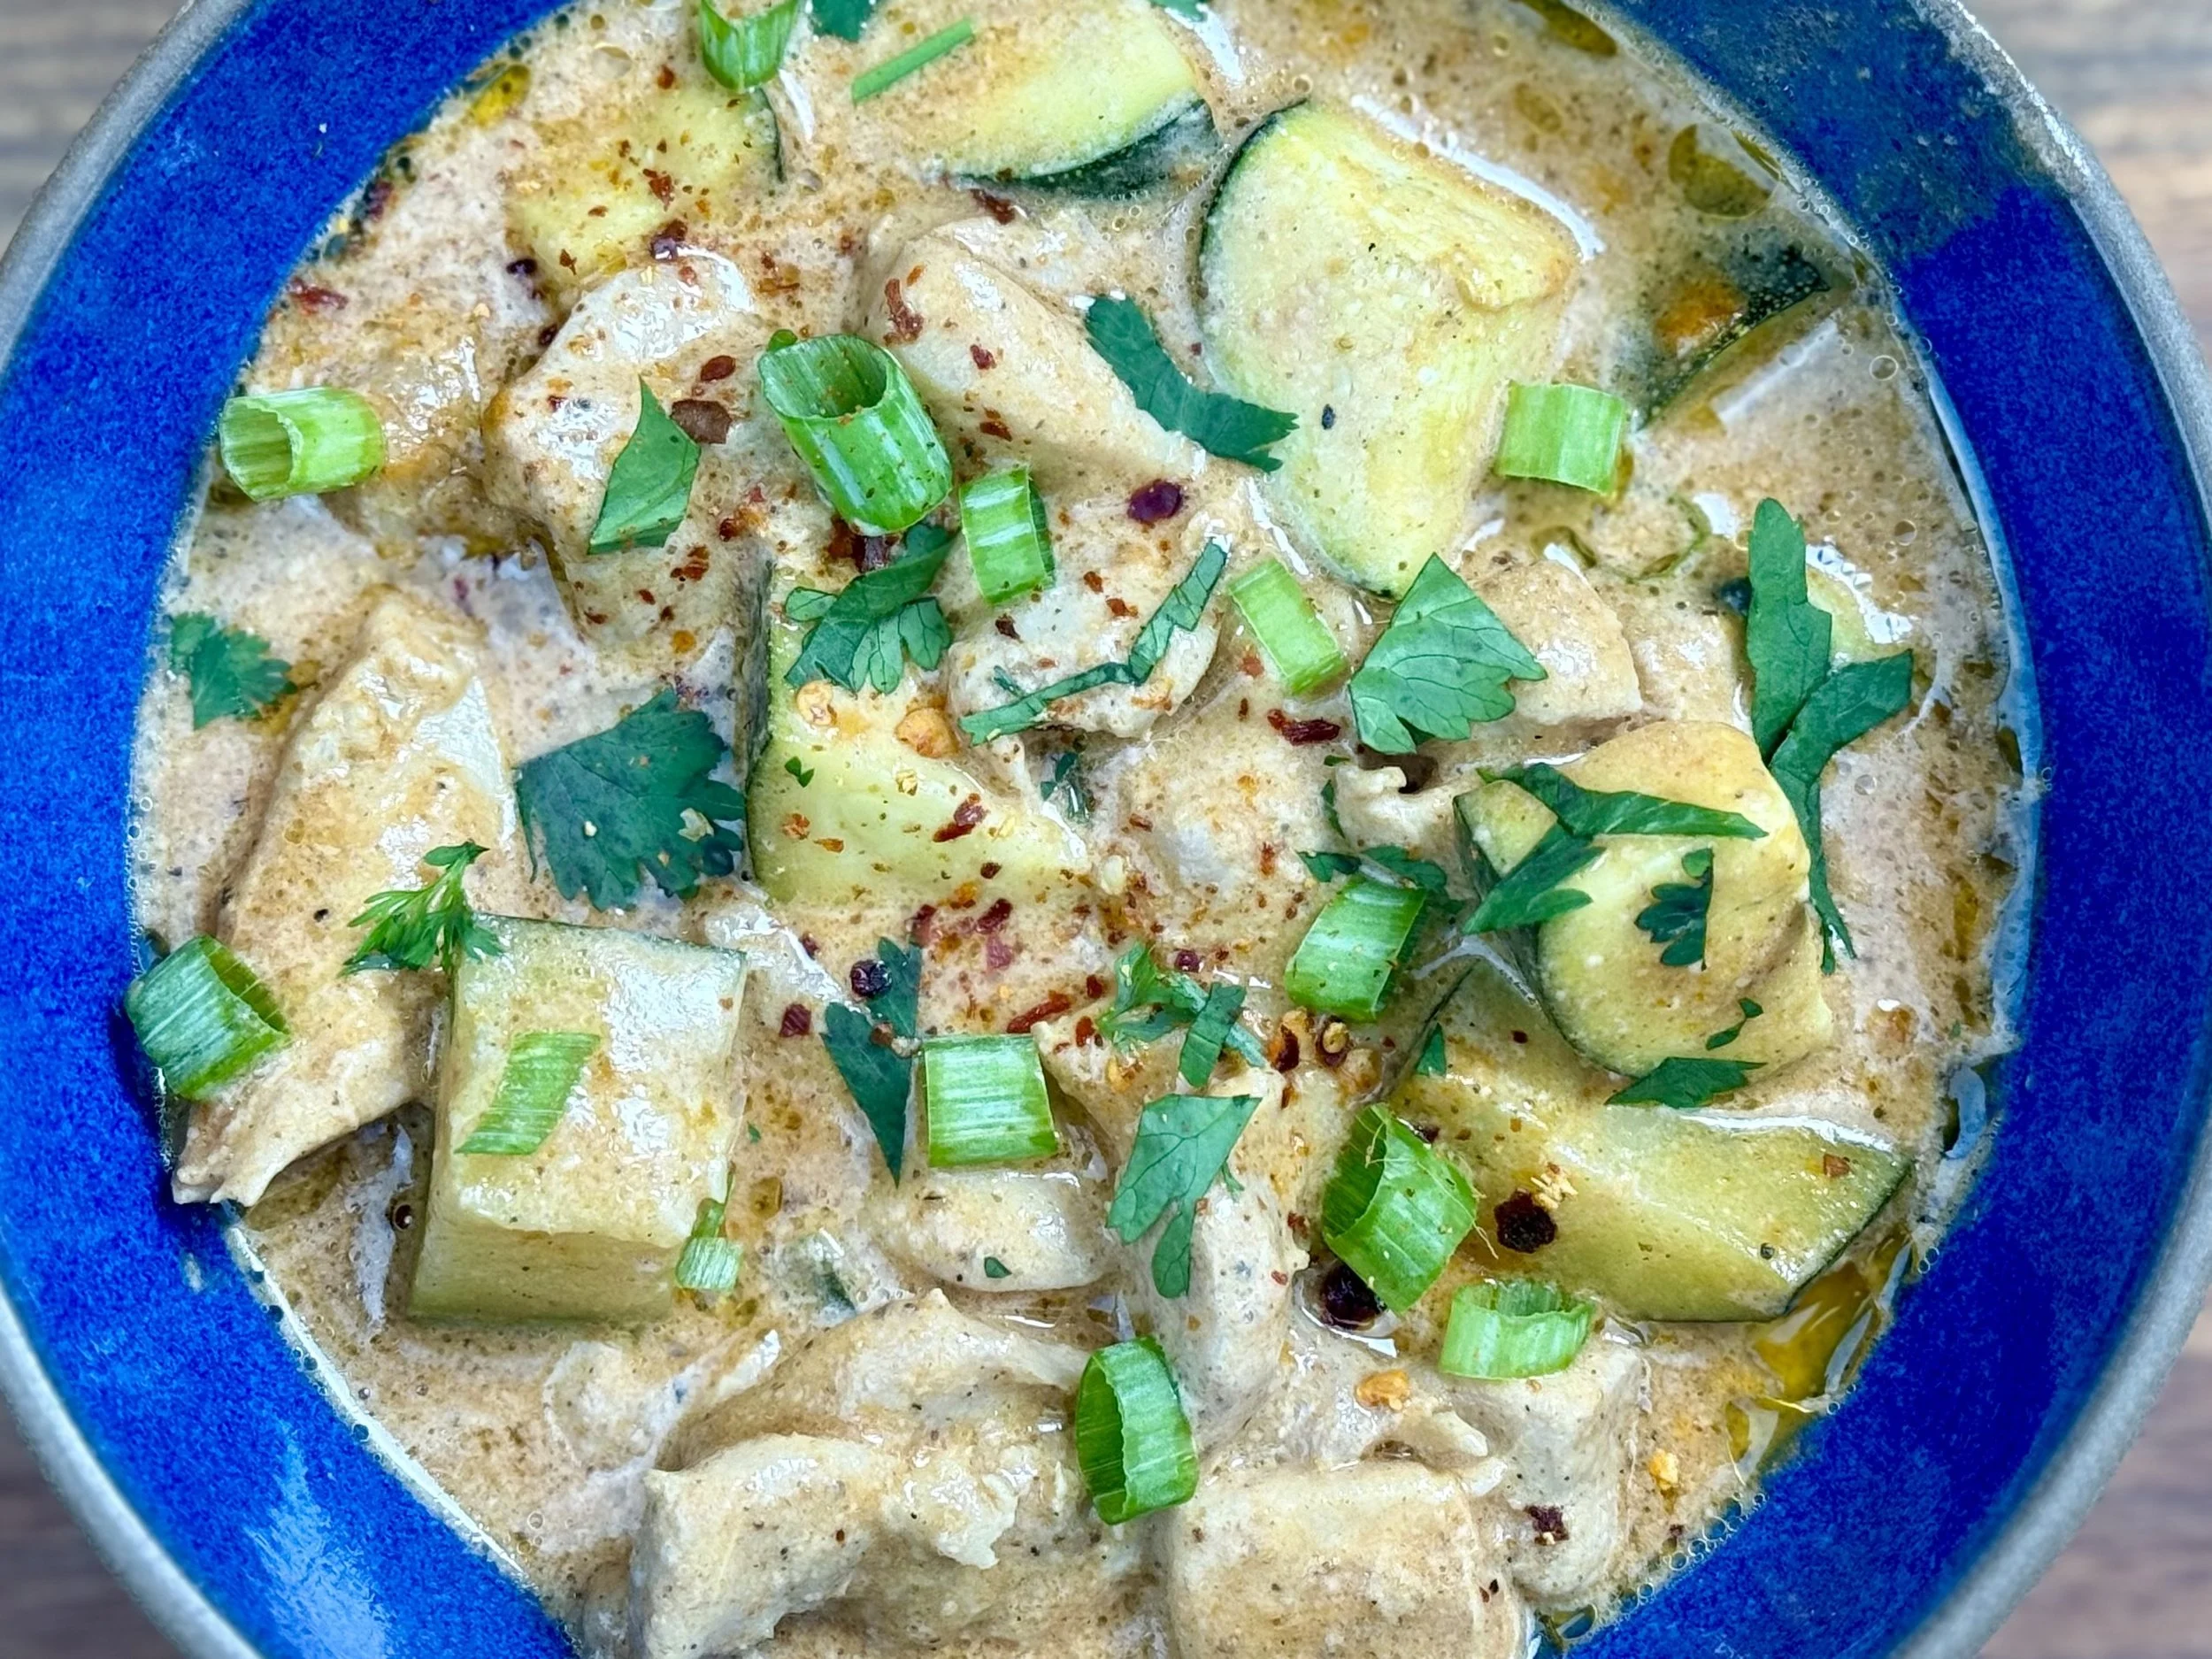


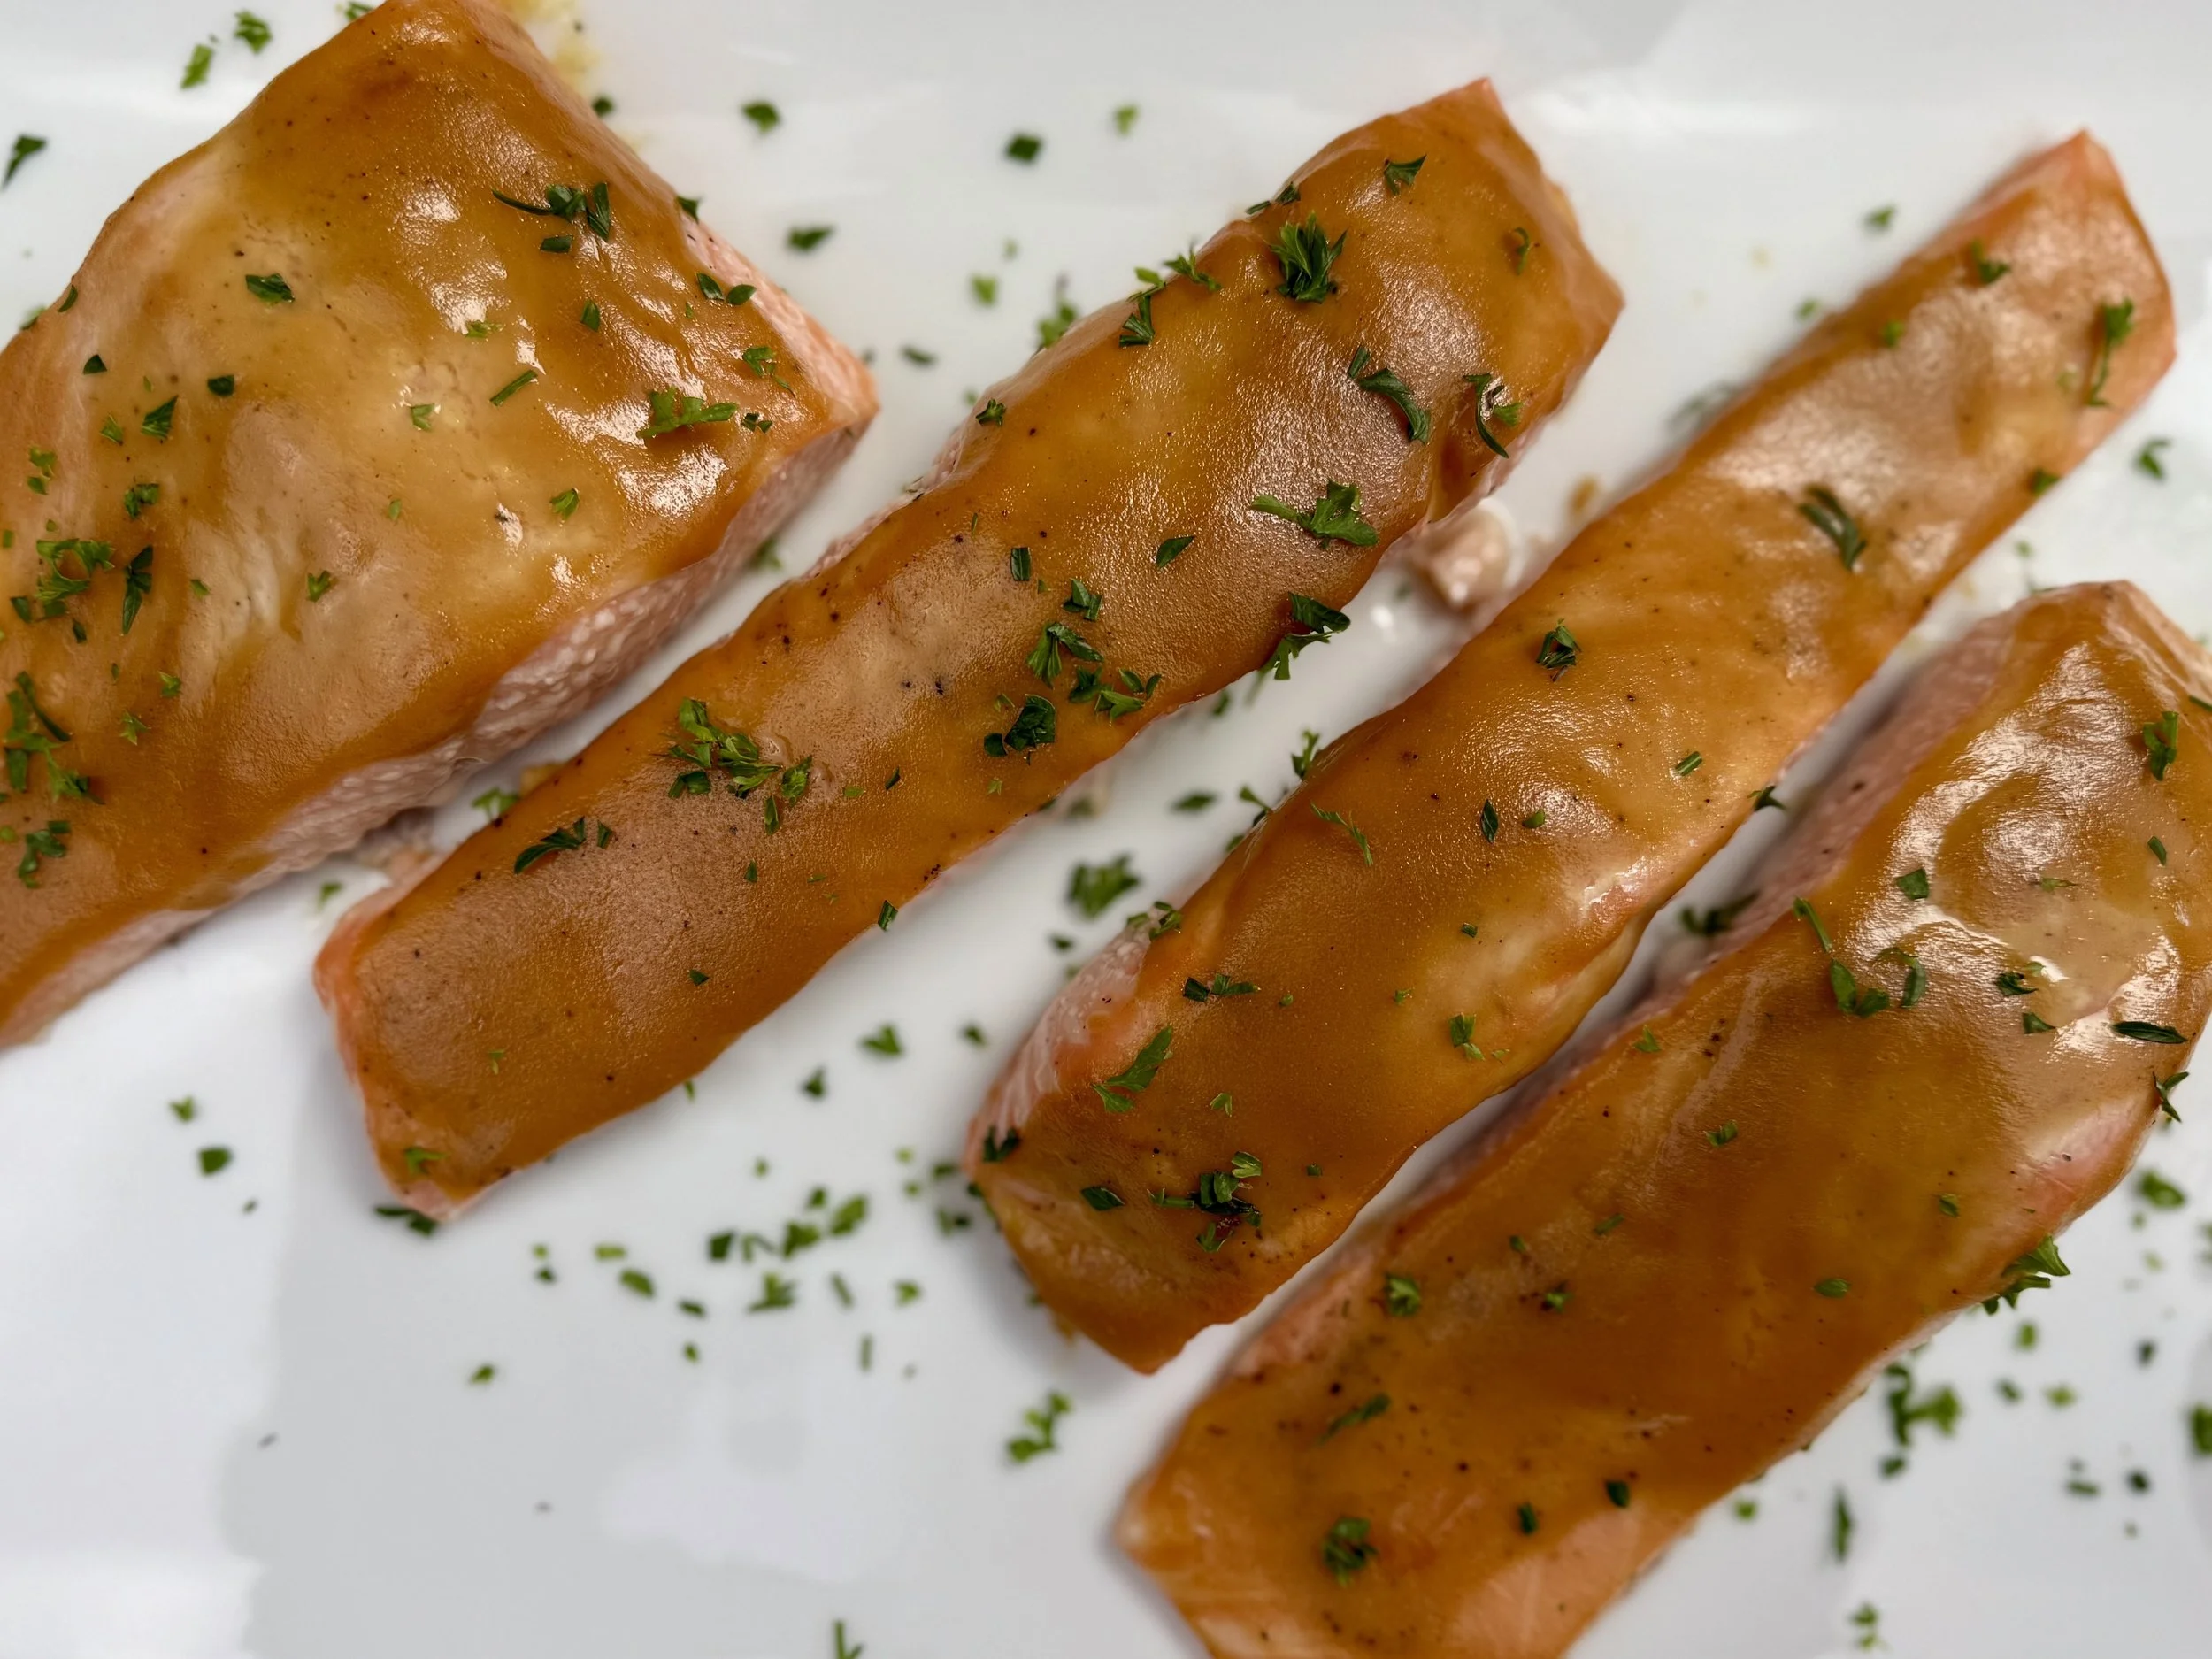
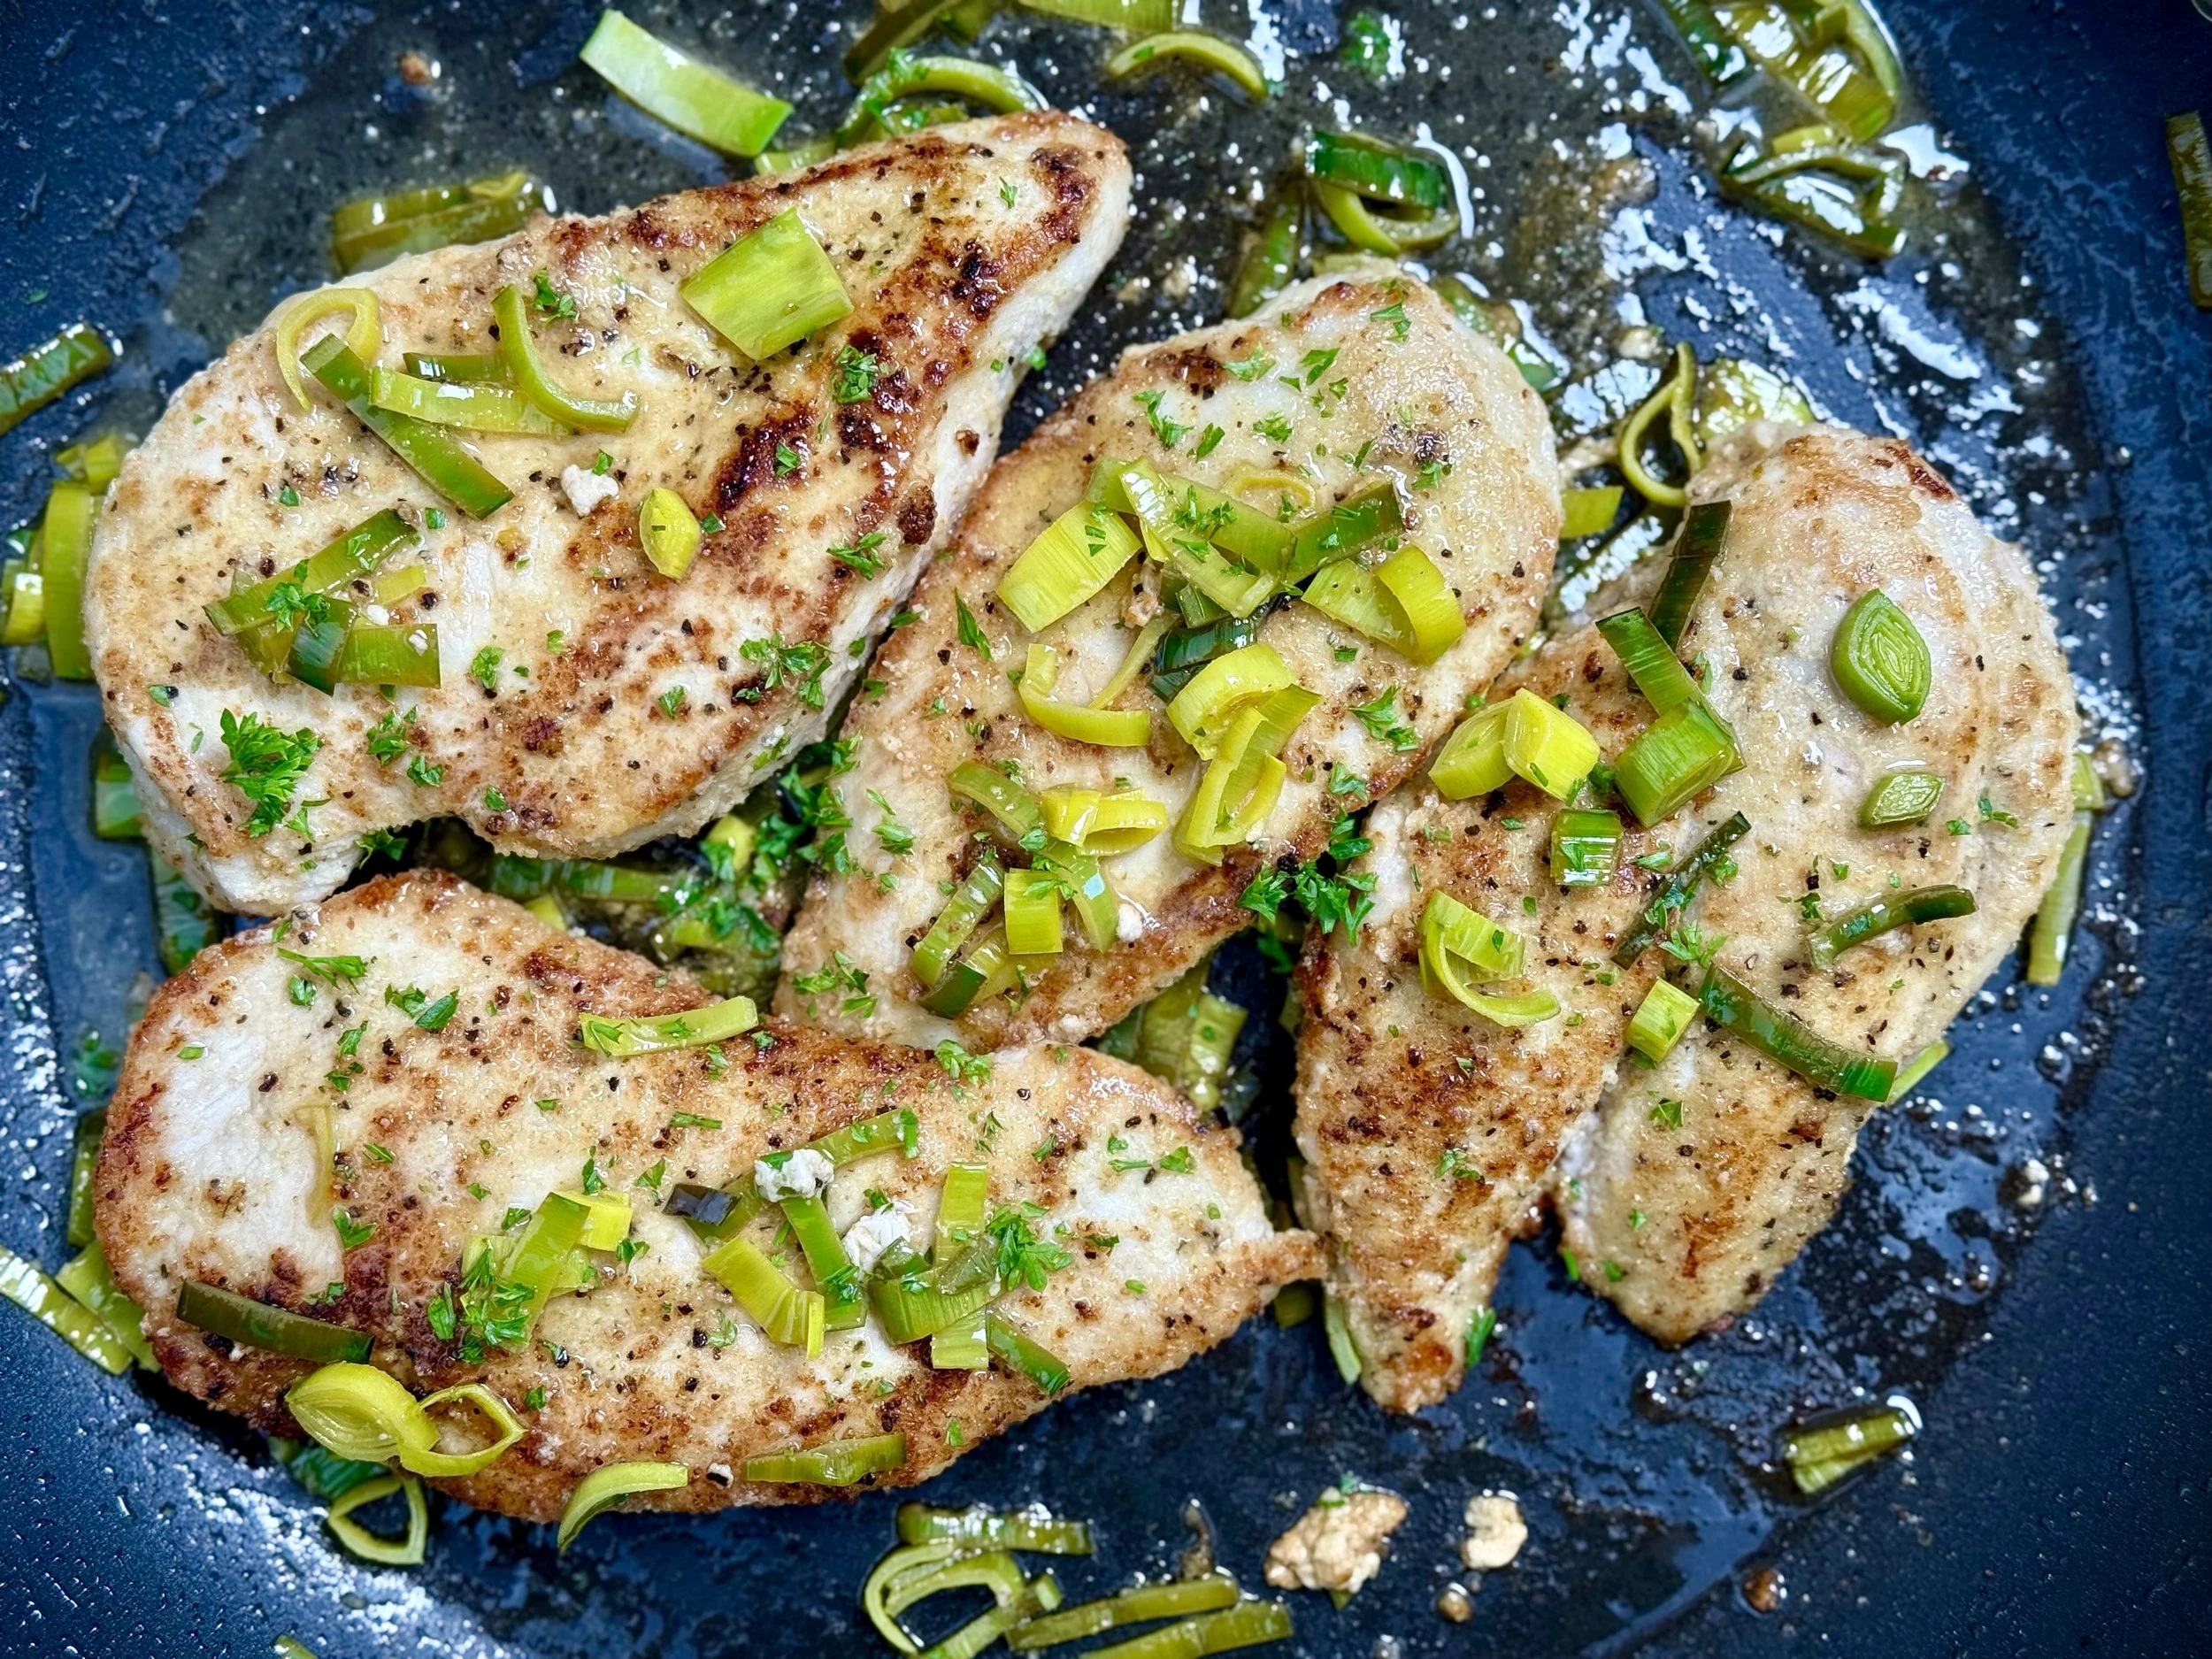
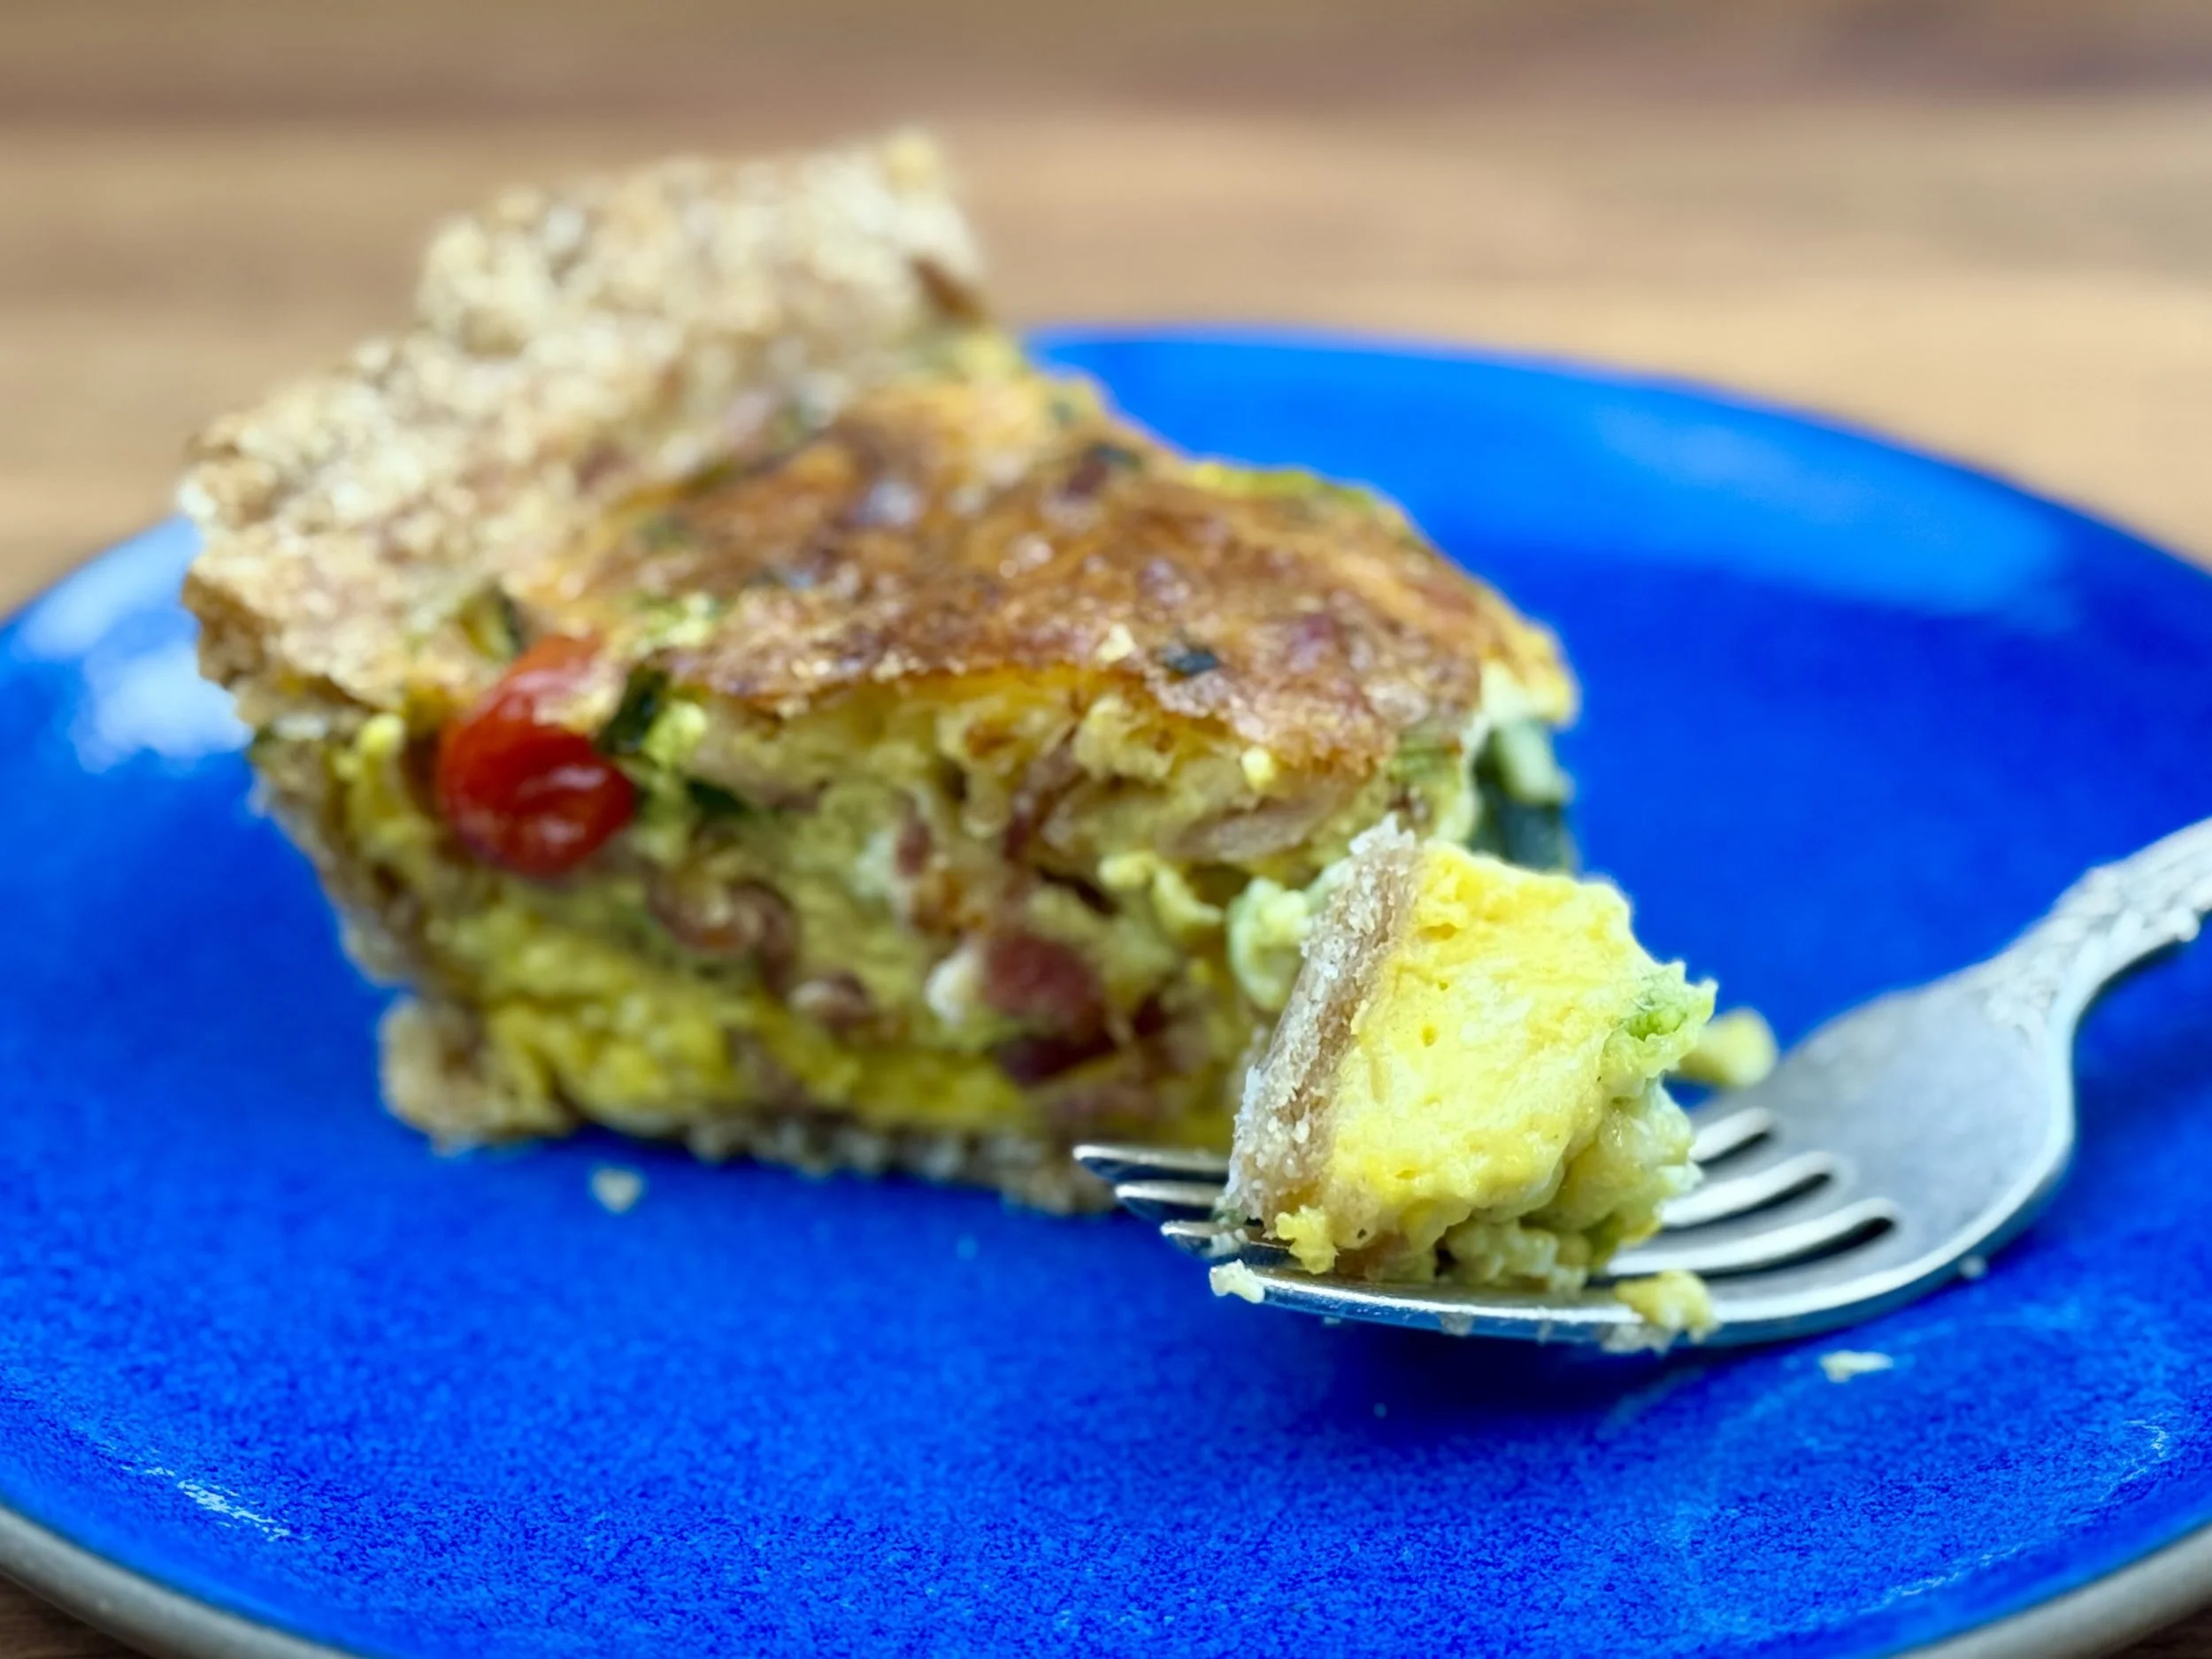

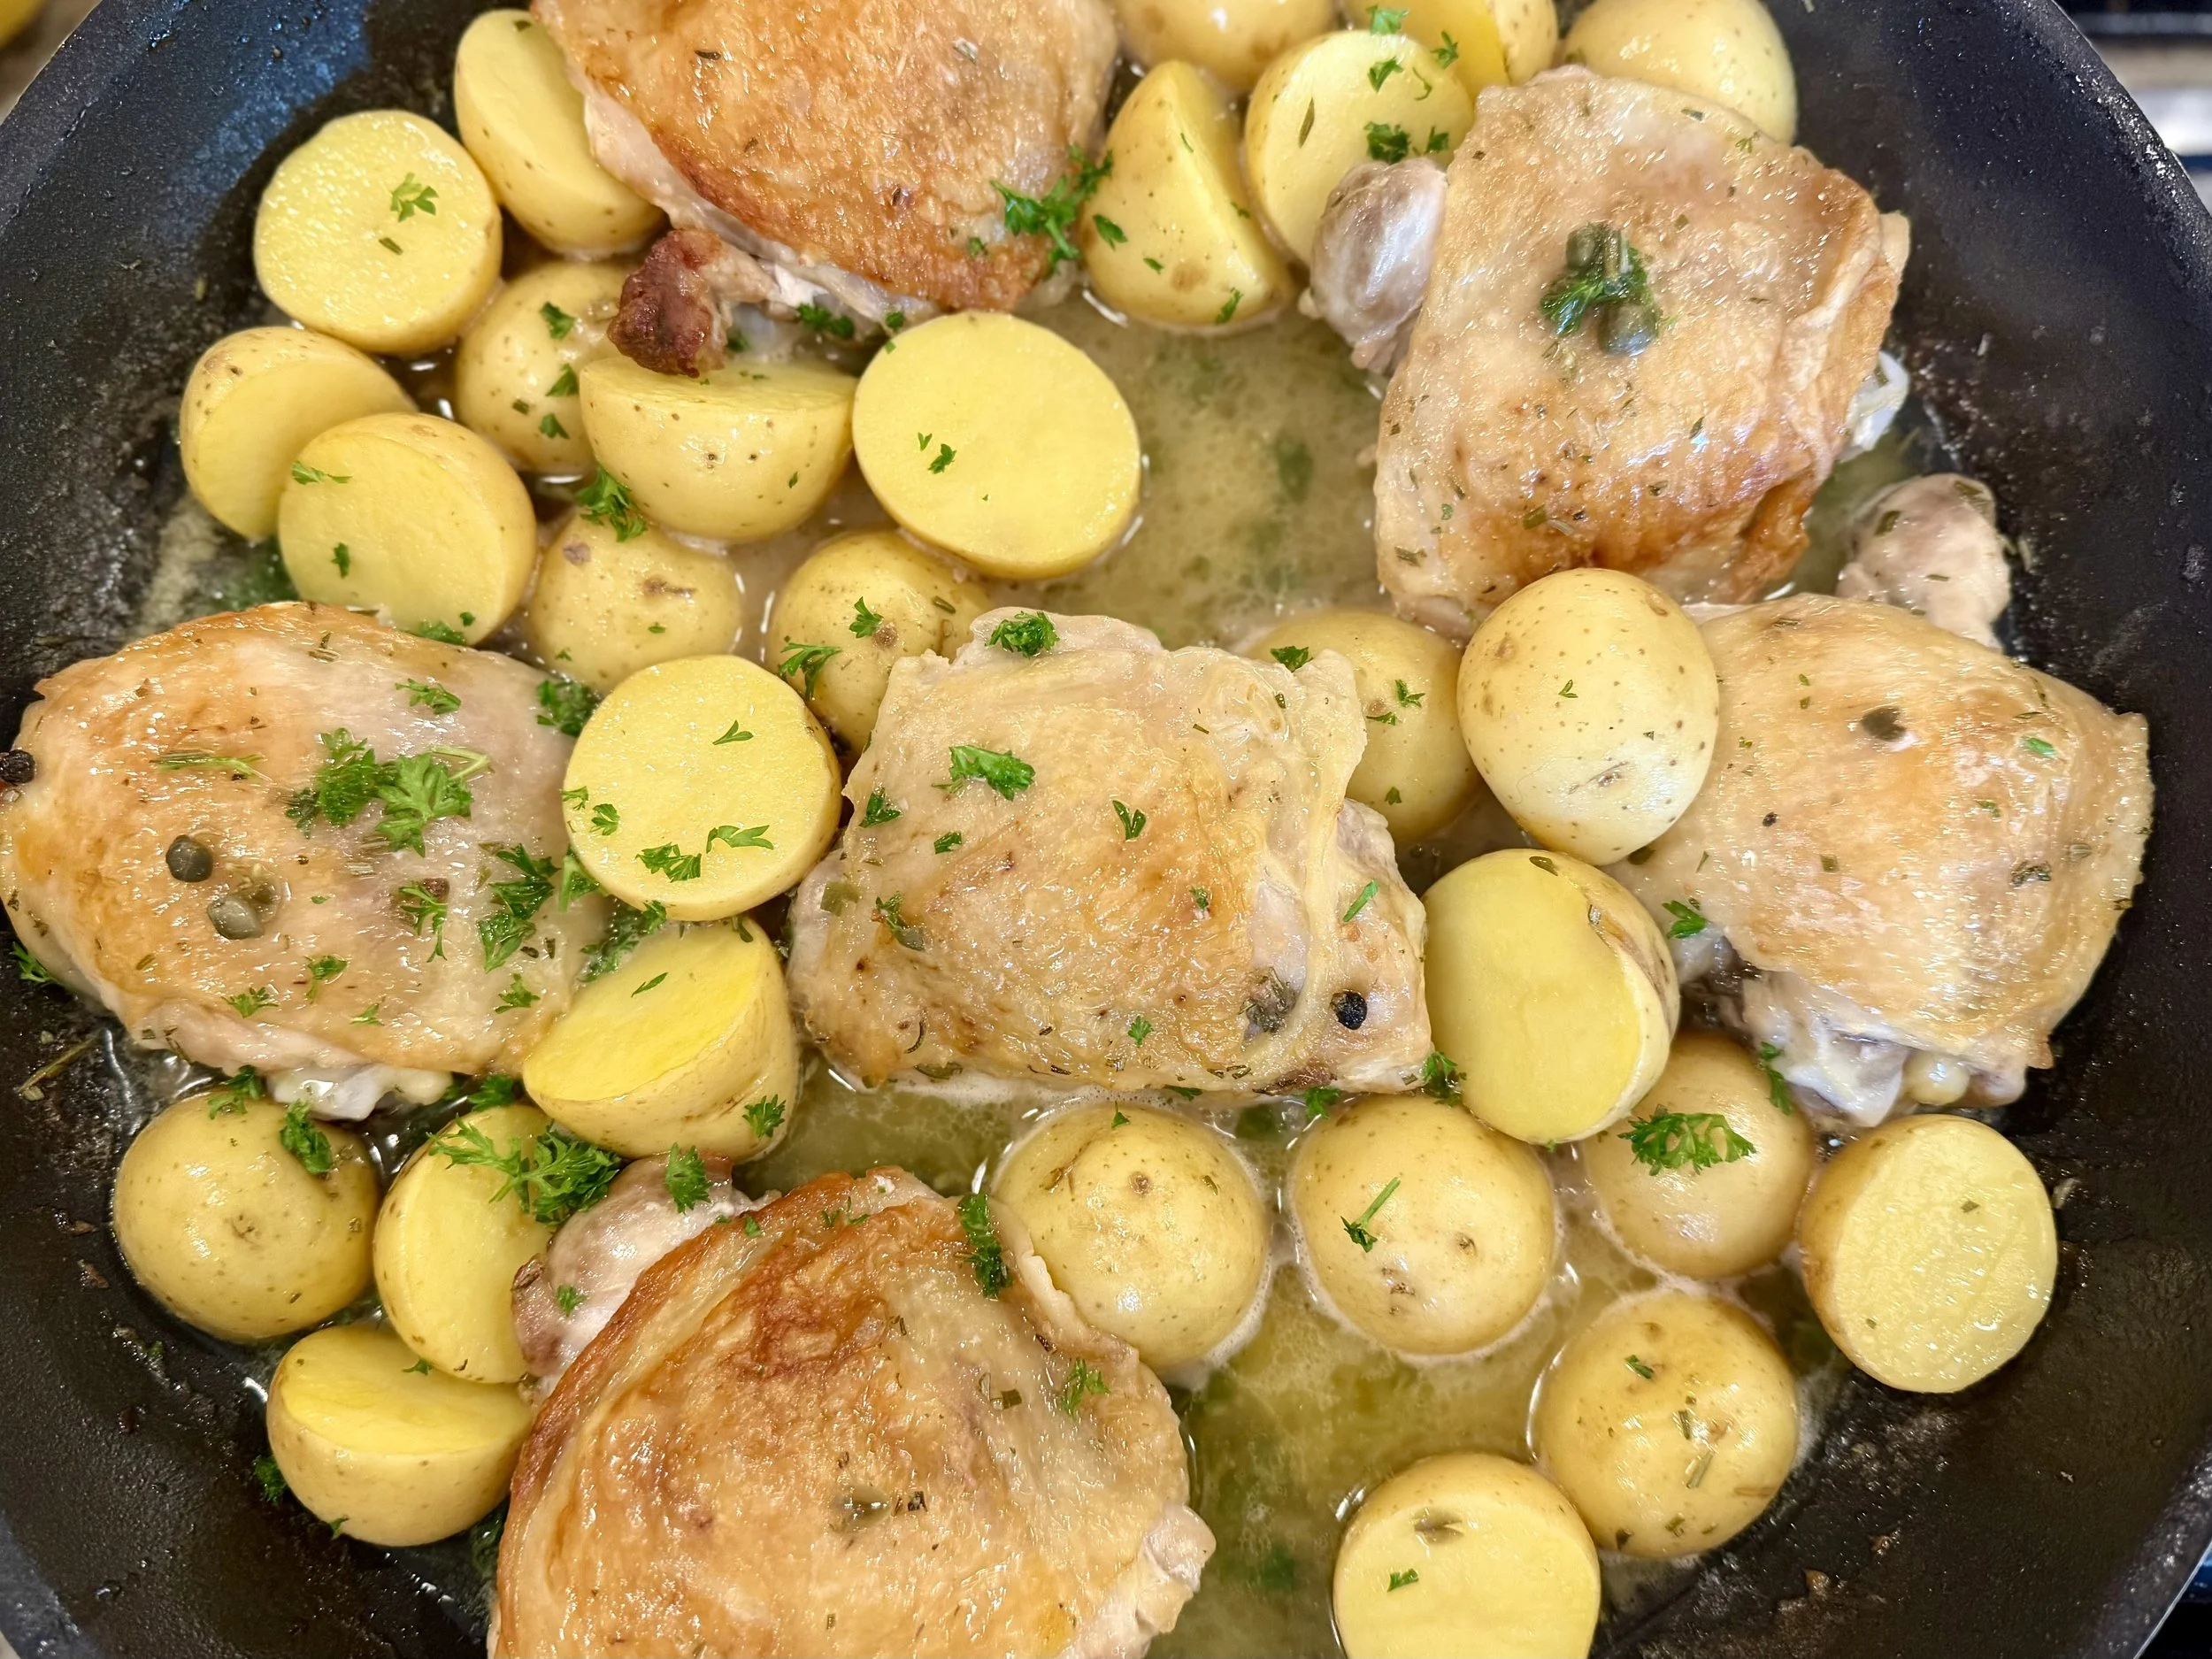
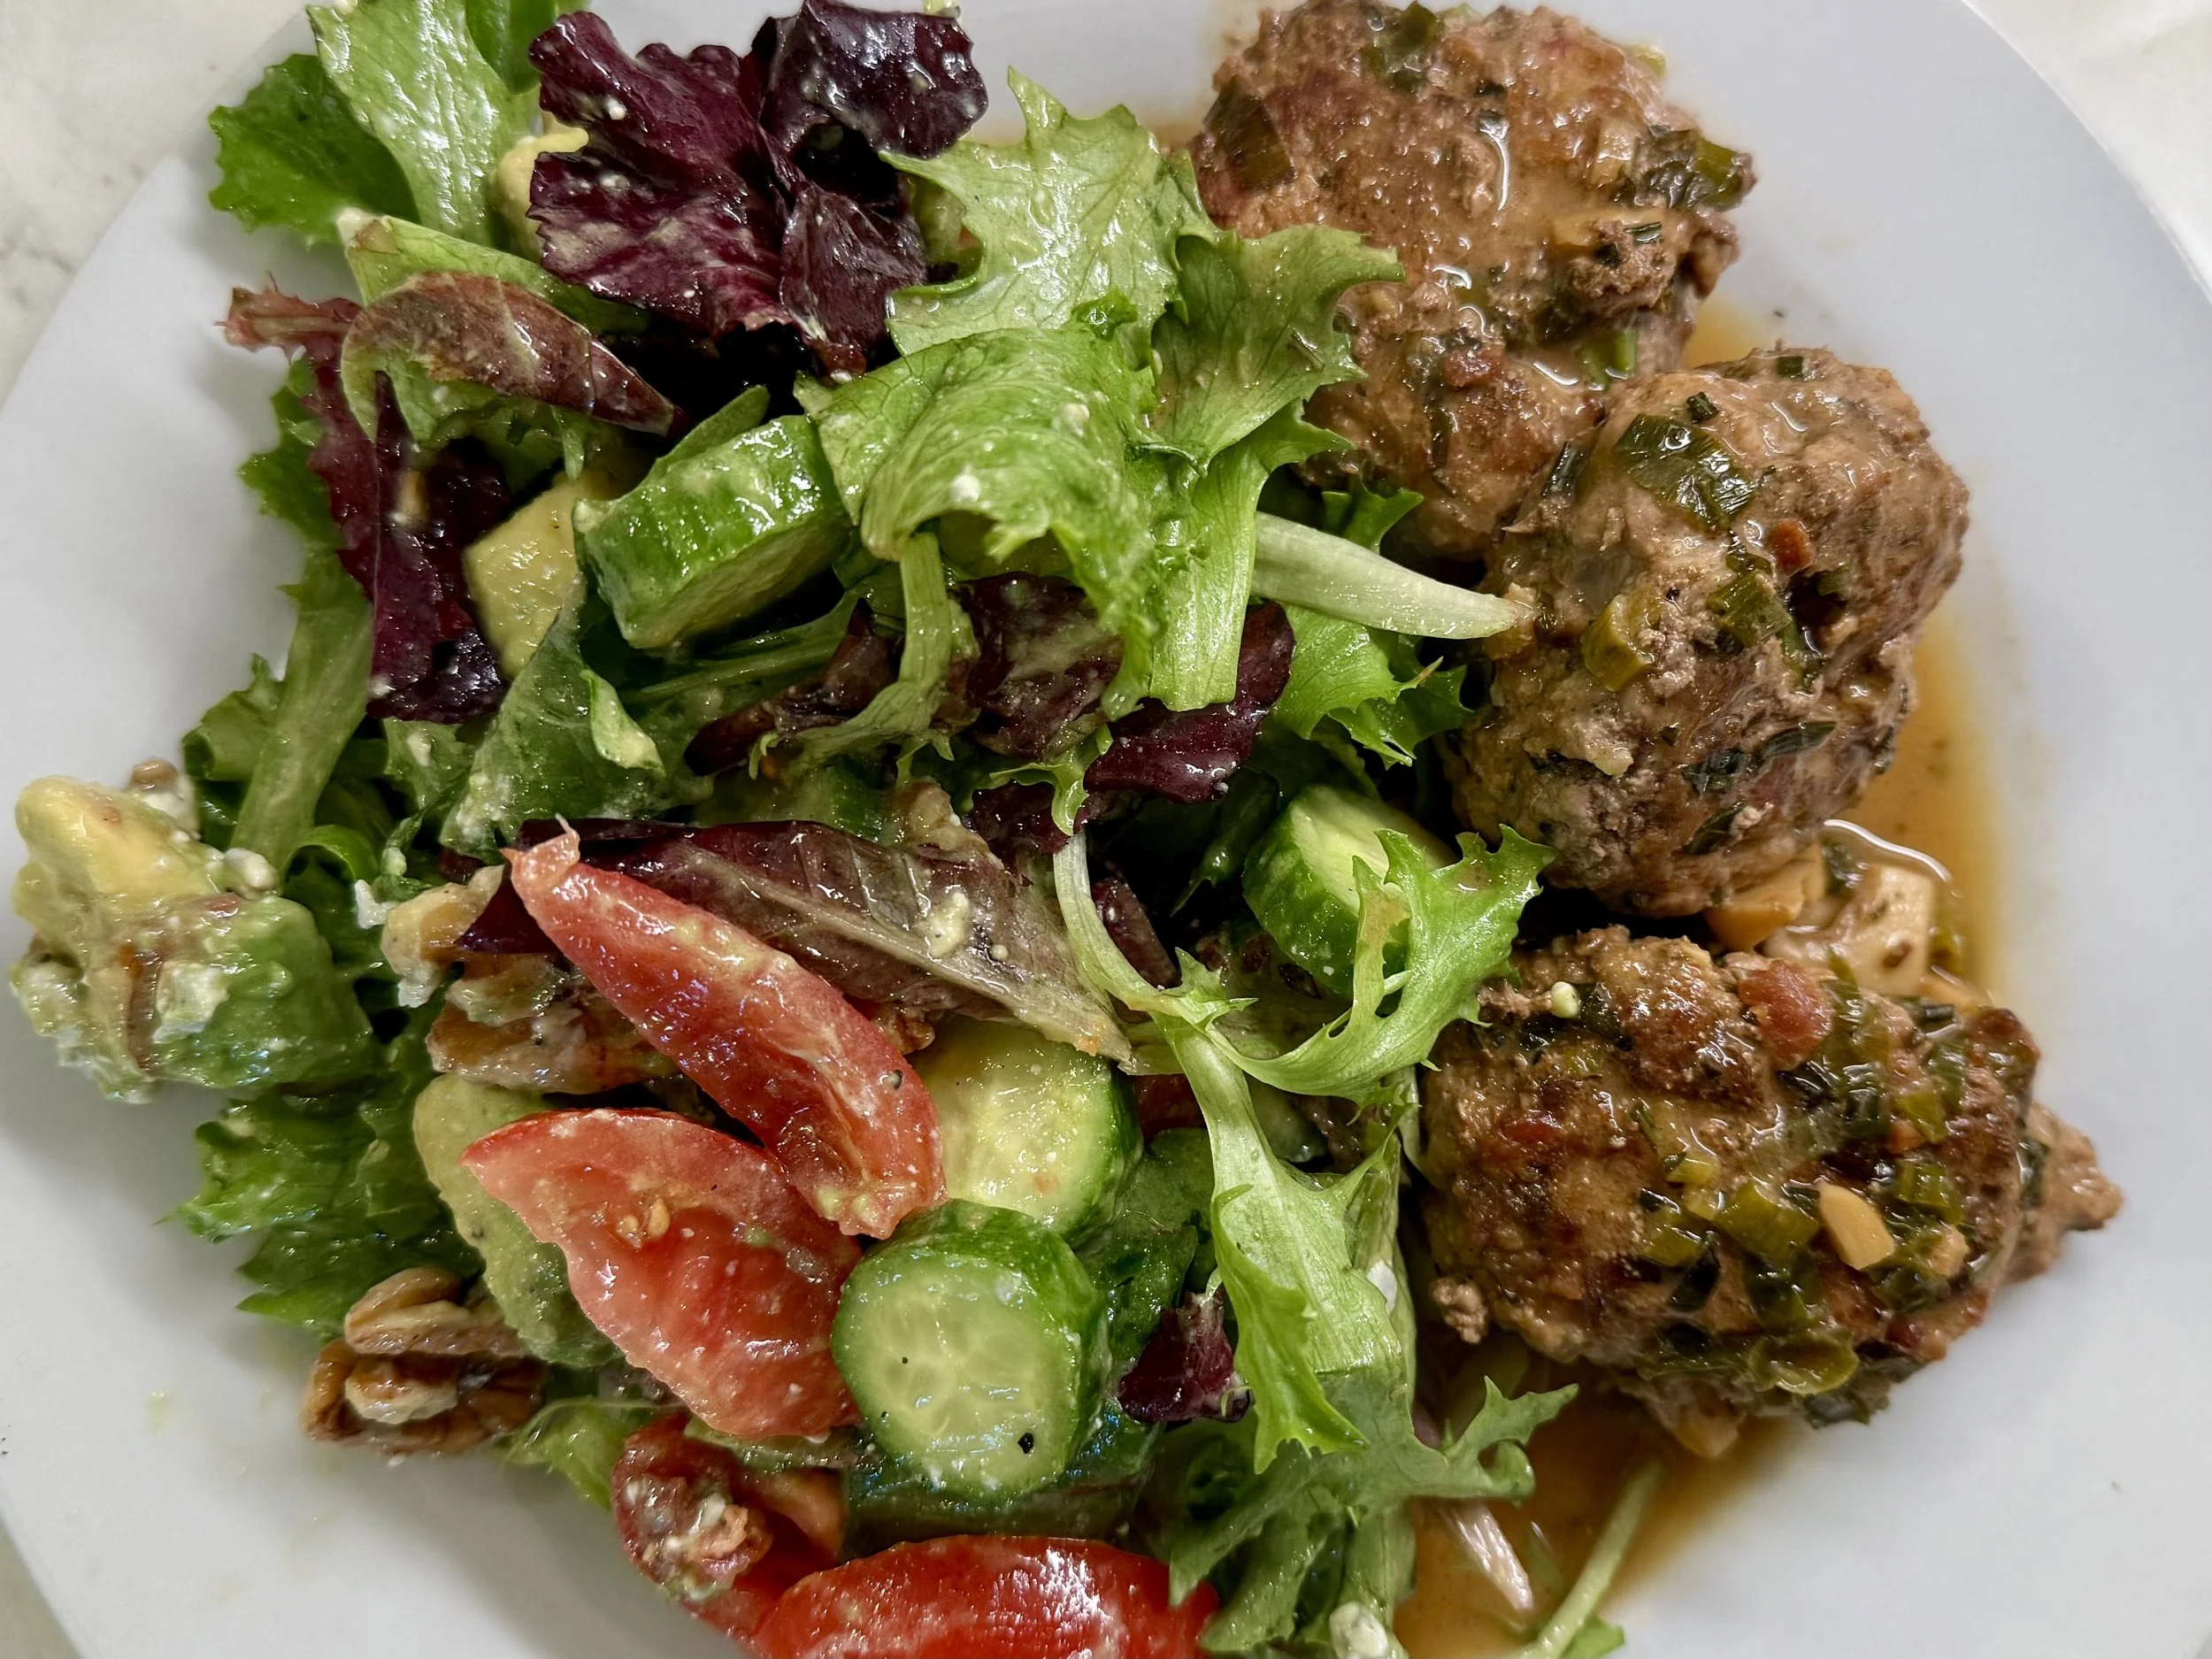


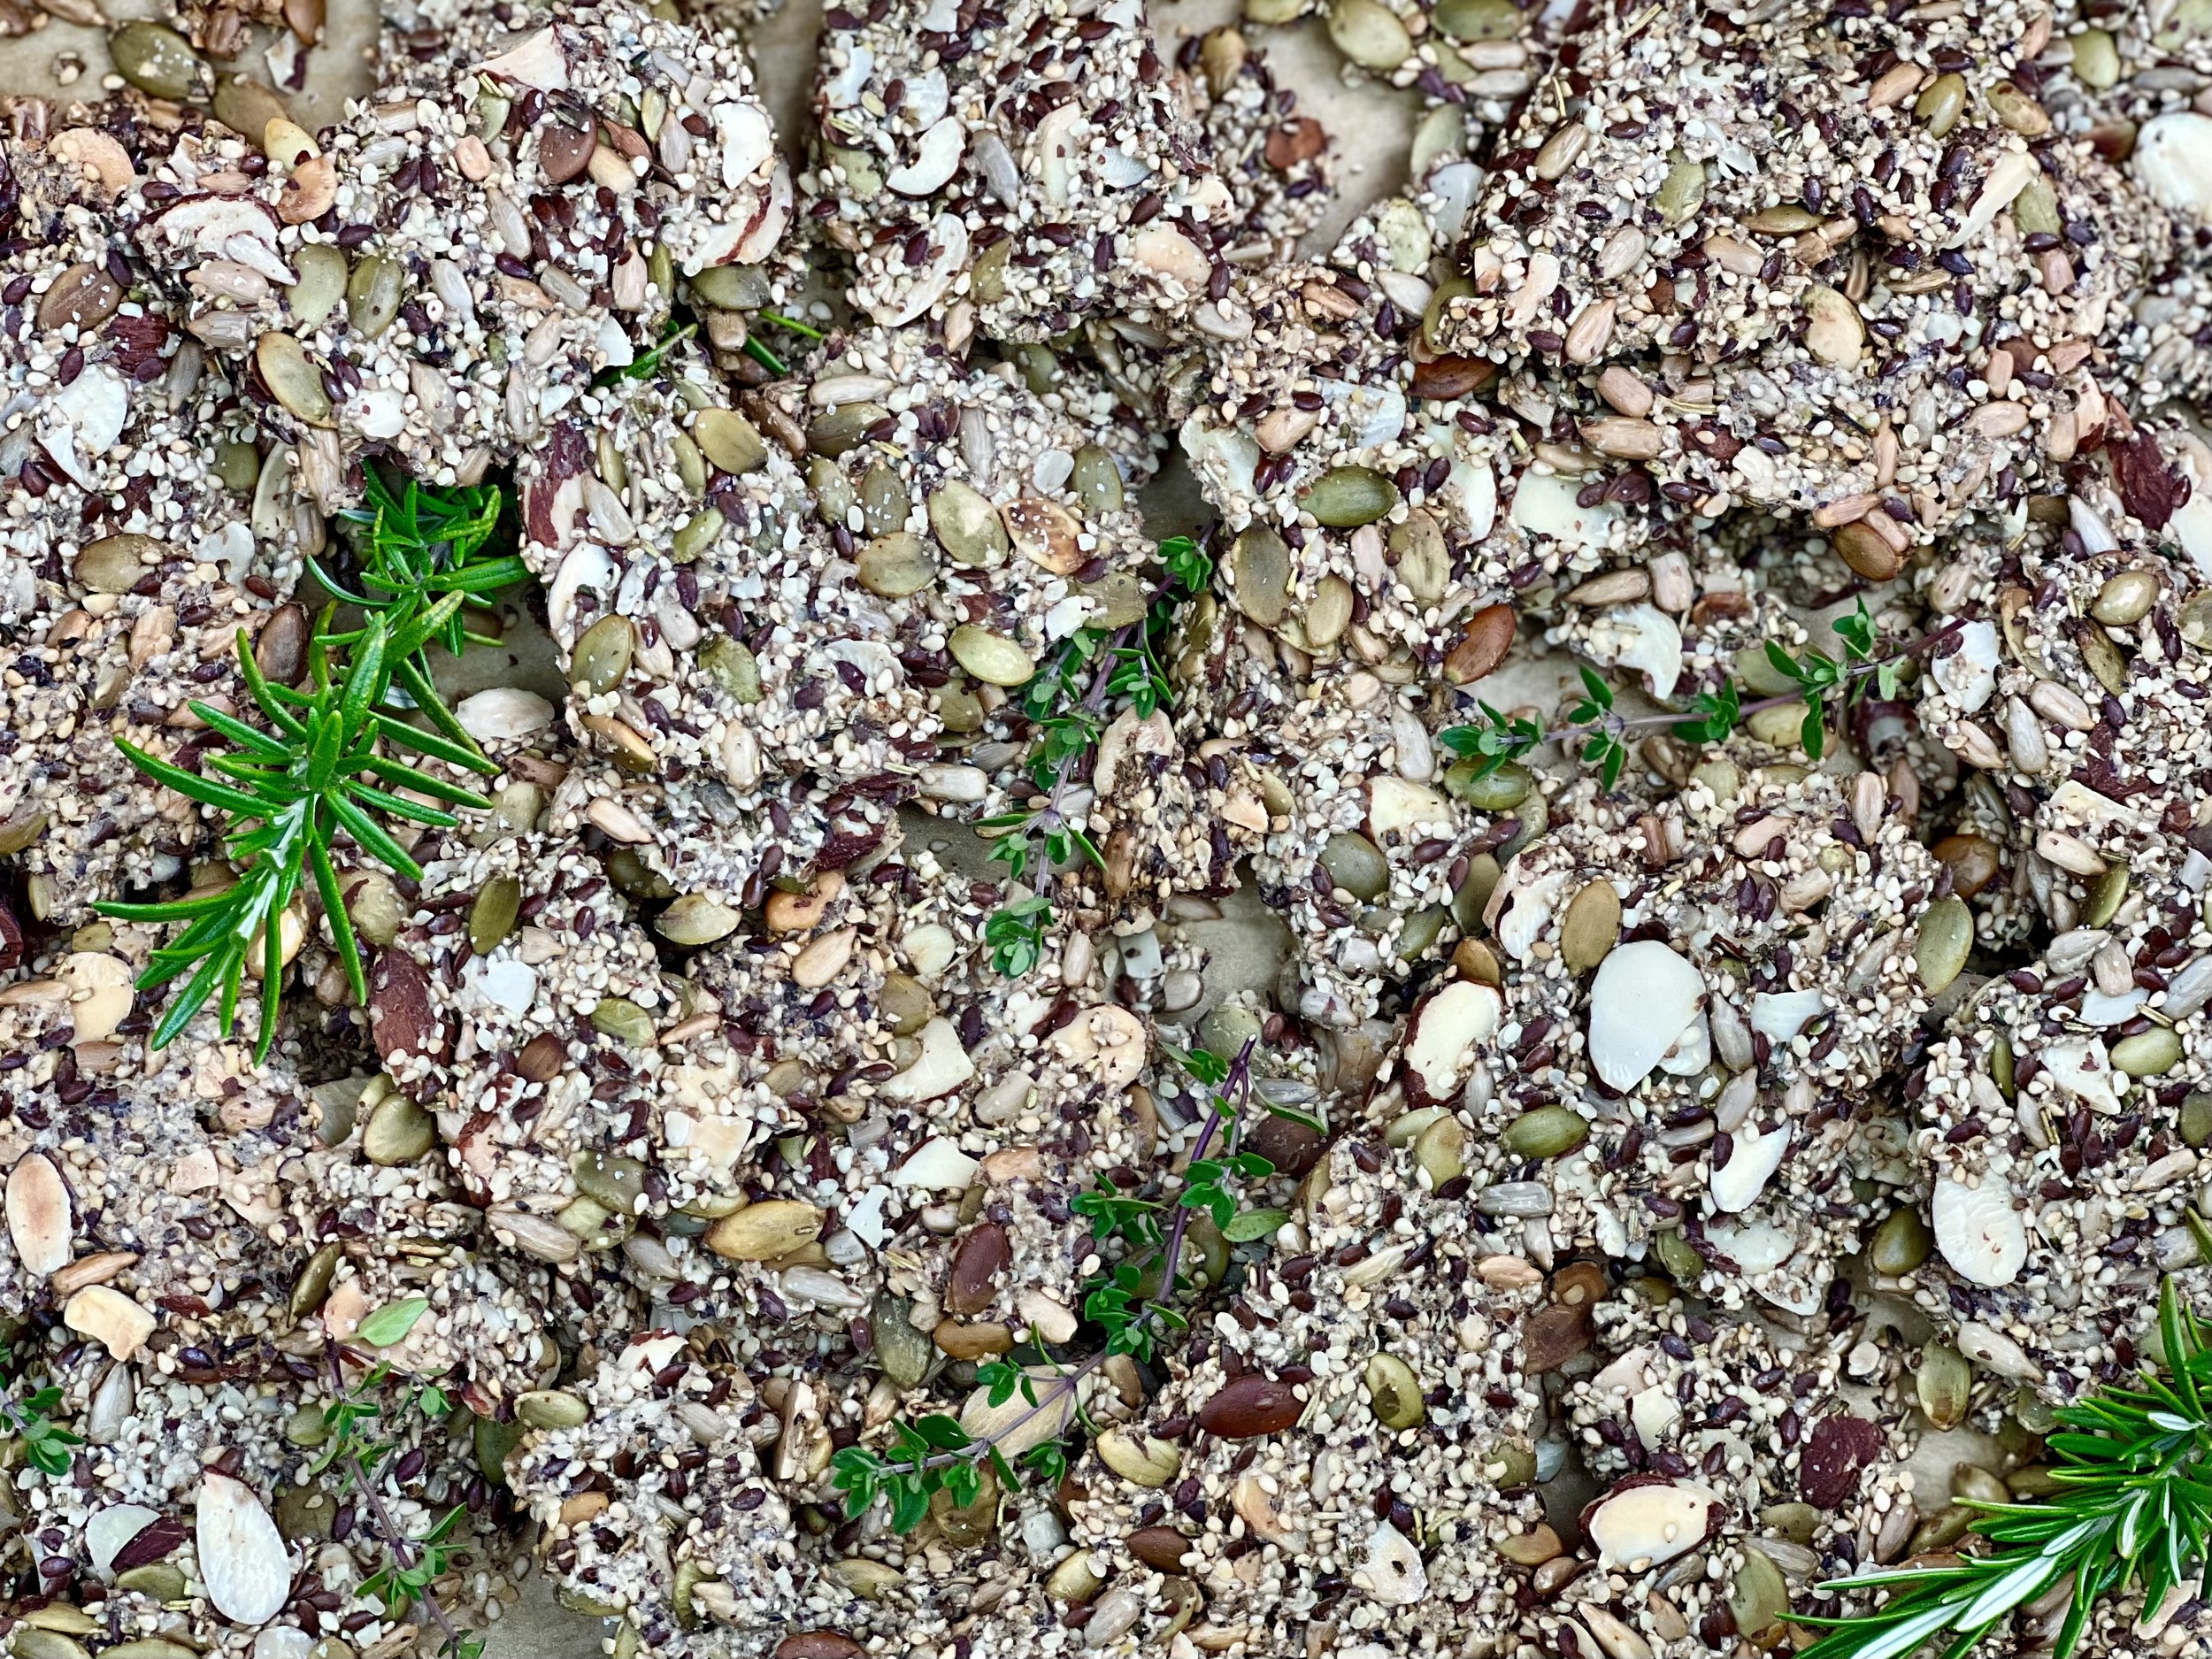
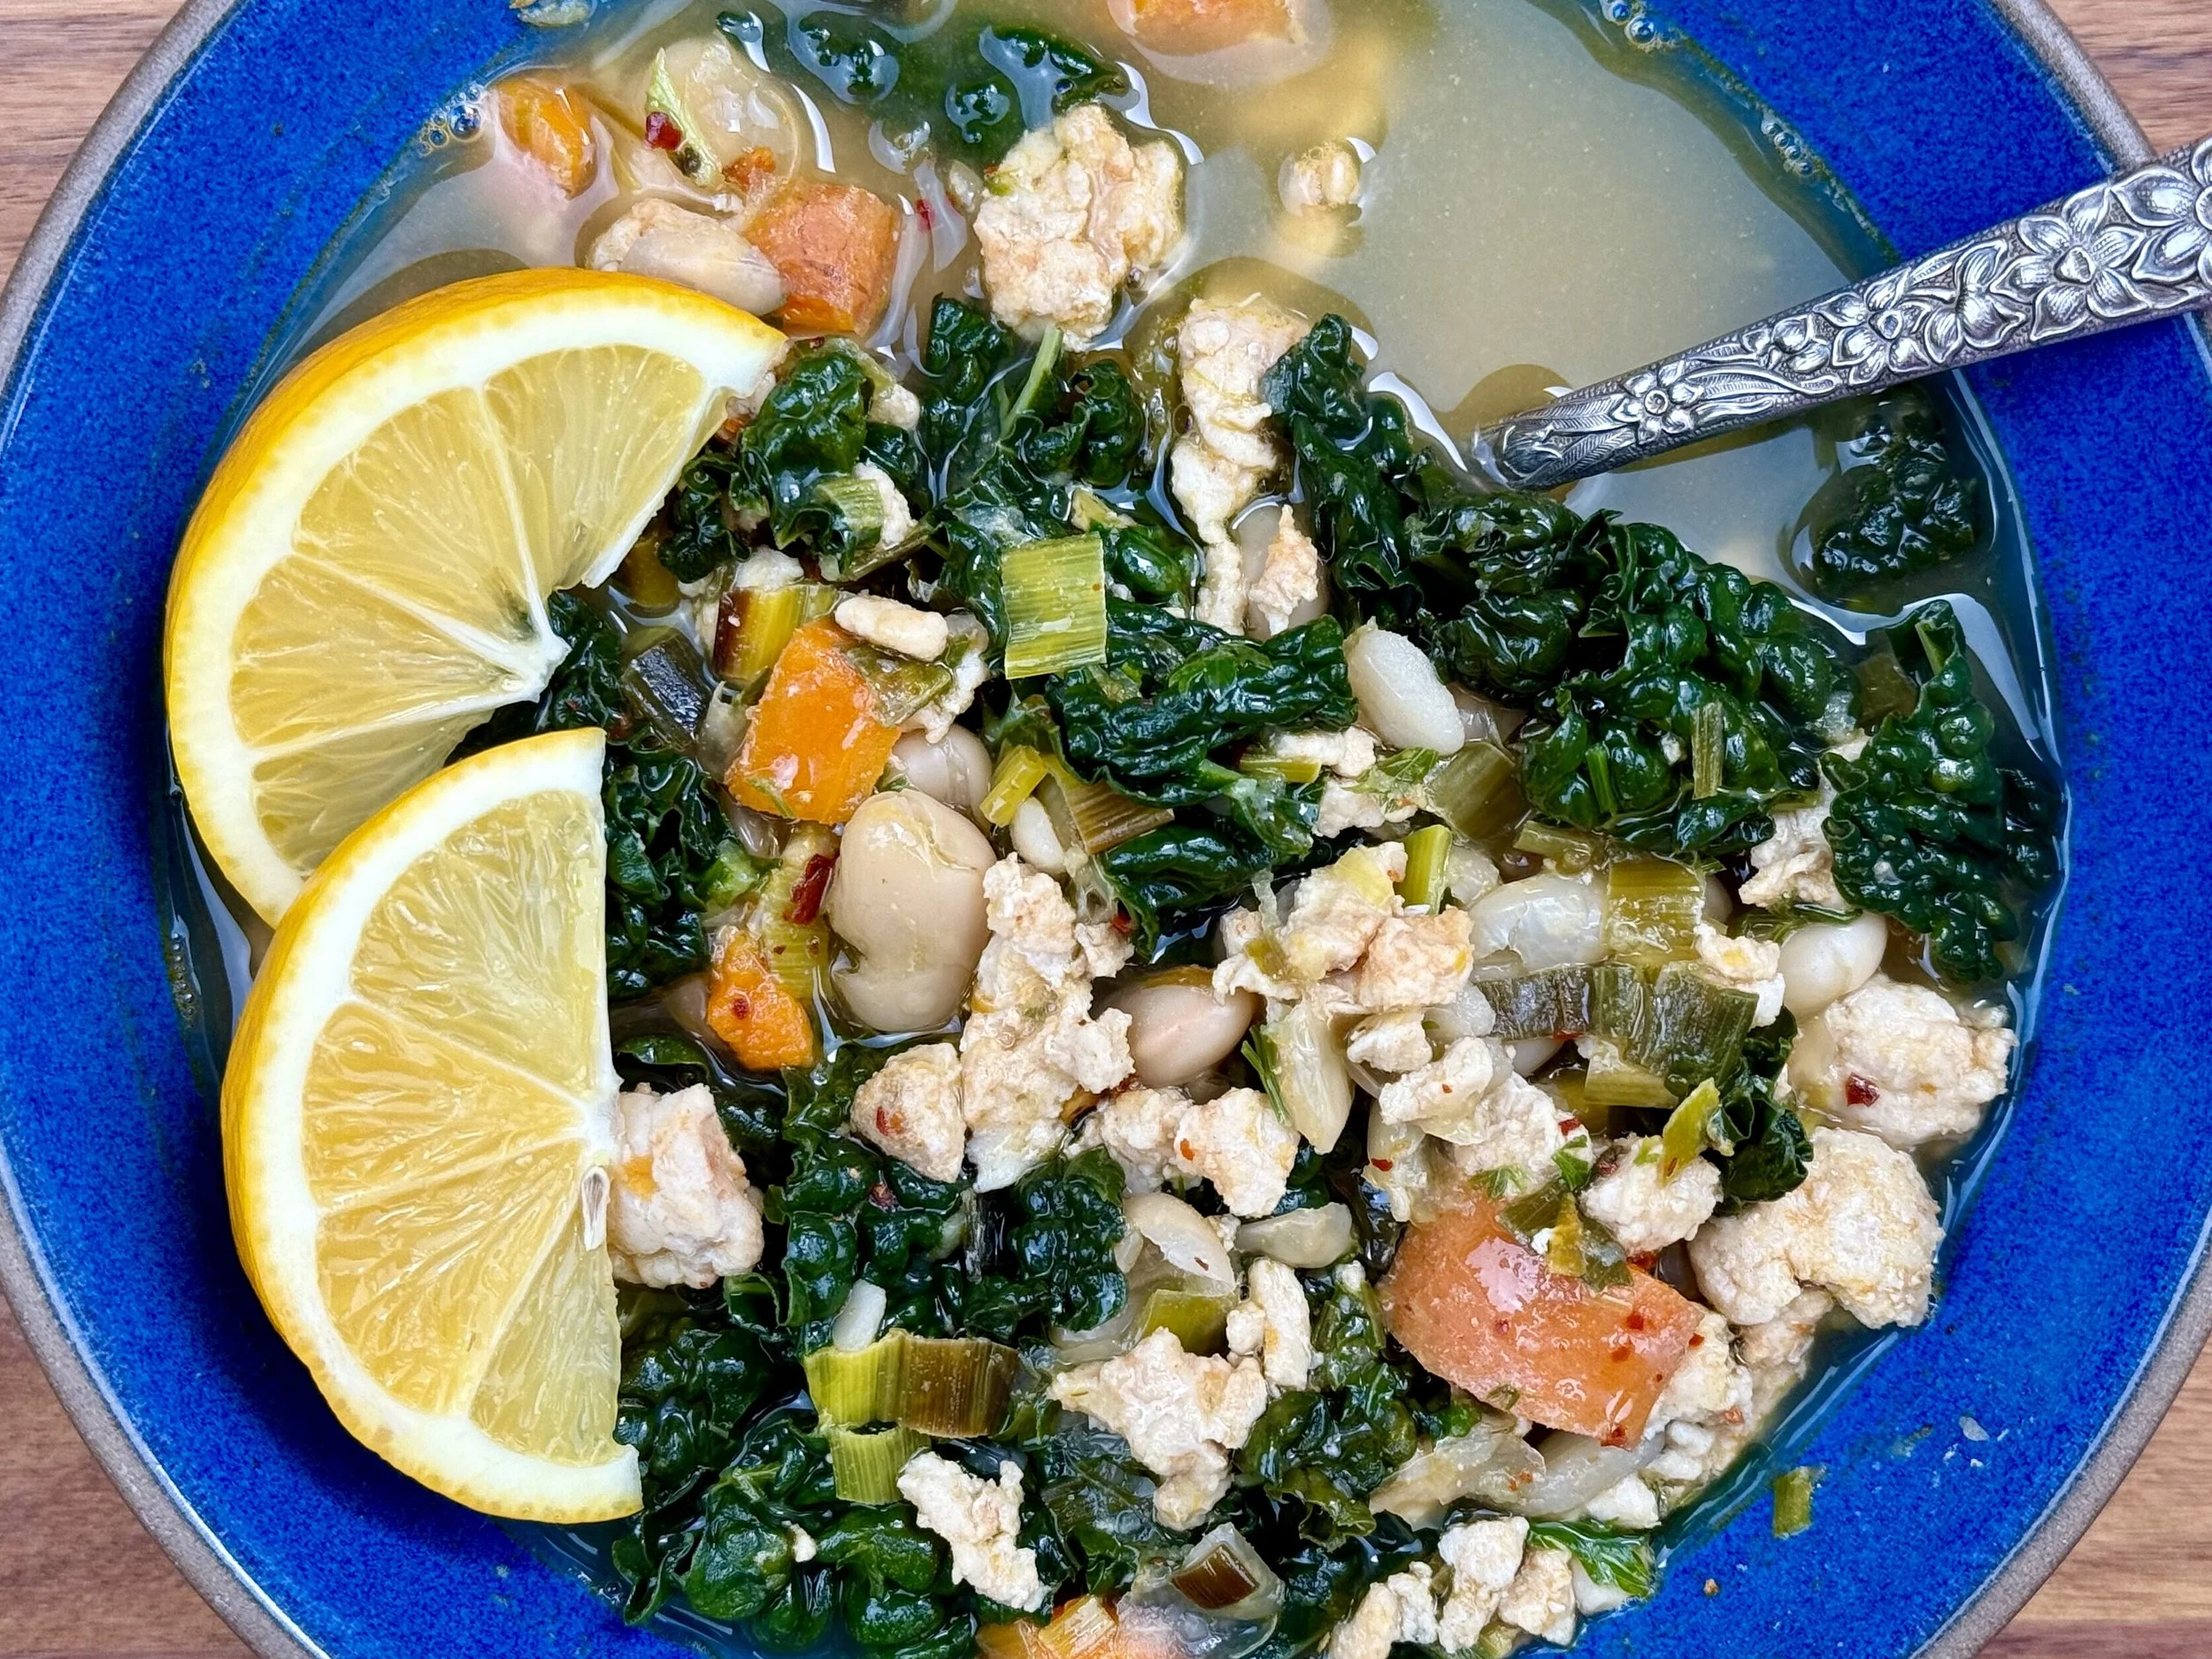
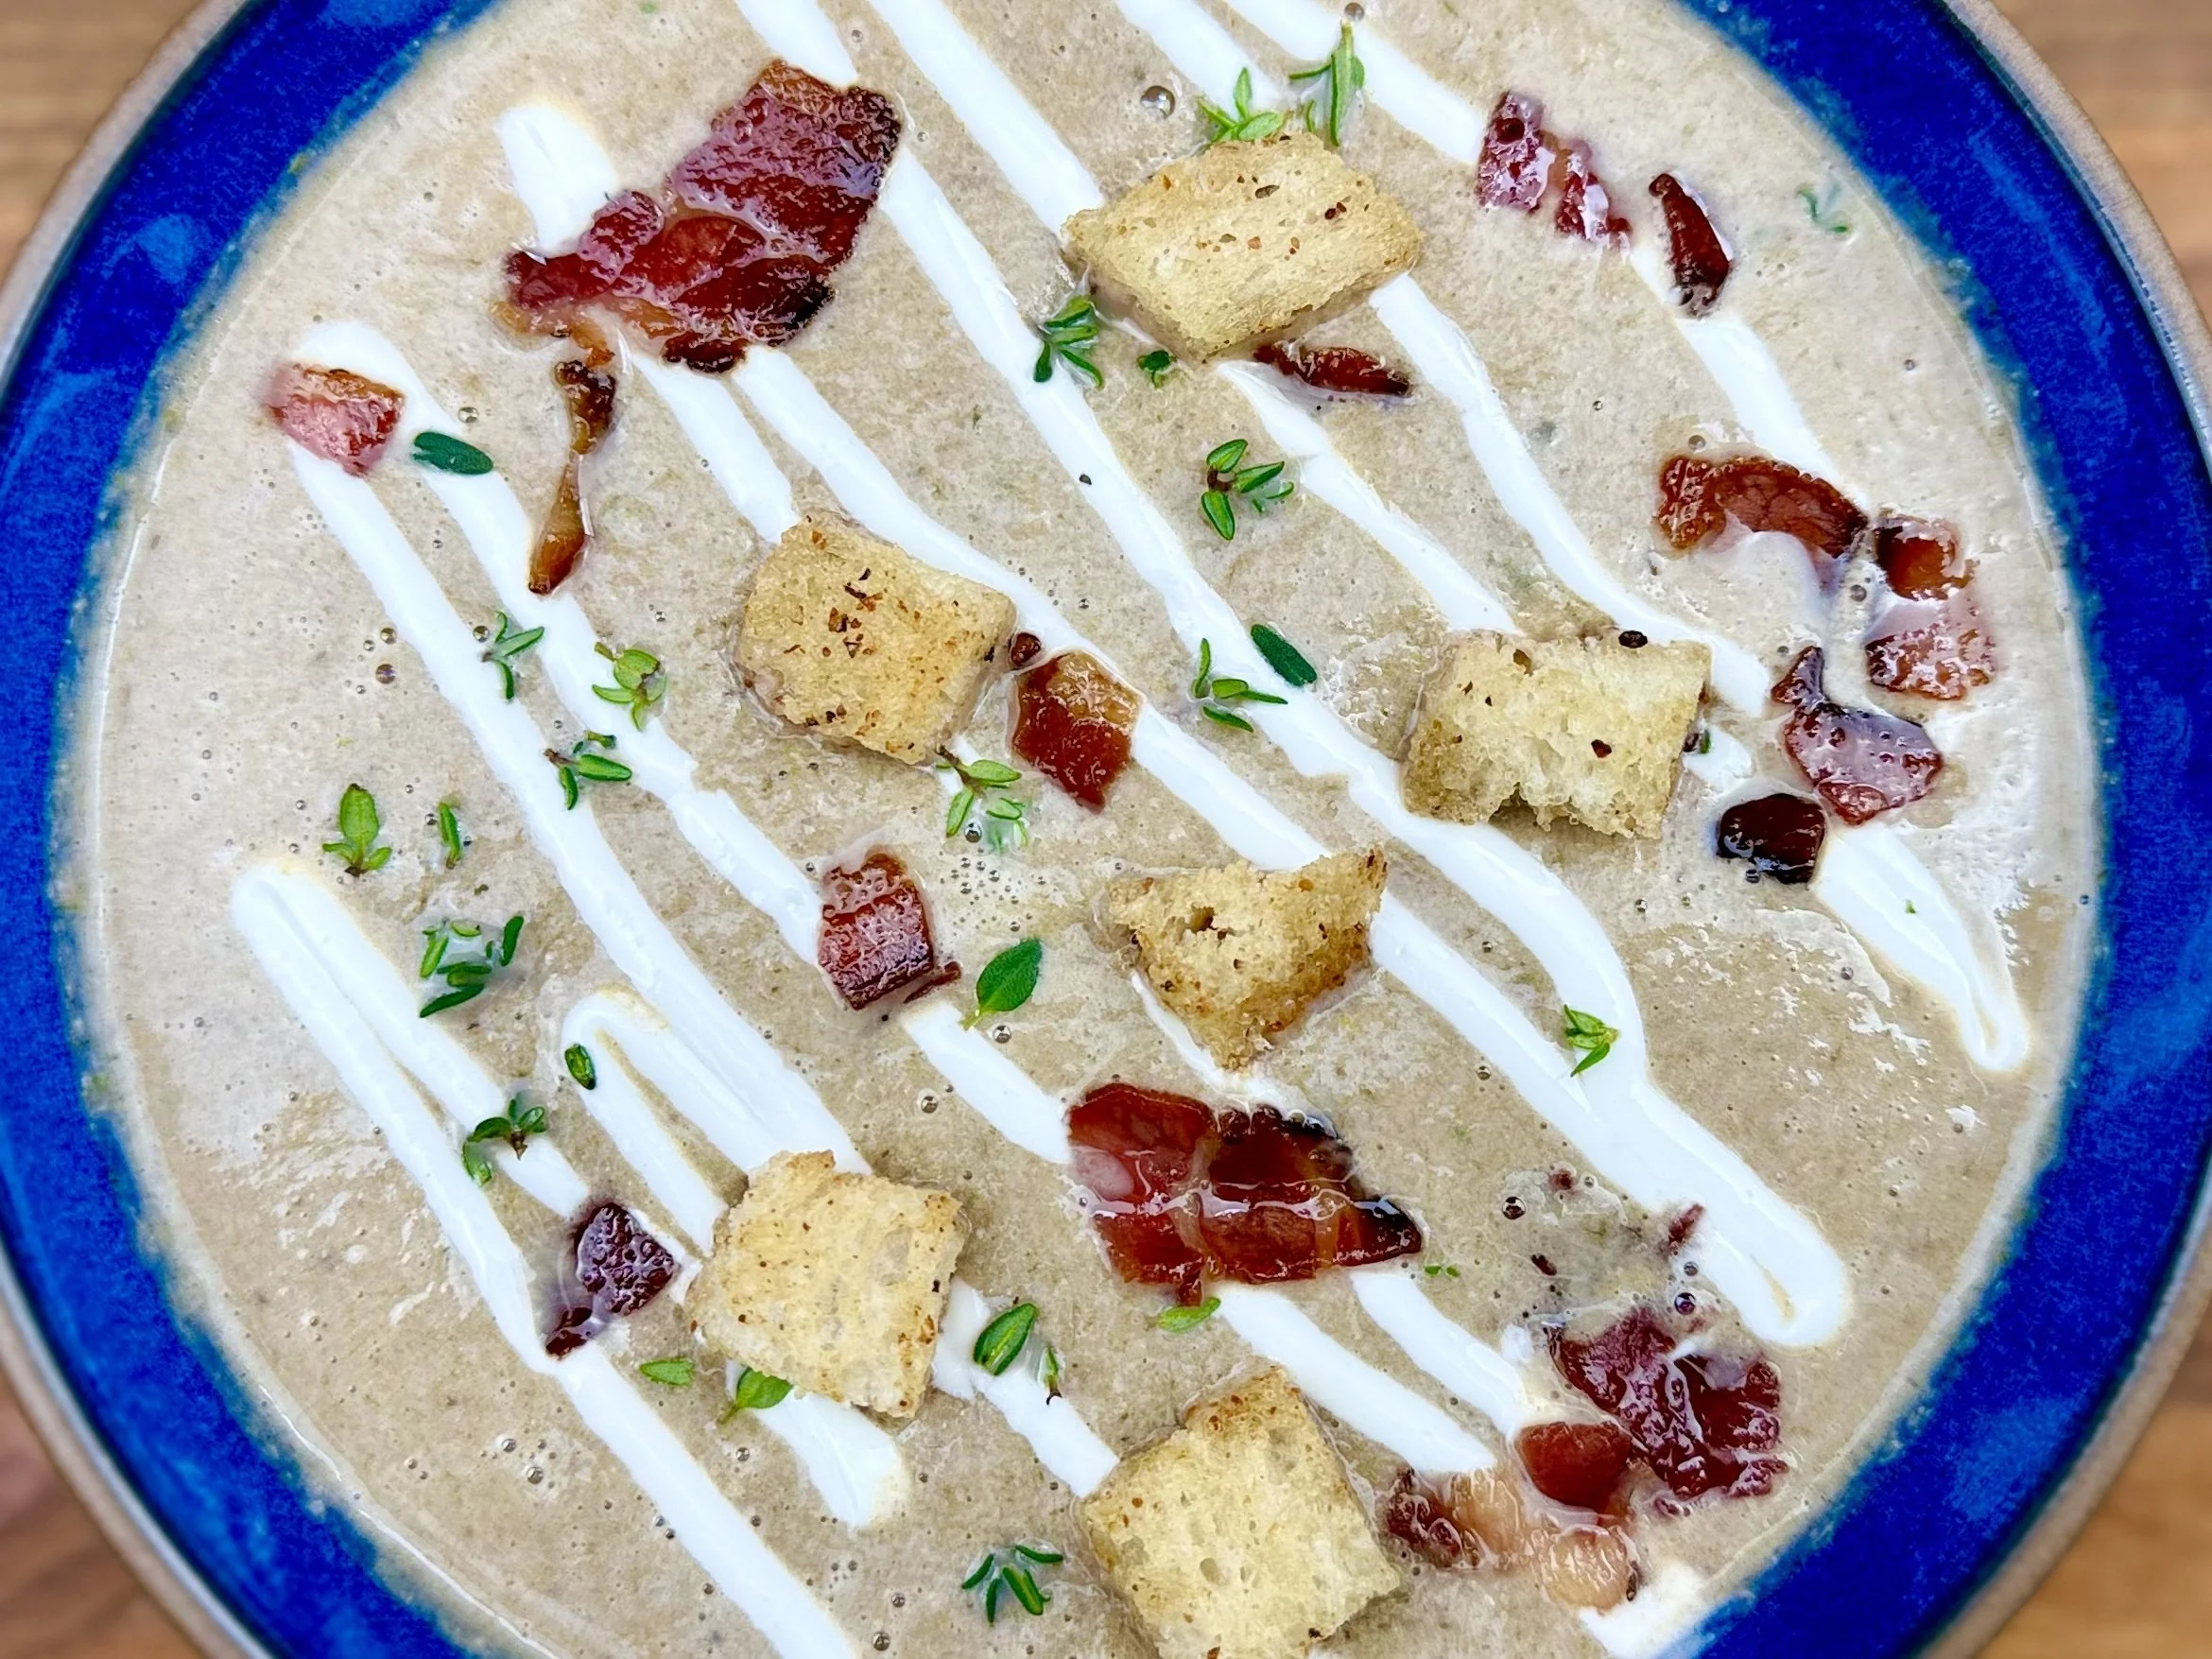
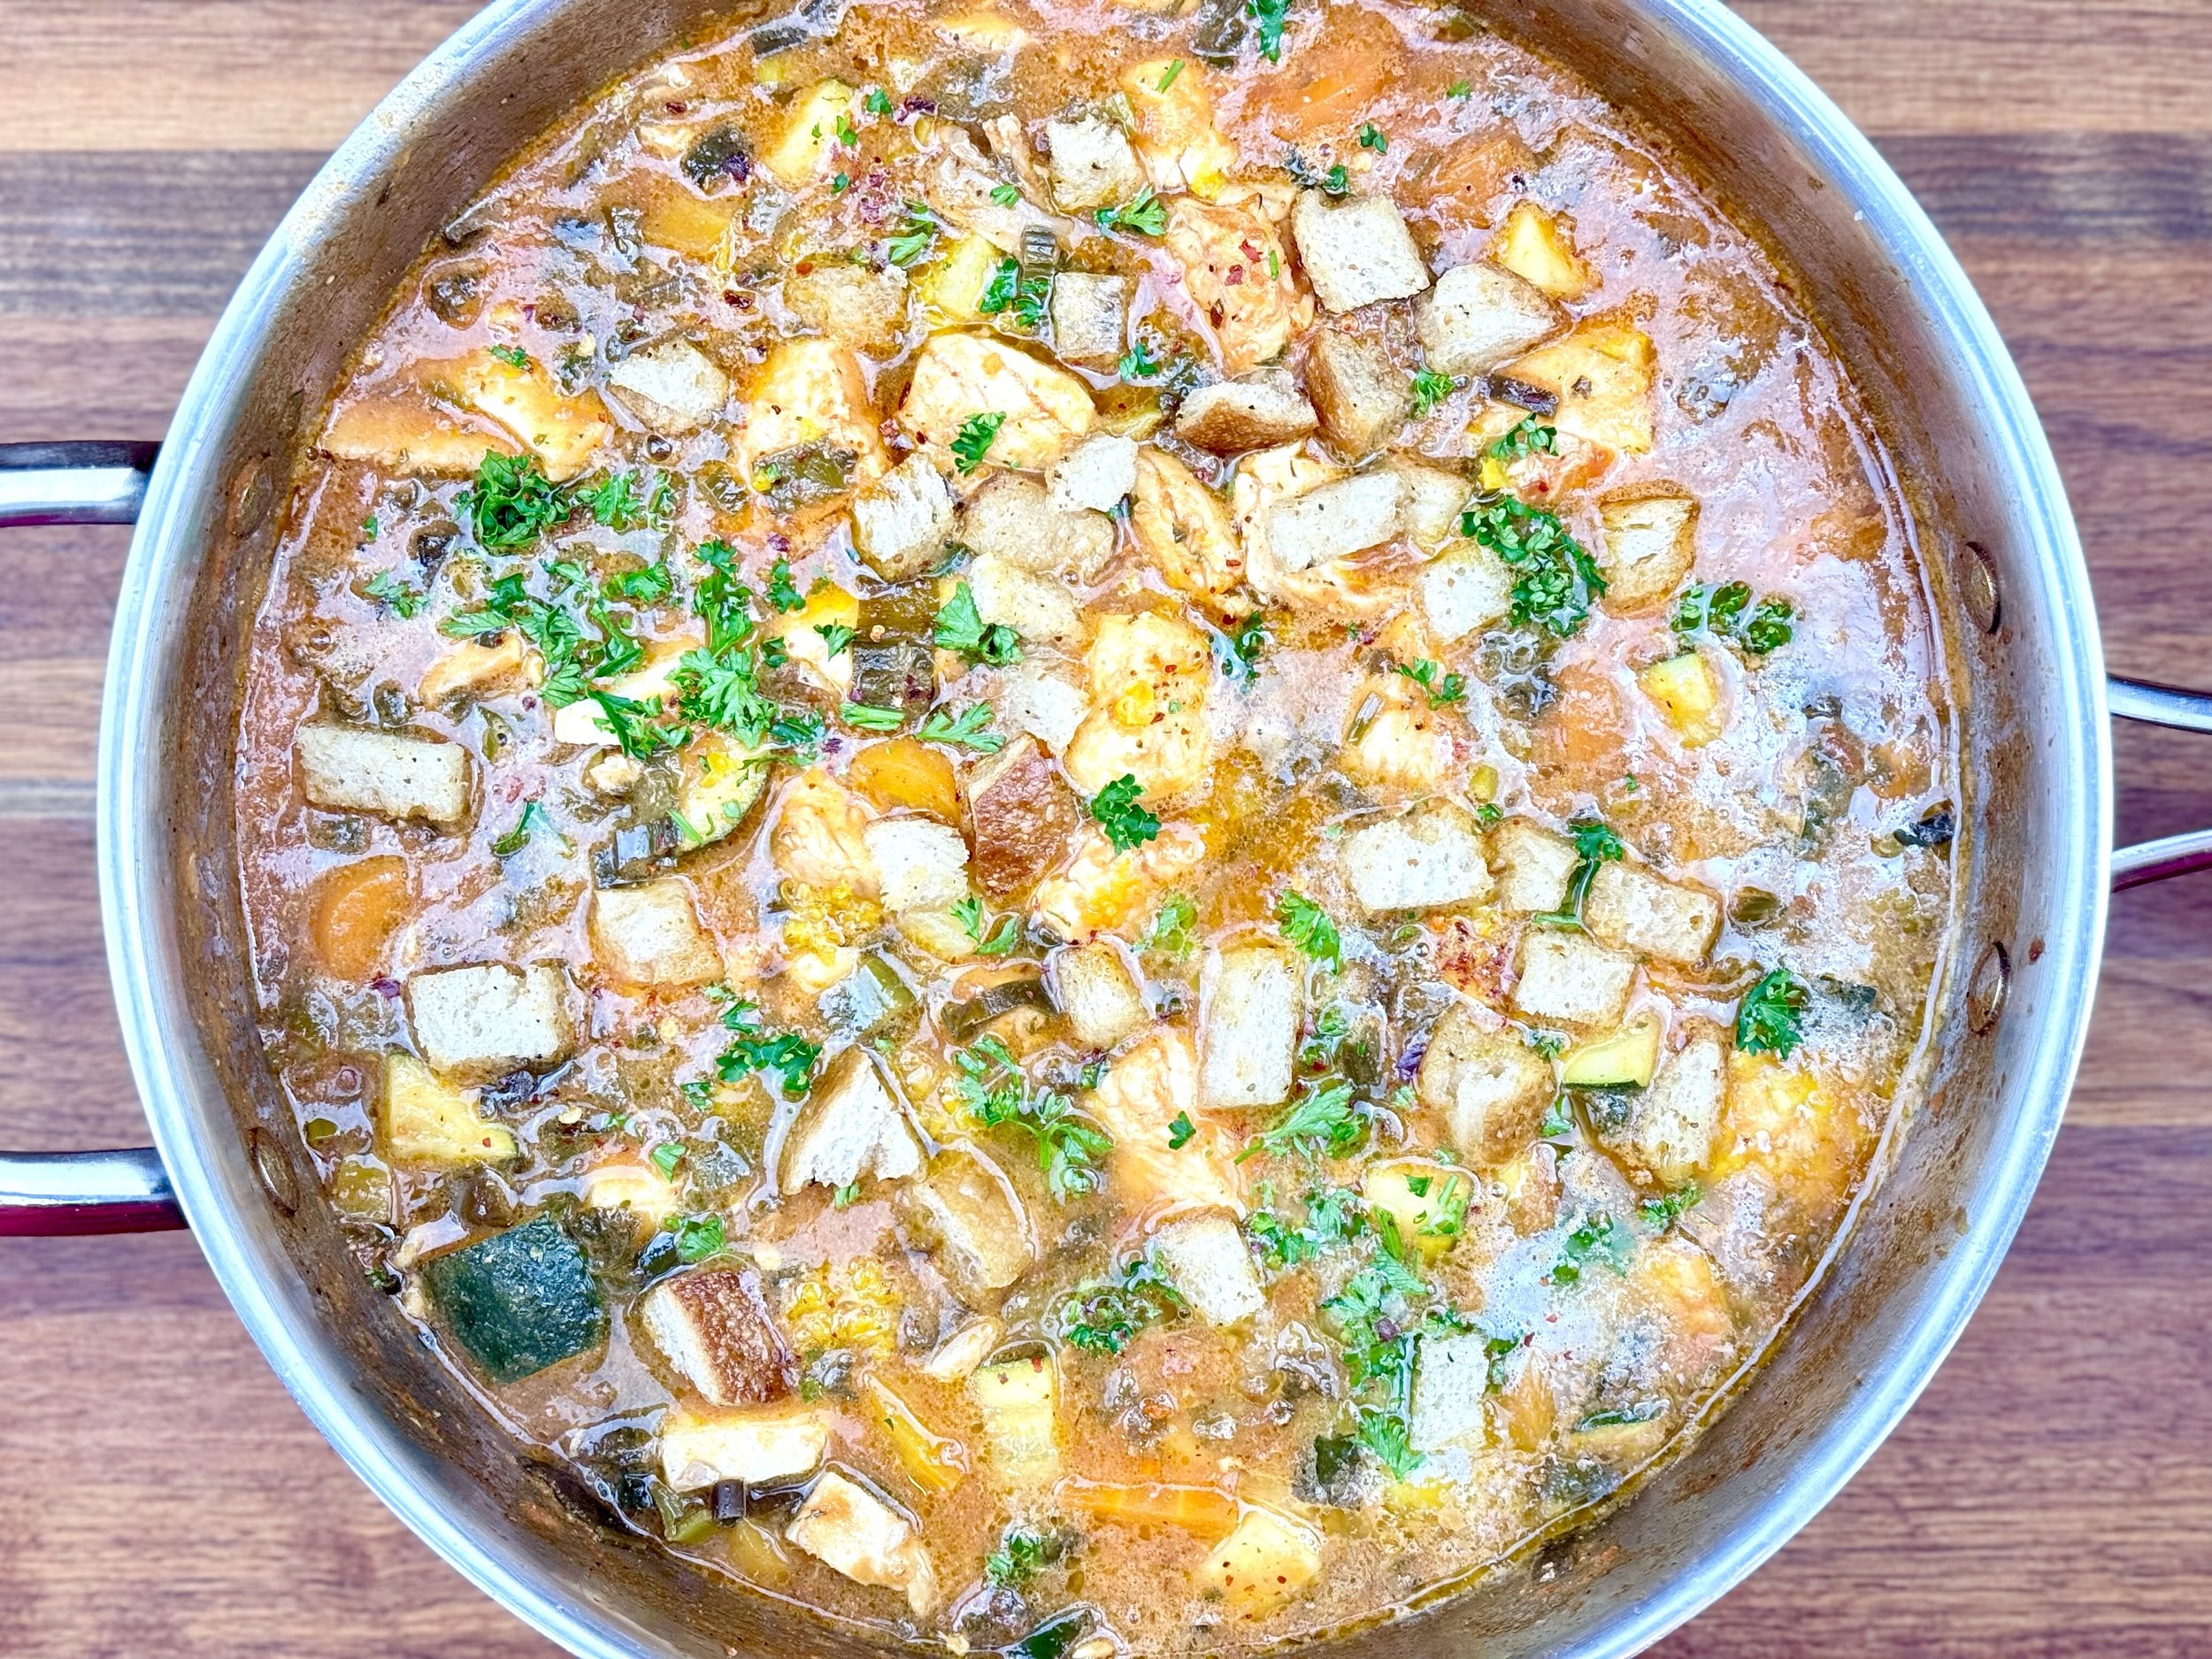
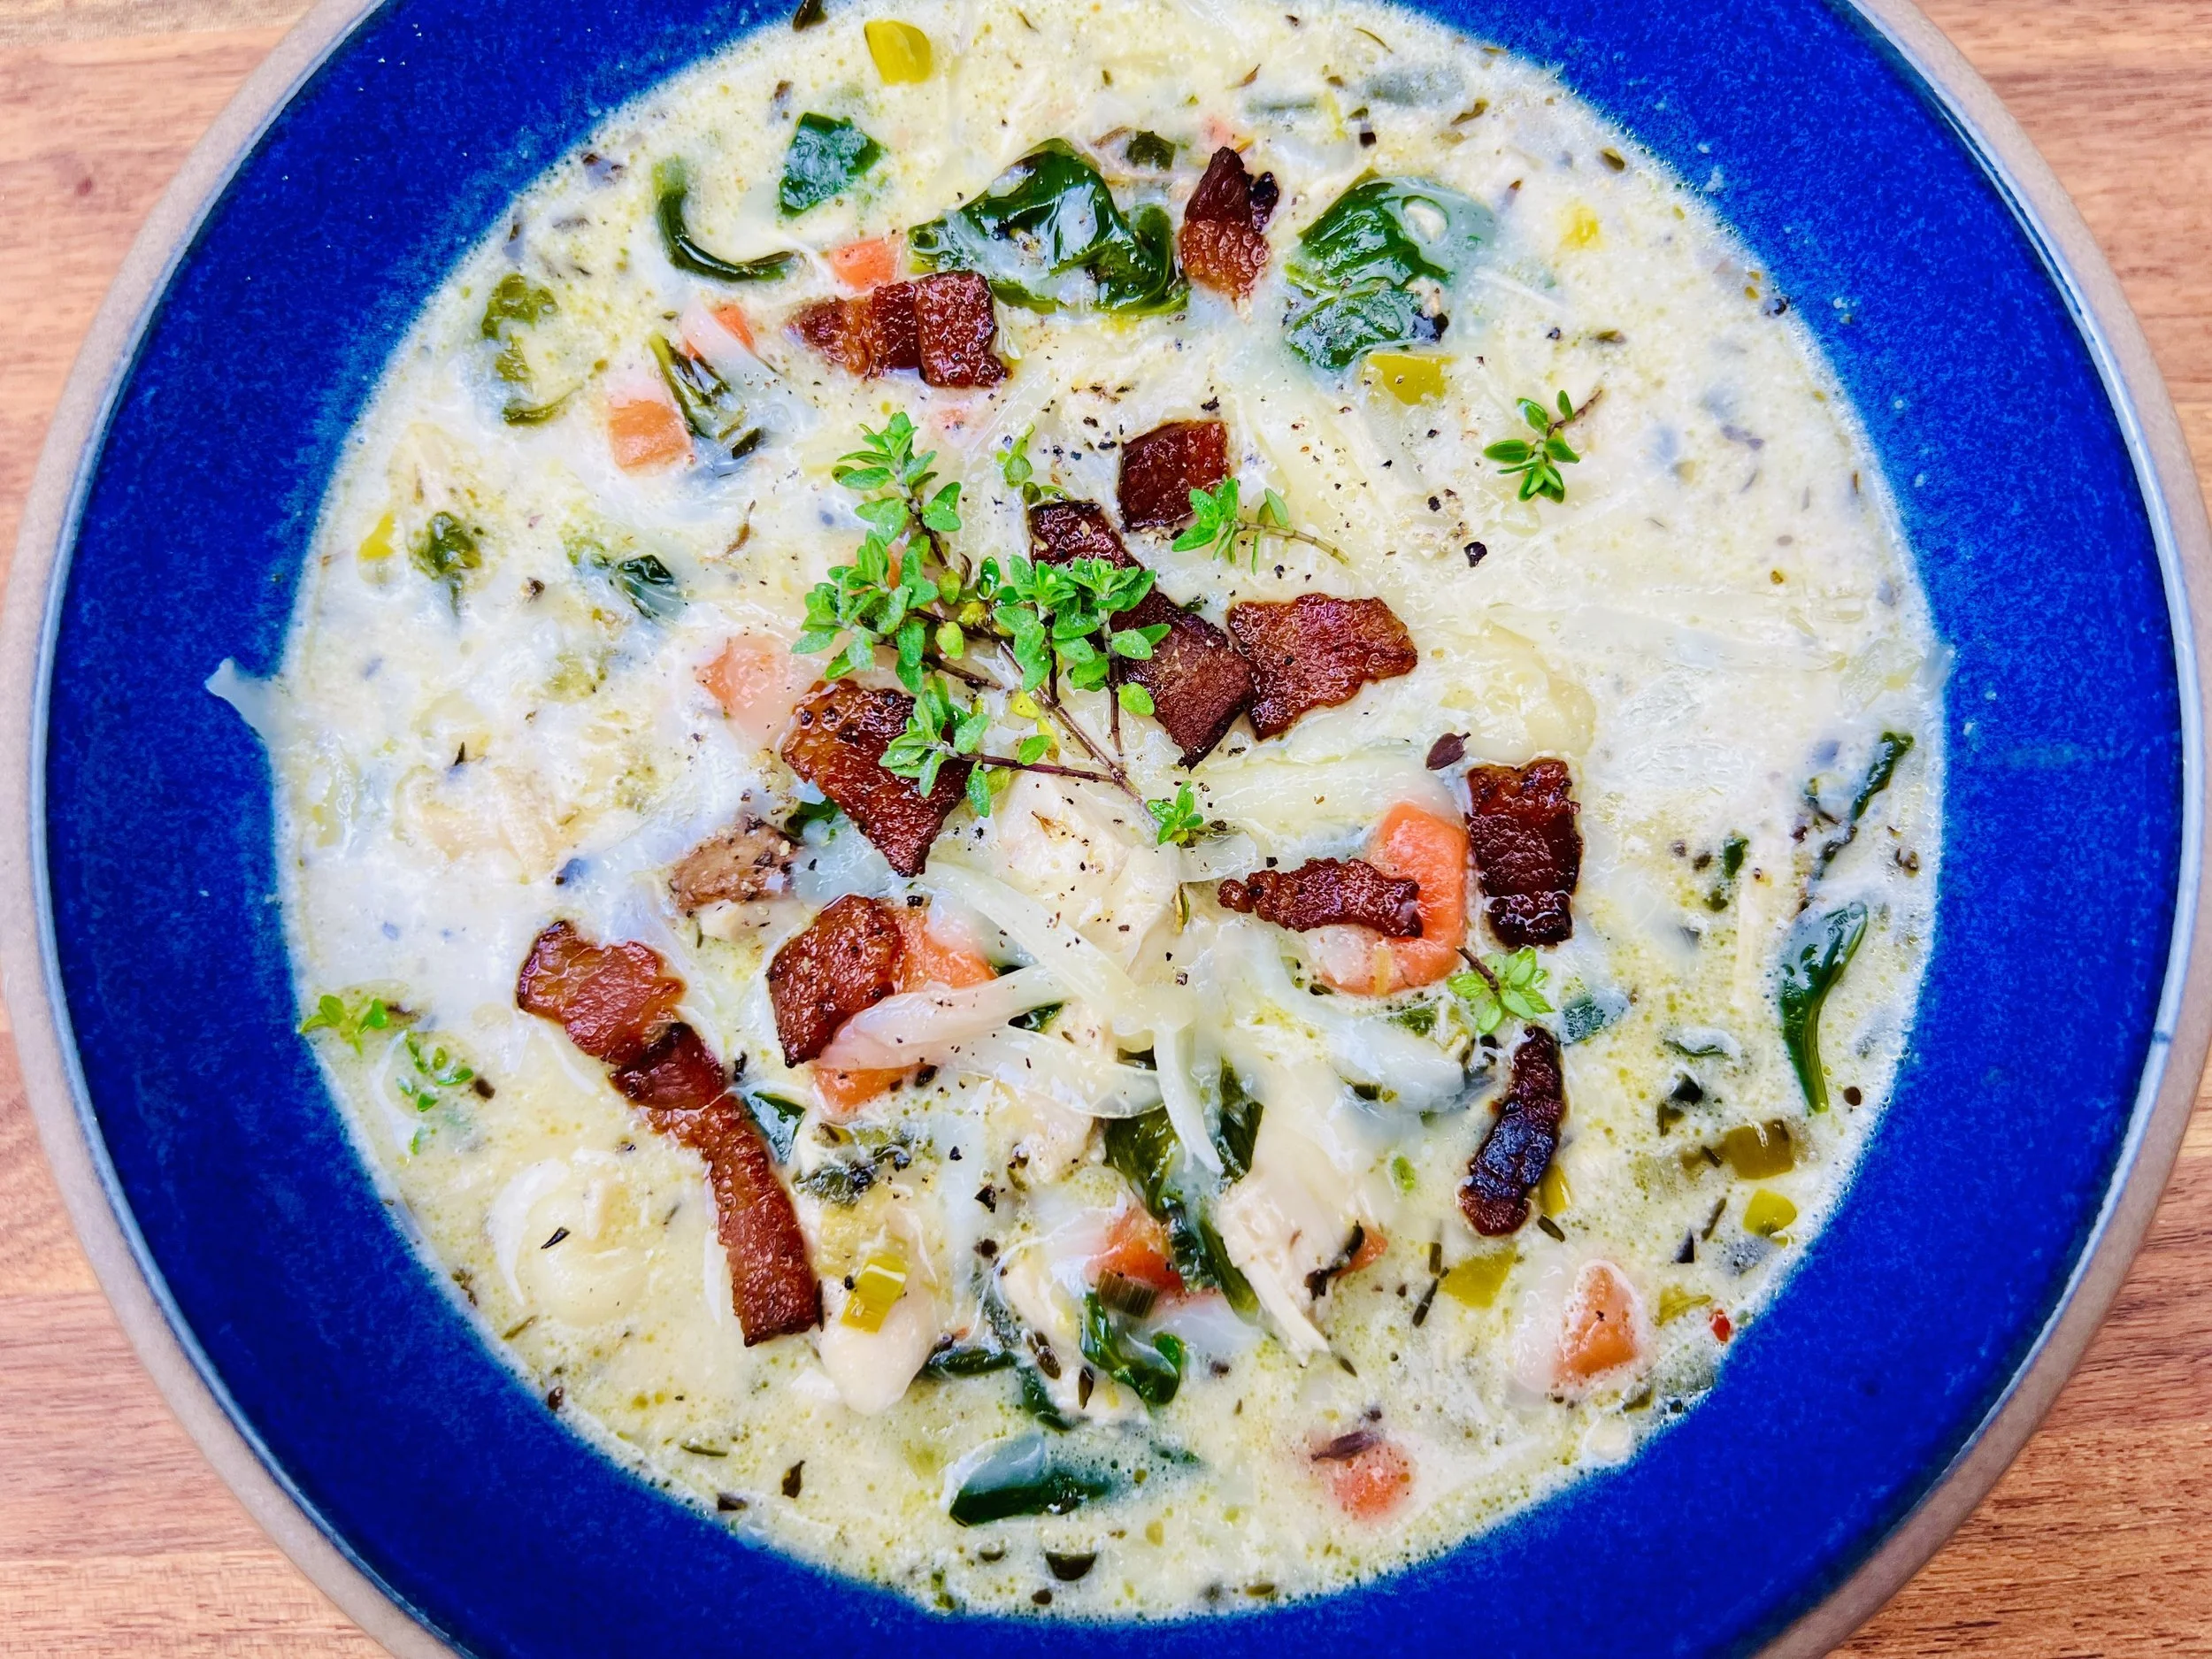


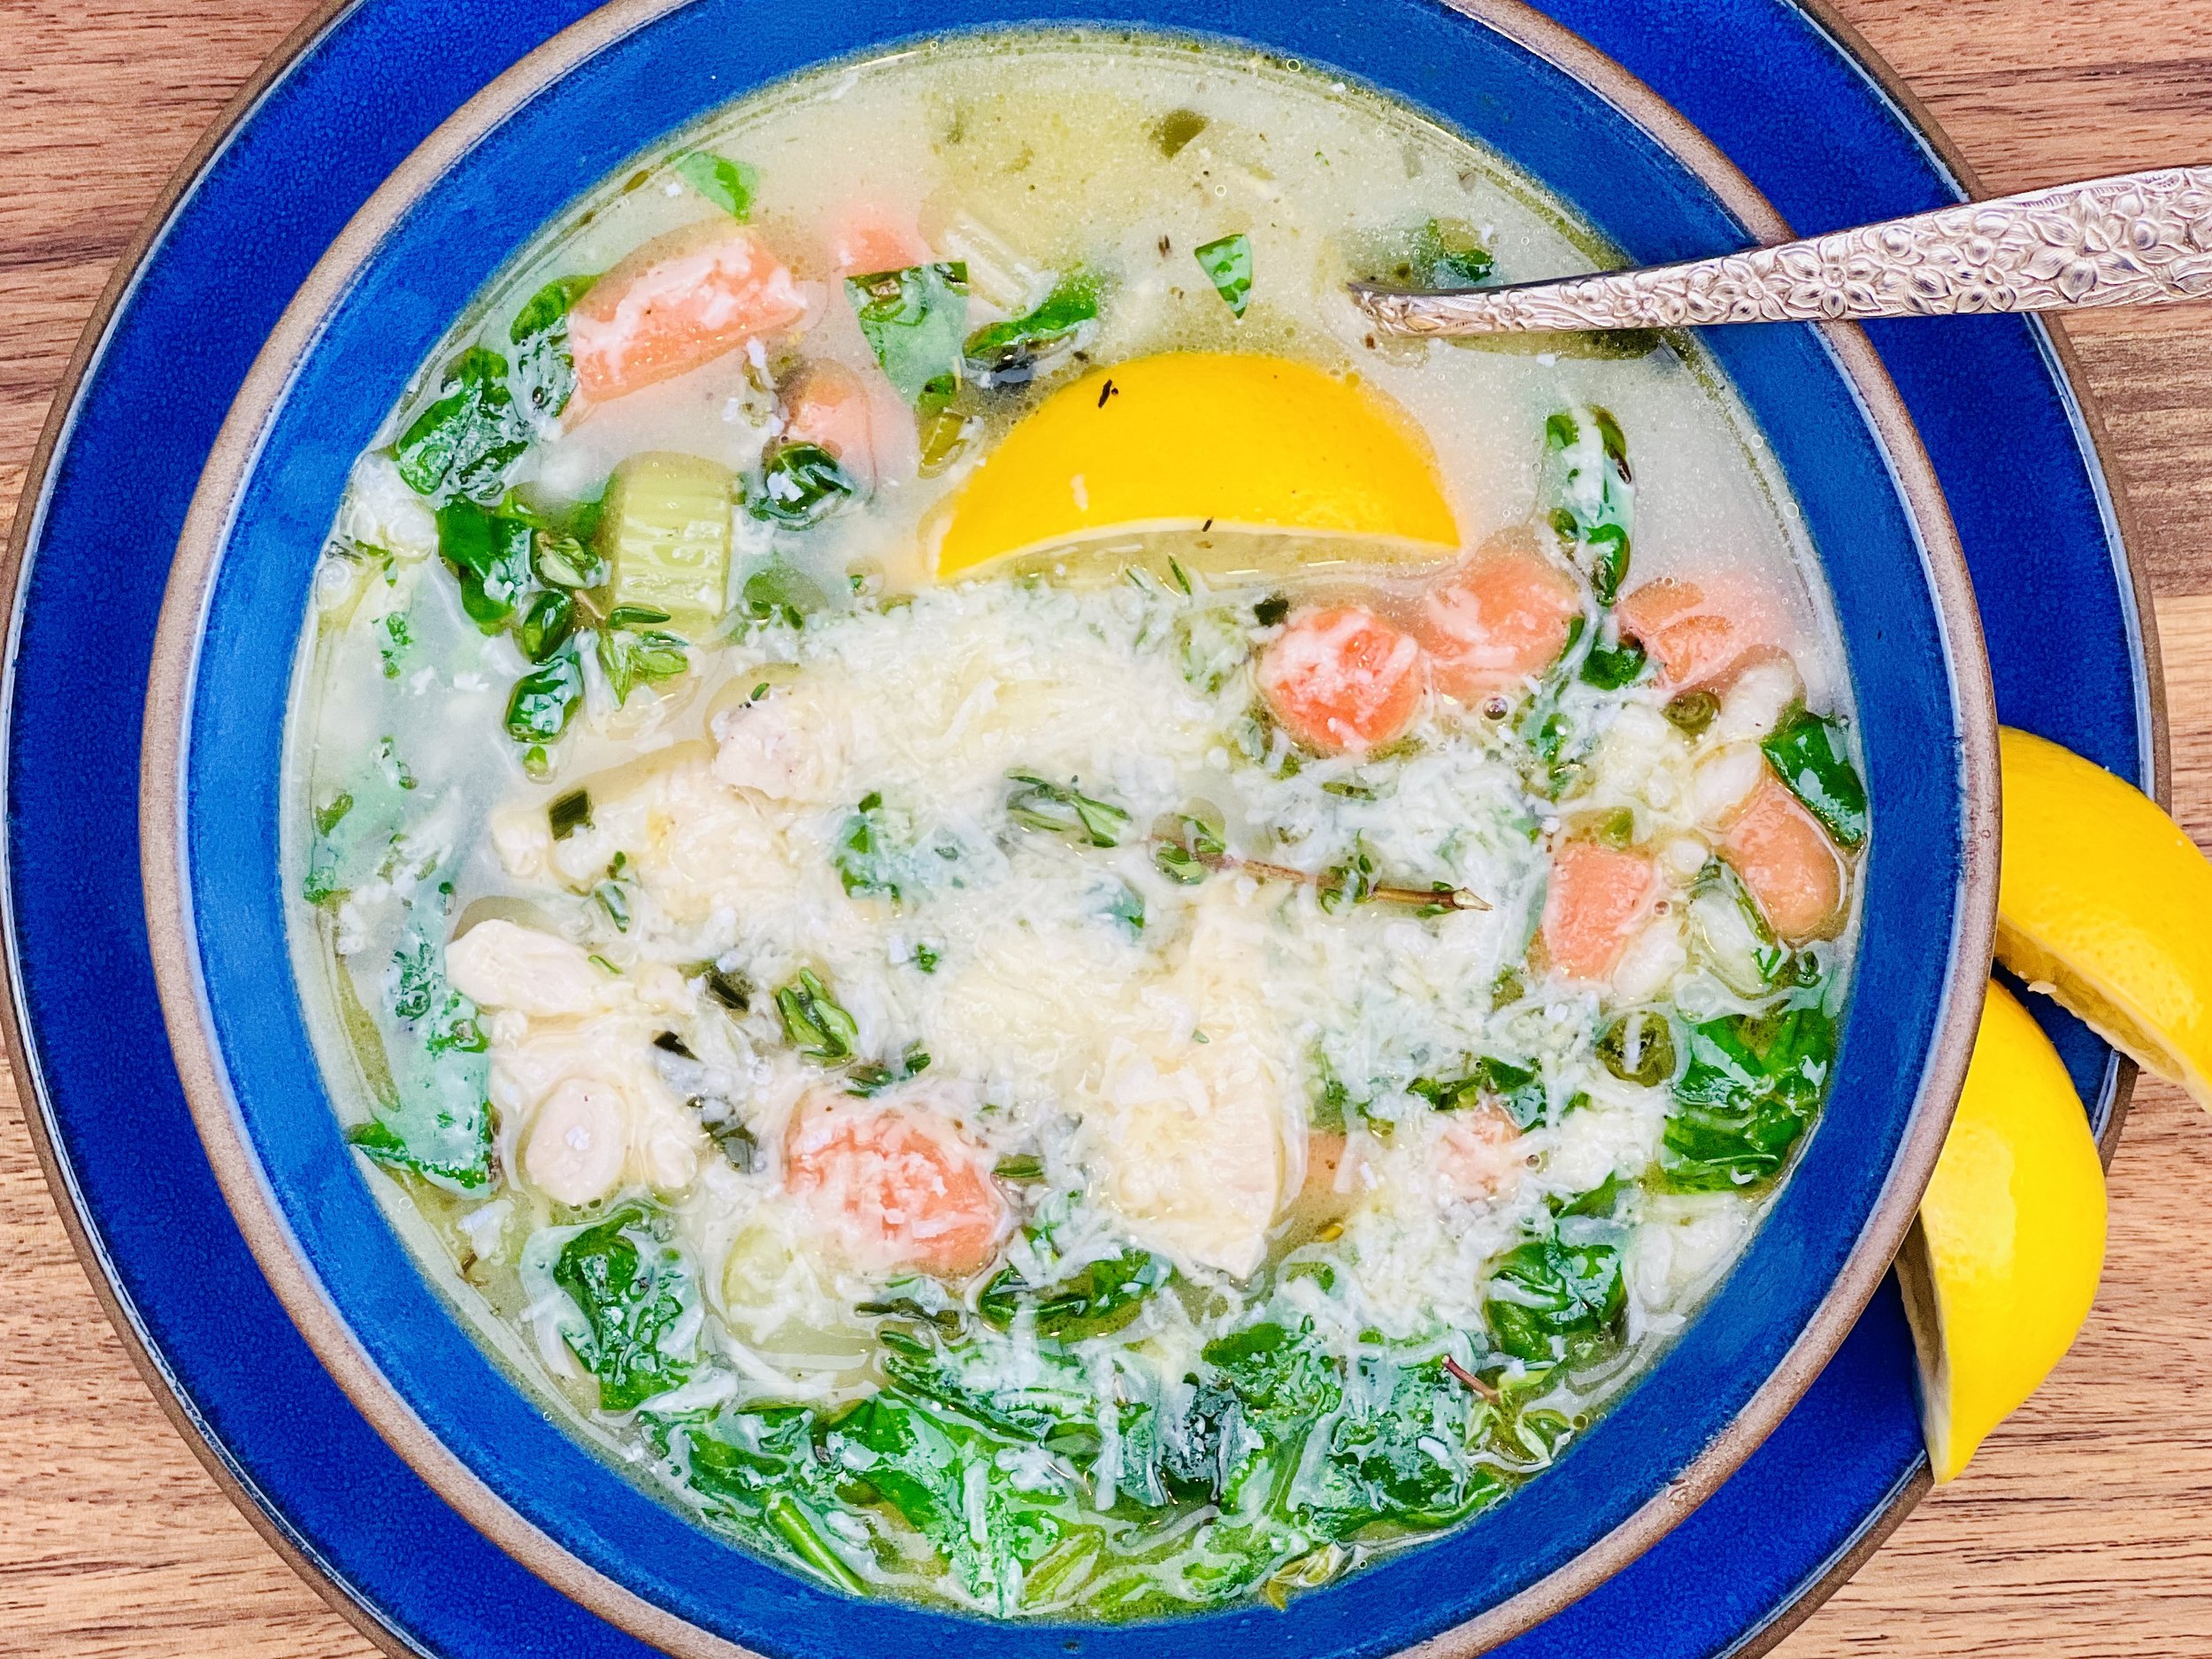
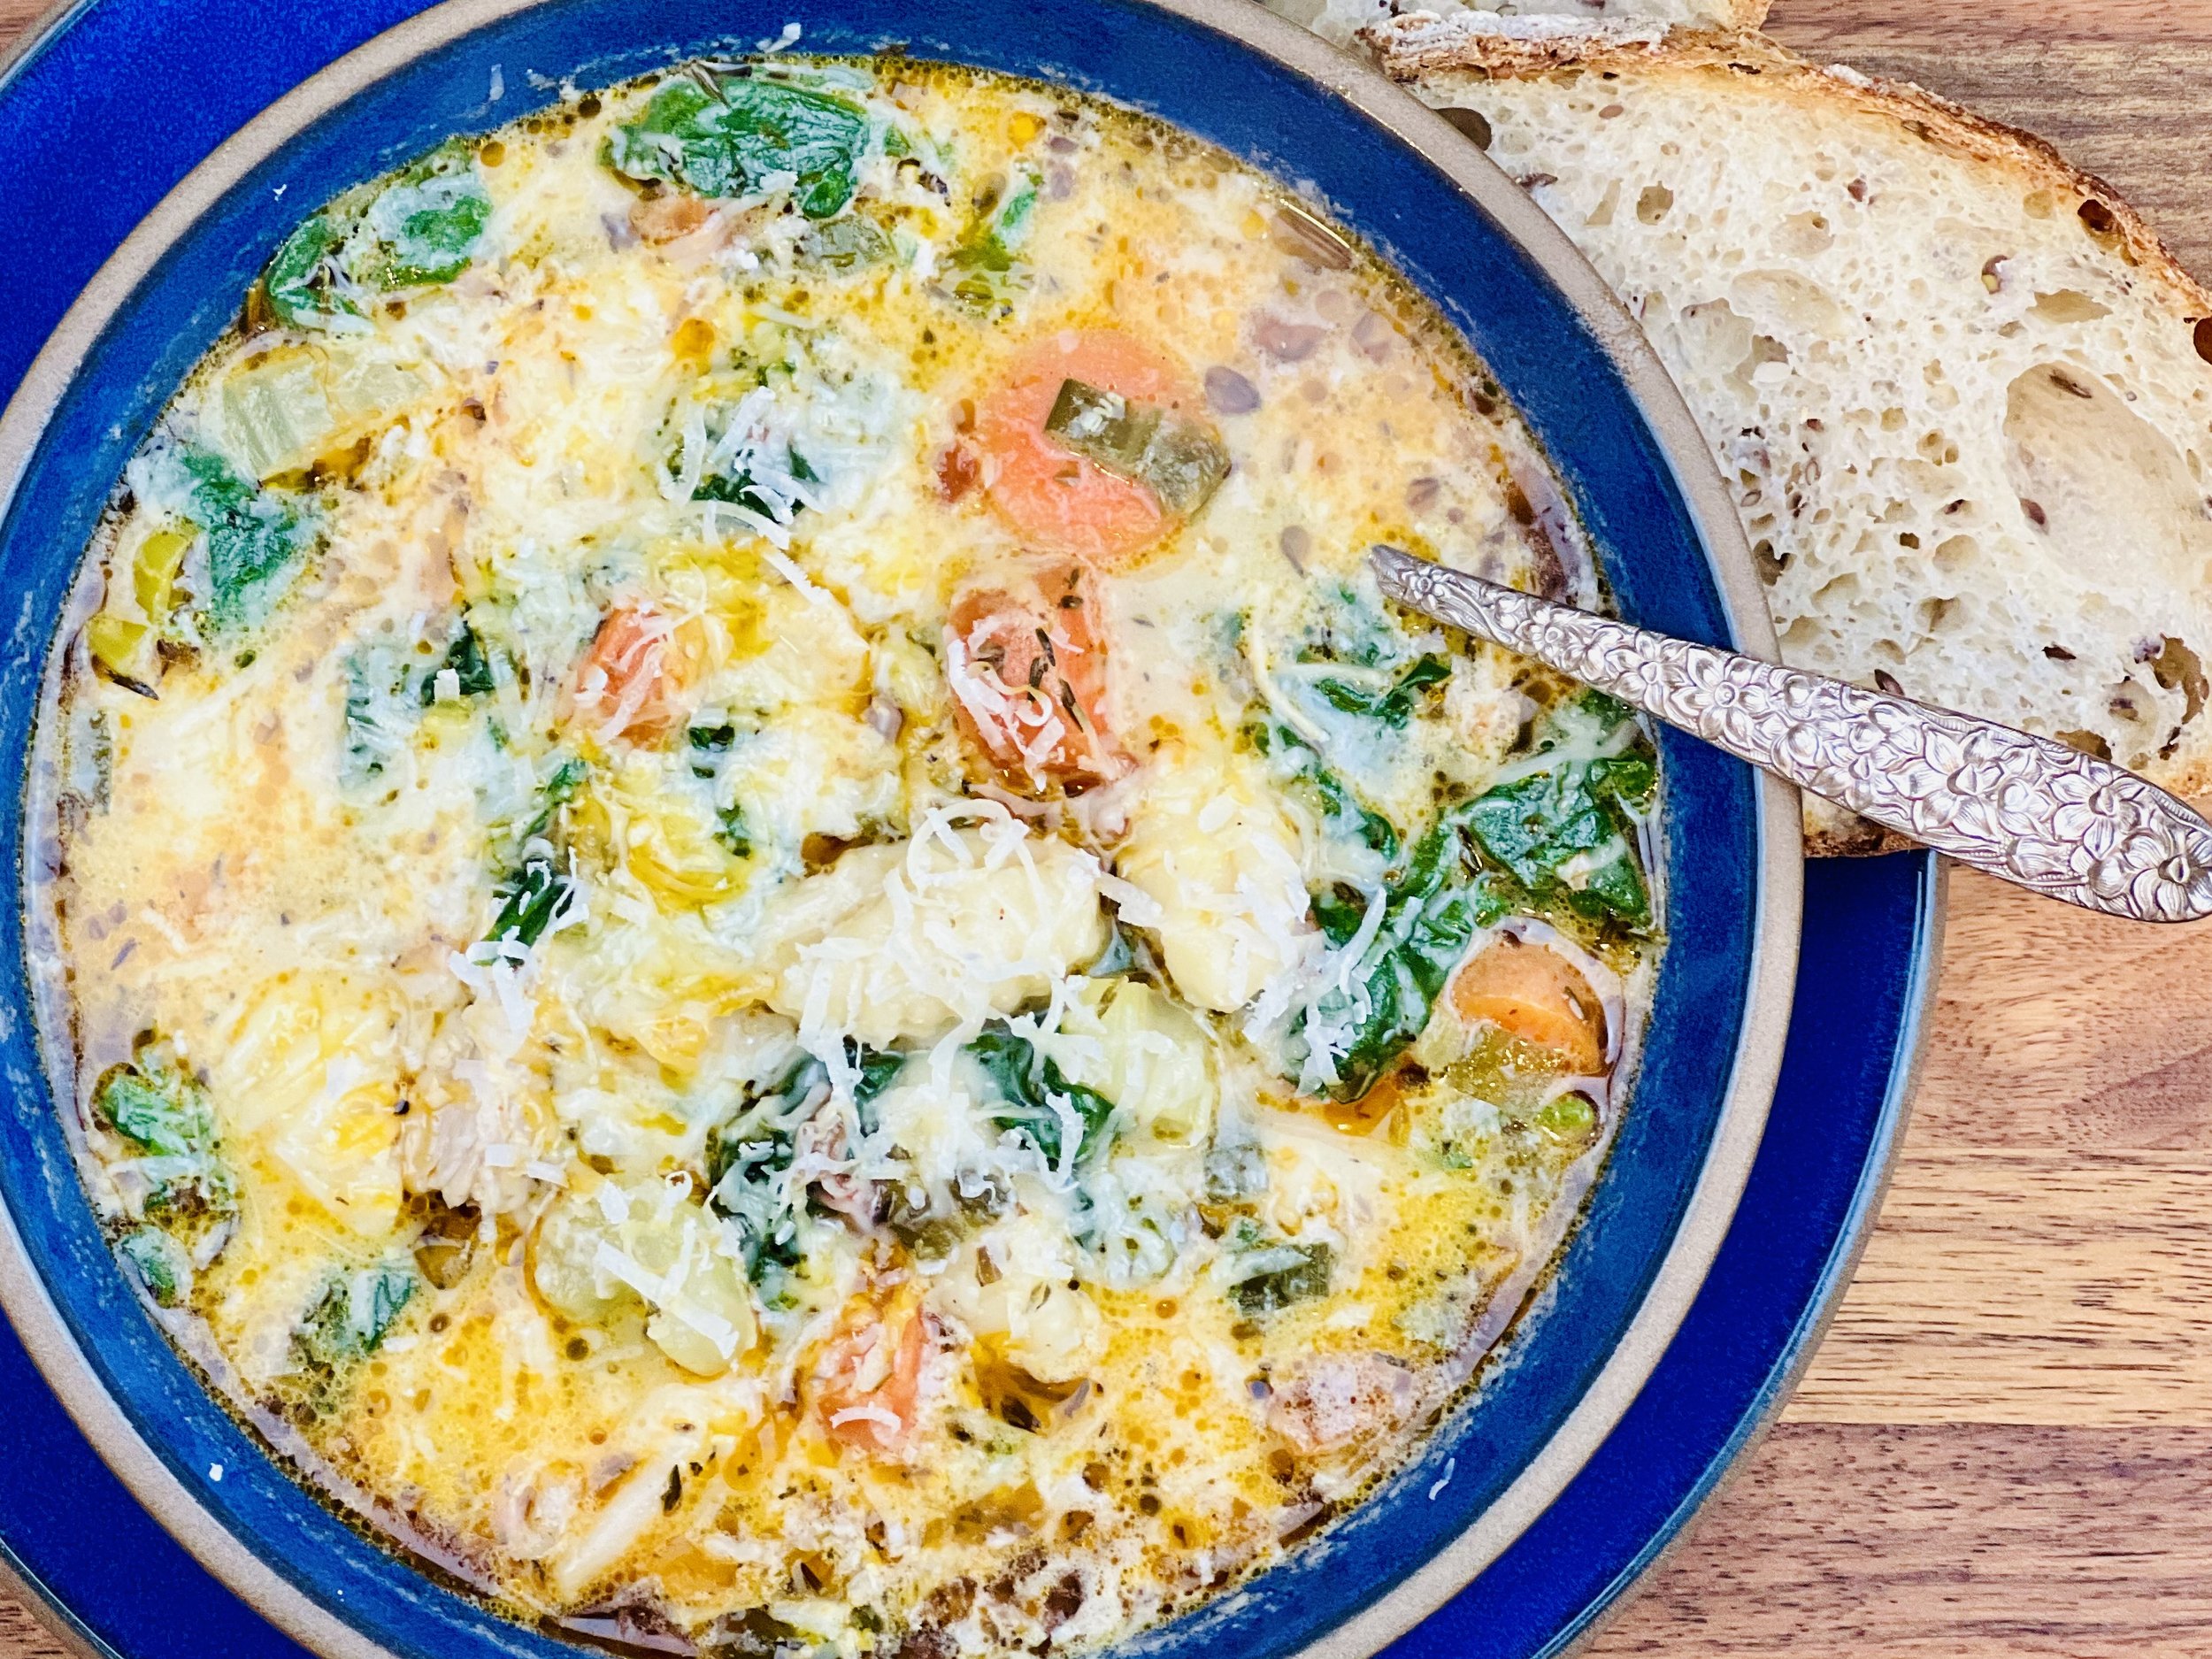
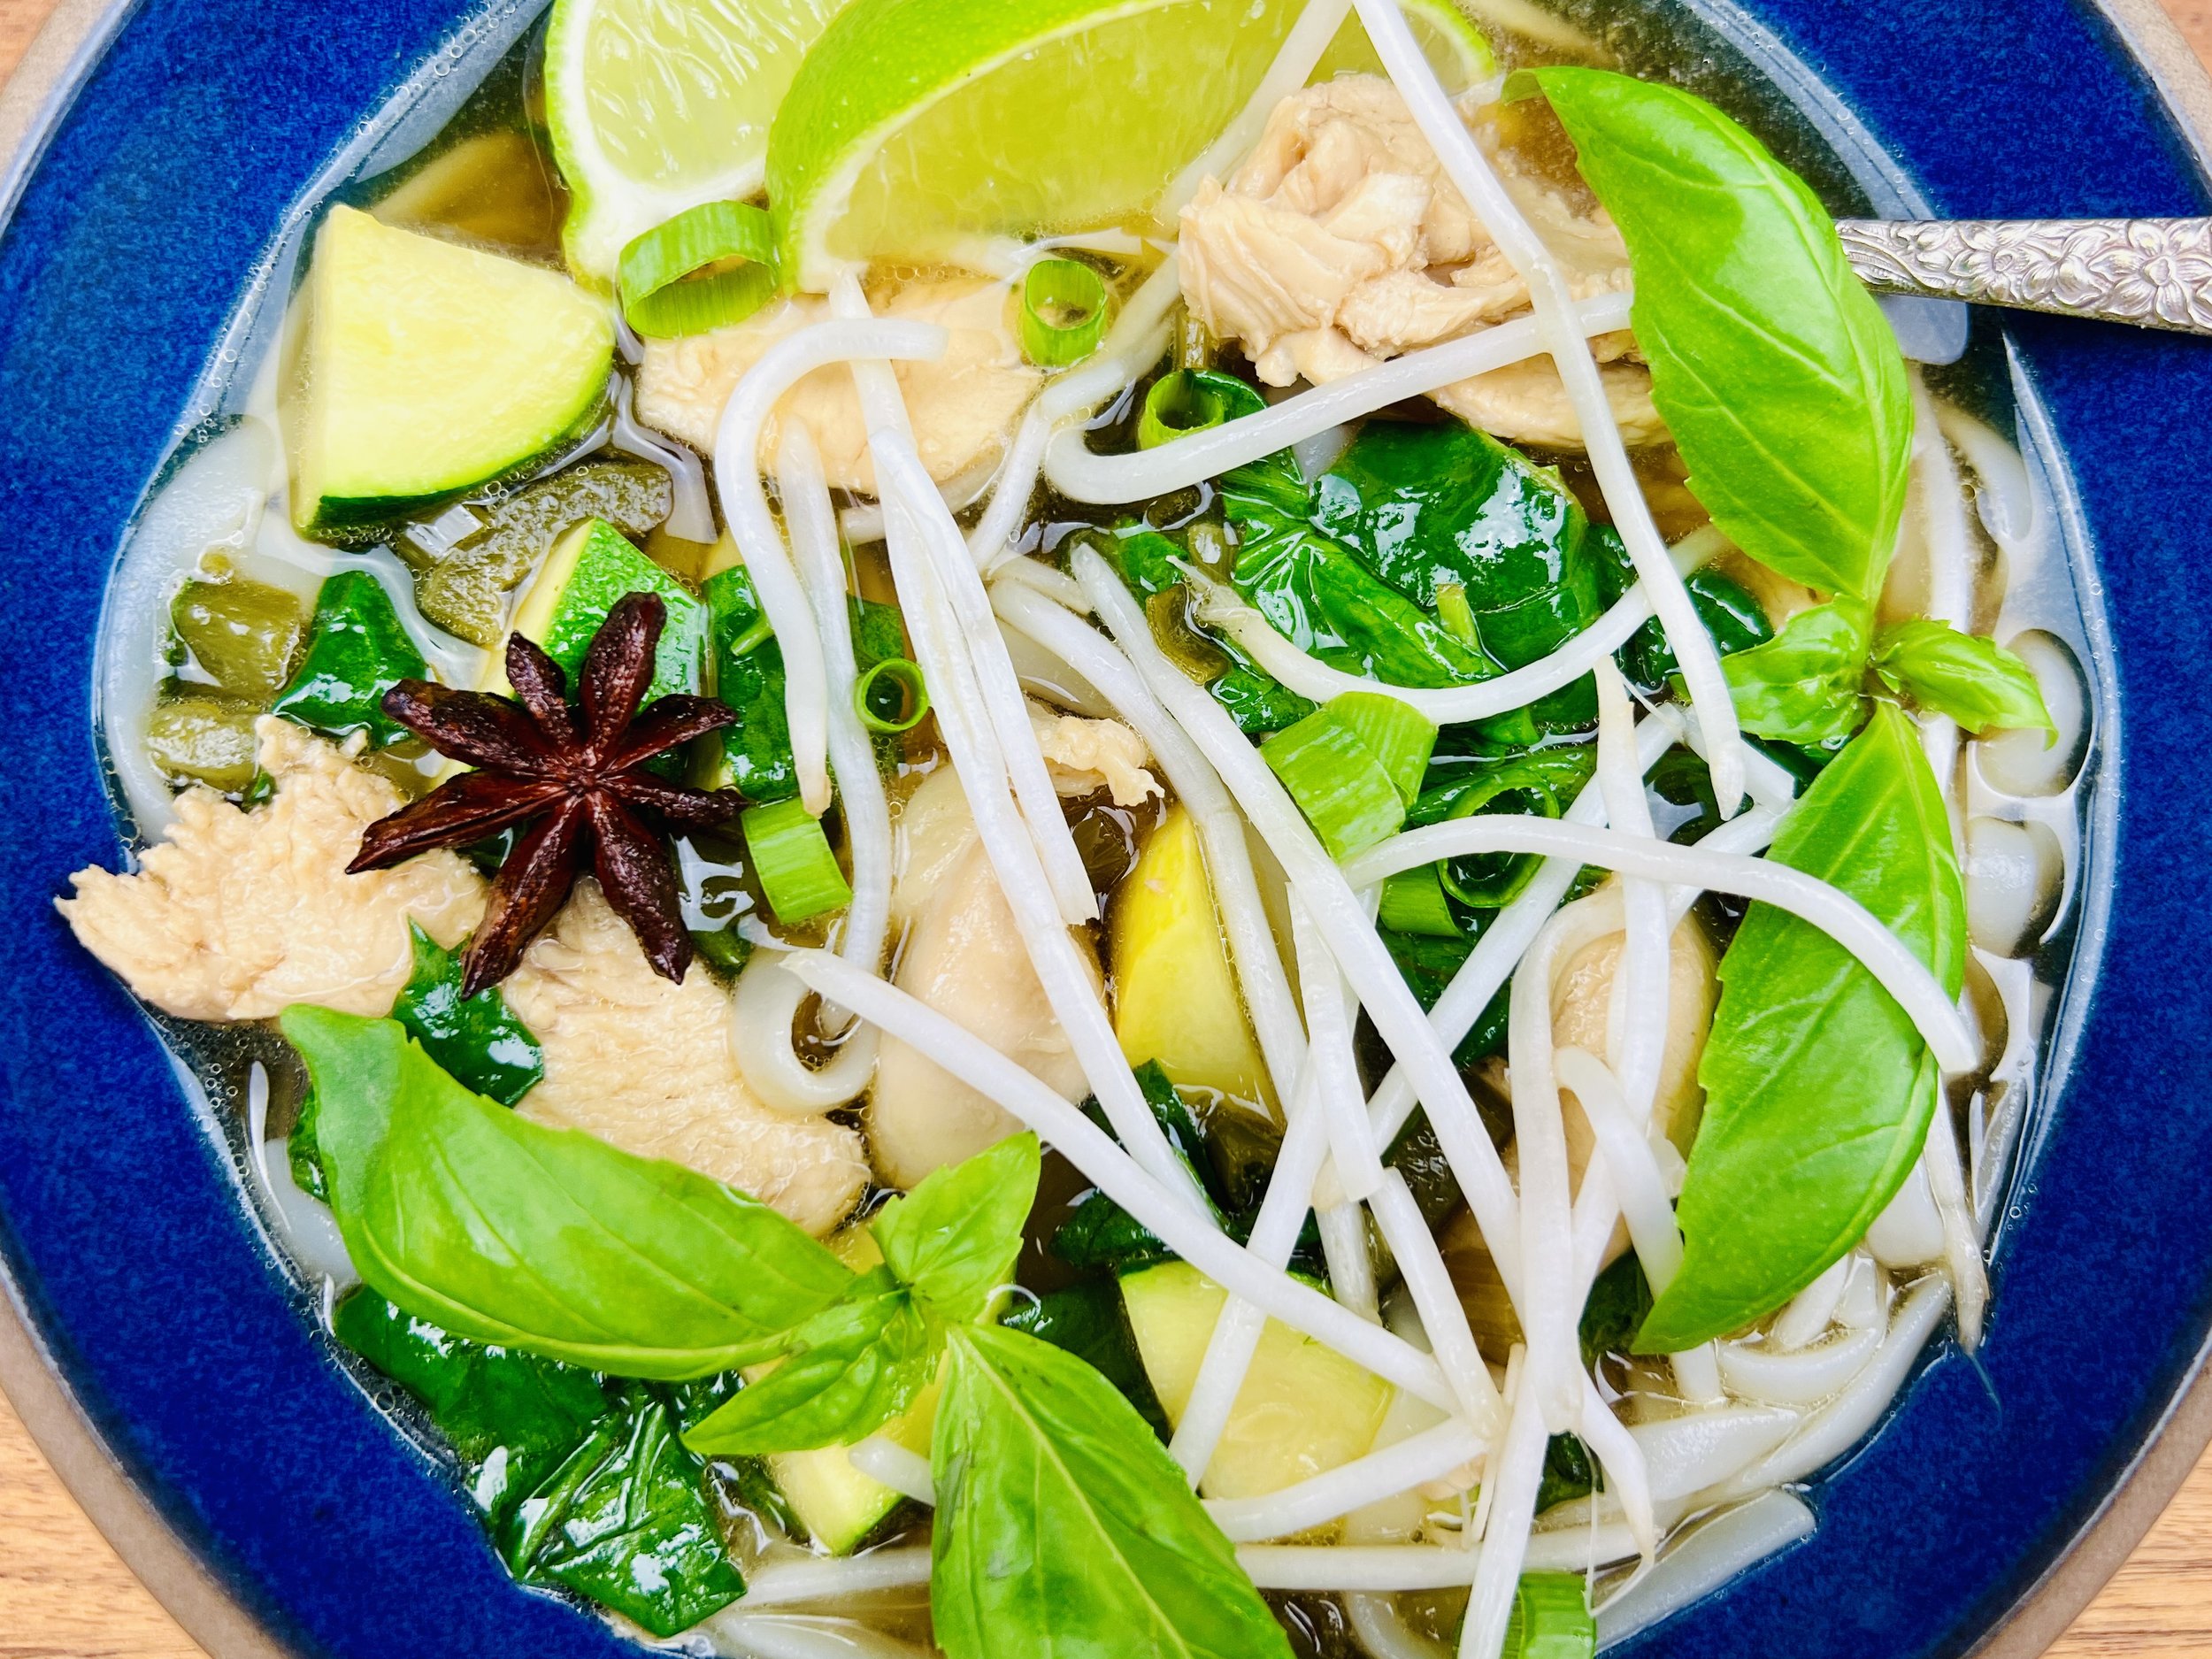
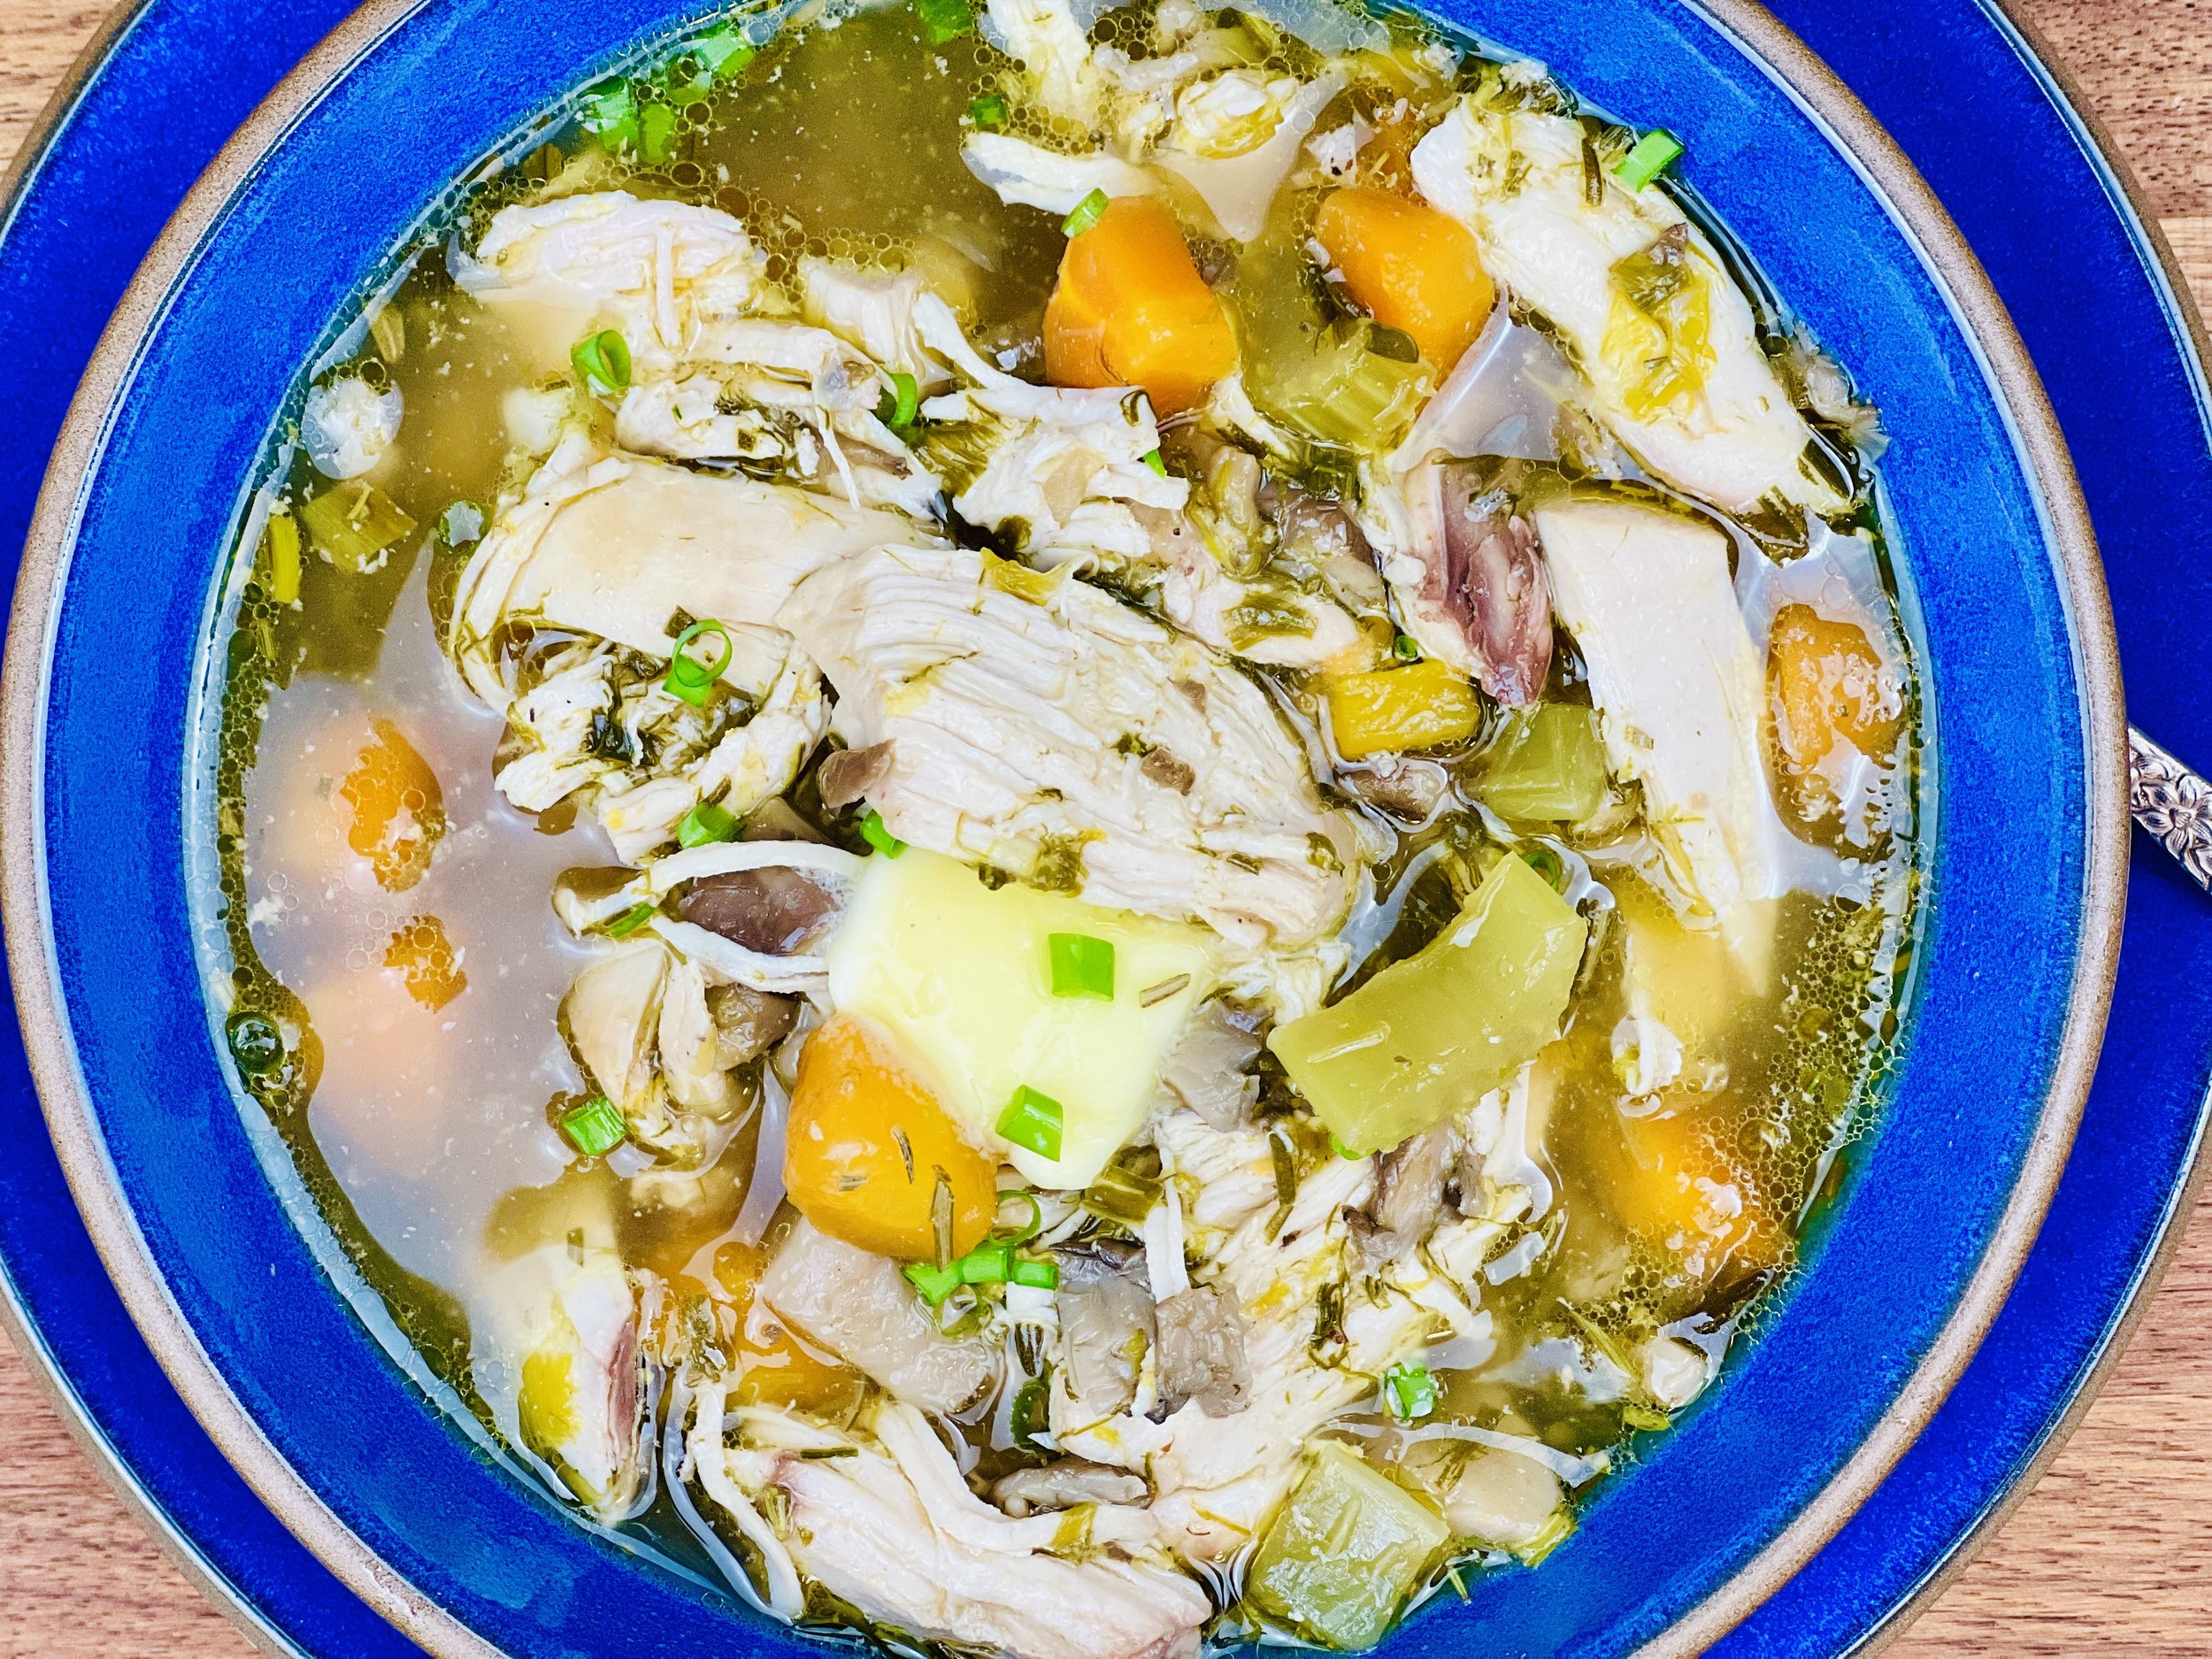
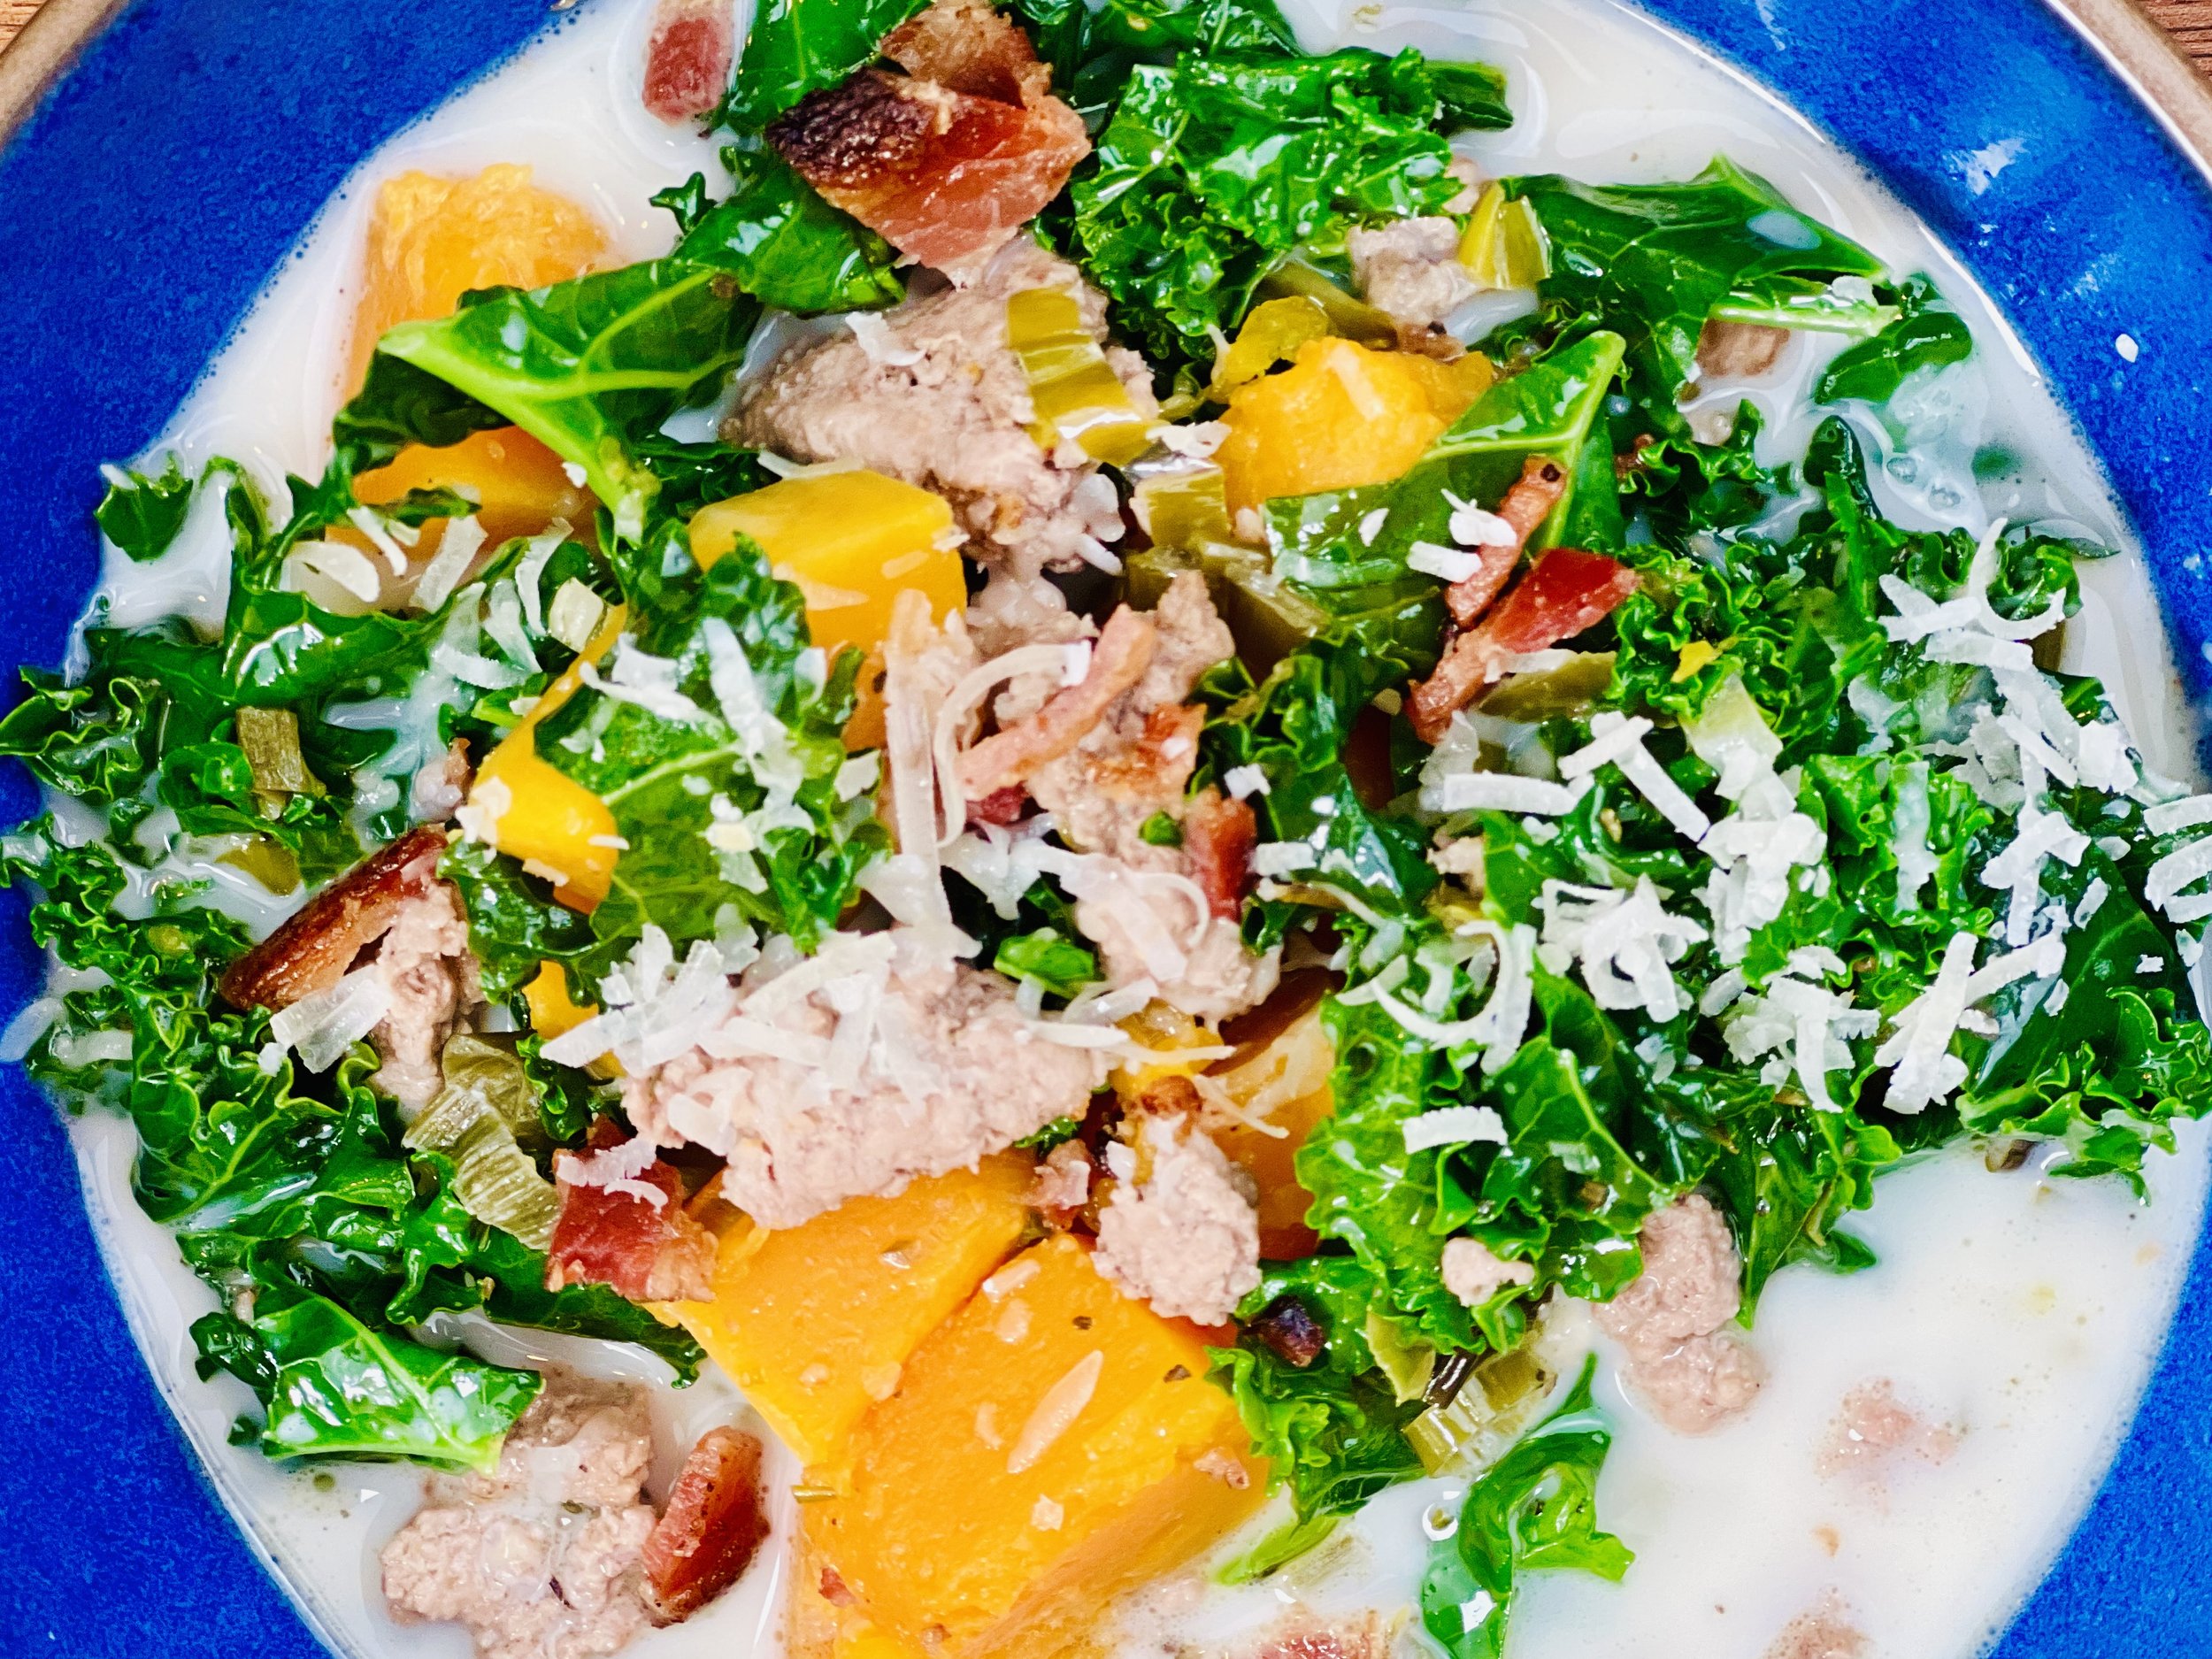
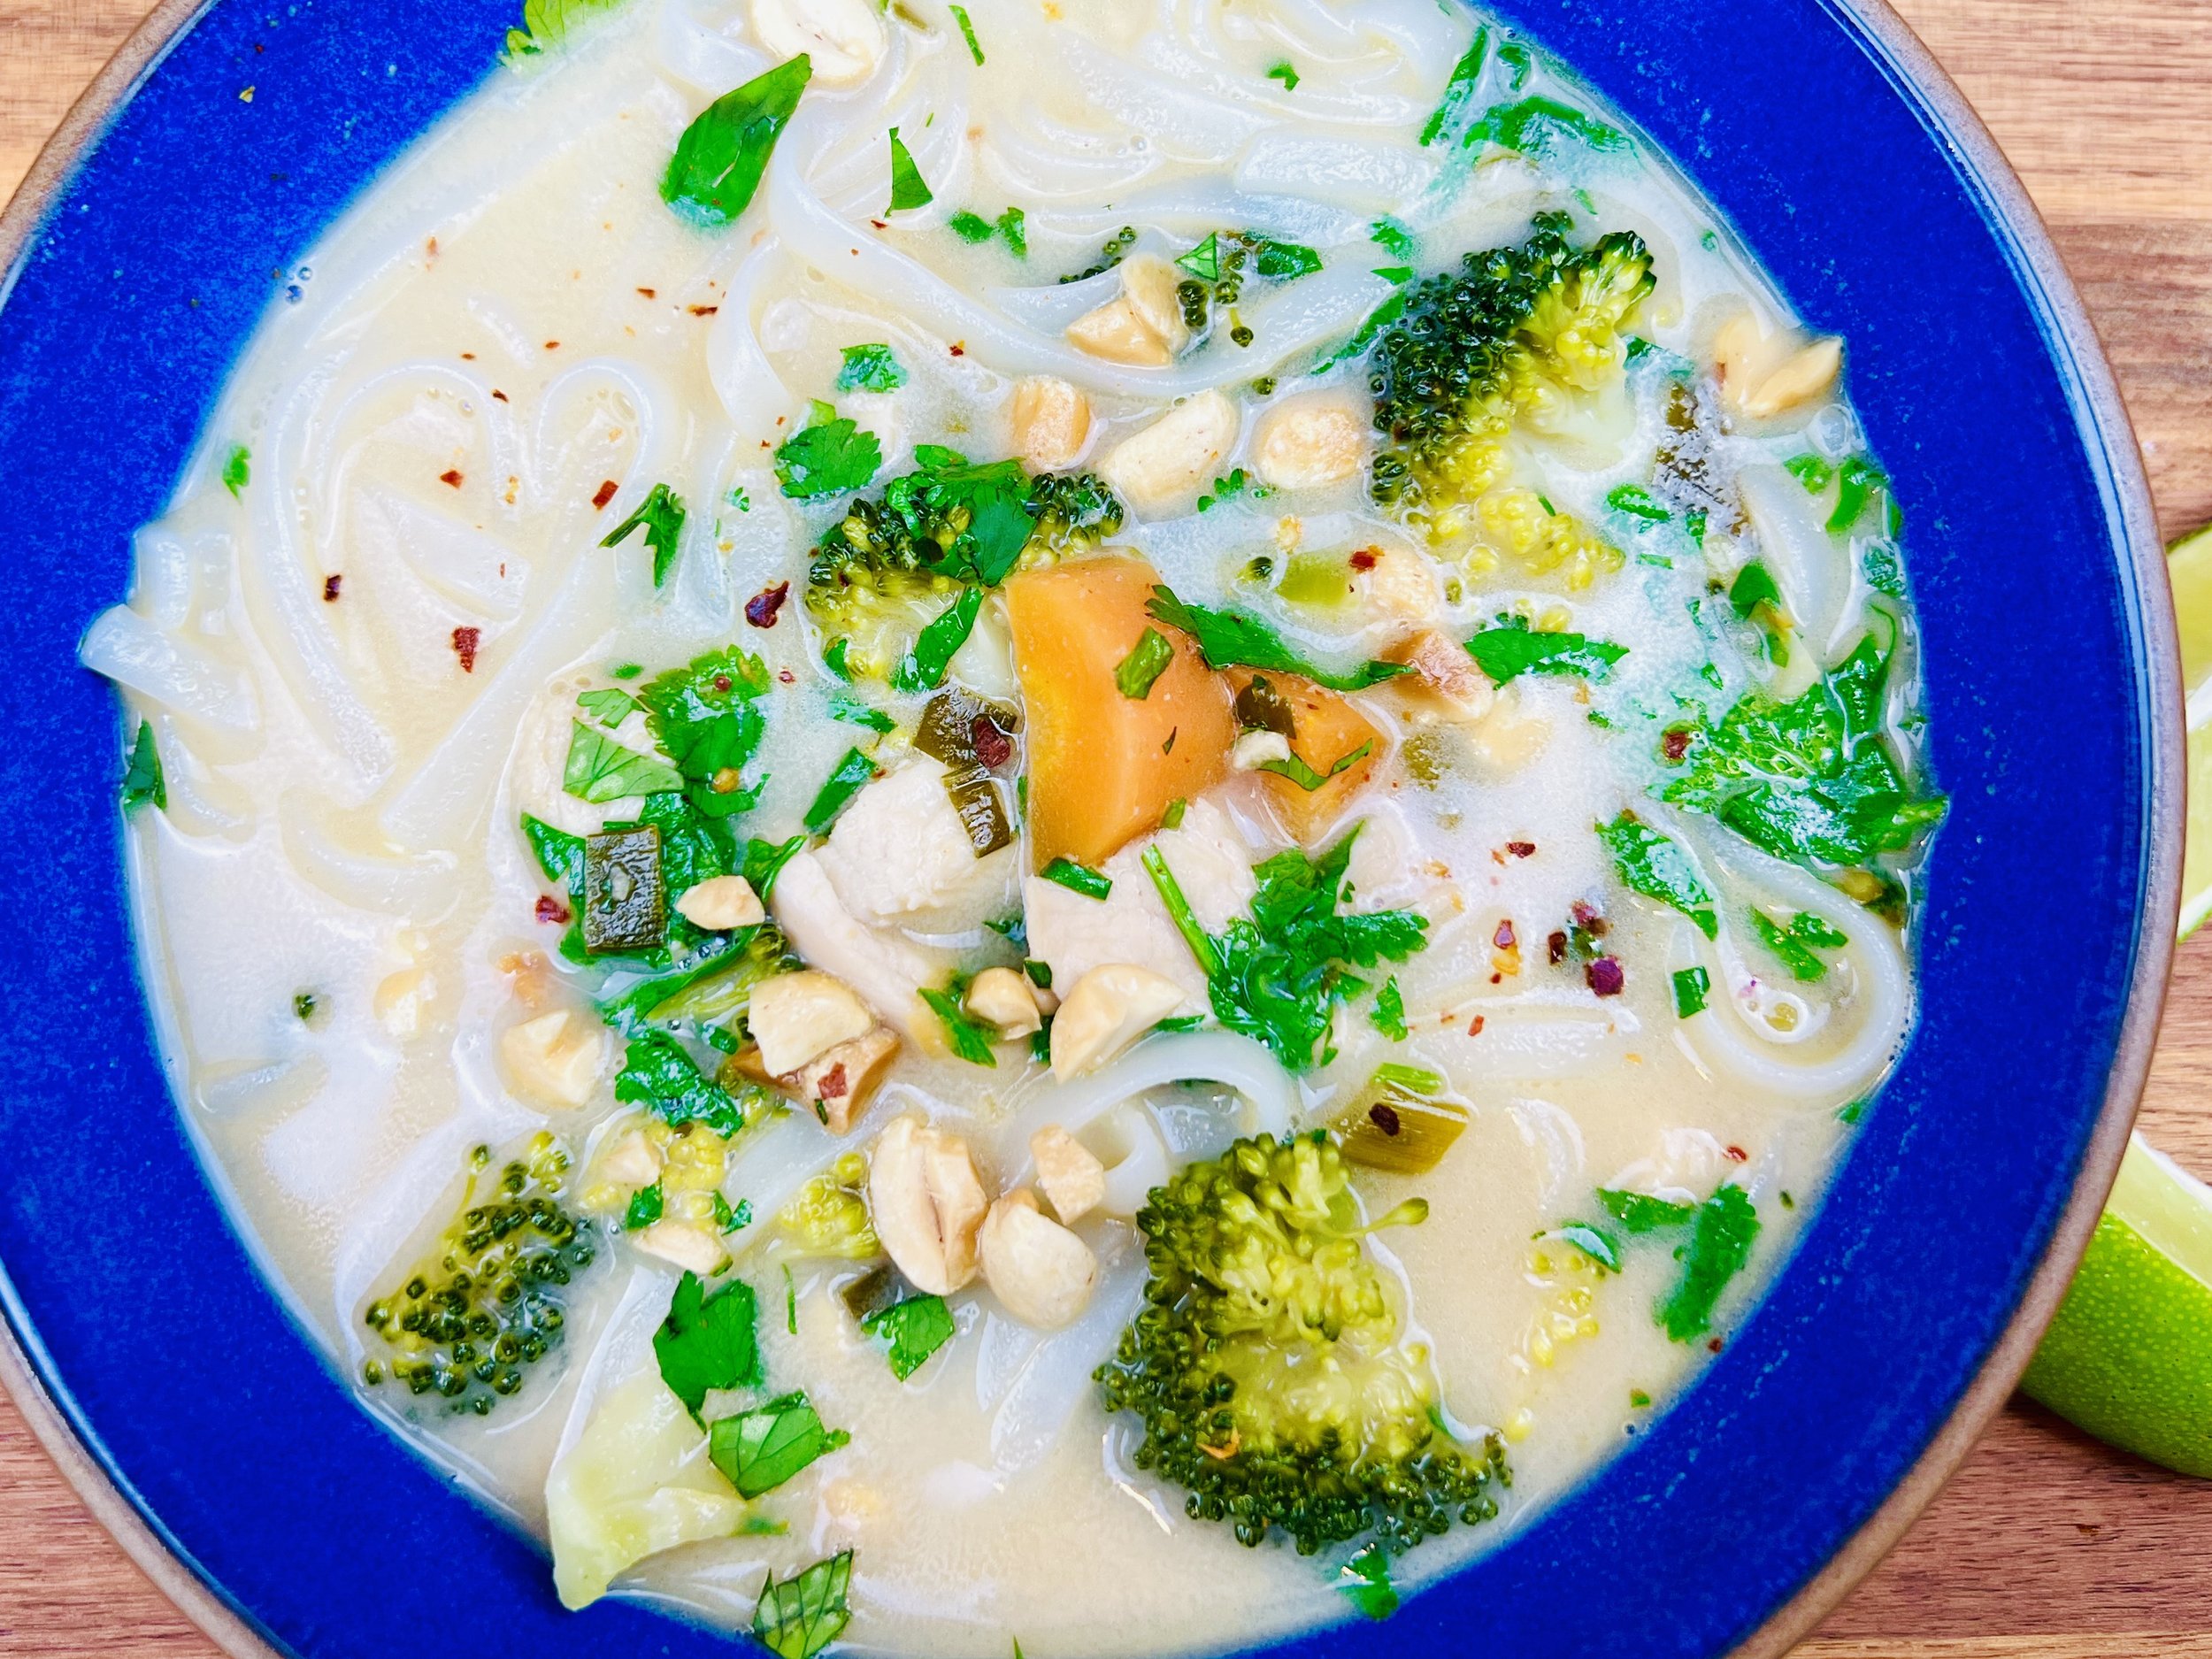
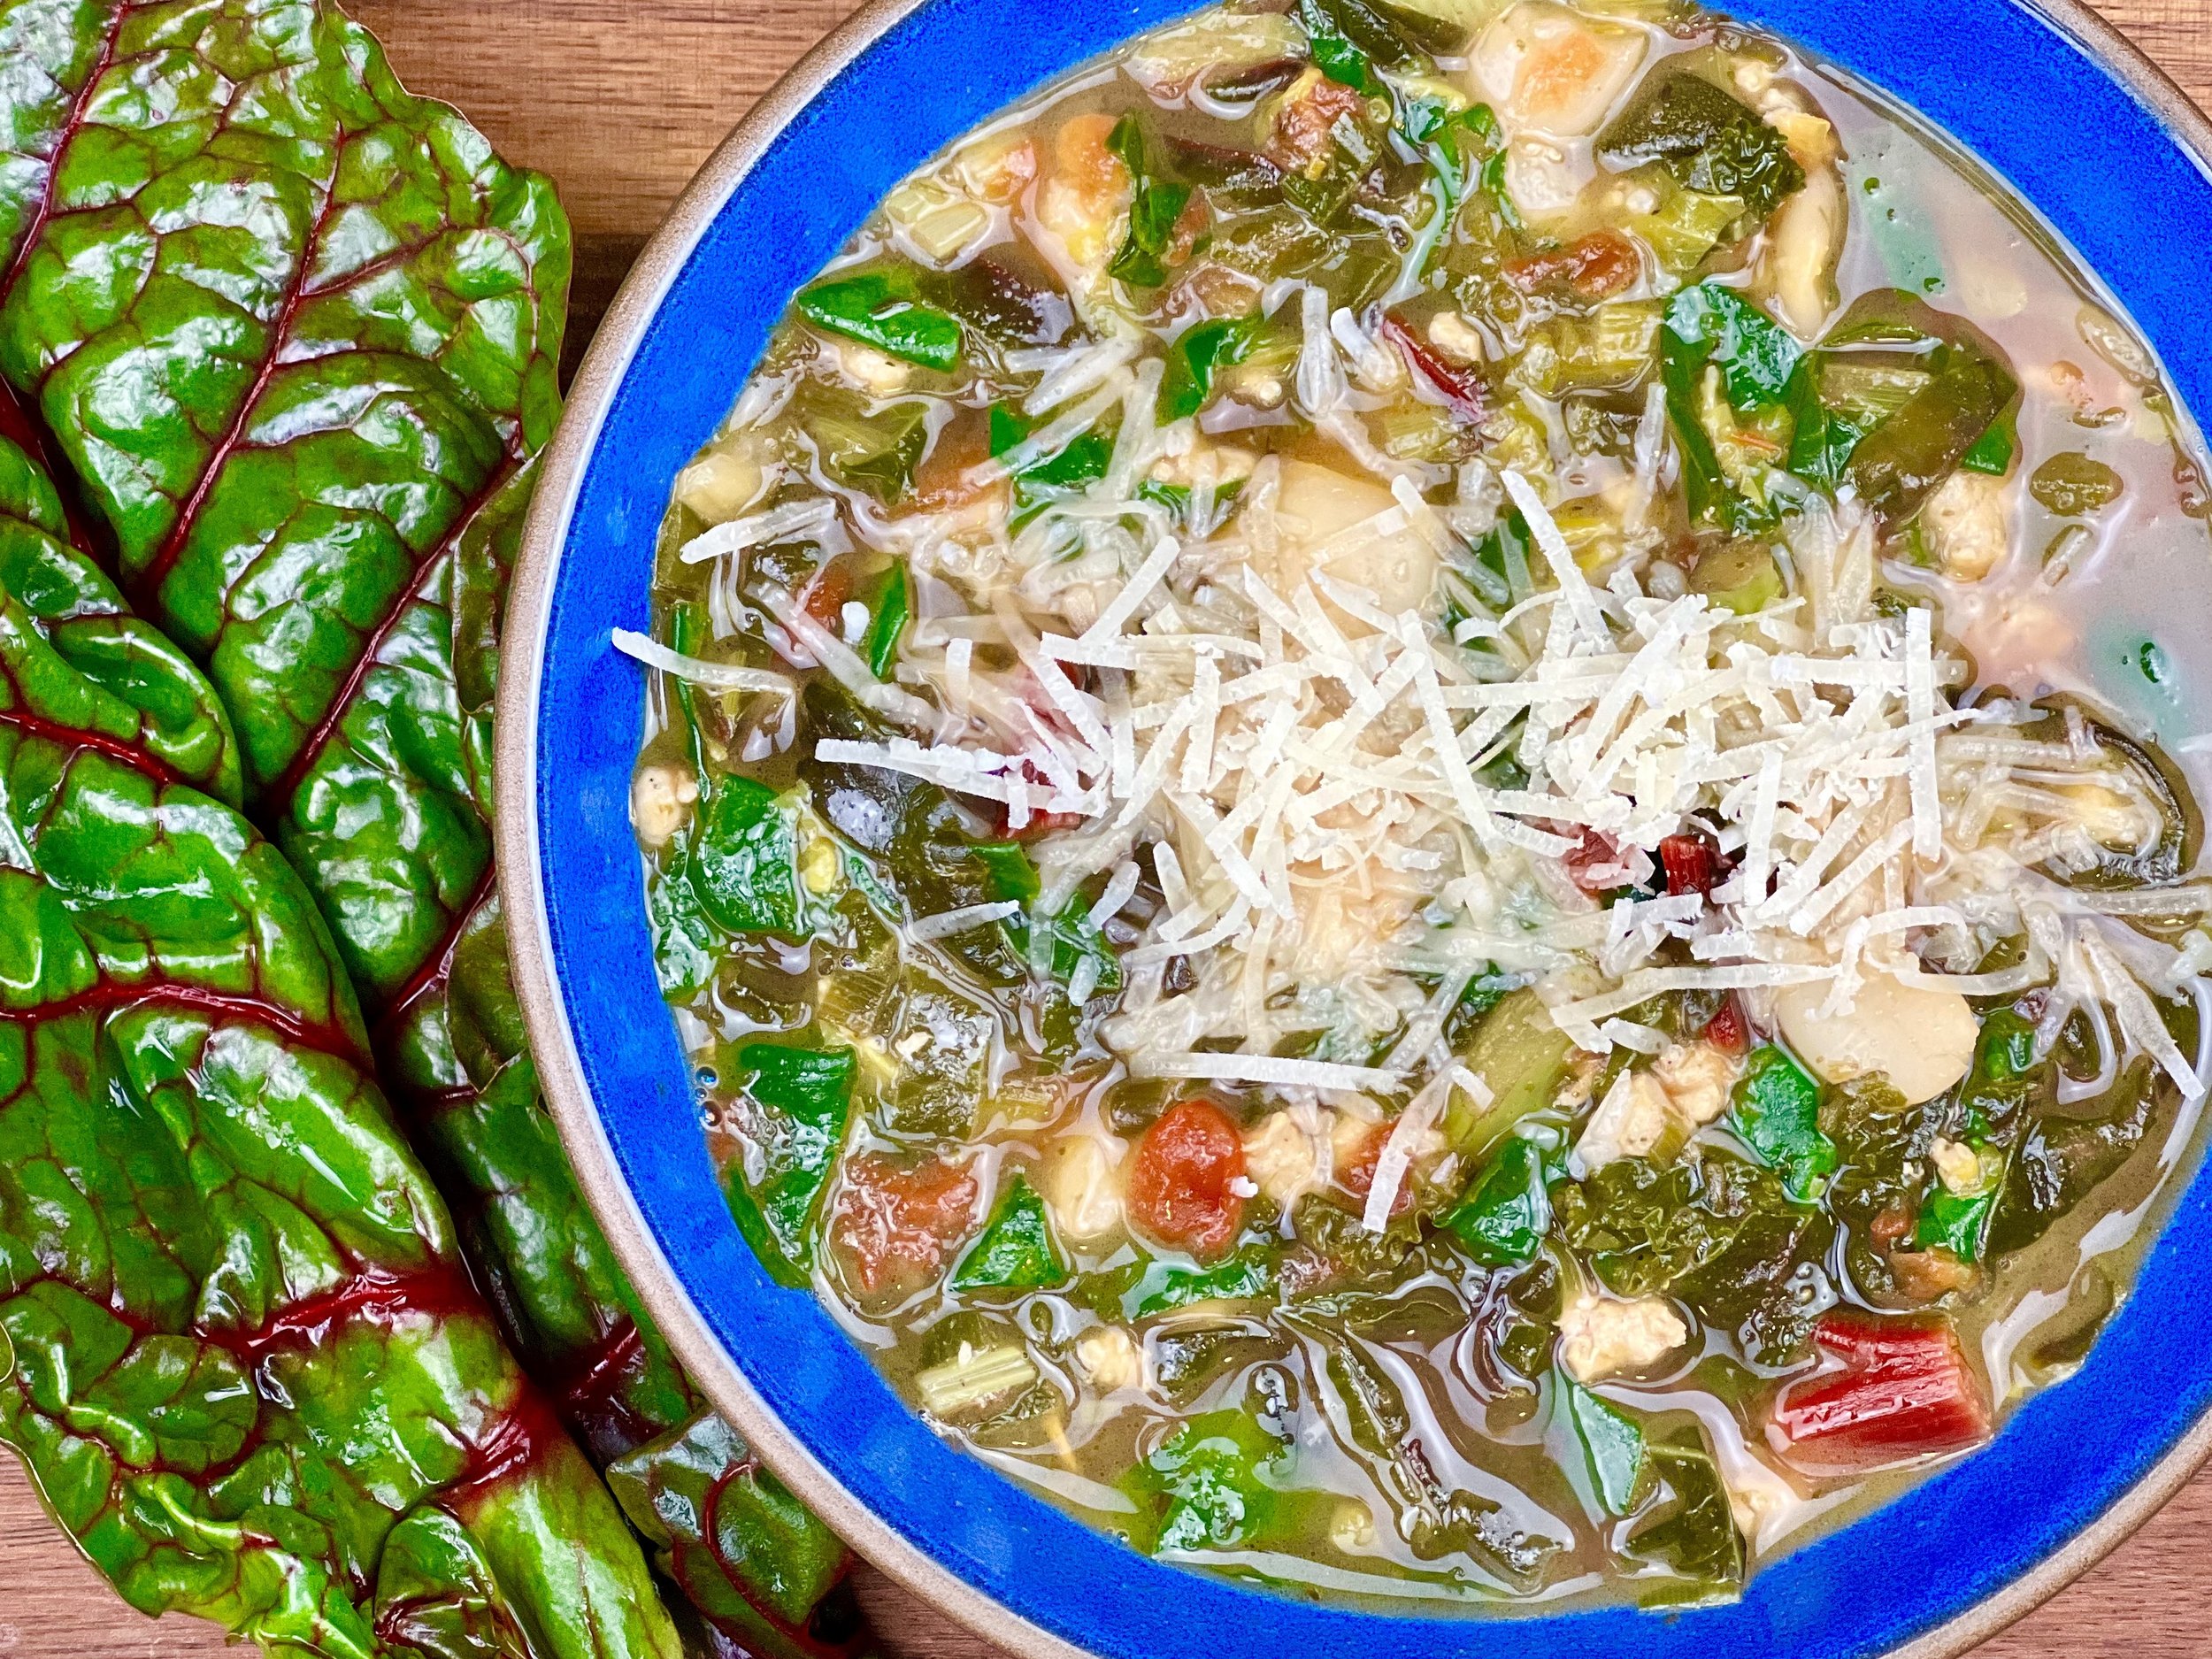
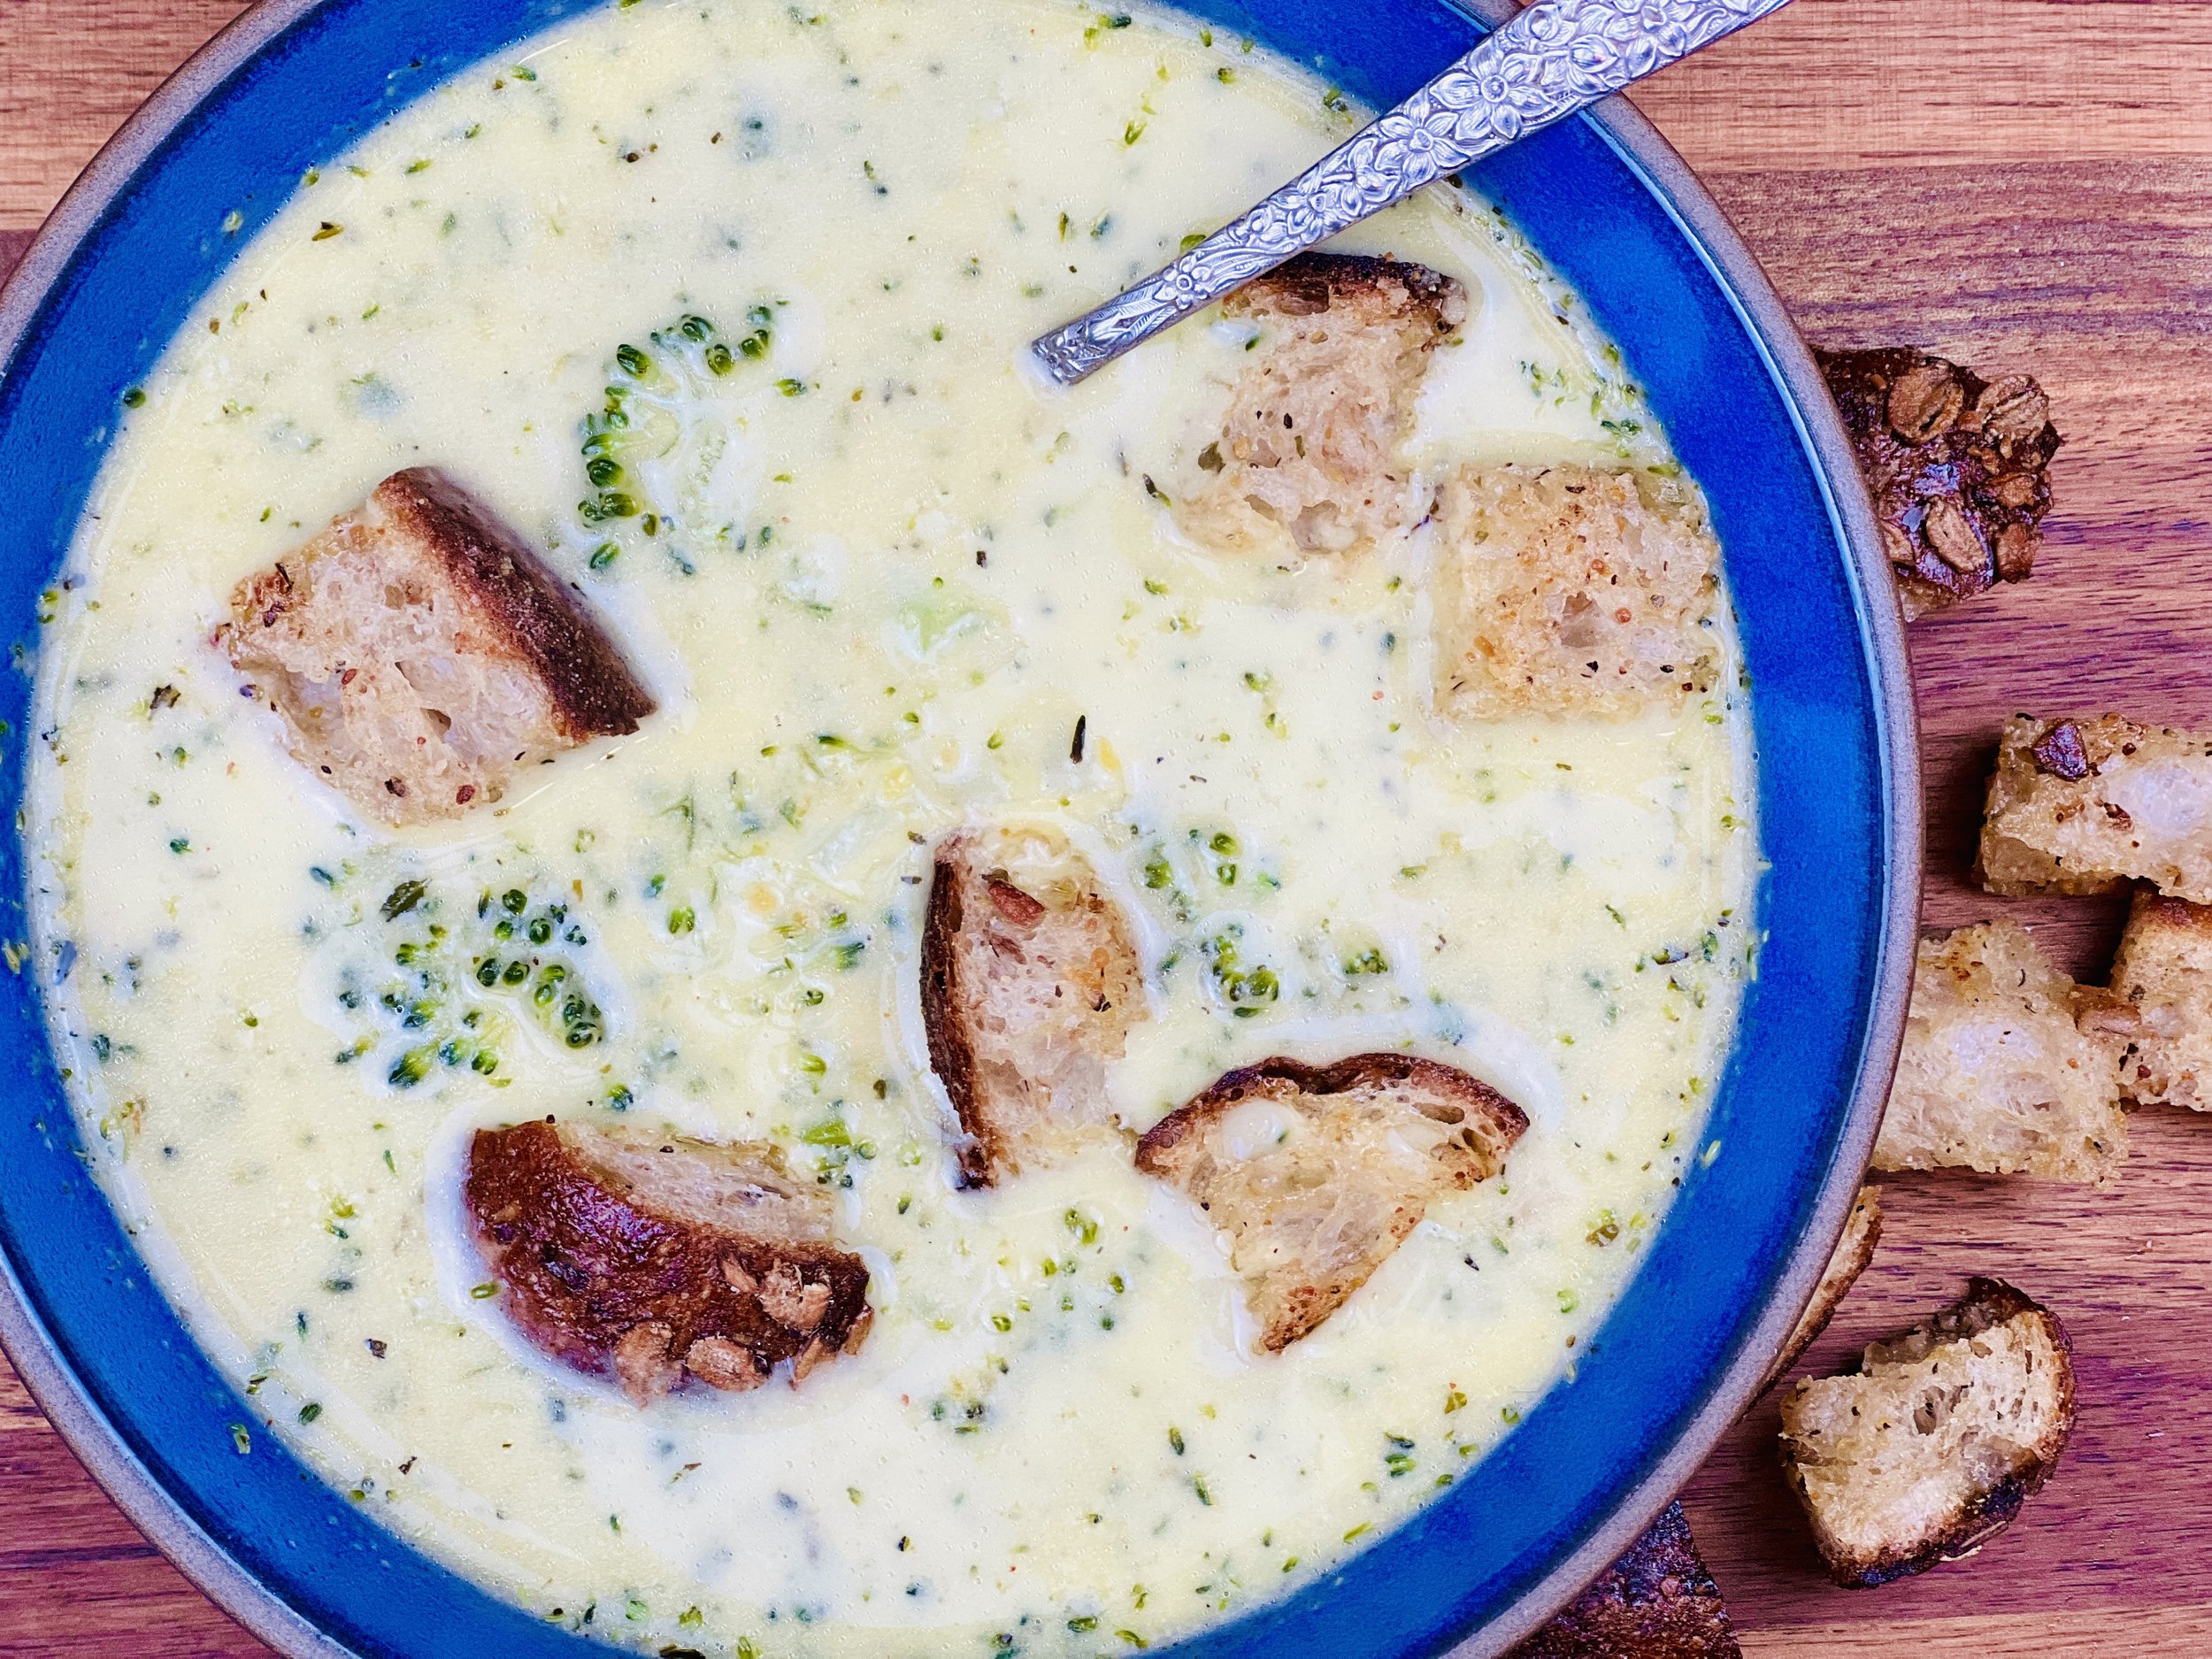
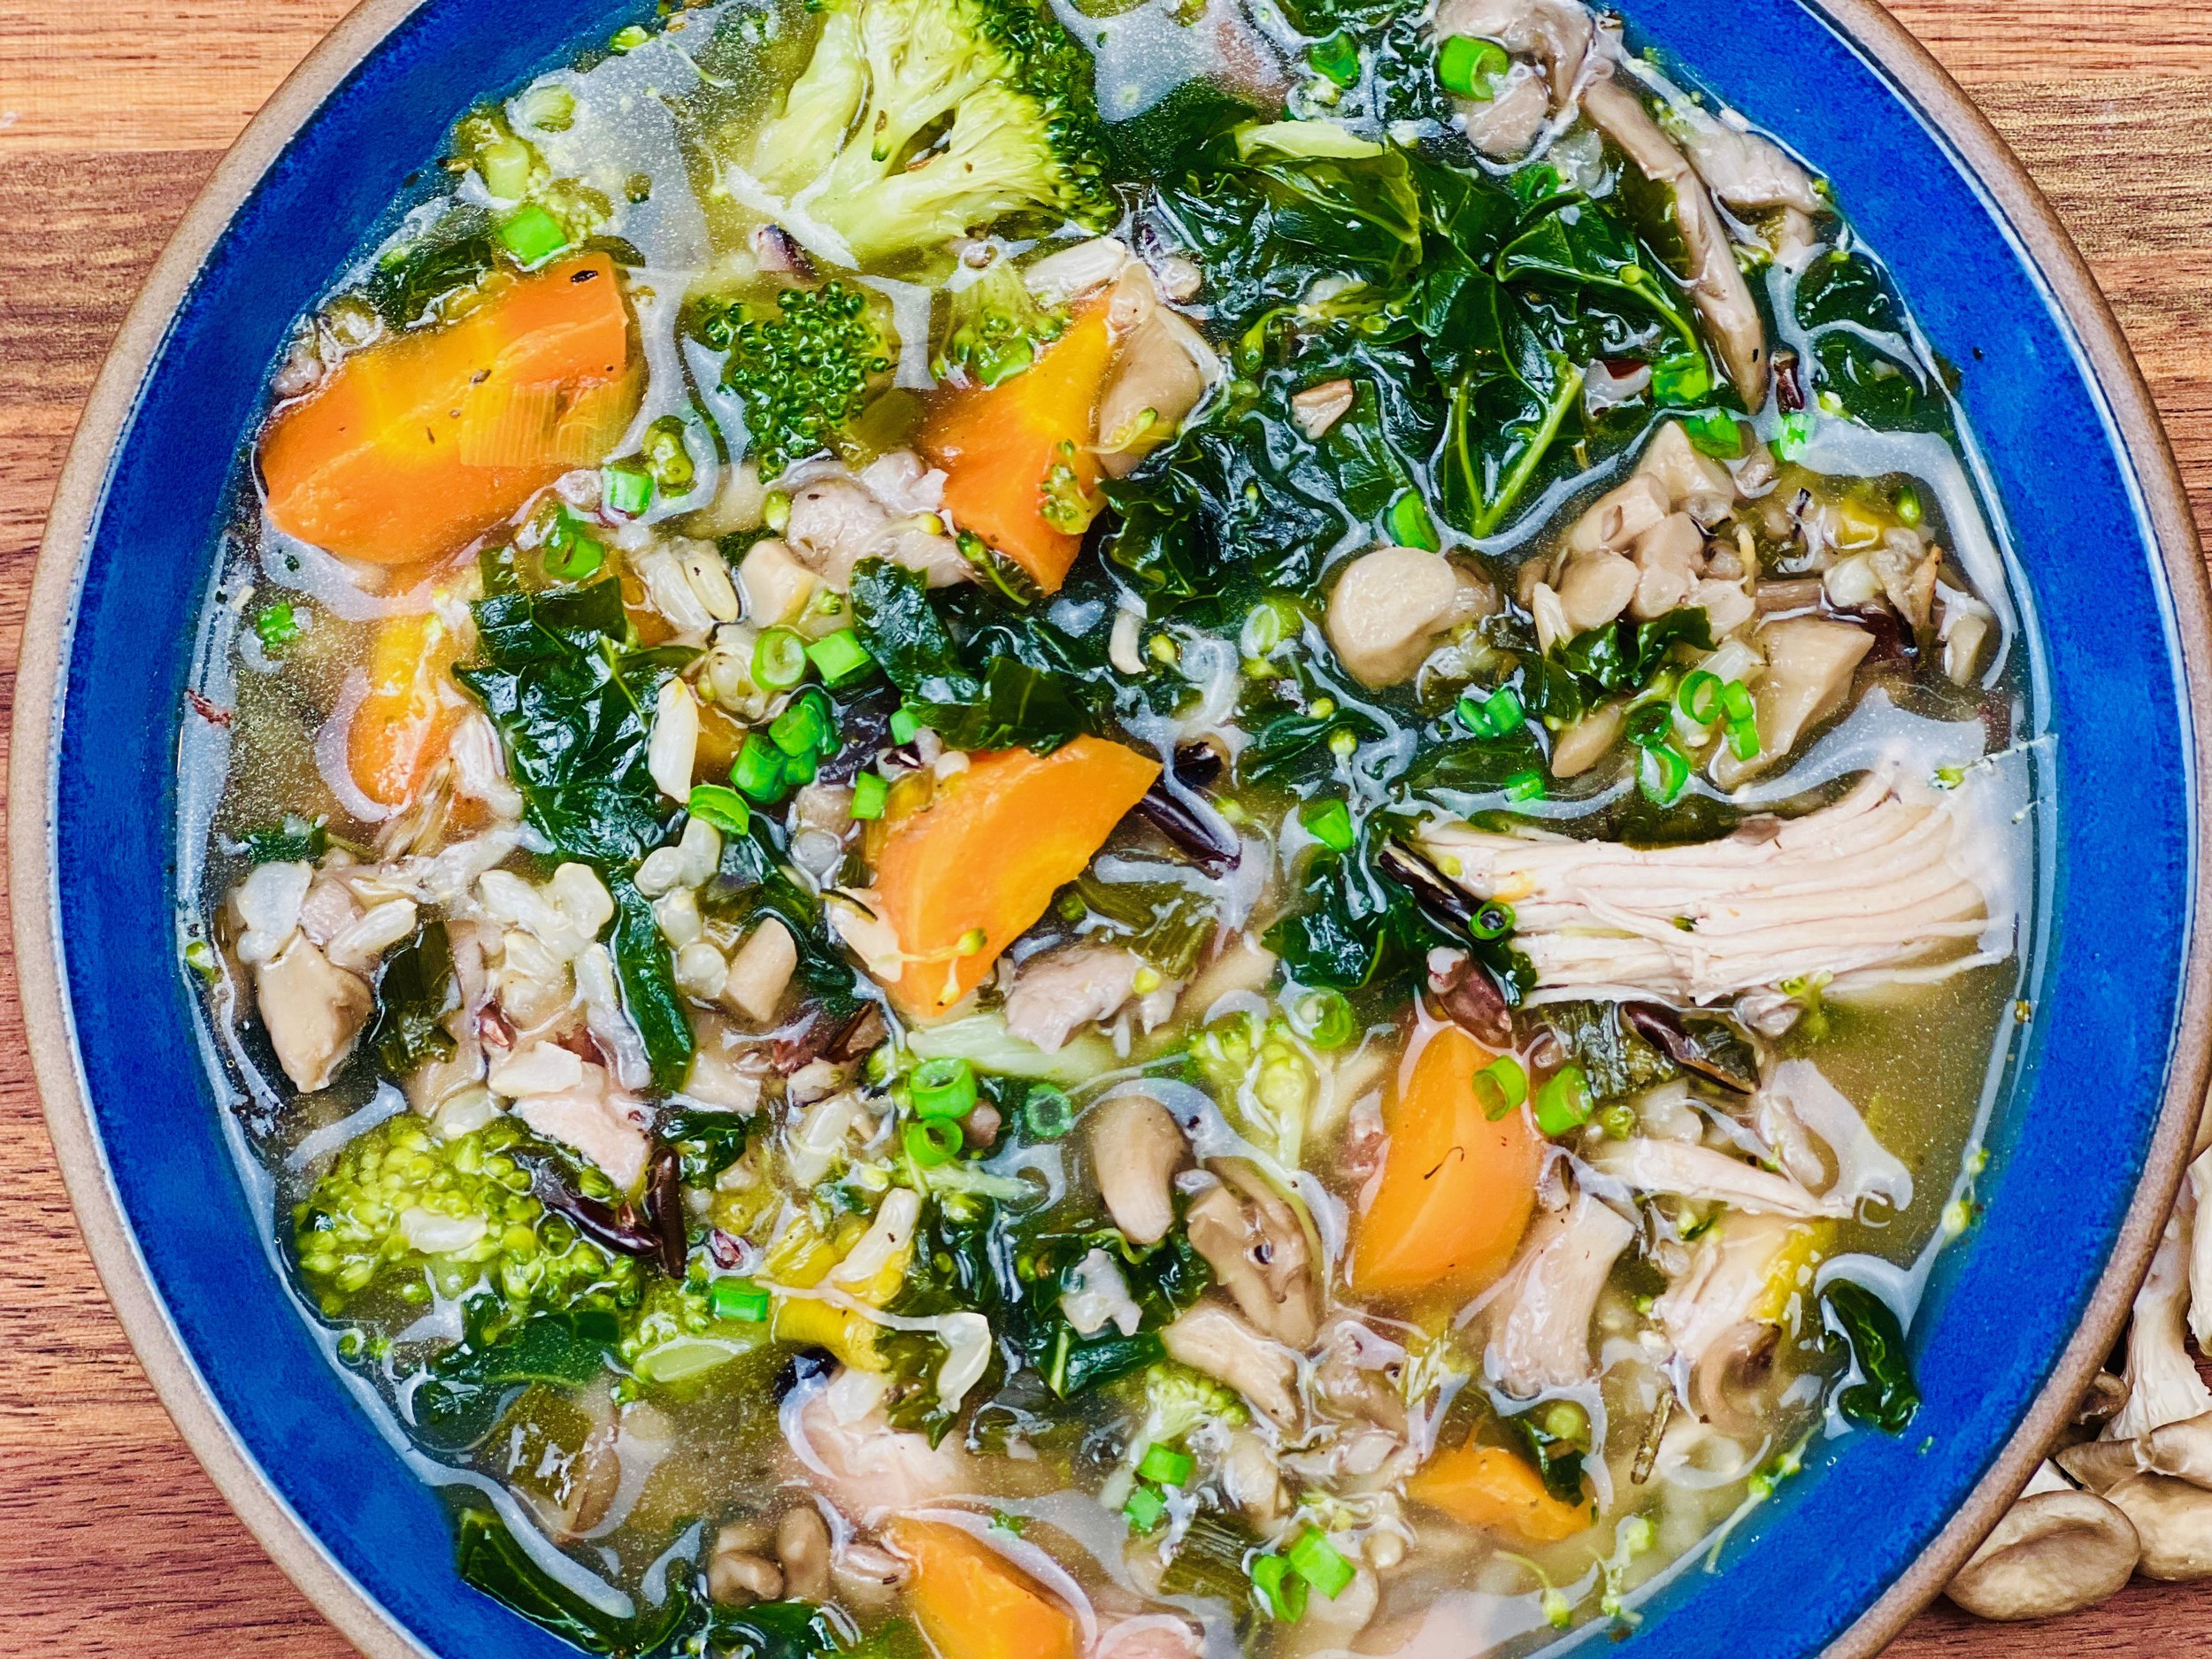
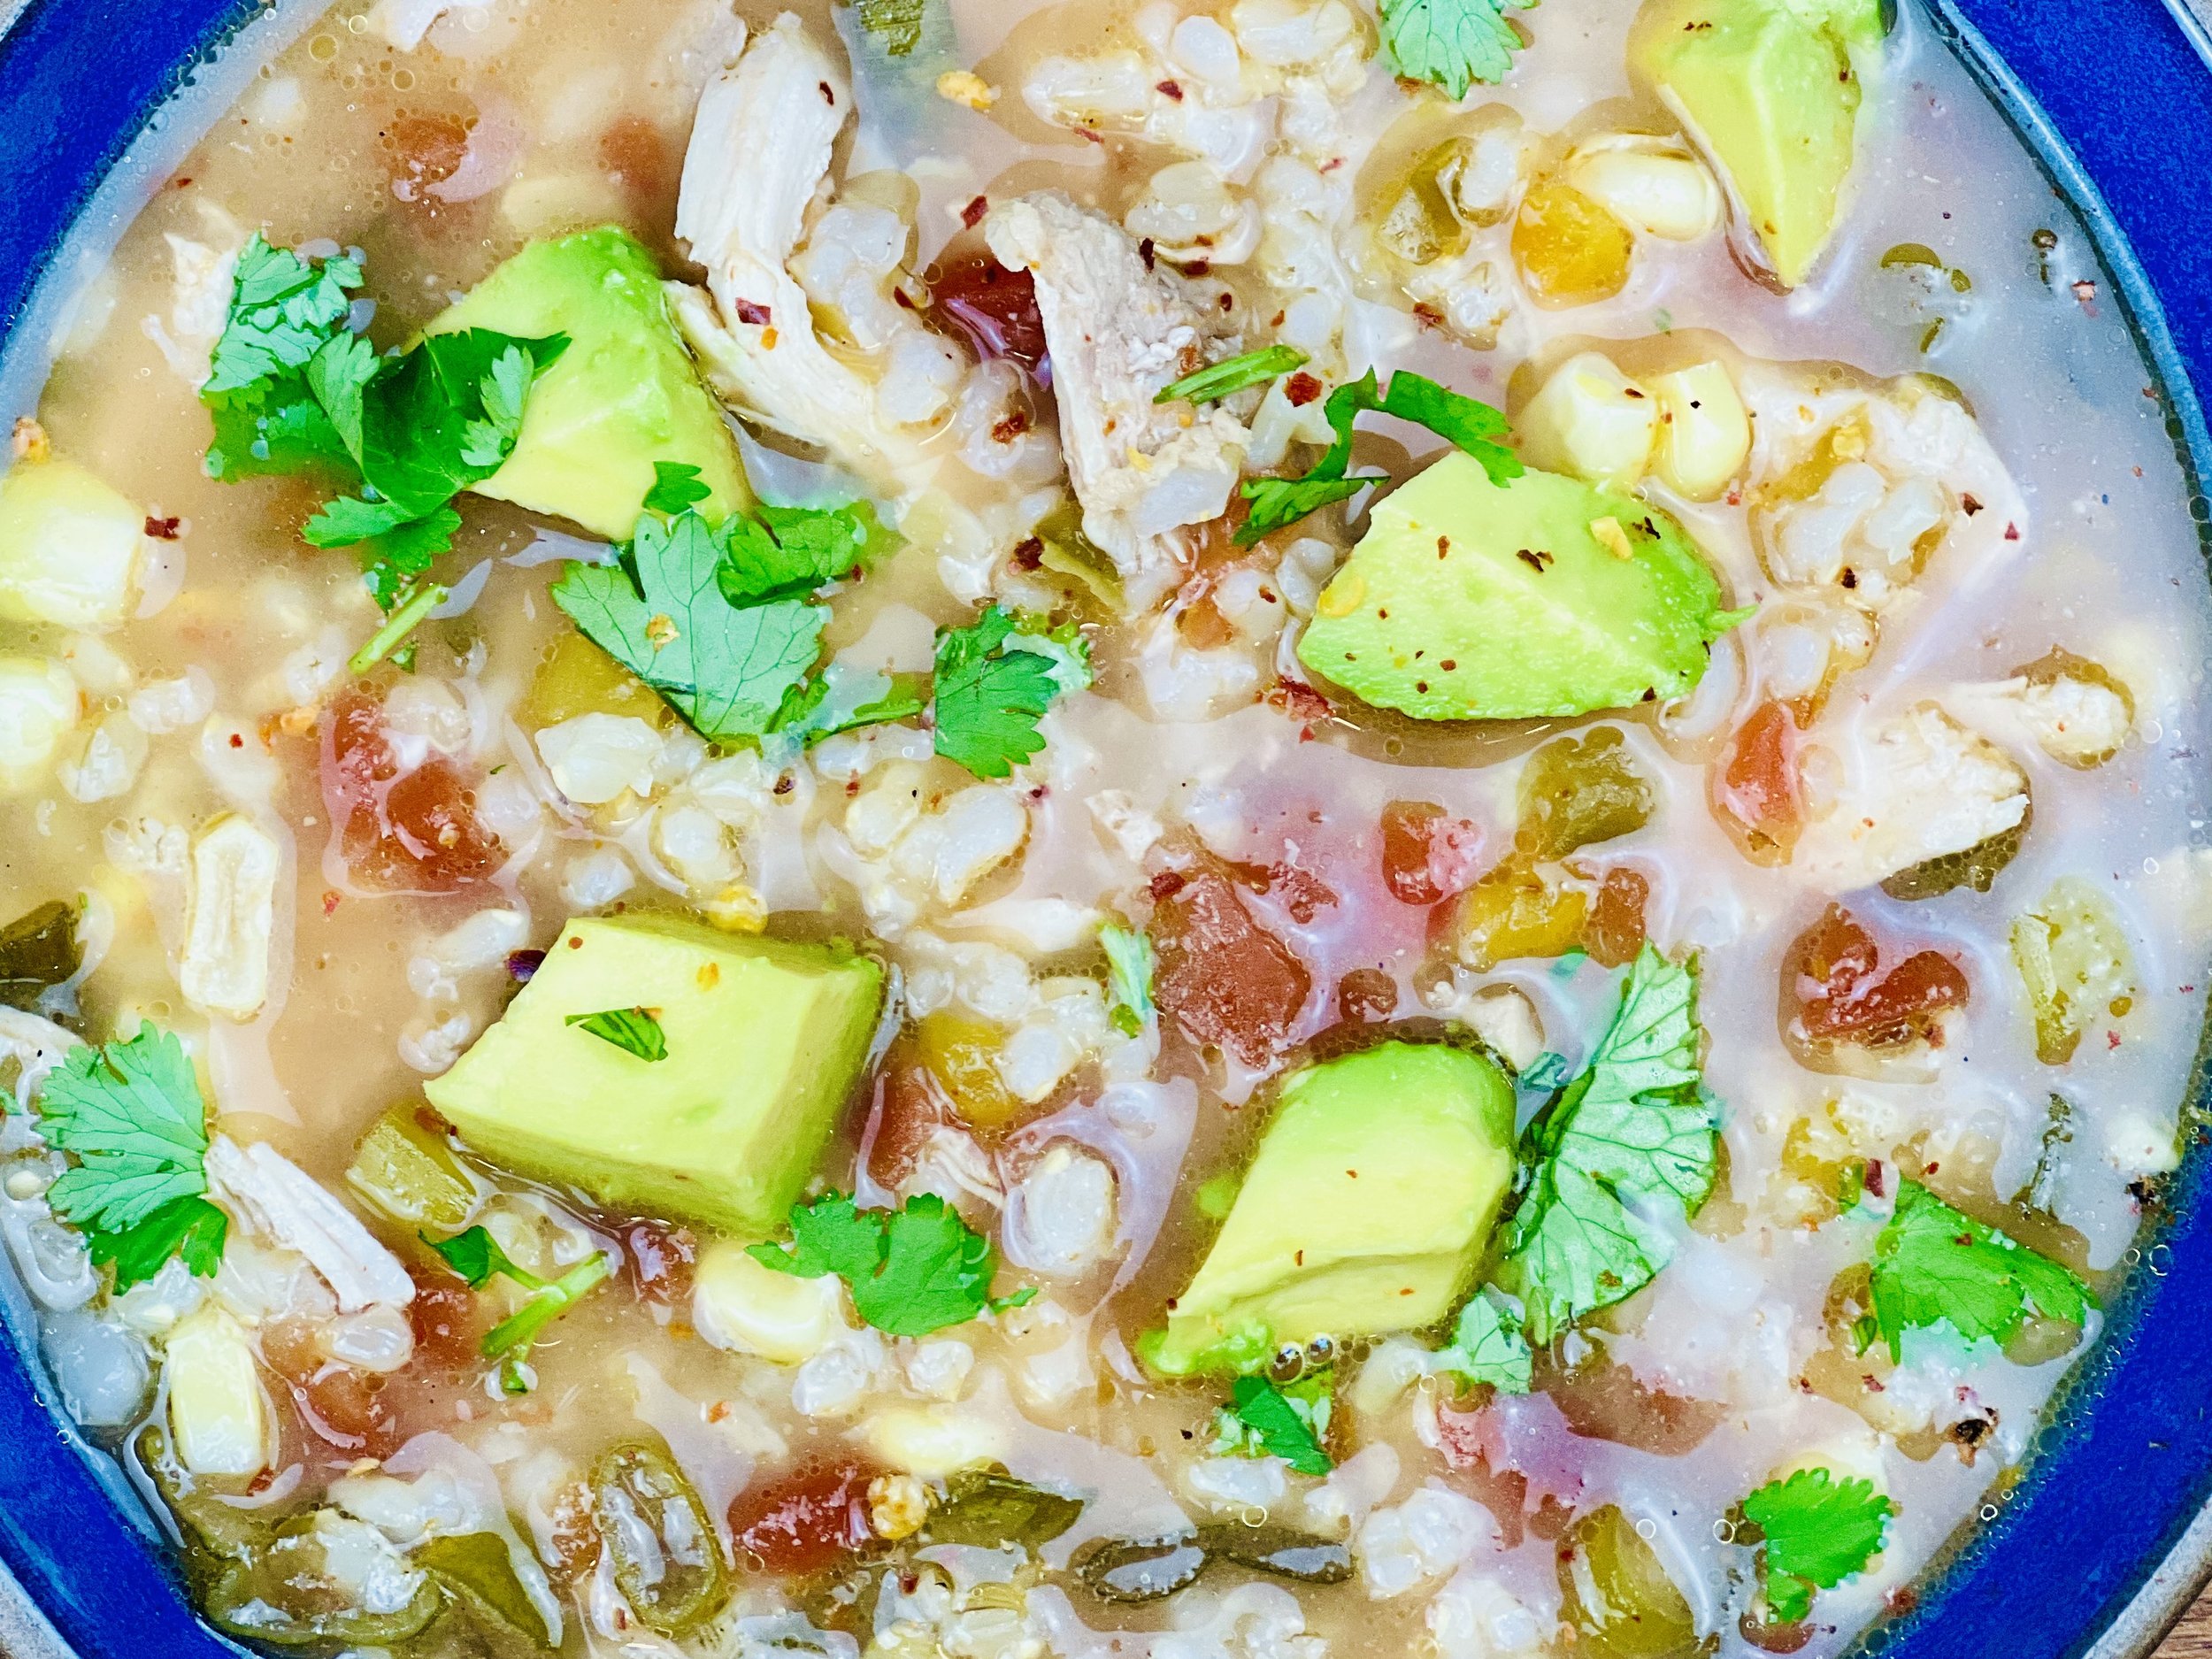
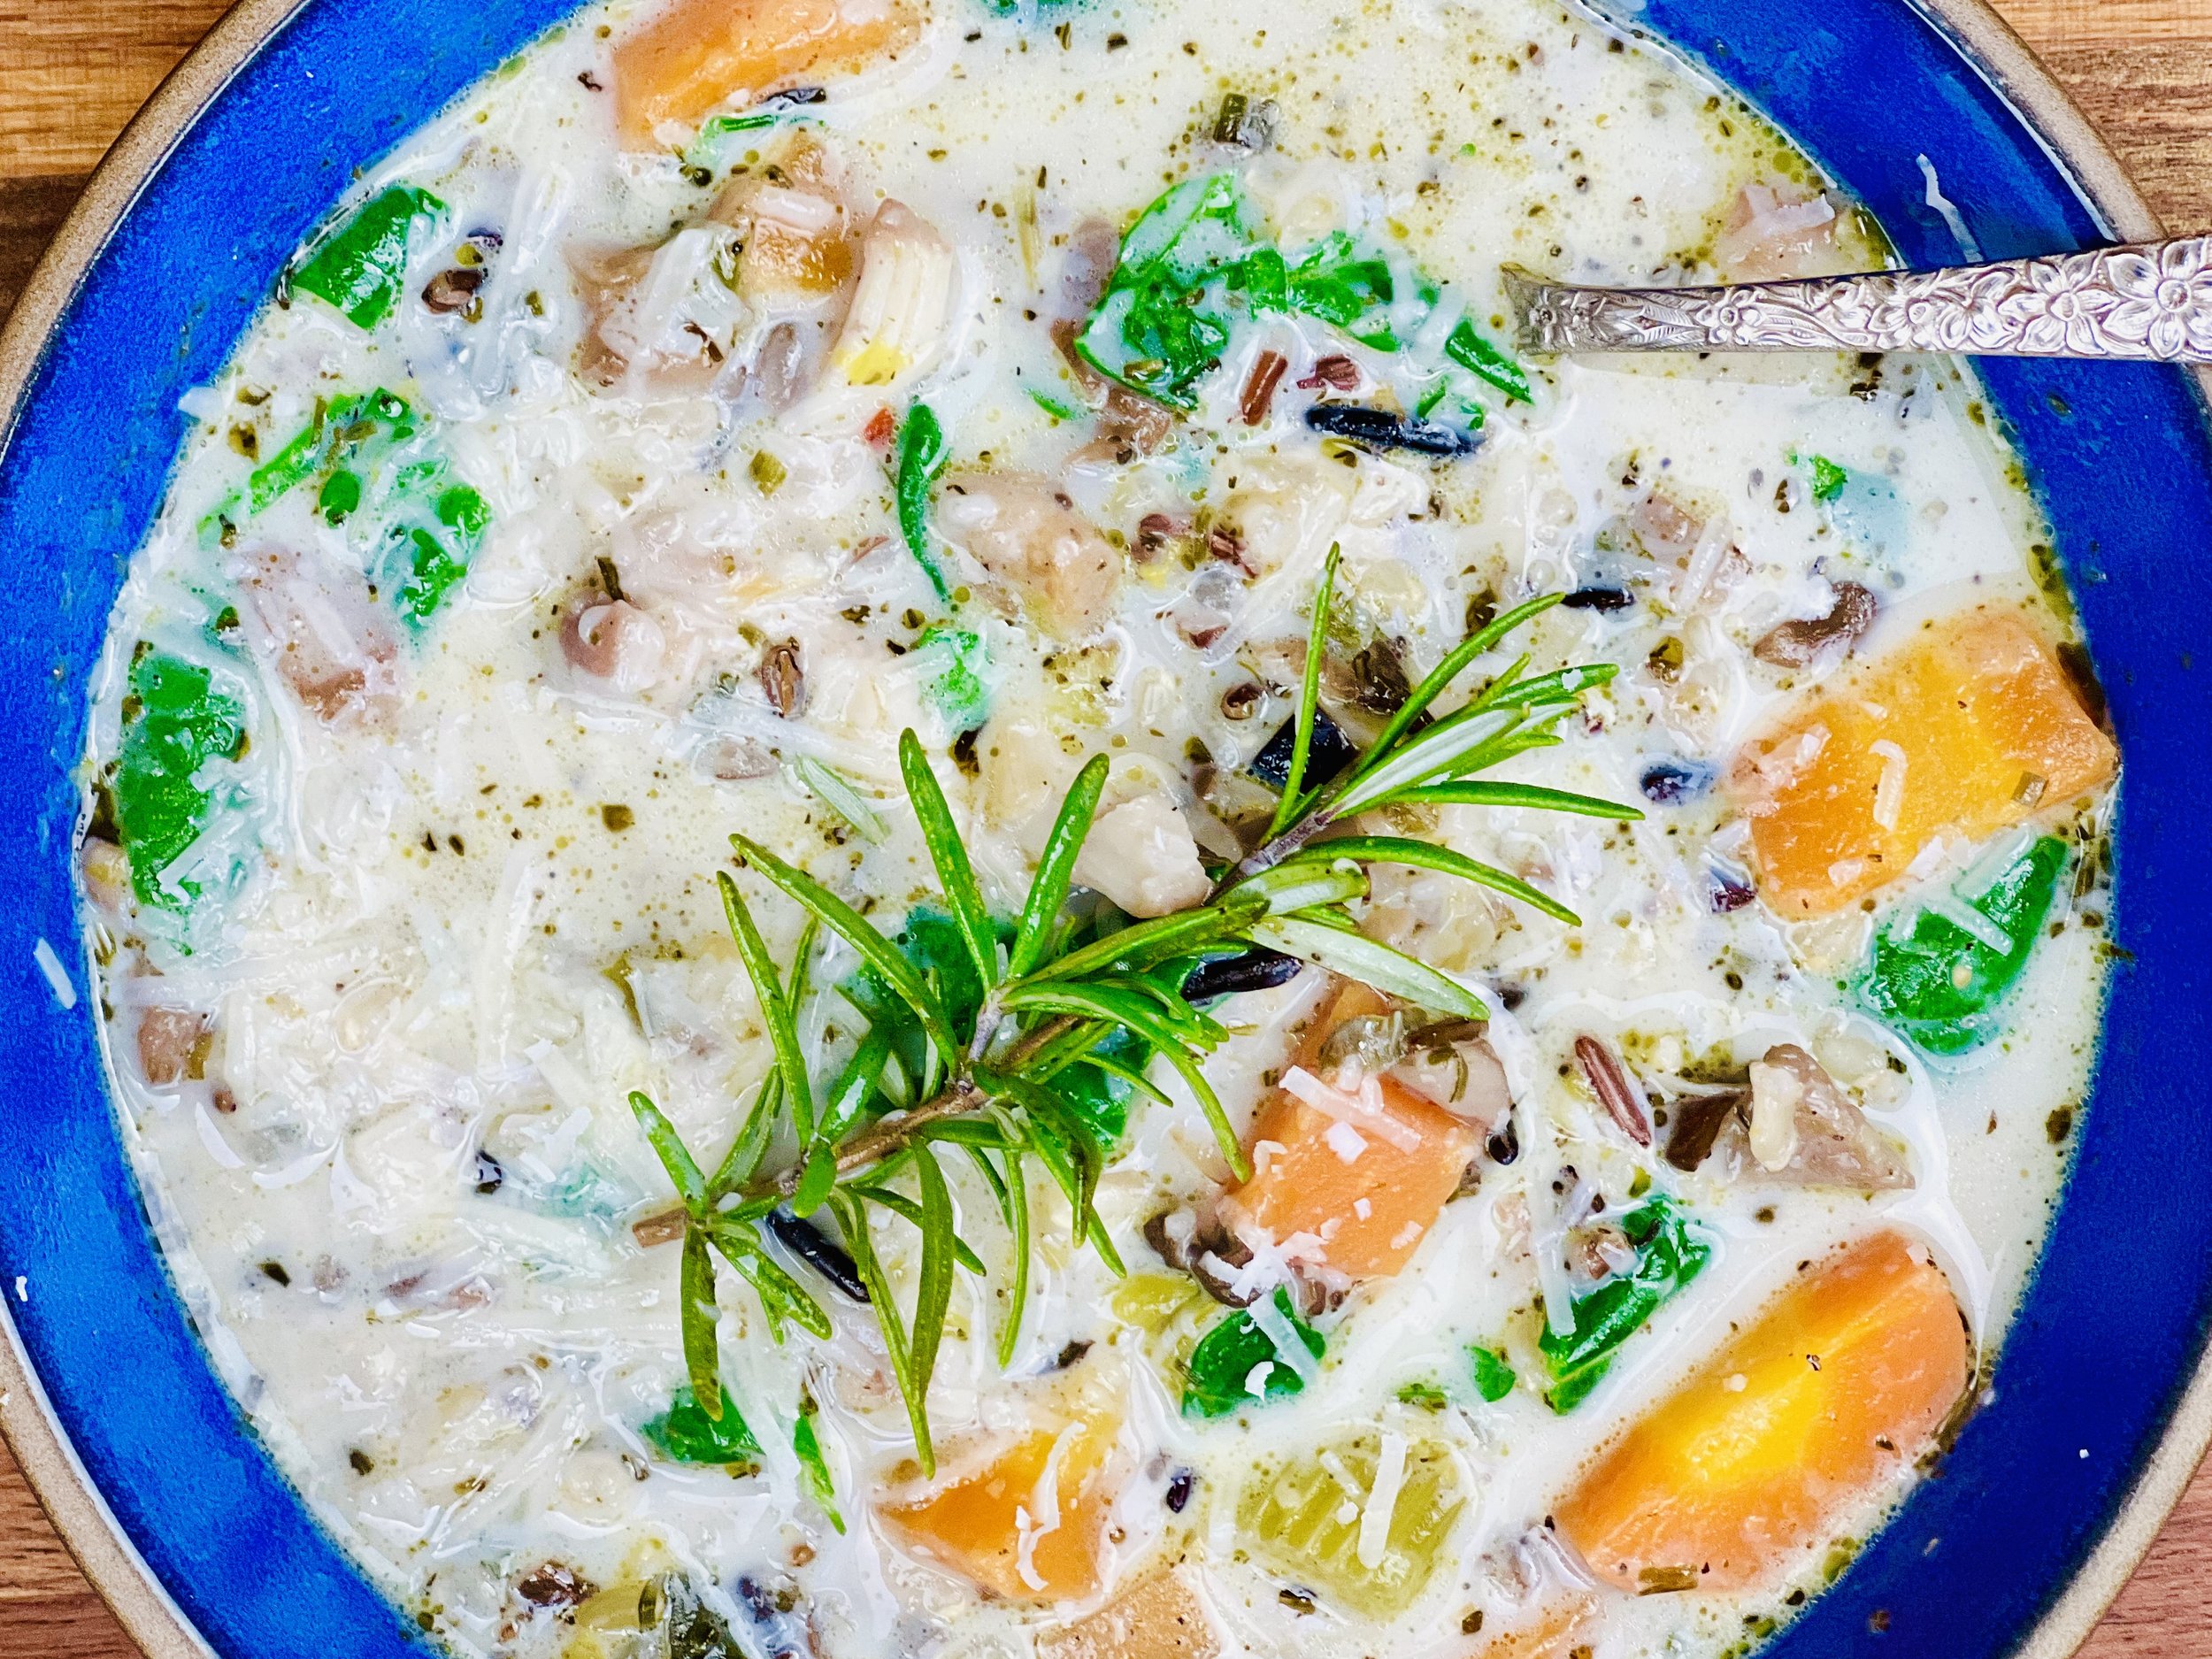
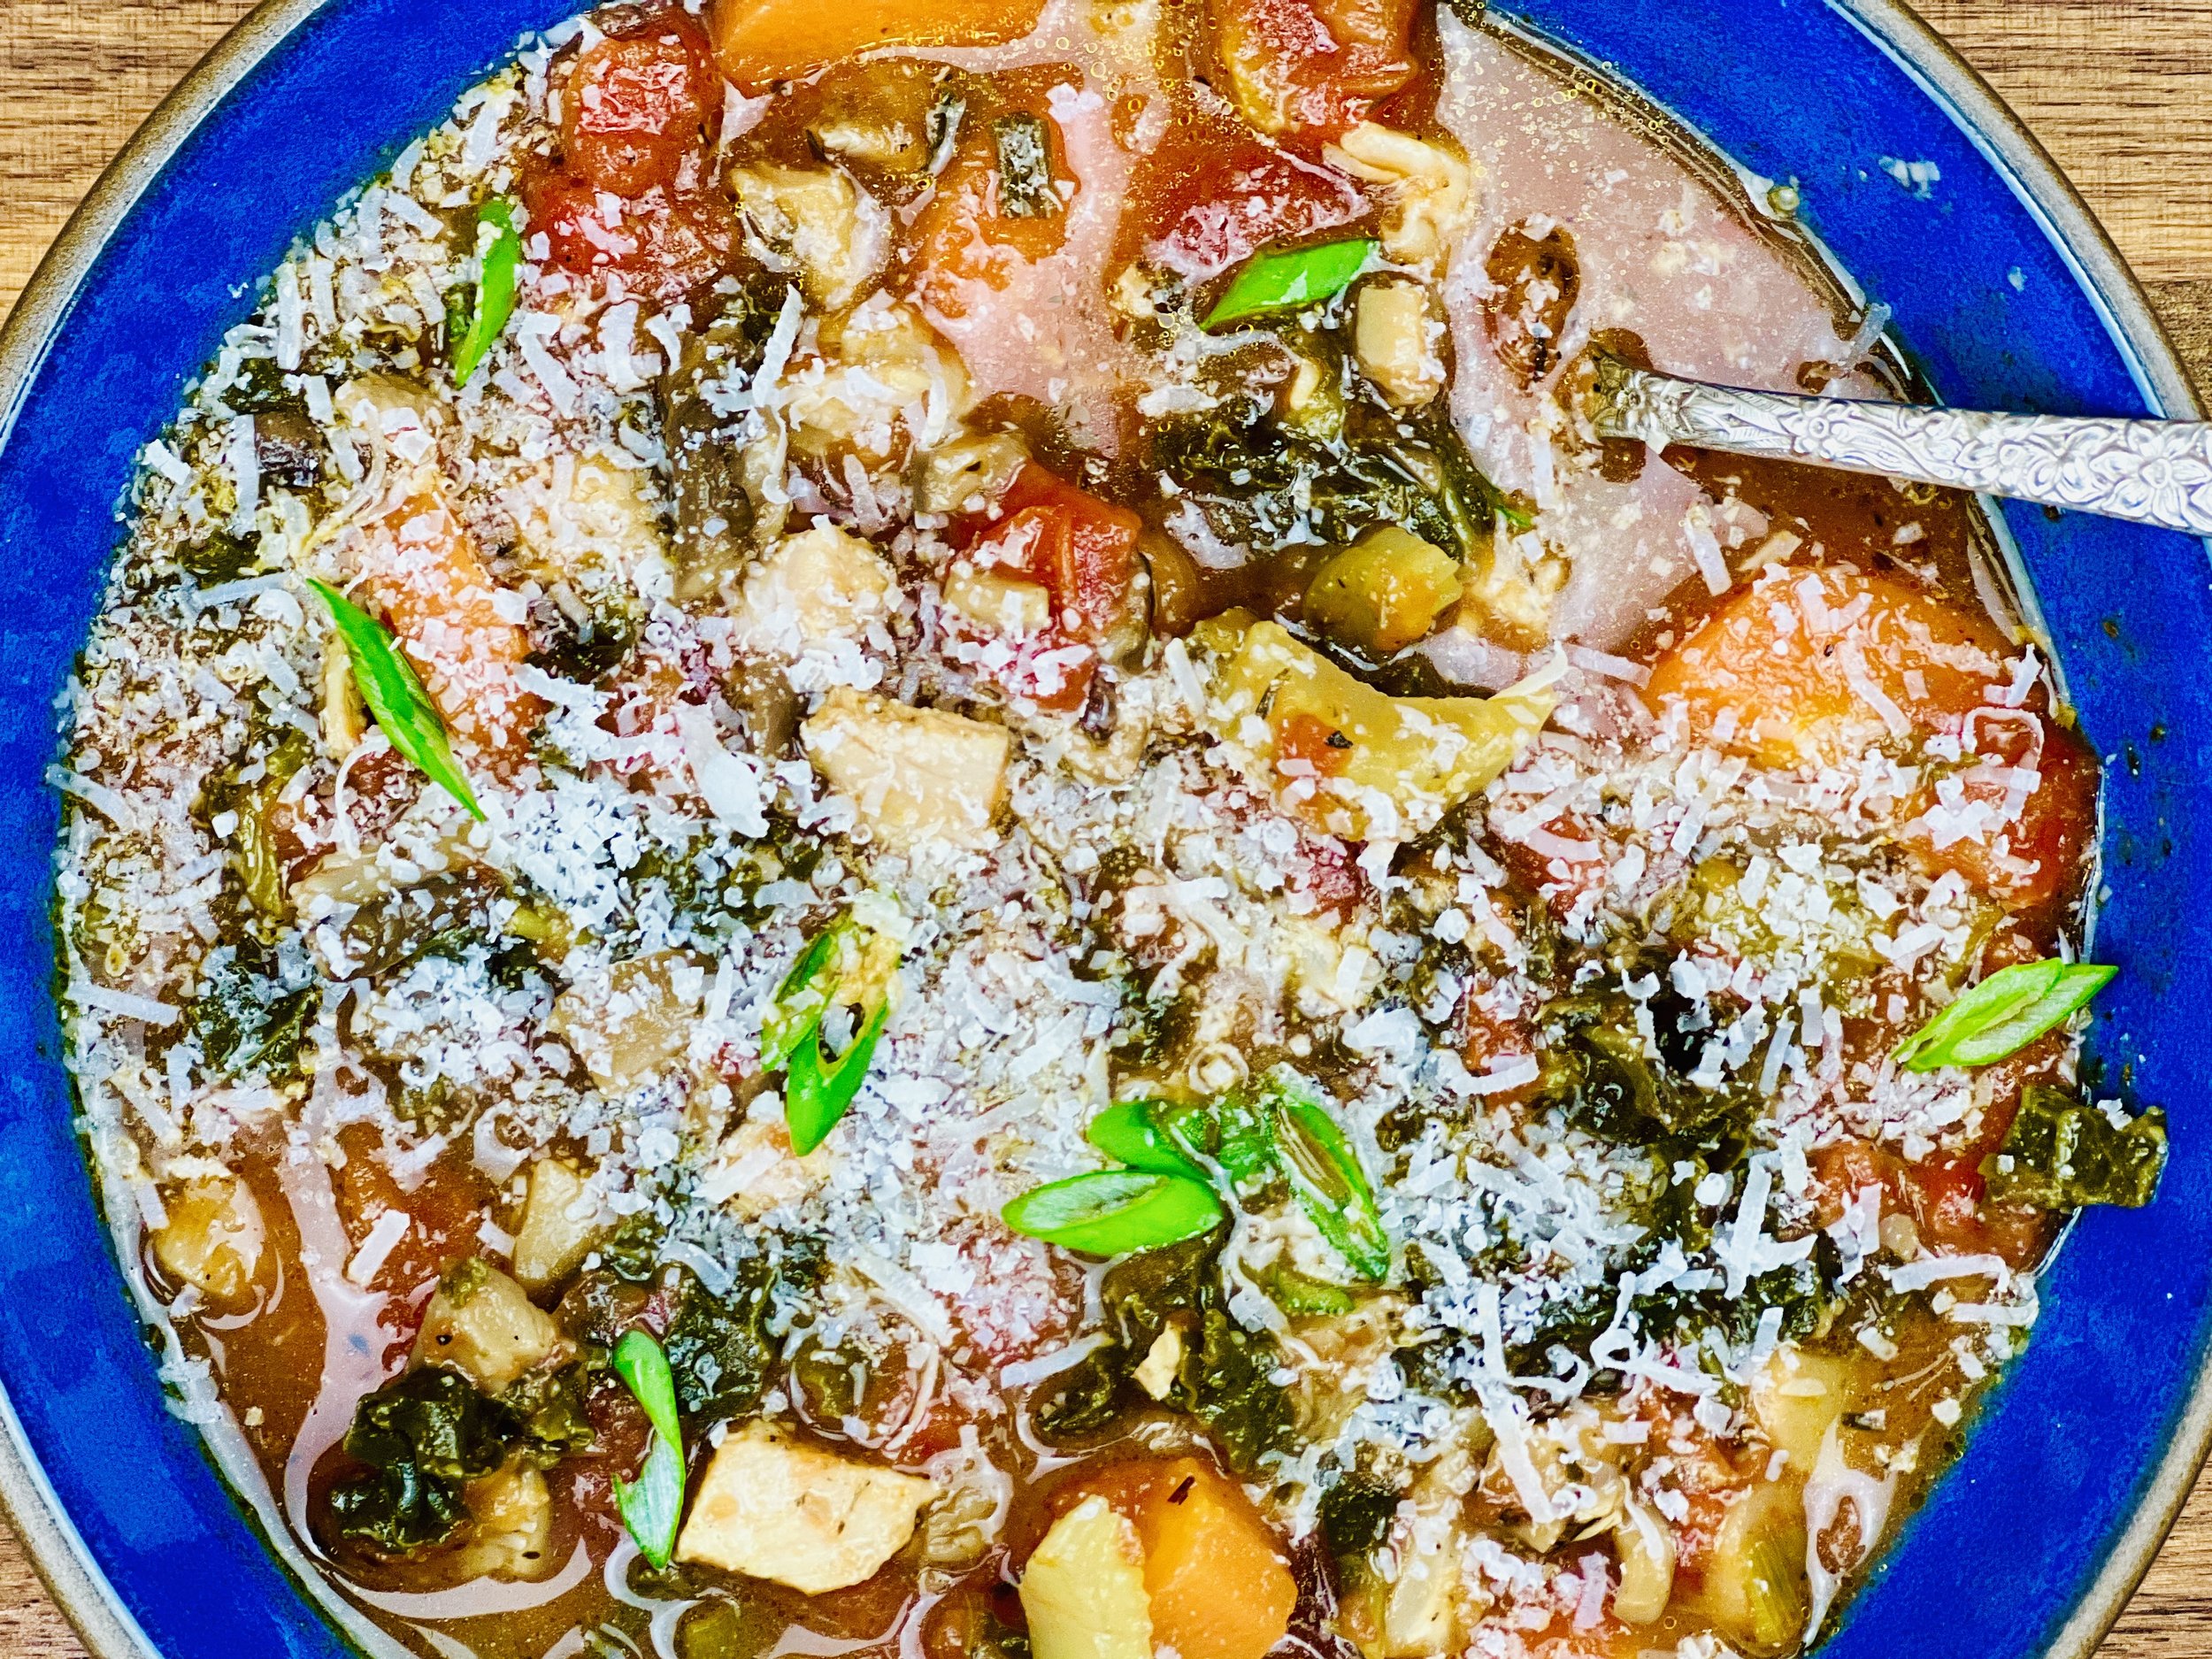
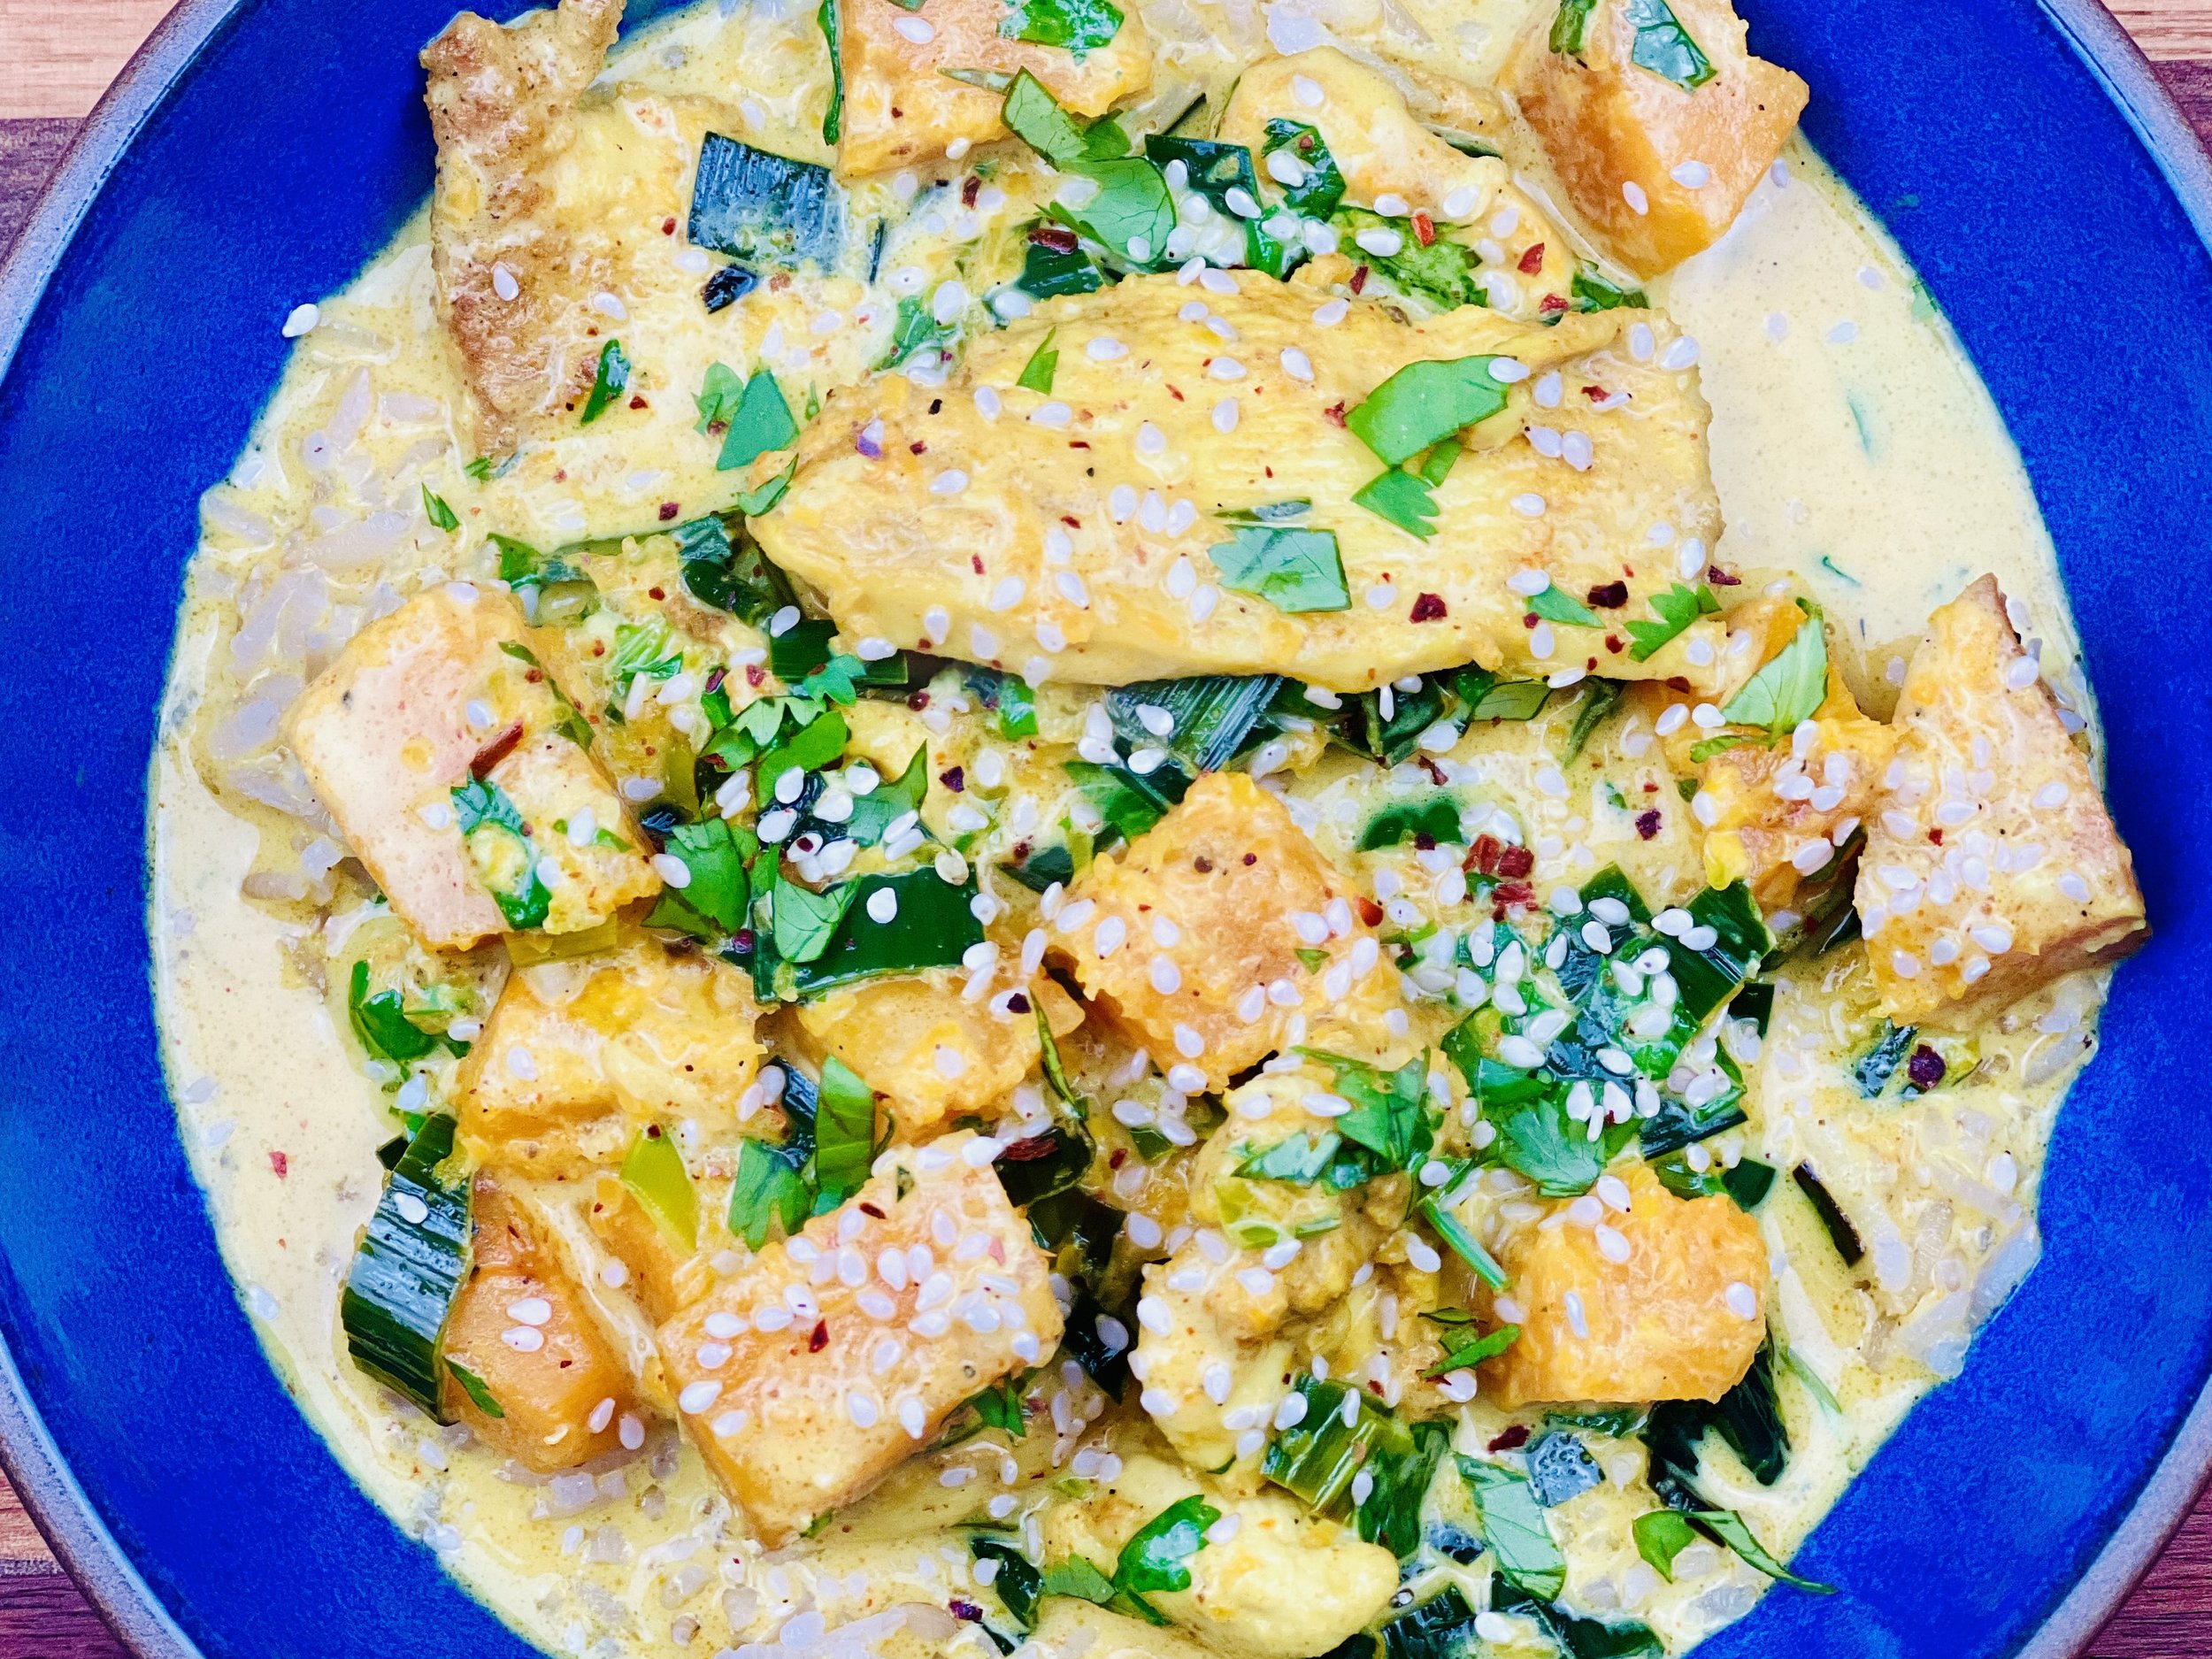
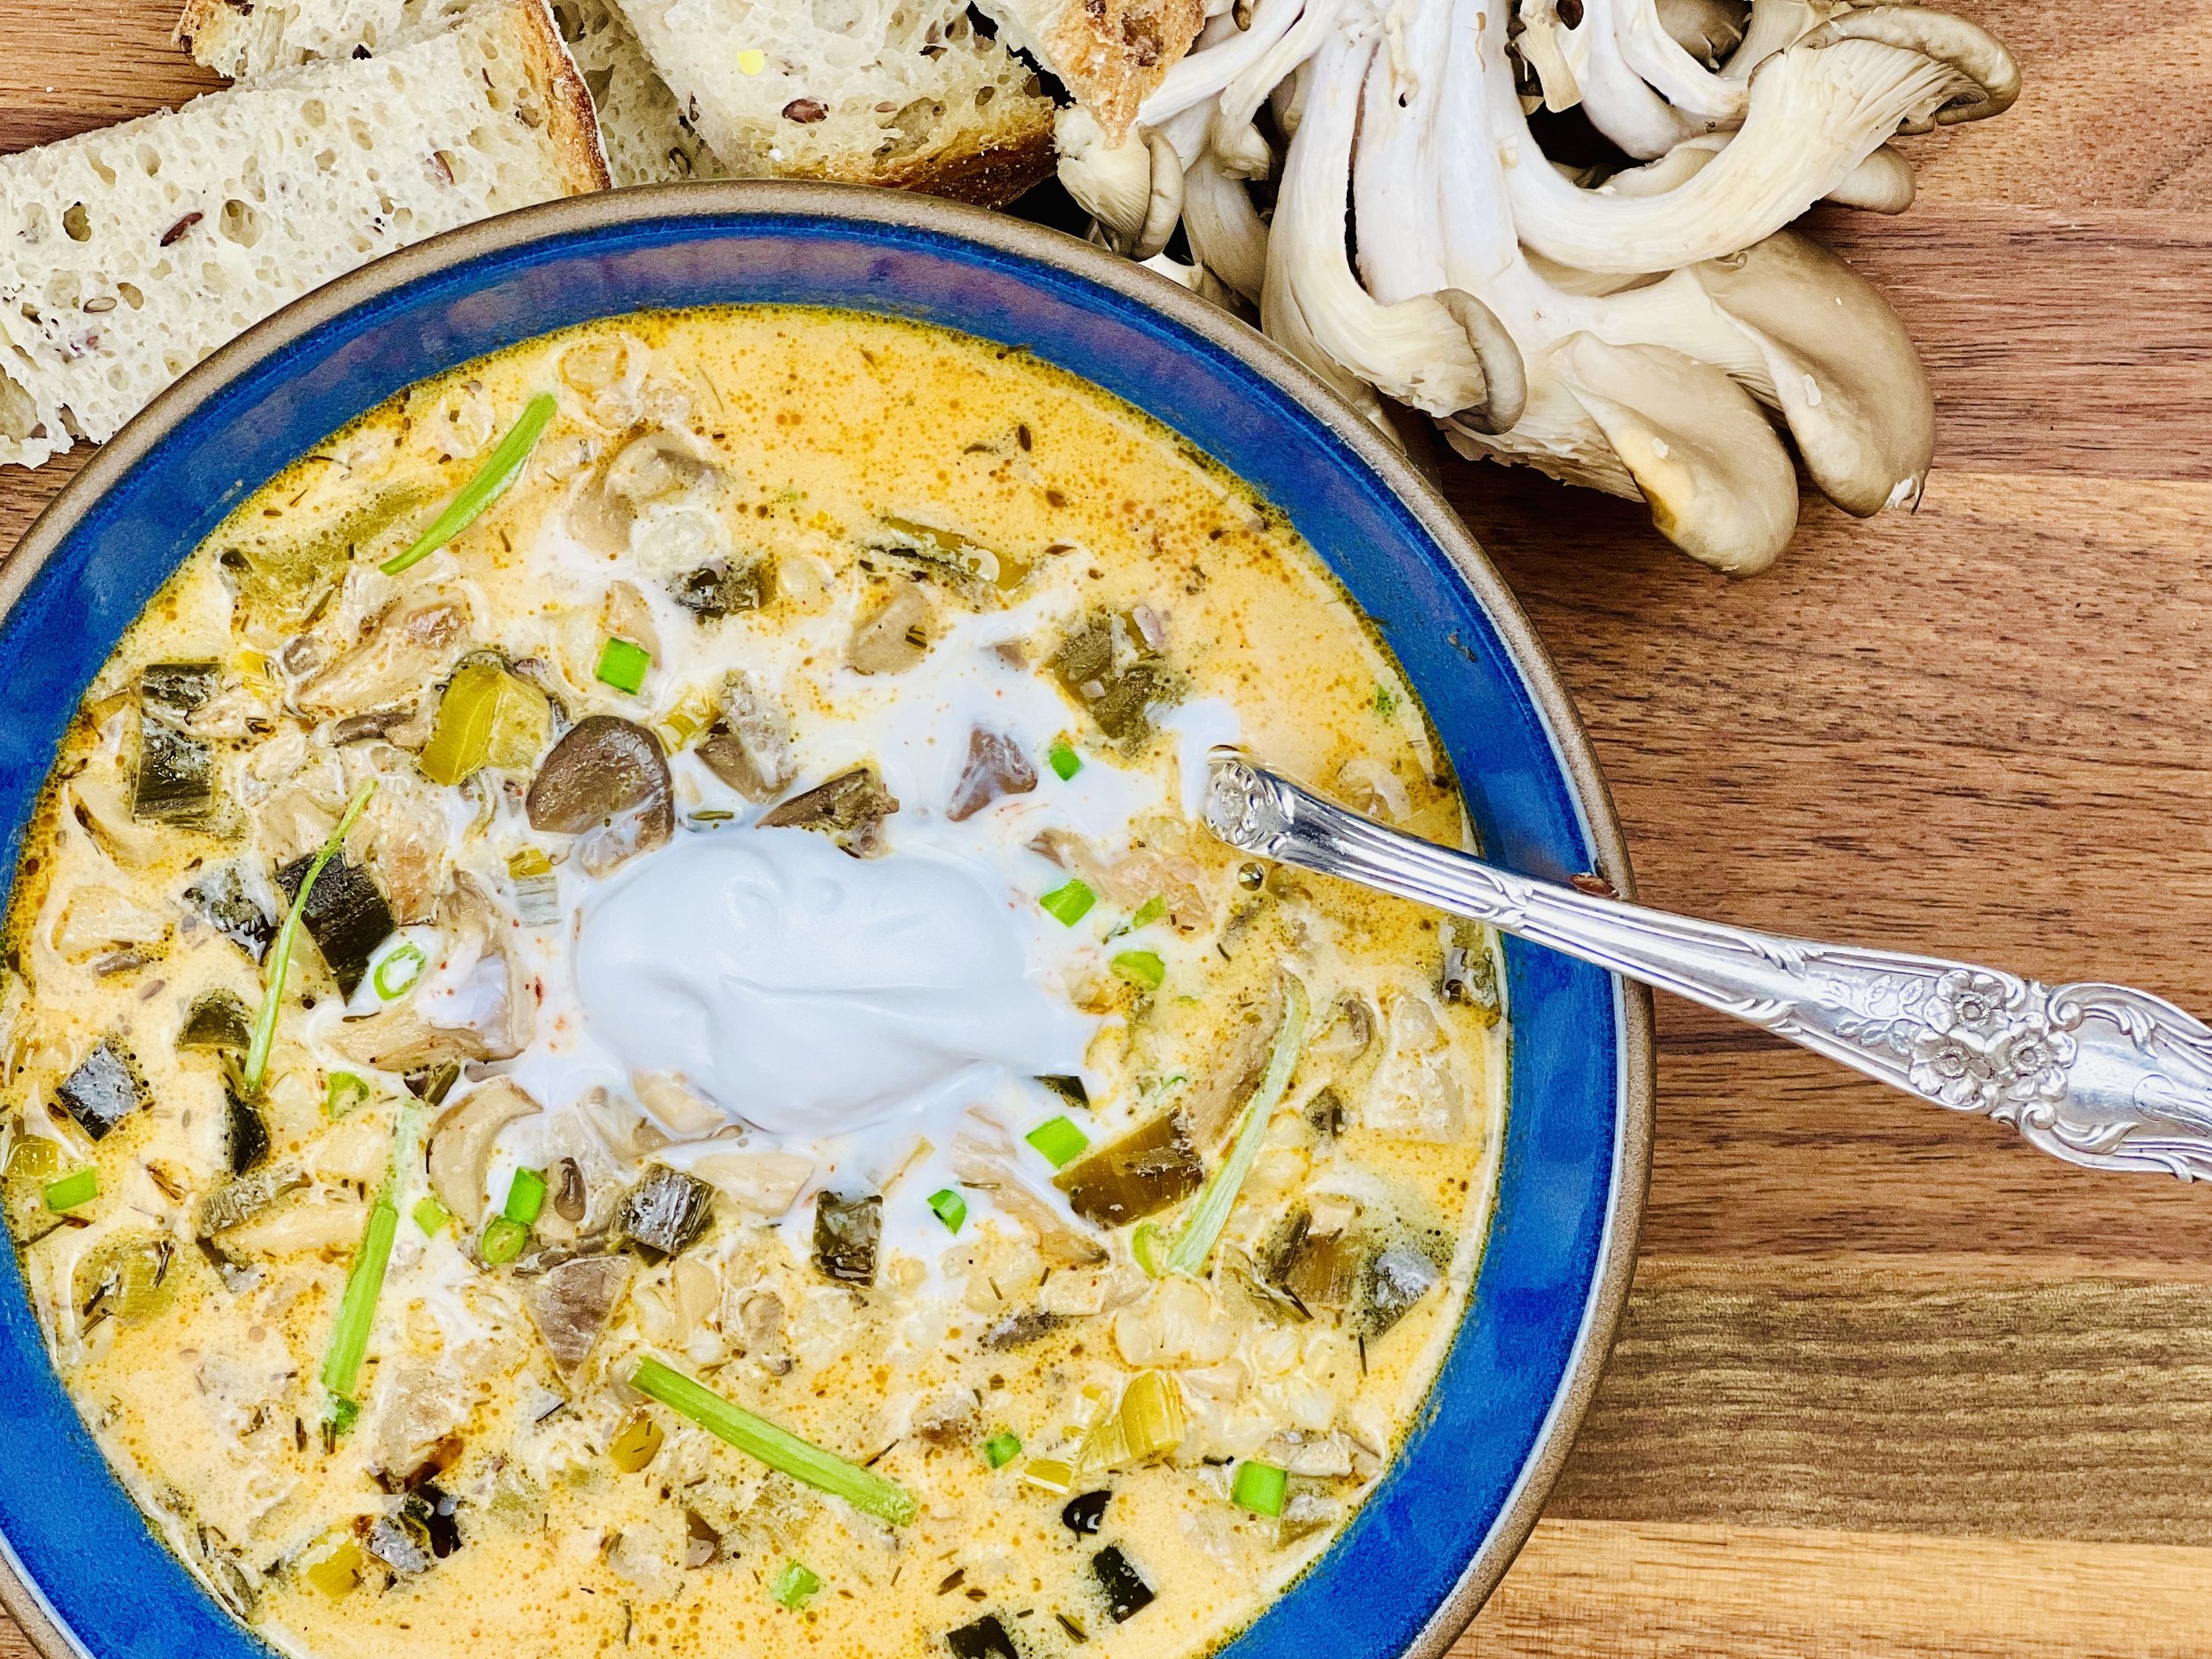
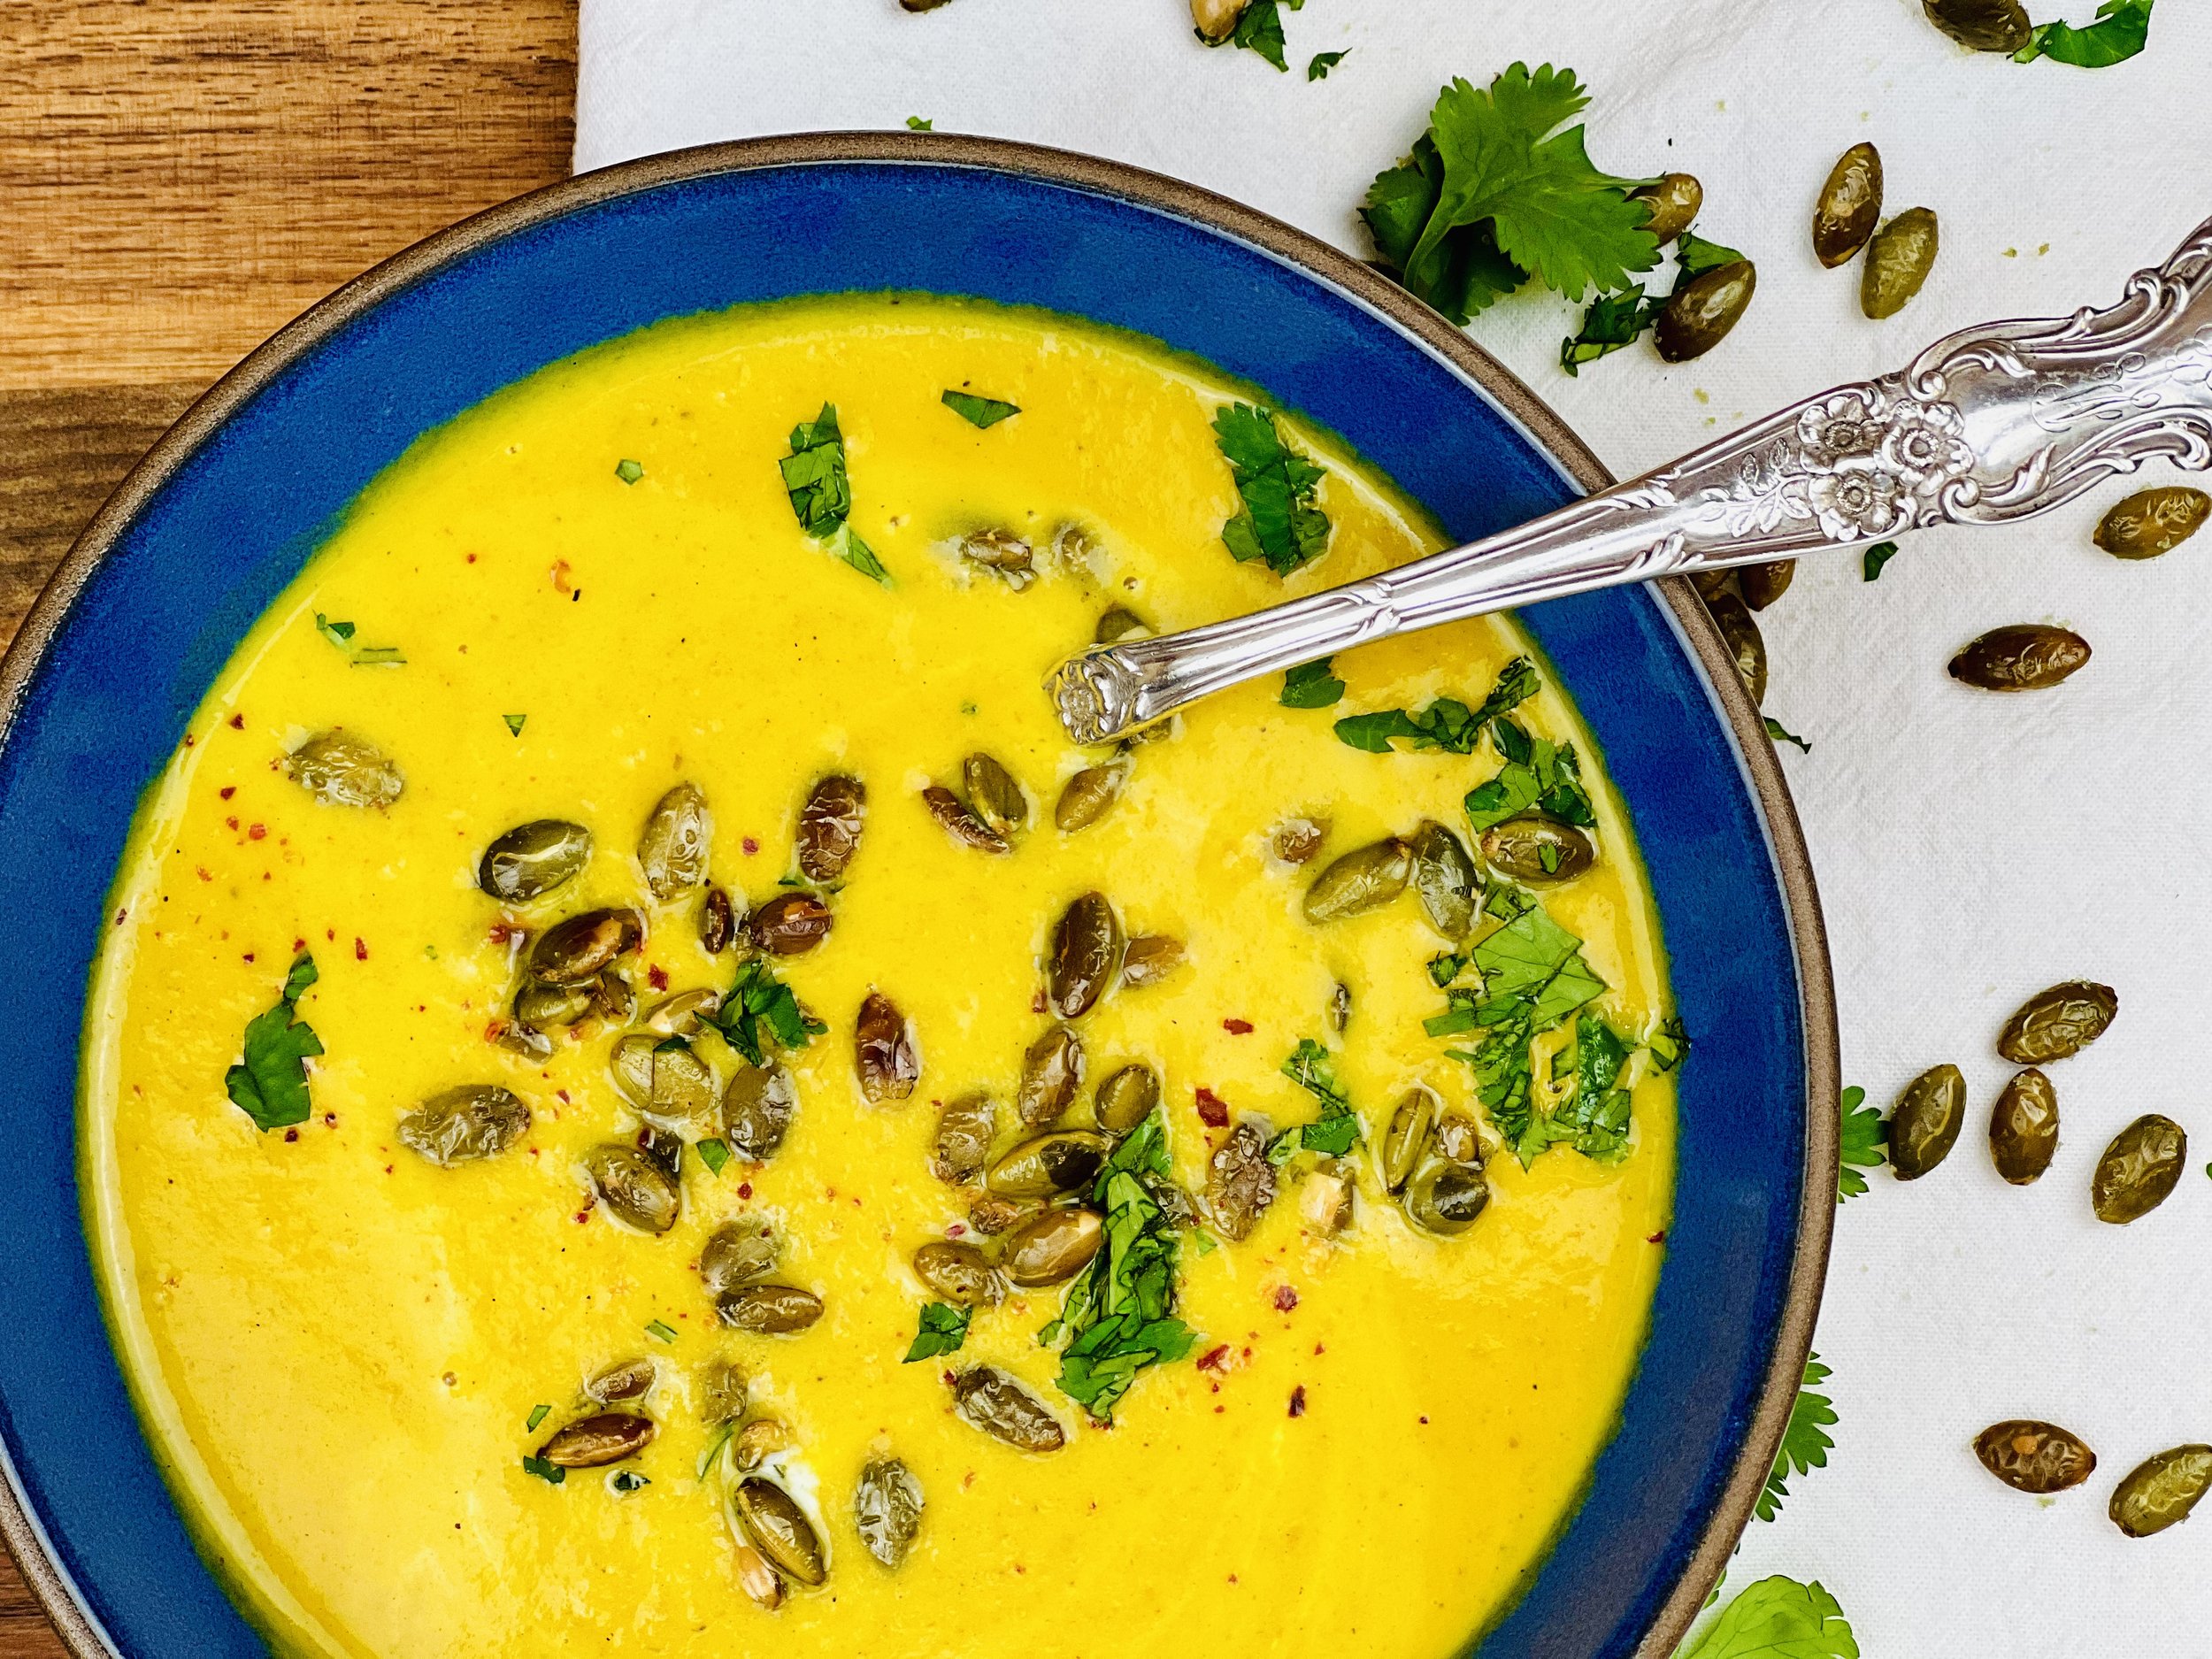
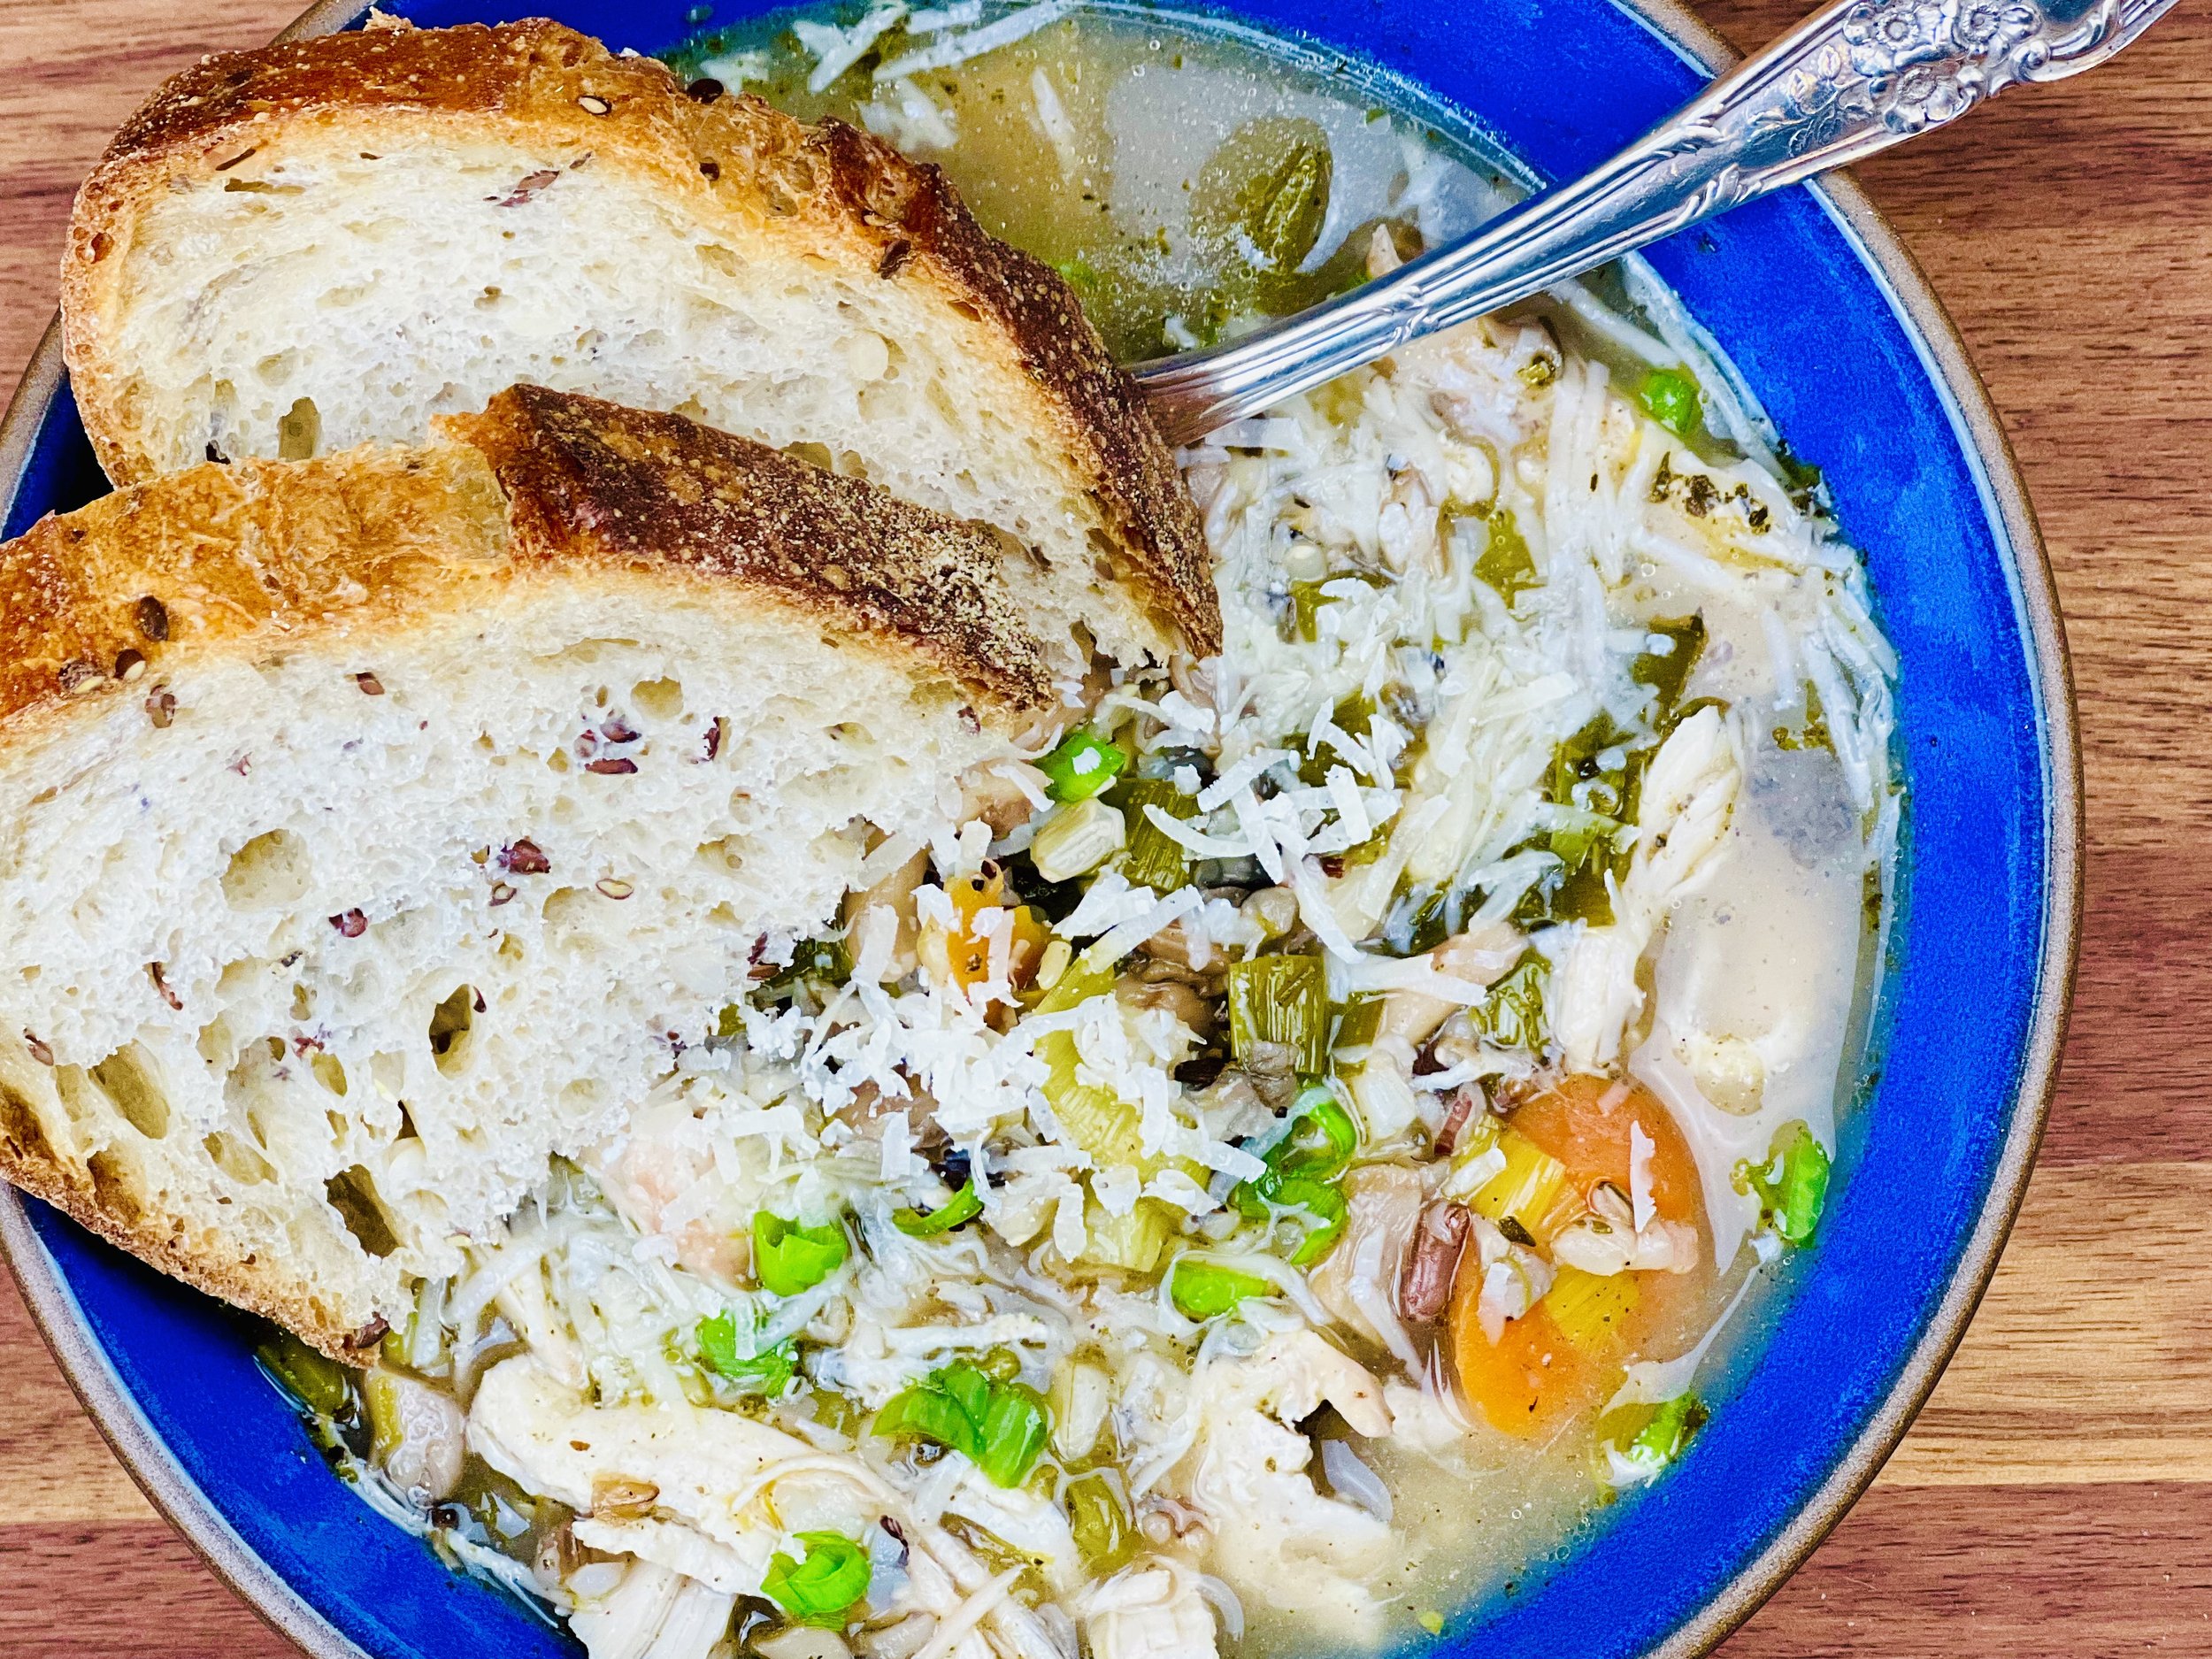
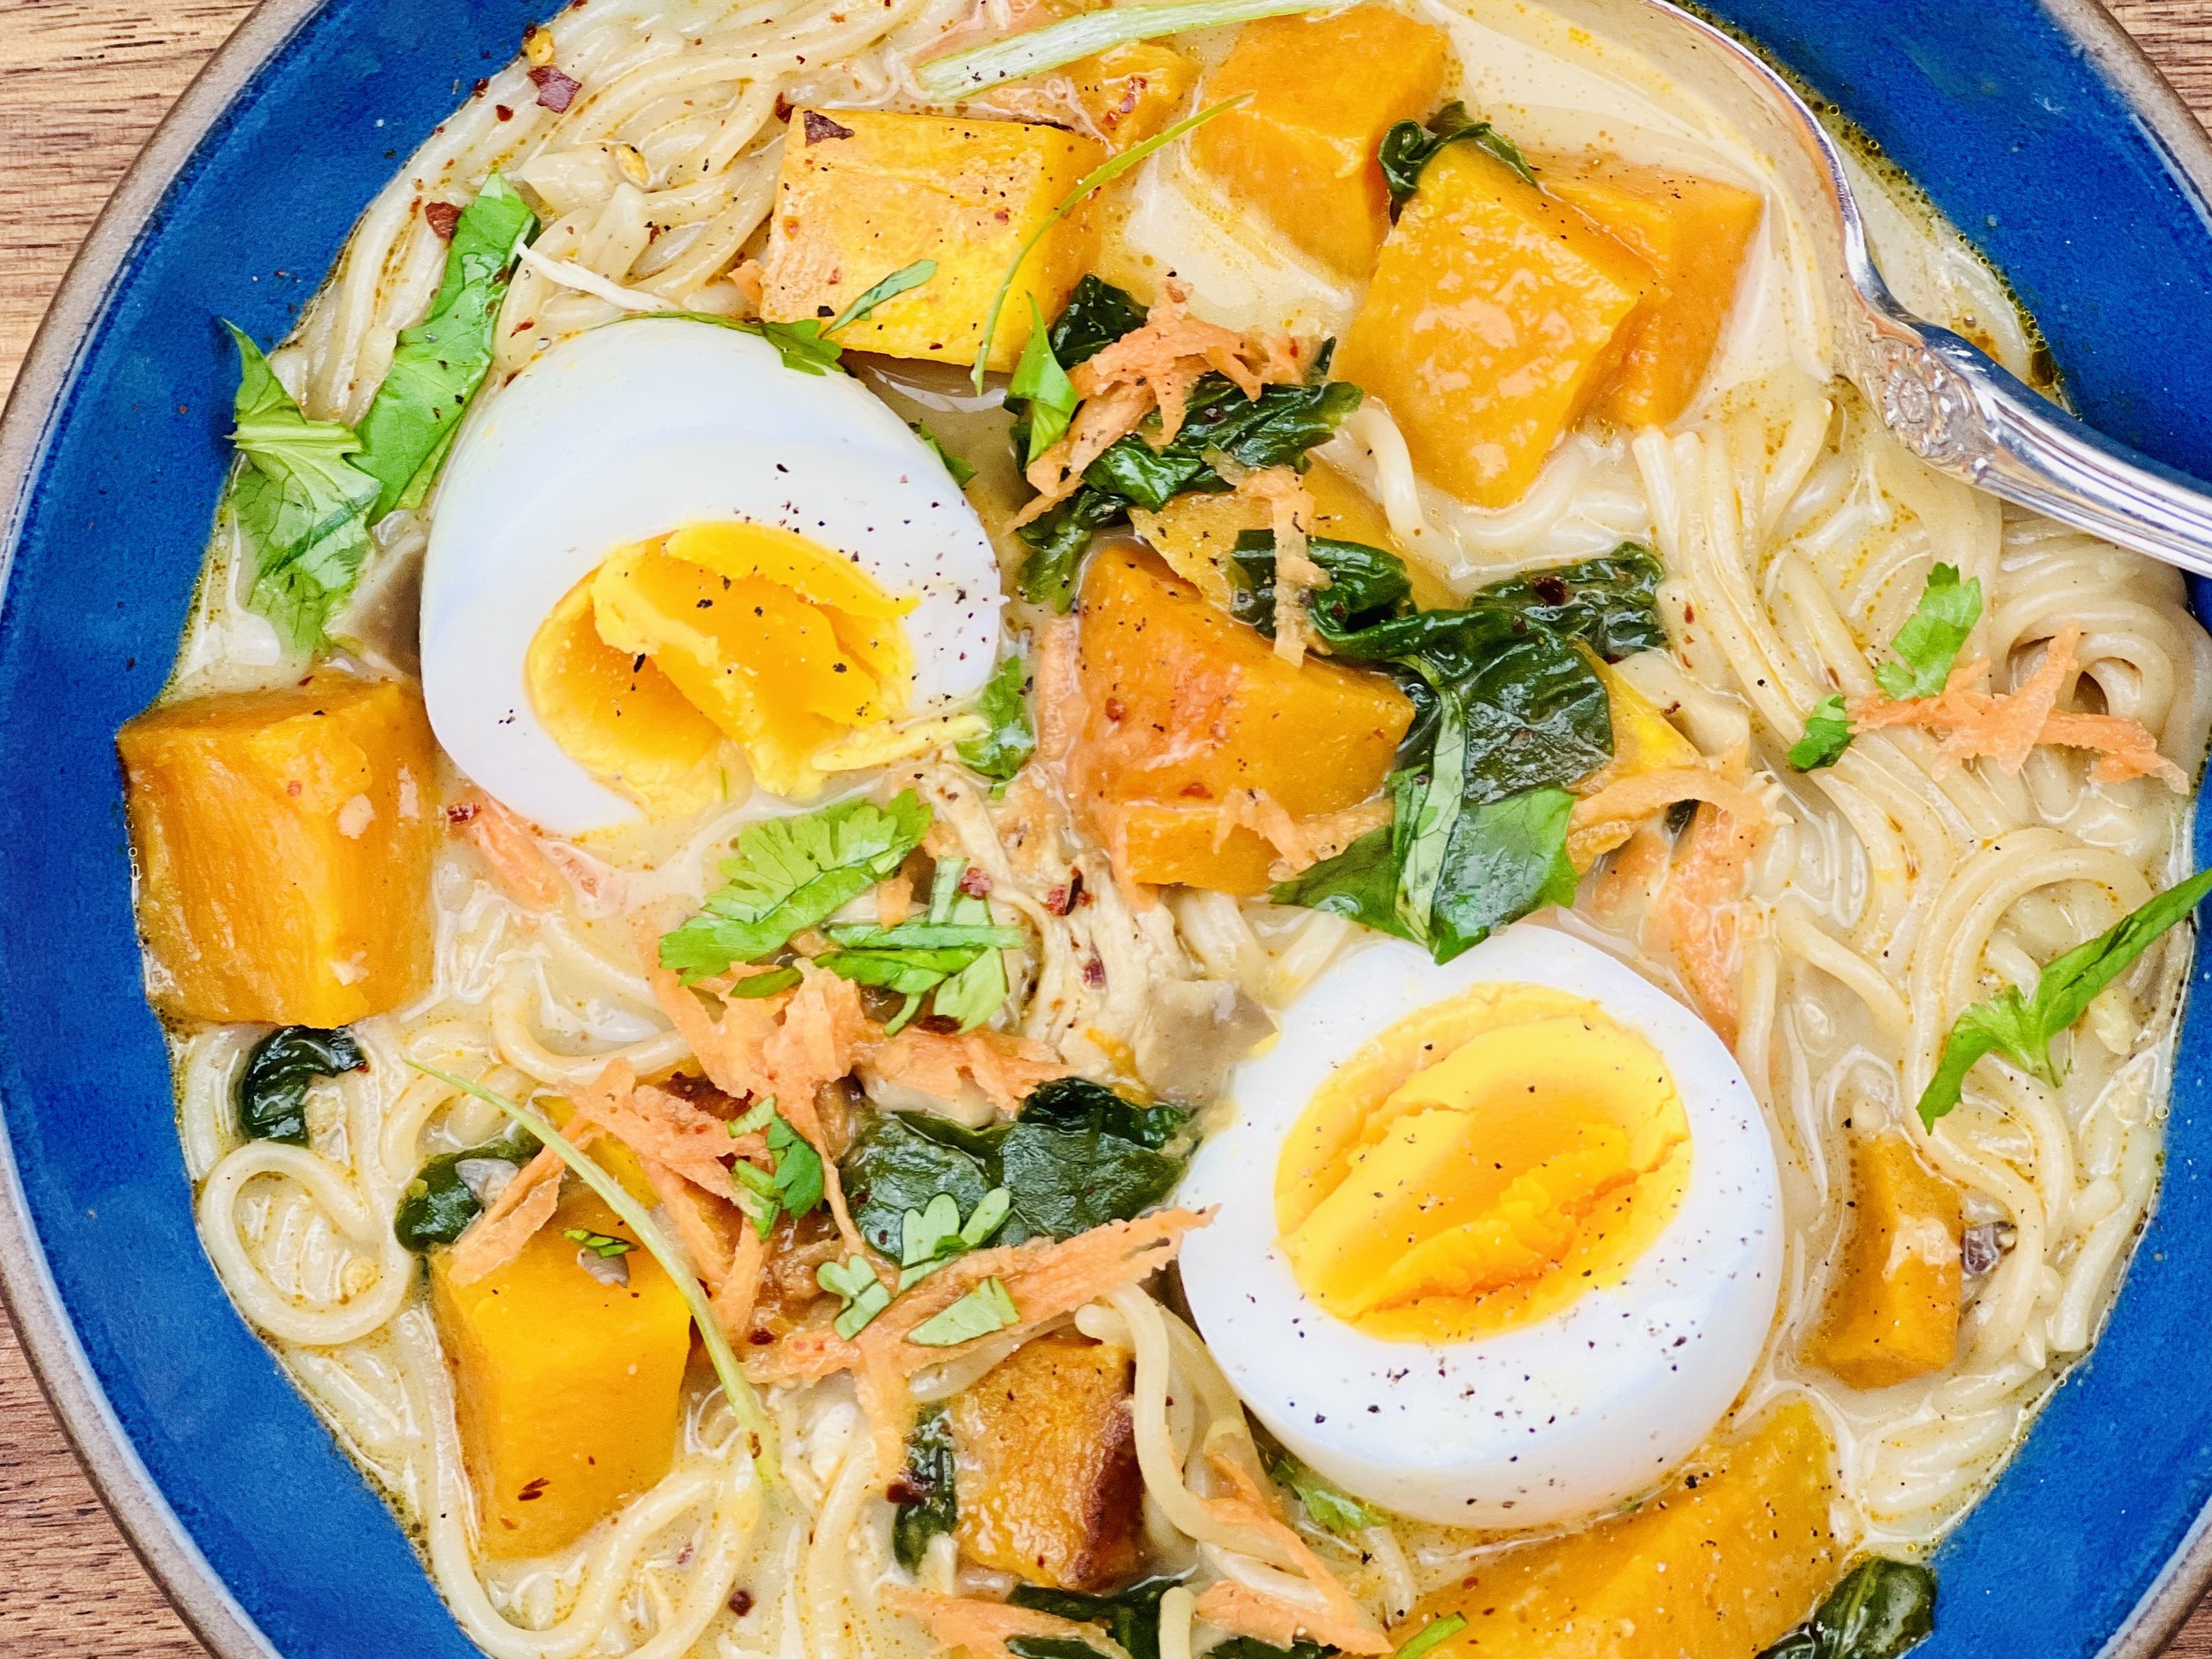

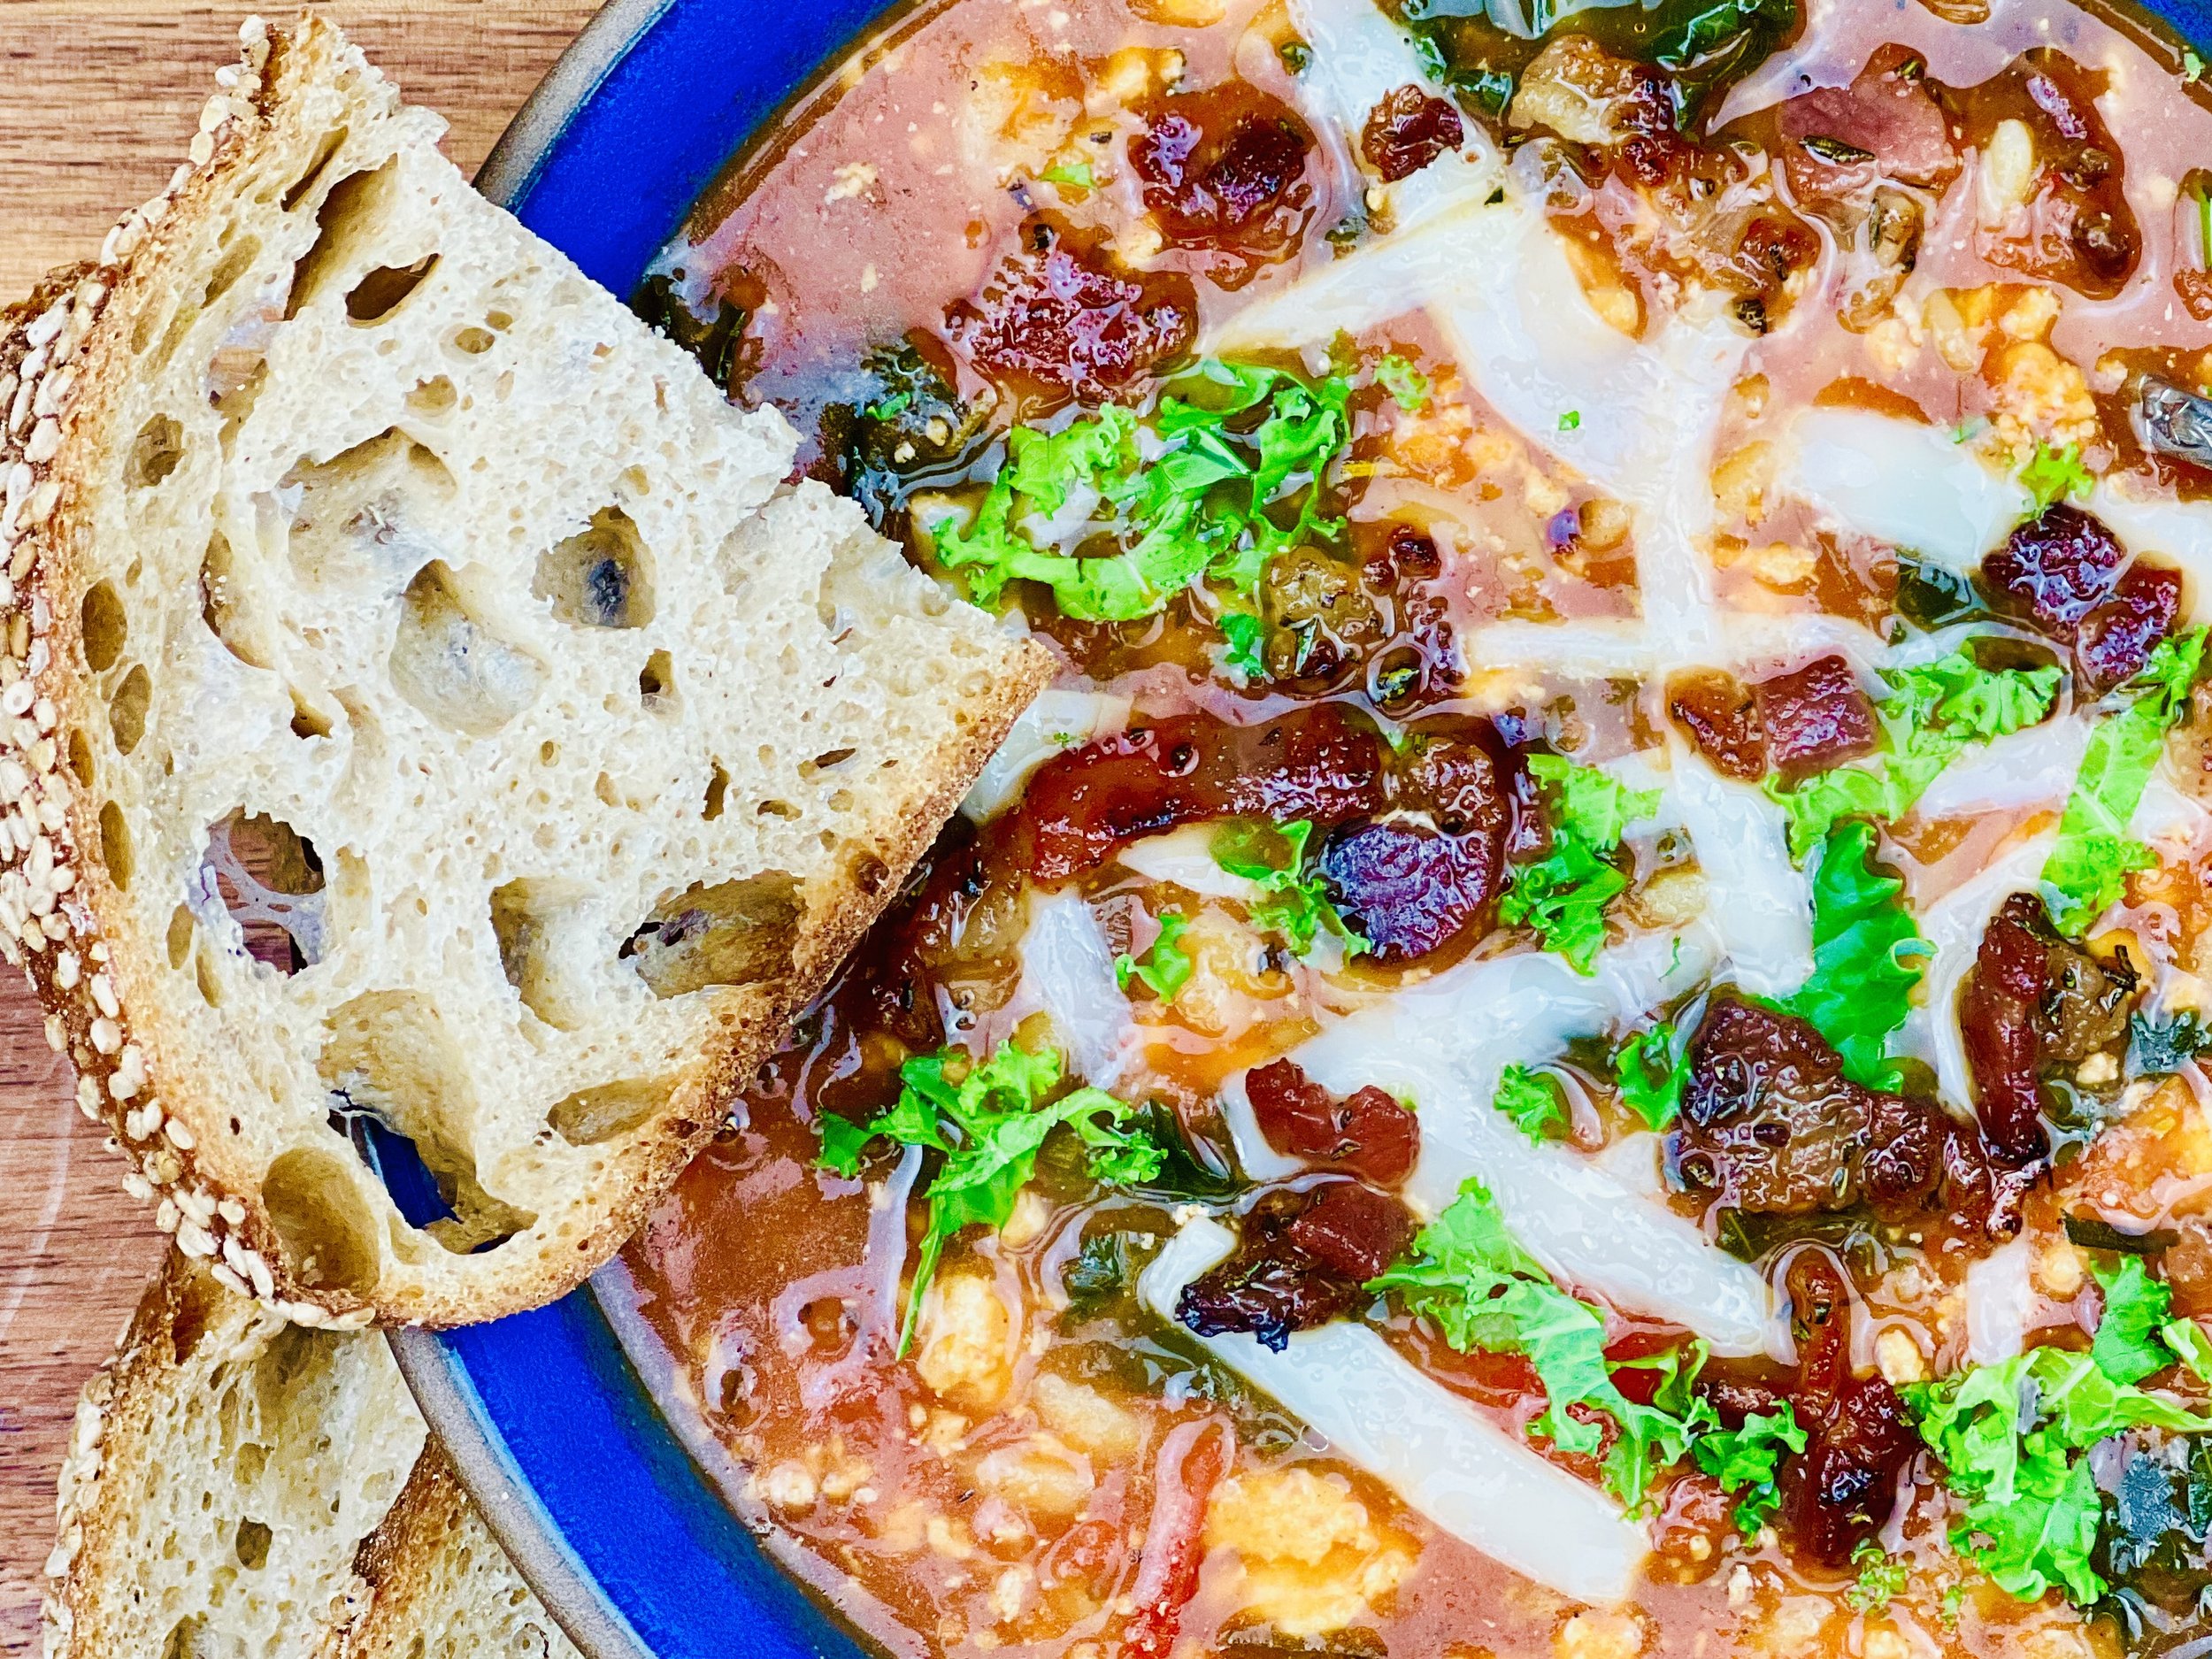

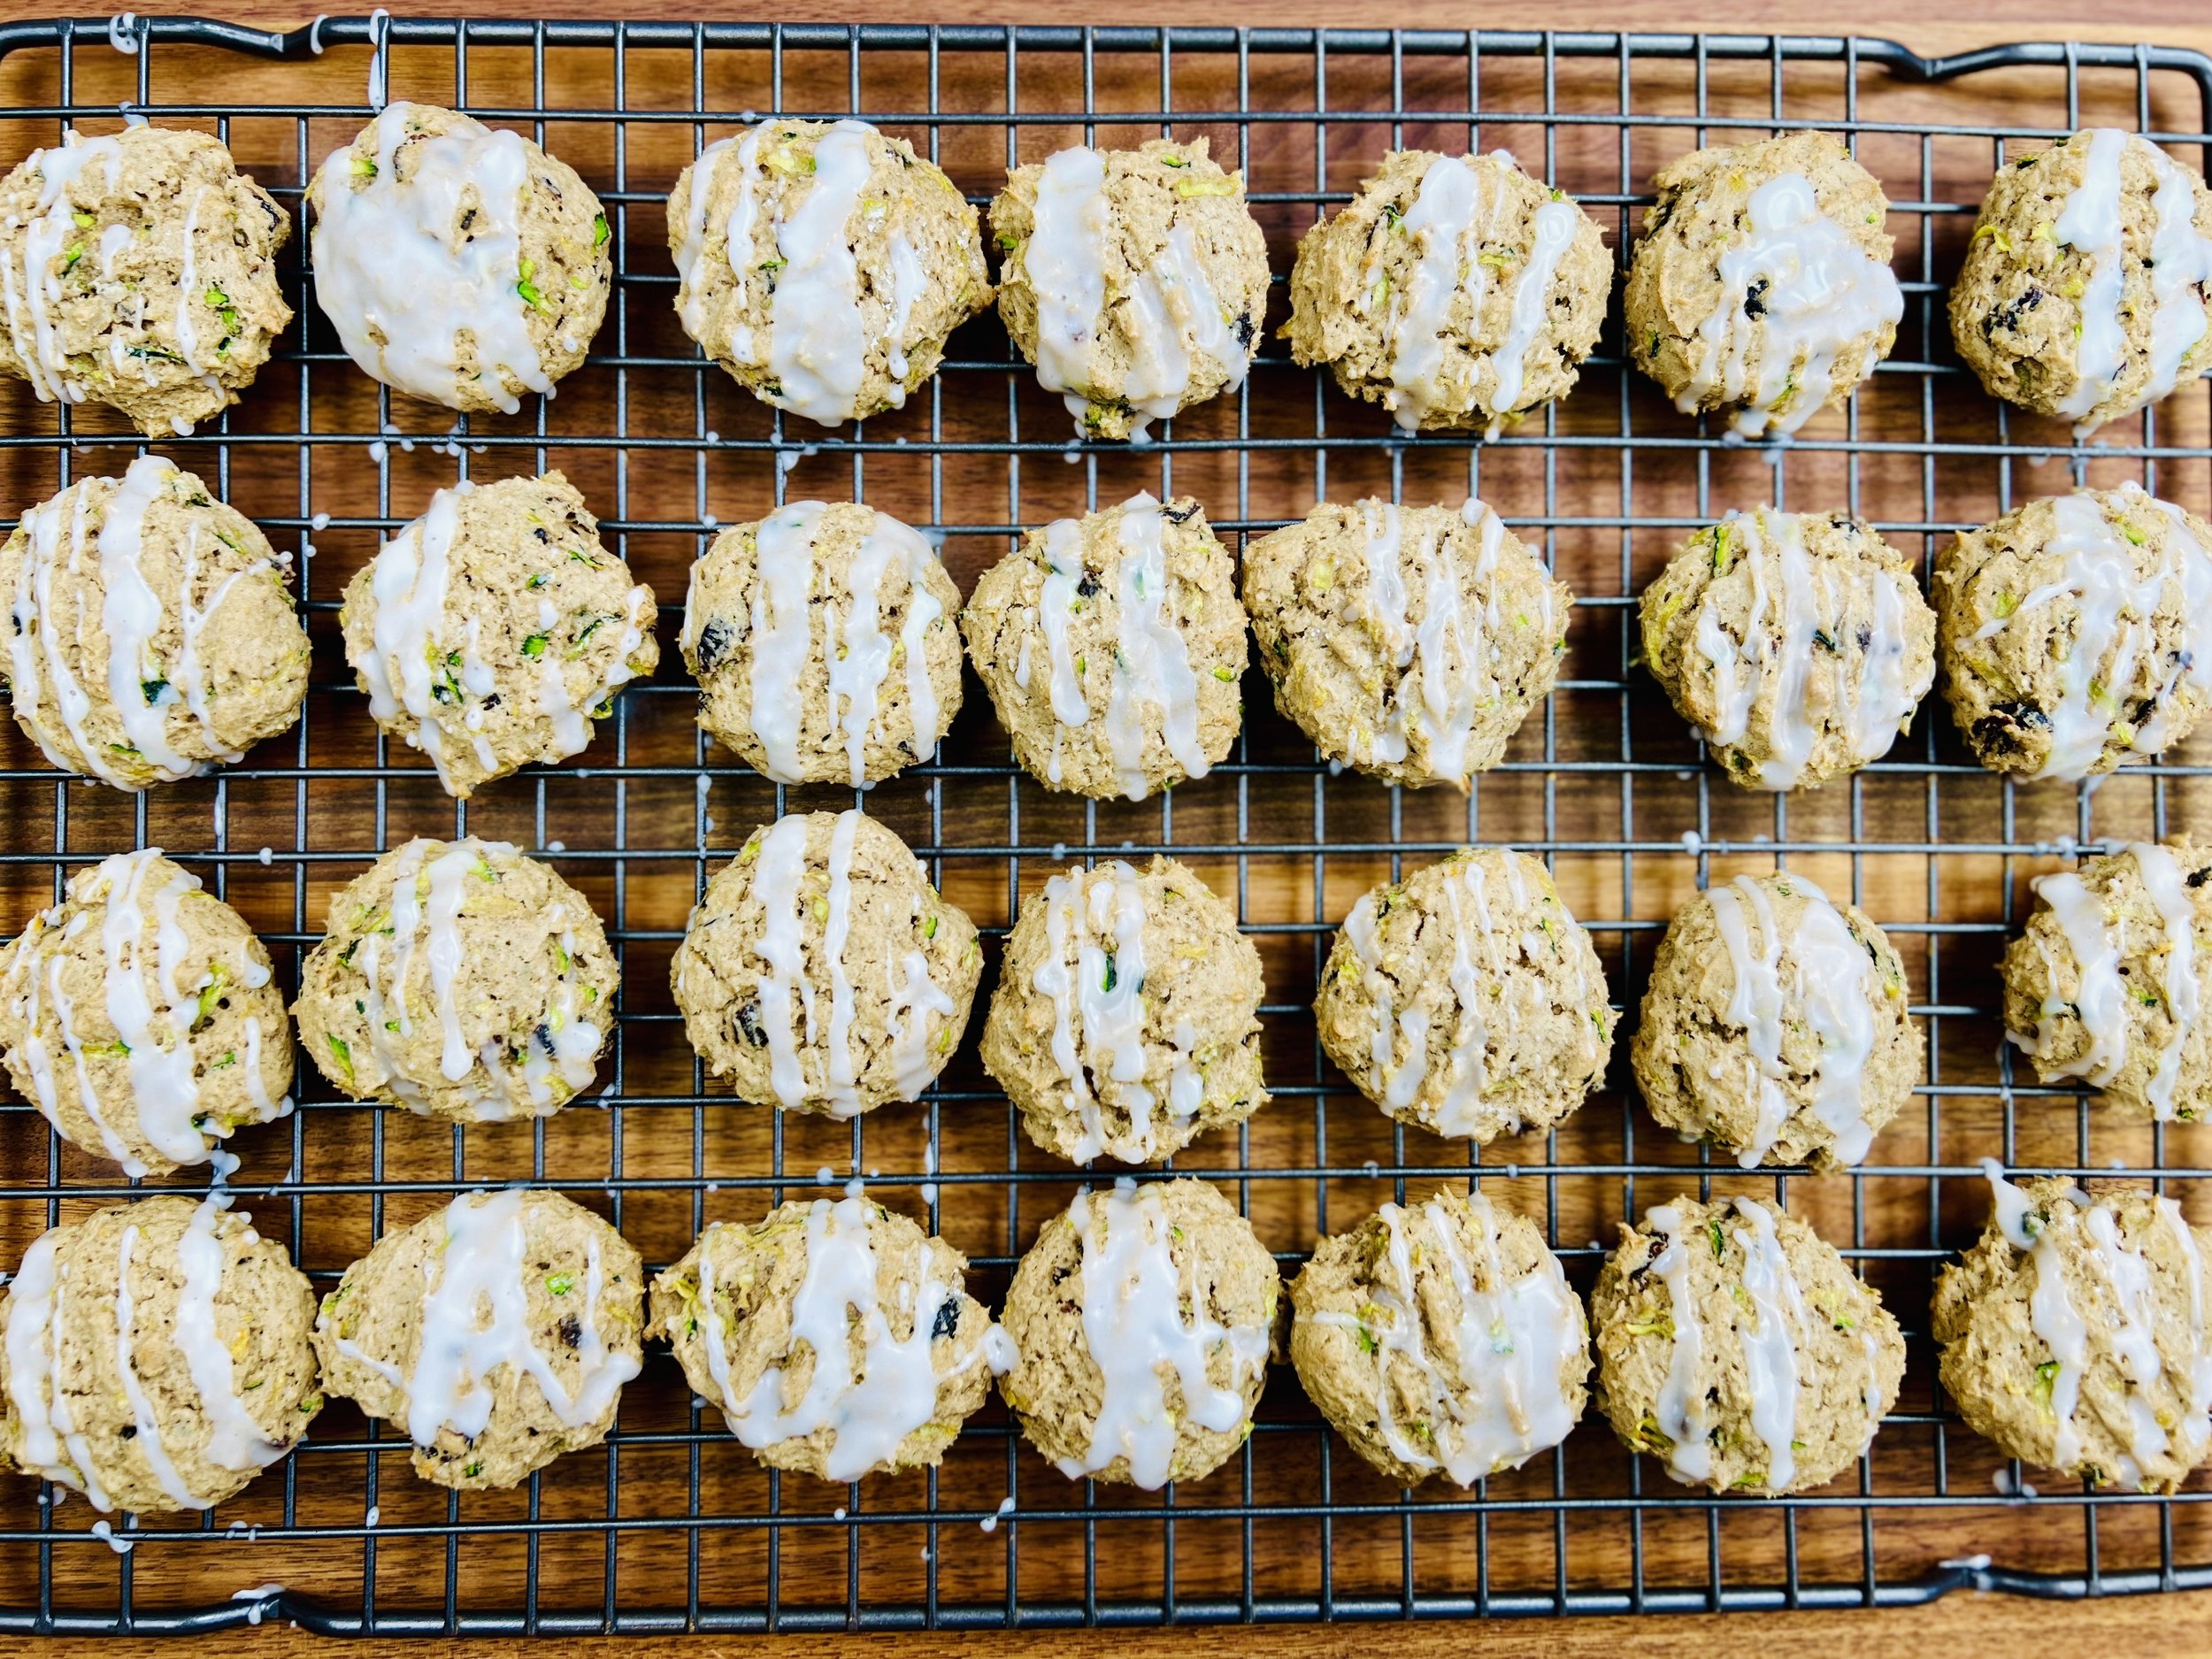
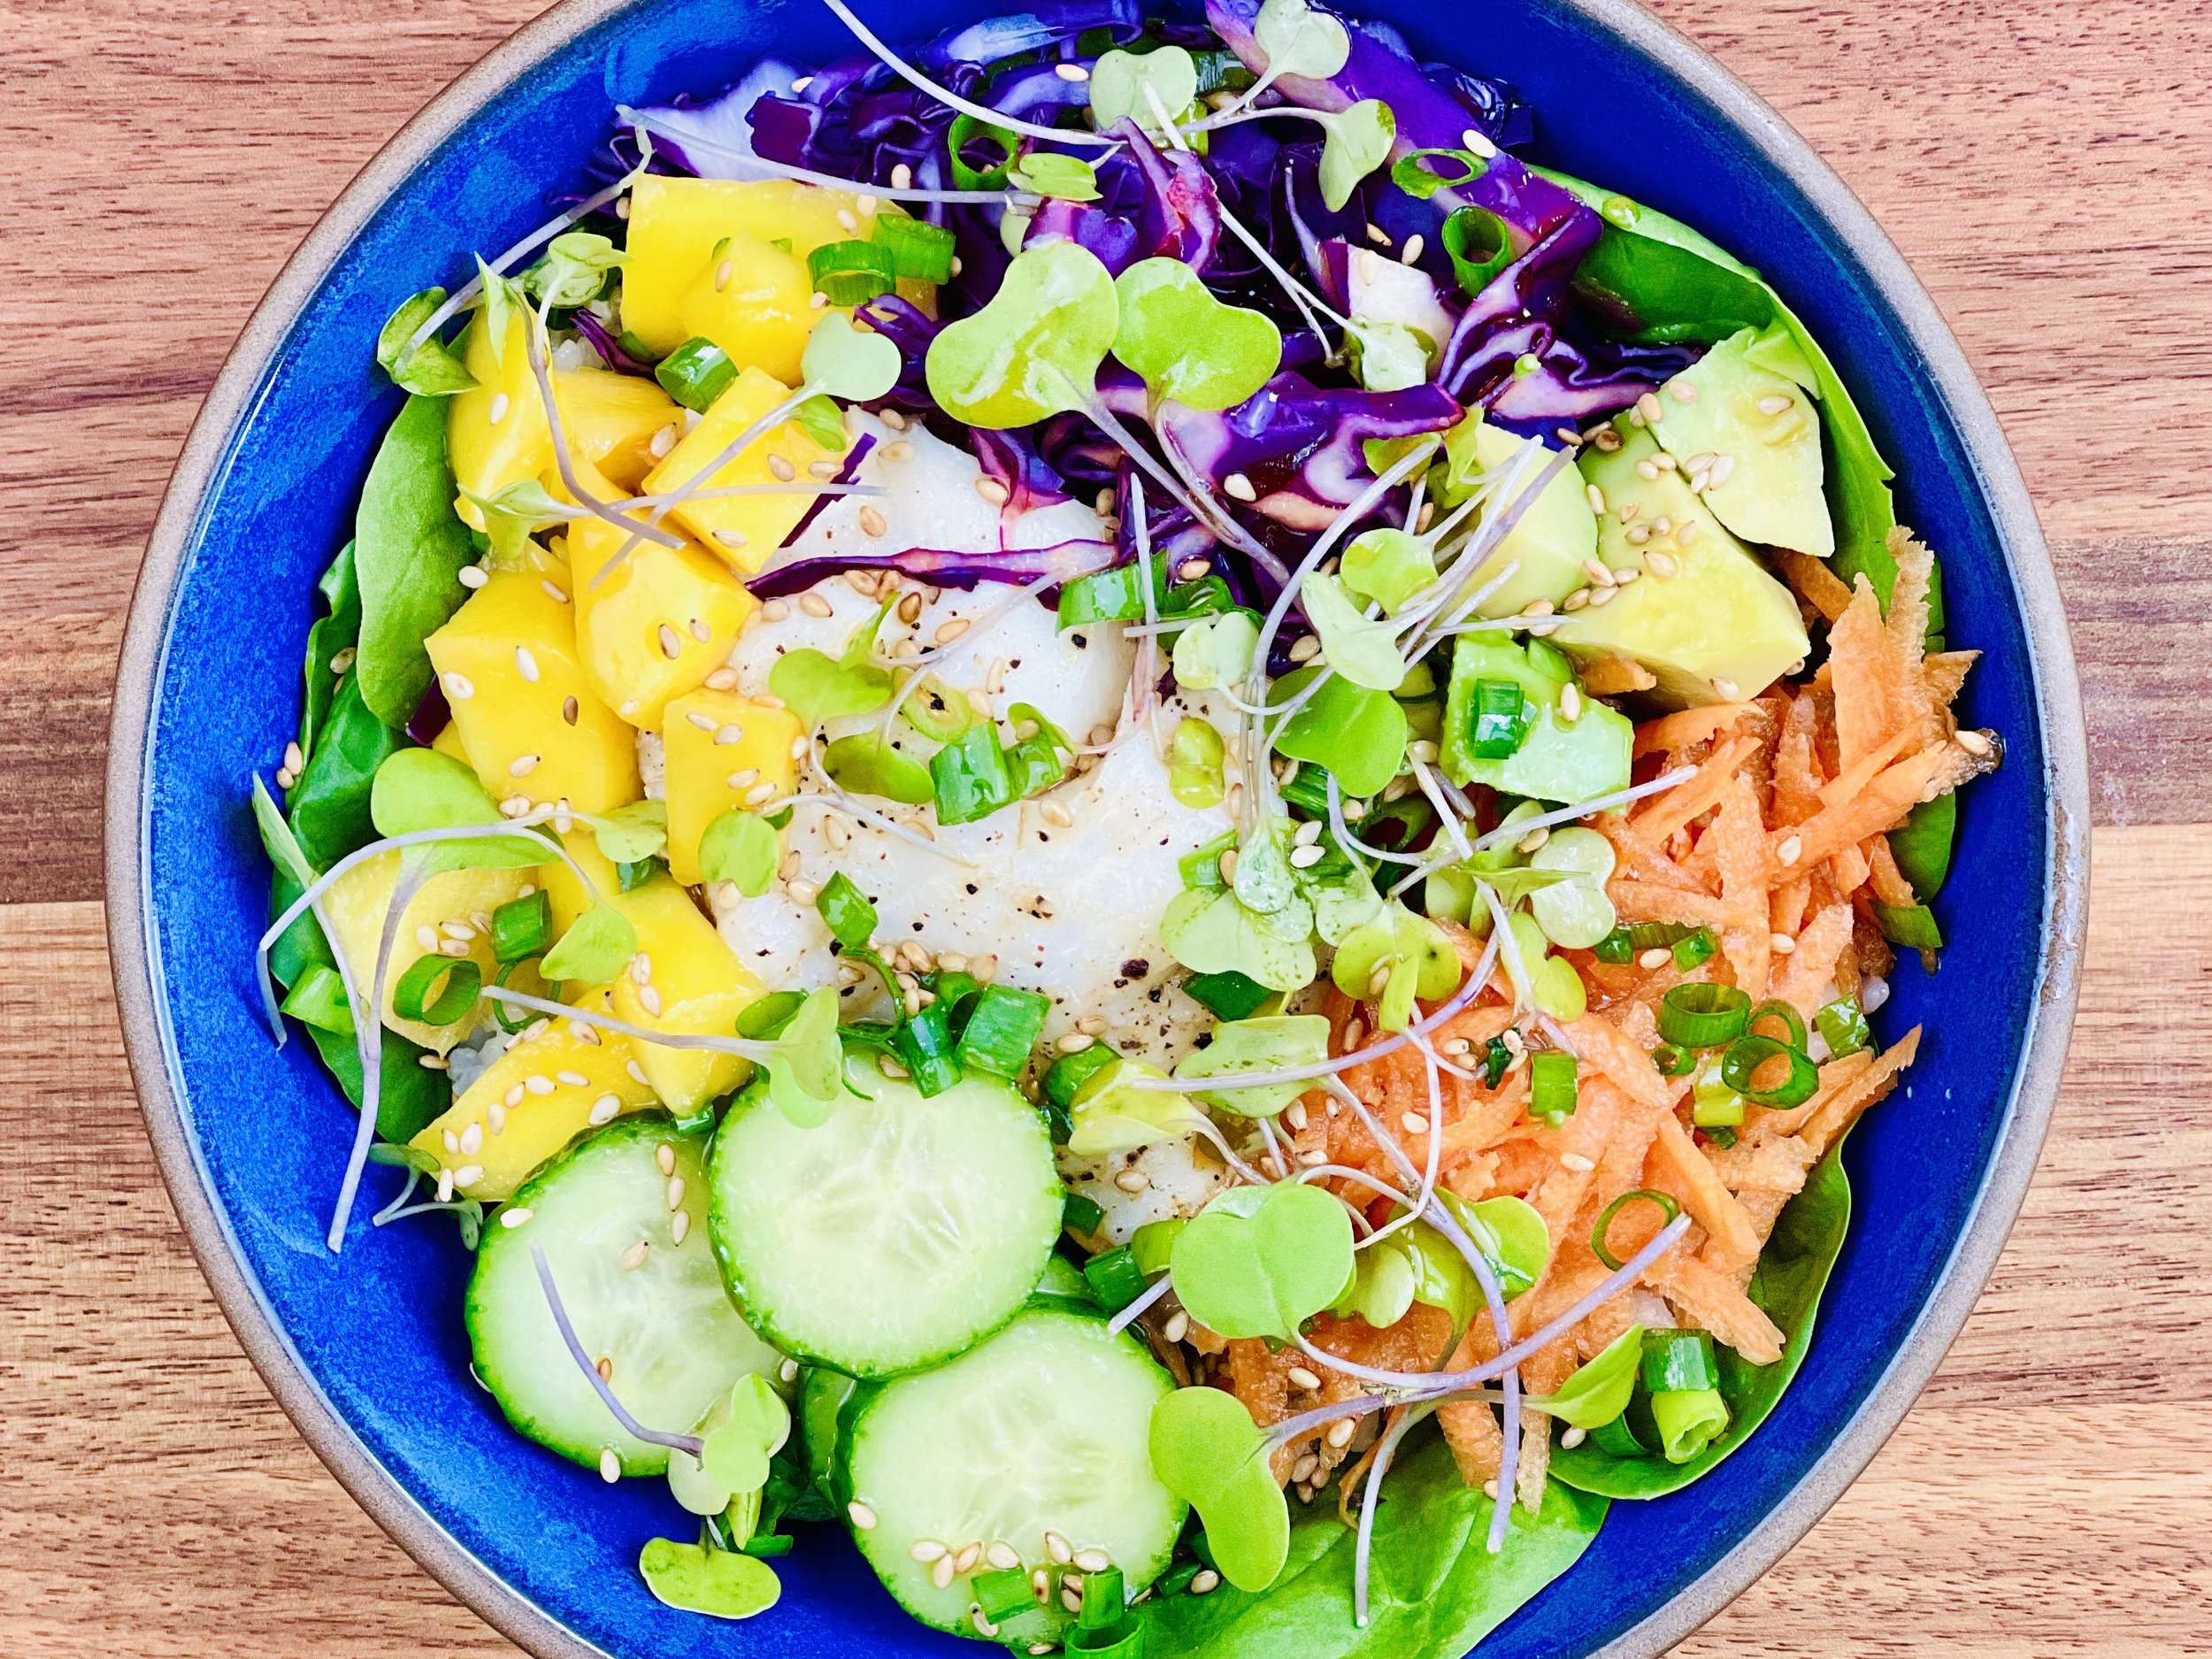
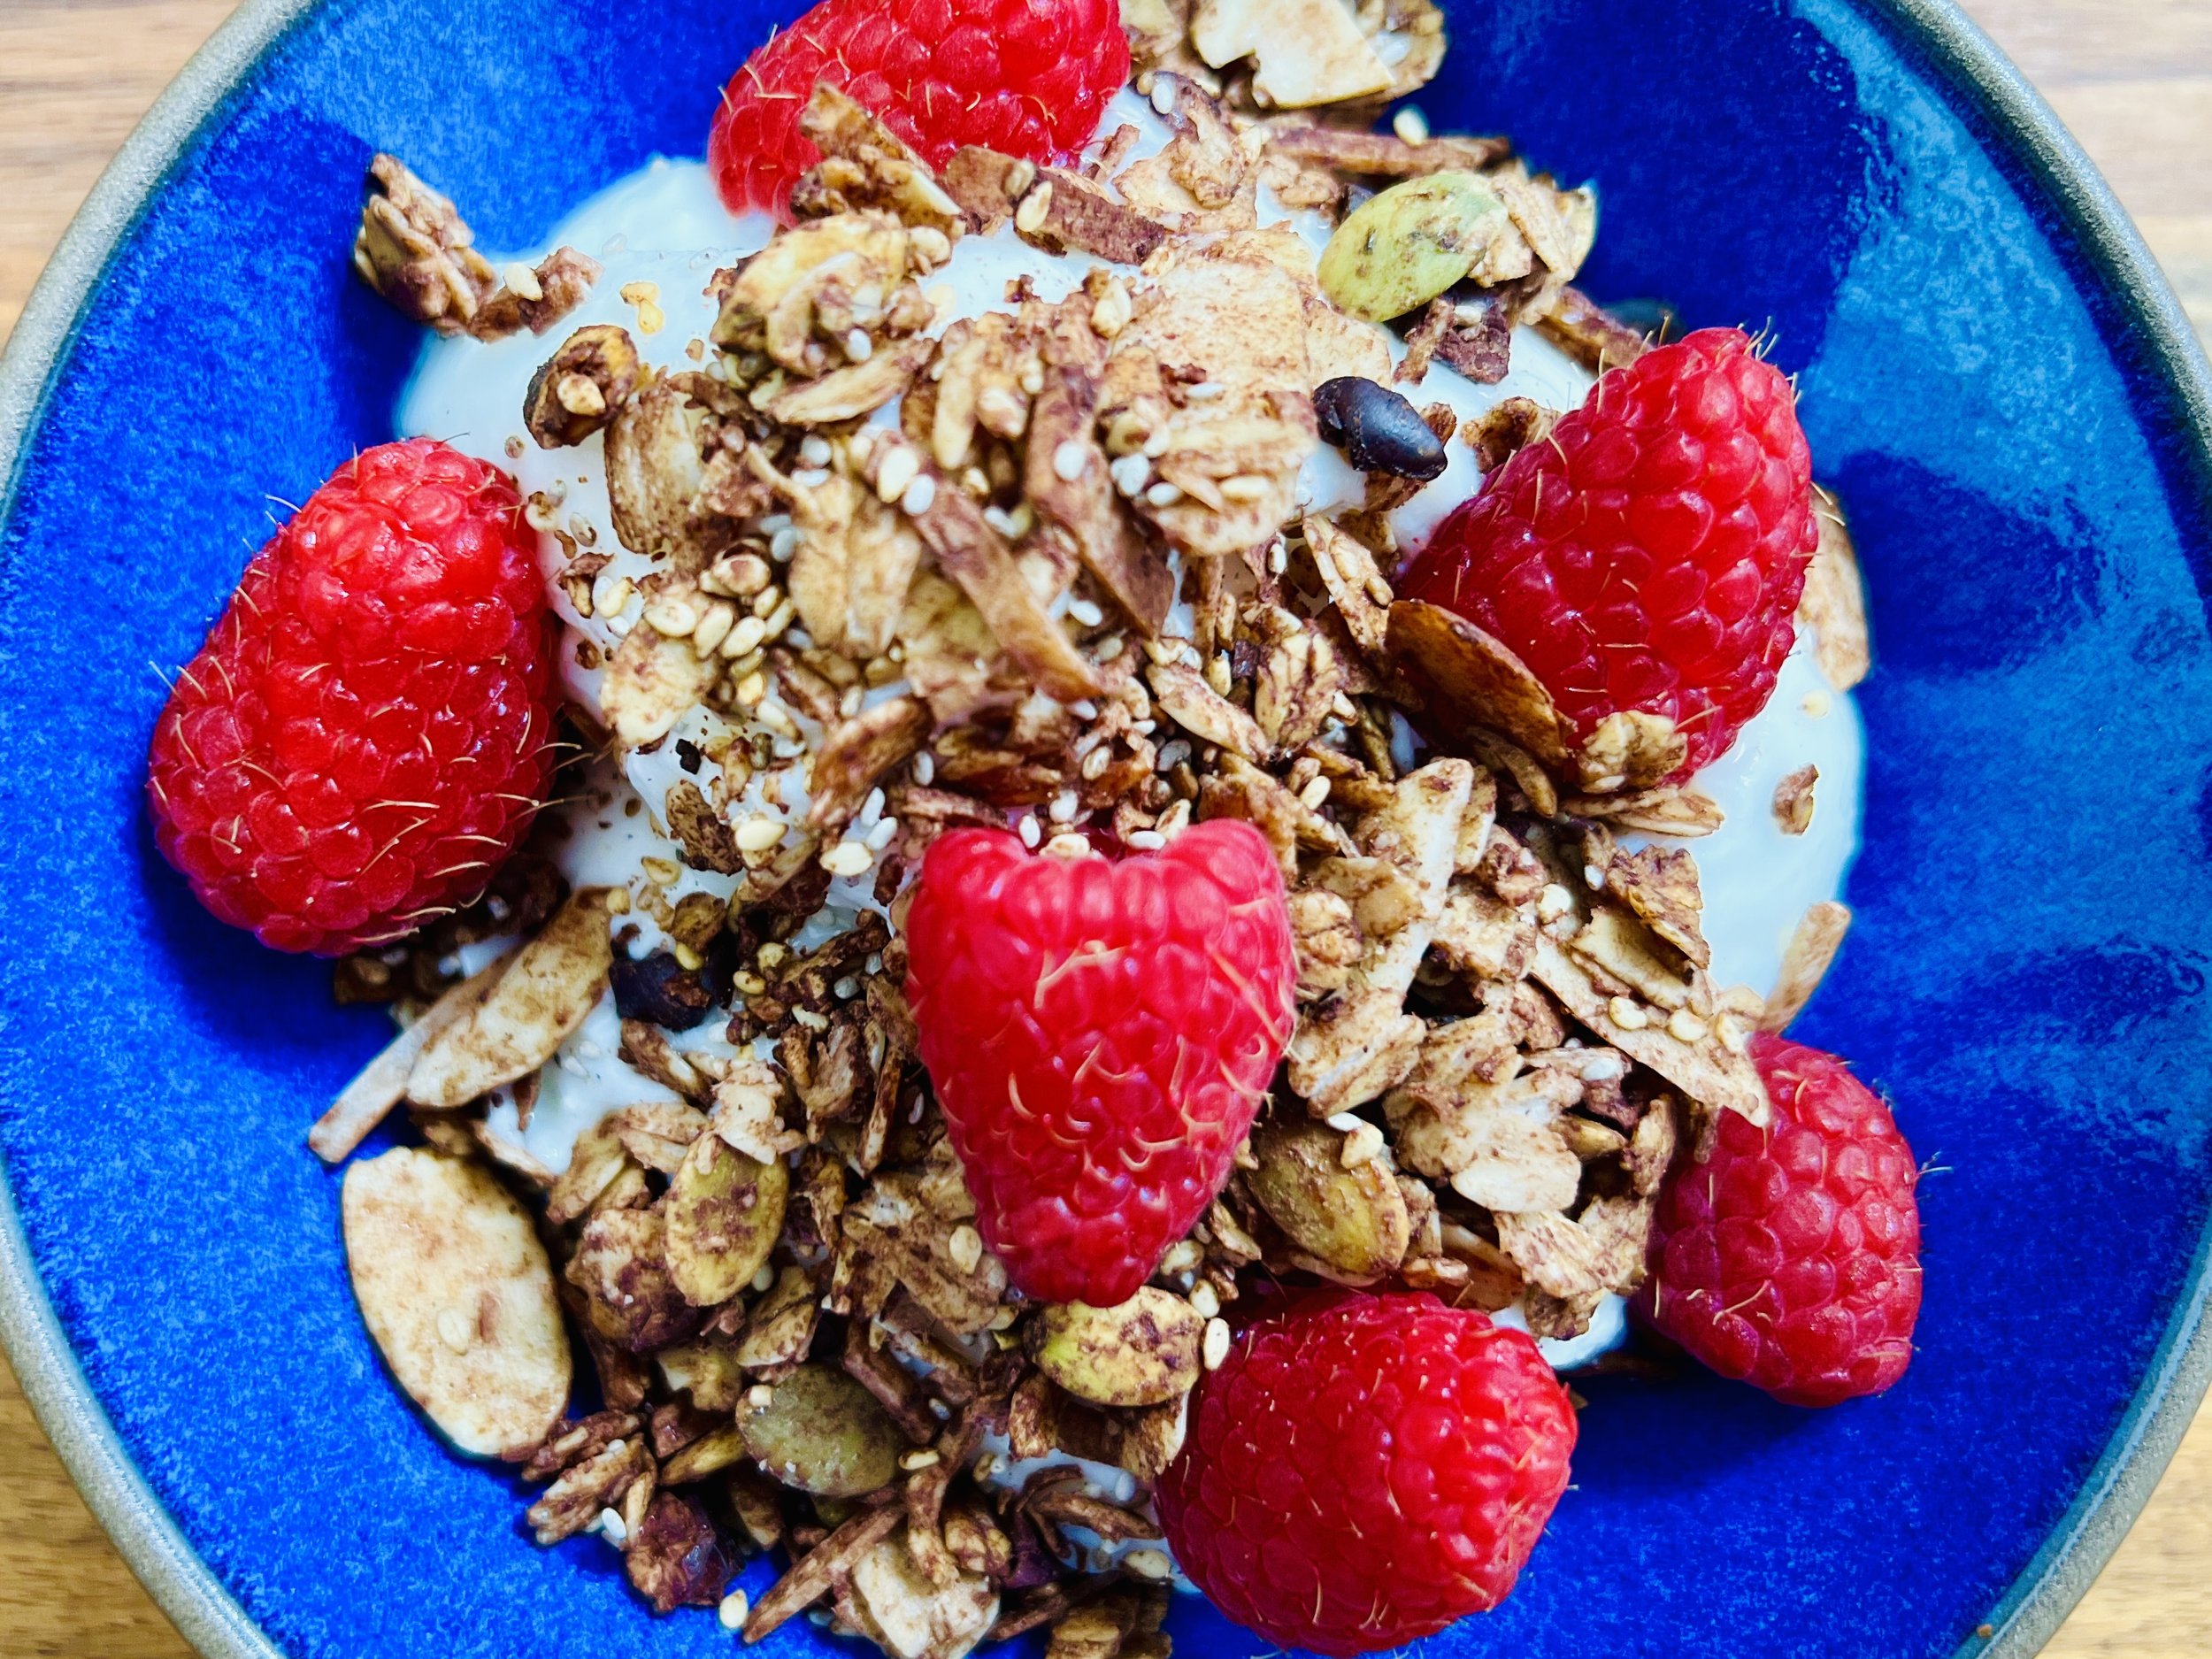
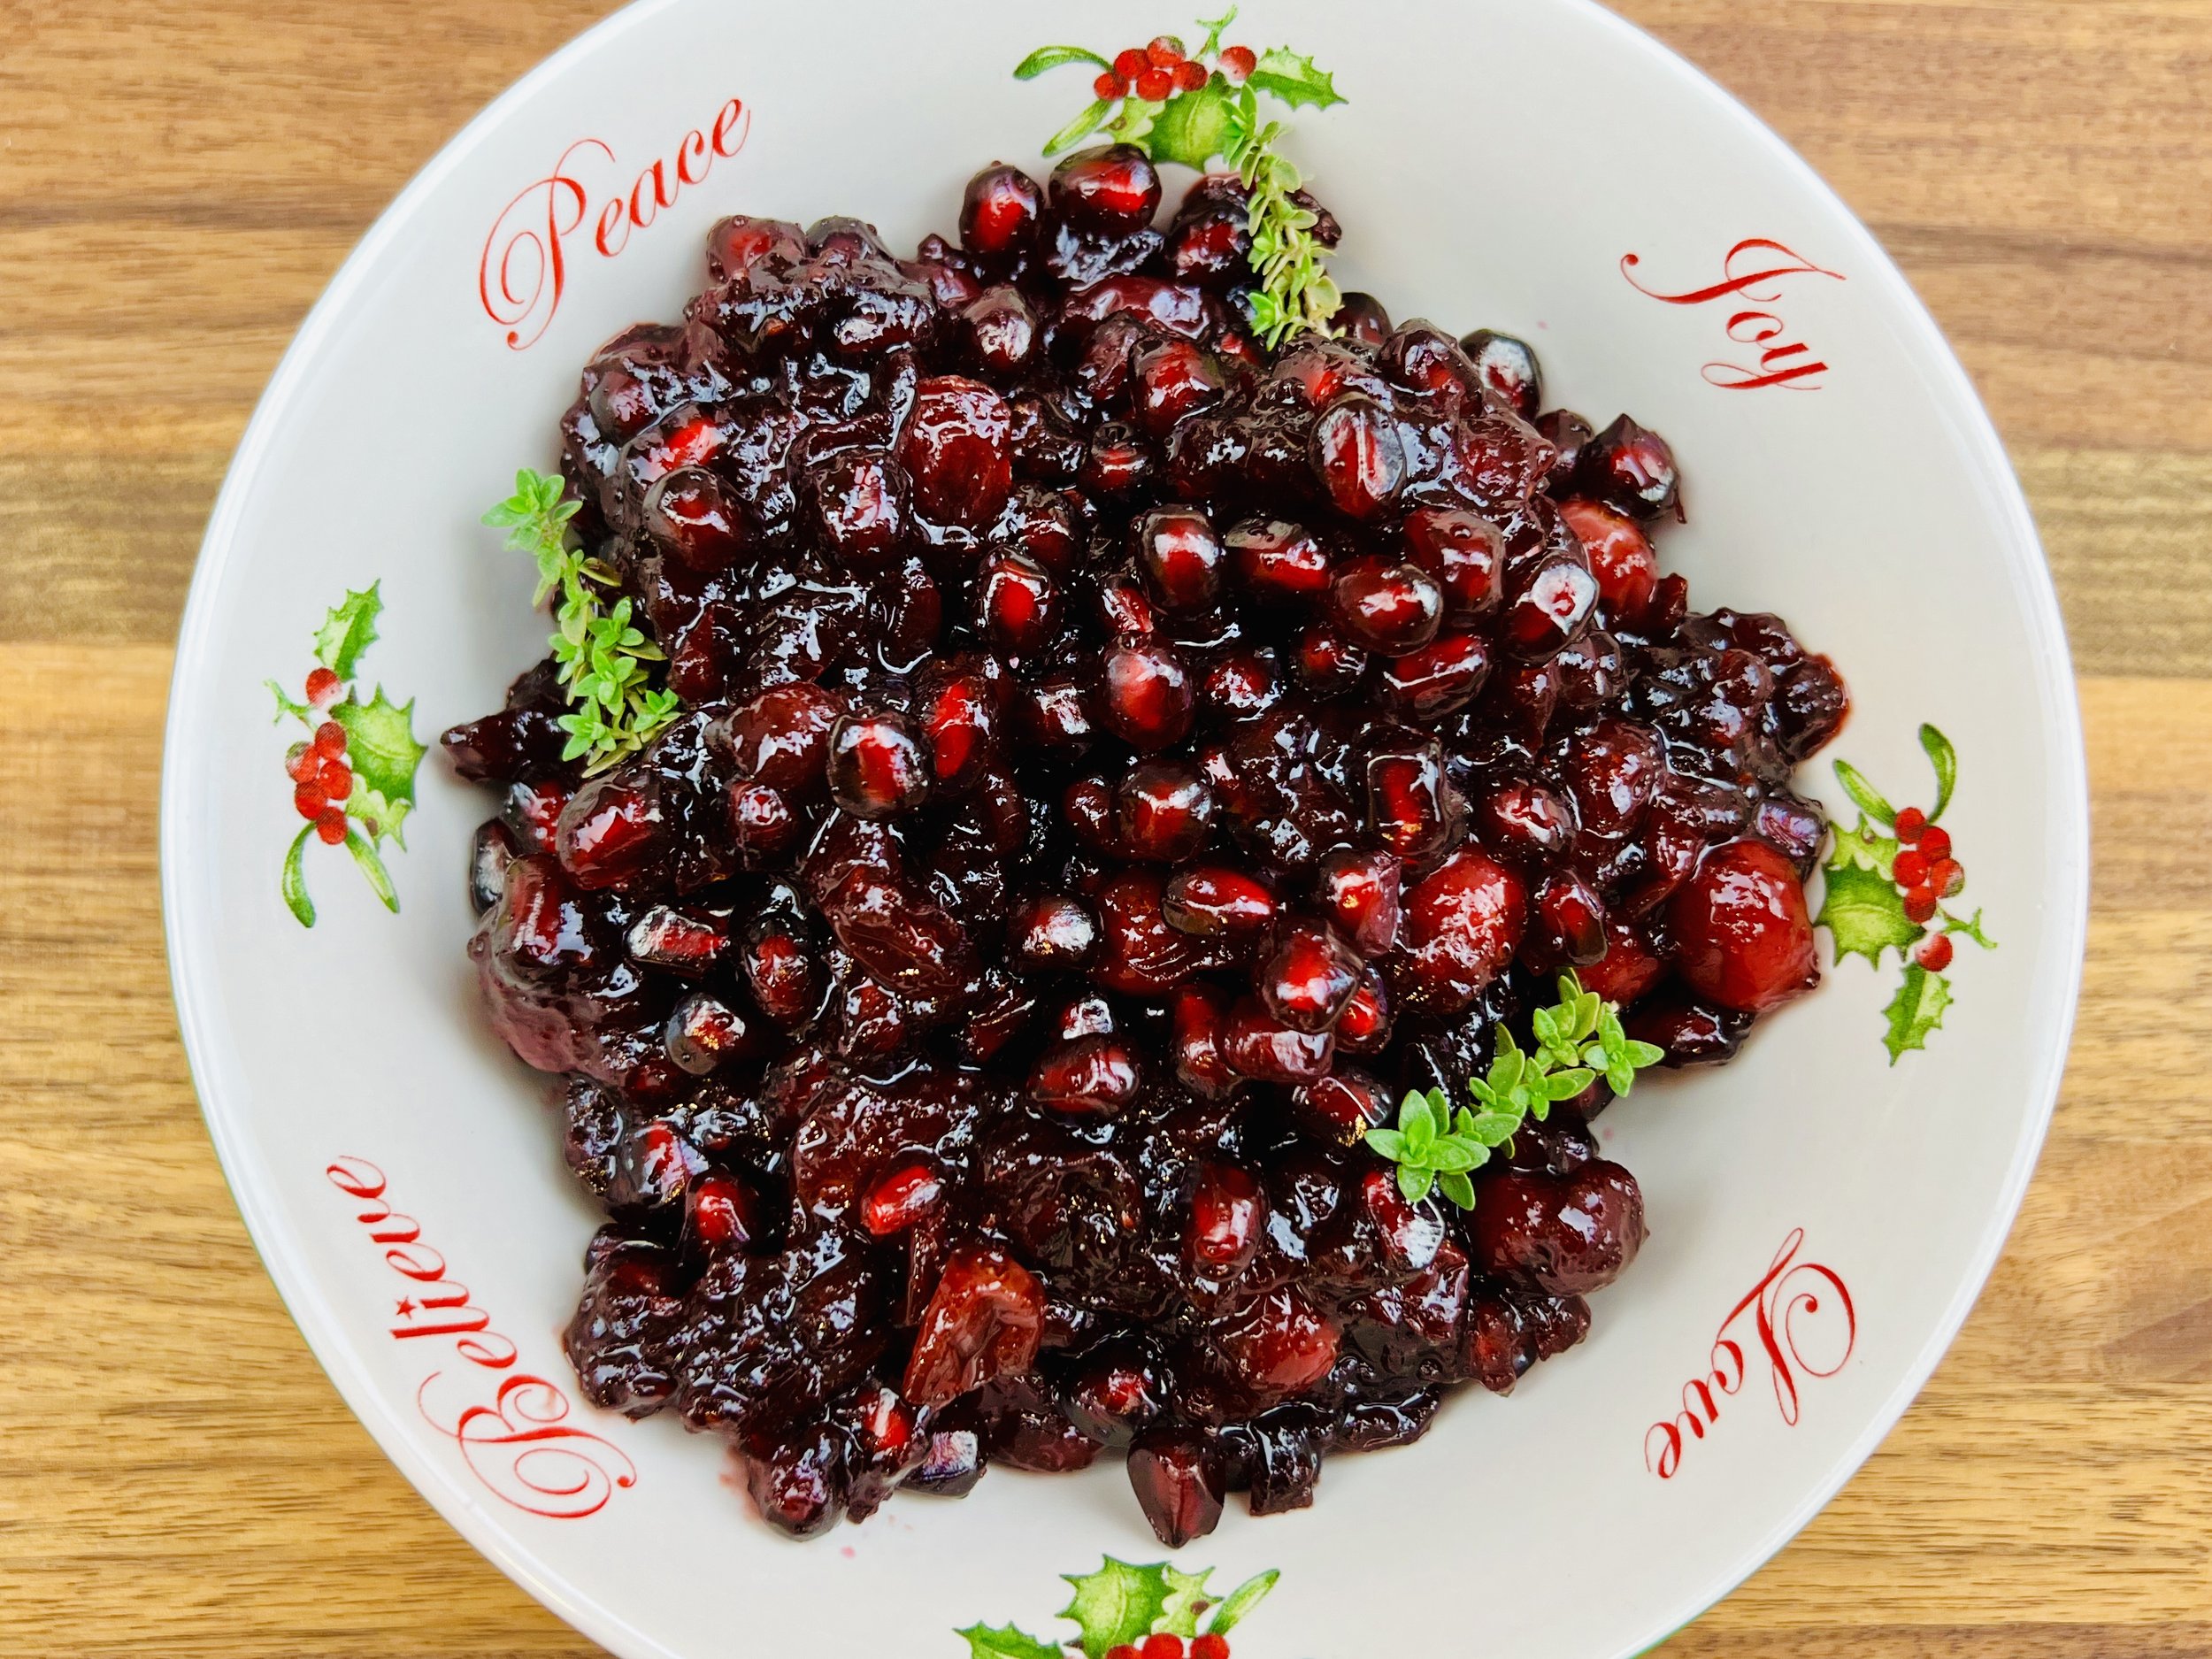
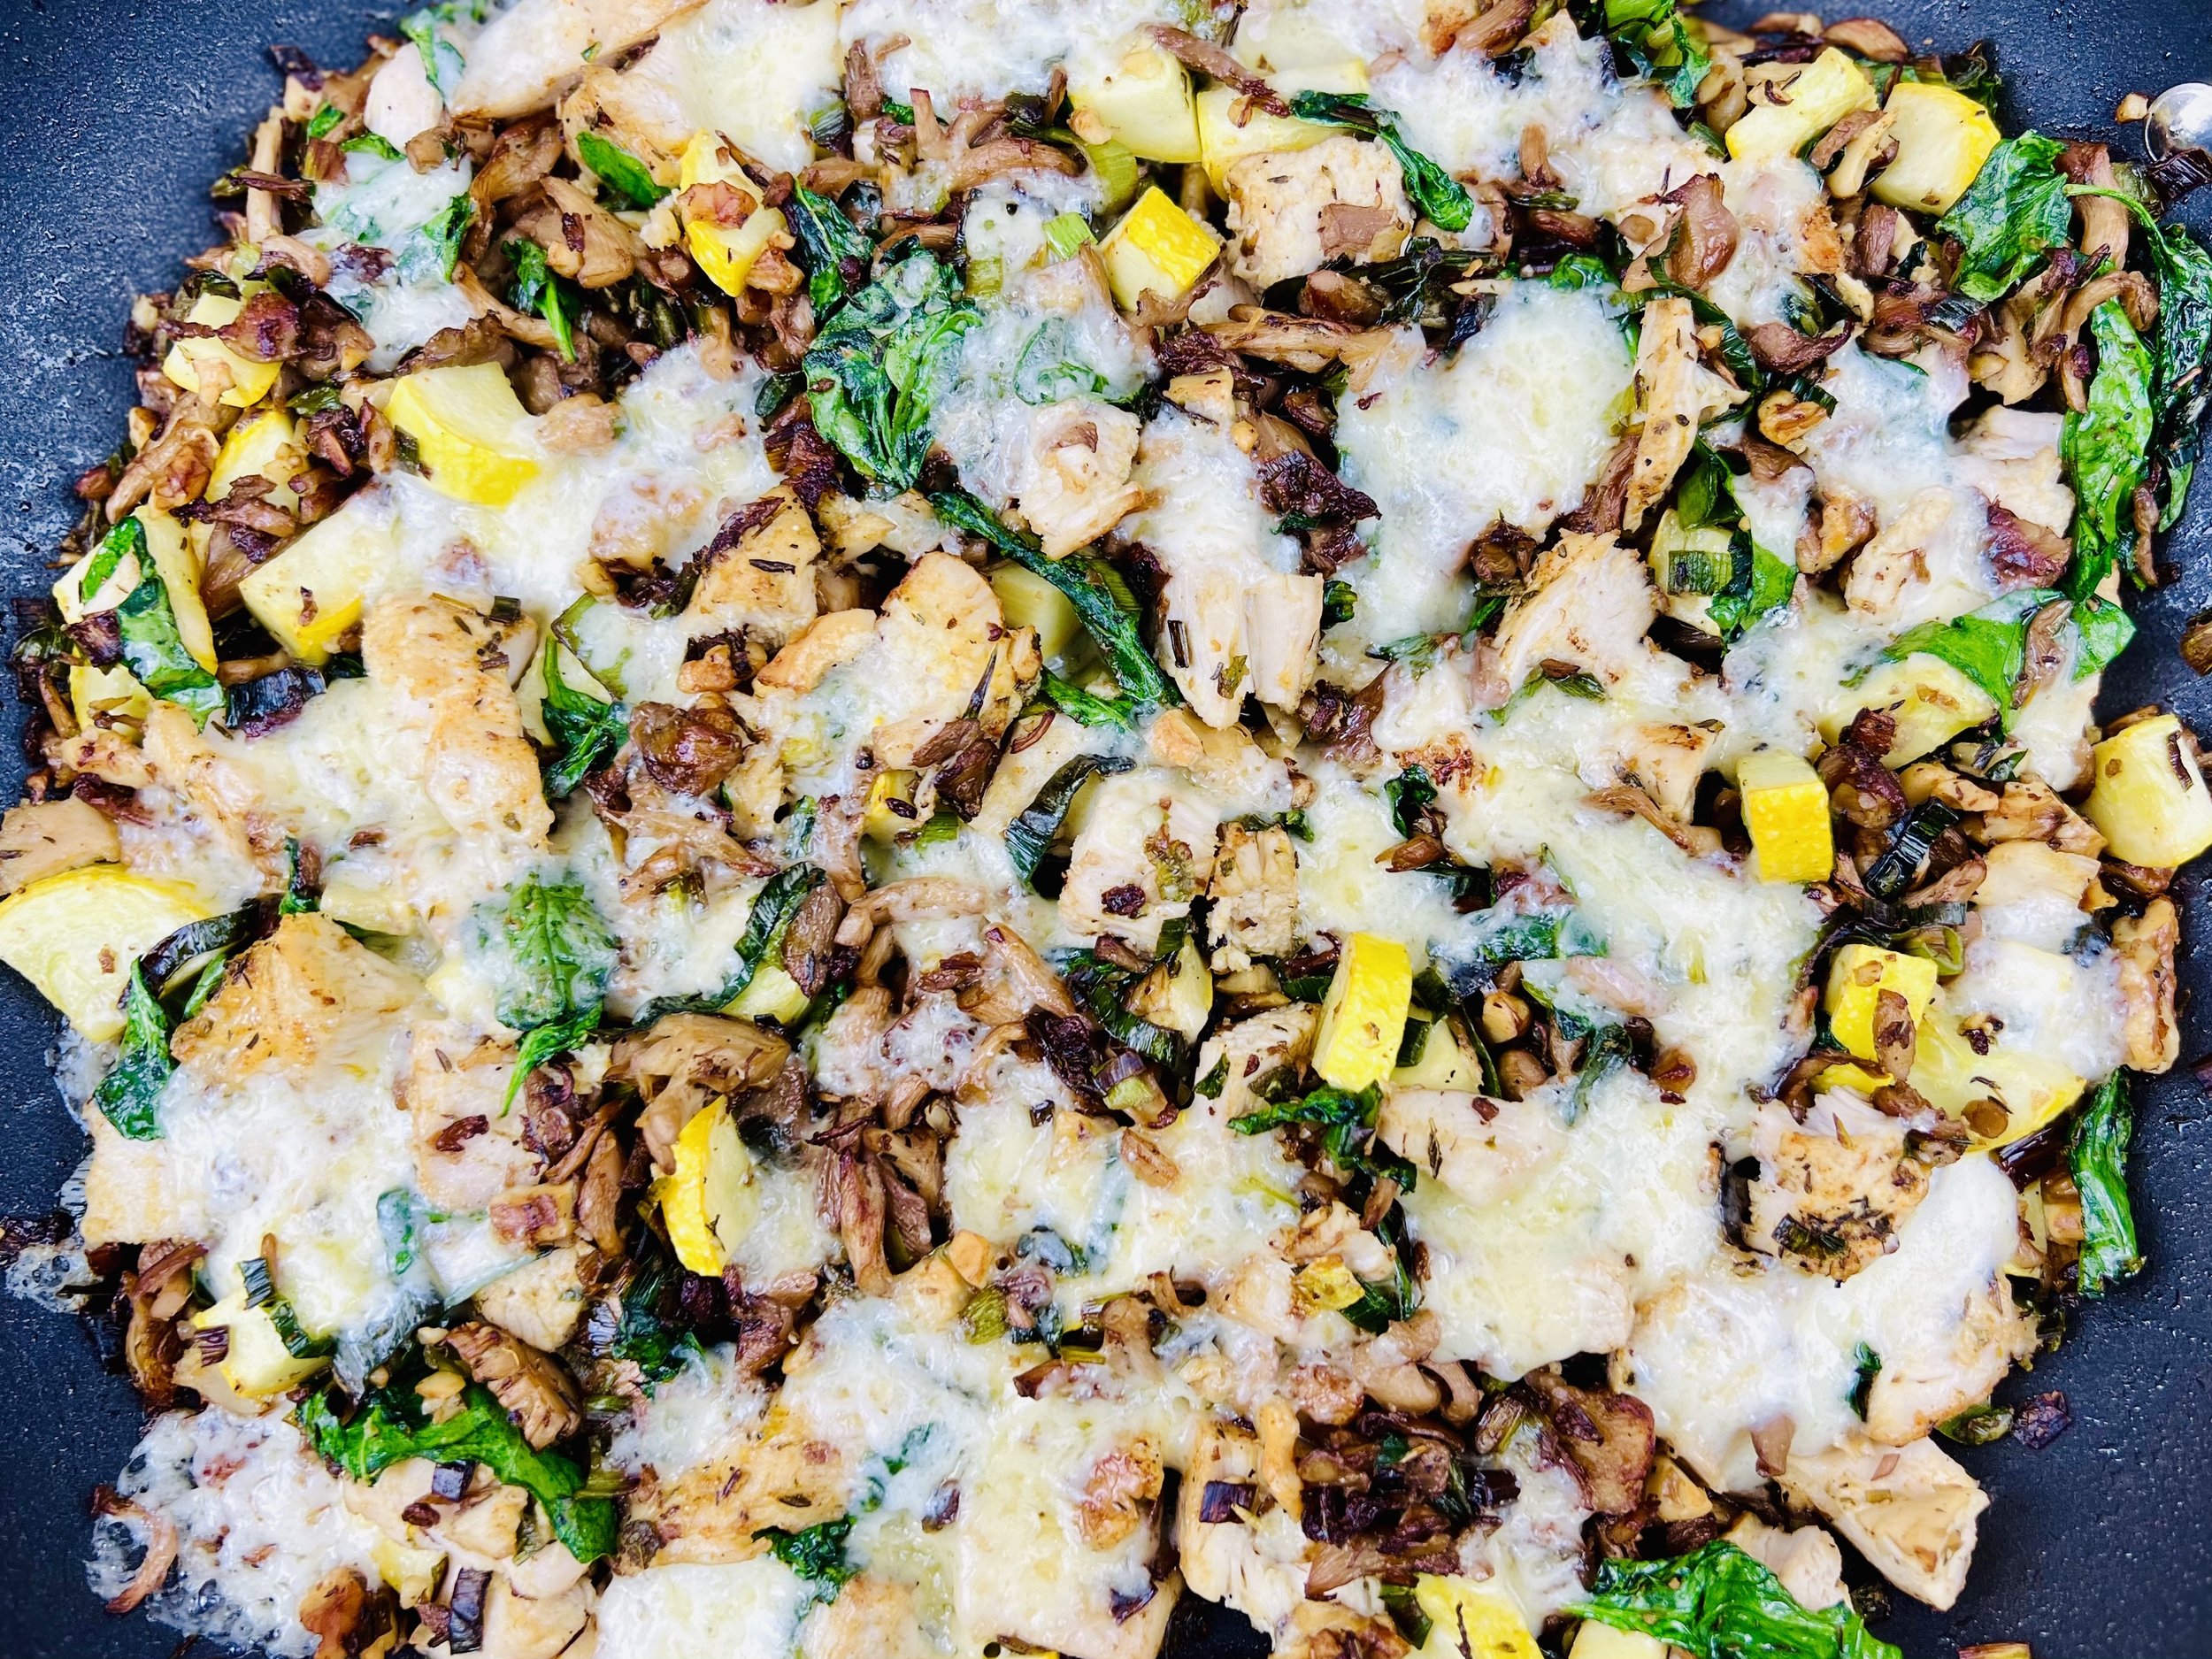
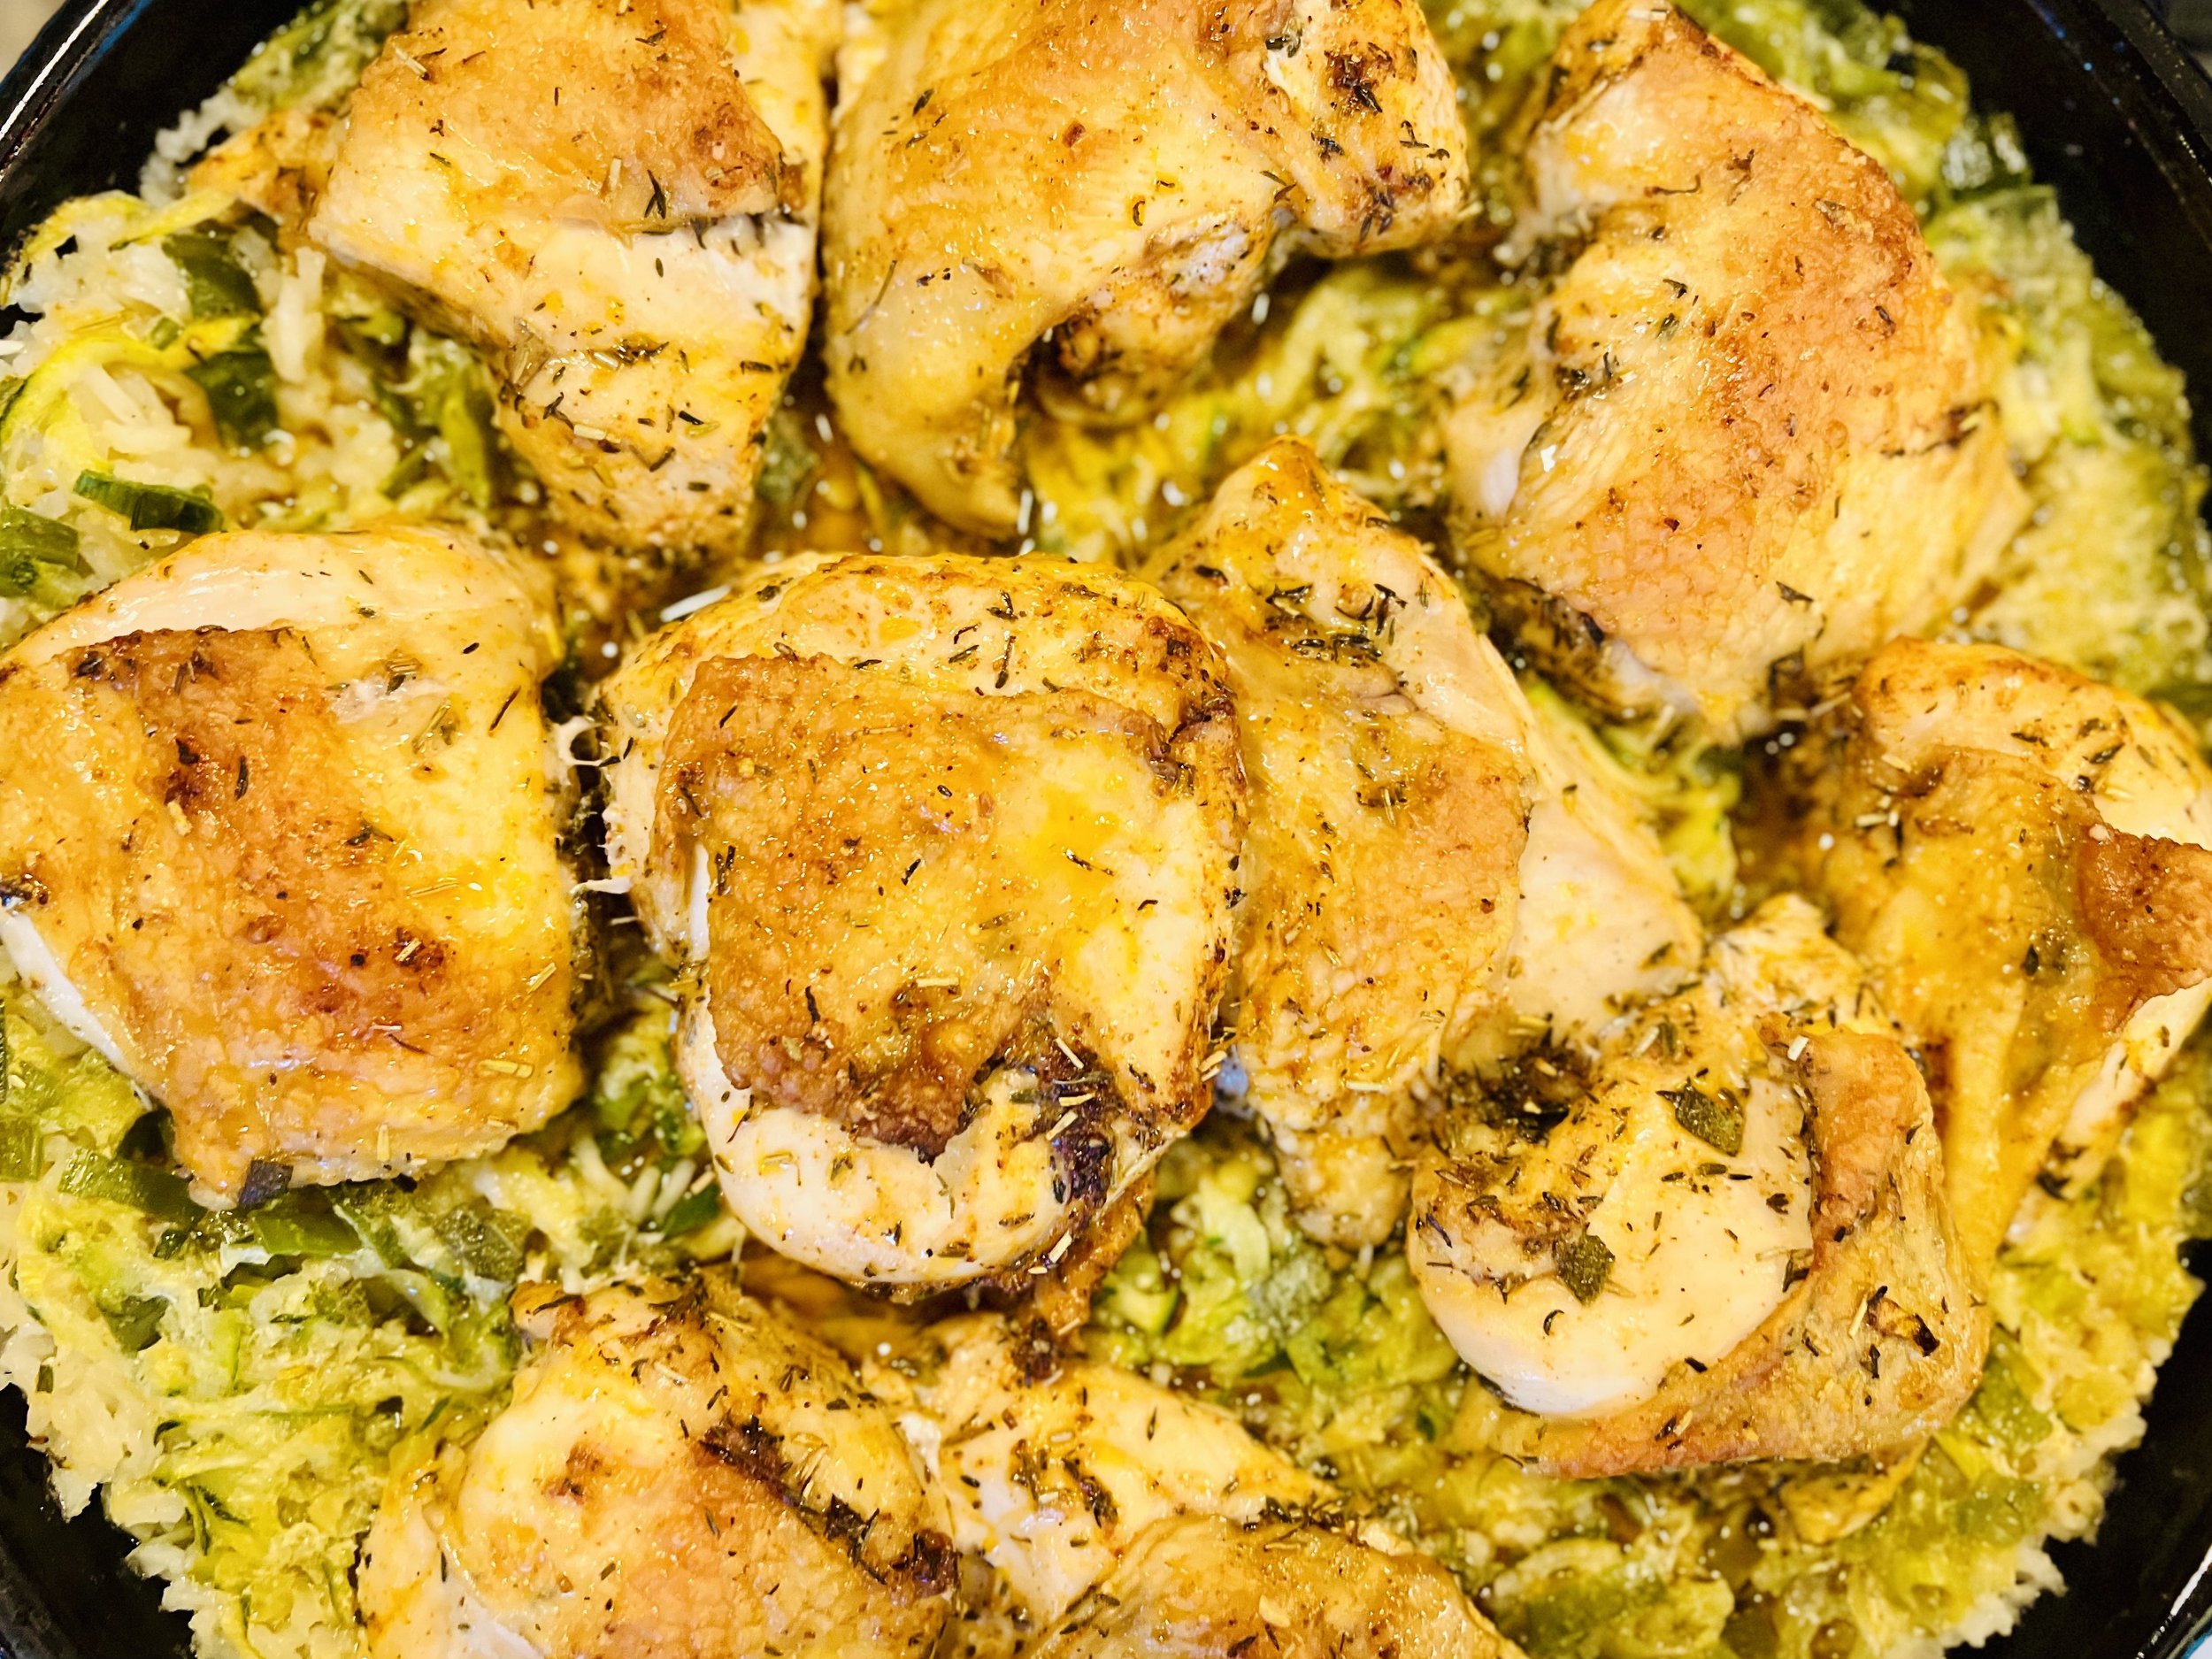
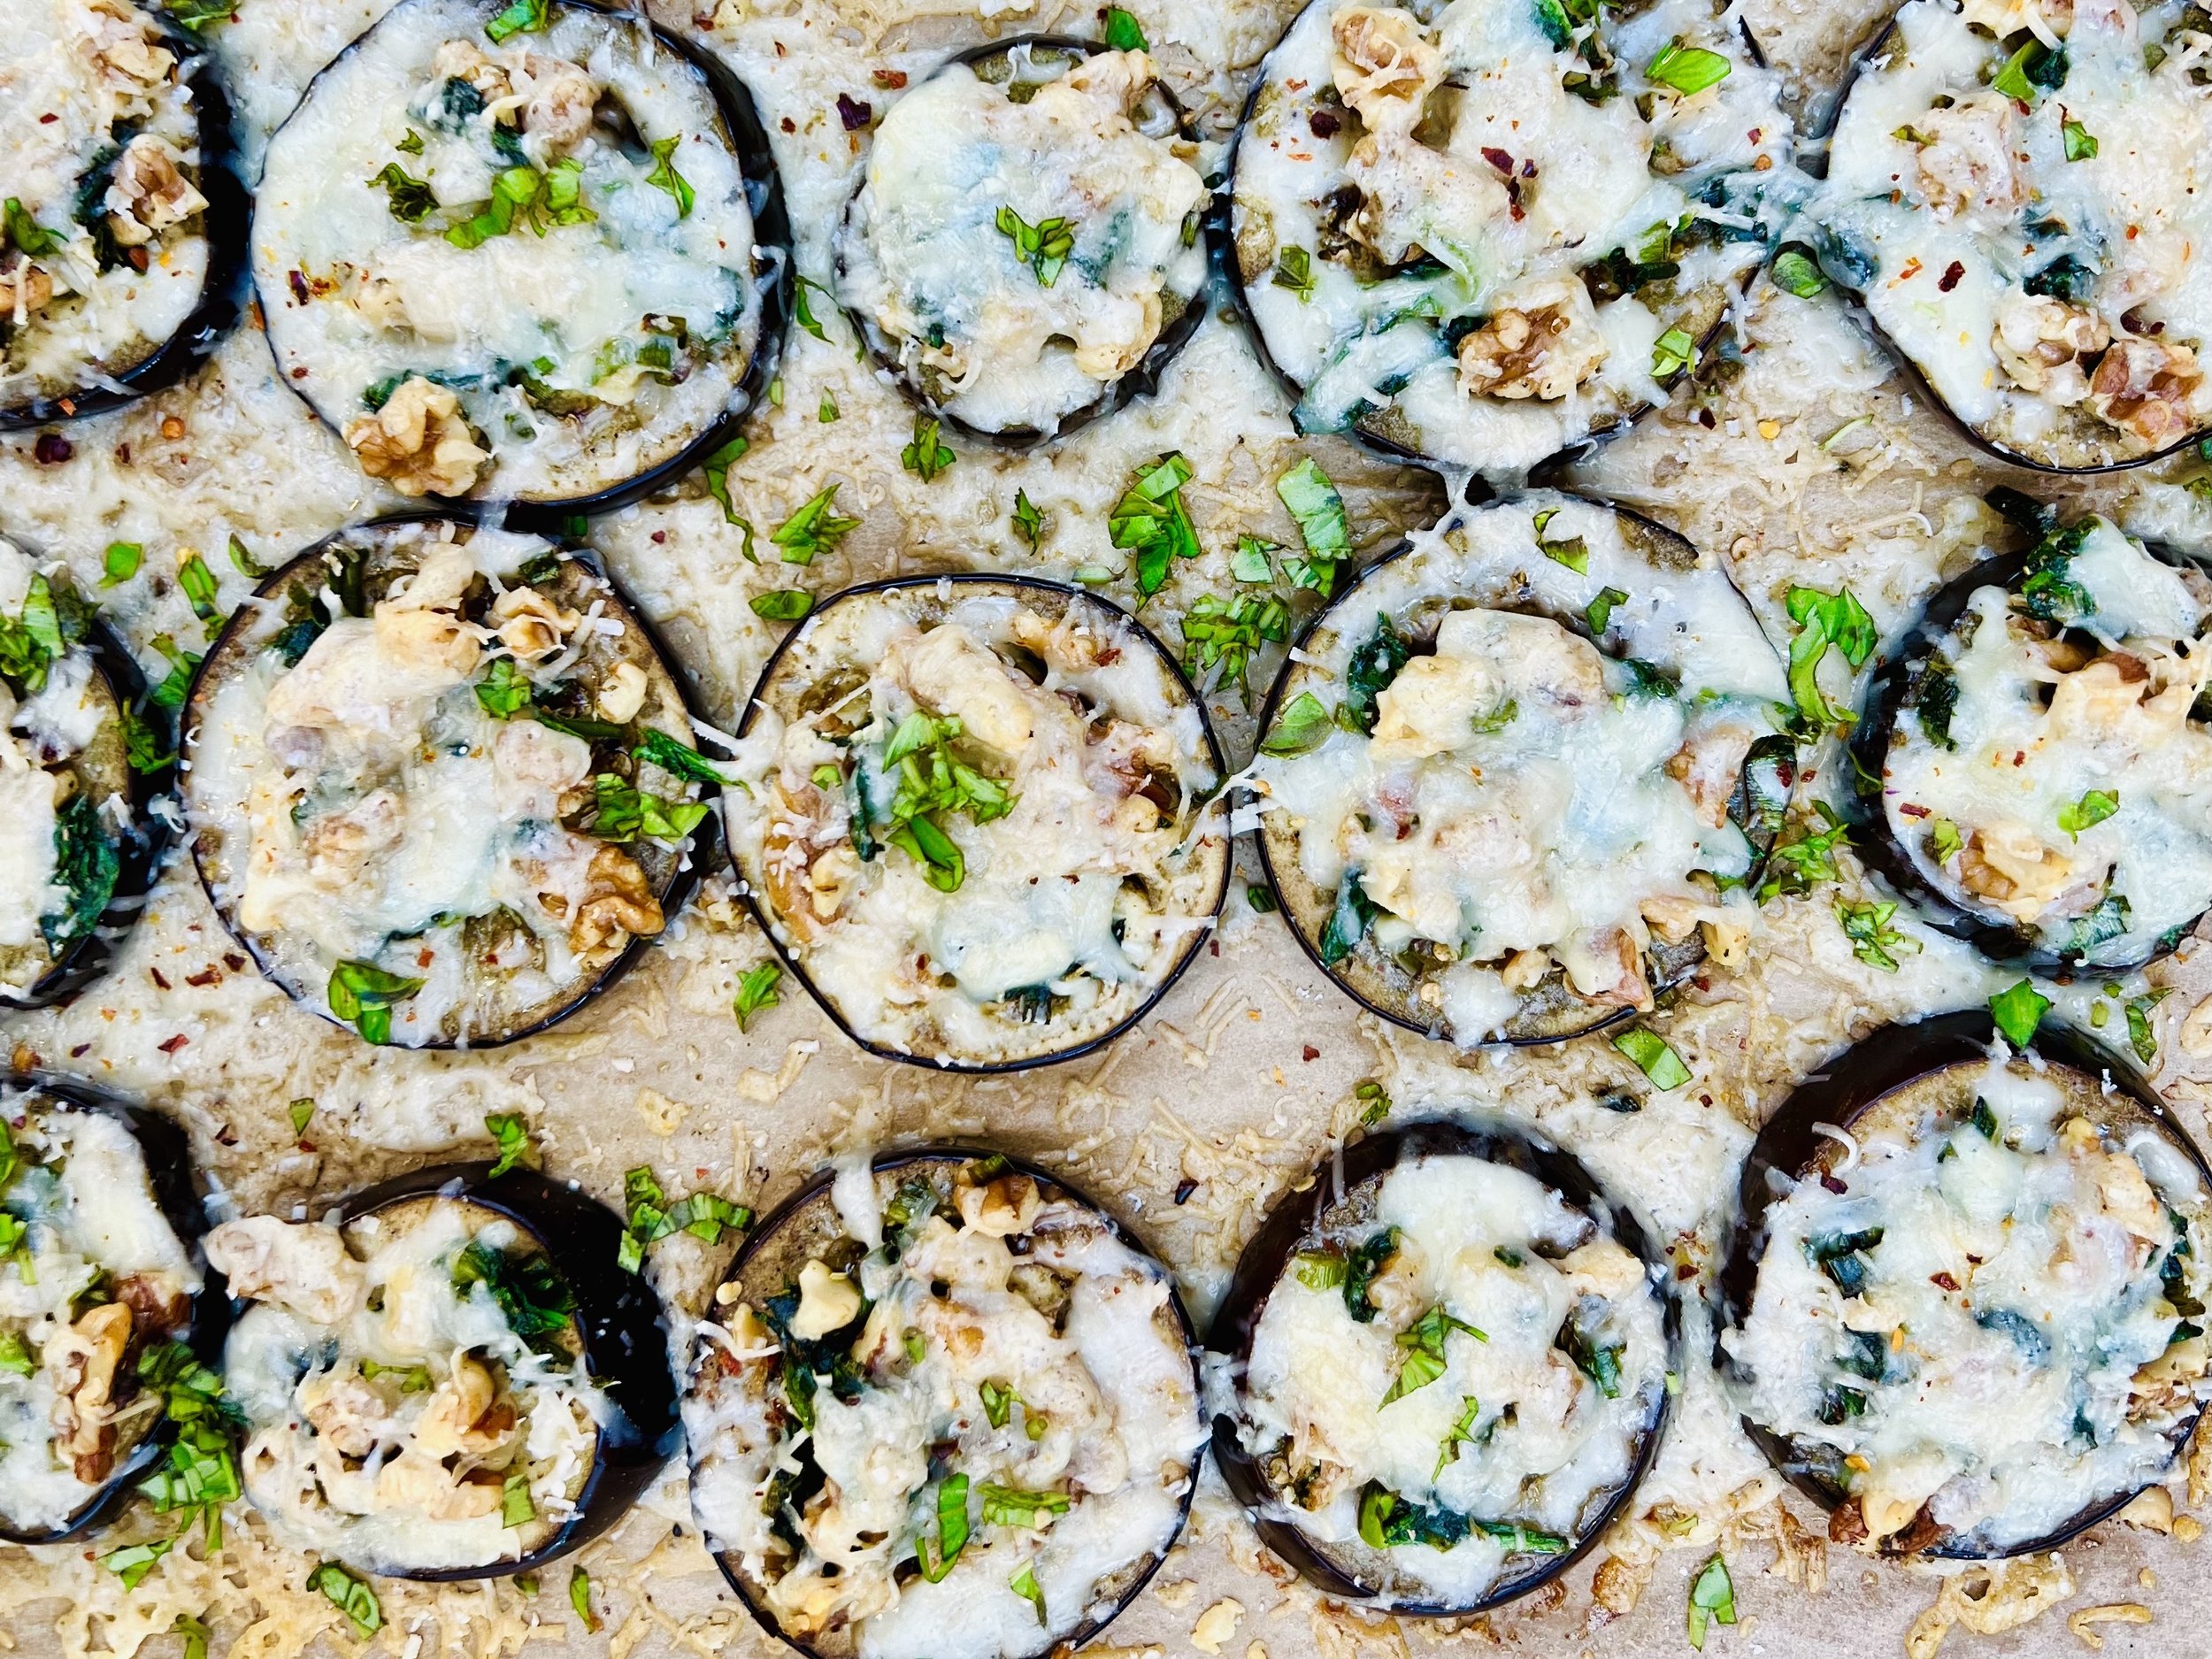
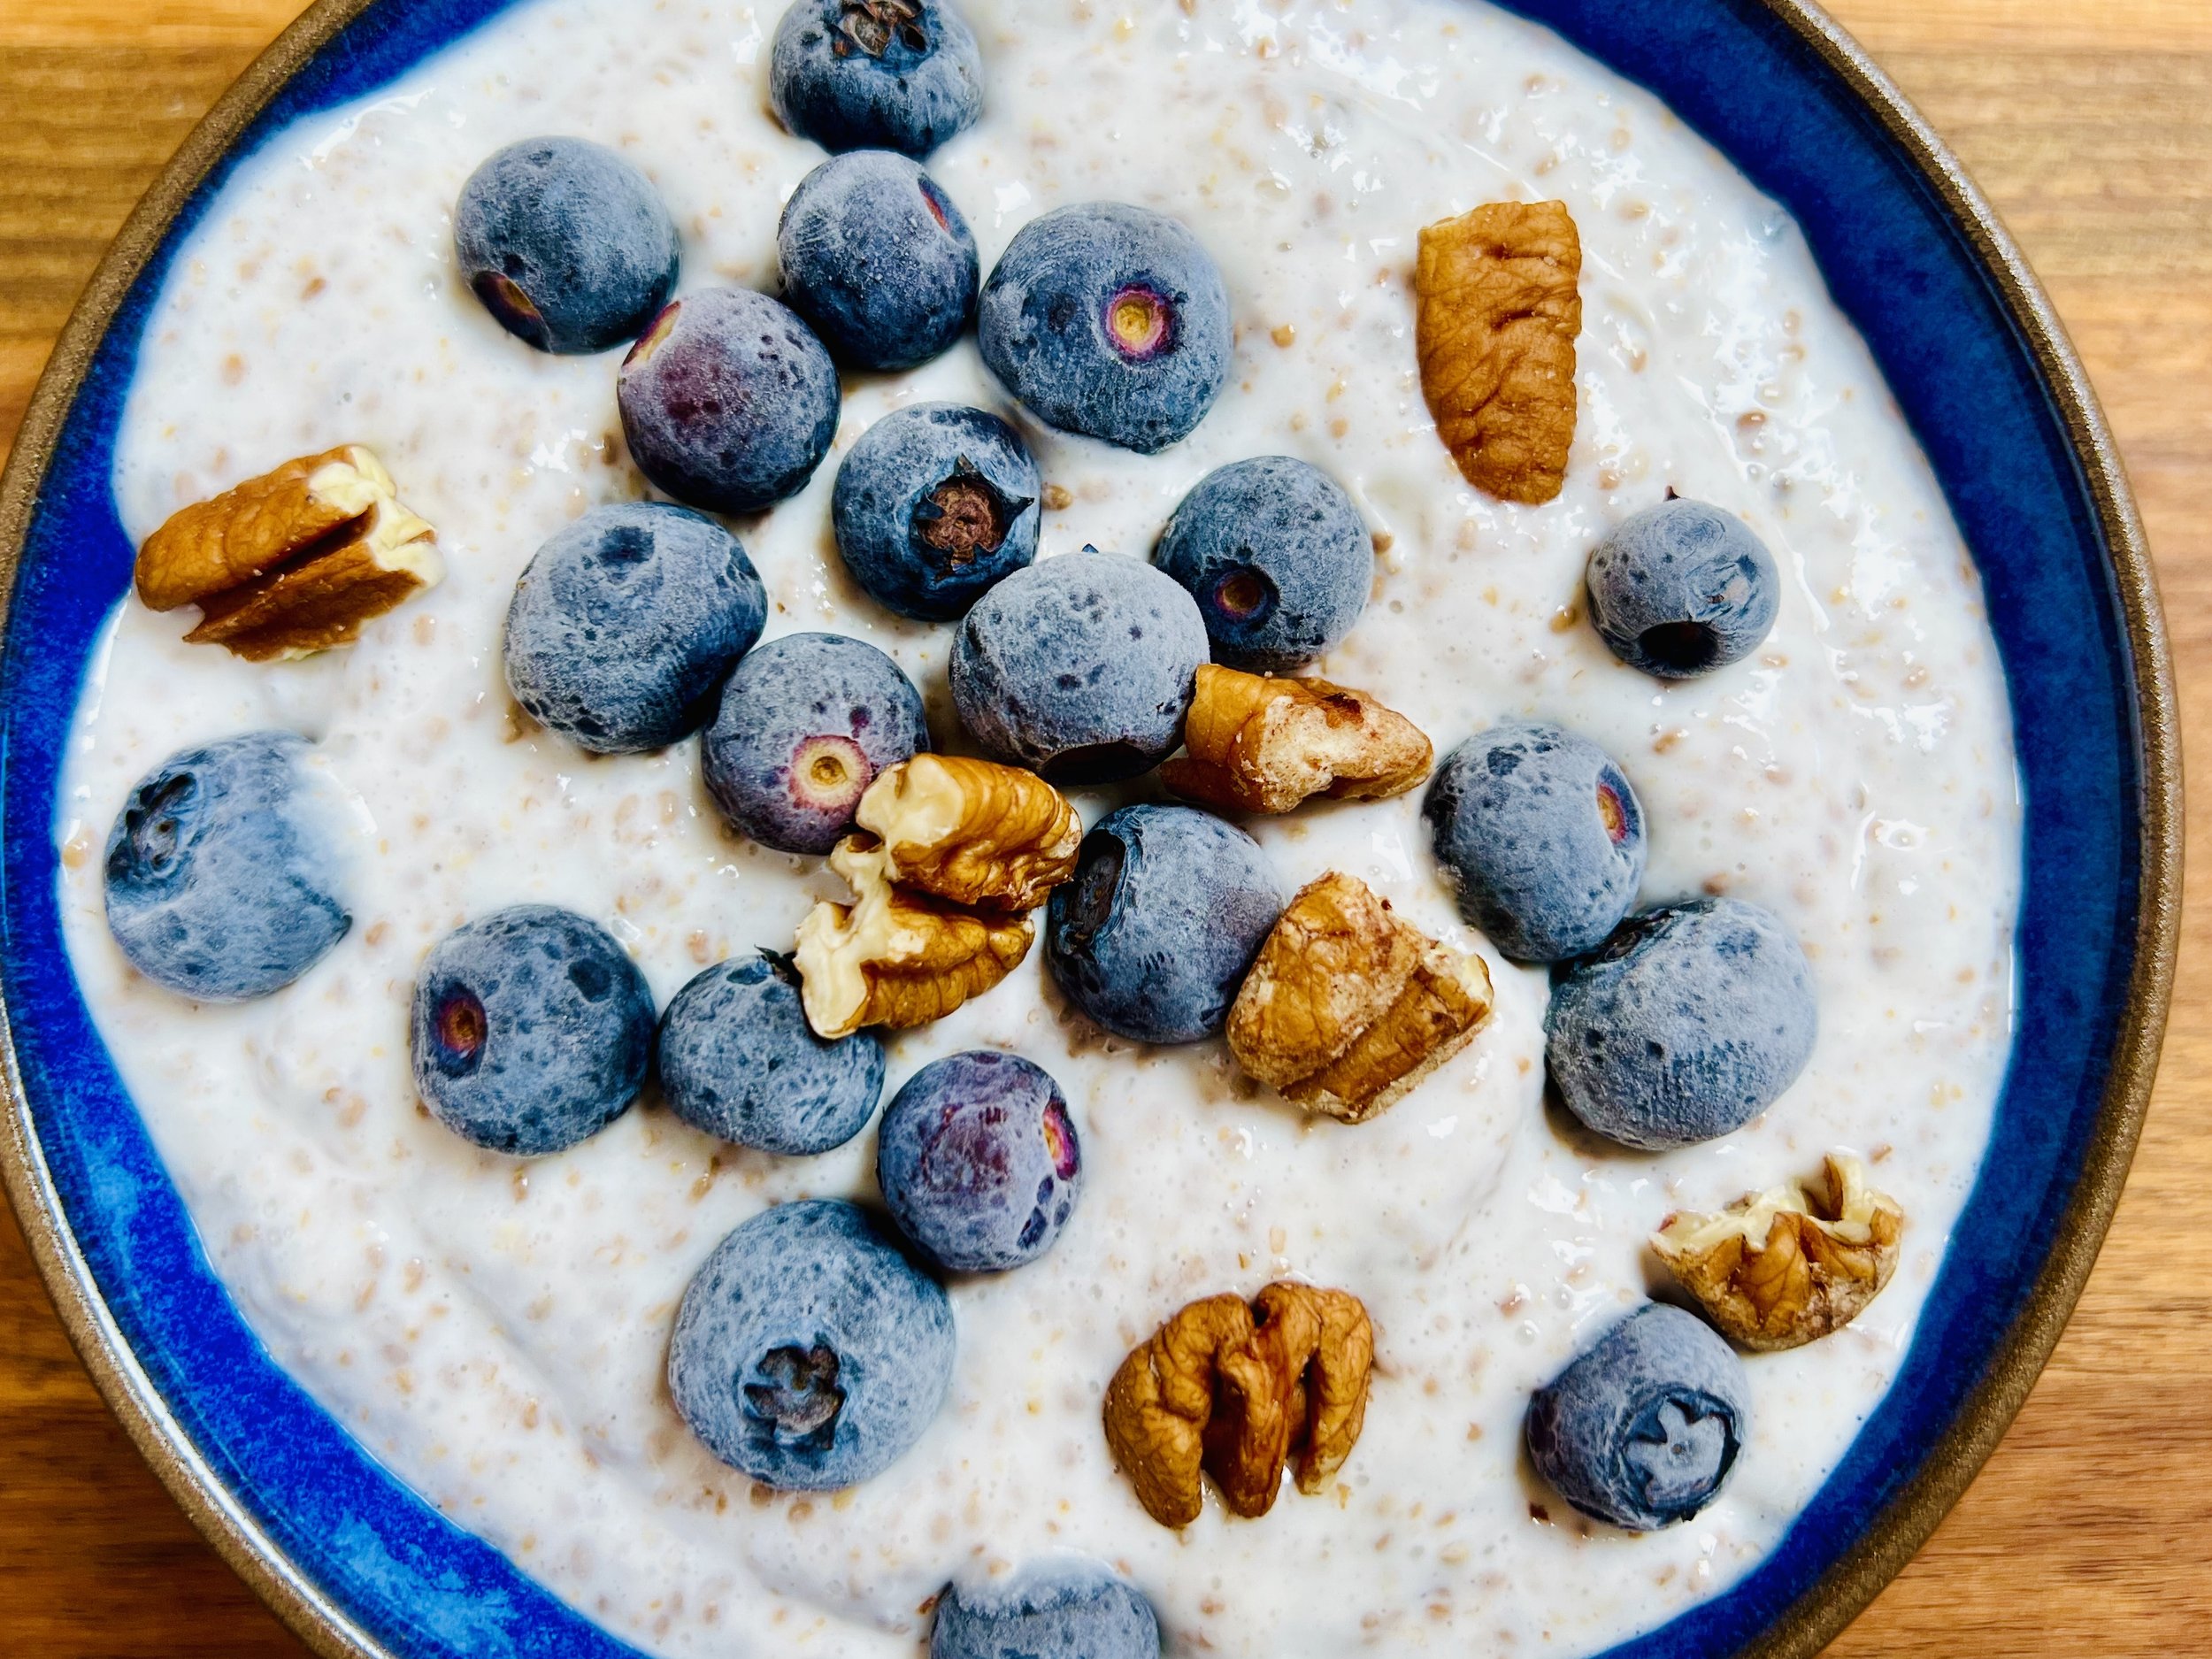
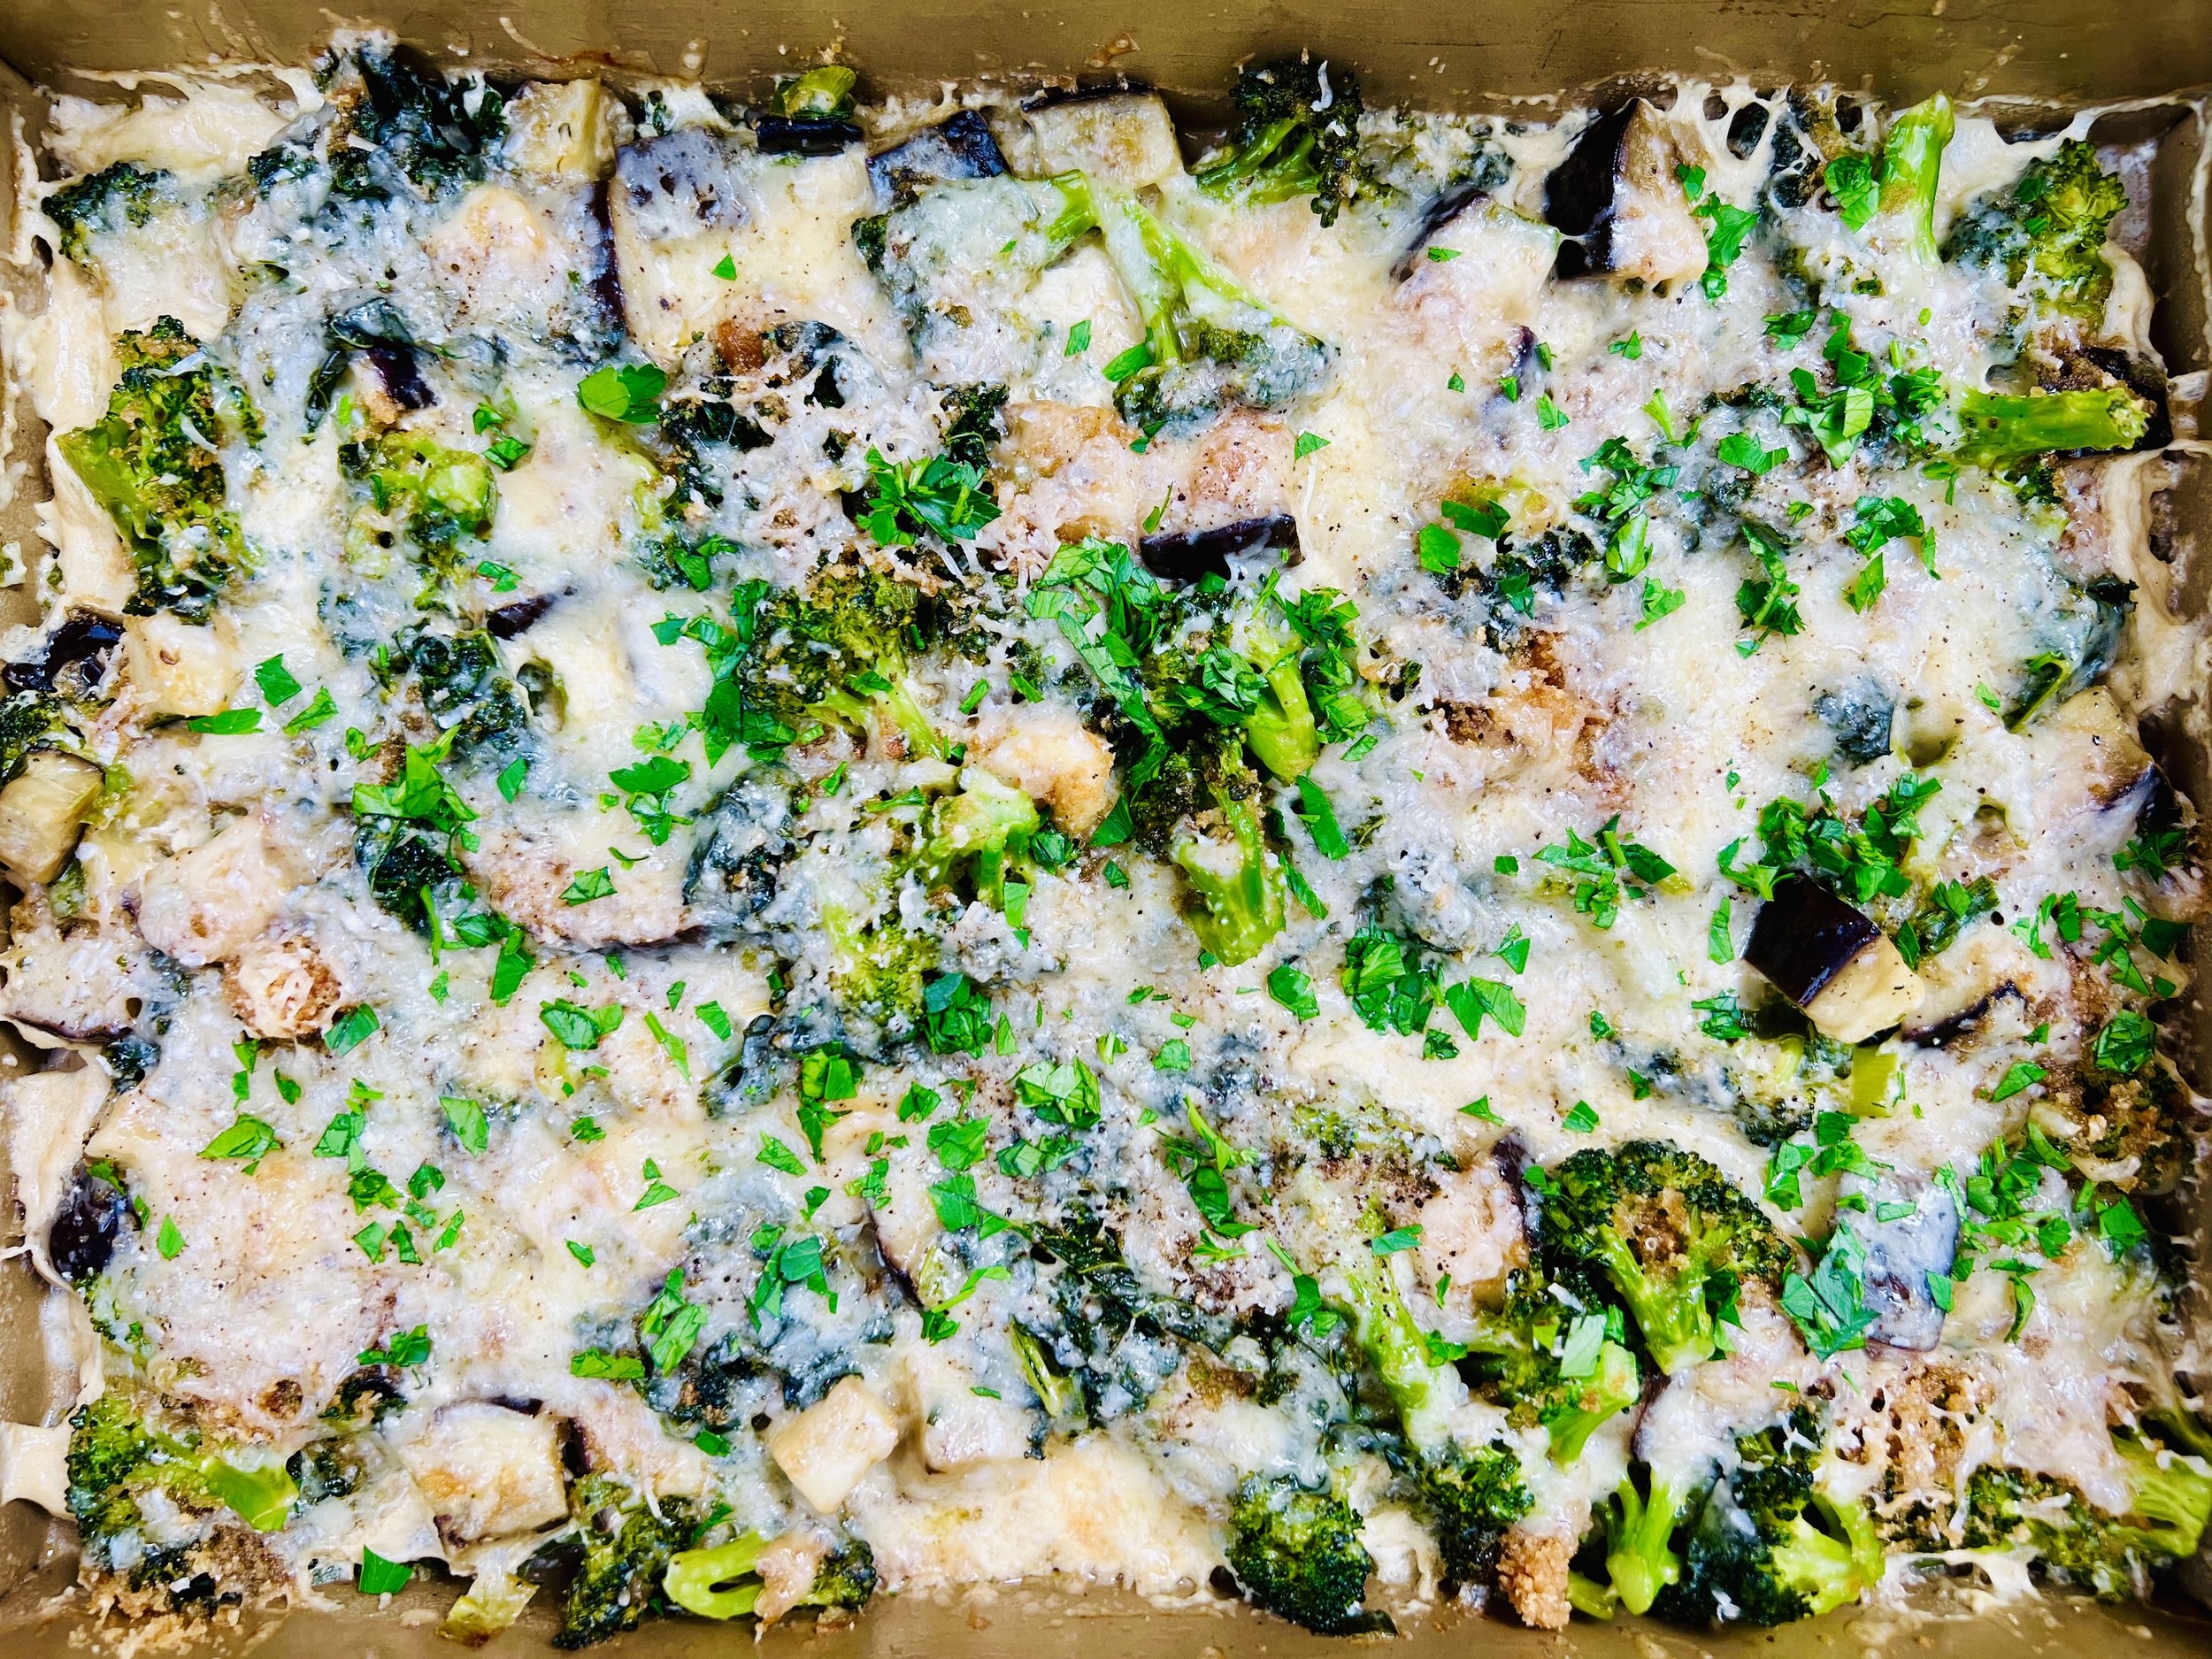
10 Minutes Prep • 50 Minutes Cook • Gluten-free • Dairy-free • Low FODMAP • Serving size 3-4 crackers