Deliciously Low FODMAP

Inspire yourself with hundreds of delicious low FODMAP recipes, tips, and tools, and enjoy the abundance that is yours even when you have IBS.
Use the buttons and filters to find something specific or browse the complete collection for inspiration.
Discover a treasure trove of recipes with my FREE recipe club! Get new ideas delivered straight to your inbox every week.
Deliciously Low FODMAP is a trademark of IBS Game Changer, LLC
Filter to find Recipes and Tools
More Filtering Options
- All 738
- Appetizer 50
- BBQ 46
- Bowl 32
- Breakfast 58
- Cocktails 13
- Collection 1 58
- Collection 10 27
- Collection 11 30
- Collection 12 27
- Collection 13 31
- Collection 14 29
- Collection 15 31
- Collection 16 34
- Collection 17 31
- Collection 18 33
- Collection 19 36
- Collection 2 32
- Collection 20 33
- Collection 21 33
- Collection 22 40
- Collection 23 20
- Collection 24 1
- Collection 3 28
- Collection 4 29
- Collection 5 30
- Collection 6 32
- Collection 7 31
- Collection 8 31
- Collection 9 32
- Condiments 6
- Crock Pot 4
- Dessert 109
- Diabetes Game Changer Exception Protocol Contains Alcohol 11
- Diabetes Game Changer Exception Protocol Contains Flour 109
- Diabetes Game Changer Exception Protocol Contains Flour AND Sugar 78
- Diabetes Game Changer Exception Protocol Contains Sugar 49
- Diabetes Game Changer First Four Weeks 370
- Dinner 337
- Drink 8
- Easter 1
- Free Guide 17
- Gluten-free 599
- Gut Microbiome 2
- Guthealth 3
- Holidays 69
- IBS Triggers 4
- Keto Friendly 128
- Lactose-Free 175
- Low FODMAP Diet 724
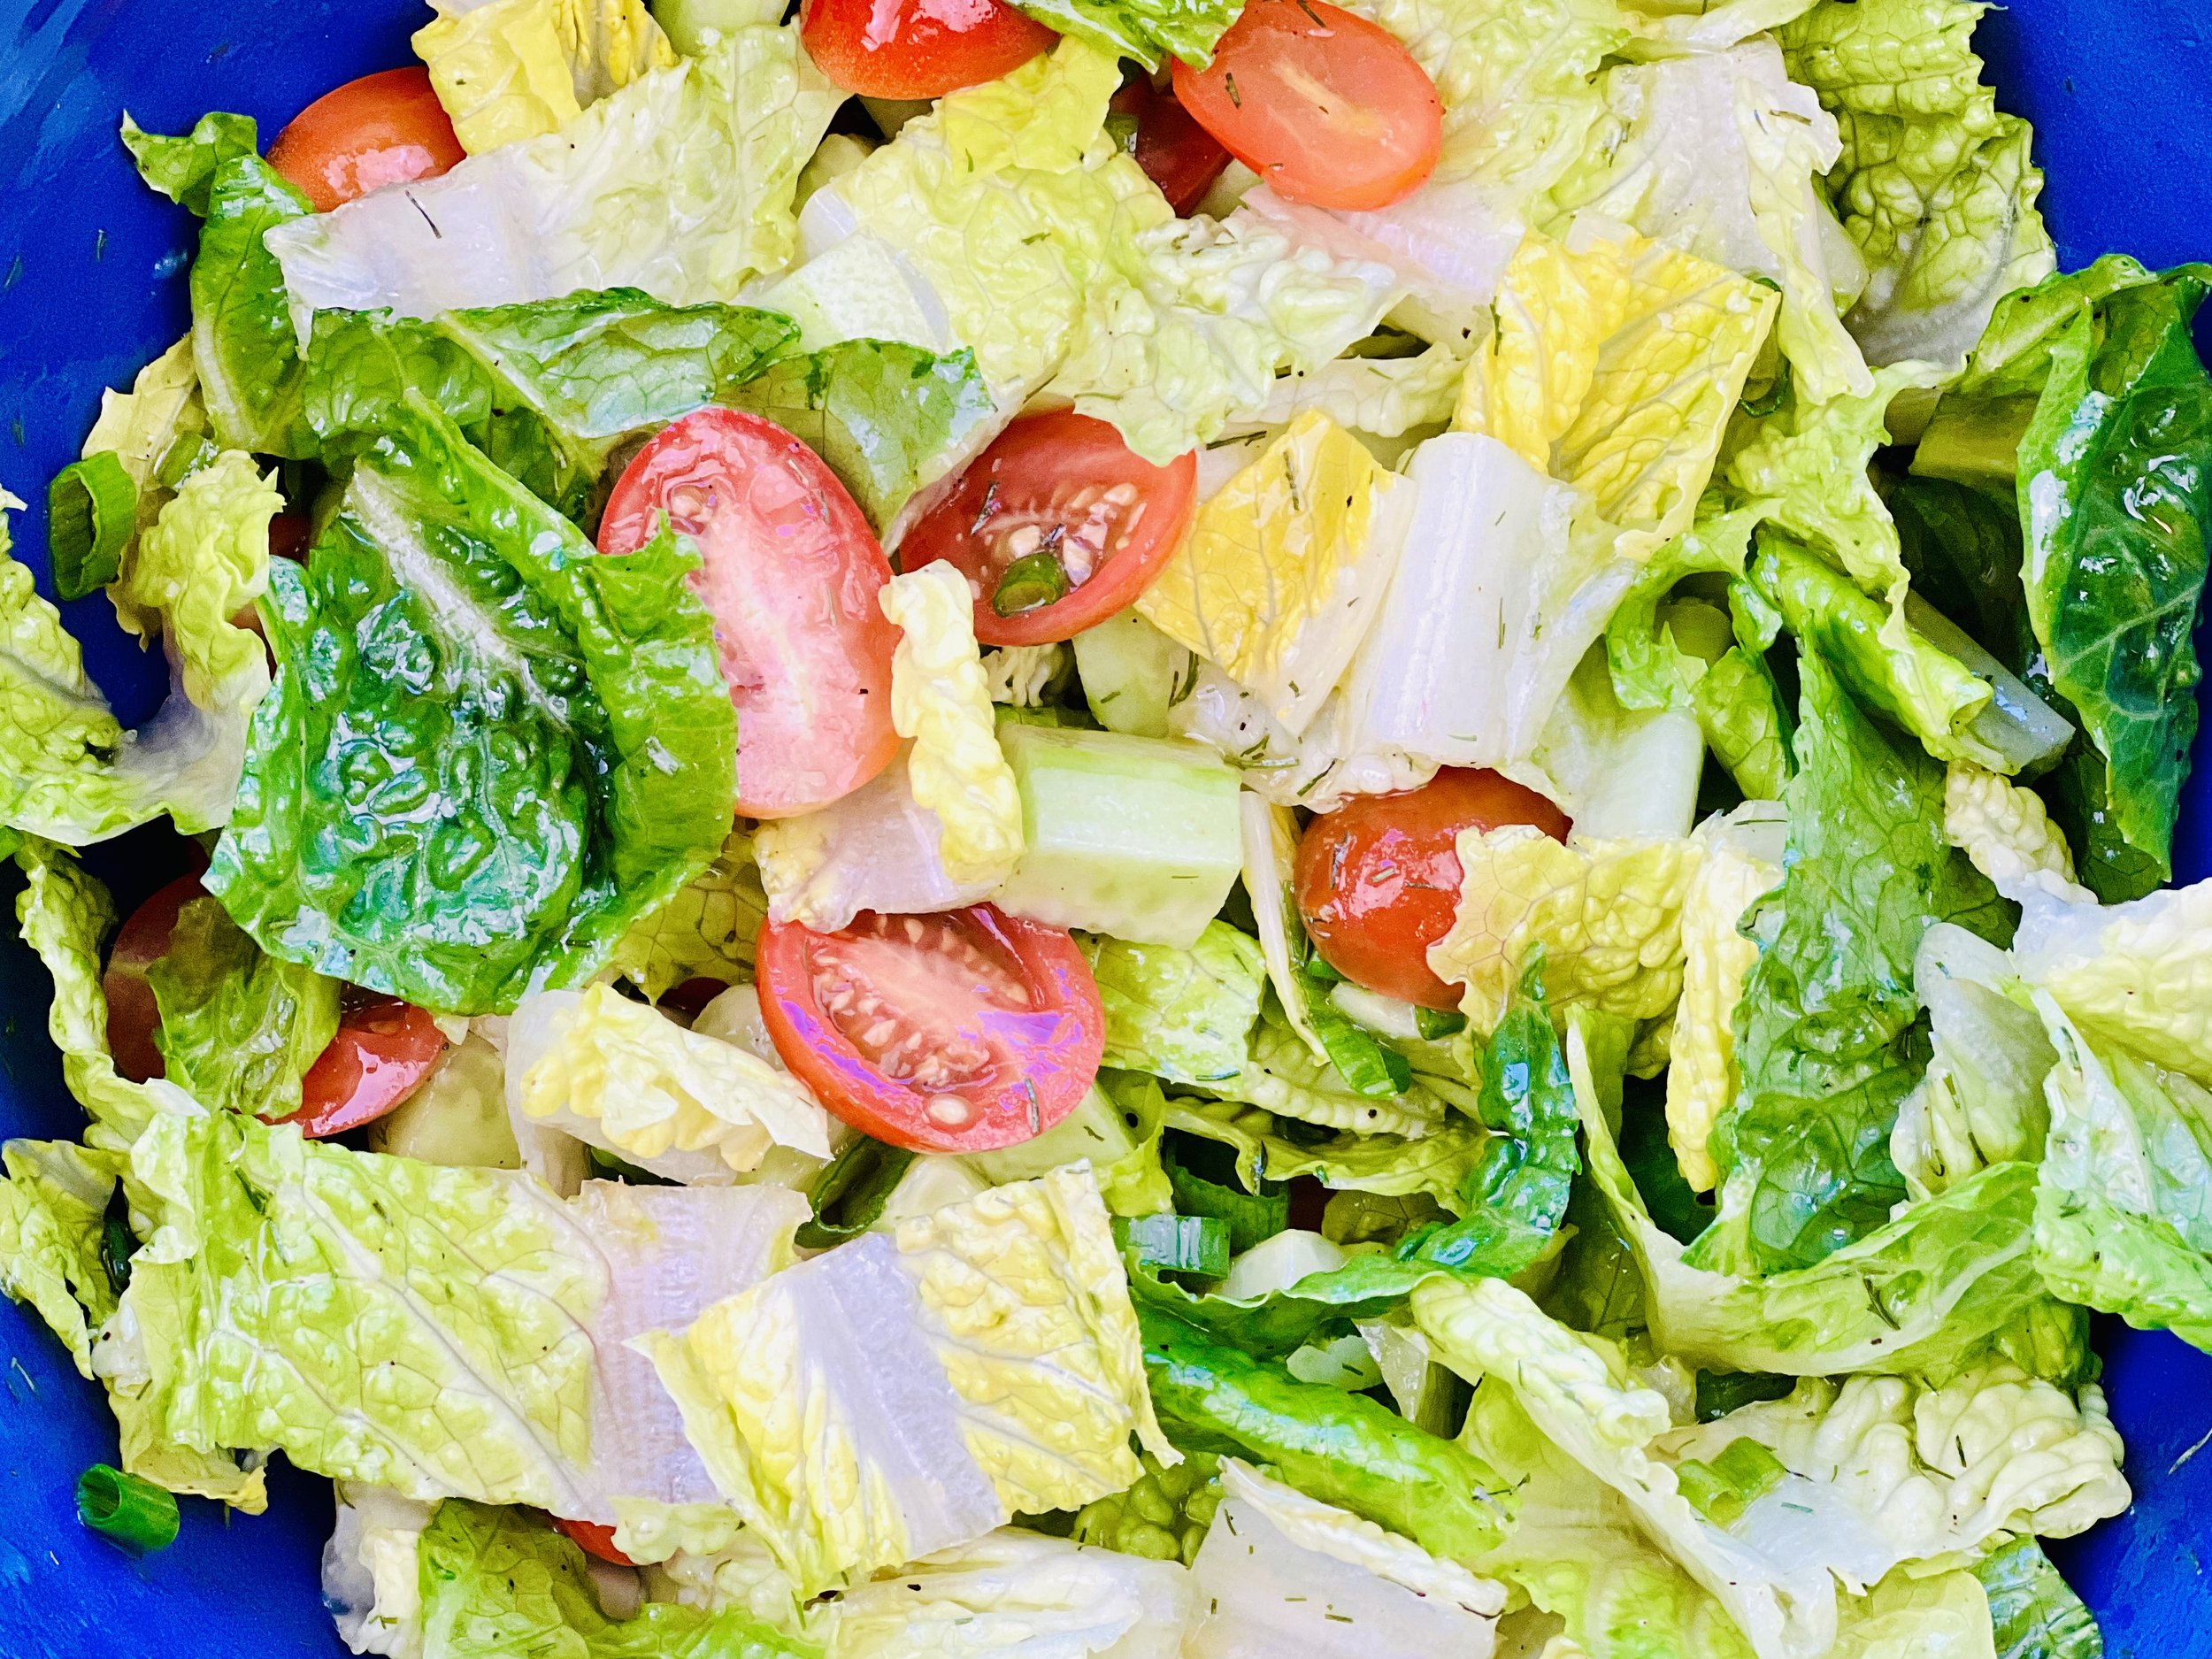
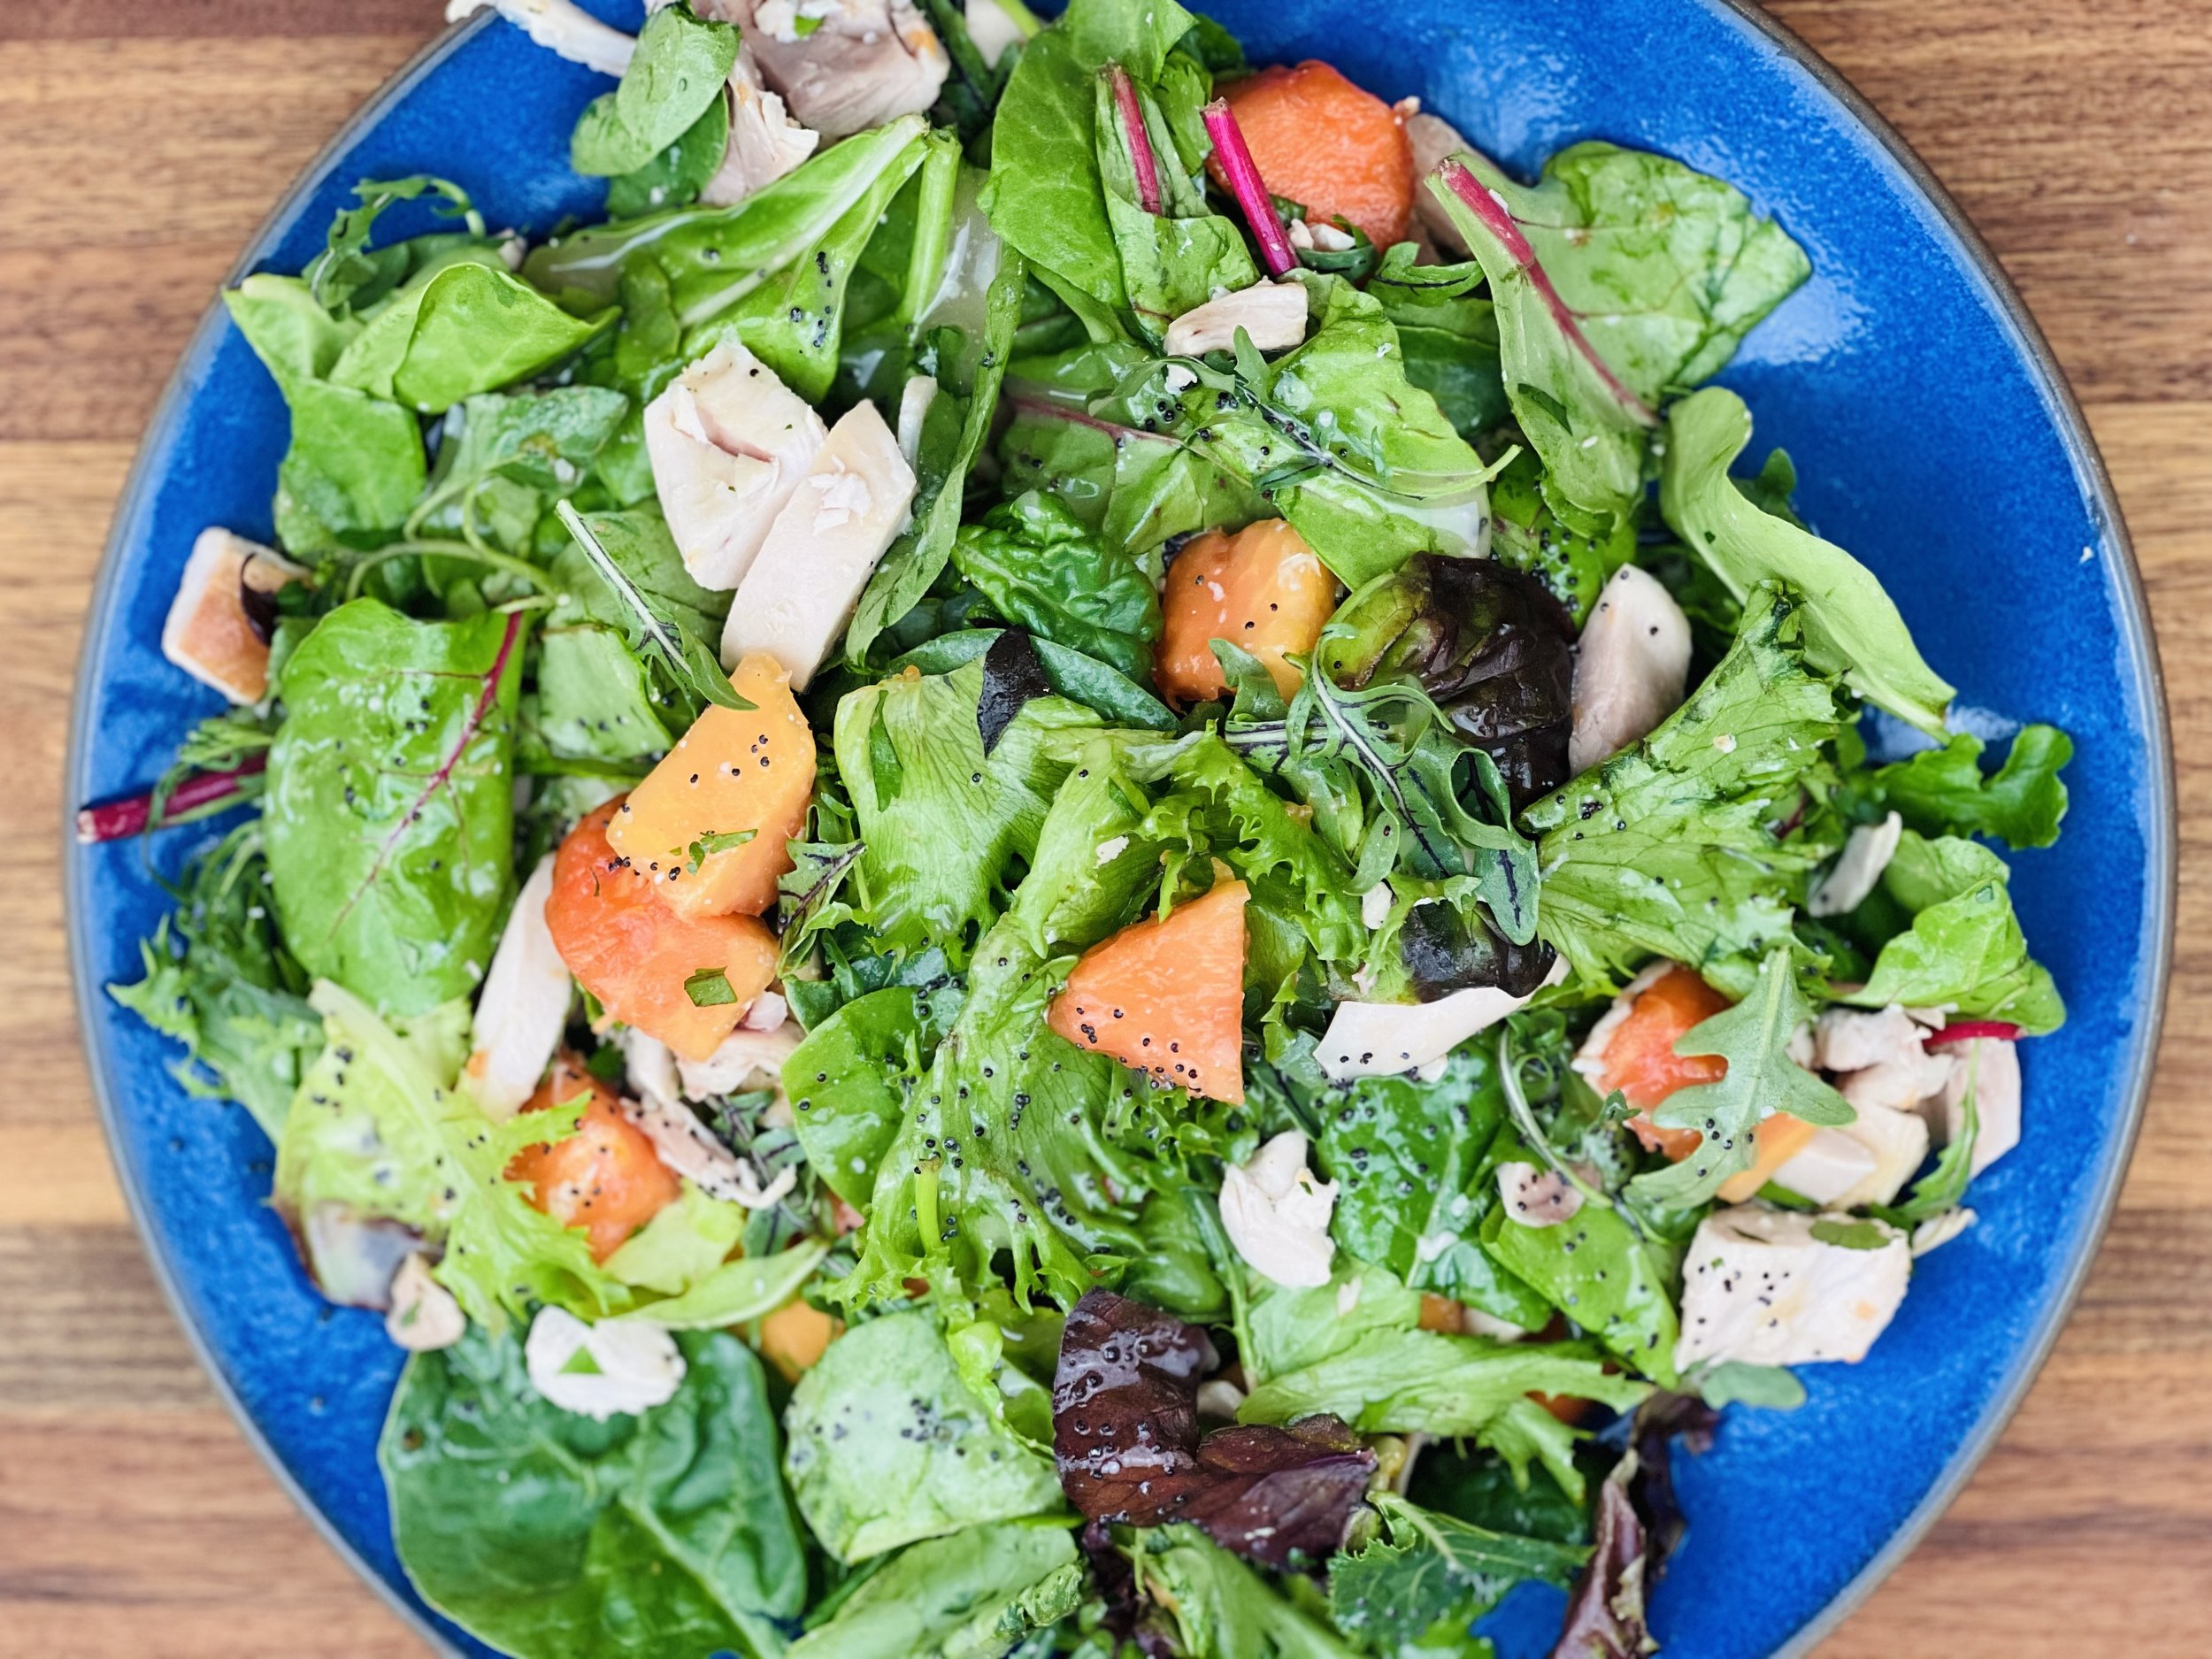
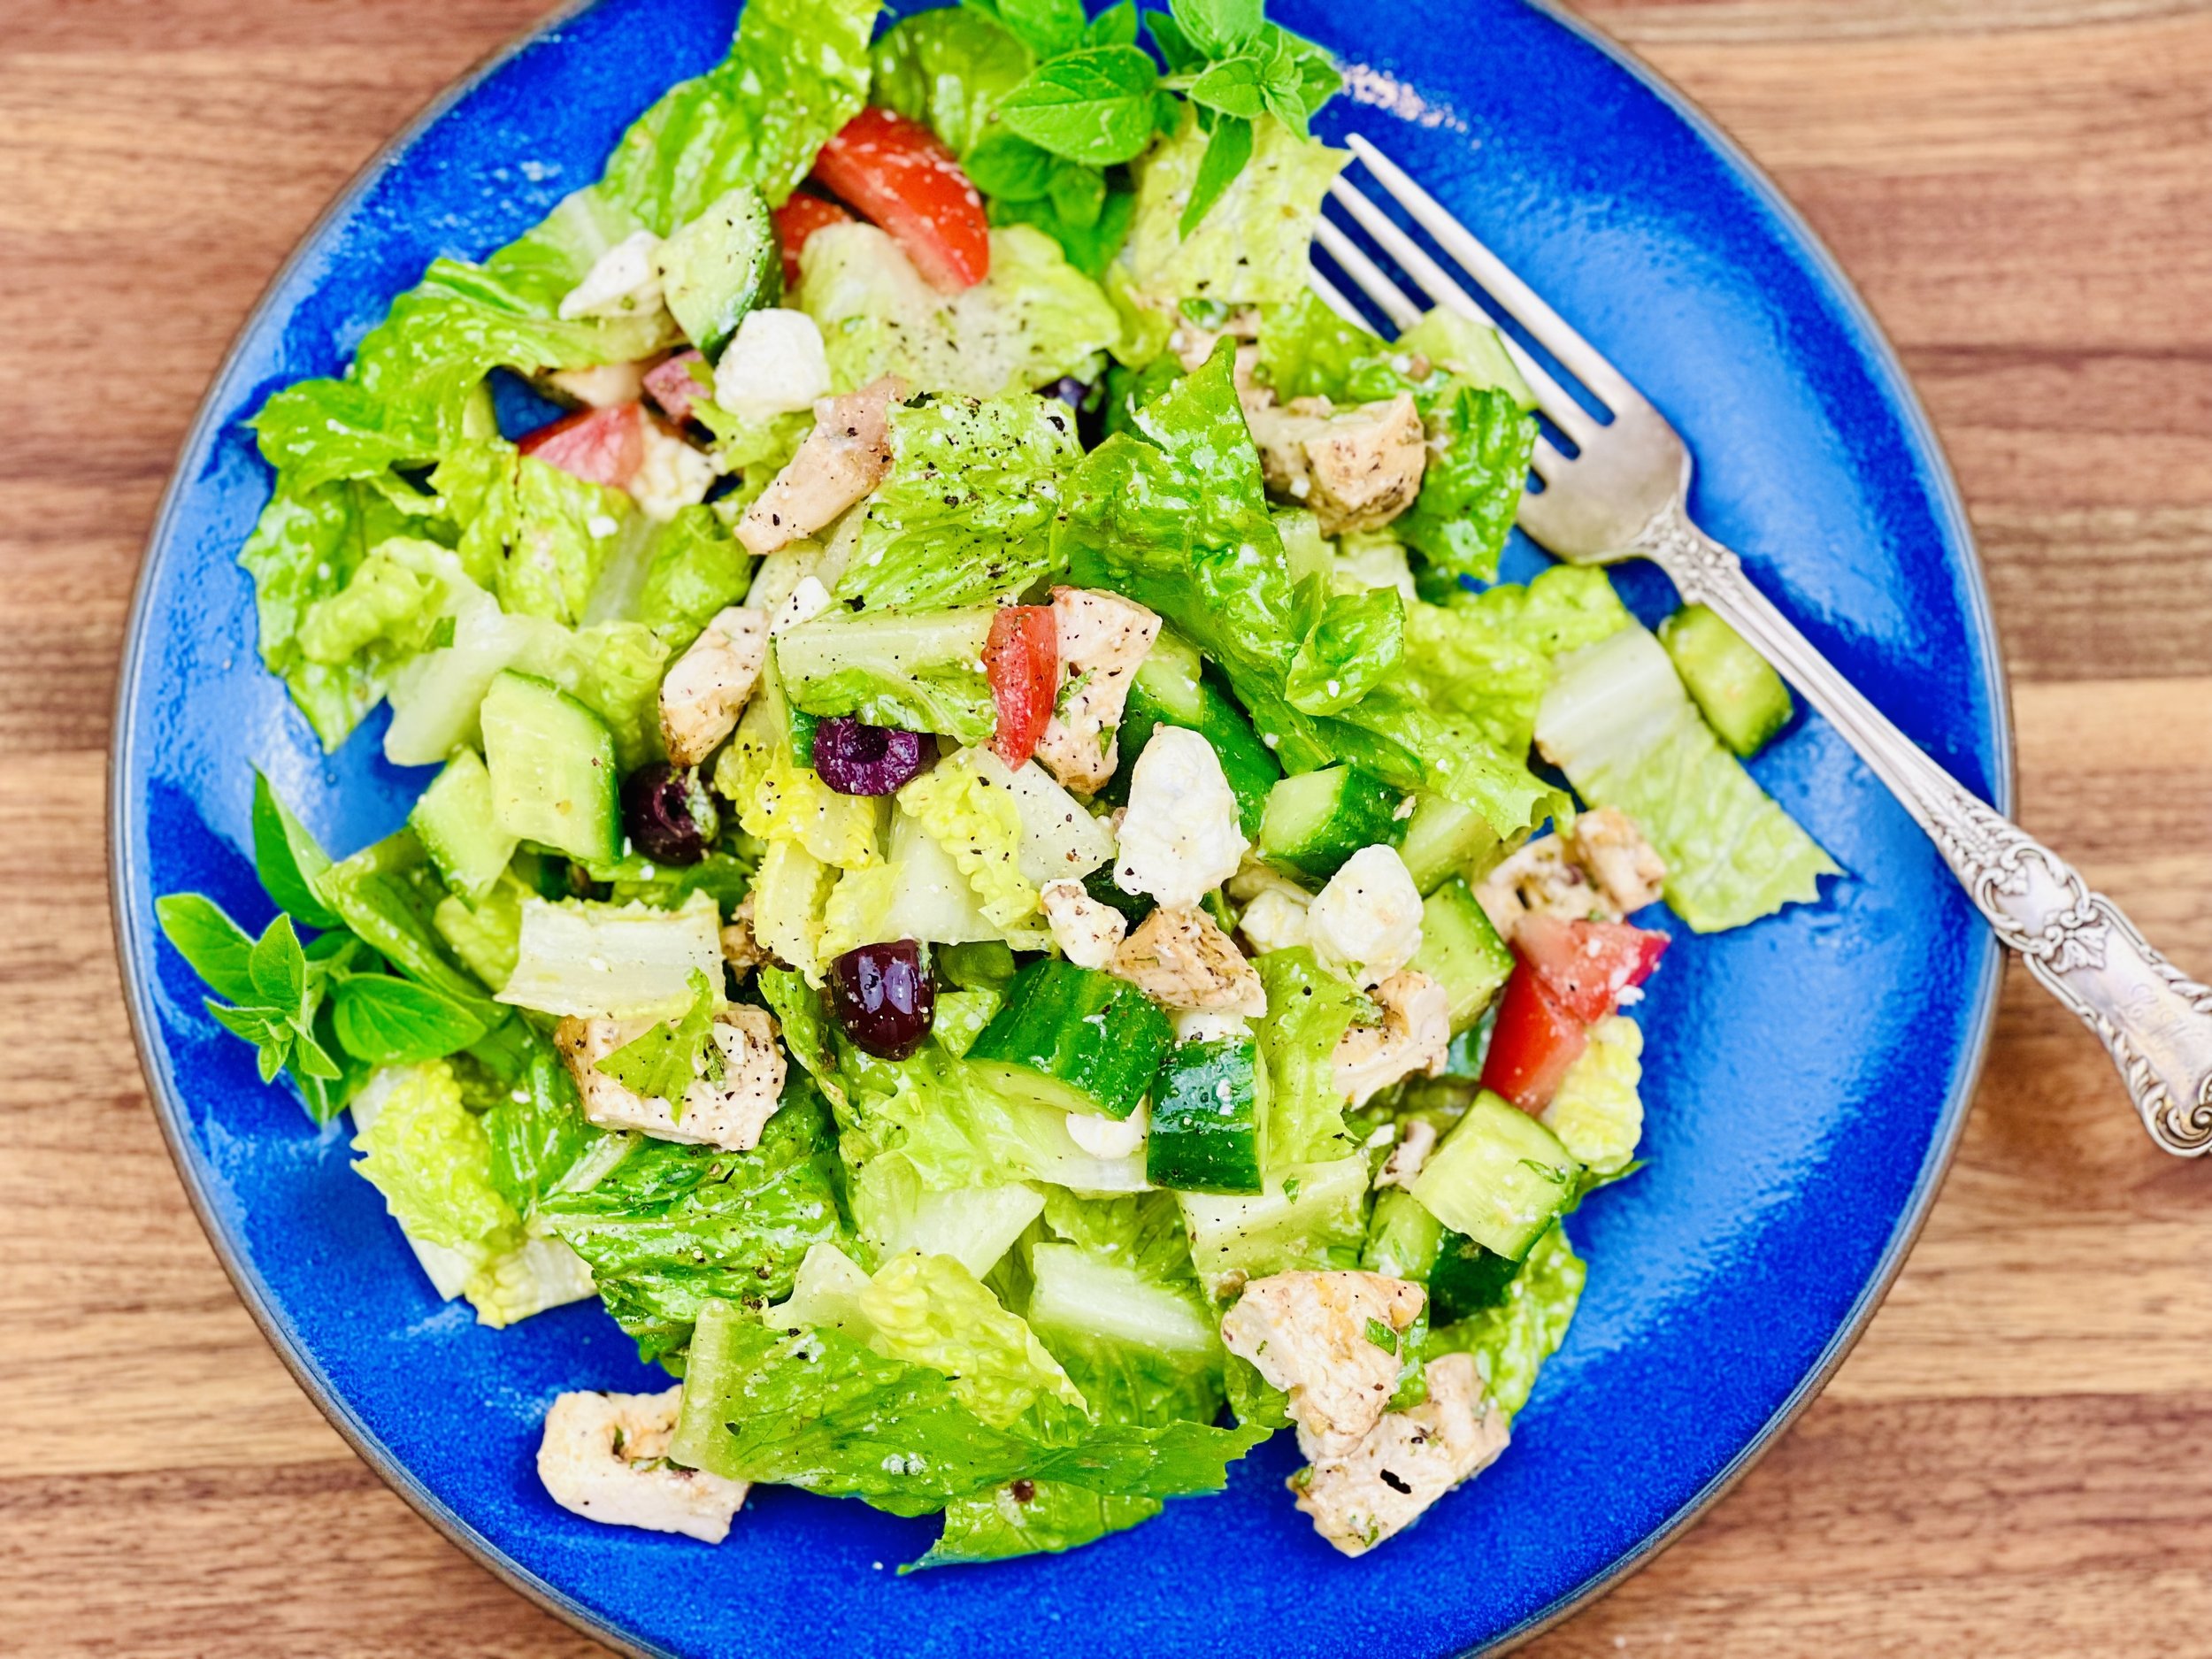
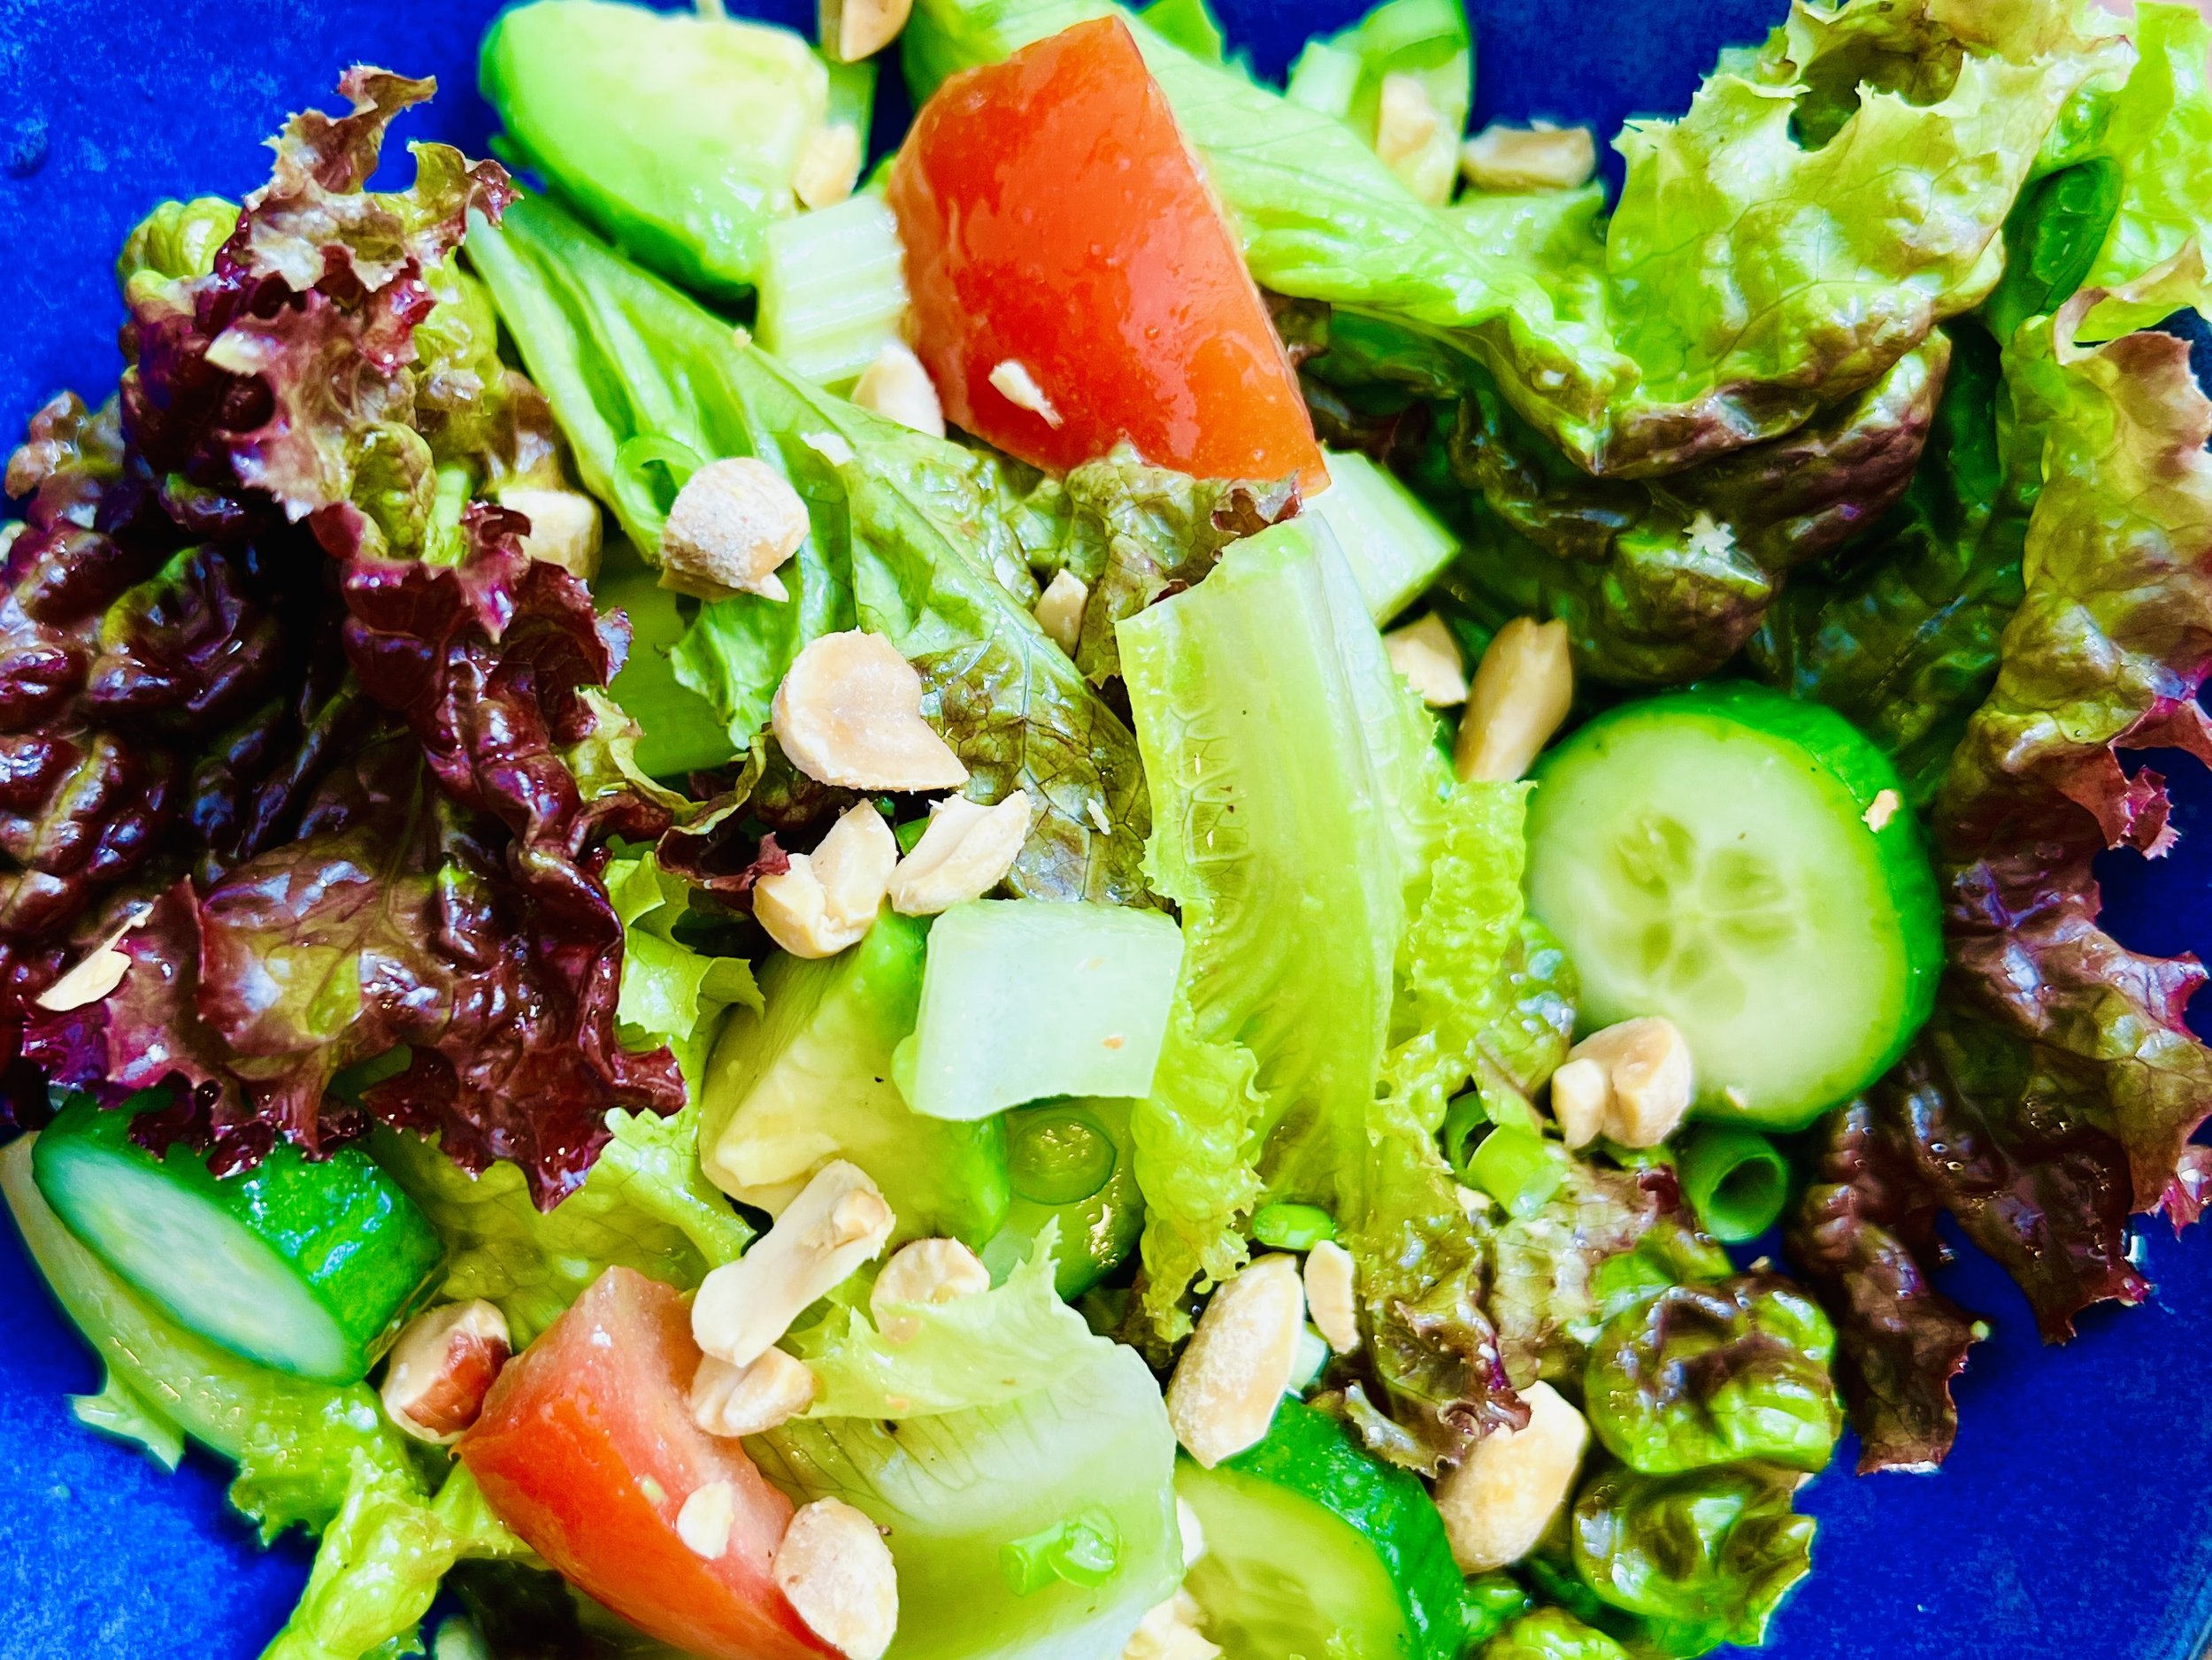
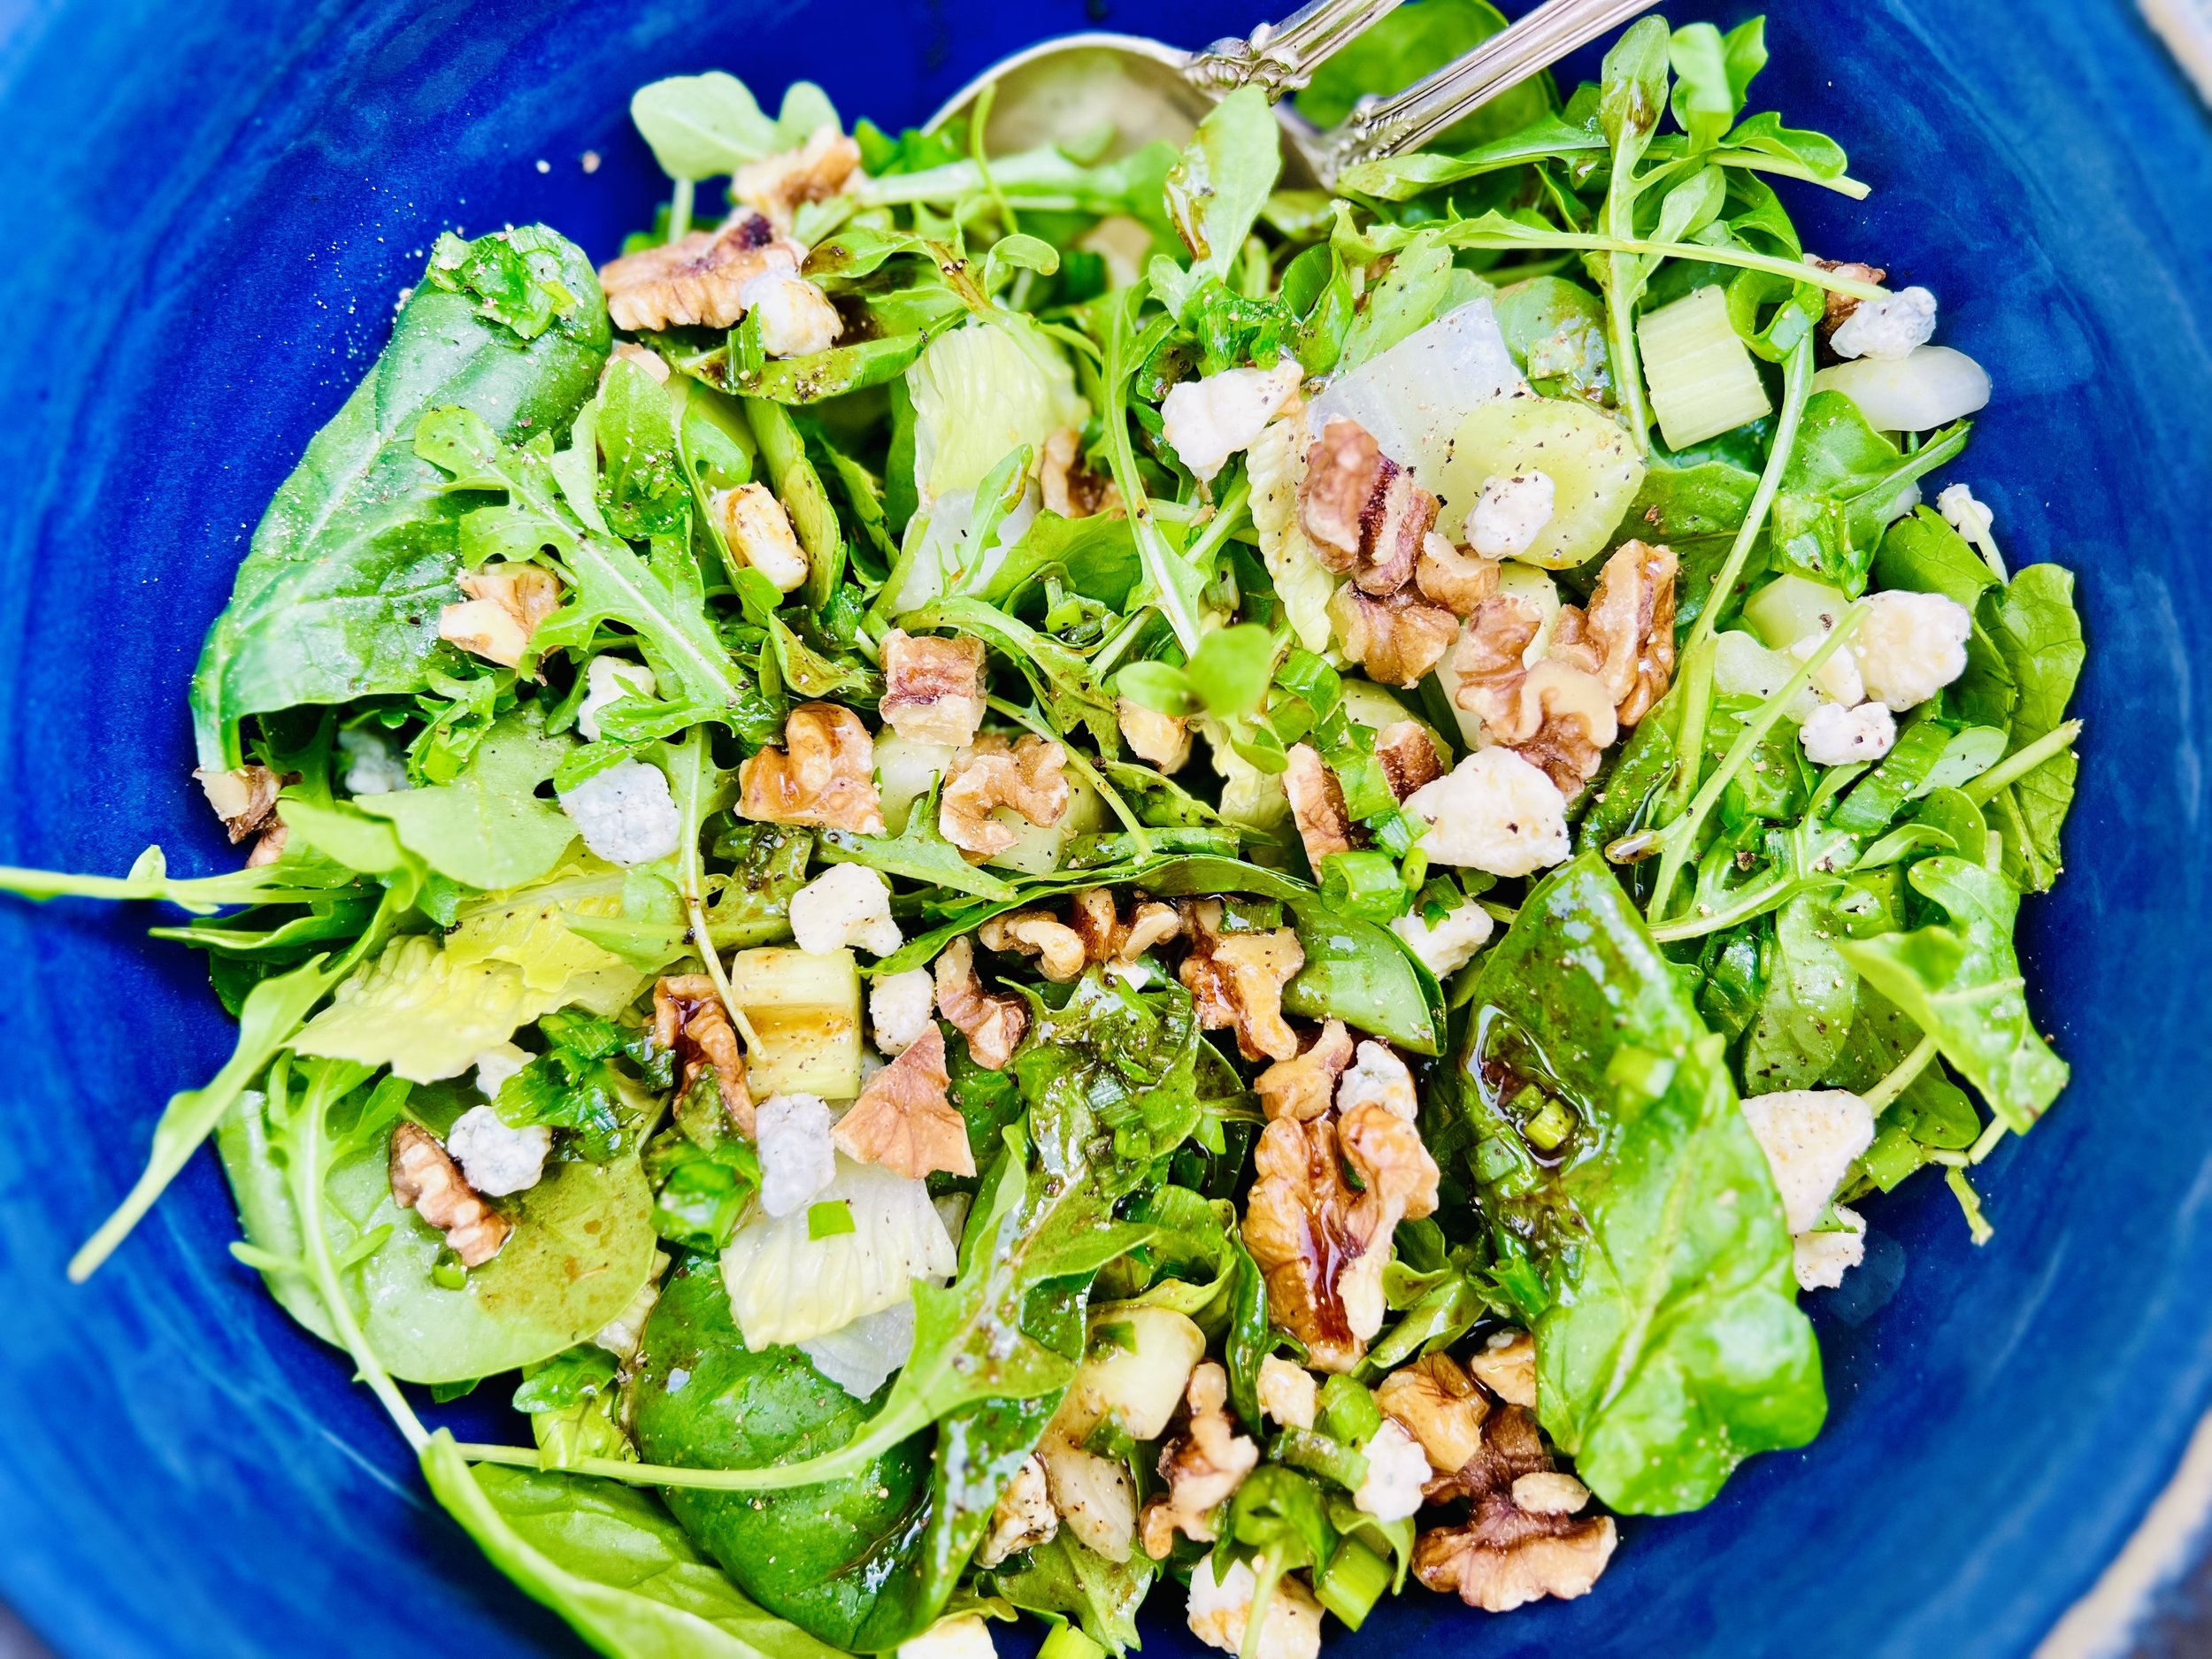
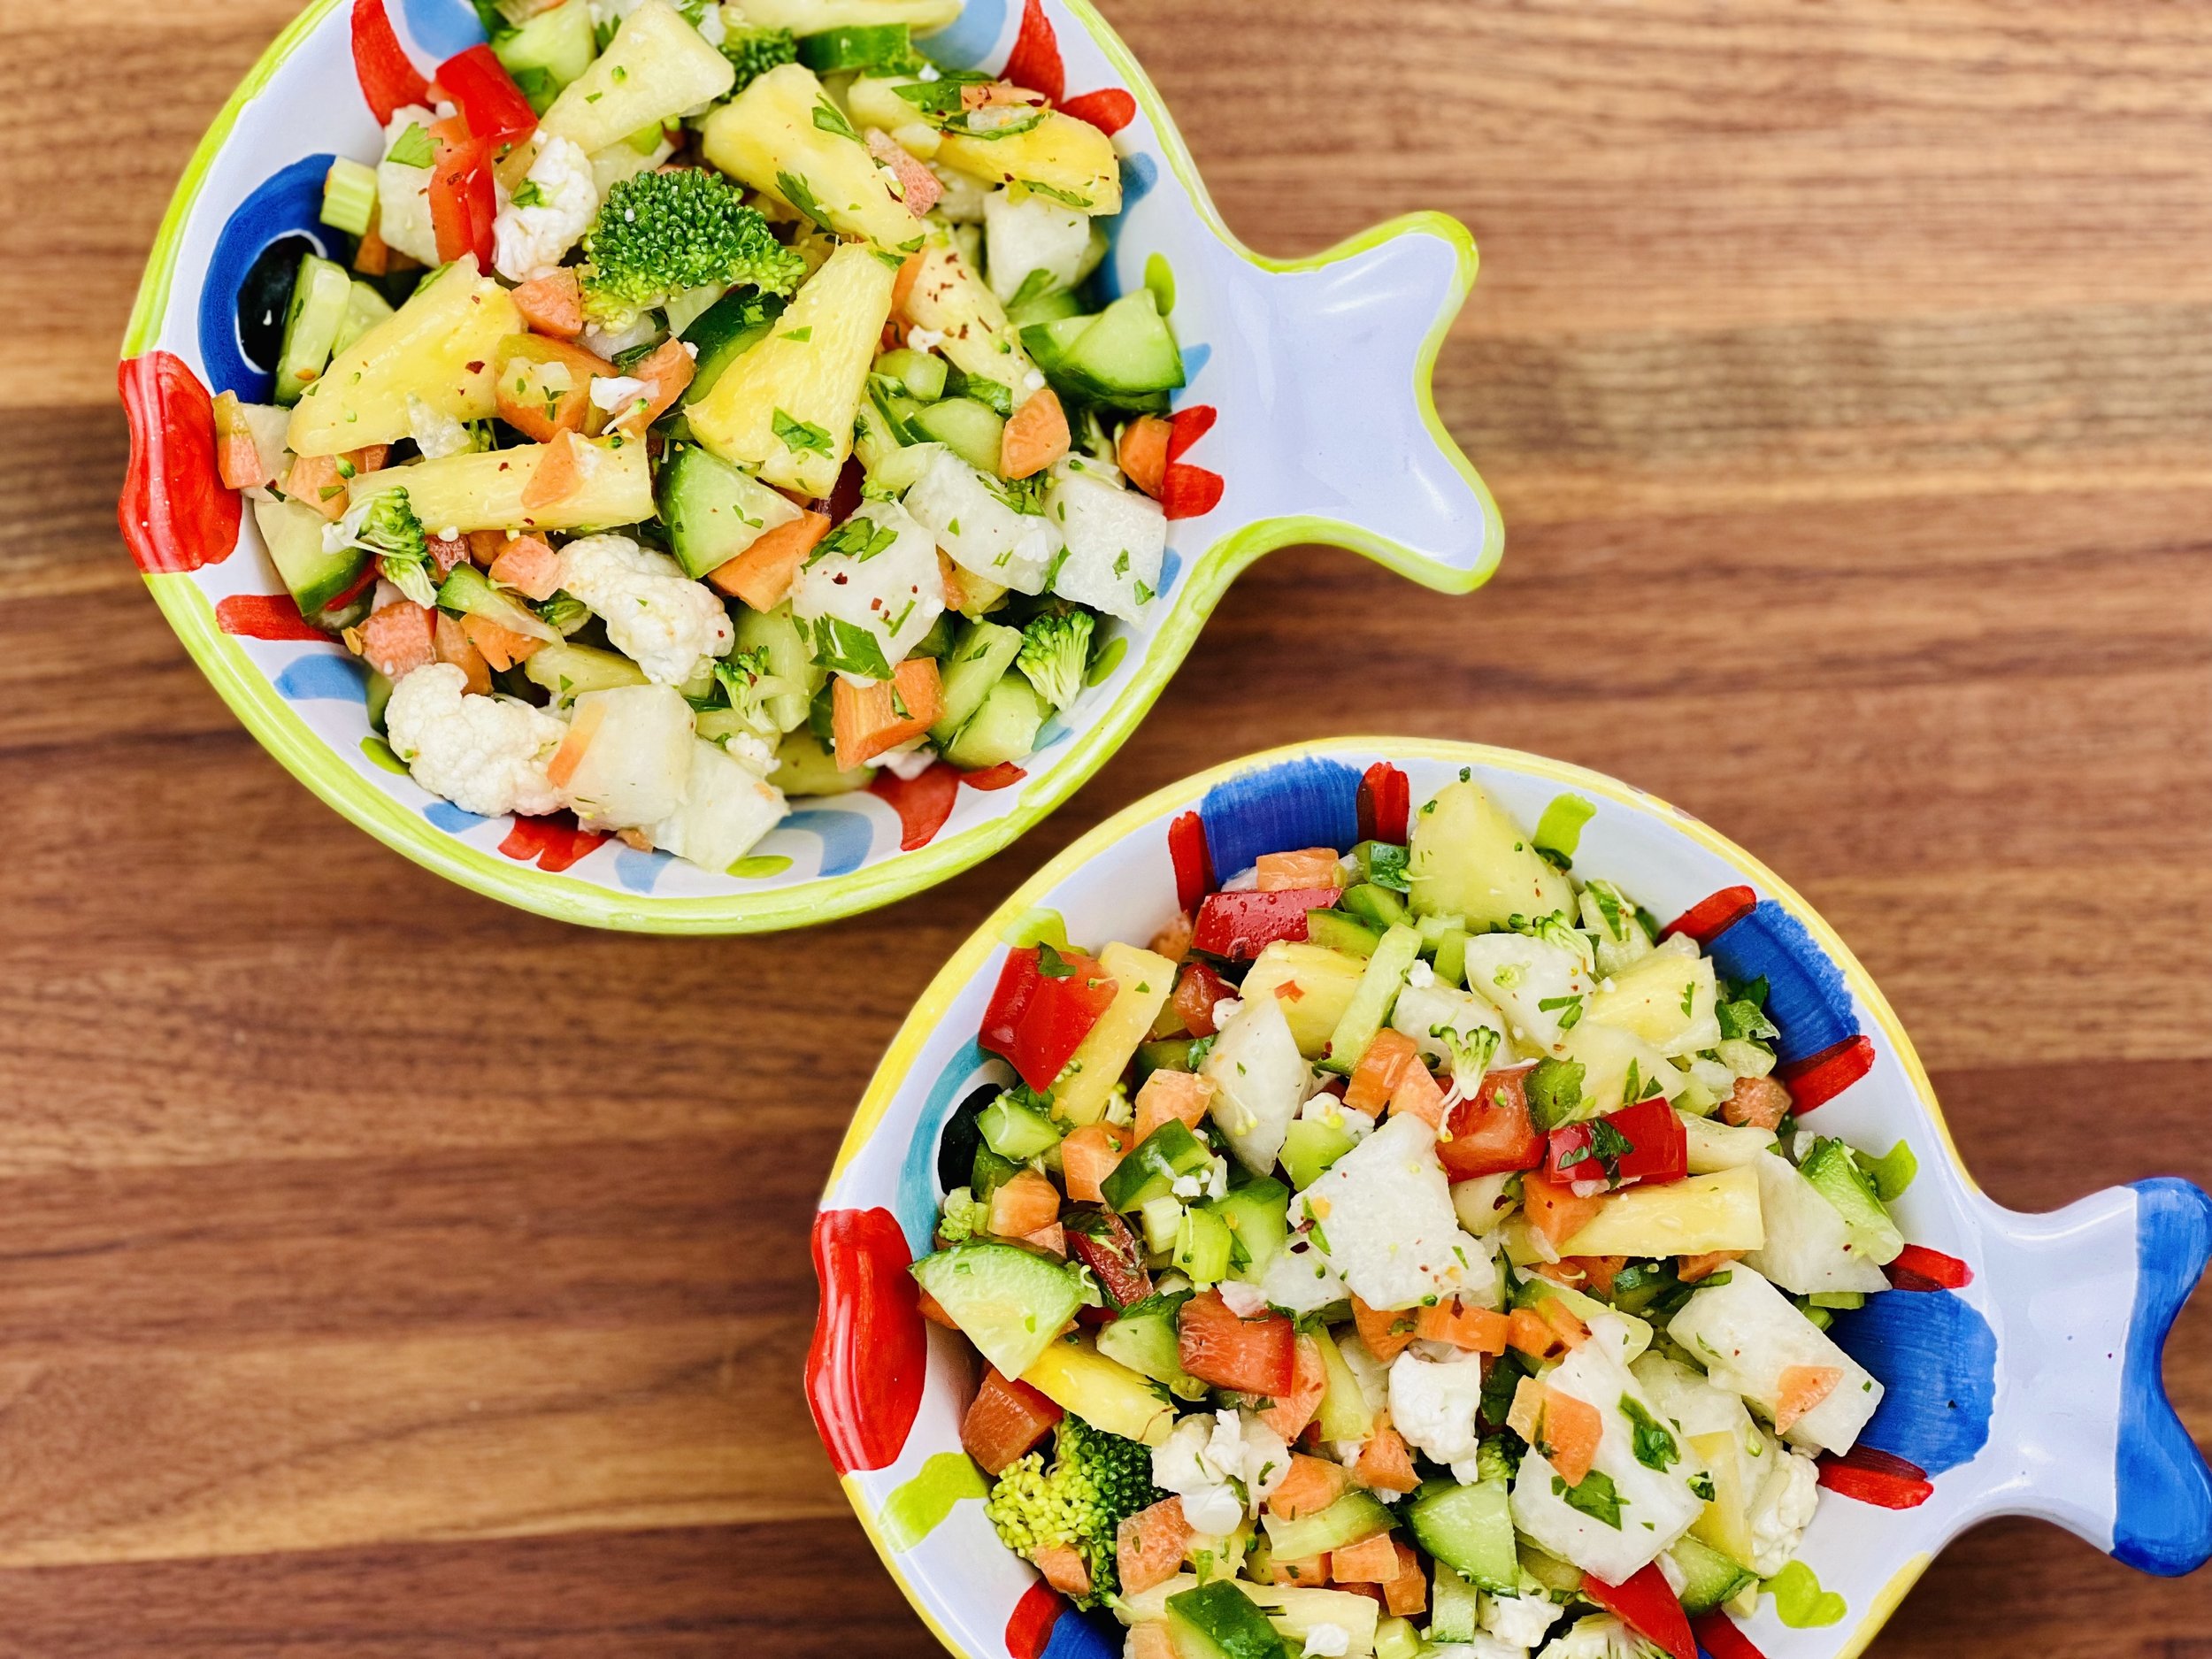
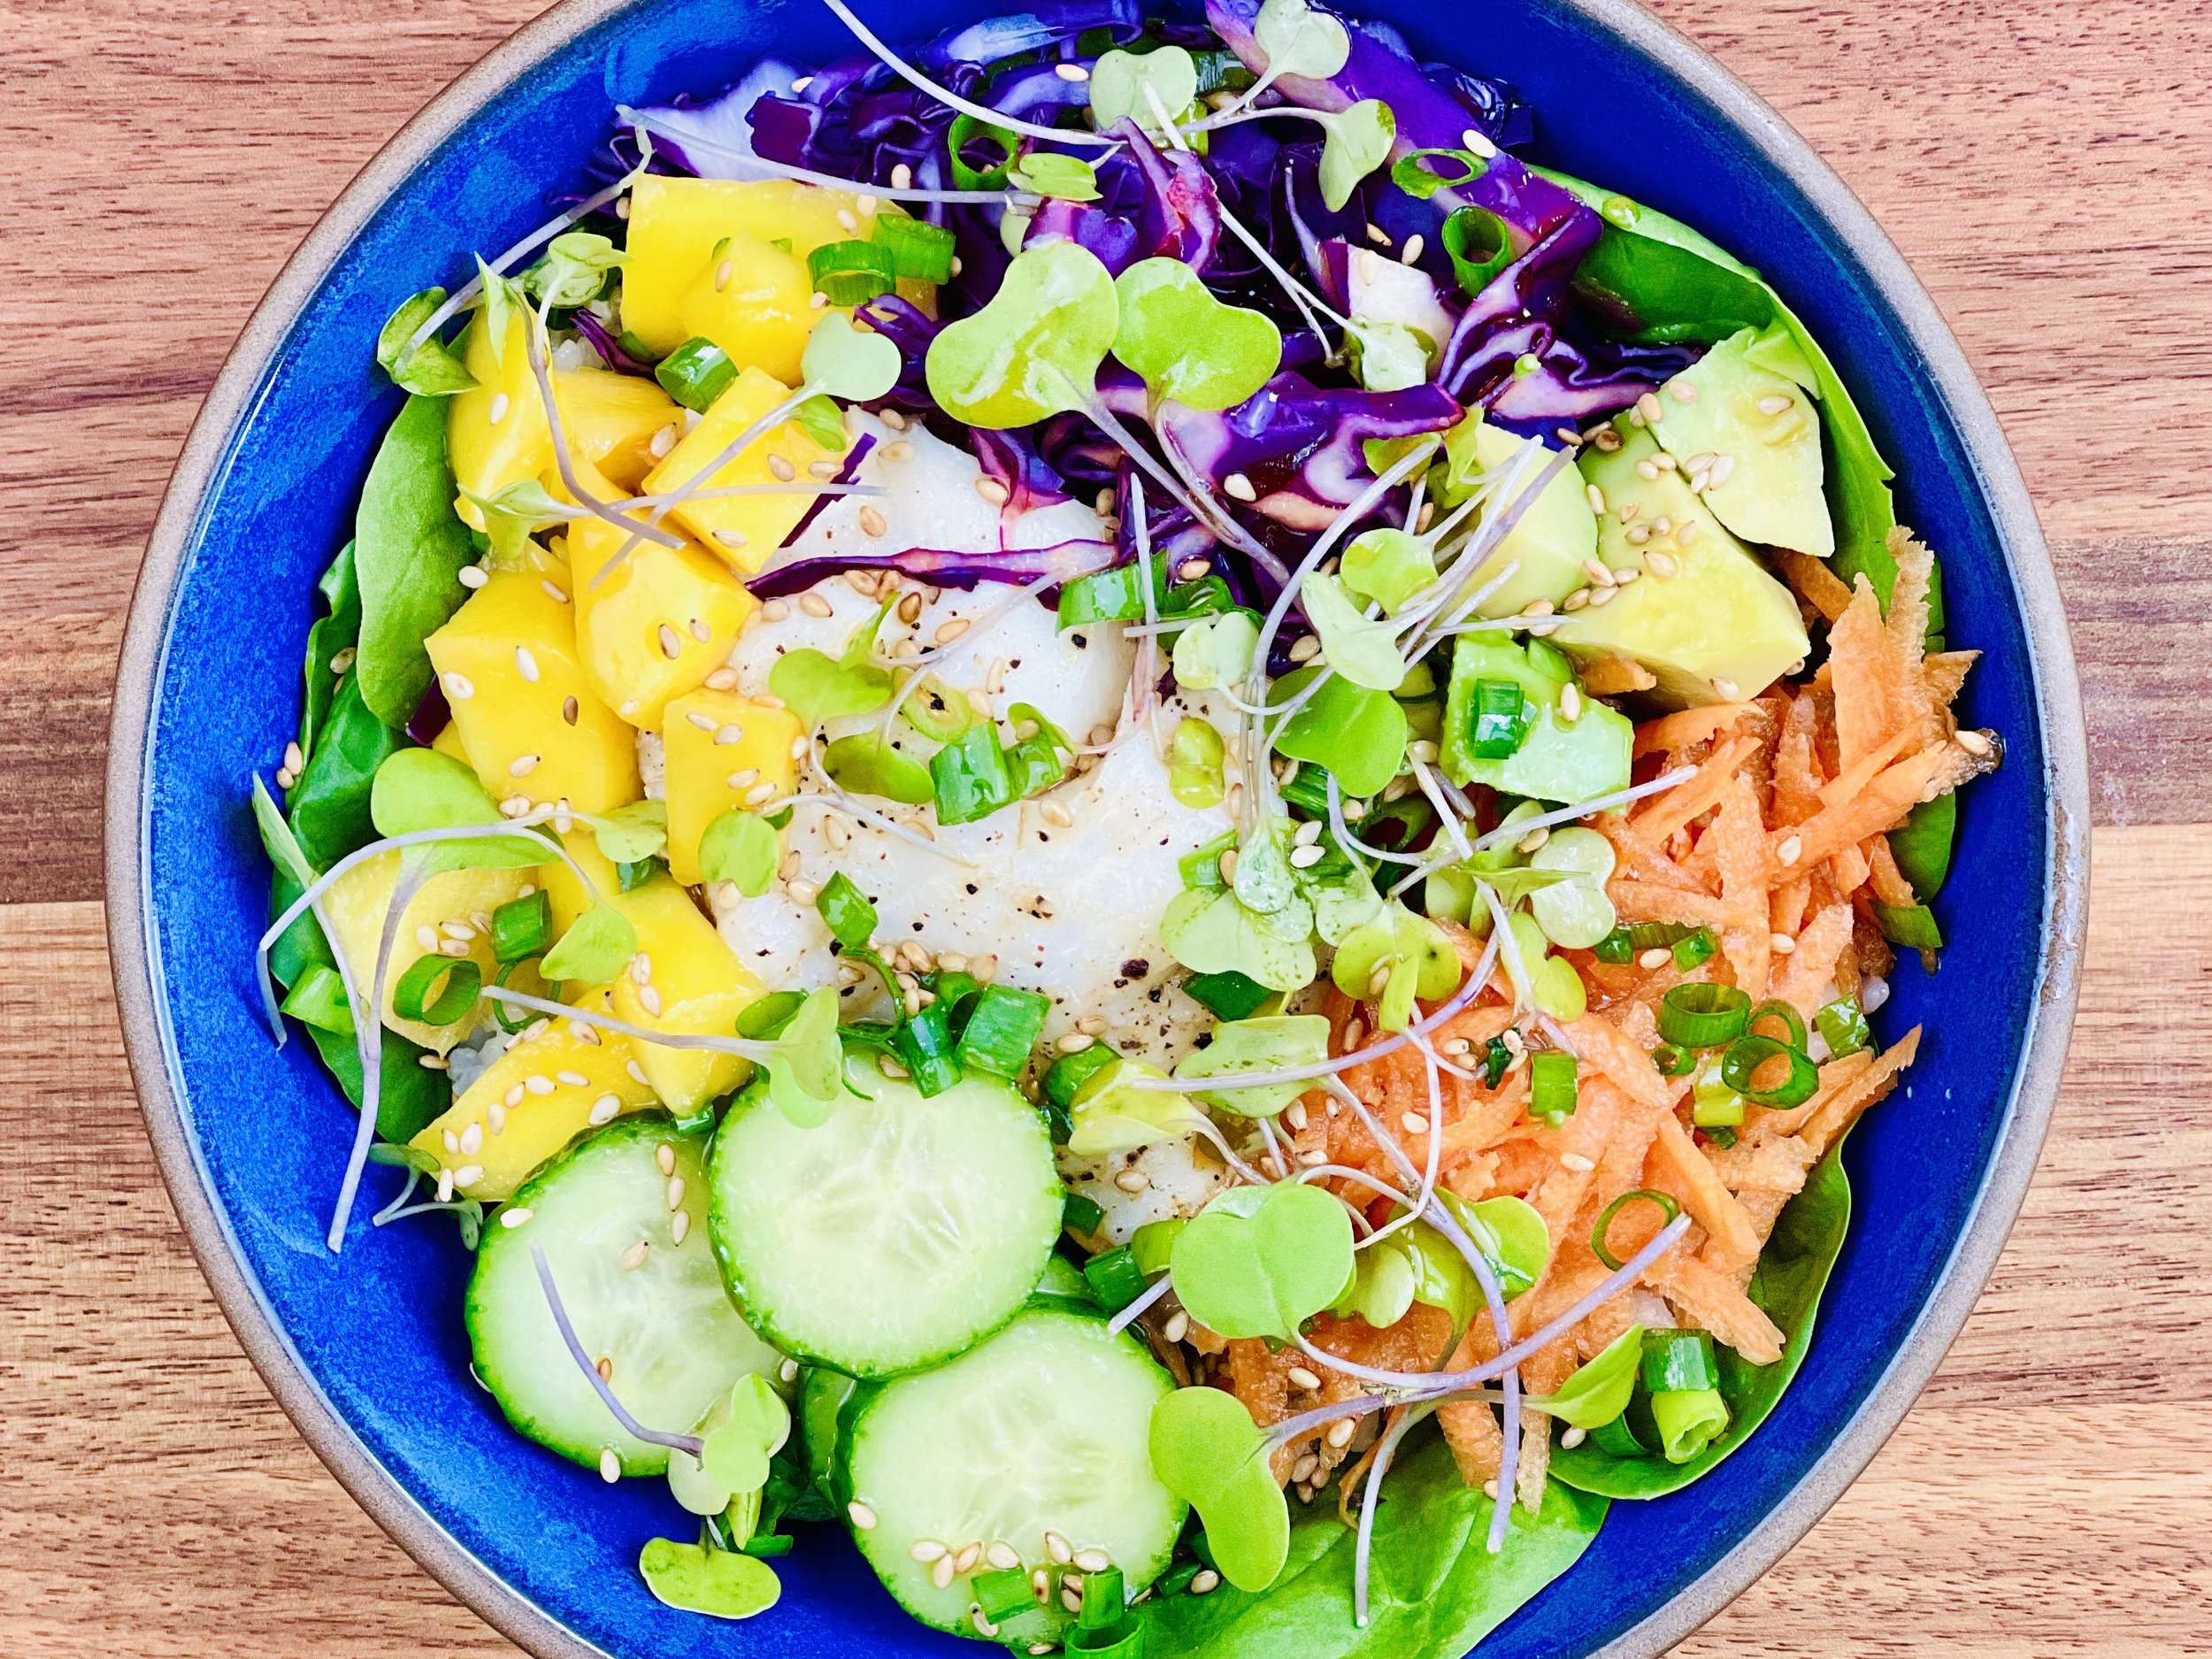
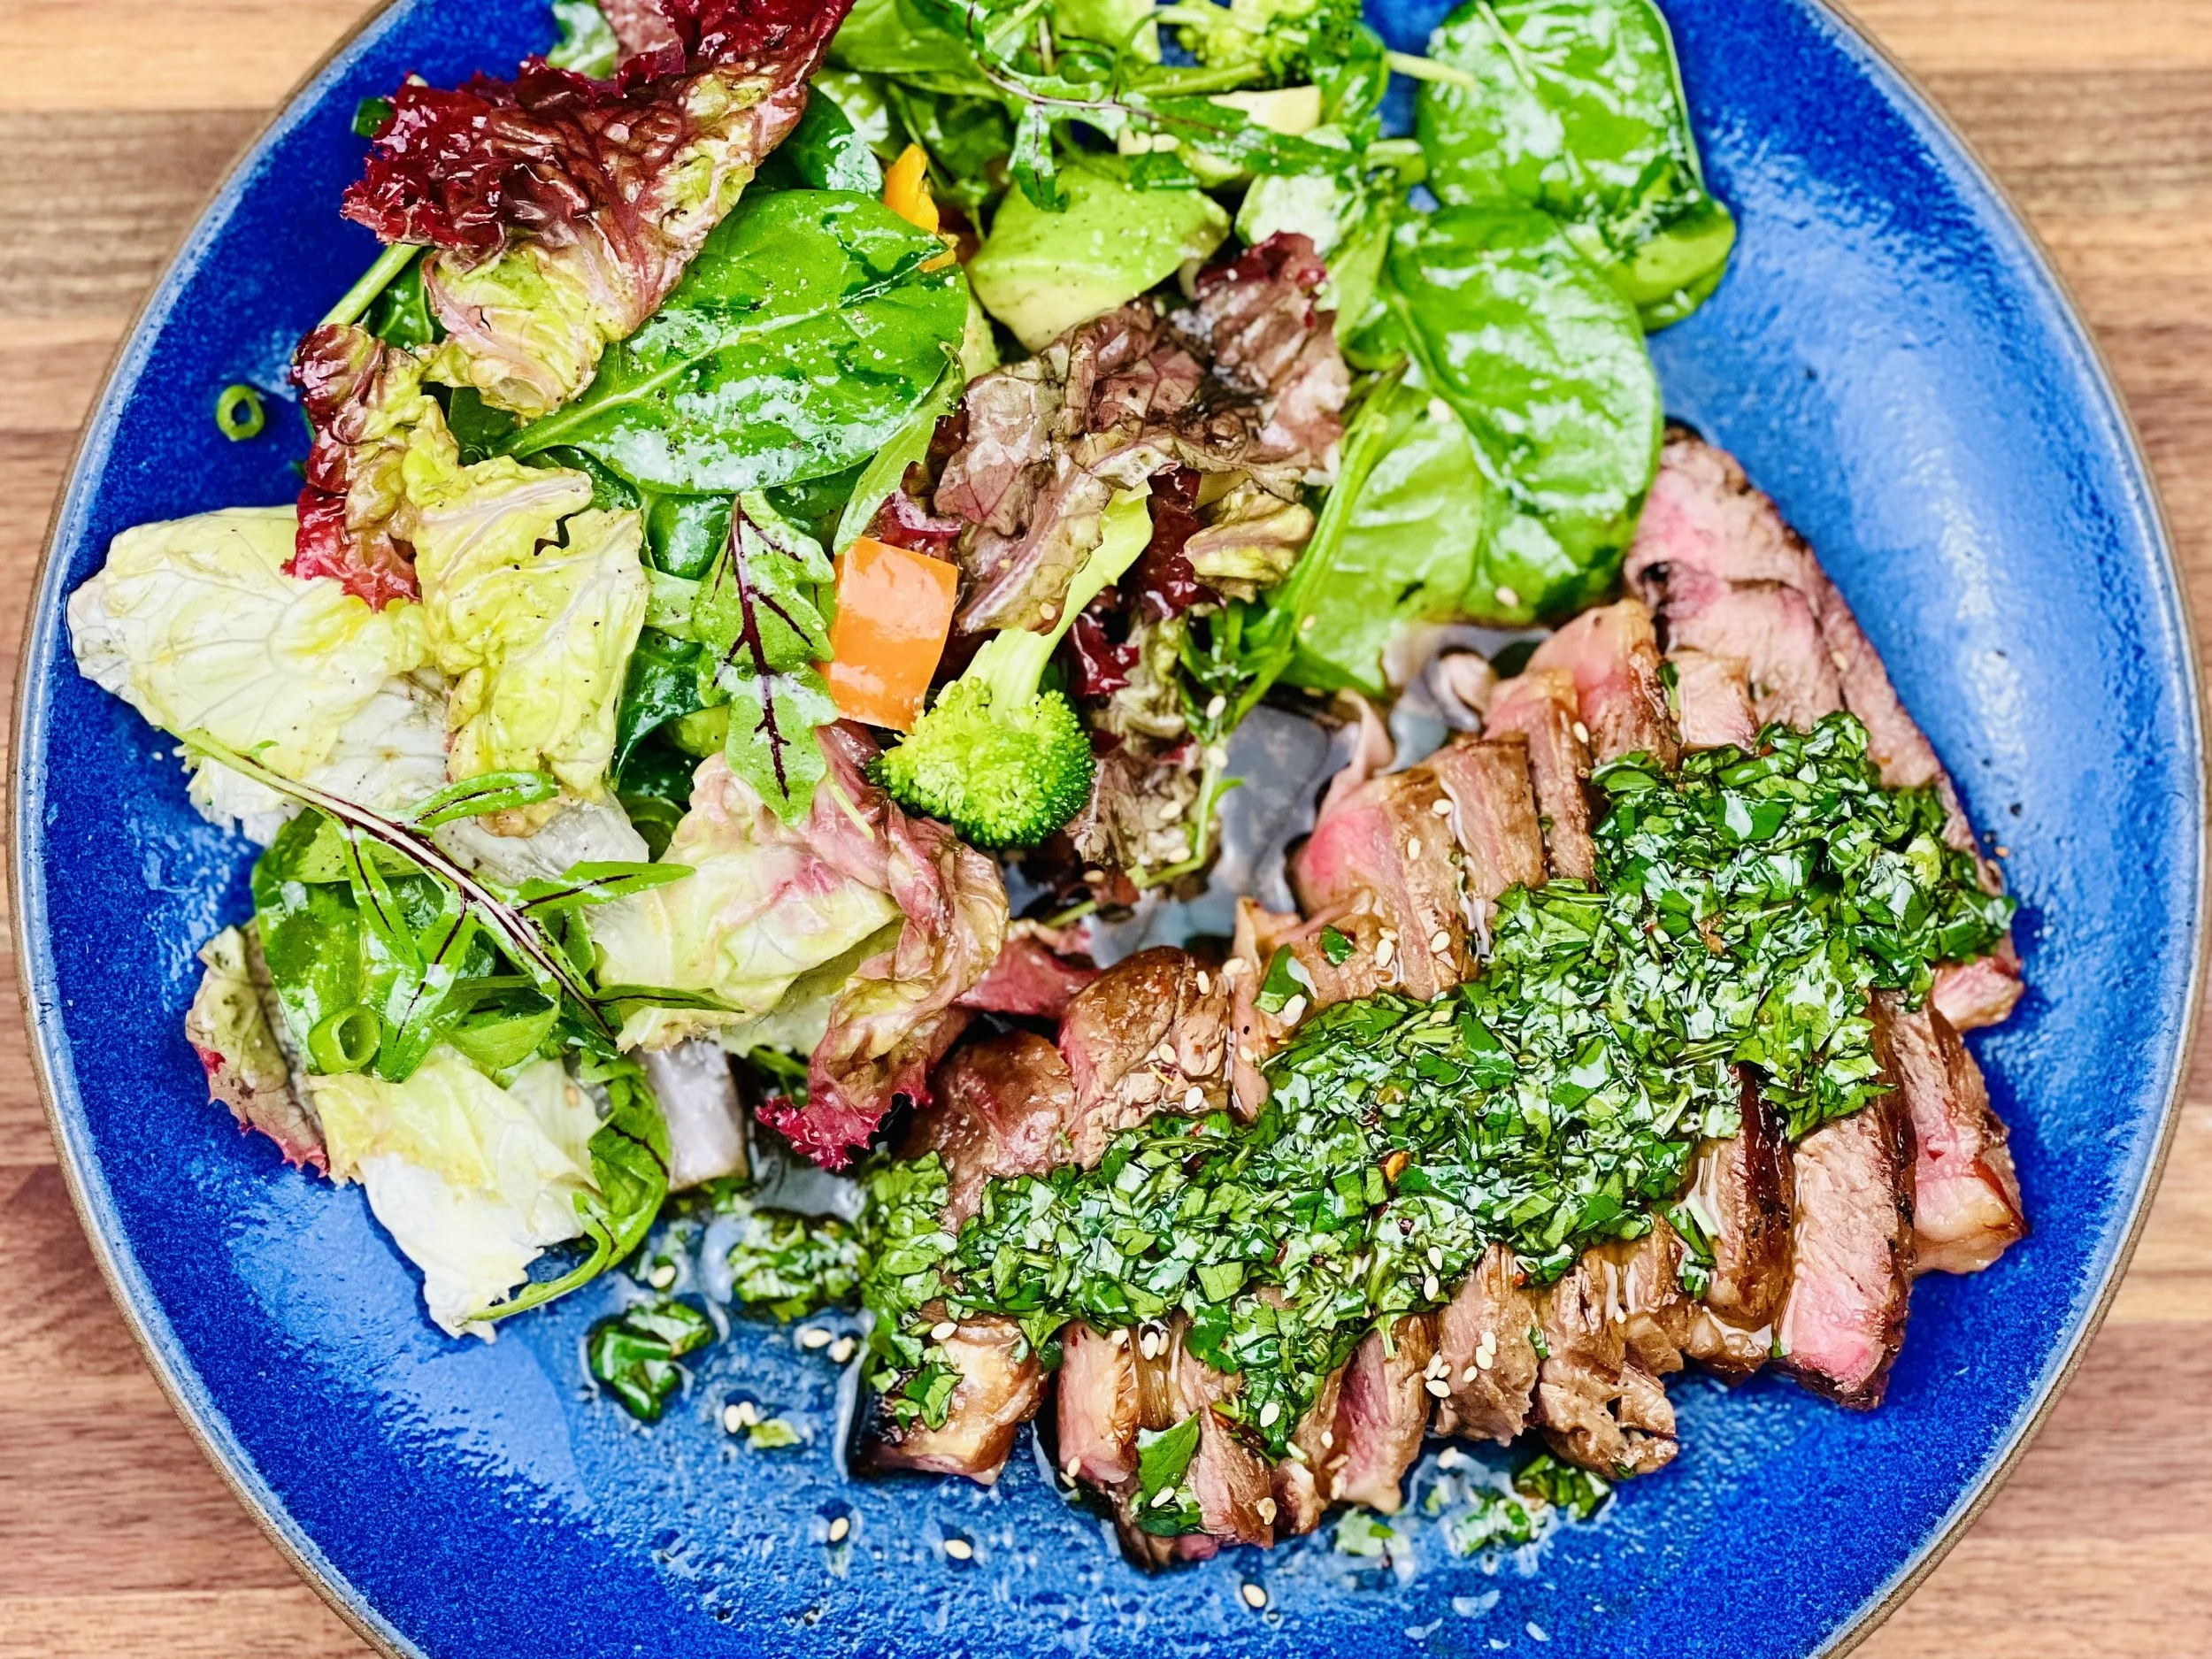
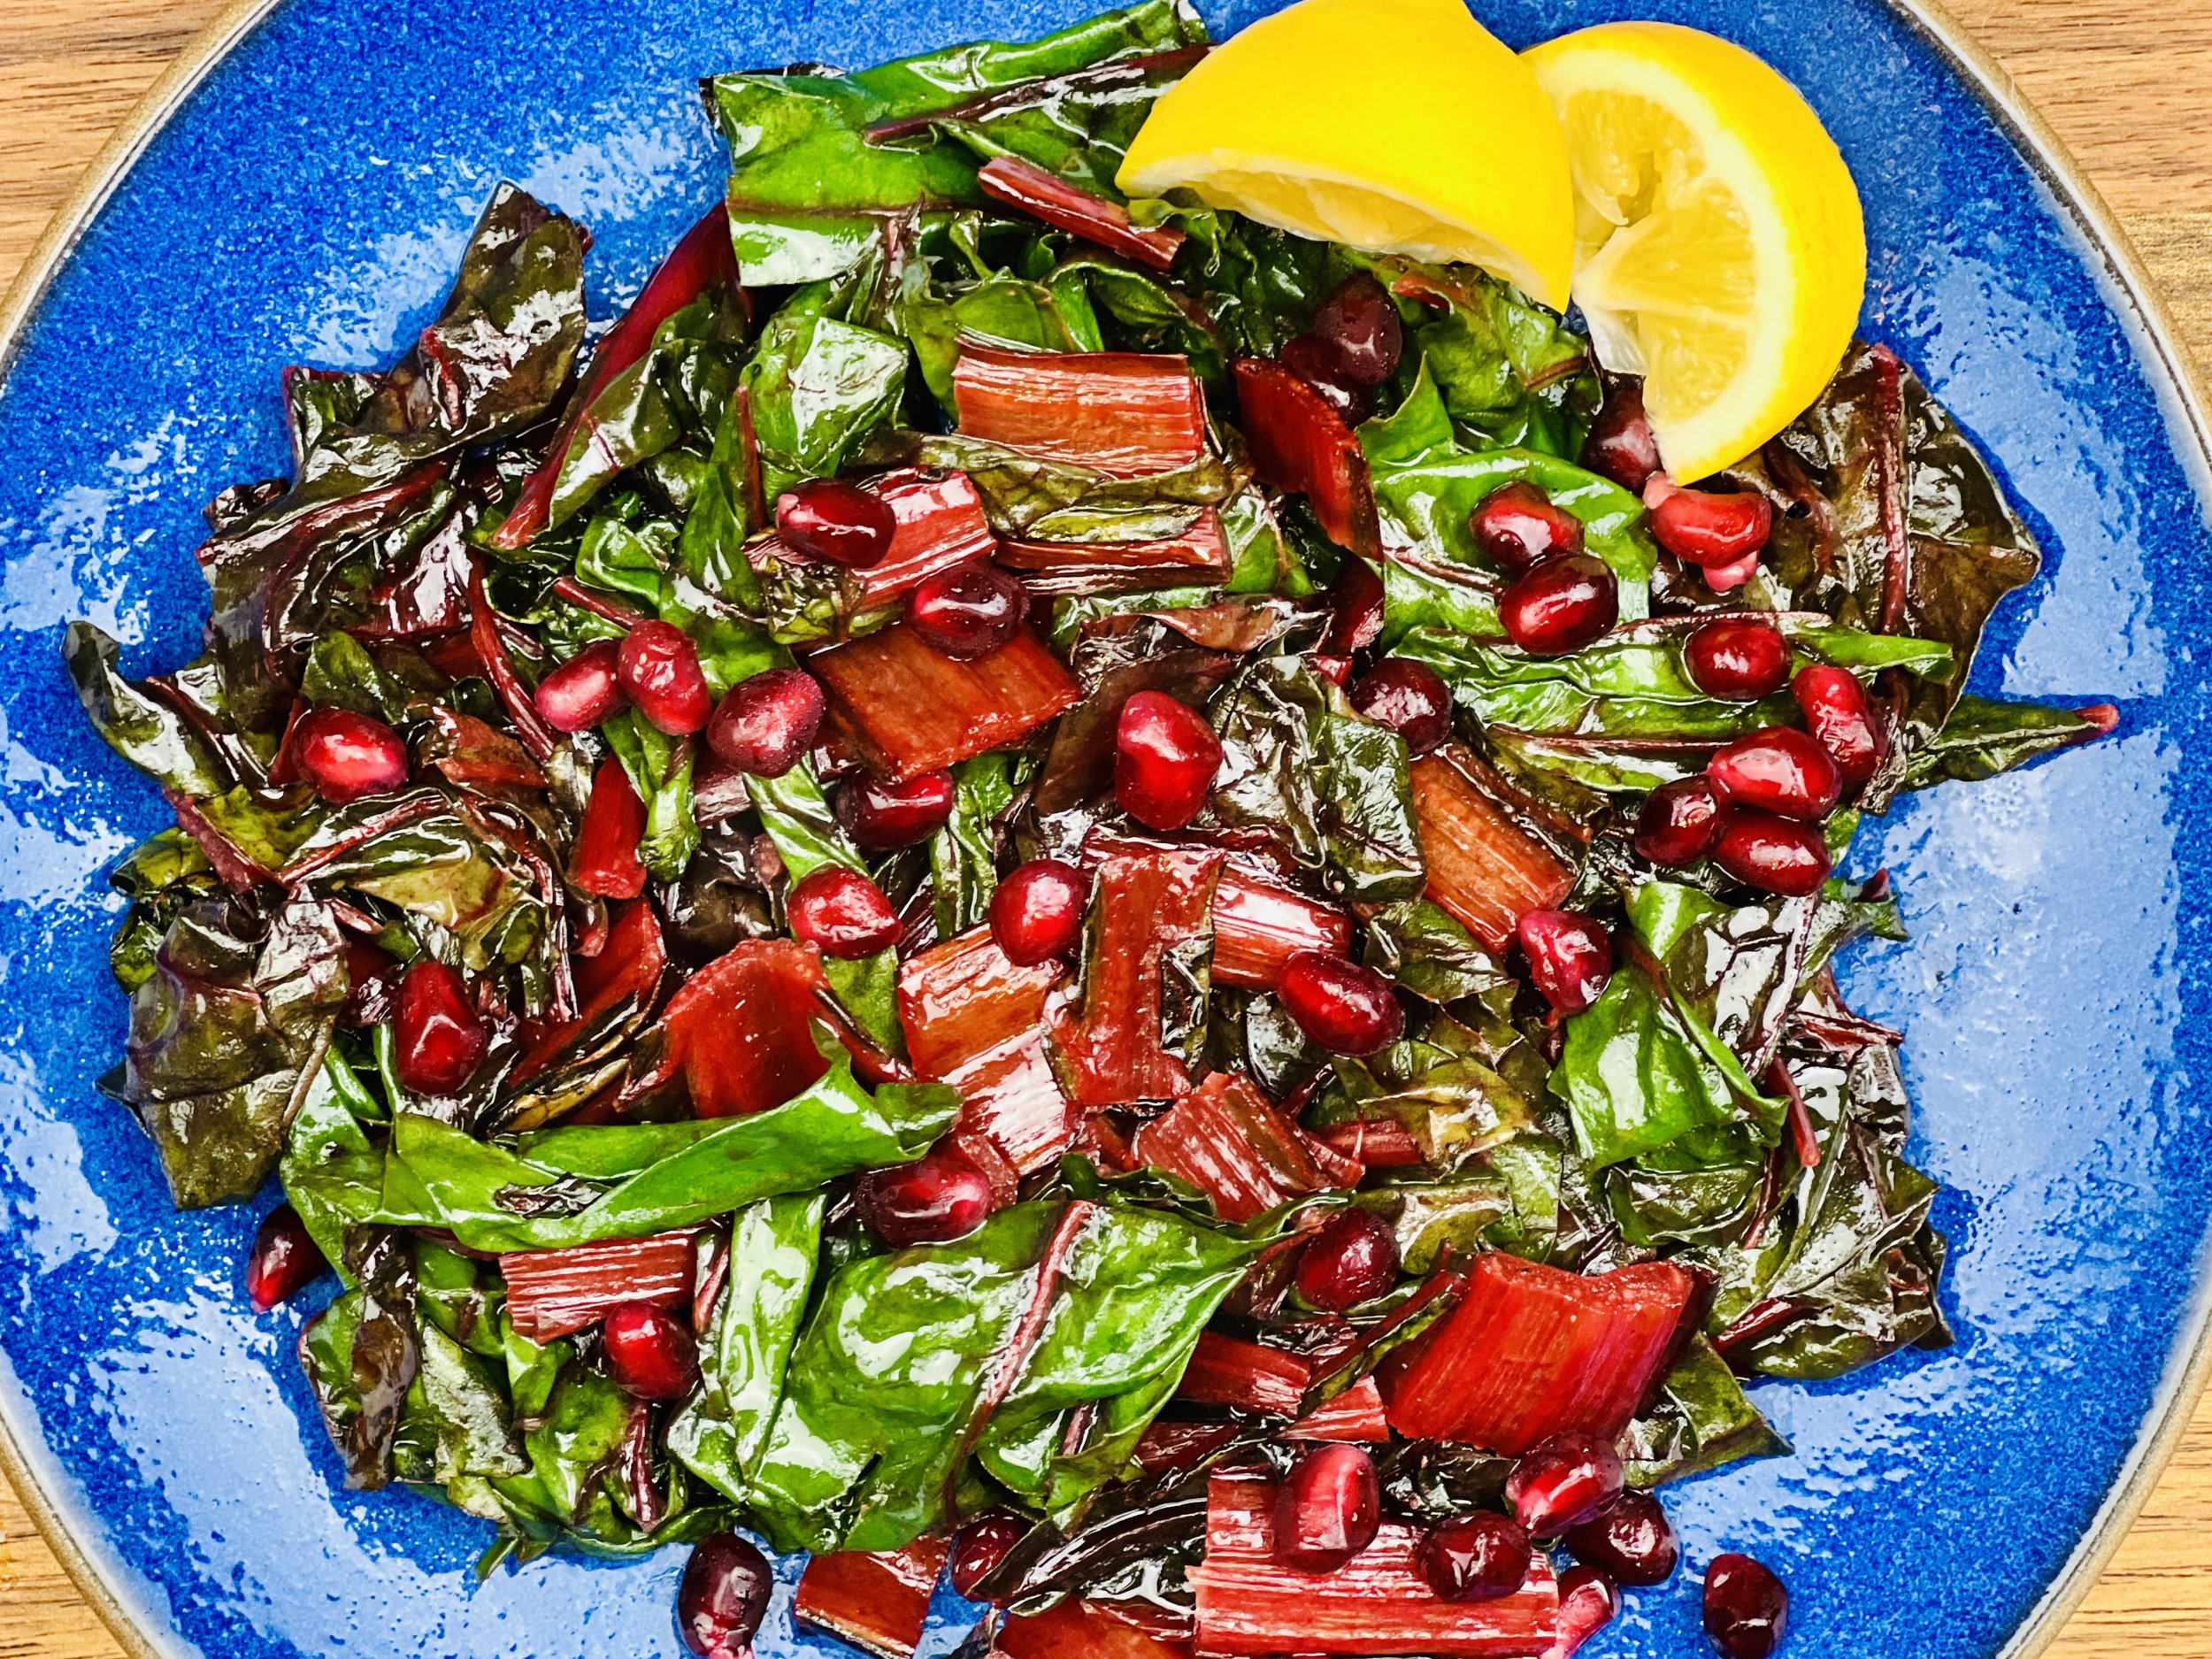
Ukrainian Green Salad with Sesame Vinaigrette (low FODMAP)
15 Minutes prep • Low FODMAP • Gluten-free • Lactose-free • Vegetarian • Serves 4
15 Minutes prep • Low FODMAP • Gluten-free • Lactose-free • Vegetarian • Serves 4 • Ok to make-ahead: Steps 1 - 2
With all that is going on in Ukraine right now, I thought I would show some support by sharing a Ukrainian recipe. I love trying new recipes and changing things up to deliver low FODMAP versions that we can all enjoy. For those of us who eat a lot of salad, a new salad recipe is a great way to keep things interesting and discover new things to love! This simple salad features the flavors of fresh dill and sesame oil so it has a bit of an Asian flair and it’s delicious!
Ingredients
1 pound (4 medium) Persian mini cucumbers, peeled and coarsely chopped
1 pound cherry tomatoes, cut in half
1 large bunch of lettuce of your choosing, coarsely chopped (romaine, butter, red leaf, or any other lettuce works well)
1 small bunch of dill finely chopped or you can use 1 tablespoon Litehouse Freeze-Dried Dill
1/4 cup green onions (green part only) chopped
2 tablespoons garlic-infused olive oil or substitute lactose-free sour cream for a creamy version of this dressing
2 tablespoons toasted sesame oil
1 - 2 tablespoons white vinegar to taste
1 teaspoon Kosher salt
Fresh ground black pepper to taste
Directions
(1) Prepare: Wash and chop the vegetables
(2) Make the dressing: In a small jar combine olive oil, toasted sesame oil, vinegar, salt, and pepper.
Make-ahead note: At this point, you may set aside the vegetables in the refrigerator and keep the dressing at room temperature until you’re ready to assemble the salad.
(3) Combine vegetables: In a large salad bowl, combine lettuce, cucumber, cherry tomatoes, dill, and green onions.
(4) Finish: Add dressing to the salad and toss gently just until combined.
(5) Plate and serve: Serve right away.
Eat and enjoy every bite because you can!
This post contains links for you to easily purchase items listed on the page. In some cases, we have provided a special discount code for IBS Game Changers so be sure to use it when you purchase an item to get the discount that has been arranged just for you! As an Amazon Associate, I earn a commission from qualifying Amazon purchases.
More Deliciously Low FODMAP™ salad recipes


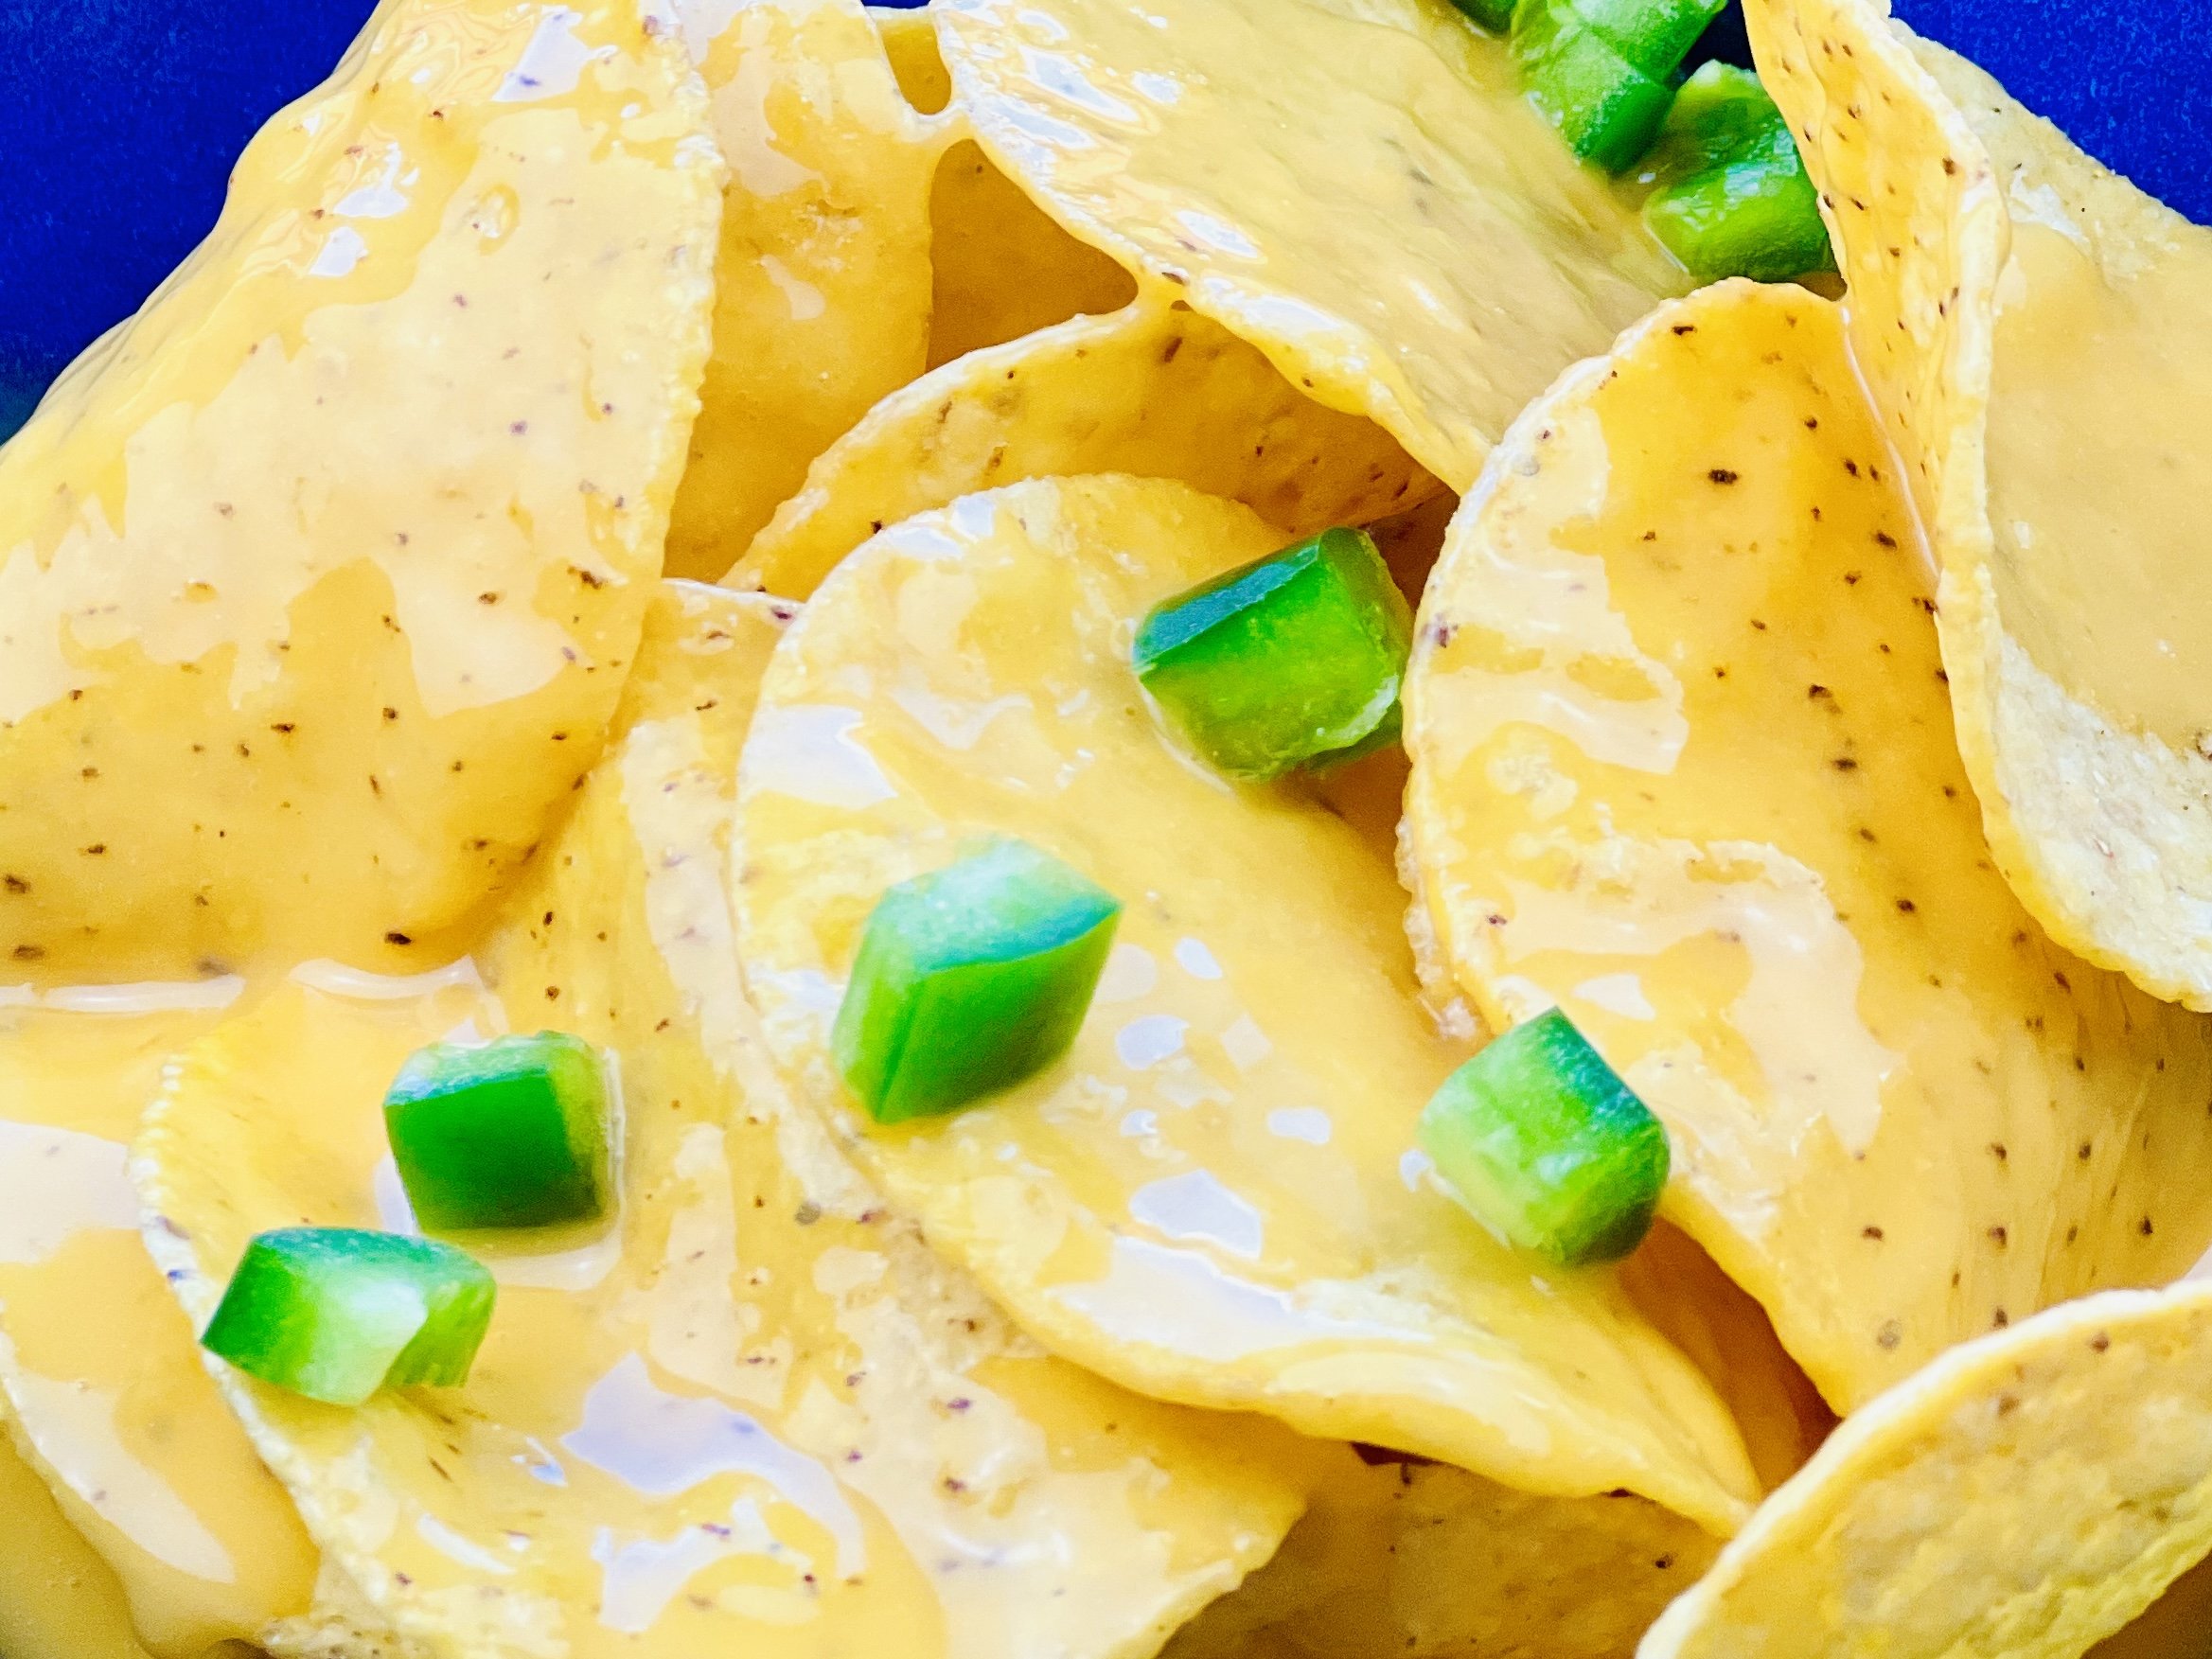
Simply Divine Cheese Sauce (low FODMAP)
10 Minutes prep • 10 Minutes cook • Low FODMAP • Gluten-free • Serves 2
10 Minutes prep • 10 Minutes cook • Low FODMAP • Gluten-free • Serves 2 • Ok to make ahead Steps 1 - 4
Thanks to the magic of sodium citrate, you can use any cheese, or combination of cheeses, you like to make the MOST amazing cheese sauce. I used extra sharp cheddar (one of my favorite low-lactose cheeses) and the flavor was intense and delicious. When you create something with so few ingredients, the flavors really pop so be sure to use quality cheese and don’t be afraid to be creative with combinations of different kinds of cheeses. To ensure the ingredients come together properly, the dry ingredients need to be measured quite precisely. The amount of water can be more flexible according to your preference. And, if you want to make a larger volume, you can double or triple this recipe.
This is an exclusive recipe just for recipe club members.
Each week I am creating and delivering one very special recipe just for my recipe club members. If you’re not yet a member, I encourage you to join! Membership in the club includes access to the complete archive of recipes with filters so it can become your virtual low FODMAP cookbook plus, I am creating and delivering one special NEW recipe every week ONLY for recipe club members. And, for my true fans, I’ll be sharing behind-the-scenes content, and updates on the progress of the new cookbook.
Your membership in the club helps me continue creating new, delicious, easy-to-make, low FODMAP recipes just for you.
As always, all recipes will emphasize simple ingredients, easy preparation, and delicious low FODMAP results. Recipes will be for everything from main courses, salads, soups, side dishes, appetizers, desserts, sauces, breakfast and lunch, and even mocktails and cocktails. Everything you need to prepare fantastic low FODMAP meals everyone will love.
Join the club. Become a Patron. Let’s keep making delicious Low FODMAP meals together.
More Deliciously Low FODMAP™ sauce recipes


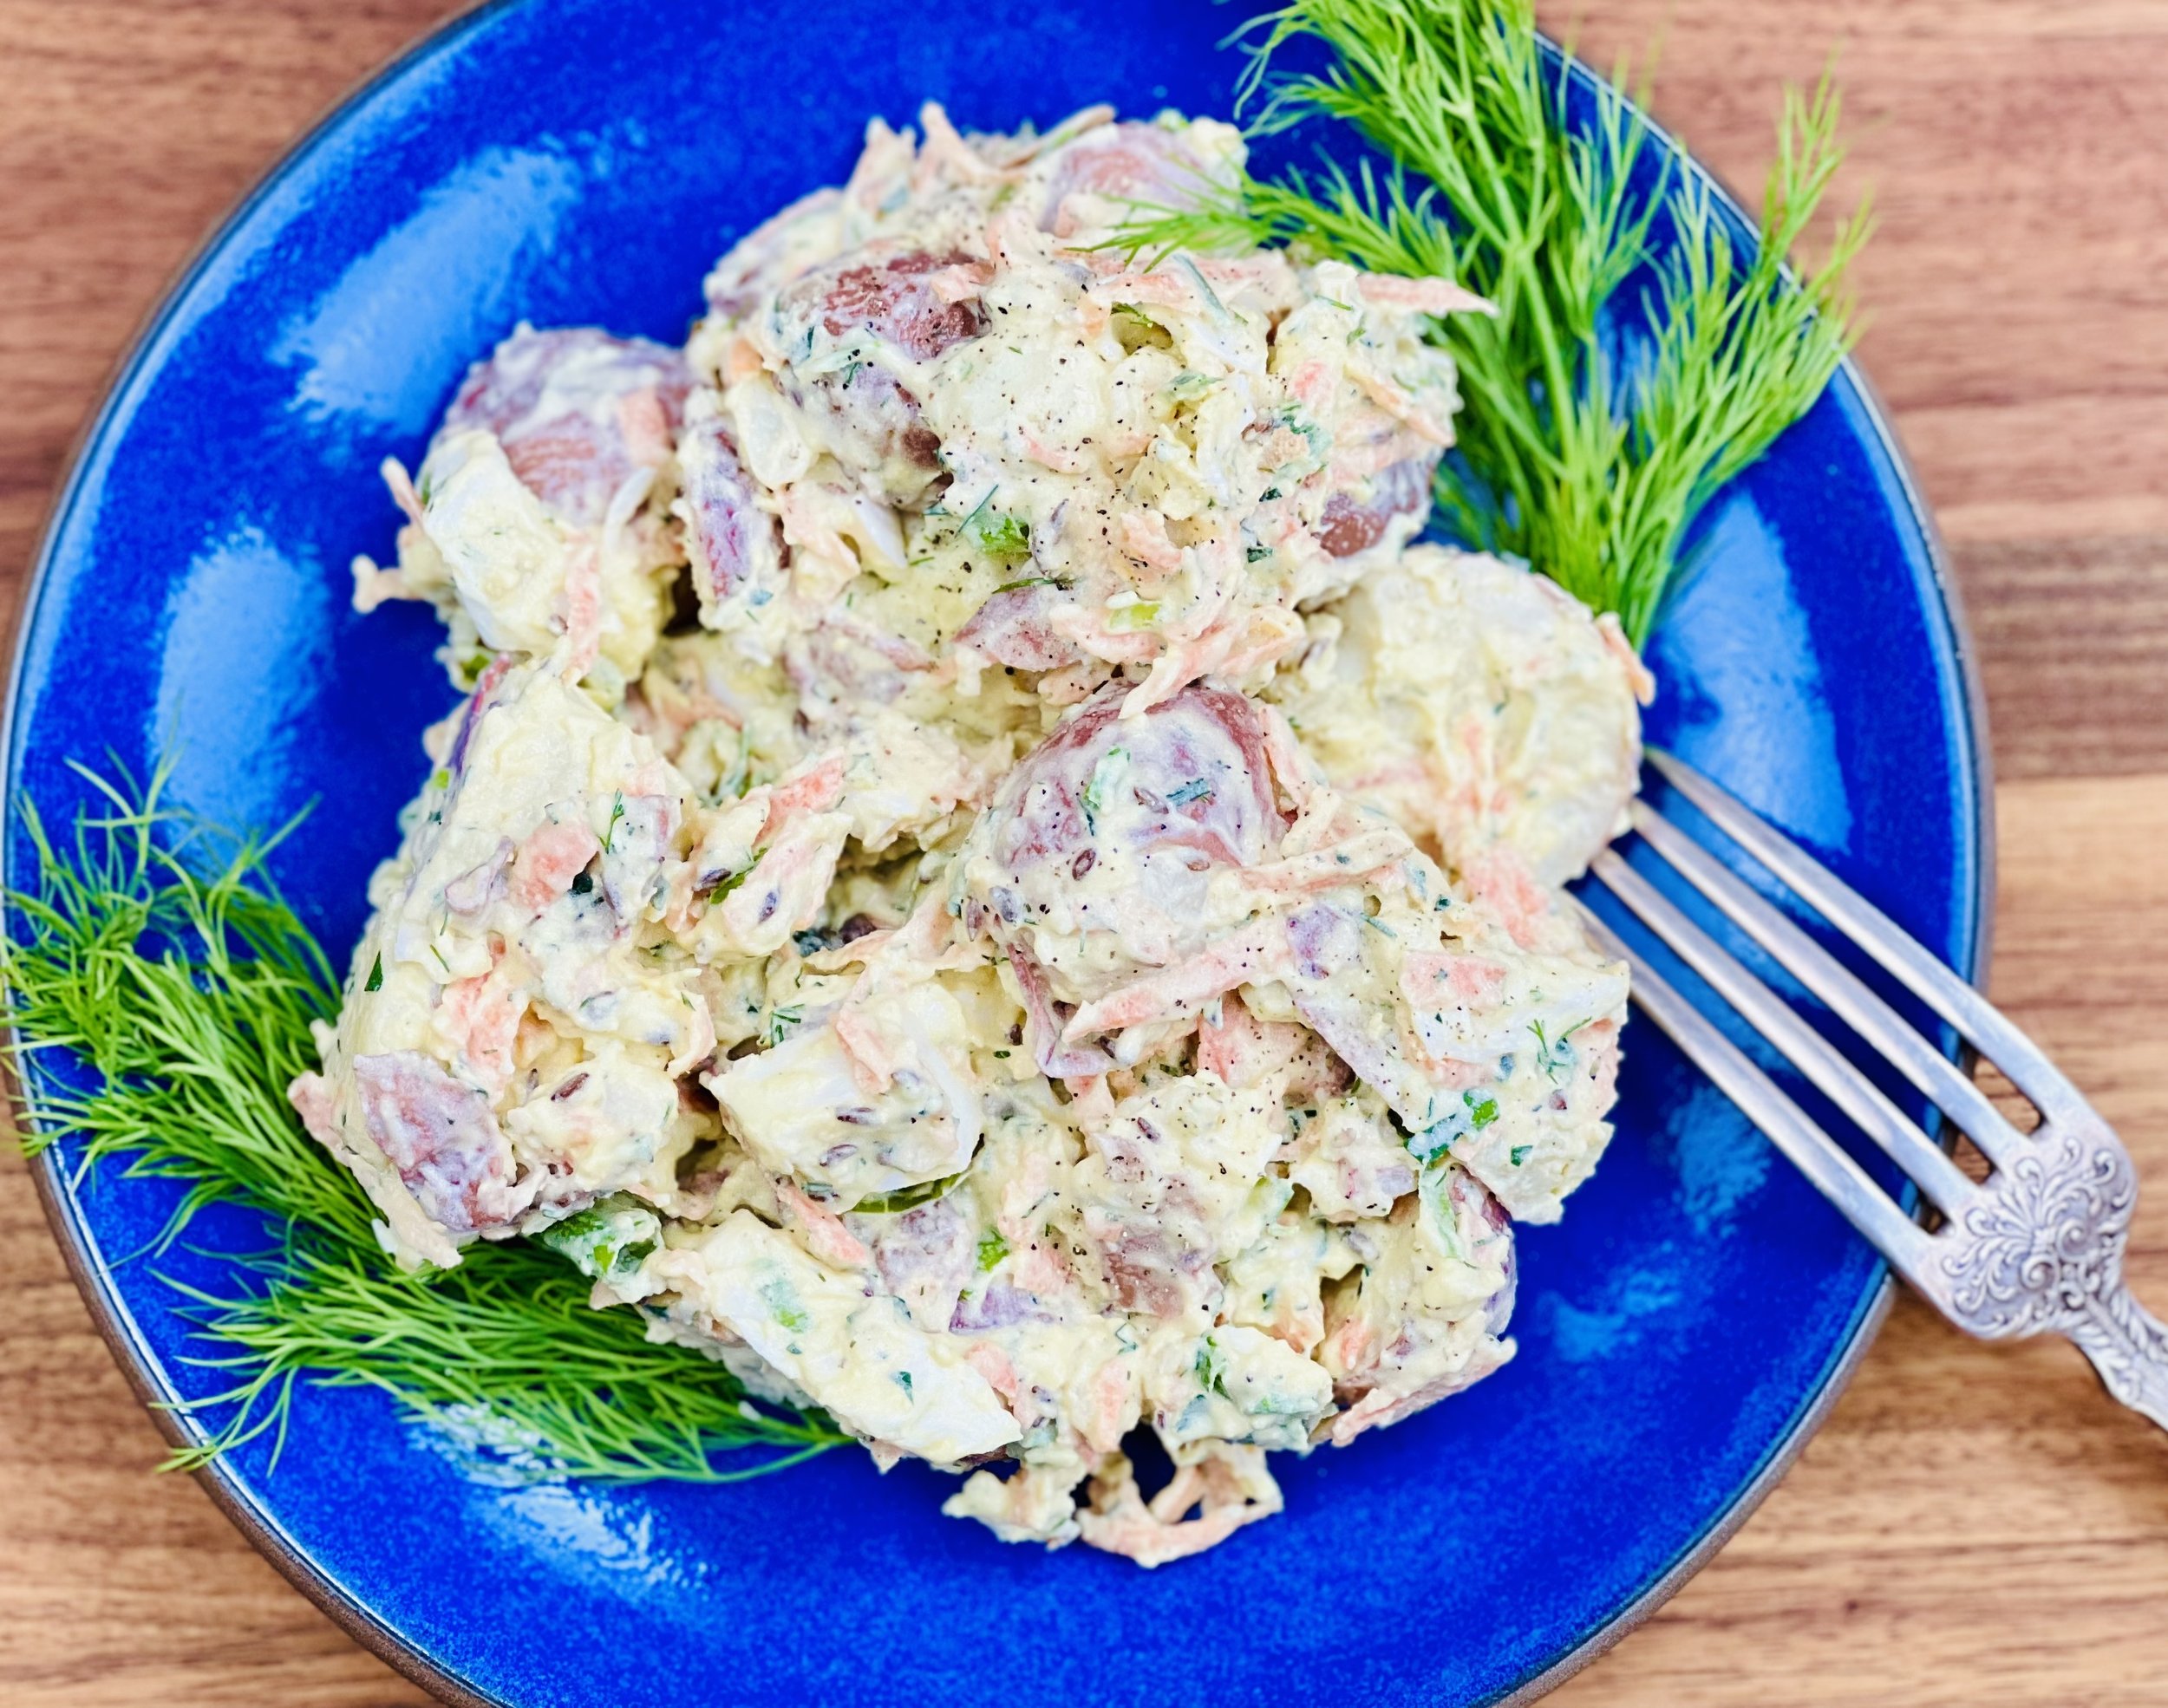
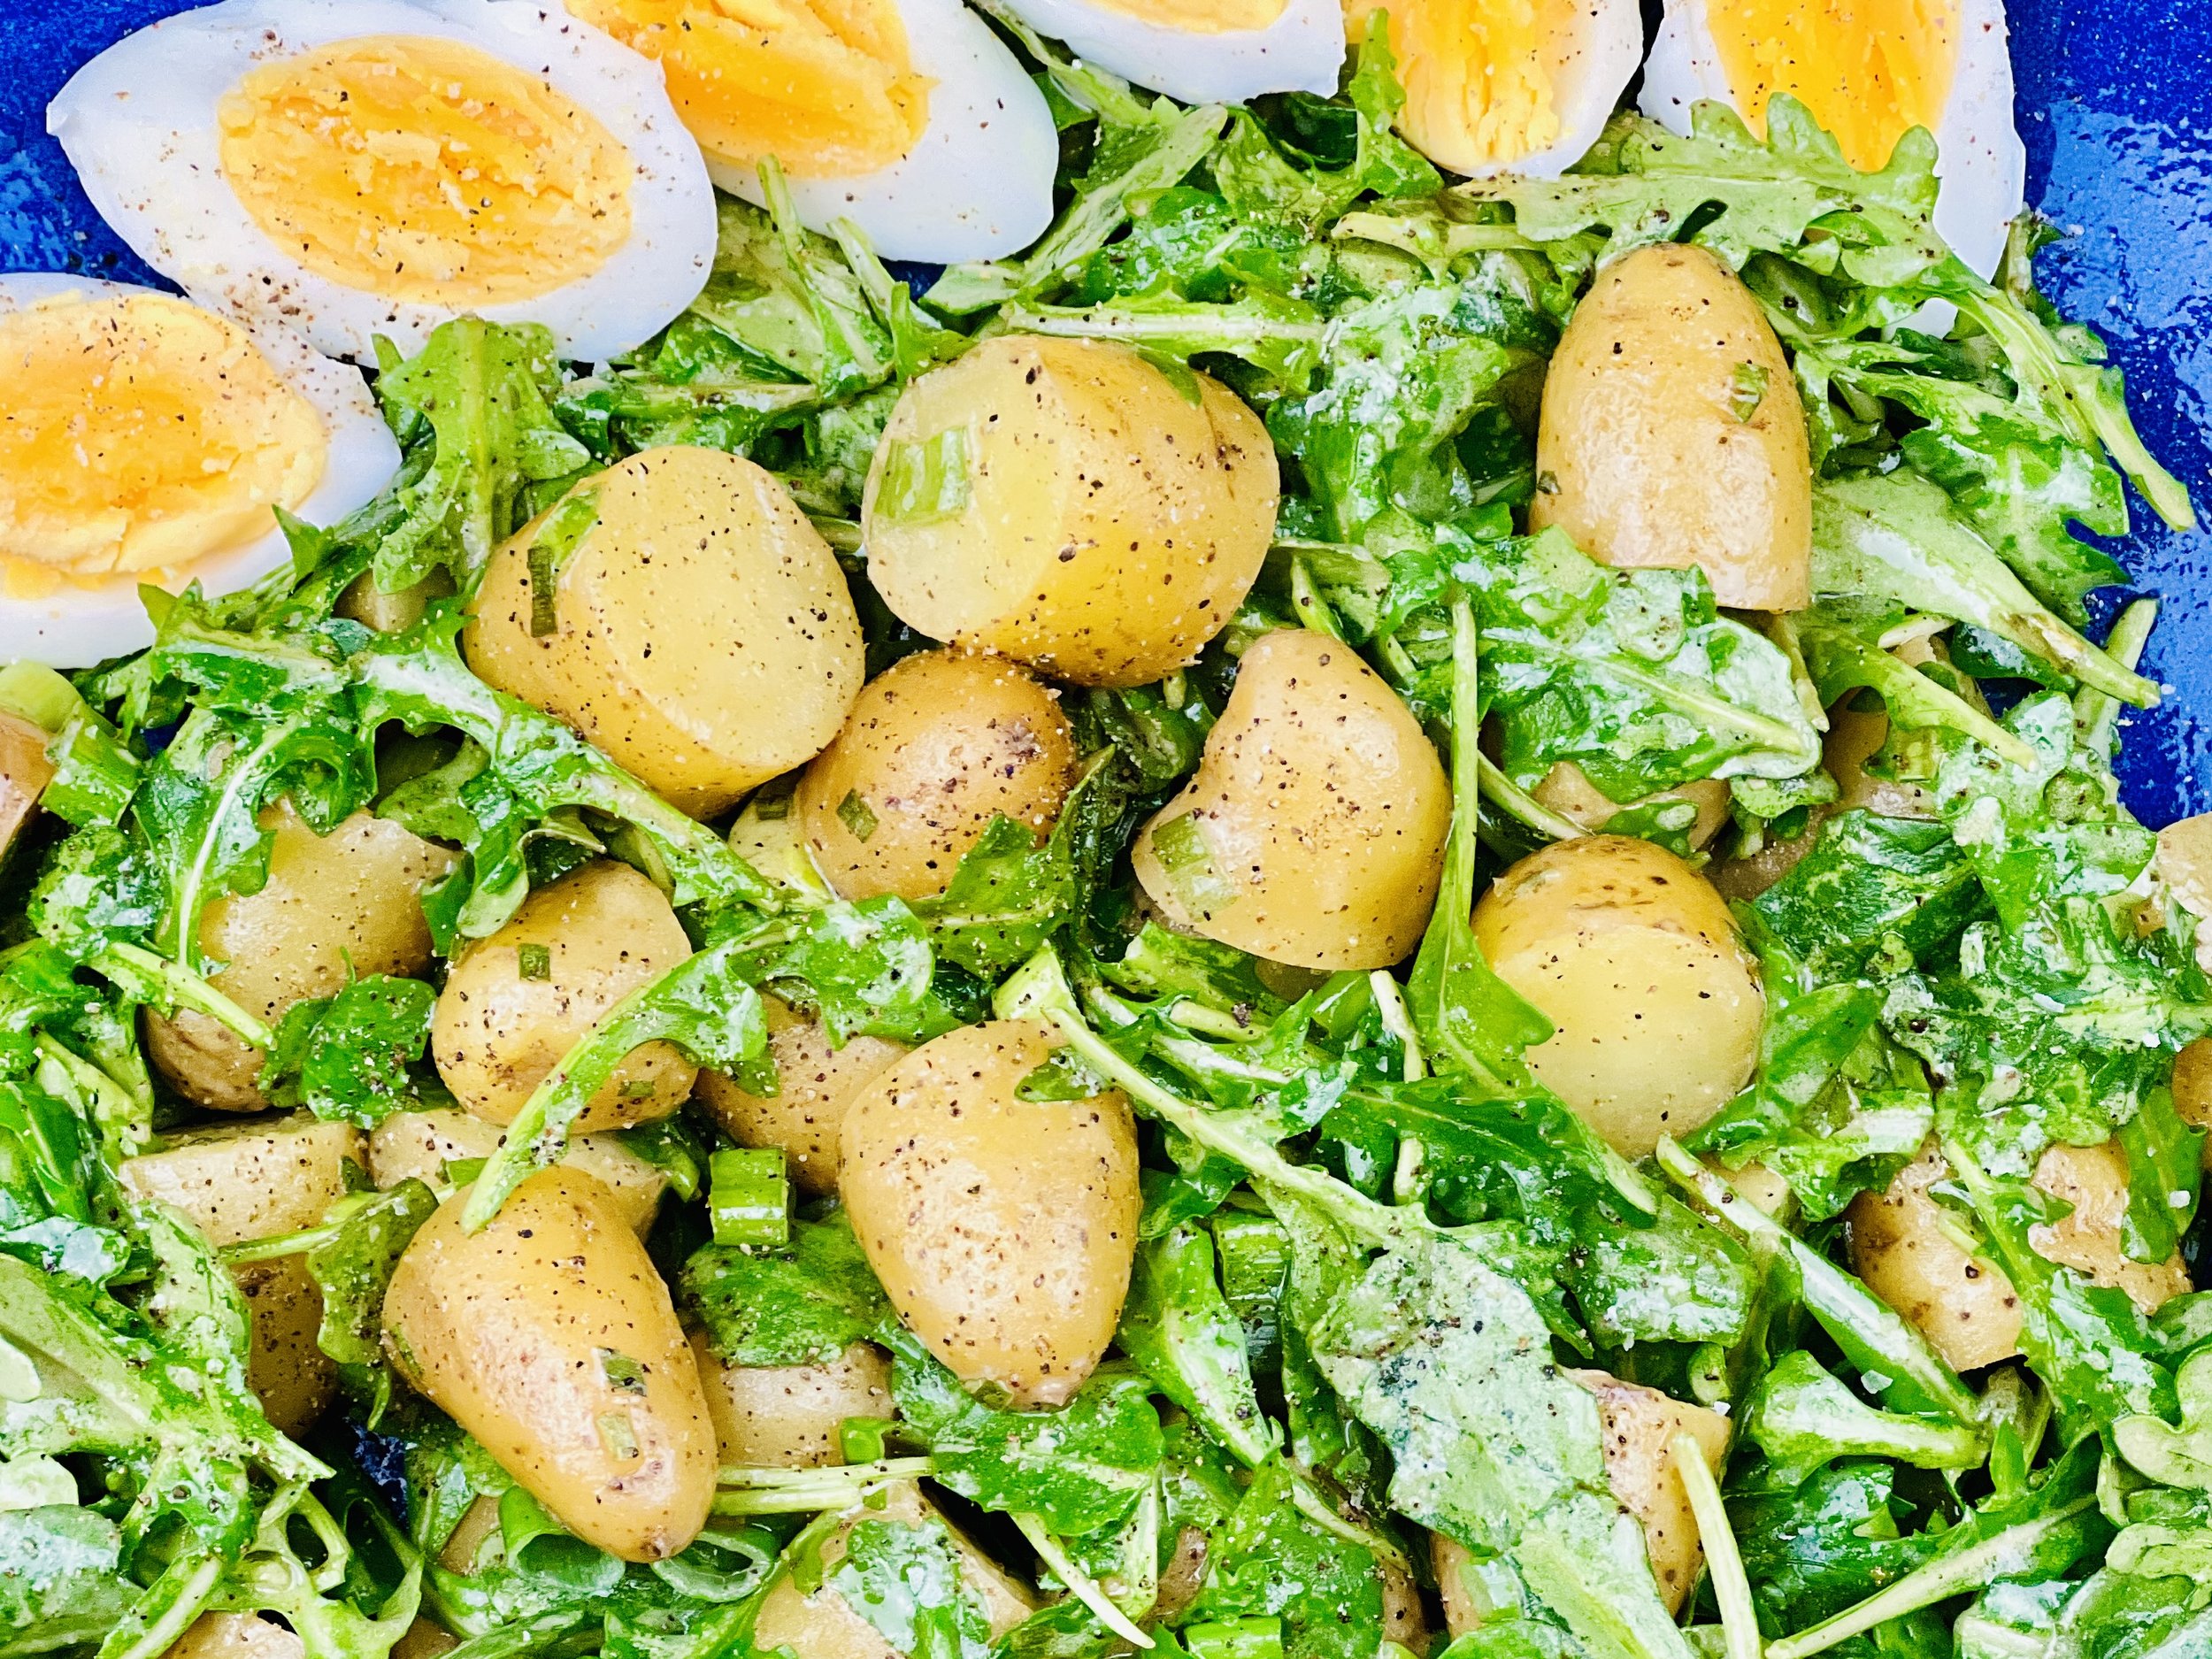
Arugula Potato Salad (low FODMAP)
10 Minutes prep • 20 Minutes cook • Low FODMAP • Gluten-free • Lactose-free • Serves 4
10 Minutes prep • 20 Minutes cook • Low FODMAP • Gluten-free • Lactose-free • Serves 4 • Ok to make ahead Steps 1 - 2
Let’s face it. Potatoes are delicious. And there are so many varieties now readily available, it’s fun to try different ones in different ways. This is the perfect winter salad because it’s served warm from the potatoes. It’s hard to say if it’s potato salad with arugula in it, or arugula salad with potatoes in it because everything blends so nicely together with the Dijon vinaigrette. The flavor of the arugula is beautifully mellowed in this recipe and the warm potatoes take on a creamy quality that is simply delicious. I like pairing this salad with lightly boiled eggs for a little protein and color. Add this salad to your weekly meal plan. You’ll be glad you did!
Ingredients
1 1/2 pounds new or fingerling potatoes, washed and cut into bite-sized pieces
1 tablespoon rice vinegar
Freshly ground black pepper
1 bunch green onions (green part only), chopped
2 tablespoons finely chopped fresh chives (or you can use Lite House freeze-dried chives)
3 cups arugula, washed, dried, stems removed
2 tablespoons red wine vinegar
1 tablespoon Dijon mustard
1/4 cup + 1 tablespoon olive oil
4 six-minute boiled eggs, peeled and quartered (optional)
Directions
(1) Prepare: Wash and chop the green onions. Wash, dry, and remove the stems from the arugula. Wash the potatoes and cut into bite-size pieces.
(2) Make the dressing: In a small jar, combine the red wine vinegar, mustard, and olive oil. Shake to combine. Add salt and pepper to taste.
Make-ahead note: At this point, you may put the dressing and the vegetables aside in the refrigerator (put the arugula in a plastic bag with a paper towel and squeeze all the air out of the bag to keep it fresh) until you’re ready to make the salad.
(3) Cook the potatoes: Bring a large pot of salted water to a boil and put the potatoes in it. Reduce the heat so the water is barely simmering and cook for about 10 minutes until you can pierce the potatoes with the tip of a sharp knife and it slips out easily. Drain the potatoes well and pour them into a large salad bowl.
(4) Cook the eggs: Meanwhile, put 4 eggs in a saucepan and cover with water. Bring to a boil. Cover, and remove from the heat. Leave covered for 6 minutes. Drain the hot water and cover the eggs with cold water to stop the cooking. Change the water once or twice to keep it cold so the eggs stop cooking and cool.
(5) Season the potatoes: Combine 1 tablespoon of rice vinegar, 1/2 teaspoon Kosher salt, and 1/2 teaspoon black pepper and pour it over the potatoes. Add the chives, arugula, and green onions and stir to combine. This will wilt the arugula and mellow the flavor just a bit.
(6) Finish: Pour about 3/4 of the dressing over the potato mixture and toss to combine. Taste and add more dressing if you like.
(7) Plate and serve: Put the salad on plates with the egg quarters alongside and add a good grinding of black pepper and a sprinkle of Kosher salt to the eggs before serving. Serve the salad warm or keep covered at room temperature for not more than an hour before serving.
Eat and enjoy every bite because you can!
This post contains links for you to easily purchase items listed on the page. In some cases, we have provided a special discount code for IBS Game Changers so be sure to use it when you purchase an item to get the discount that has been arranged just for you! As an Amazon Associate, I earn a commission from qualifying Amazon purchases.
More Deliciously Low FODMAP™ salad recipes
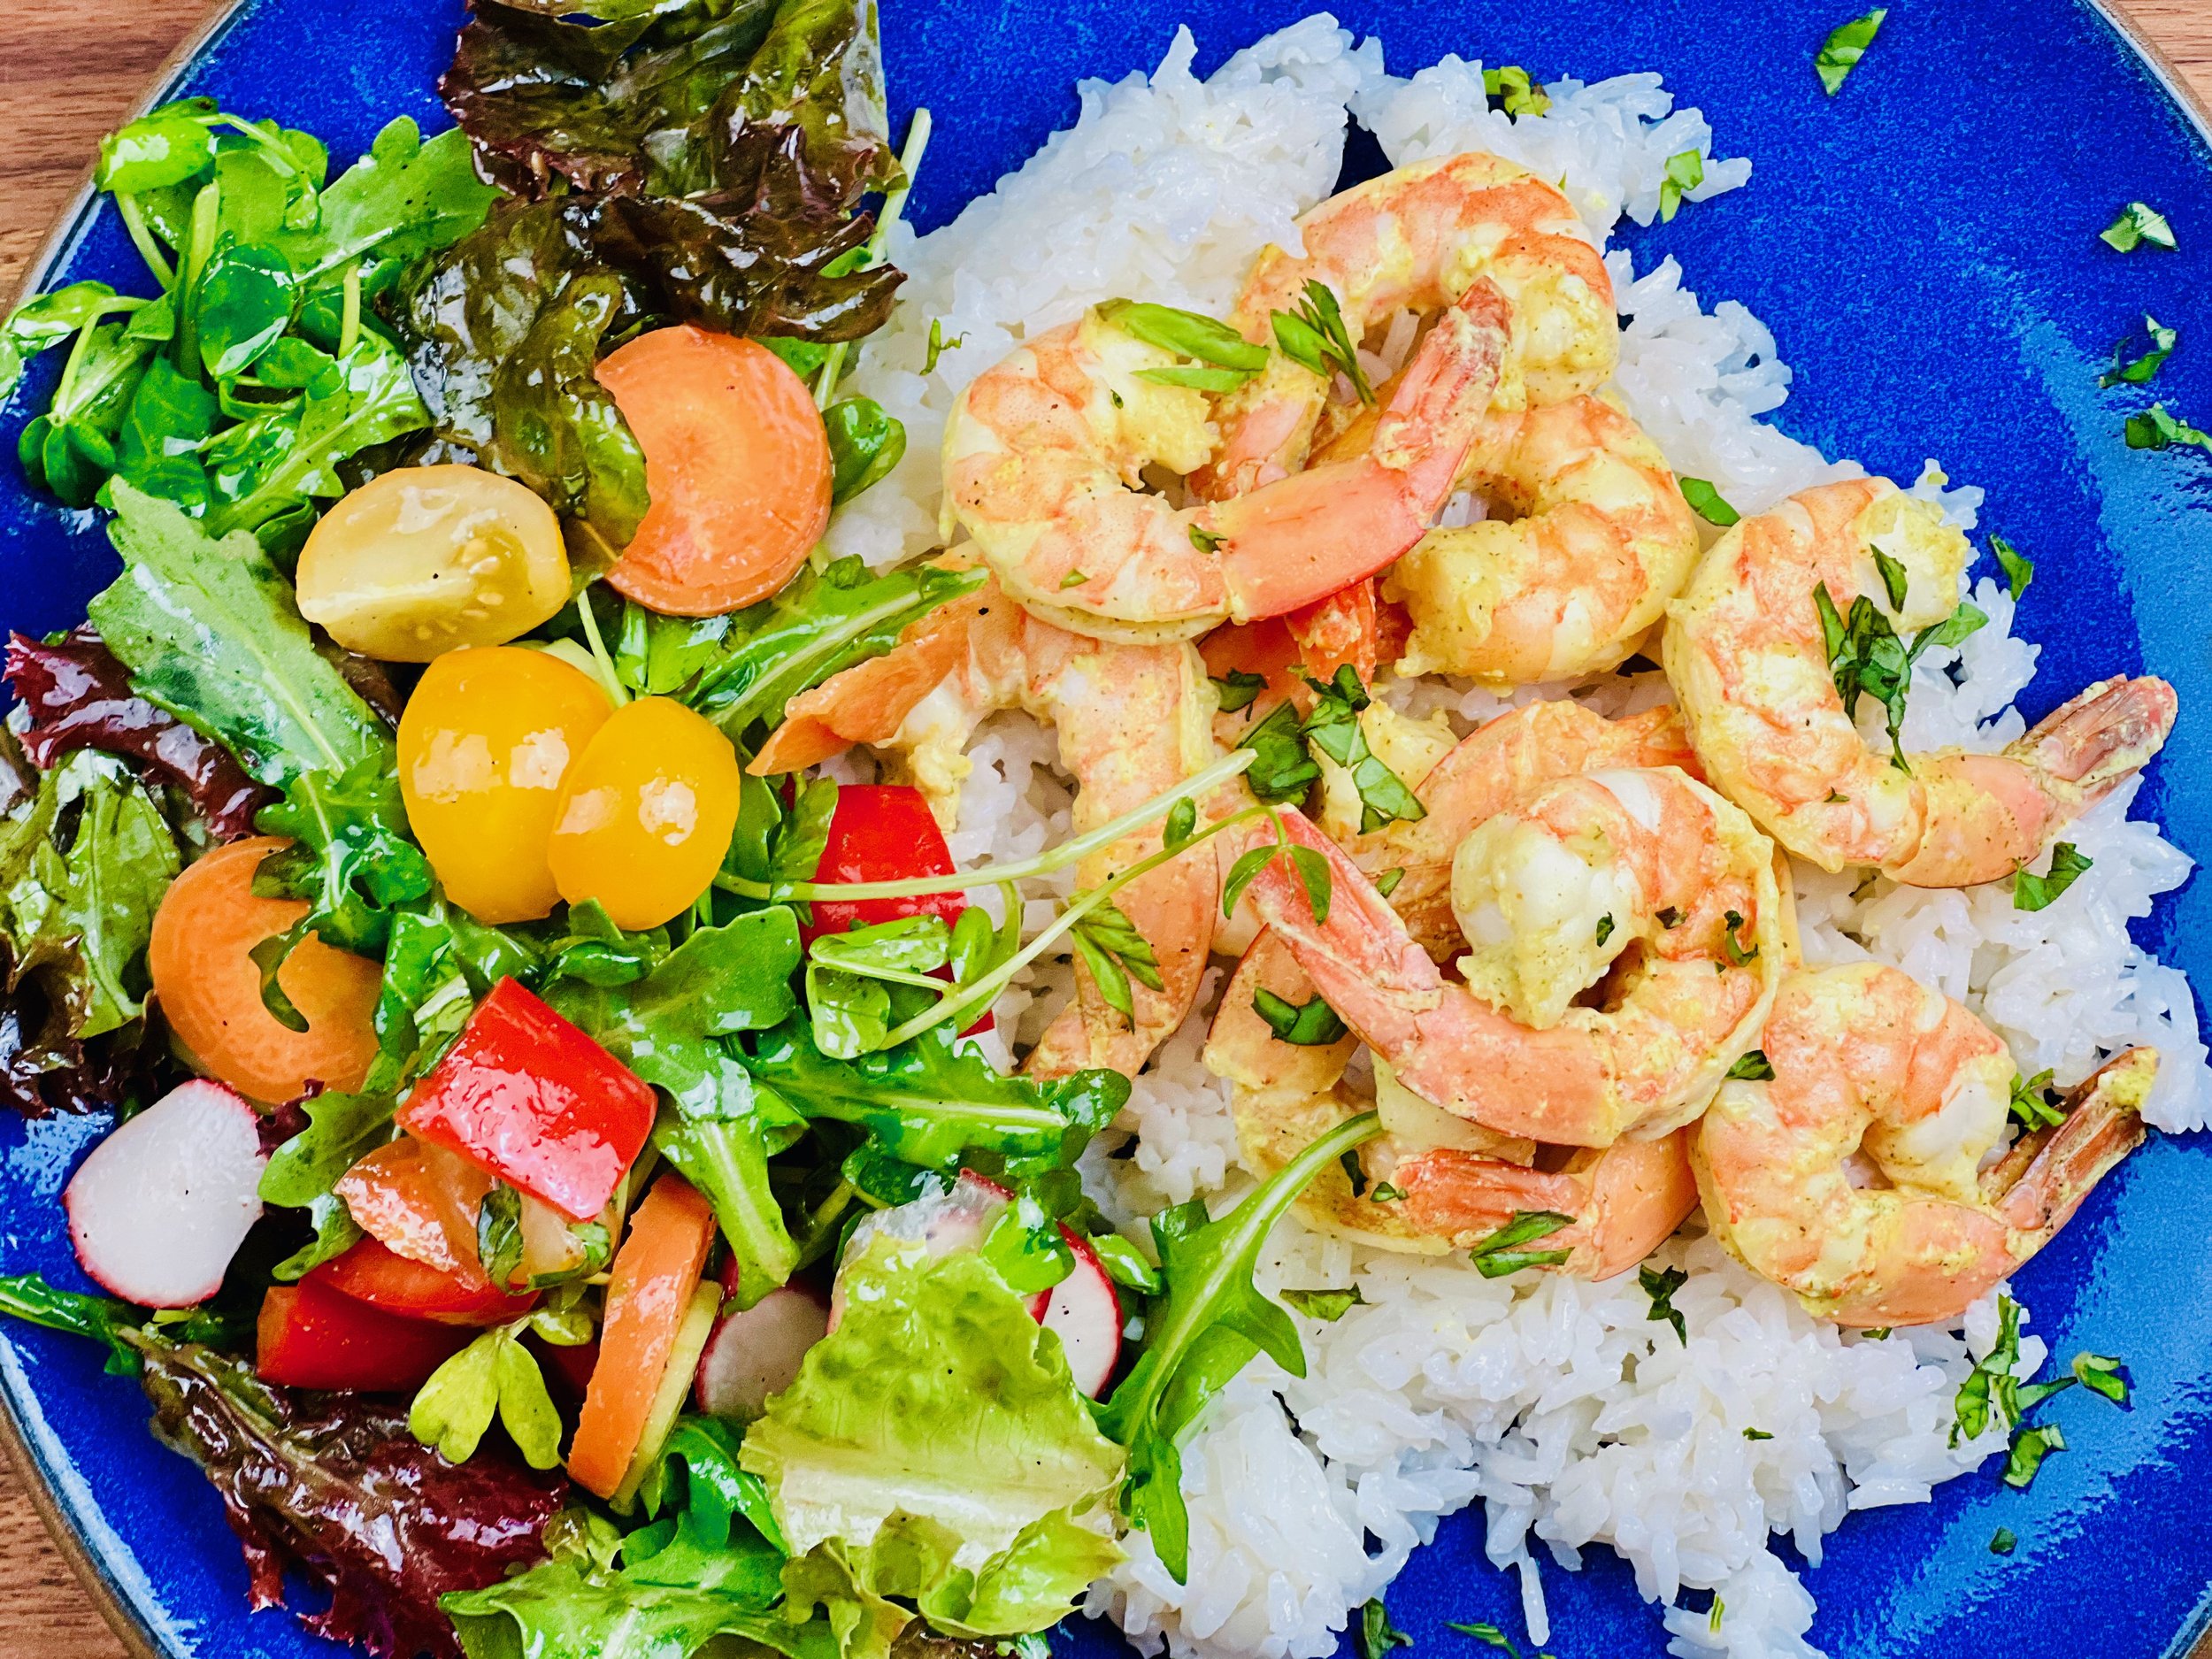
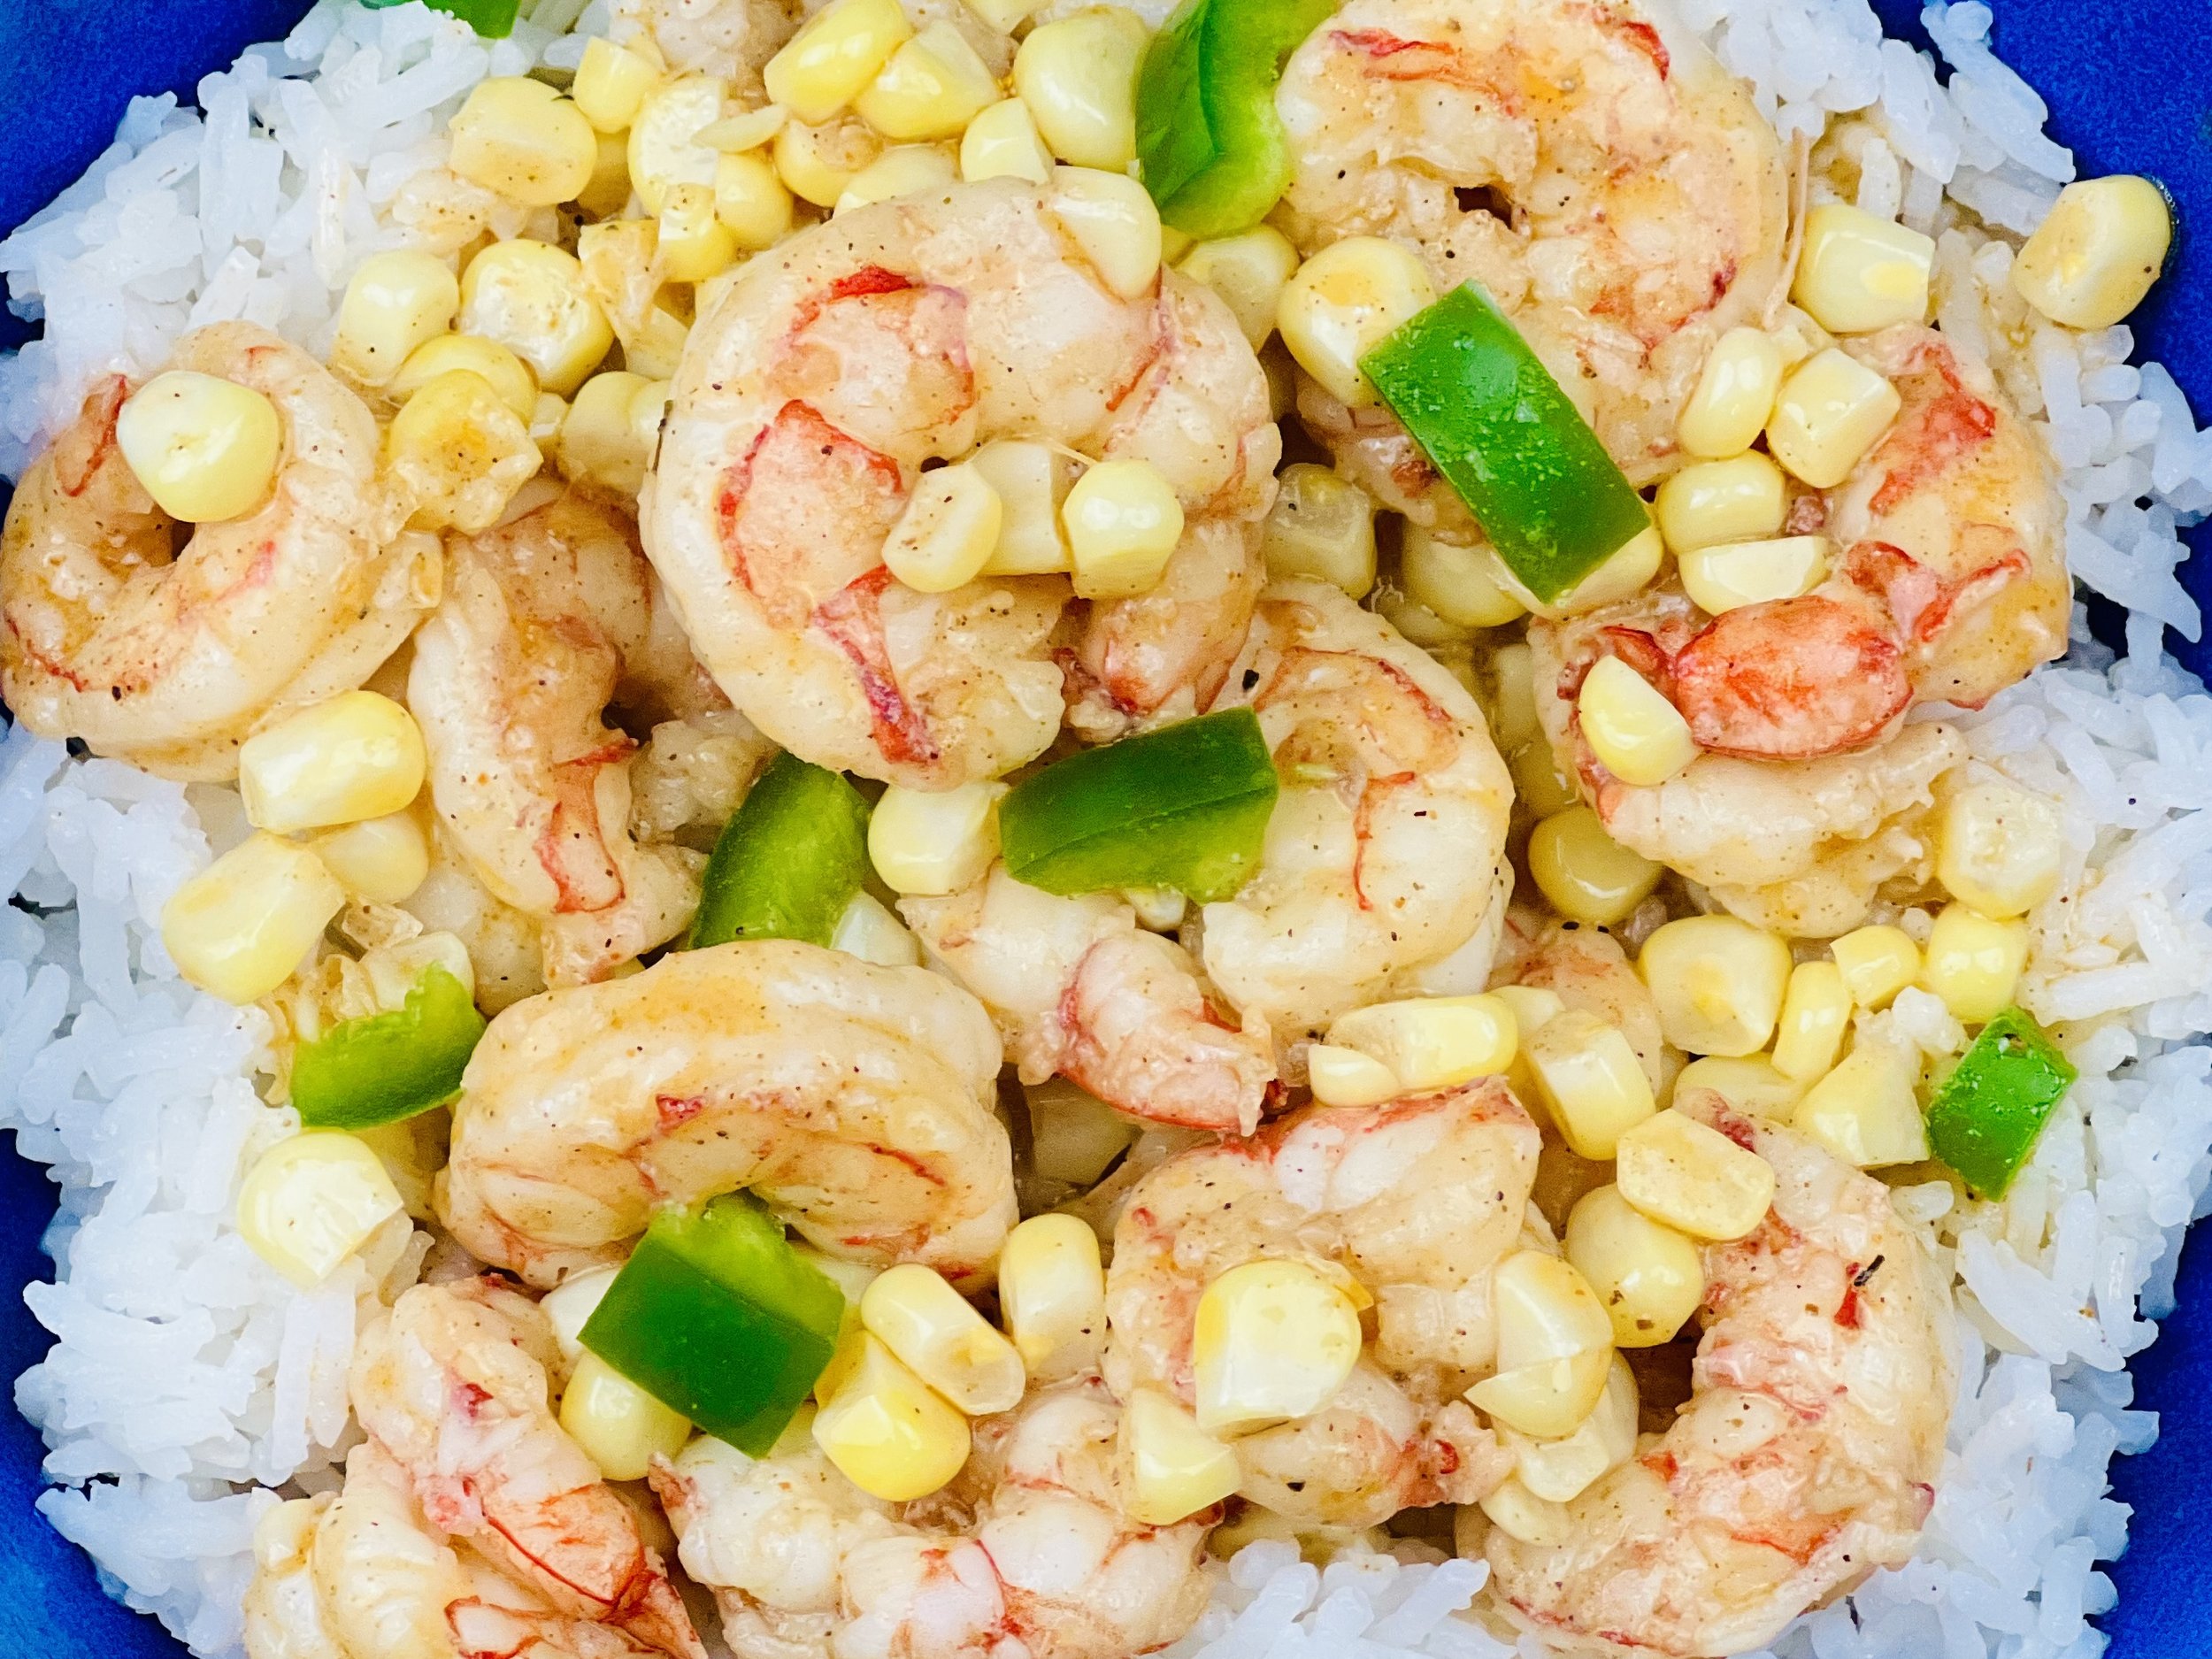
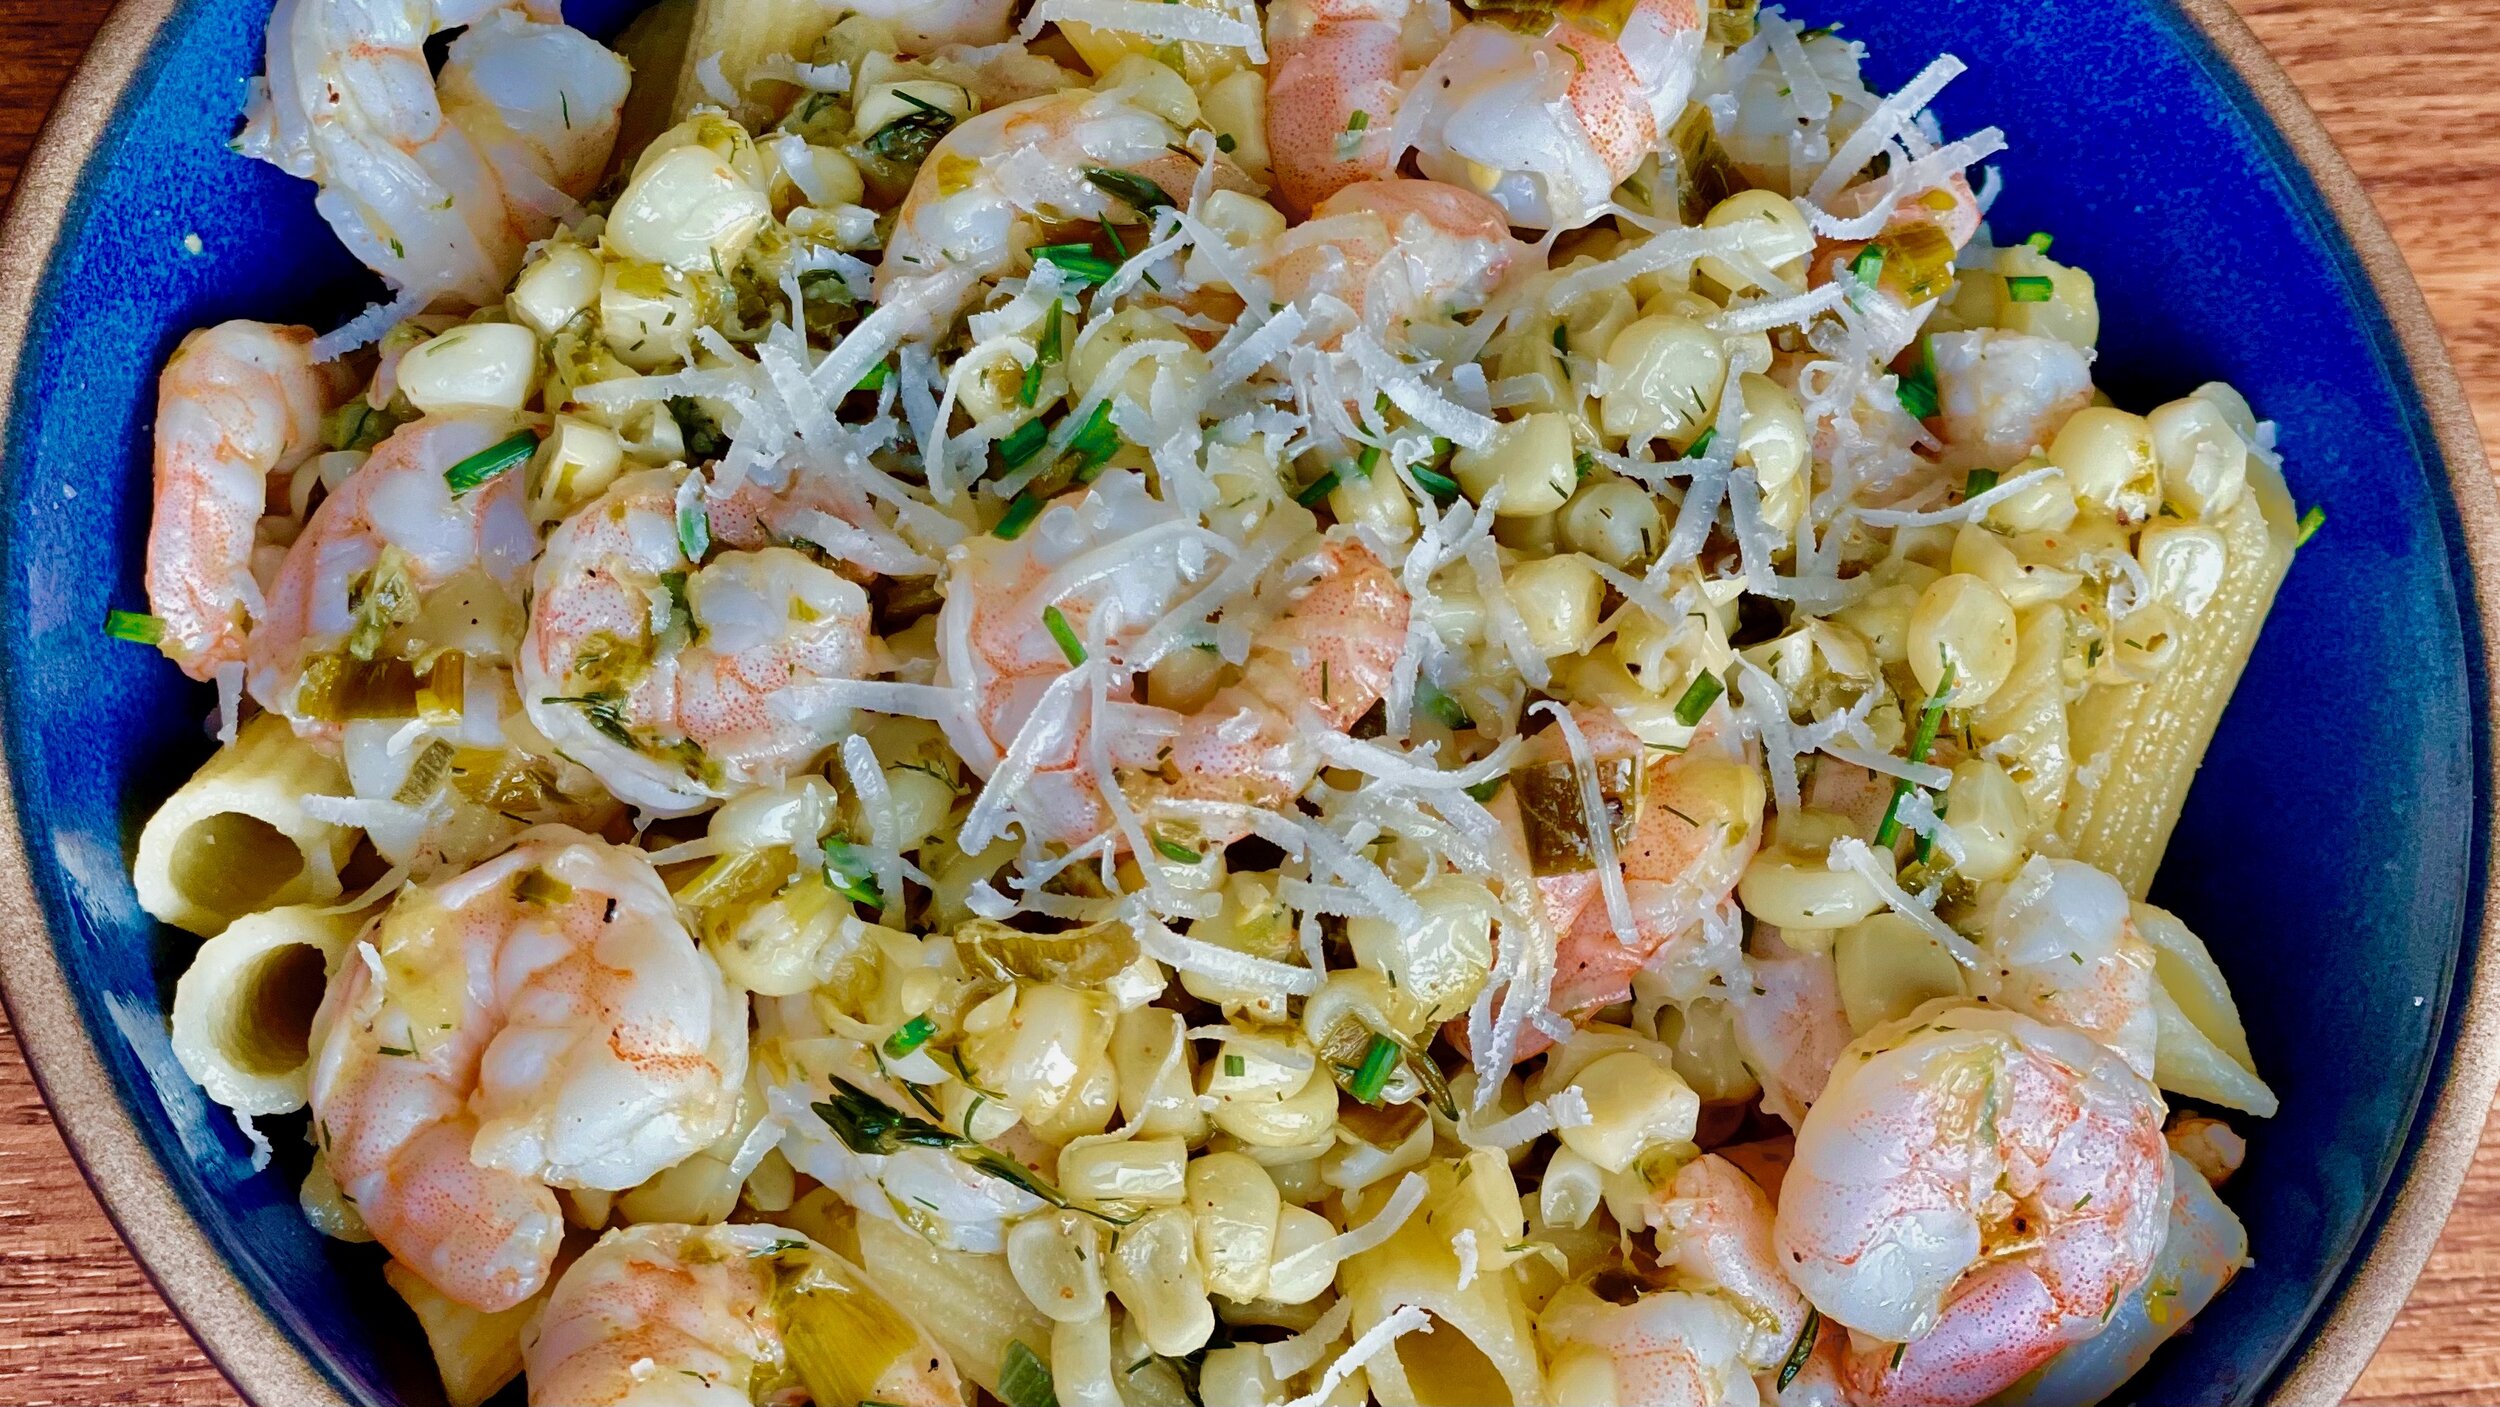
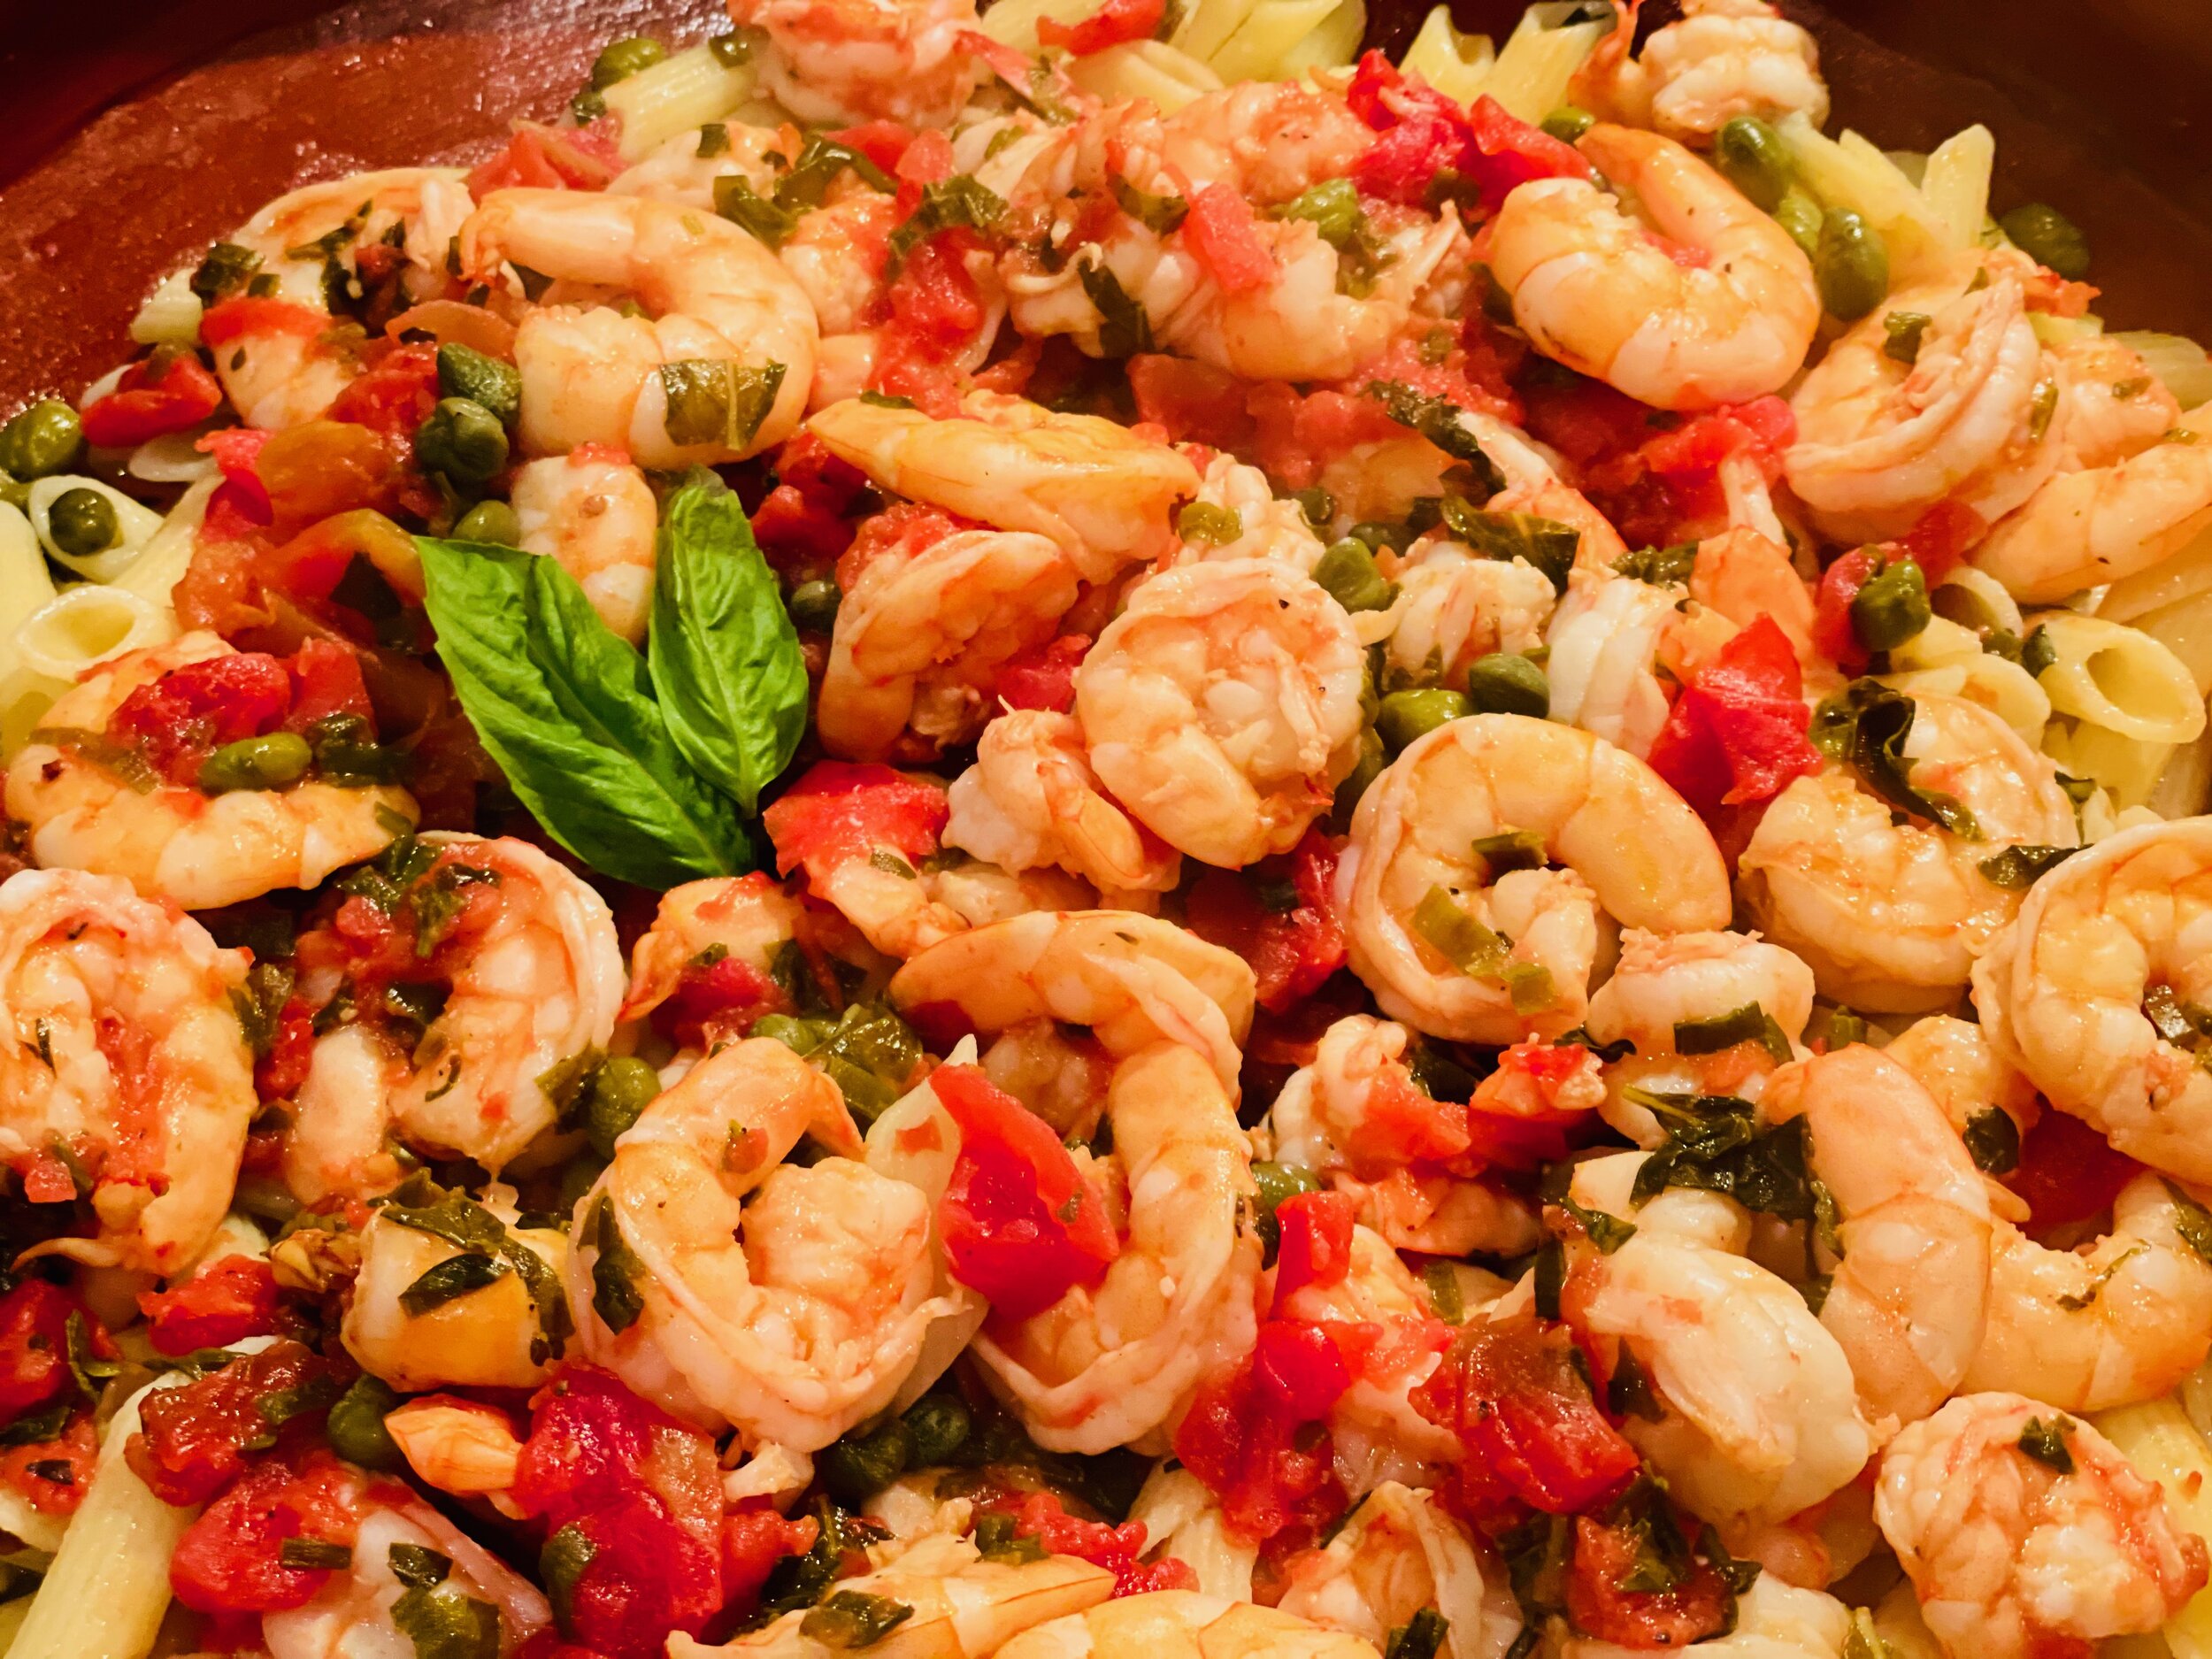
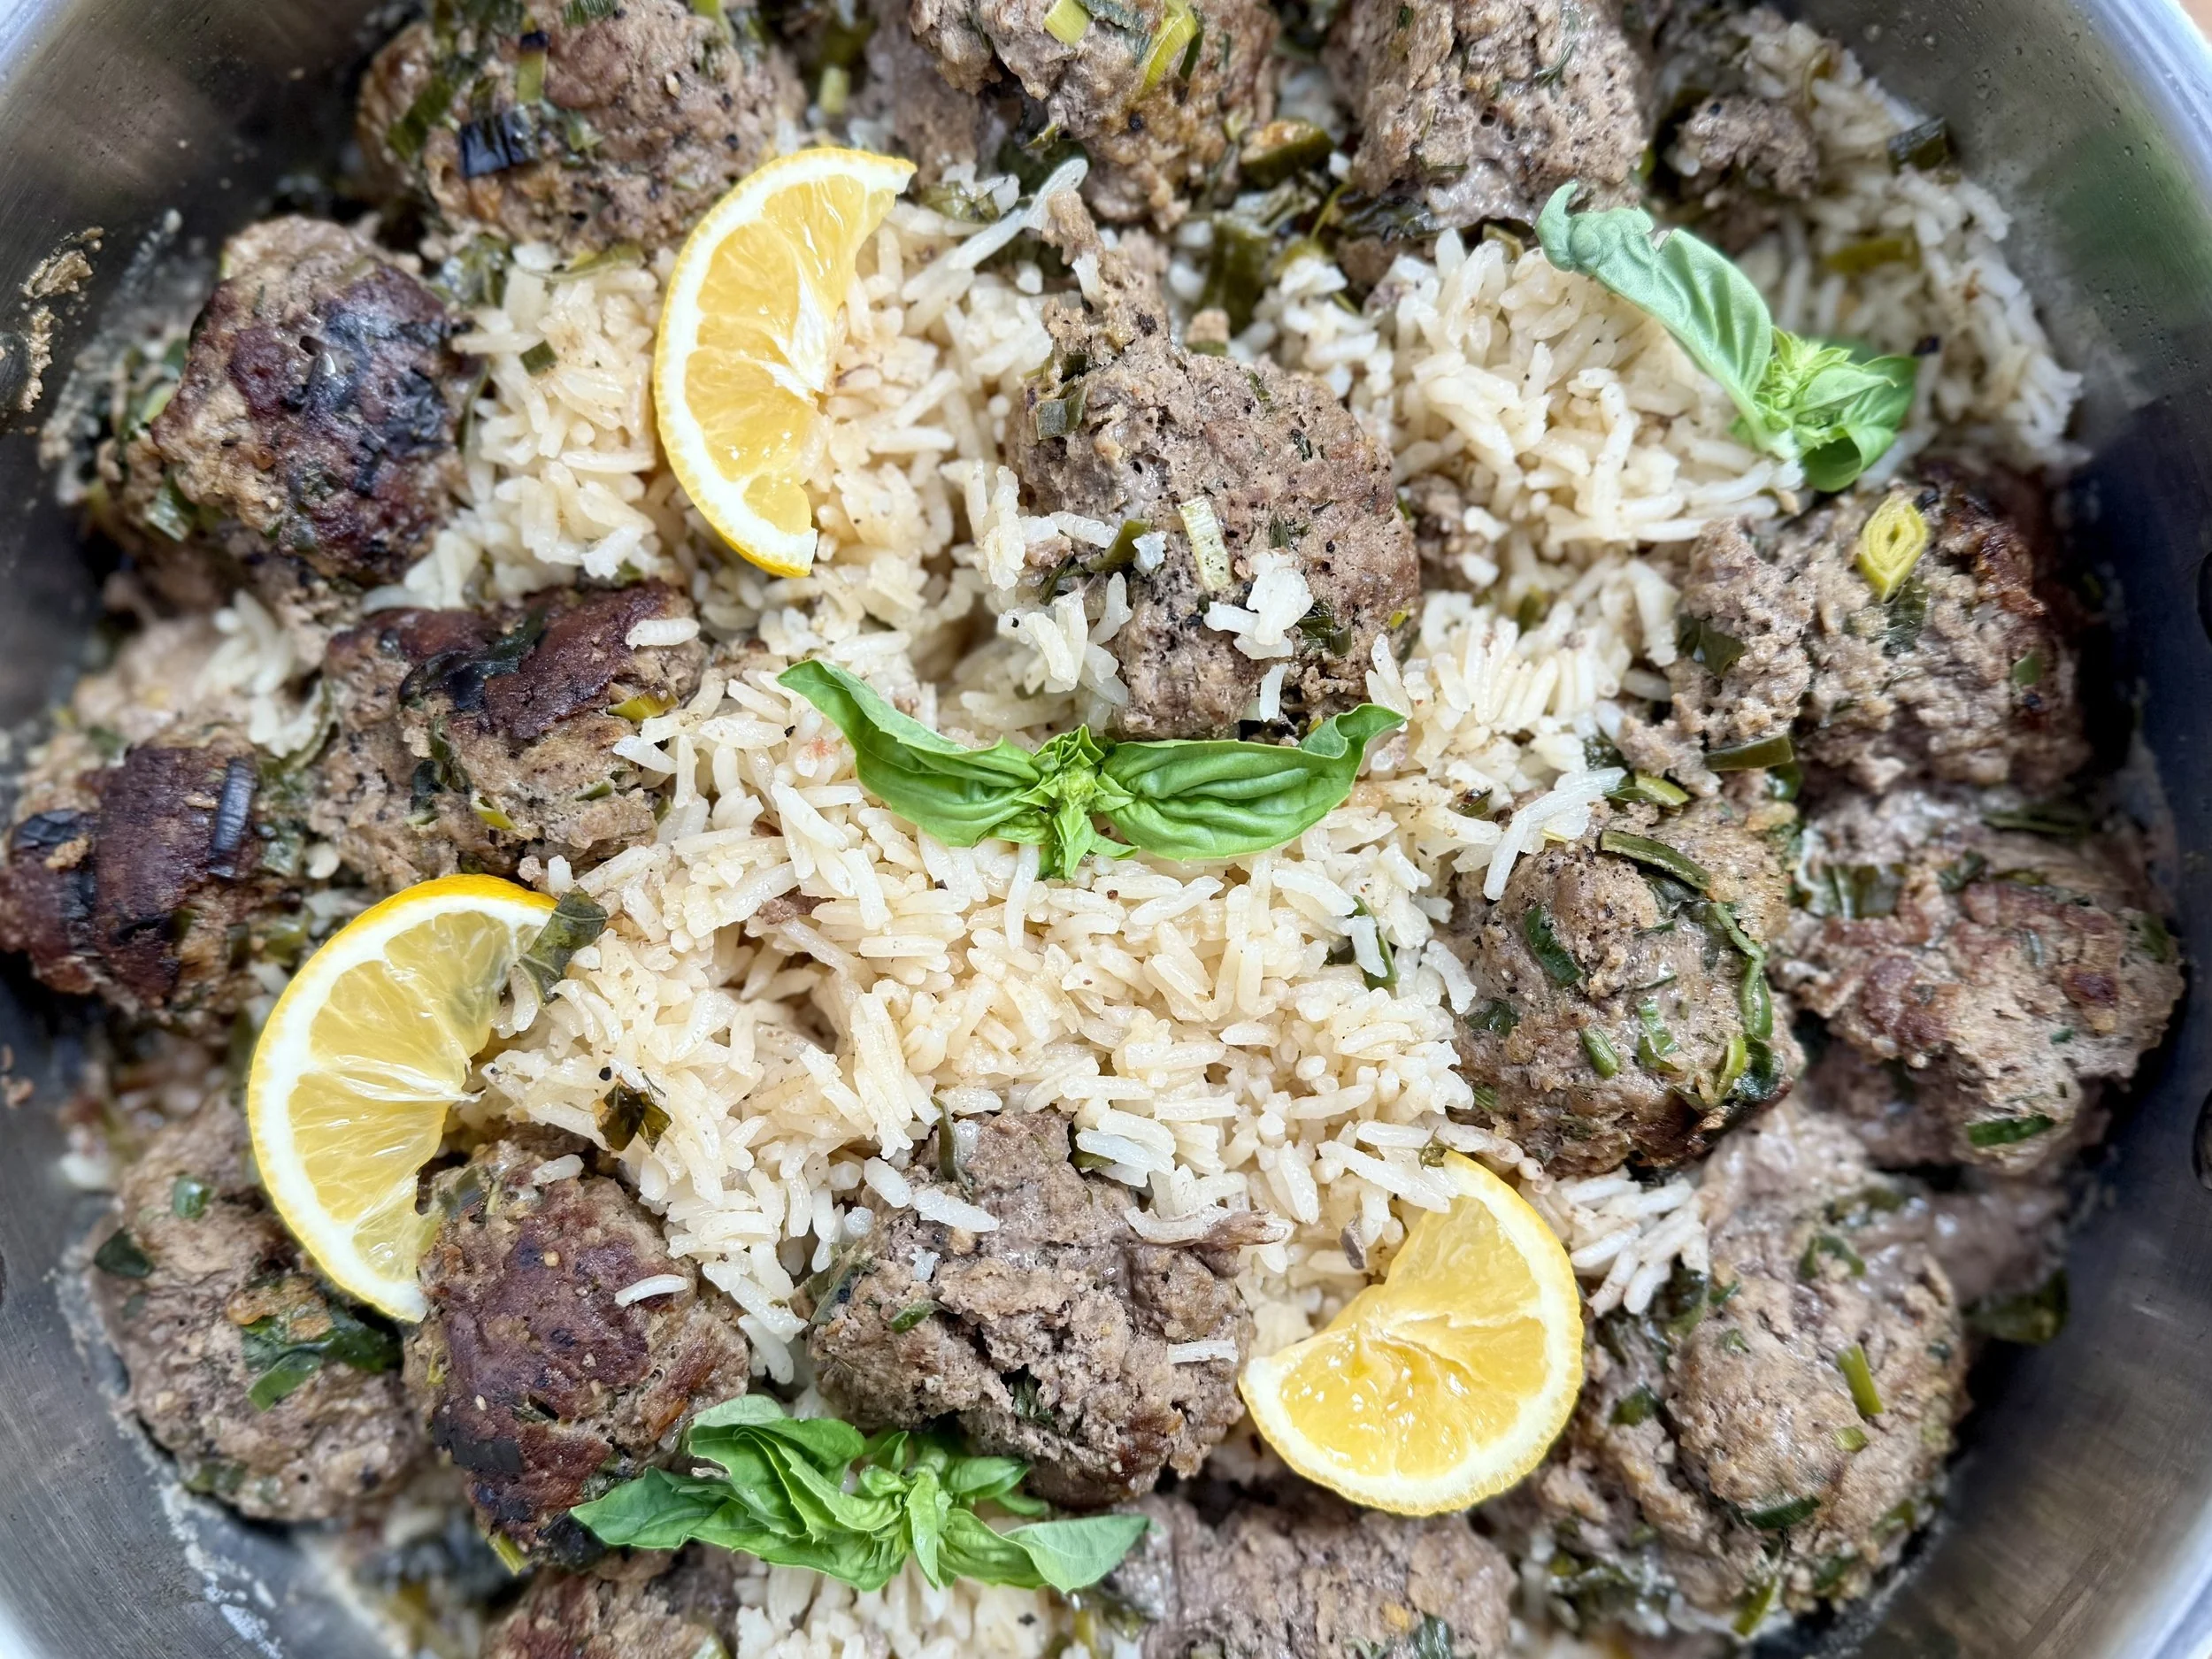
Shrimps and Rice, So Very Nice (Low FODMAP)
10 Minutes prep • 20 Minutes cook • Low FODMAP • Gluten-Free • Serves 4
10 Minutes prep • 20 Minutes cook • Low FODMAP • Gluten-Free • Serves 4 • Ok to make-ahead: Step 1 - 2
Hold Tight Hold Tight, Want Some Seafood Mama? Does anyone else remember that song? The Andrews Sisters brought it to life and I hear them singing it in my head when I cook seafood. Every time I make shrimp, I think of the words in the song “Shrimps and Rice So Very Nice!” Shrimp are so versatile and delicious, they are great with just about any kind of seasoning you combine them with. This combination of Jamaican Jerk seasoning with sweet corn and butter is wonderful and quick to fix. Enjoy it while you listen to the Andrews Sisters singing this great song! Leftover shrimp are excellent served cold or heated briefly on the stove. You can even toss them into one of our delicious salads.
Ingredients
1 1/2 cups Jasmine Rice, steamed
3 tablespoons garlic-infused olive oil
4 tablespoons salted butter
1 1/2 pounds raw shrimp, peeled and deveined
1 tablespoon Smoke N Sanity Jerk Seasoning (use code IBSGC10 for 10% discount)
1 teaspoon Kosher salt
Juice of 2 lemons
1/2 cup of corn cut from the cob (about 1 cob)
1 jalapeno pepper, seeded and chopped (optional)
Salt to taste
Directions
(1) Cook the rice: Make your rice according to package instructions.
(2) Prep the ingredients: While the rice is cooking, juice the lemons, cut the corn off the cob, and chop the jalapeno, if using. Melt 2 tablespoons of butter and stir in the Jerk seasoning and 1 teaspoon salt.
Make-ahead note: At this point, you may cover the rice and put the prepared vegetables and butter in the fridge until you’re ready to cook the shrimp.
3) Cook the shrimp: Heat 3 tablespoons of garlic-infused olive oil in a skillet large enough to cook shrimp in one layer over medium heat. Add the shrimp in one layer and cook stirring so both sides get seared, about 1 - 2 minutes per side. Add the 2 tablespoons of butter with the Jerk seasoning and salt mixed in, and add a good grinding of black pepper.
(4) Finish: Add the corn and cook for another minute. Remove from the heat, stir in the additional 2 tablespoons of butter, and the lemon juice. Taste and adjust the salt if needed.
(5) Plate and serve: You can toss the shrimp and the rice together and then spoon onto plates or into bowls. Or create a bed of rice on each plate. Add the shrimp with some of the buttery sauce and corn on top of the rice. Sprinkle with chopped jalapeno peppers if using.
This post contains links for you to easily purchase items listed on the page. In some cases, we have provided a special discount code for IBS Game Changers so be sure to use it when you purchase an item to get the discount that has been arranged just for you! As an Amazon Associate, I earn a commission from qualifying Amazon purchases.
More Deliciously Low FODMAP™ seafood recipes


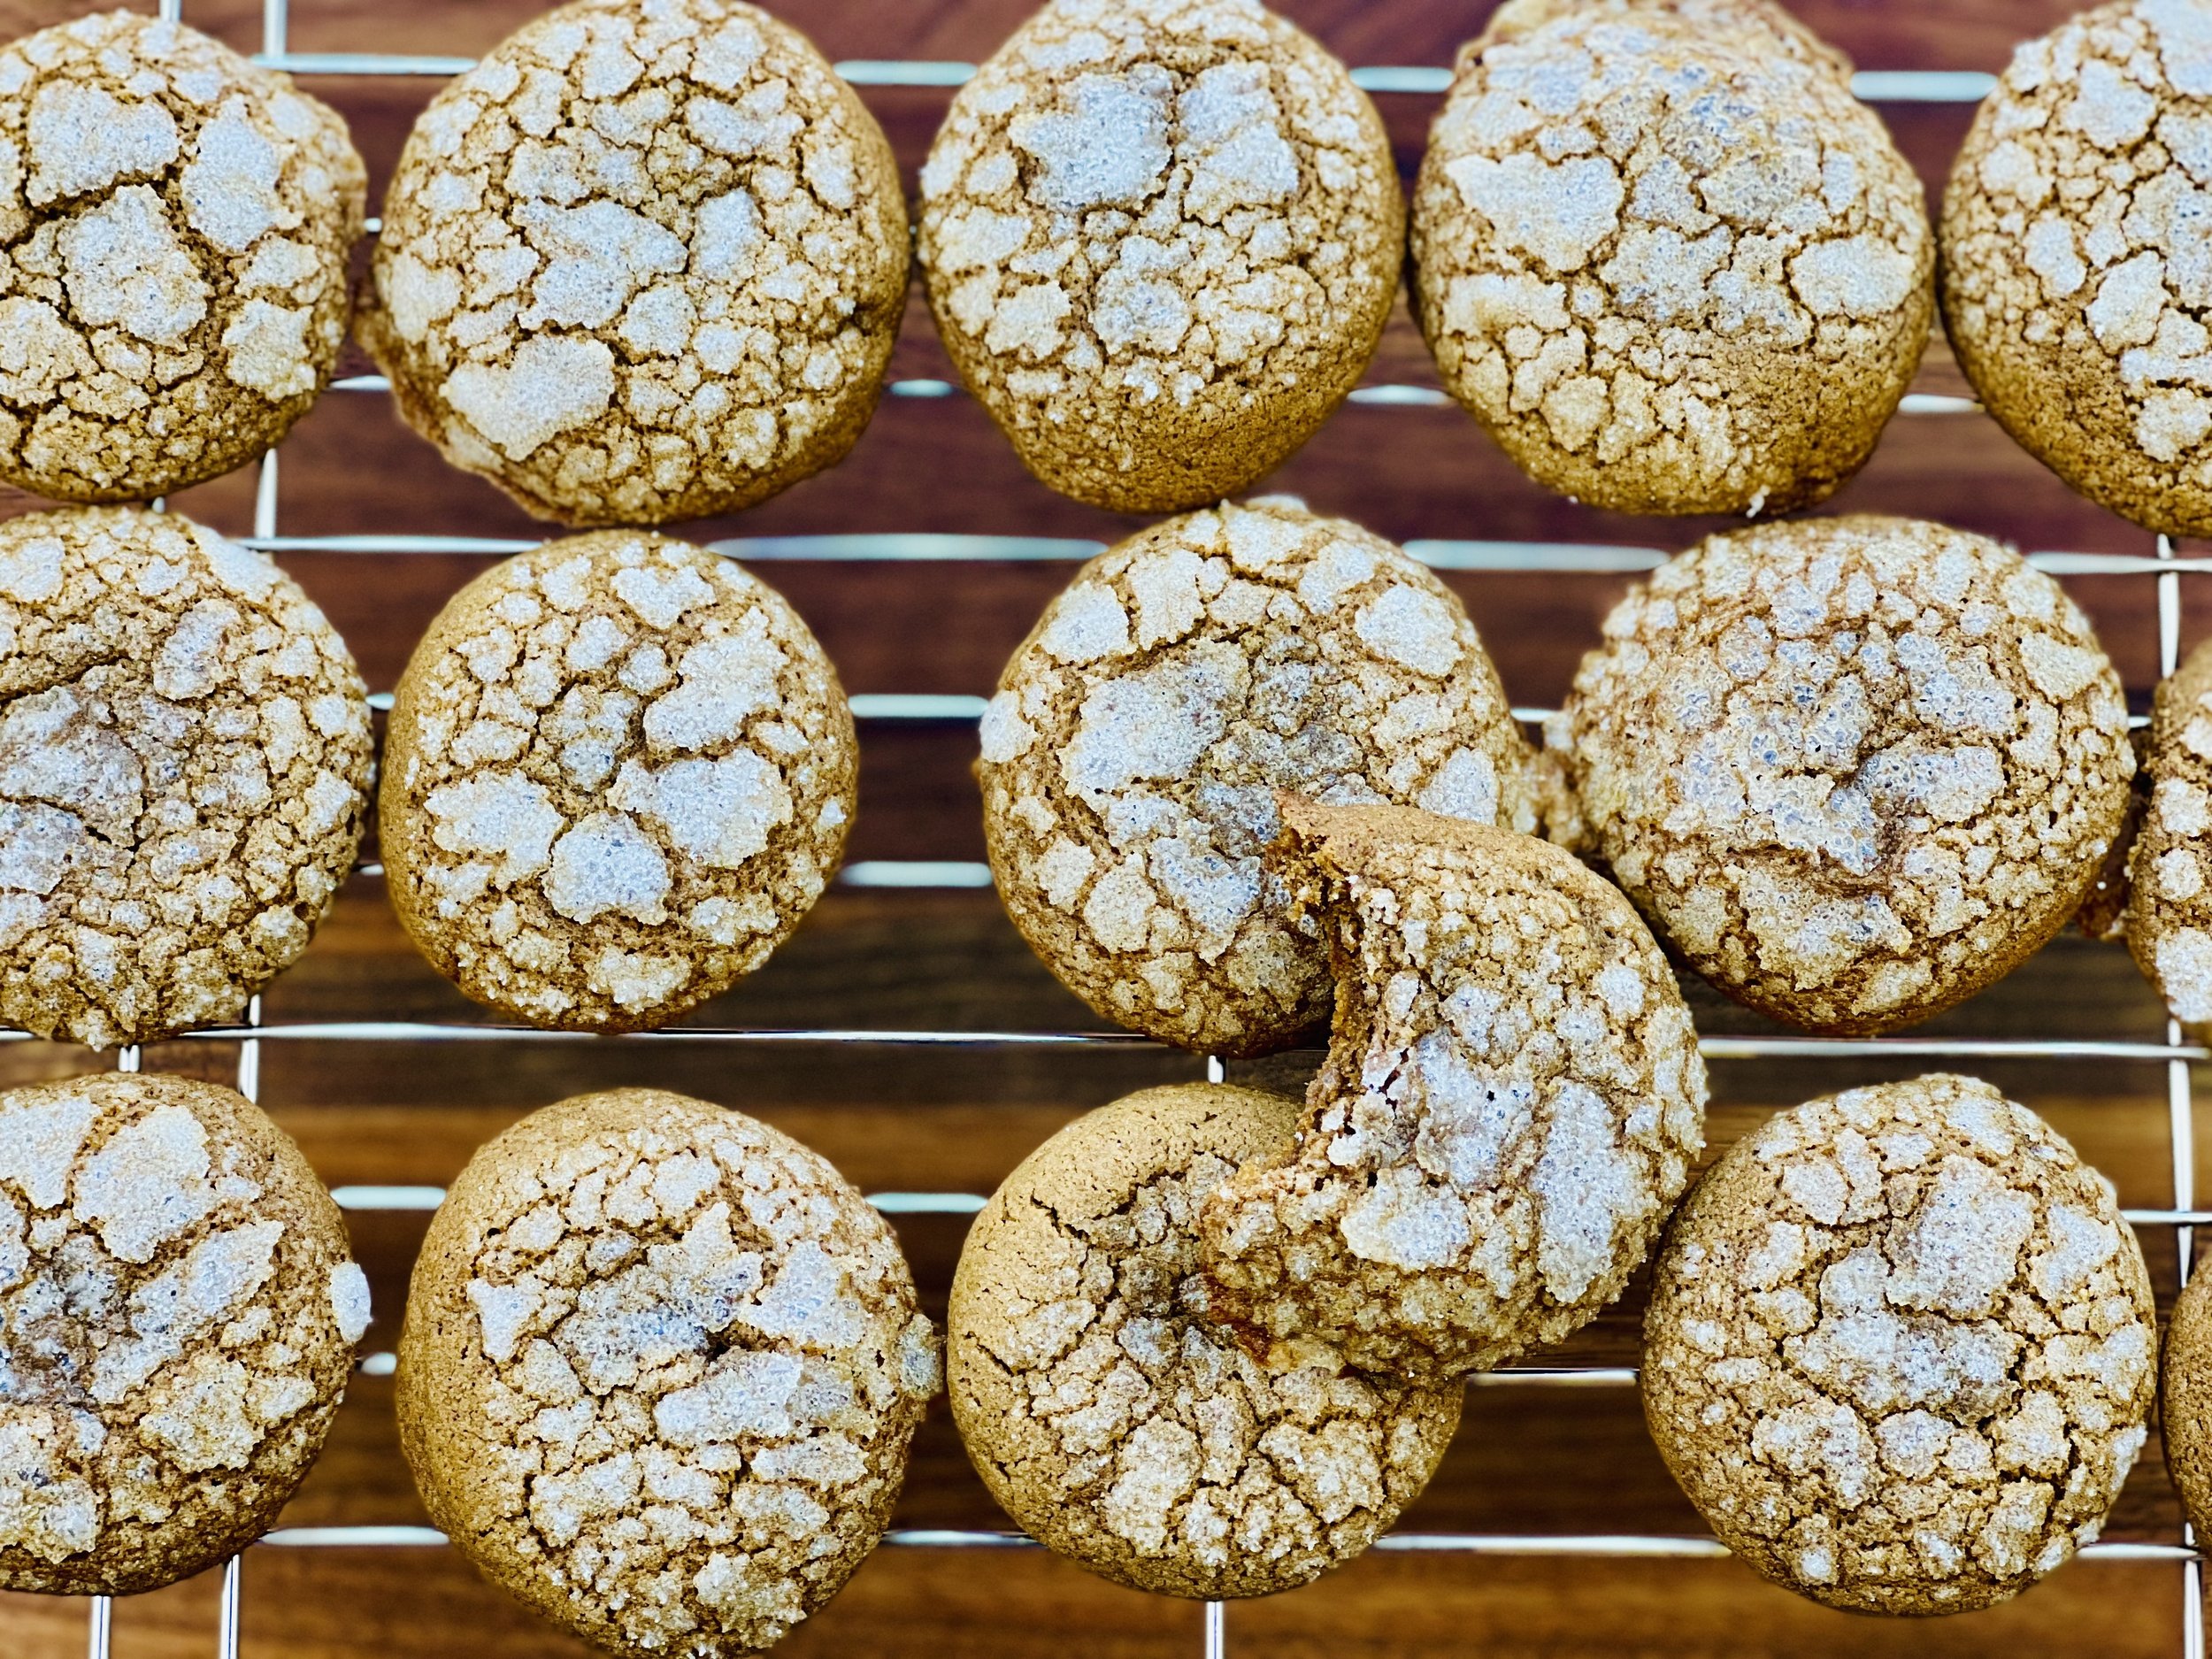
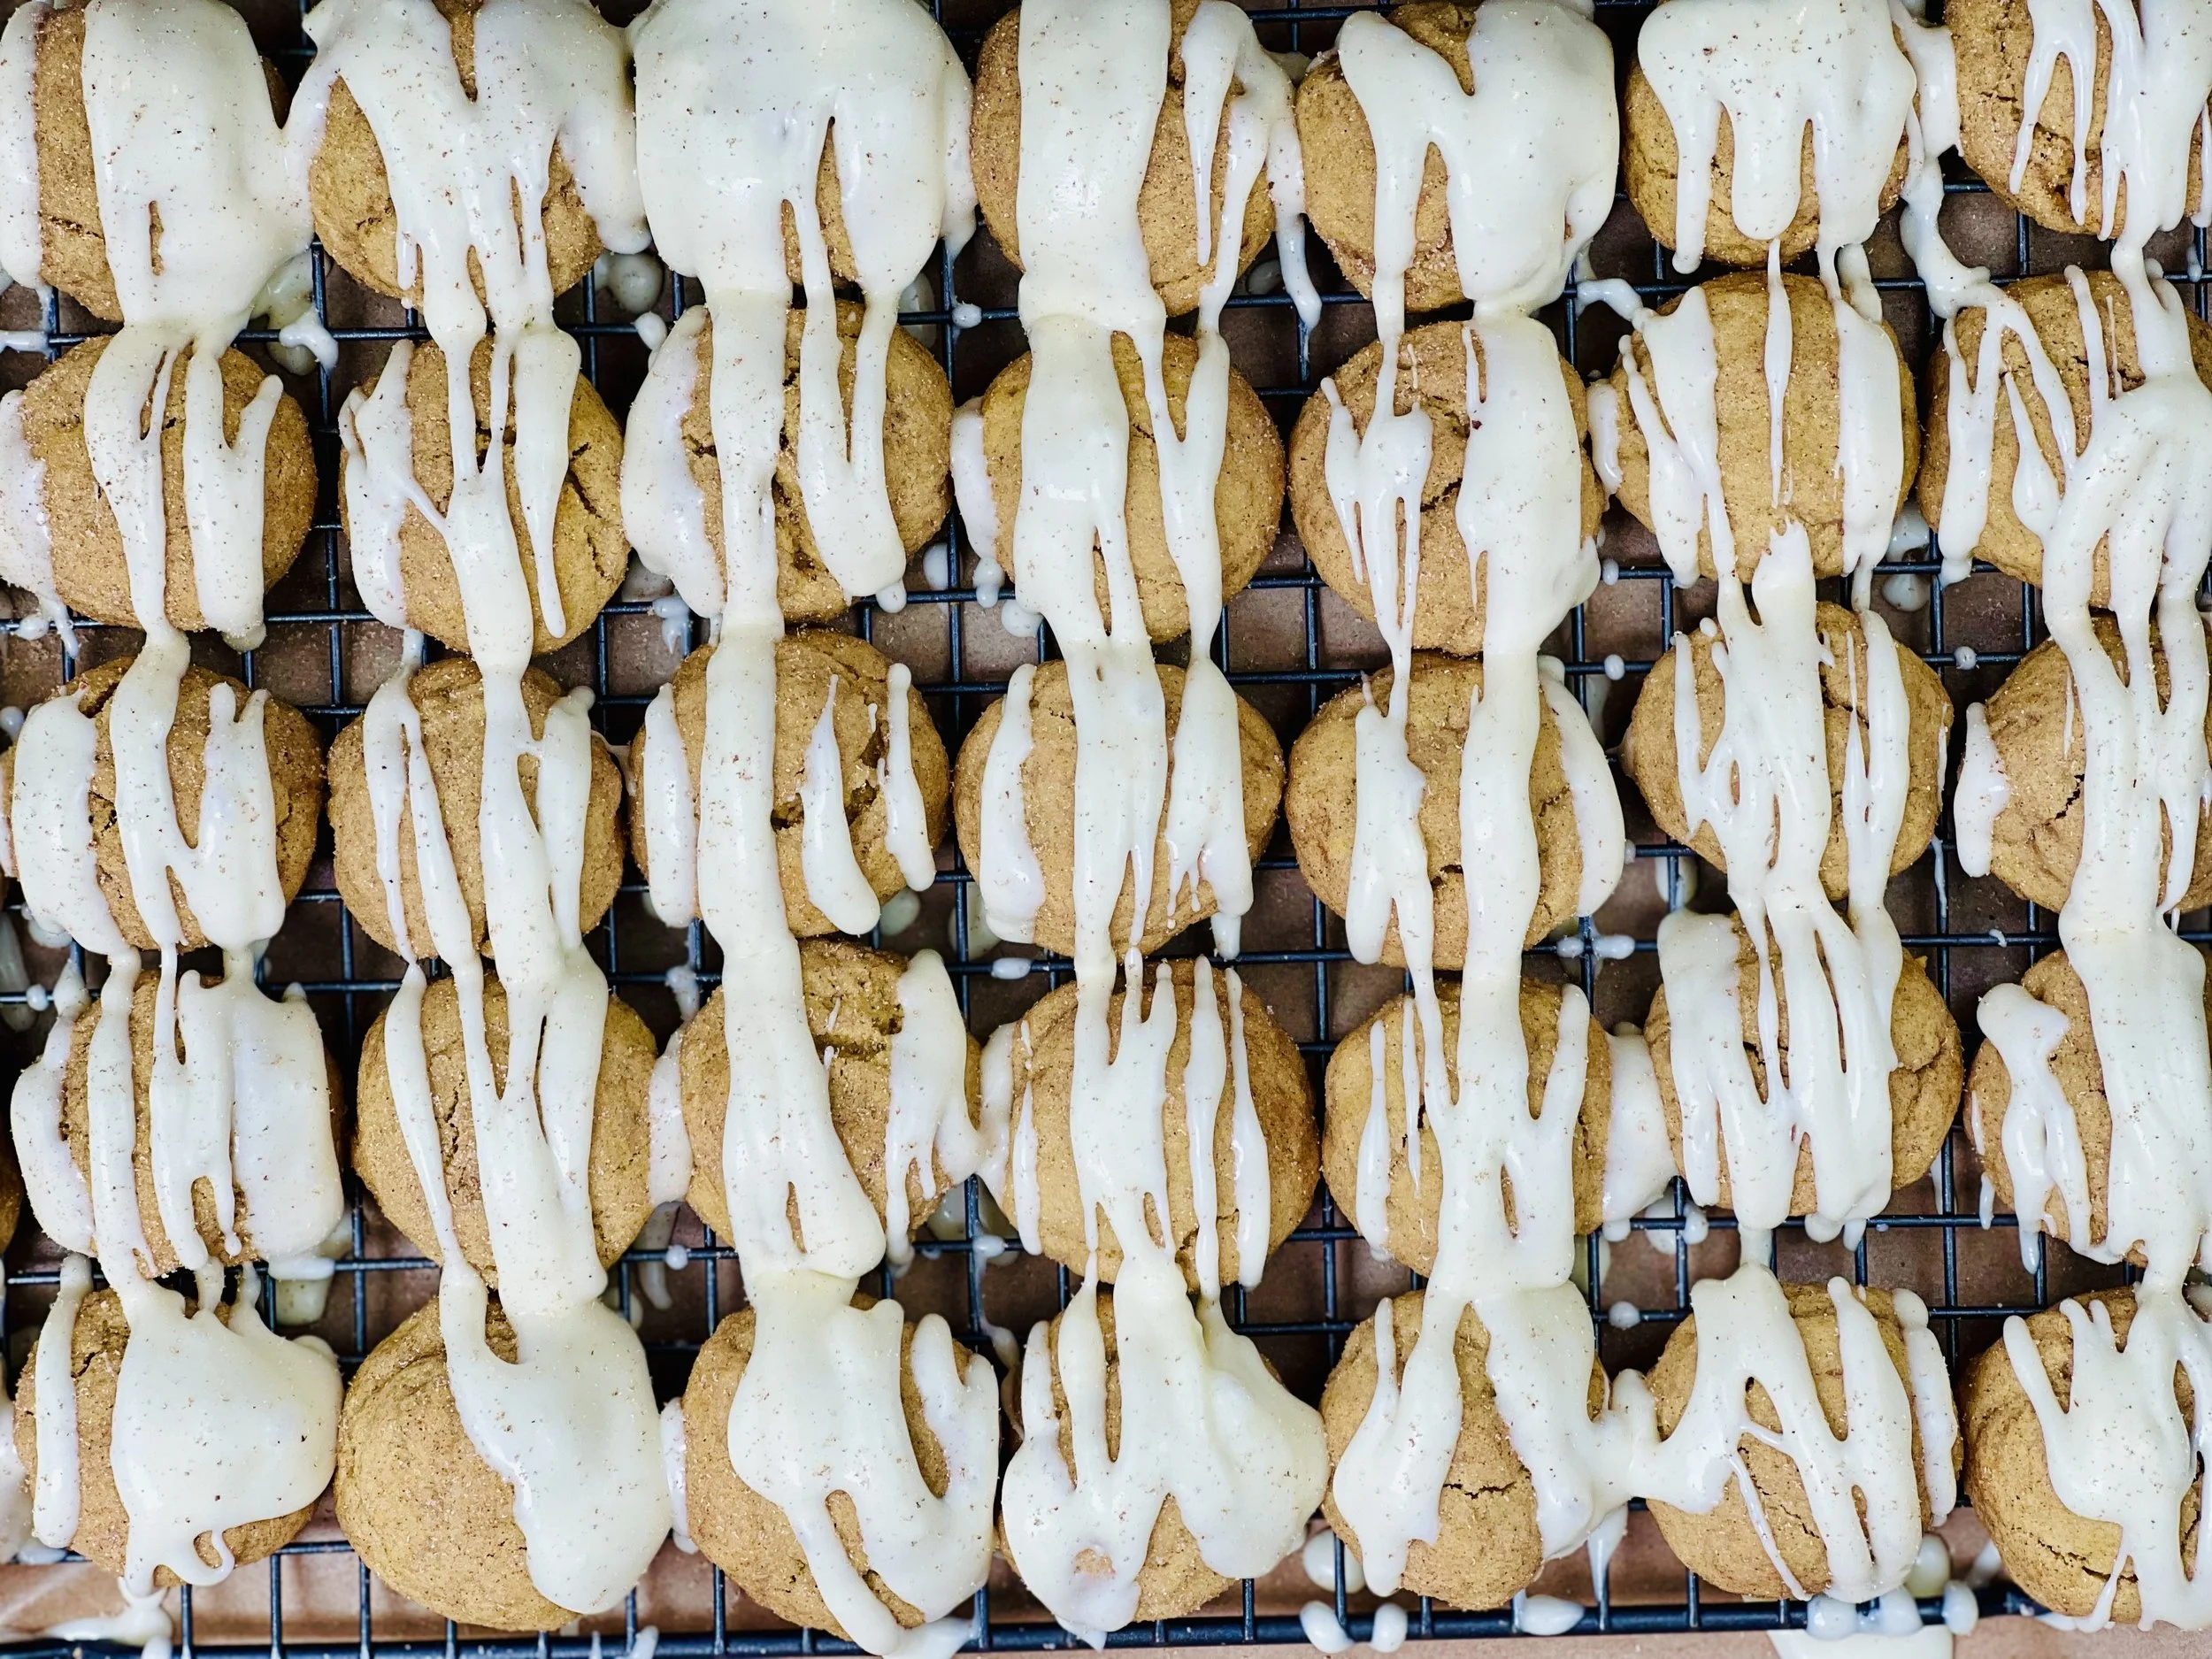
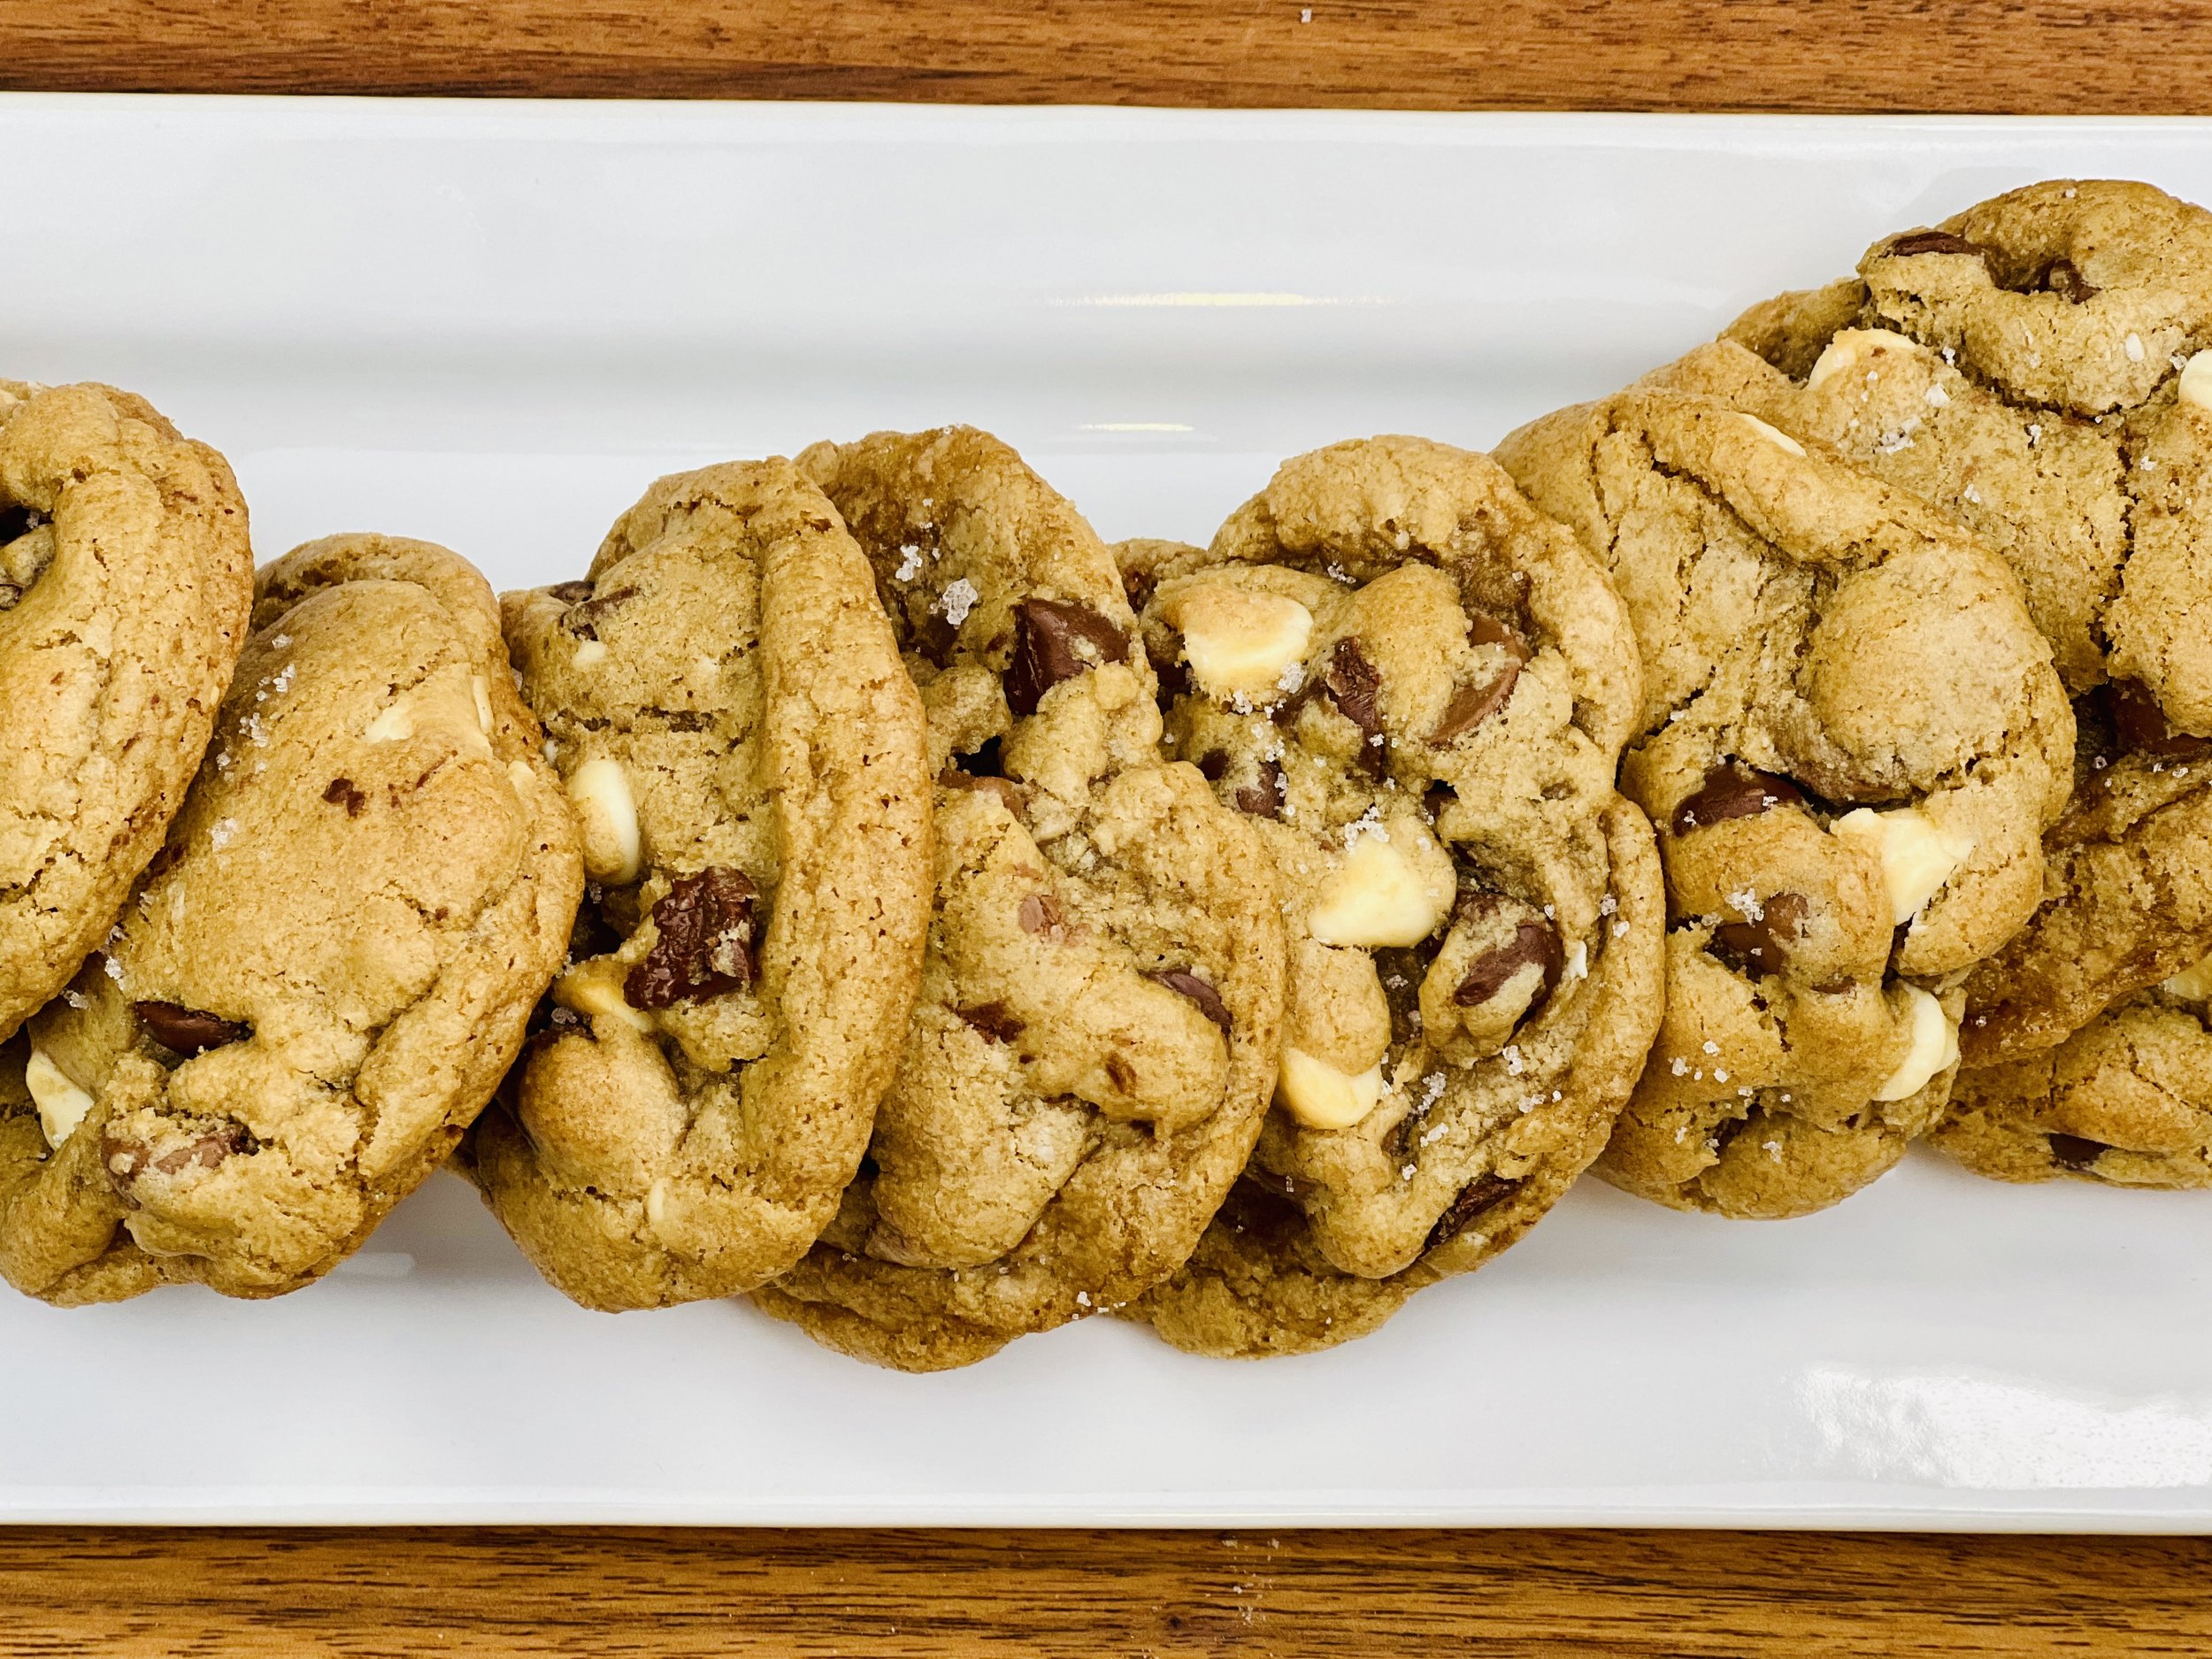
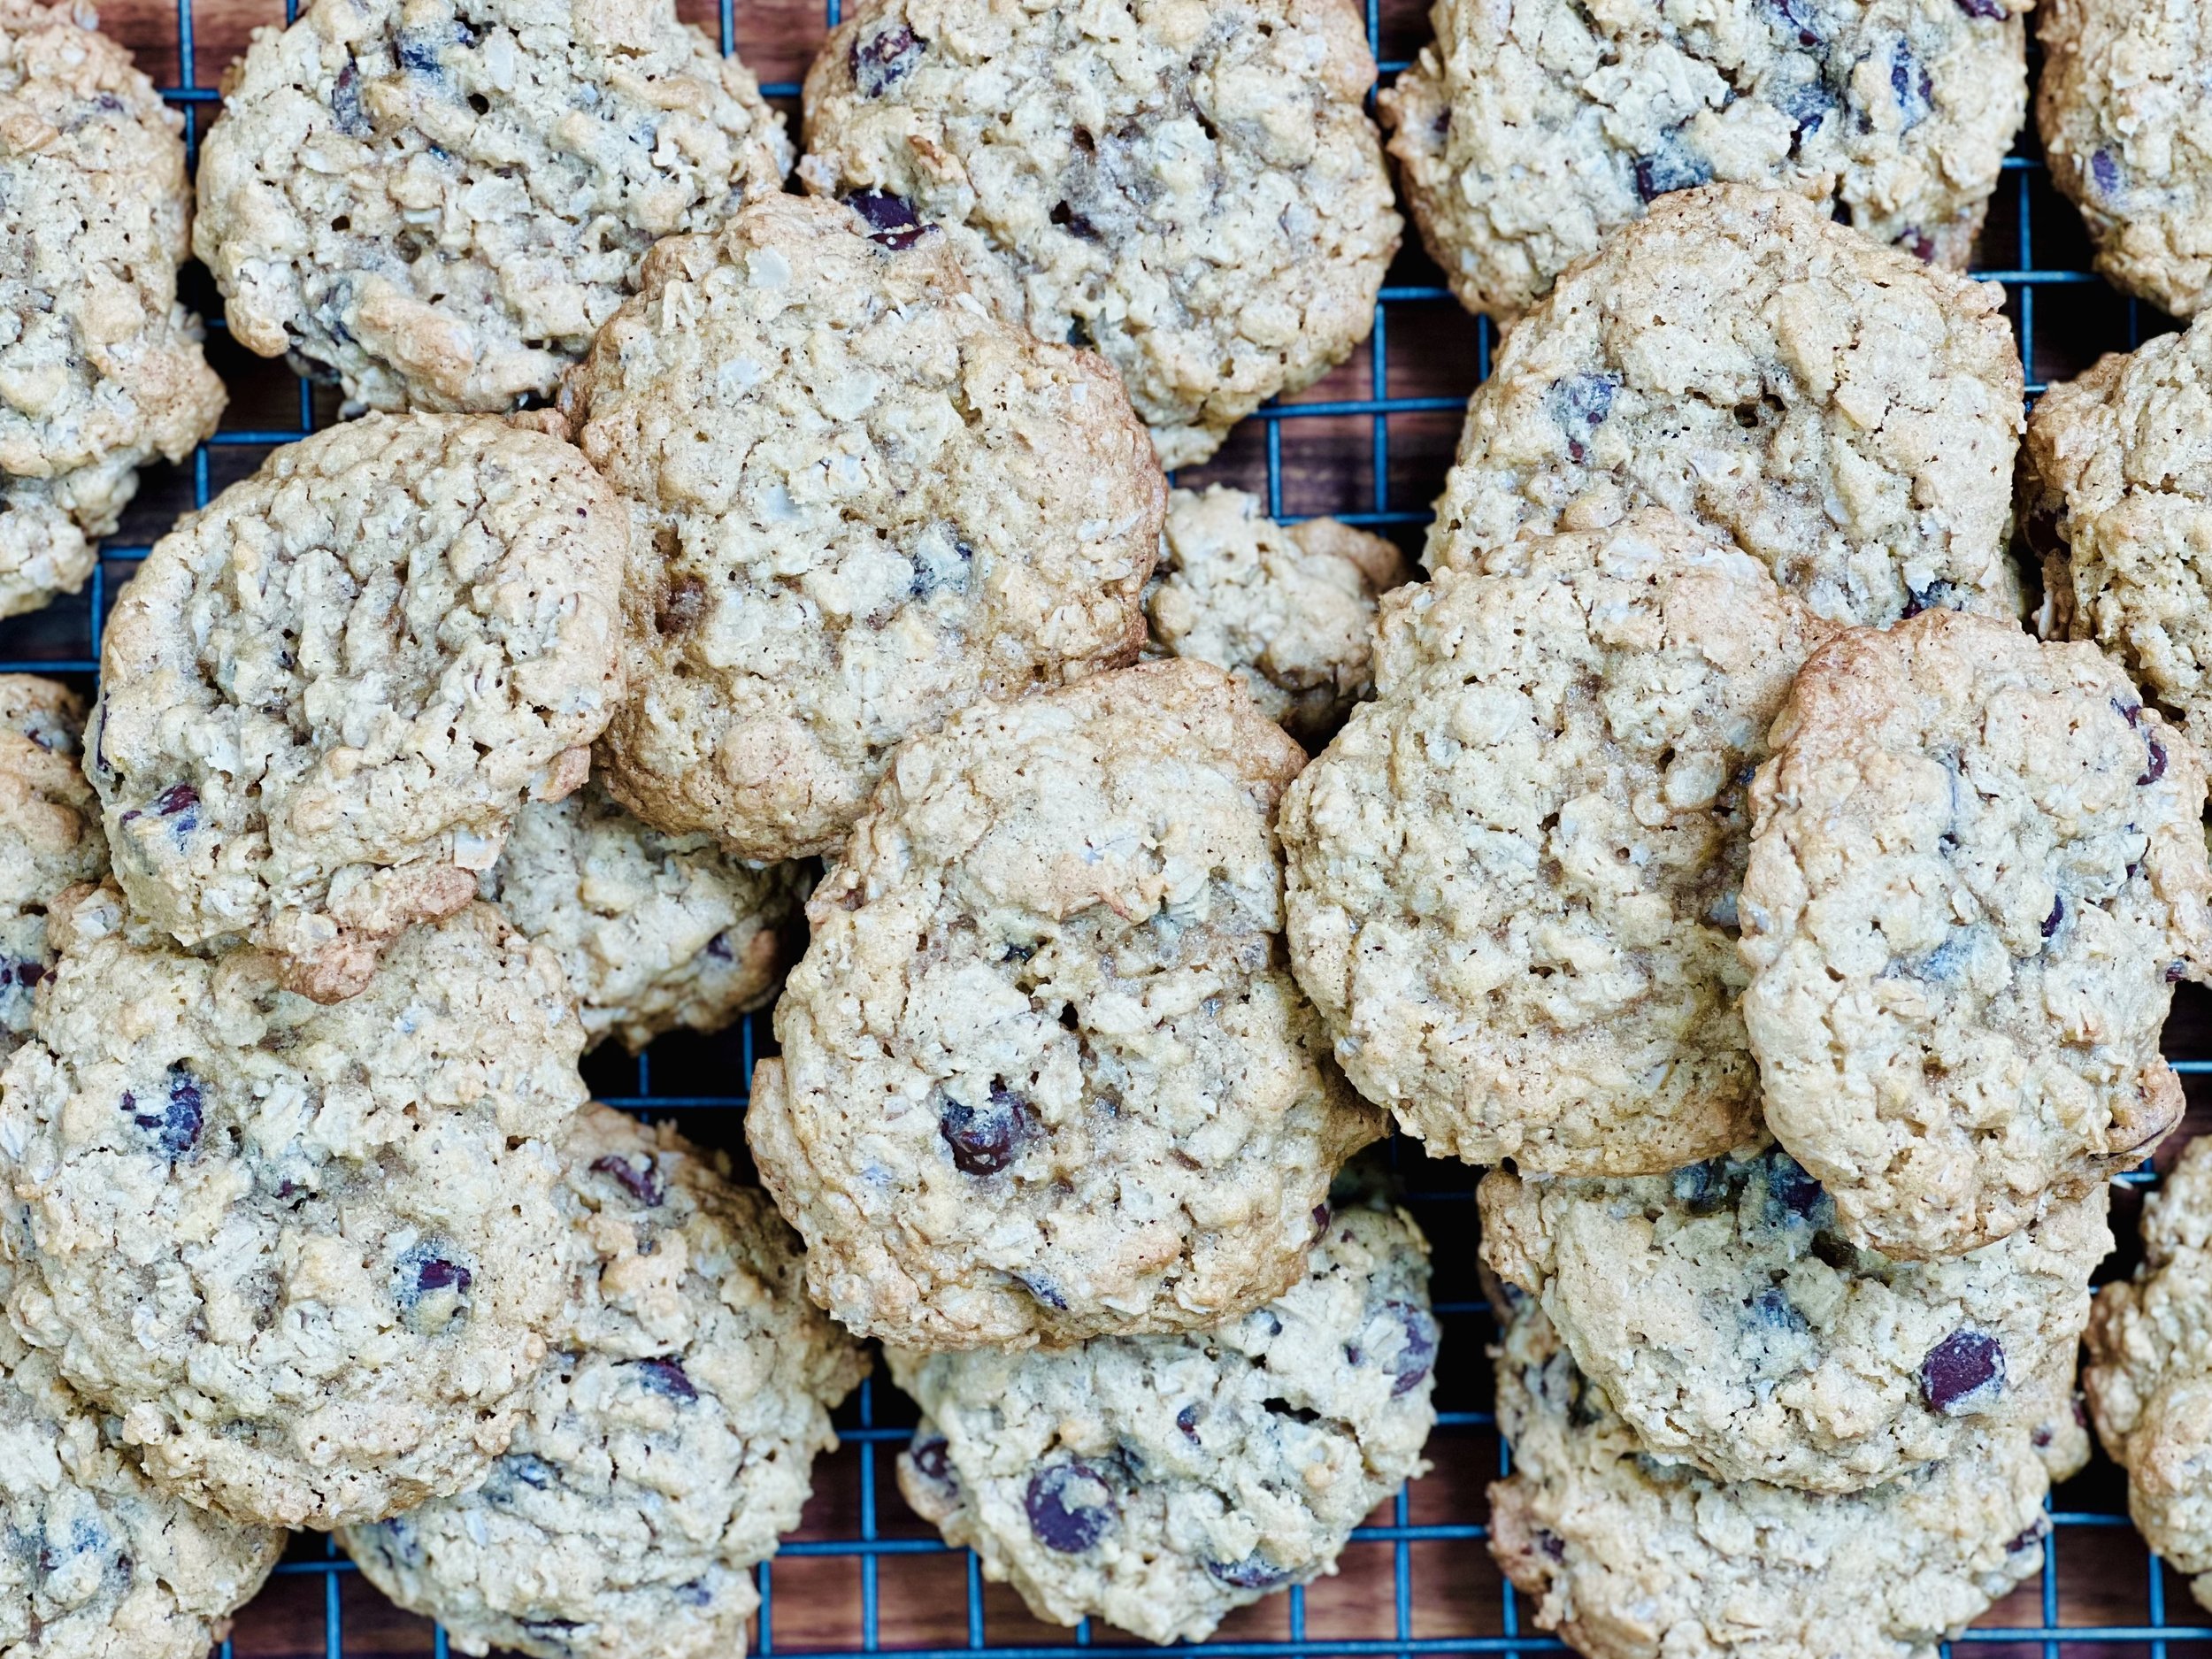
Molasses Ginger Cookies (low FODMAP)
45 Minutes prep/chill • 20 Minutes cook • Low FODMAP • Gluten-Free • Makes 3 dozen
45 Minutes prep/chill • 20 Minutes cook • Low FODMAP • Gluten-Free • Makes 3 dozen • Ok to make-ahead: Step 1 - 3
Soft and gingery with a delightful crackled top, these low FODMAP ginger cookies are perfectly spiced and truly delicious. And, as pretty as they look, they are quite easy to make! If your spices are fresh, you’ll get the best flavor in these cookies. If you want to go decadent, use these cookies to make our Spiced Ginger Whoopie Pies that combine these wonderful cookies with an amazing spiced cream cheese filling.
This is an exclusive recipe just for recipe club members.
Each week I am creating and delivering one very special recipe just for my recipe club members. If you’re not yet a member, I encourage you to join! Membership in the club includes access to the complete archive of recipes with filters so it can become your virtual low FODMAP cookbook plus, I am creating and delivering one special NEW recipe every week ONLY for recipe club members. And, for my true fans, I’ll be sharing behind-the-scenes content, and updates on the progress of the new cookbook.
Your membership in the club helps me continue creating new, delicious, easy-to-make, low FODMAP recipes just for you.
As always, all recipes will emphasize simple ingredients, easy preparation, and delicious low FODMAP results. Recipes will be for everything from main courses, salads, soups, side dishes, appetizers, desserts, sauces, breakfast and lunch, and even mocktails and cocktails. Everything you need to prepare fantastic low FODMAP meals everyone will love.
Join the club. Become a Patron. Let’s keep making delicious Low FODMAP meals together.
More Deliciously Low FODMAP™ dessert recipes


“I can’t have that” makes you weak
Try this: “I can’t have that,” vs “I don’t want that.” Which feels better?
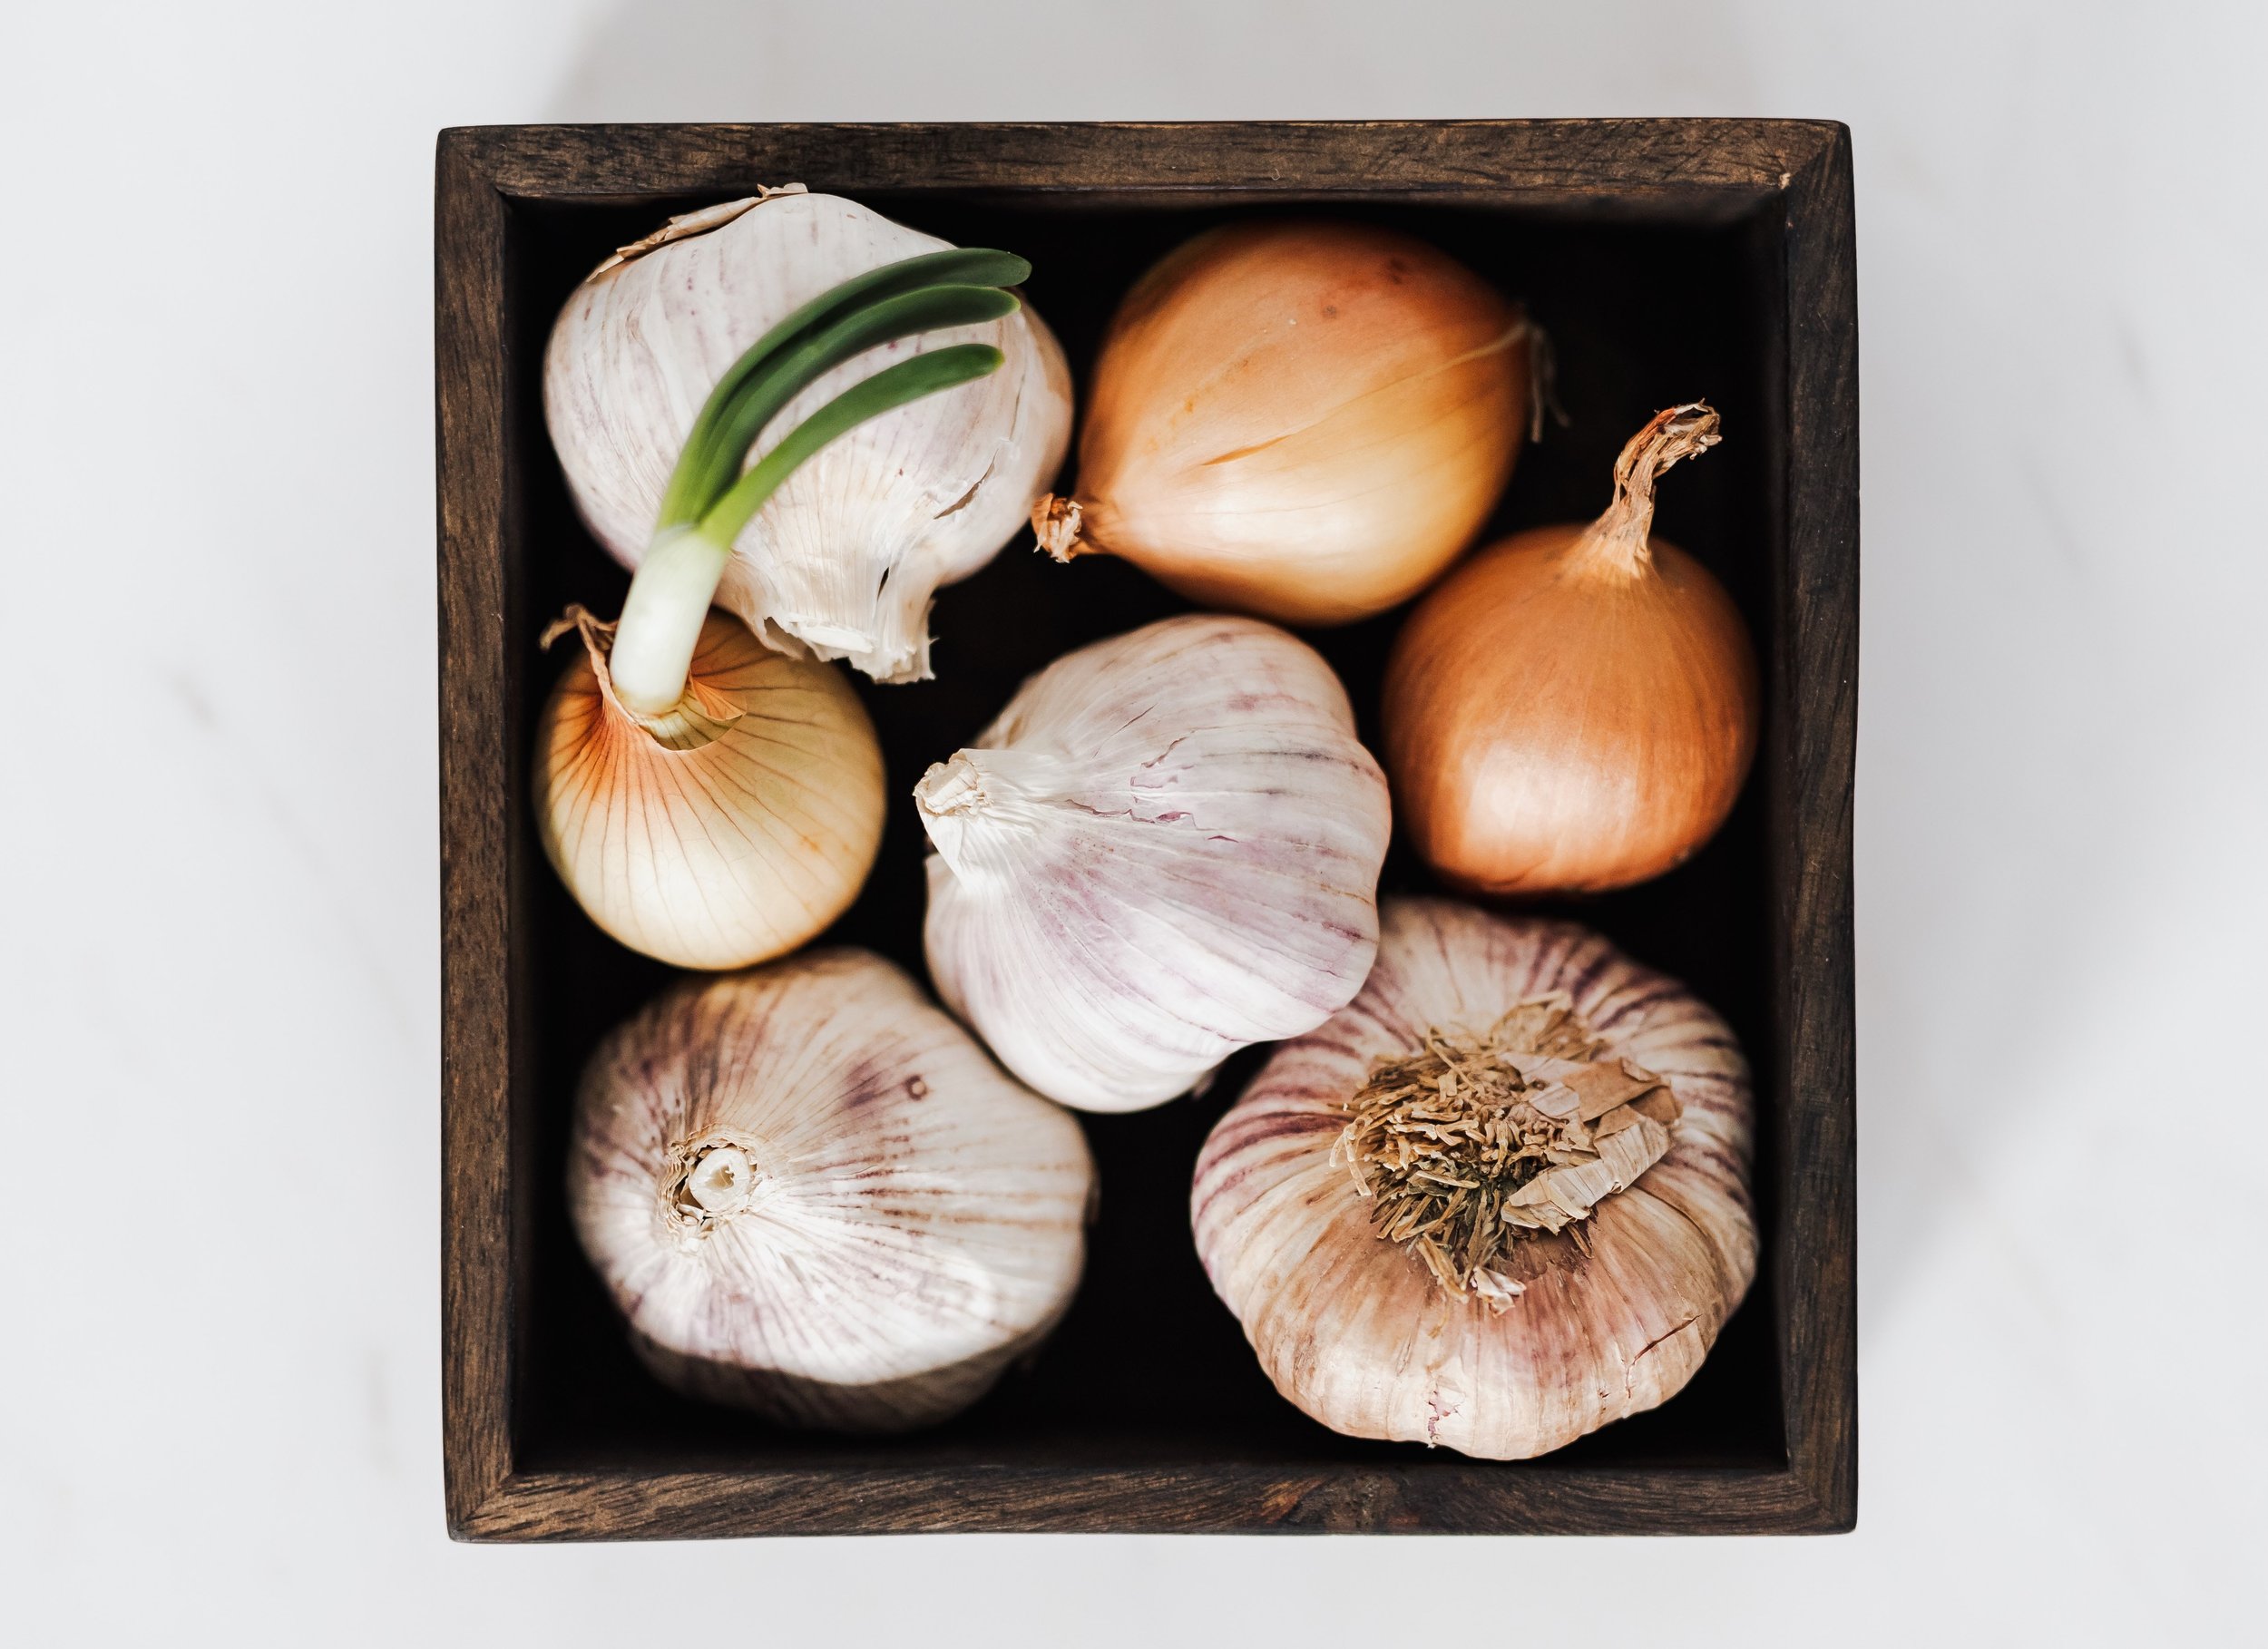
Our thoughts are profoundly connected to our feelings. When you are eating a low FODMAP diet there are foods that will make you feel terrible. You can choose not to eat them, but the way you frame that choice in your mind is important. Try this exercise as it relates to a high FODMAP food you don’t eat such as onions or garlic.
“I can’t have that.”
Imposing a rule such as this is more an appeal to authority than it is a personal decision to change. It will probably work for a little while, but ultimately, you will want to rebel against "the rule" and give in to have whatever it is you "can't" have.
"I don't want that"
Try “don’t” instead. "I don't want that" represents a personal choice. It says, this is who I am and I'm making a choice that empowers me to feel good. This choice-based model is likely to work over the long term because you are in charge. You are deciding to honor yourself with your personal decision. It’s not up to anyone but you.
Try it: “I can’t have that,” vs “I don’t want that.”
Which feels better?
When you think about this, you will come to understand it’s incredibly empowering. It allows you to step away from being the victim of some outside rule and confidently establish yourself as the driver of your own decisions. It’s energizing. It’s amazing. It will change your whole perspective.
But what about that French onion soup with cheesy bread topping? There is nothing strictly “off-limits” for you. It’s all about how you want to feel. We give you information to help you make decisions that align with your desire to feel good. Sometimes you may decide to eat something that makes you feel like crap, and that is fine. By eating something you know is high FODMAP, you are simply making a choice to enjoy that thing and accept the consequences. That choice is completely available to you and you should enjoy every bite of that thing that you want.
When you’re suffering the consequences, you’ll remember the joy you felt in every bite. Then next time you’re presented with that French onion soup or apple pie a la mode, you can decide if it’s worth it to do it again. It’s really up to you. It’s your choice. You’re in control of your body and your symptoms. Just take responsibility for that choice and don’t be the victim of invisible rules by saying “I can’t have that.” They are not your rules.
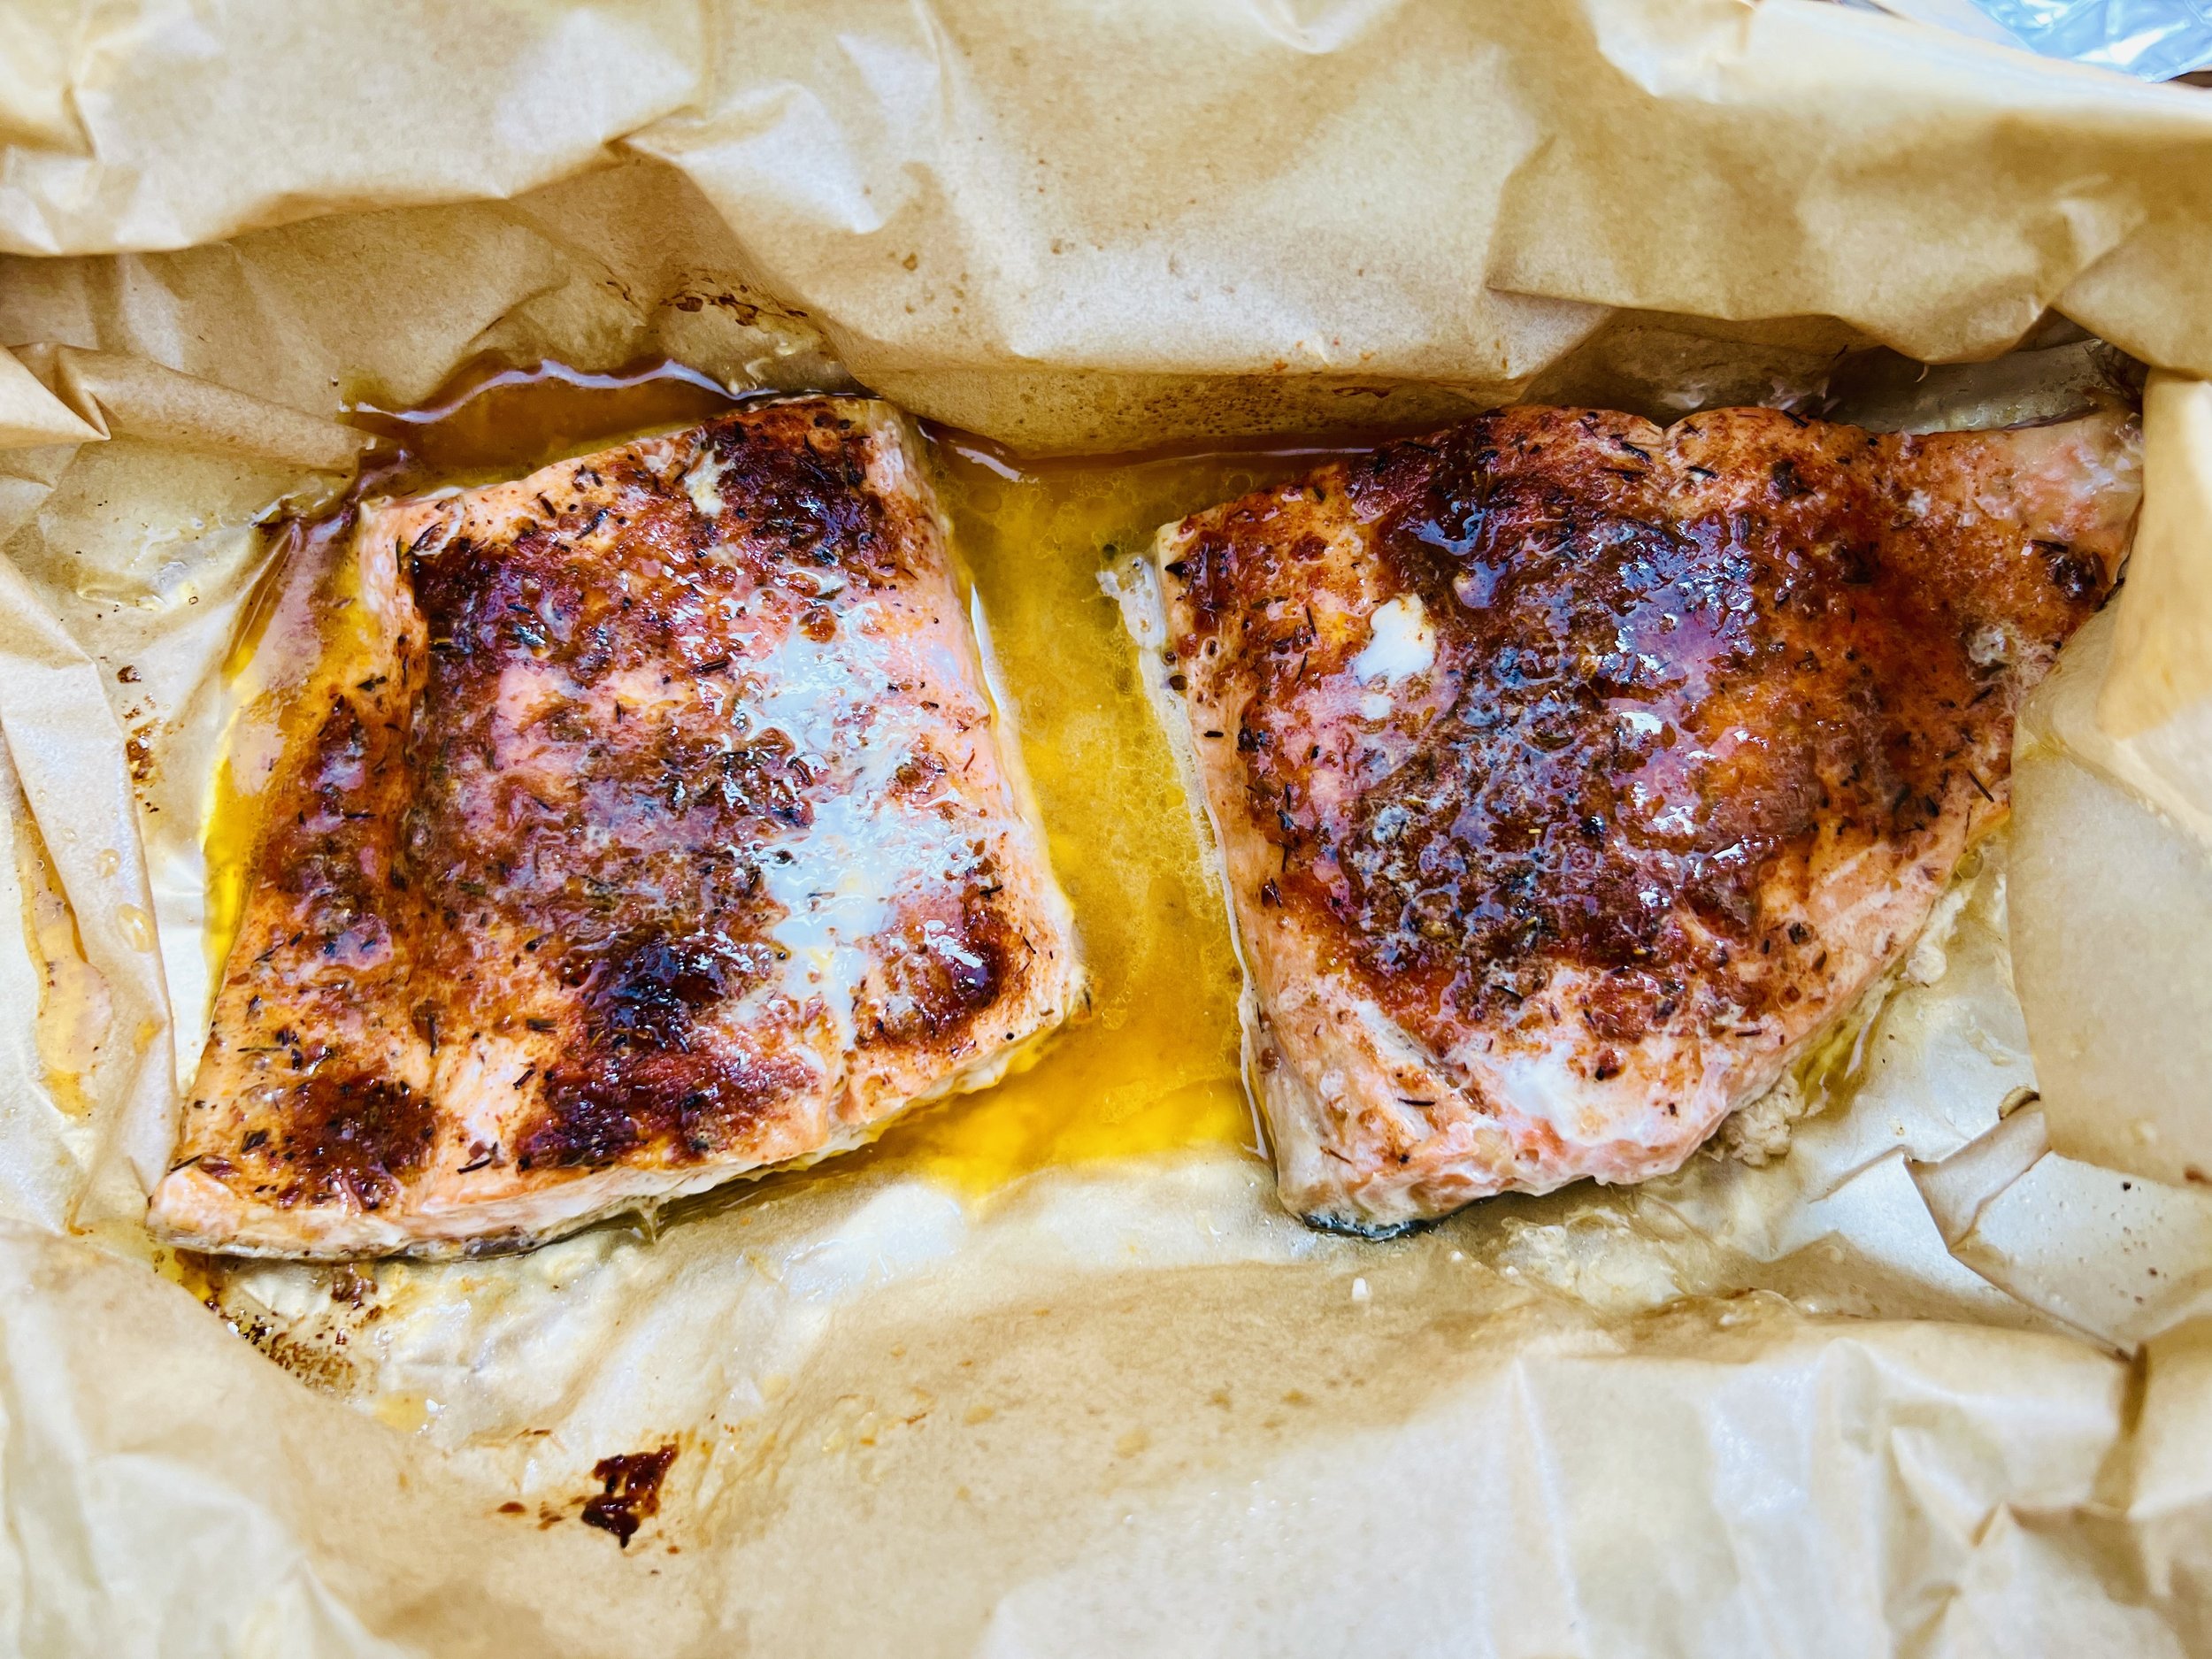
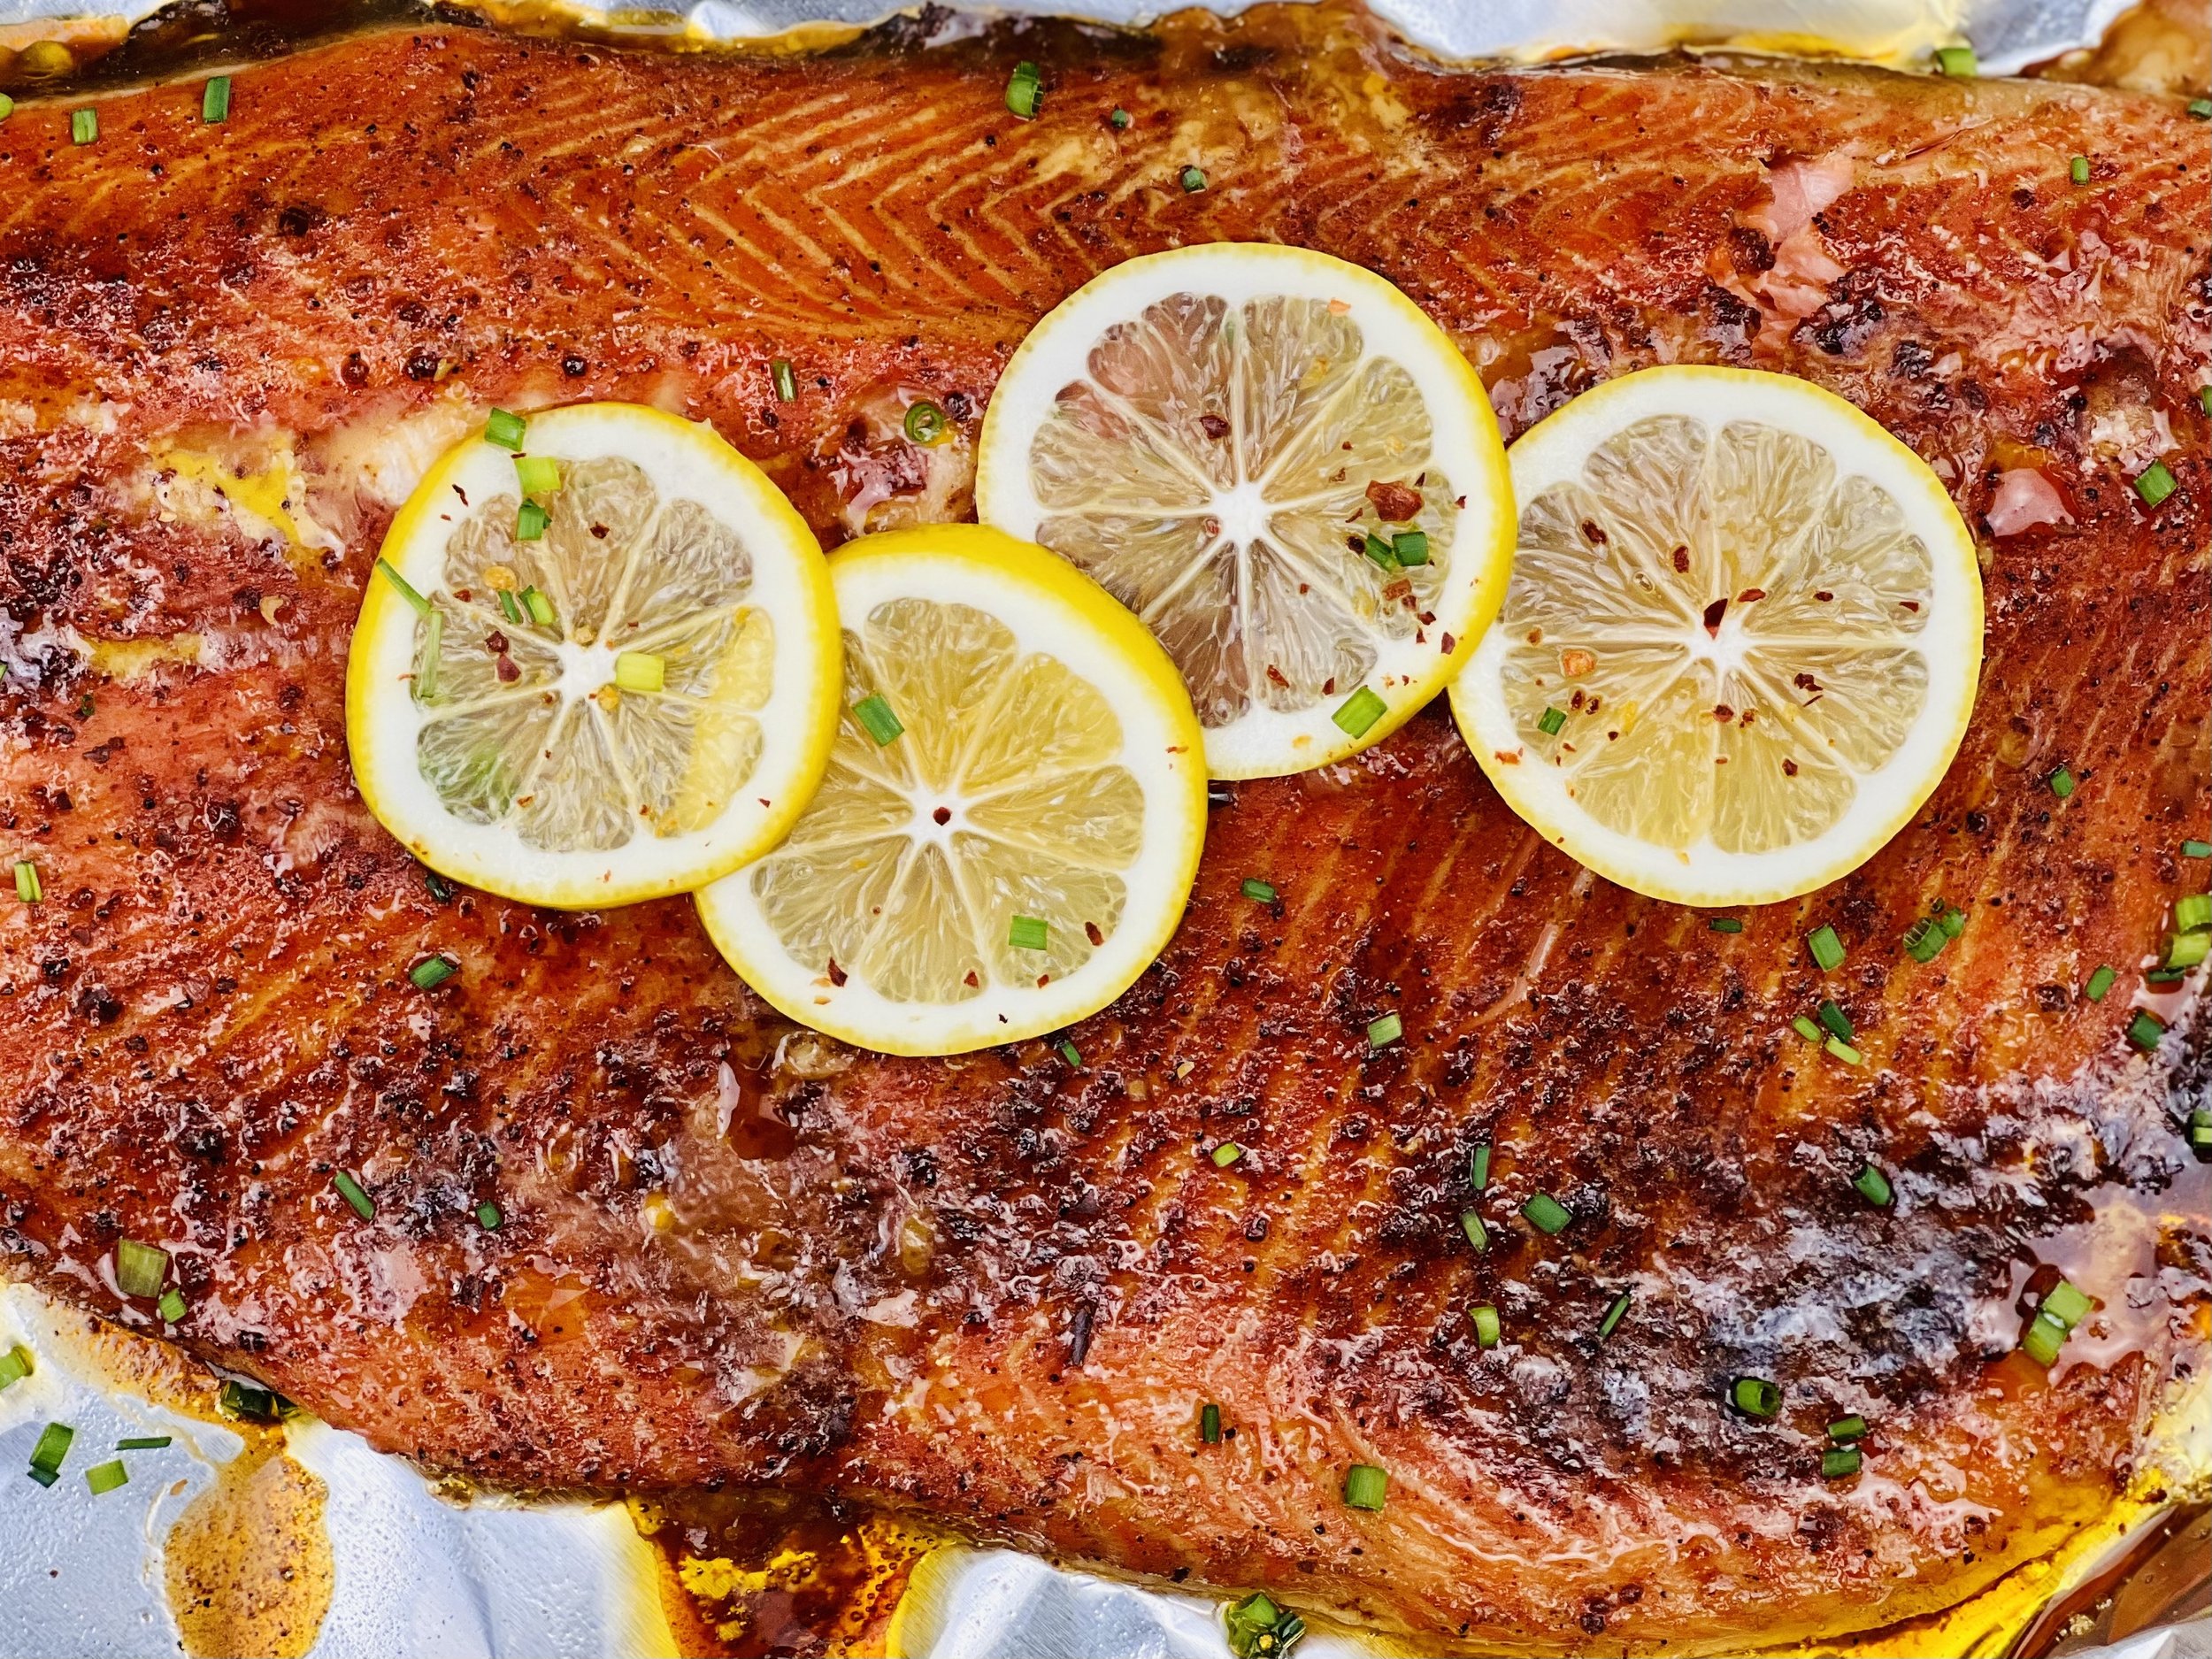
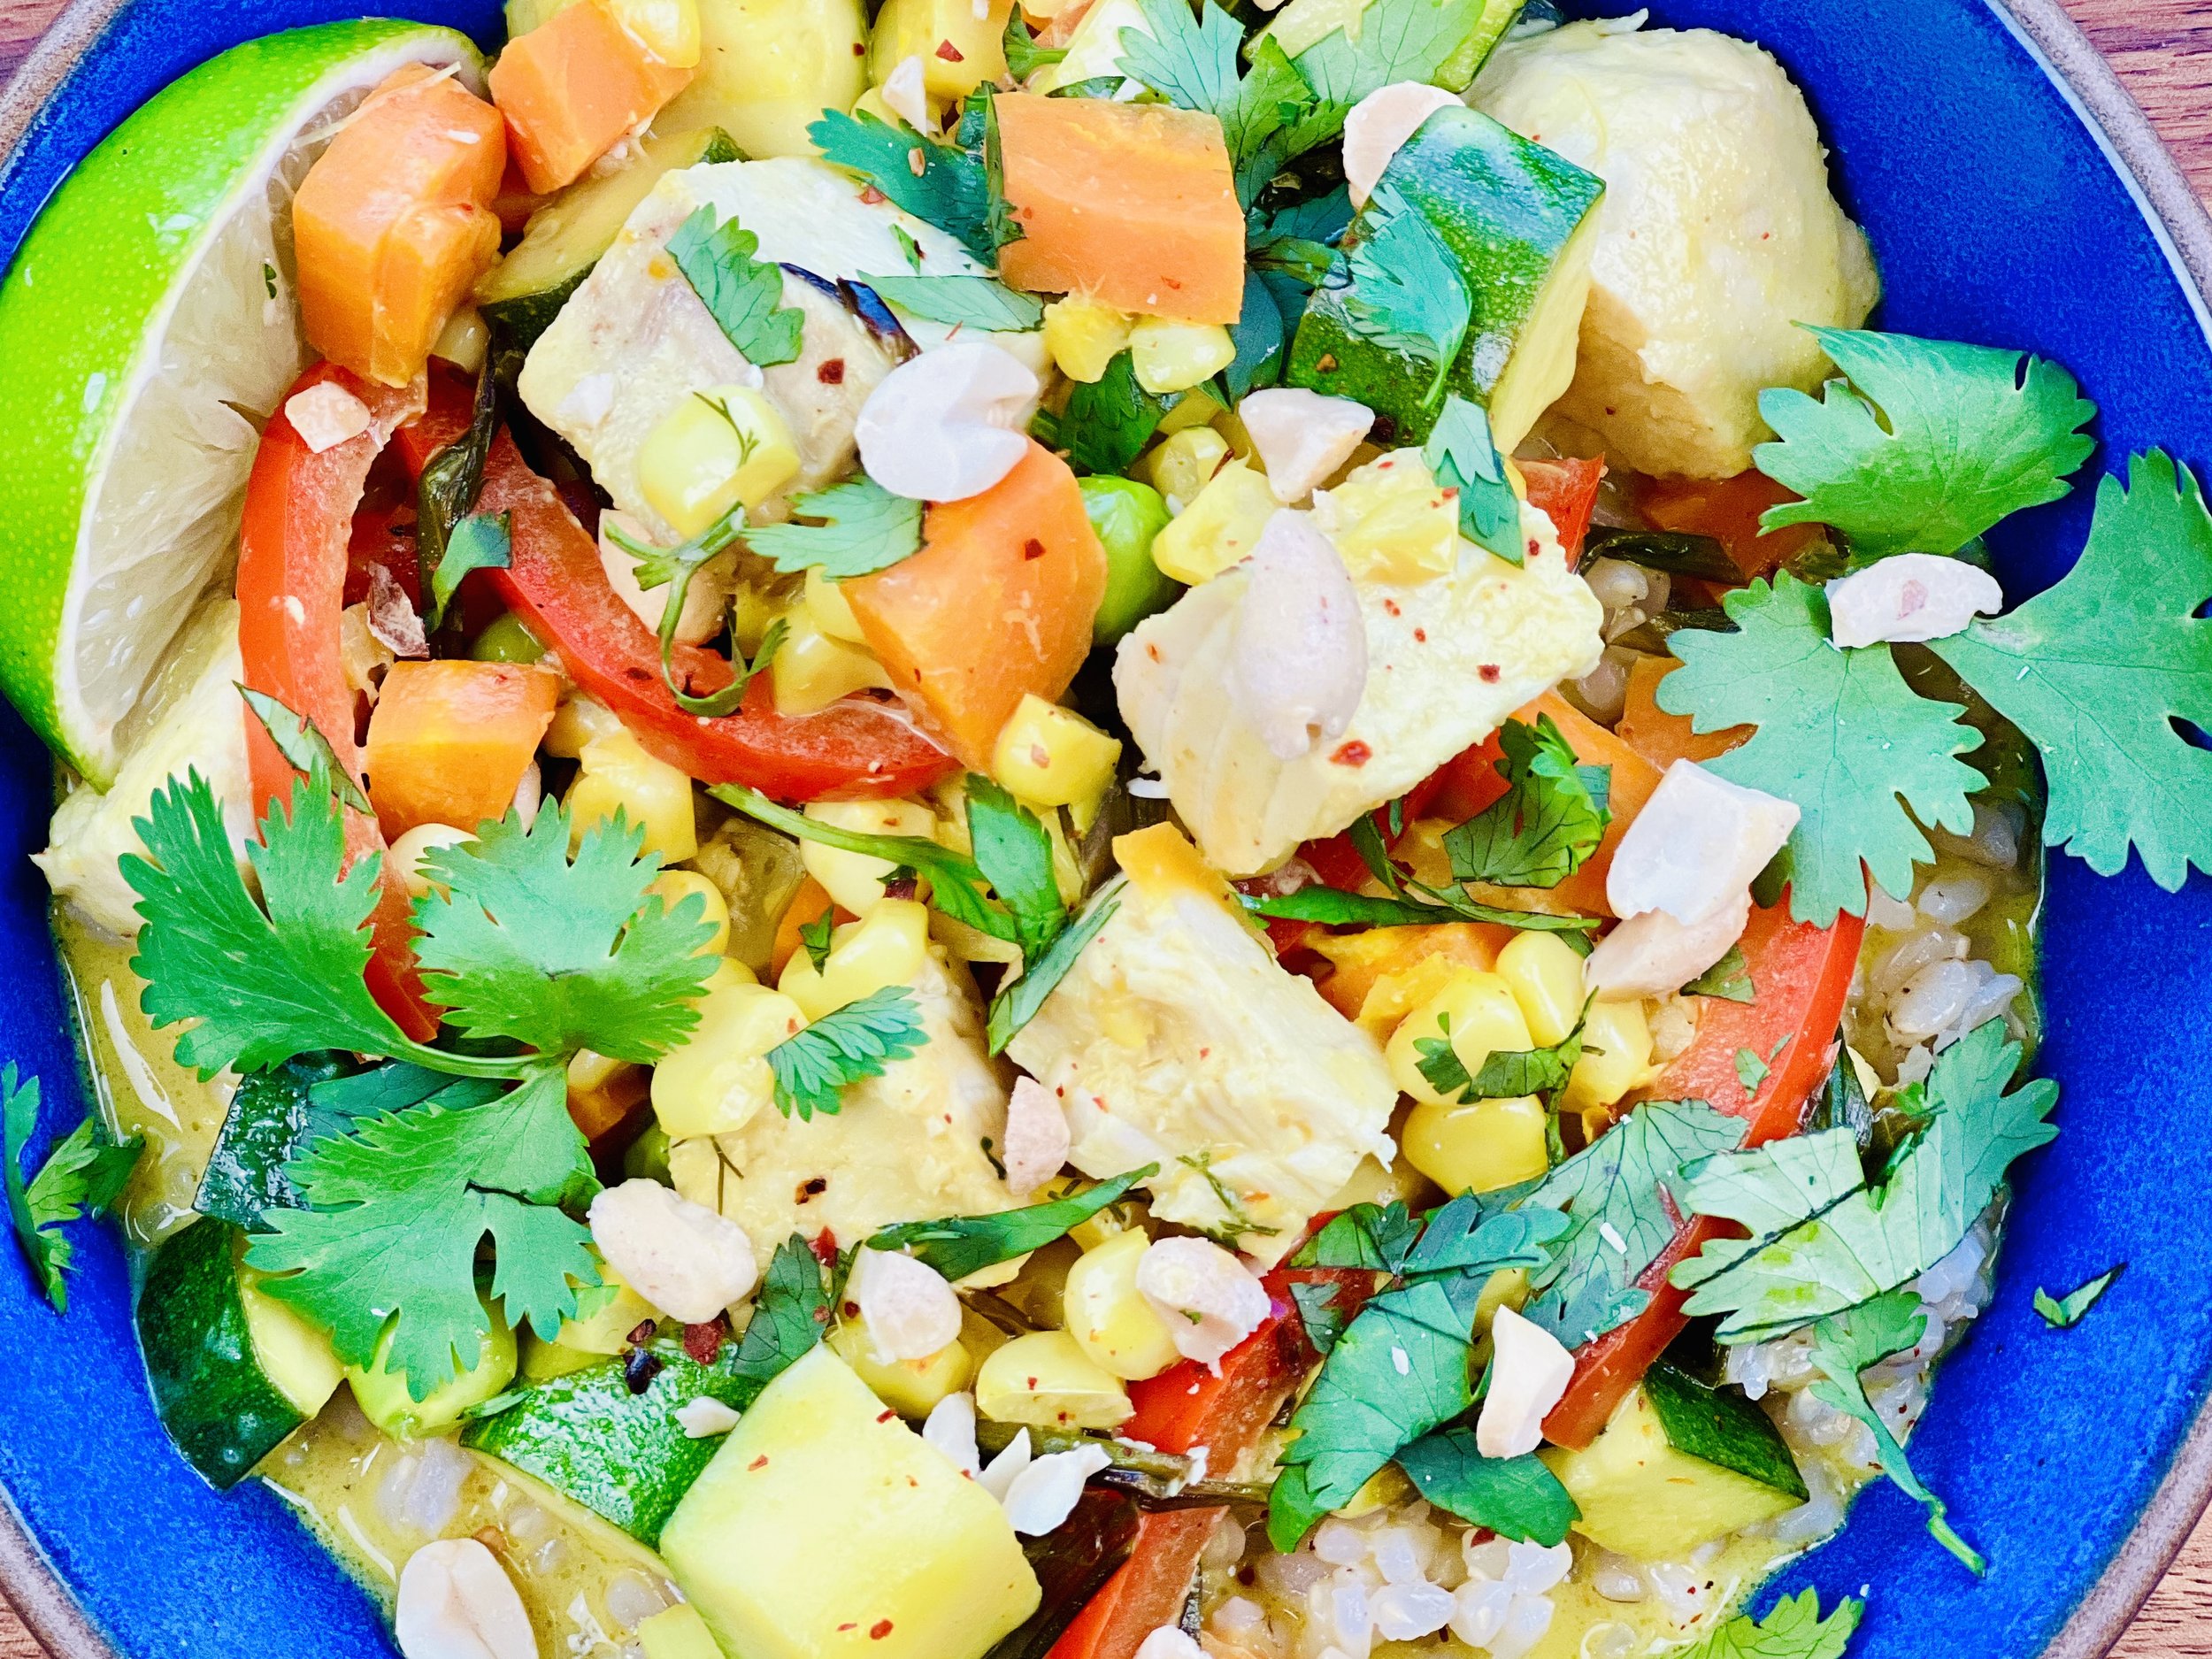
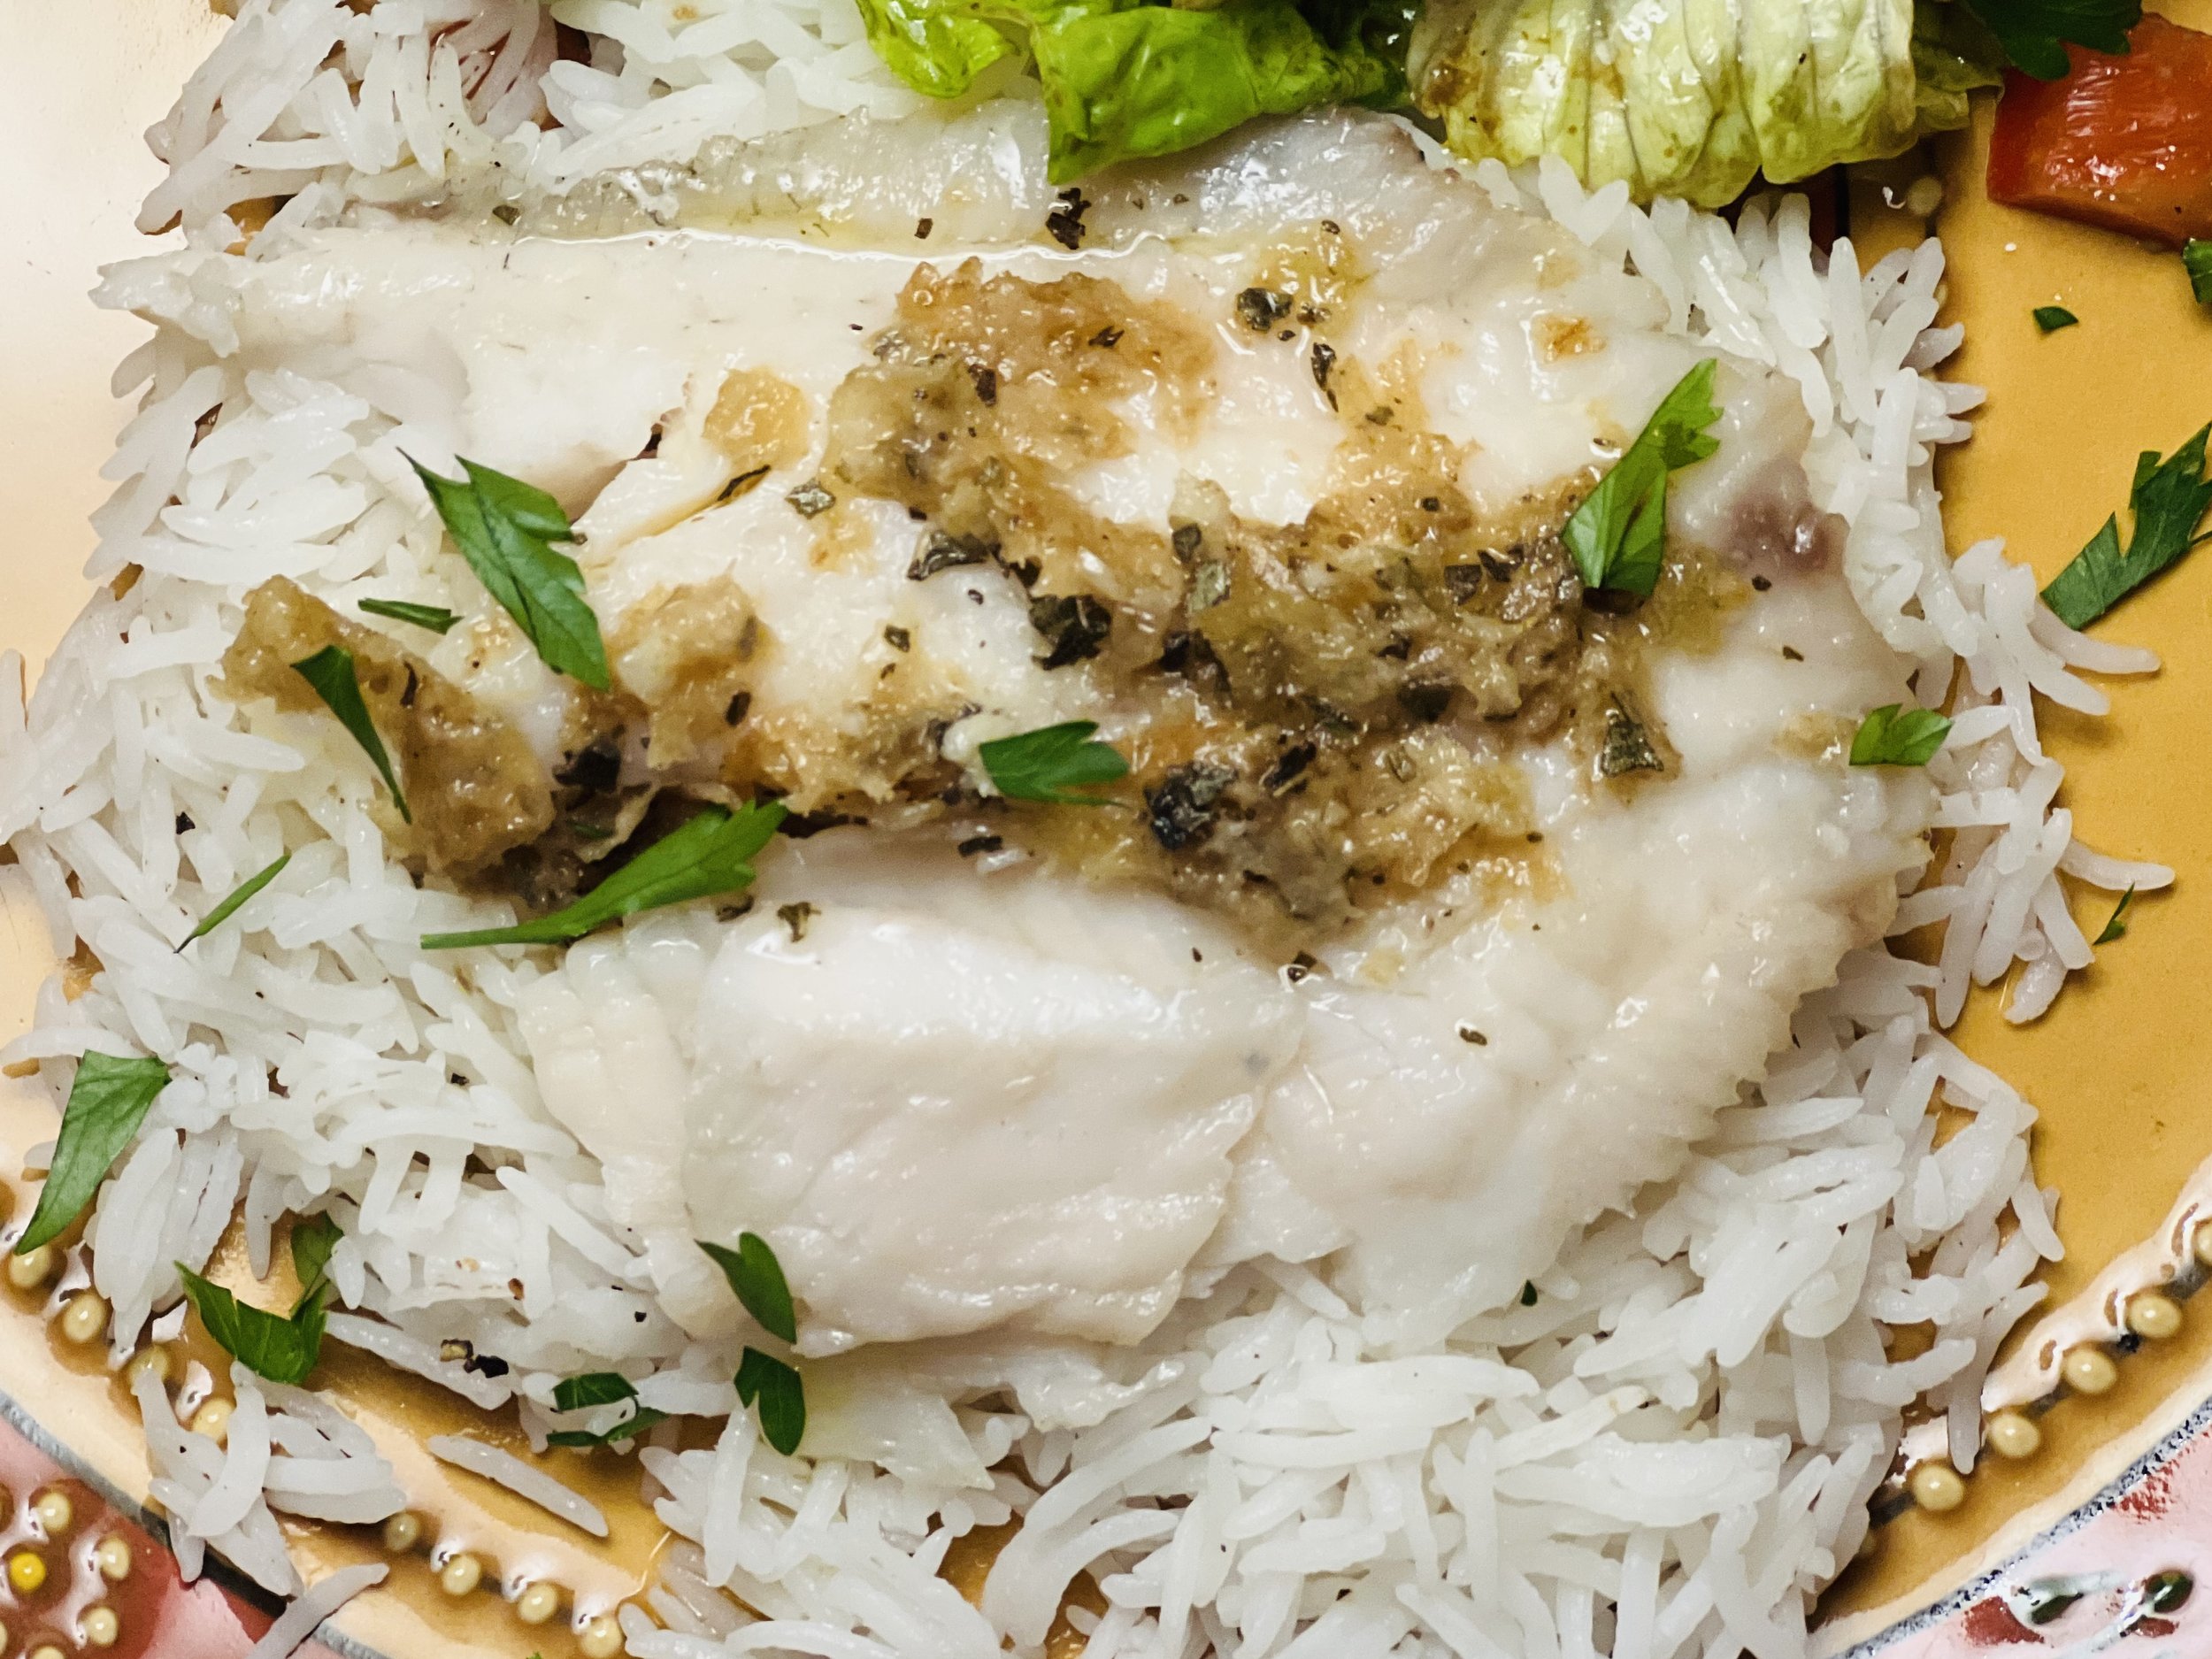
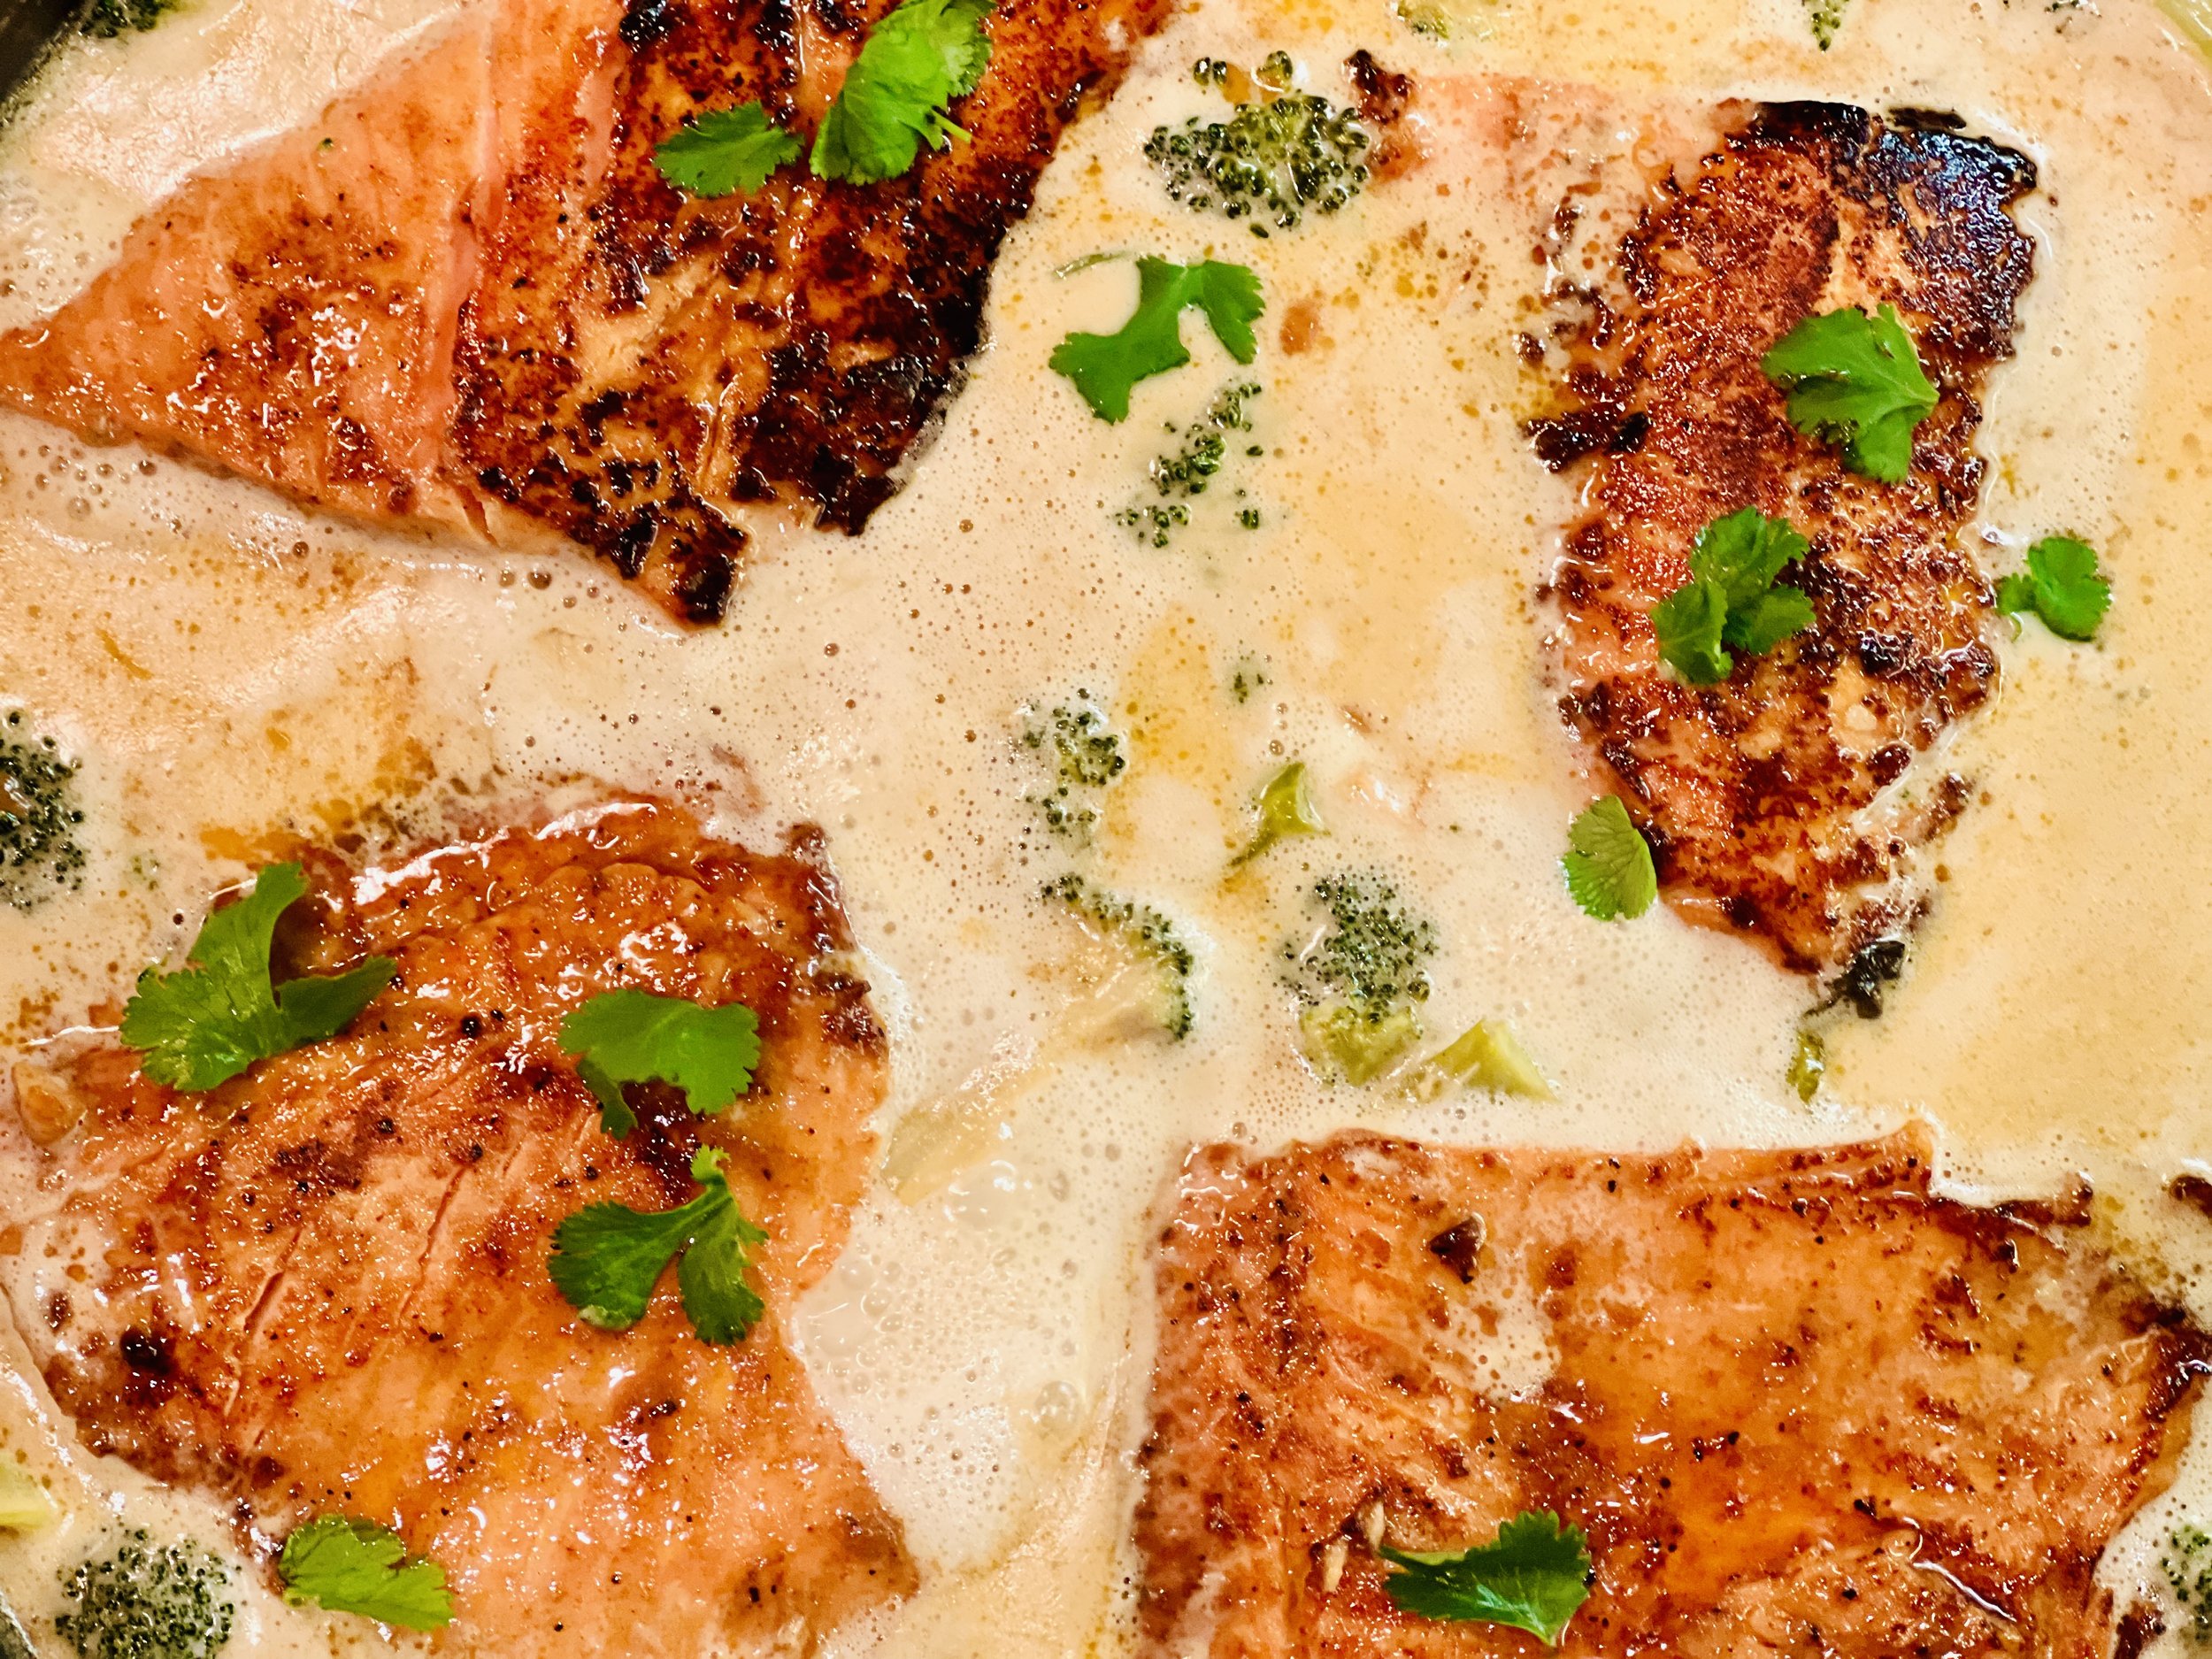
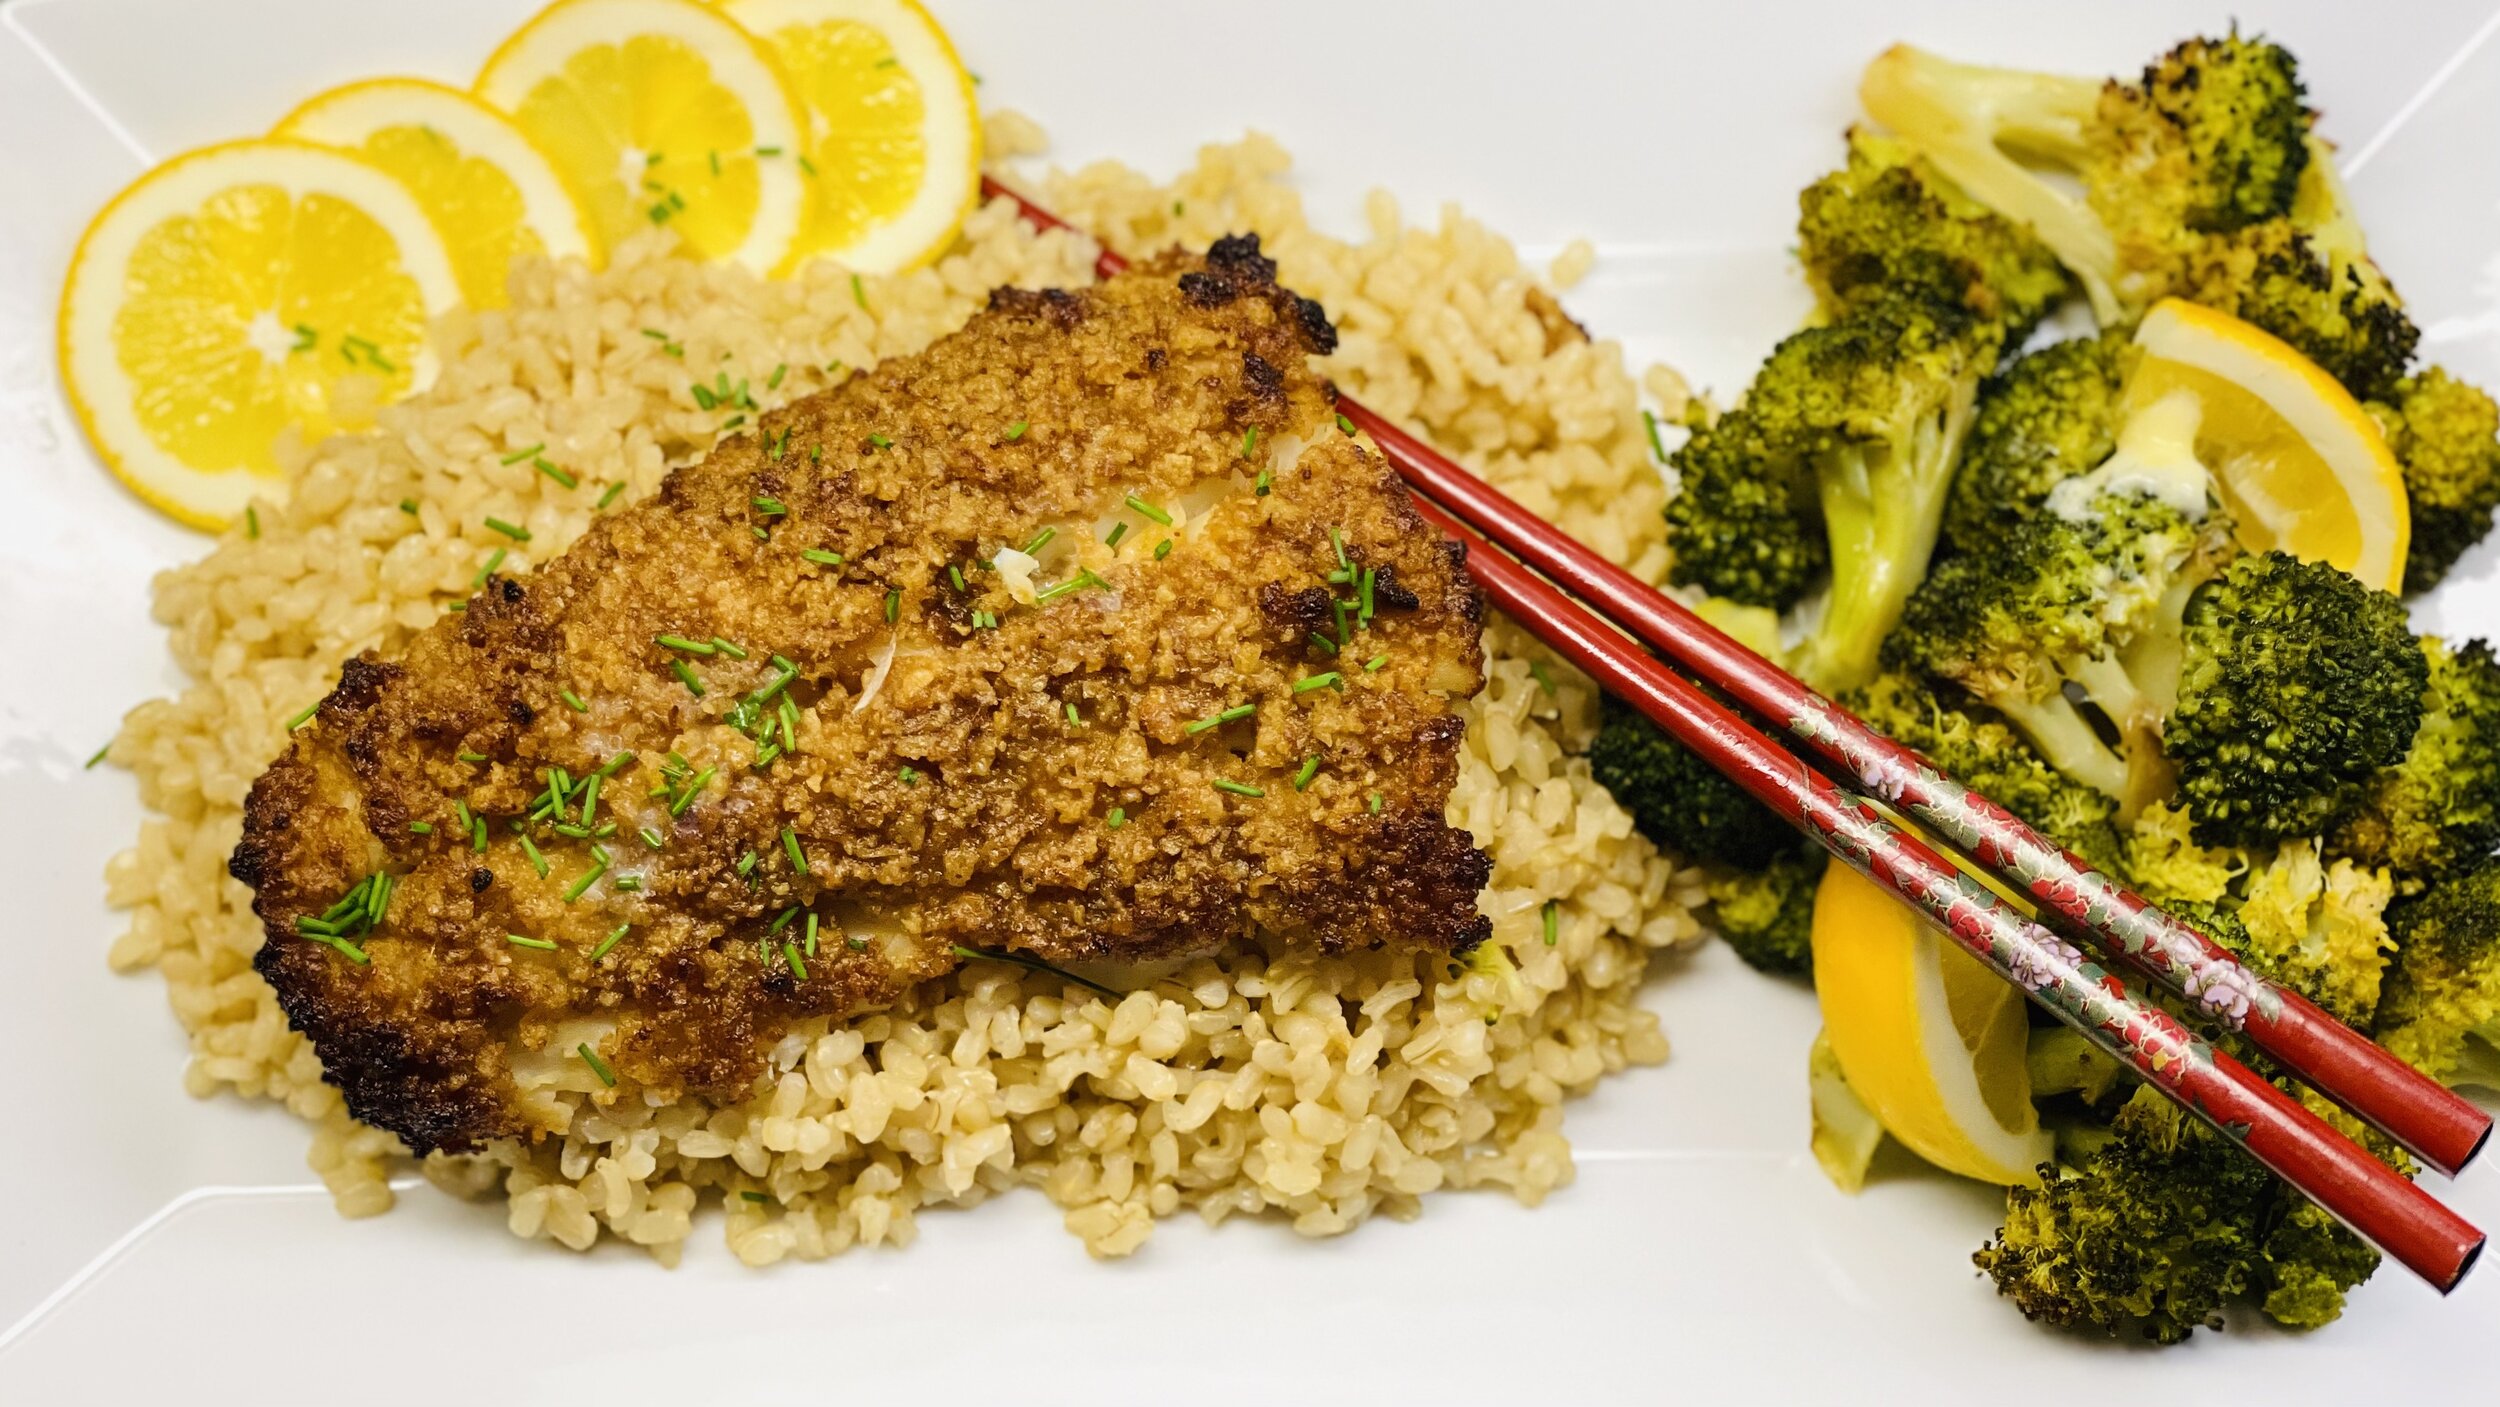
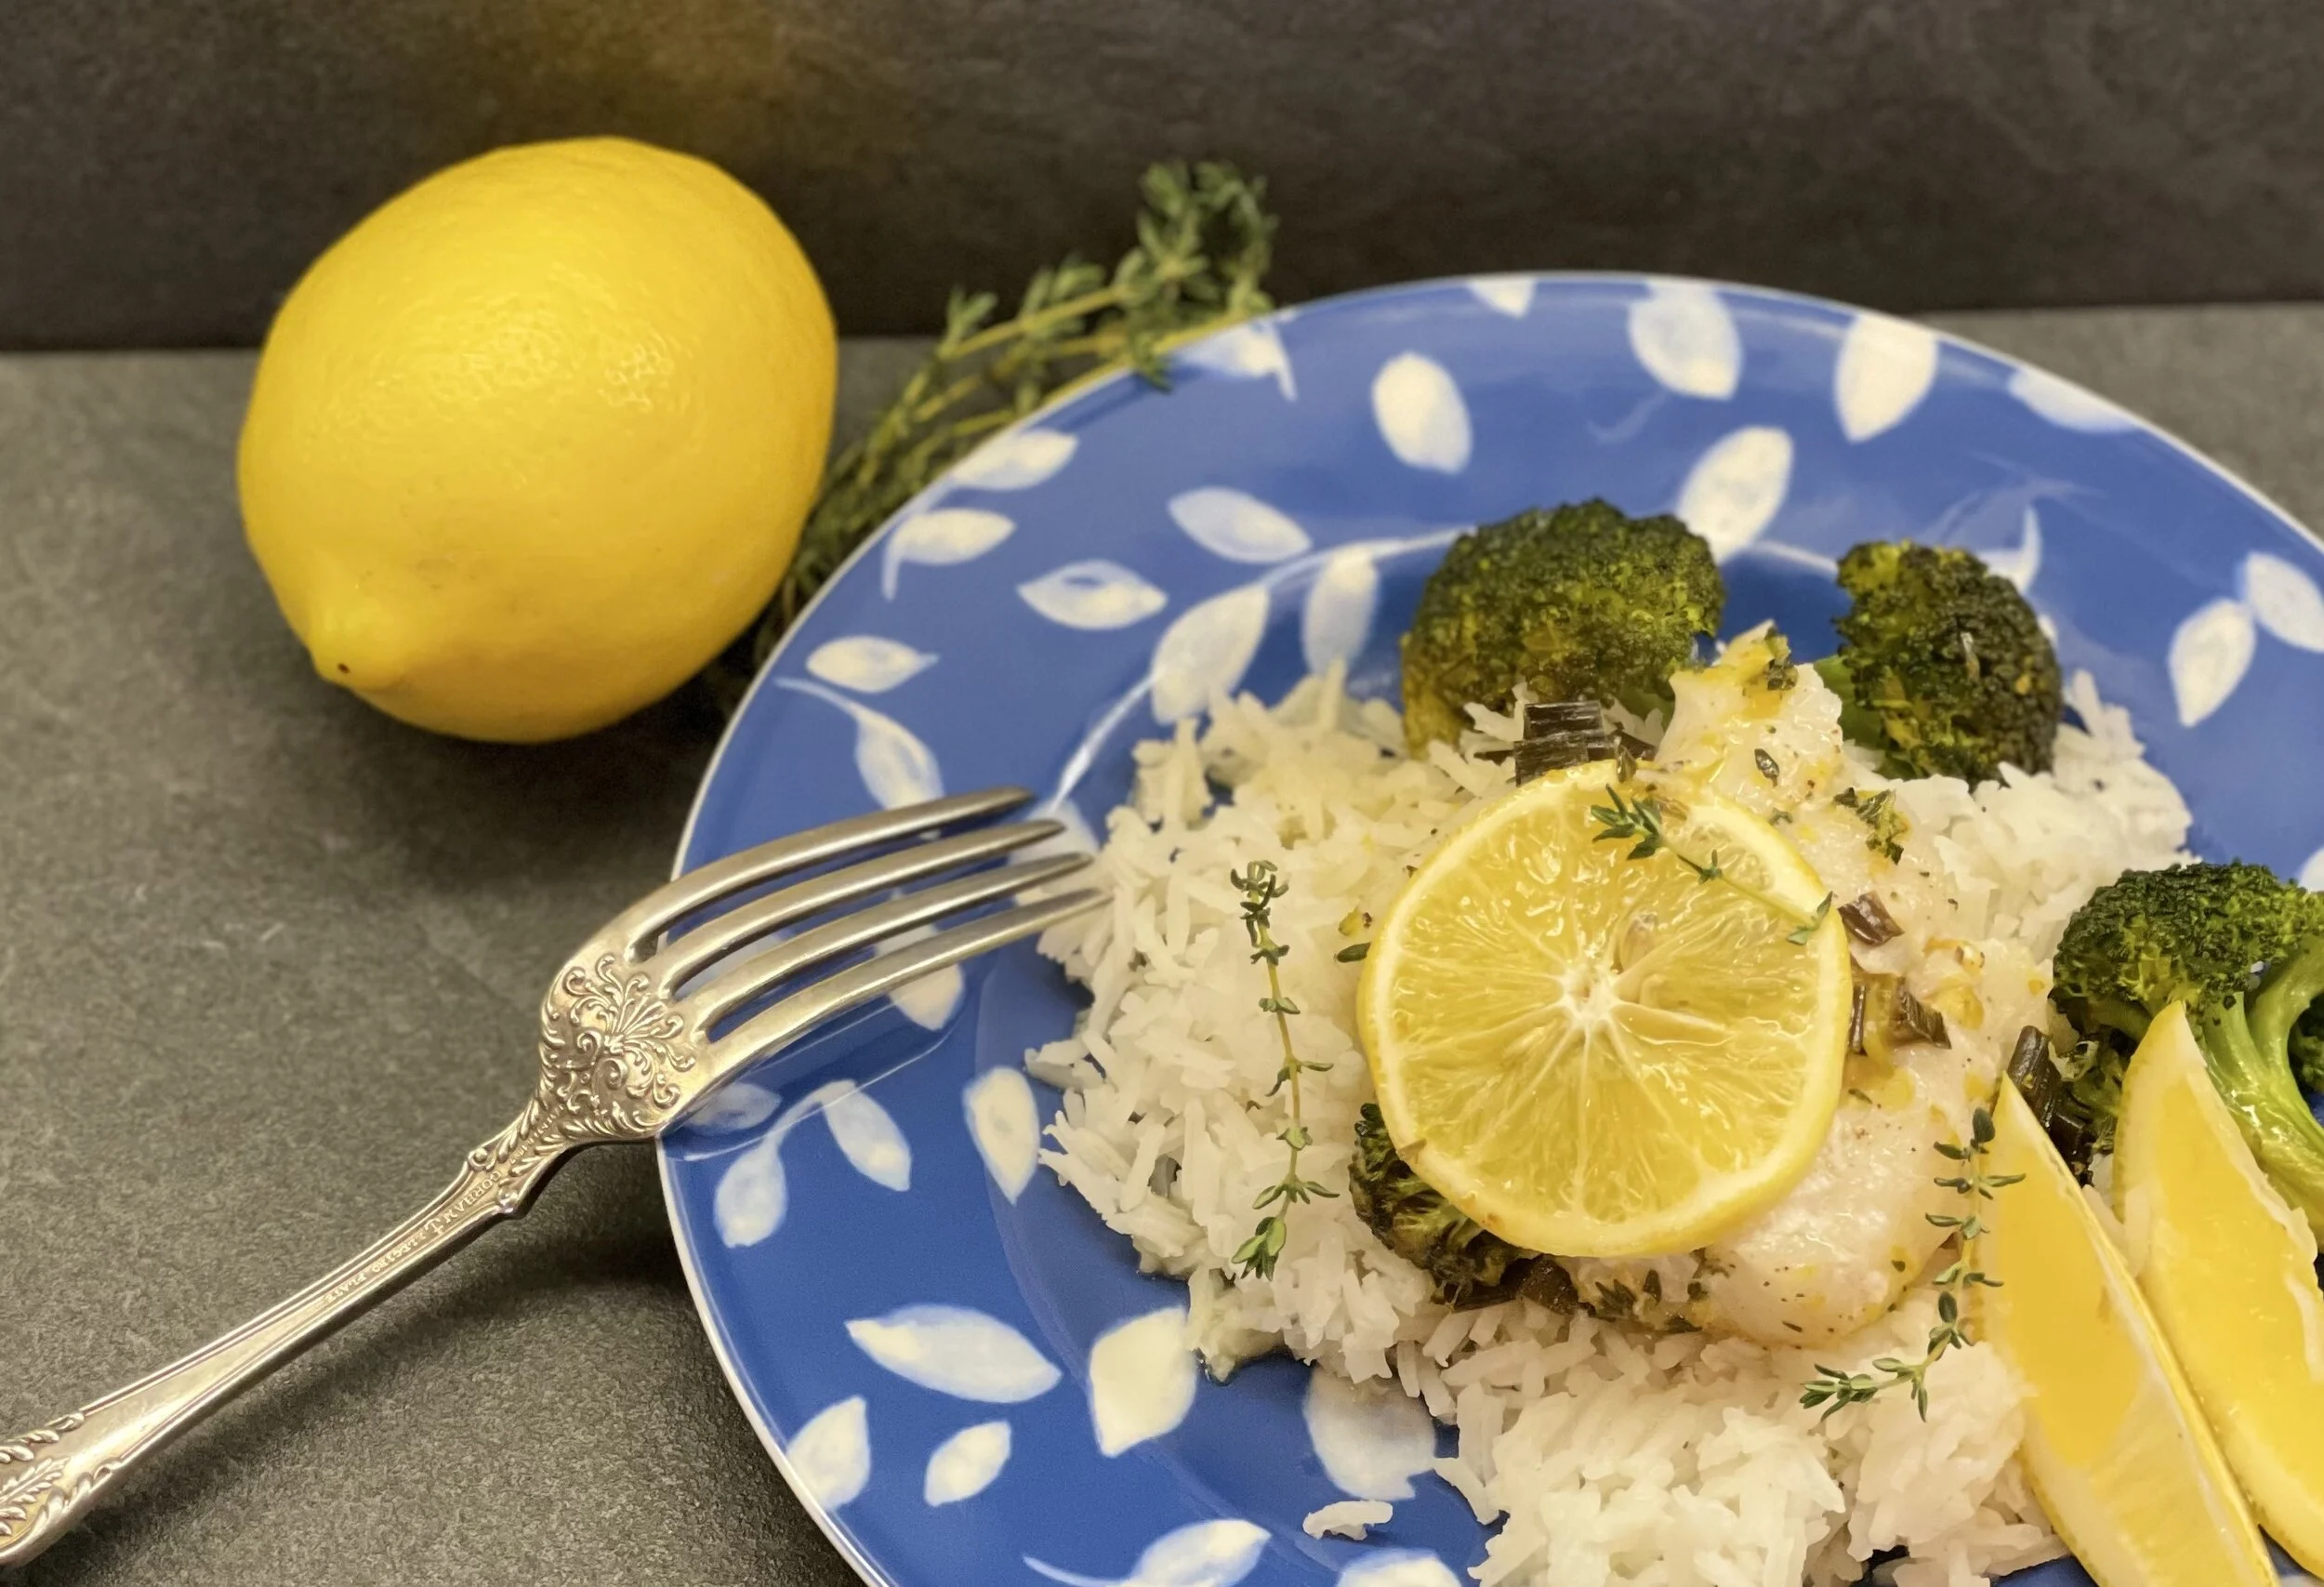
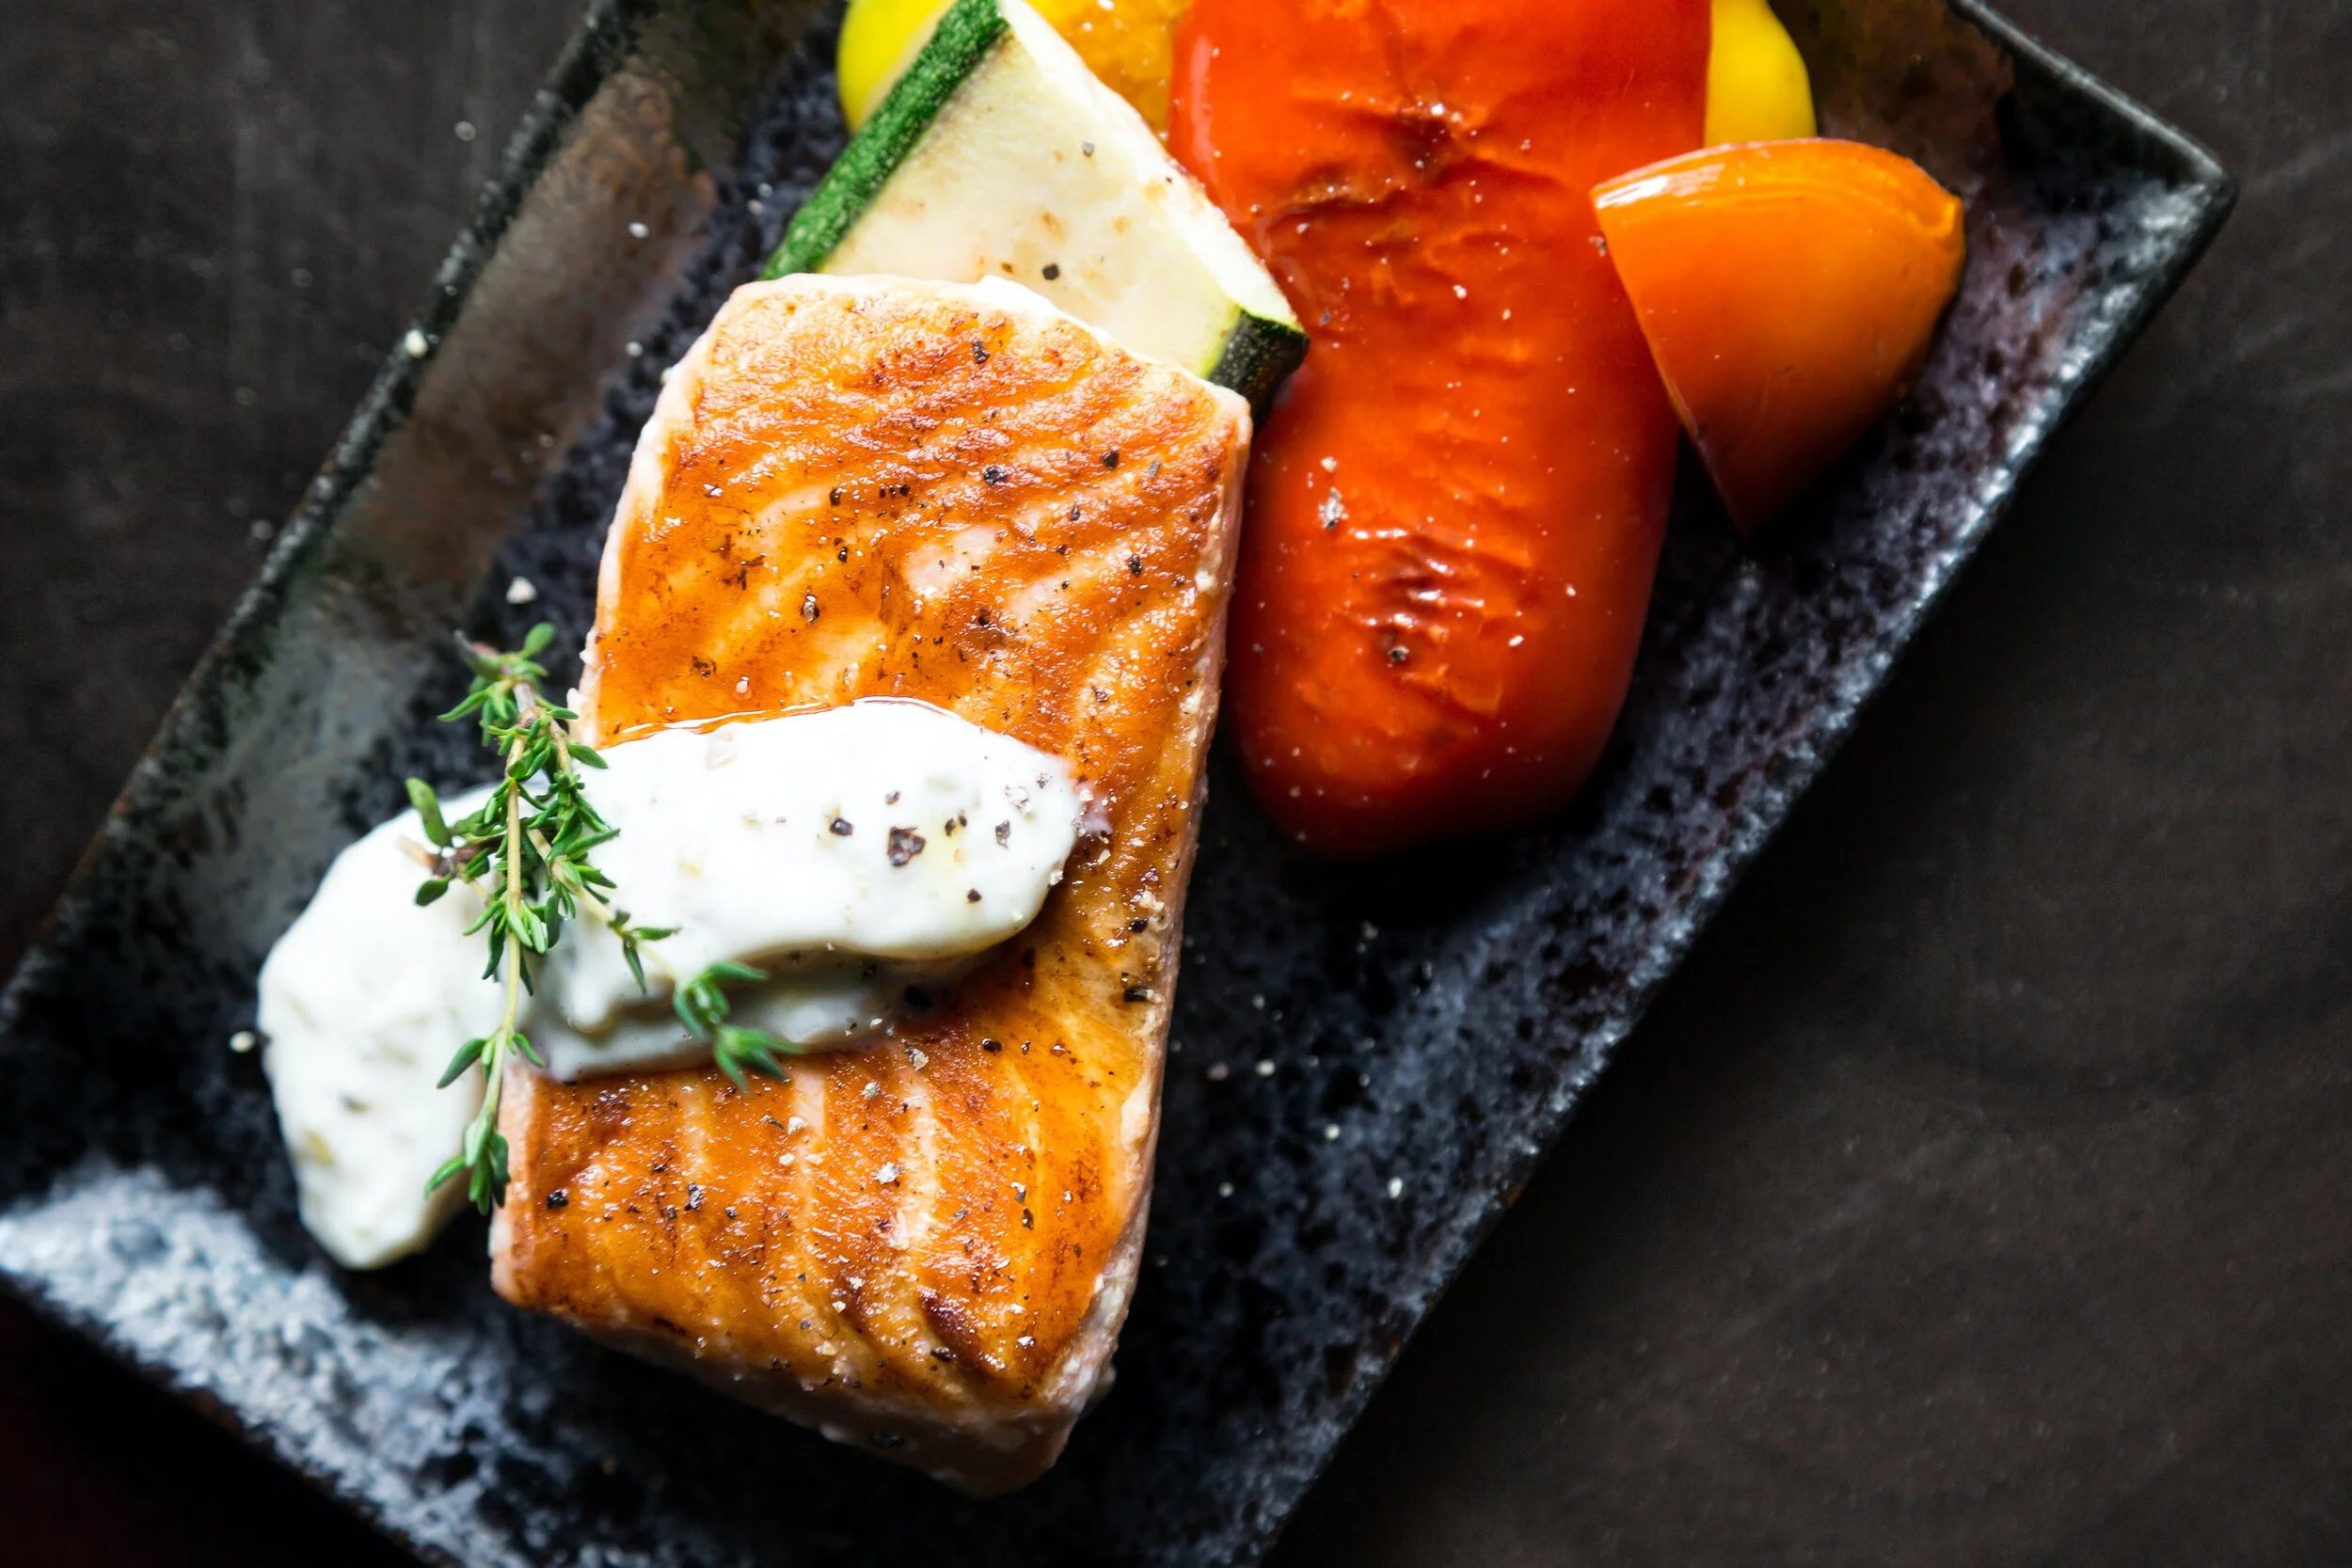
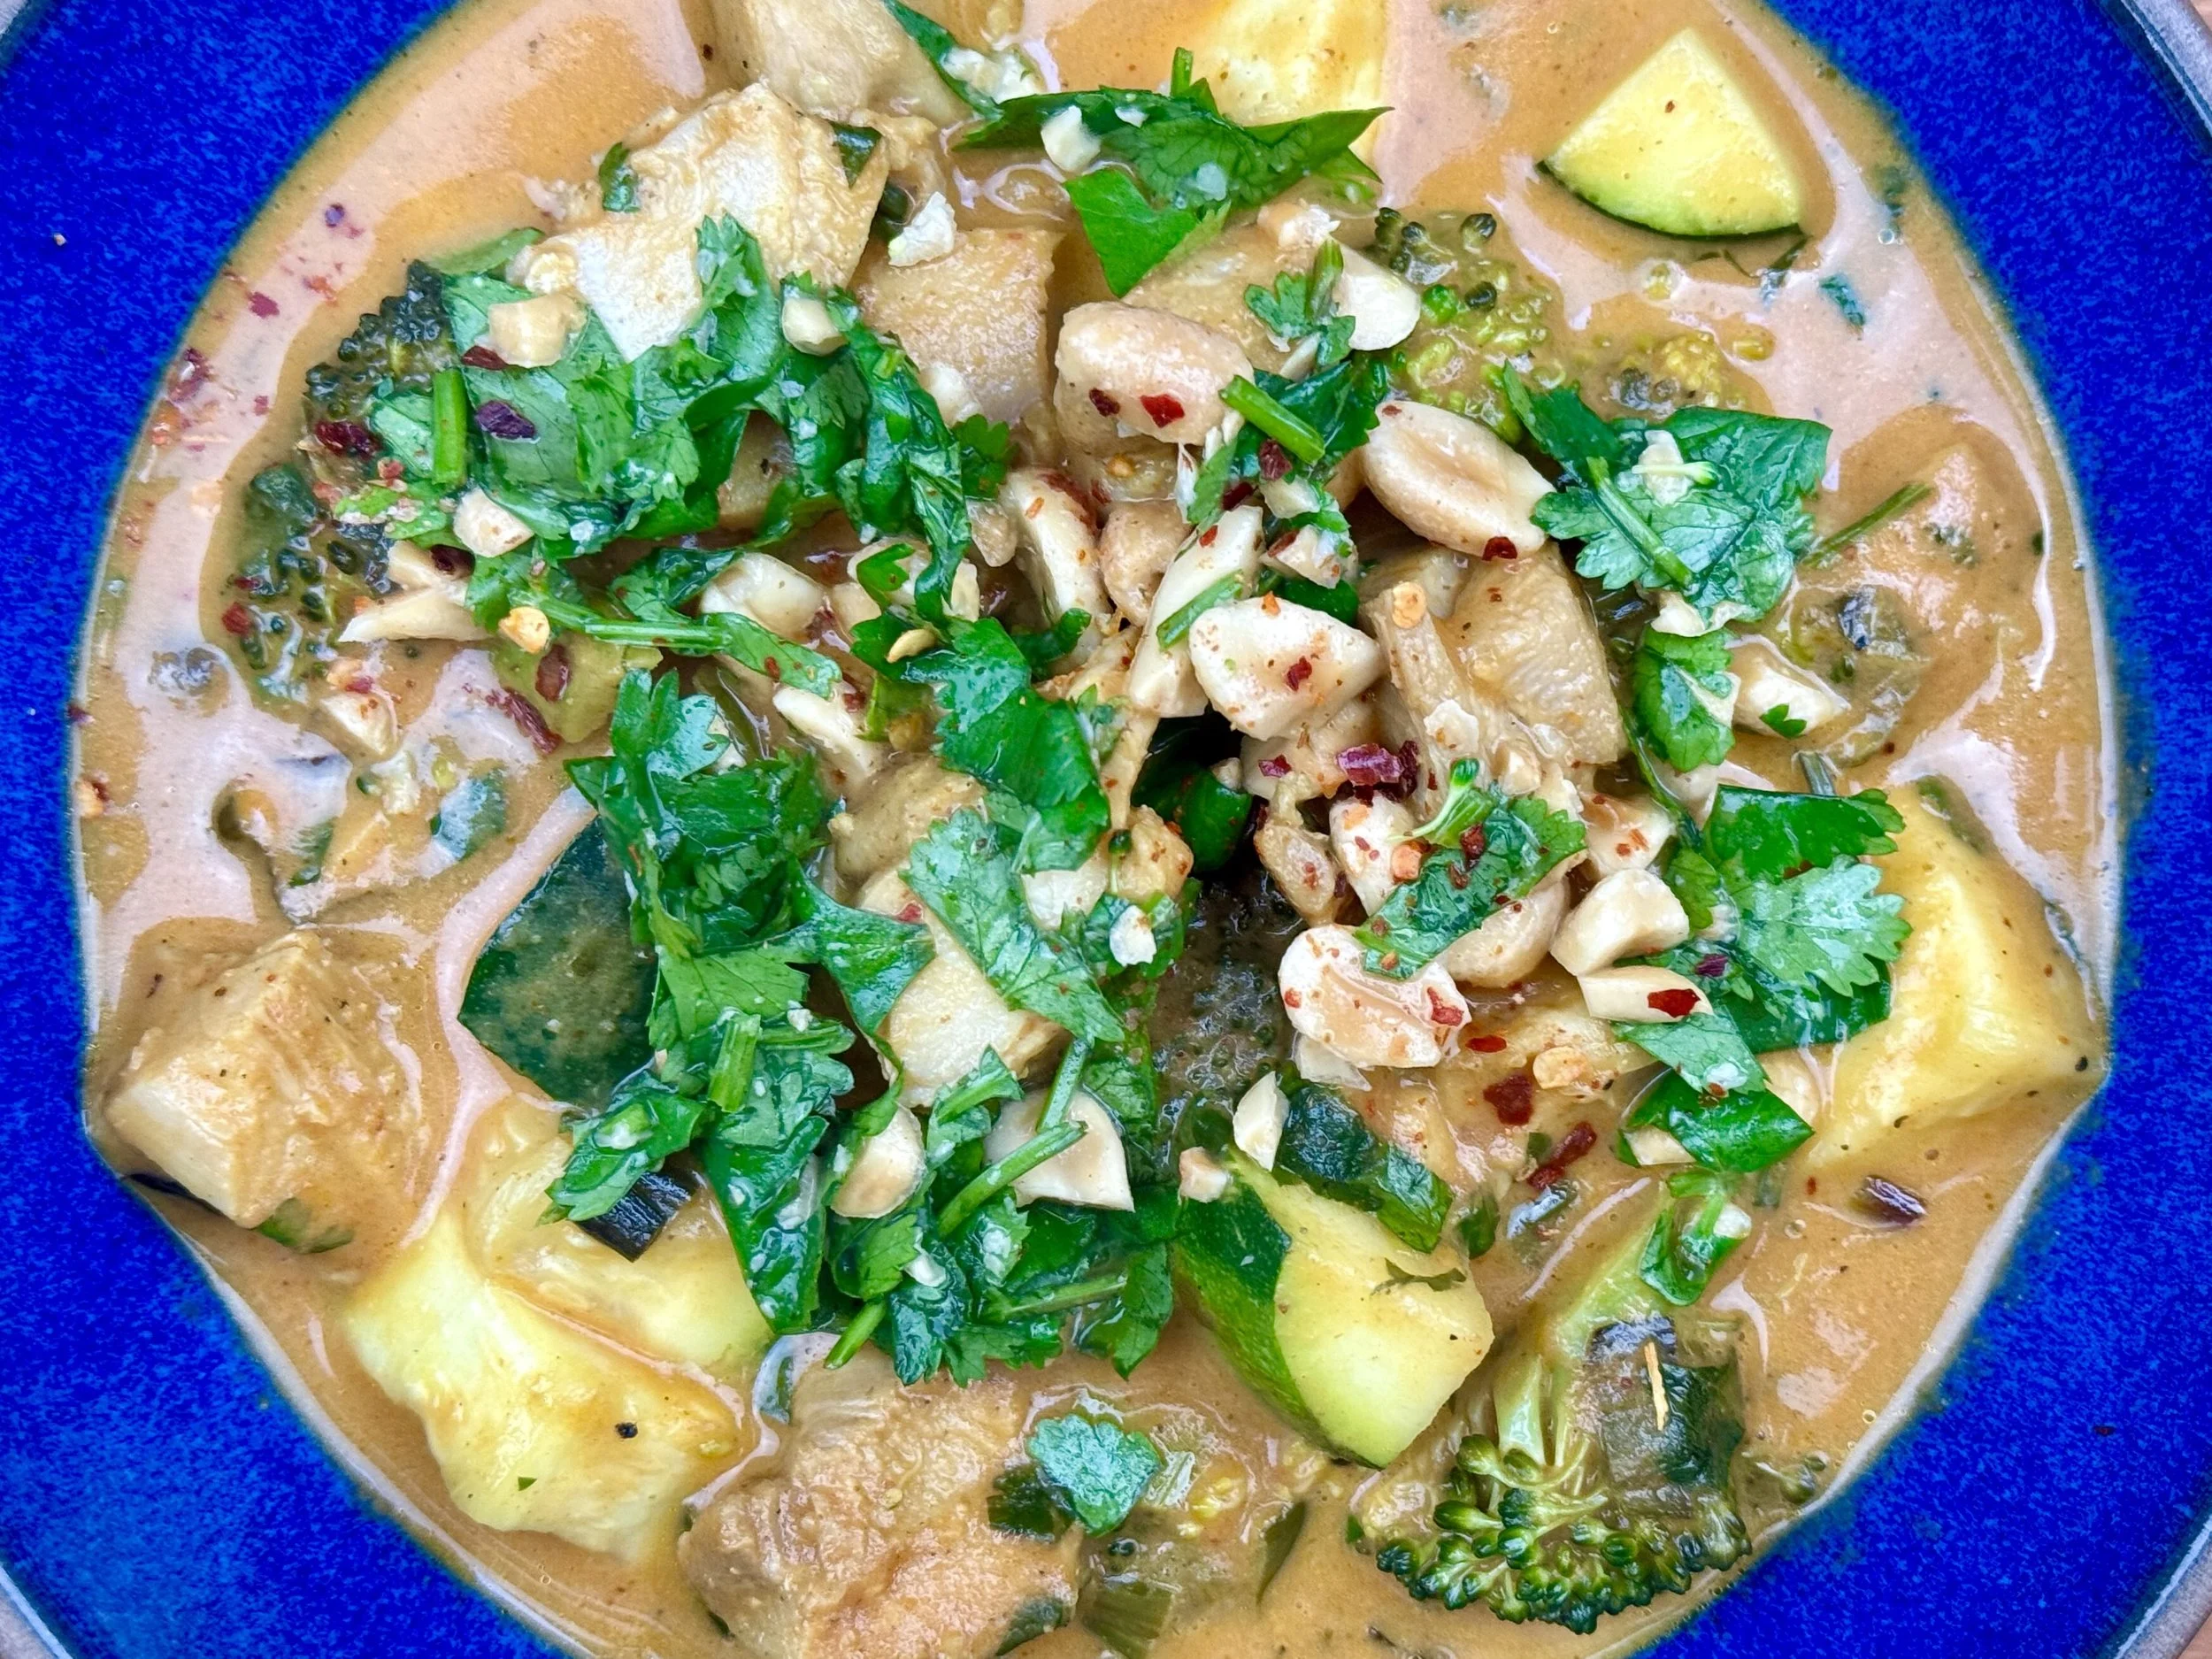
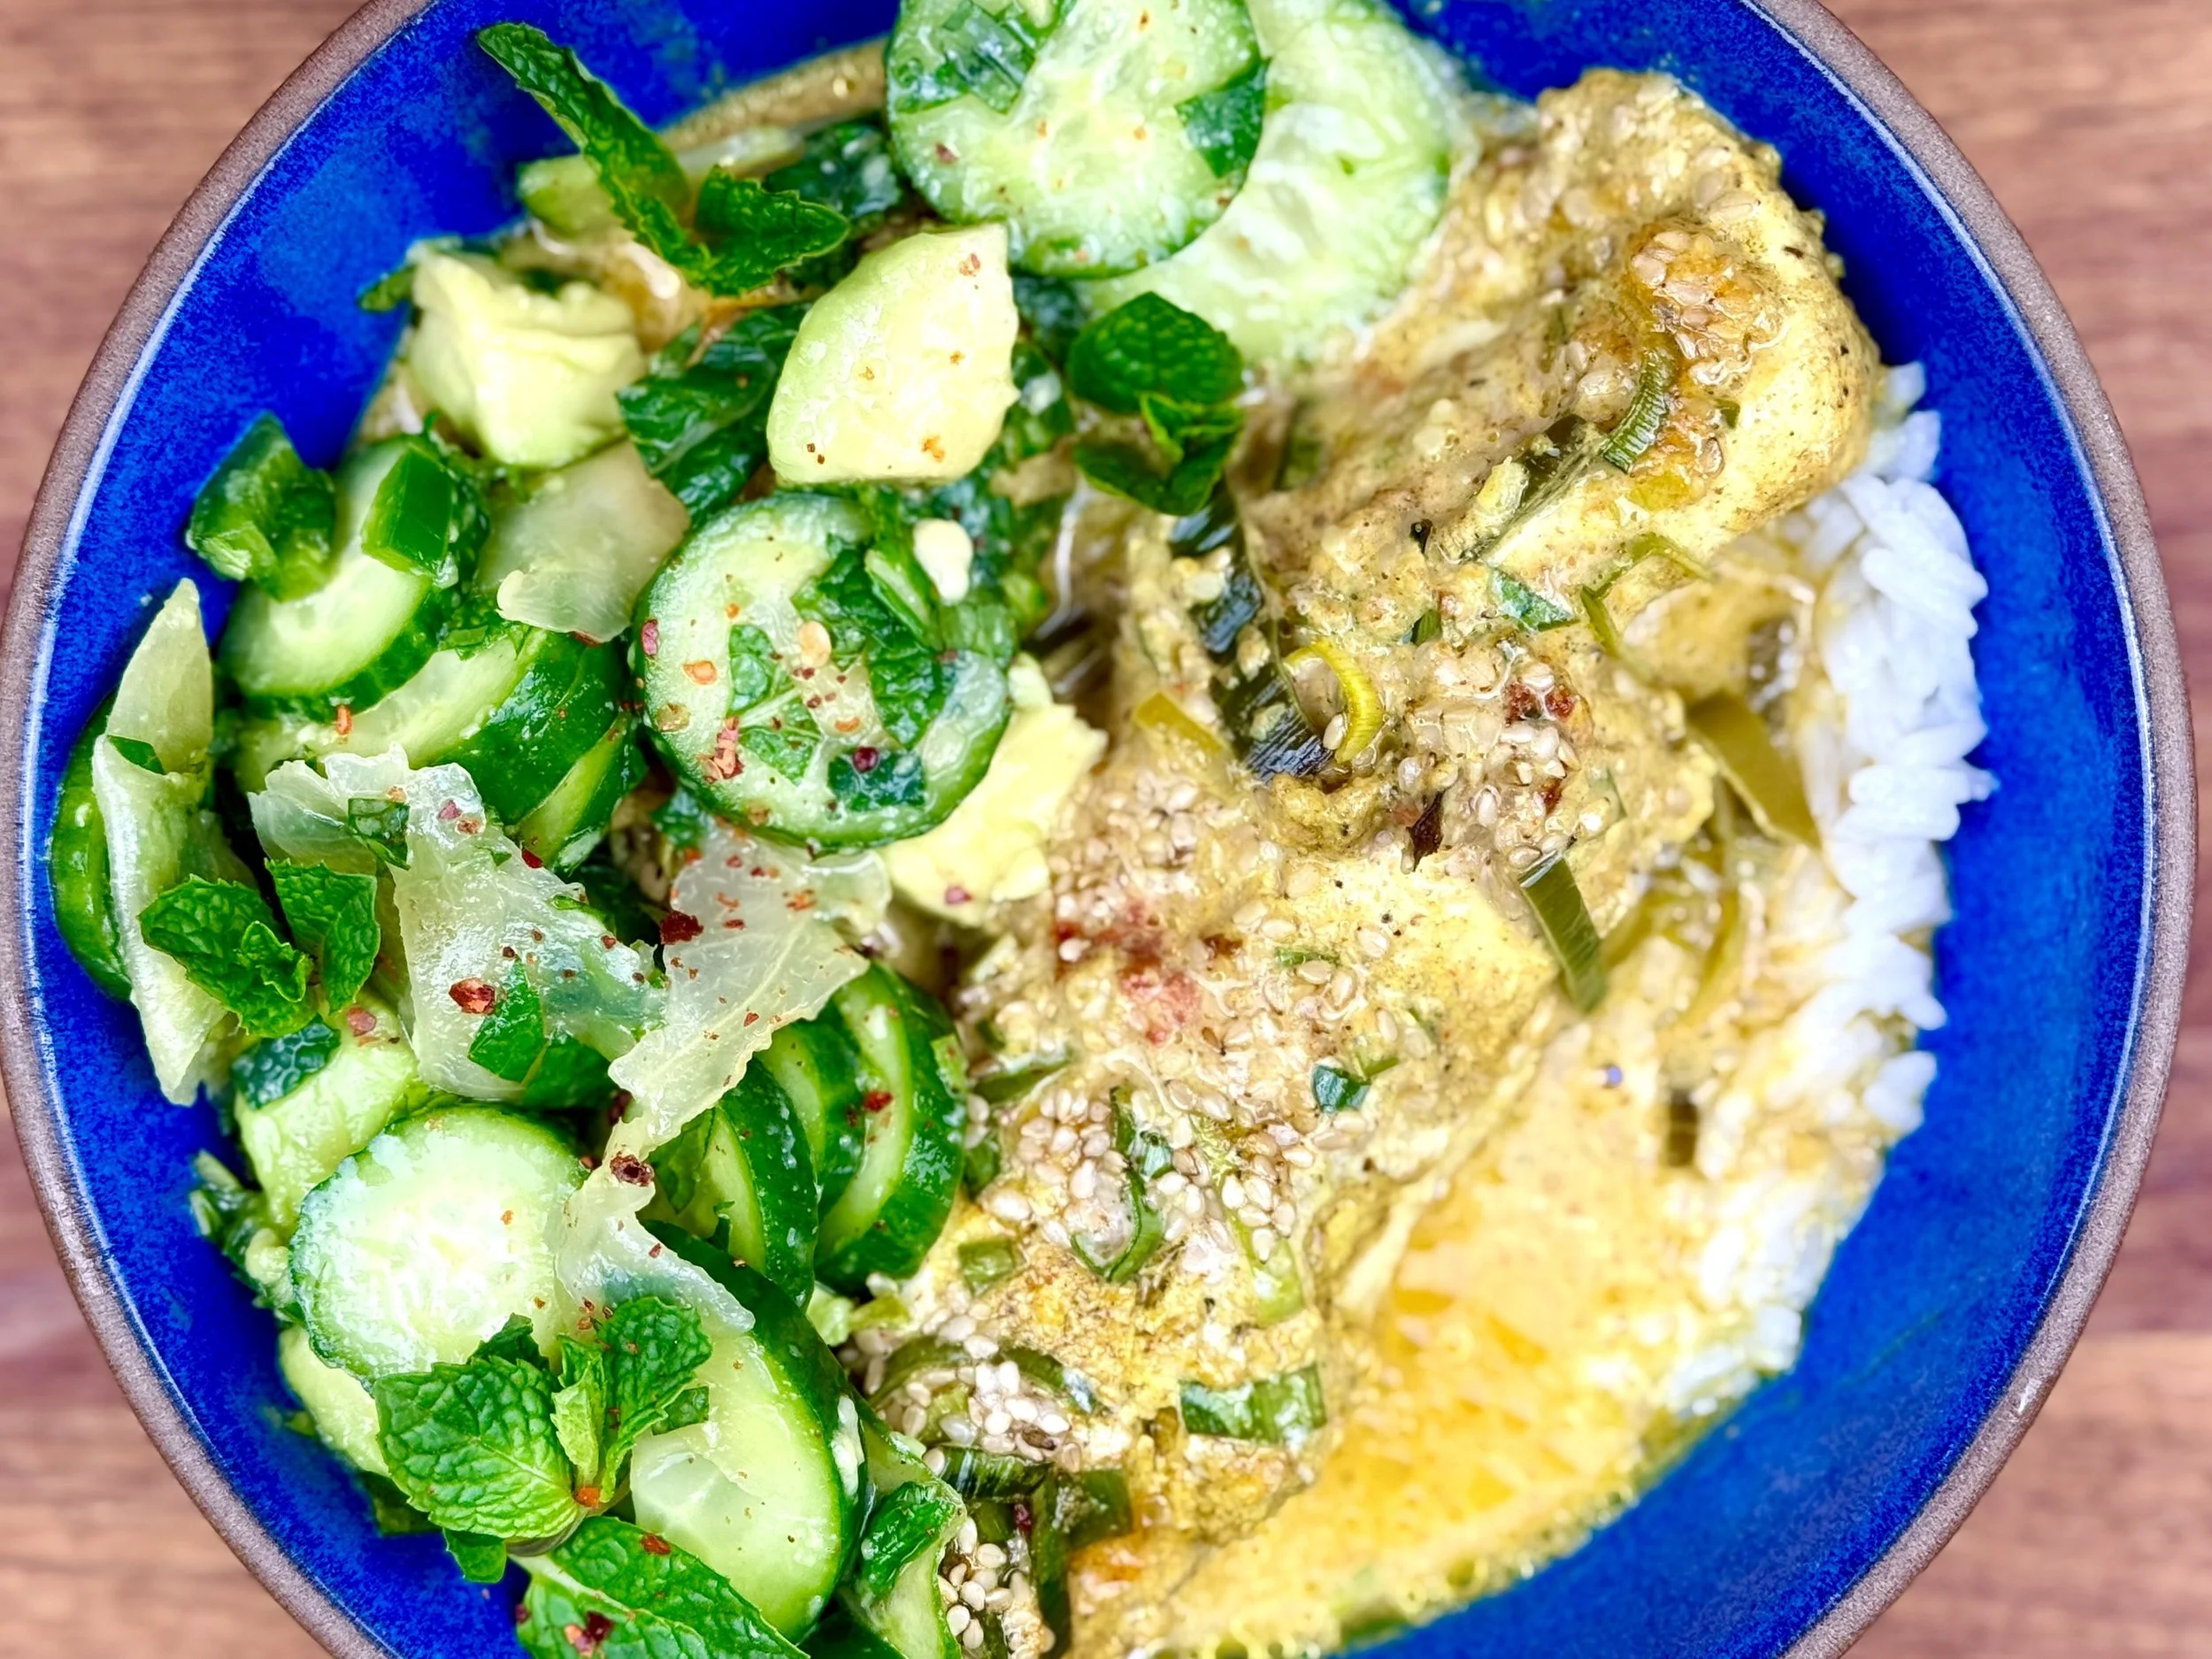
Coconut Milk Braised Tikka Masala Steelhead (low FODMAP)
20 Minutes prep • 25 Minutes cook • Low FODMAP • Gluten-Free • Serves 4
20 Minutes prep • 25 Minutes cook • Low FODMAP • Gluten-Free • Serves 4 • Ok to make-ahead: Korean Chili Paste
Coconut milk and Tikka Masala spices make a wonderful and richly flavored sauce for the fish in this recipe. If you don’t know, Steelhead is very like salmon but it has a milder flavor and isn’t quite as rich as salmon. If you can get Steelhead, I recommend it for this recipe as it balances wonderfully with the rich and creamy sauce. Salmon is, of course, also wonderful.
Ingredients
4 (4-6 ounce) steelhead or salmon filets
1 tablespoon extra virgin olive oil
2-3 tablespoons Smoke N Sanity Tikka Masala seasoning
2 tablespoons maple syrup
2 tablespoons salted butter
1/4 cup Korean chili paste (recipe below)
1 tablespoon fresh grated ginger
1 1/2 cups chopped broccoli
2 14-ounce cans full-fat coconut milk
2 tablespoons gluten-free low sodium soy sauce
1 tablespoon rice vinegar
2 cups steamed Jasmine rice
Fresh cilantro or basil for serving
Directions
(1) Prepare: Make the chili paste (recipe below) and make the rice per package instructions.
(2) Preheat: Preheat the broiler or turn the grill to high heat.
(3) Grill the fish: Place the fish on a baking sheet and rub with olive oil then sprinkle evenly with Smoke N Sanity Tikka Masala seasoning, Drizzle the maple syrup over the fish. Broil, skin side down, until starting to get crisp on top, 3-5 minutes, watch closely so it doesn’t burn.
(4) Make the braising sauce: In a large skillet over medium heat, melt together 2 tablespoons butter, the chili paste, and the ginger. Add the broccoli, coconut milk, soy sauce, and rice vinegar.
(5) Braise the fish: Slide the fish into the sauce and simmer for 5 - 10 minutes, or until cooked to your liking. If the fish is fairly thick, you may need to cover the pan so the fish cooks through more rapidly.
(6) Plate and serve: Serve the fish, broccoli, and sauce over a generous scoop of rice. Top with cilantro or basil.
Eat and enjoy every bite because you can!
Ingredients: Korean Chili Paste
1/3 cup water
2 tablespoons maple syrup
3 tablespoons red miso paste
1 teaspoon red pepper flakes (or less if you don’t like a lot of spice)
1/2 teaspoon rice vinegar
Directions: Korean Chili Paste
(1) Prepare the sauce base: Combine the water, maple syrup, red miso paste, and red pepper flakes in a small saucepan over medium heat. Cook until it starts to bubble then remove from heat and let cool for about 15 minutes.
(2) Add the vinegar: Add the vinegar, stir, and let cool to room temperature.
Make-ahead note: At this point, you may put this sauce in the refrigerator in an airtight container and use it for two to four weeks.
This post contains links for you to easily purchase items listed on the page. In some cases, we have provided a special discount code for IBS Game Changers so be sure to use it when you purchase an item to get the discount that has been arranged just for you! As an Amazon Associate, I earn a commission from qualifying Amazon purchases.
More Deliciously Low FODMAP™ main course recipes


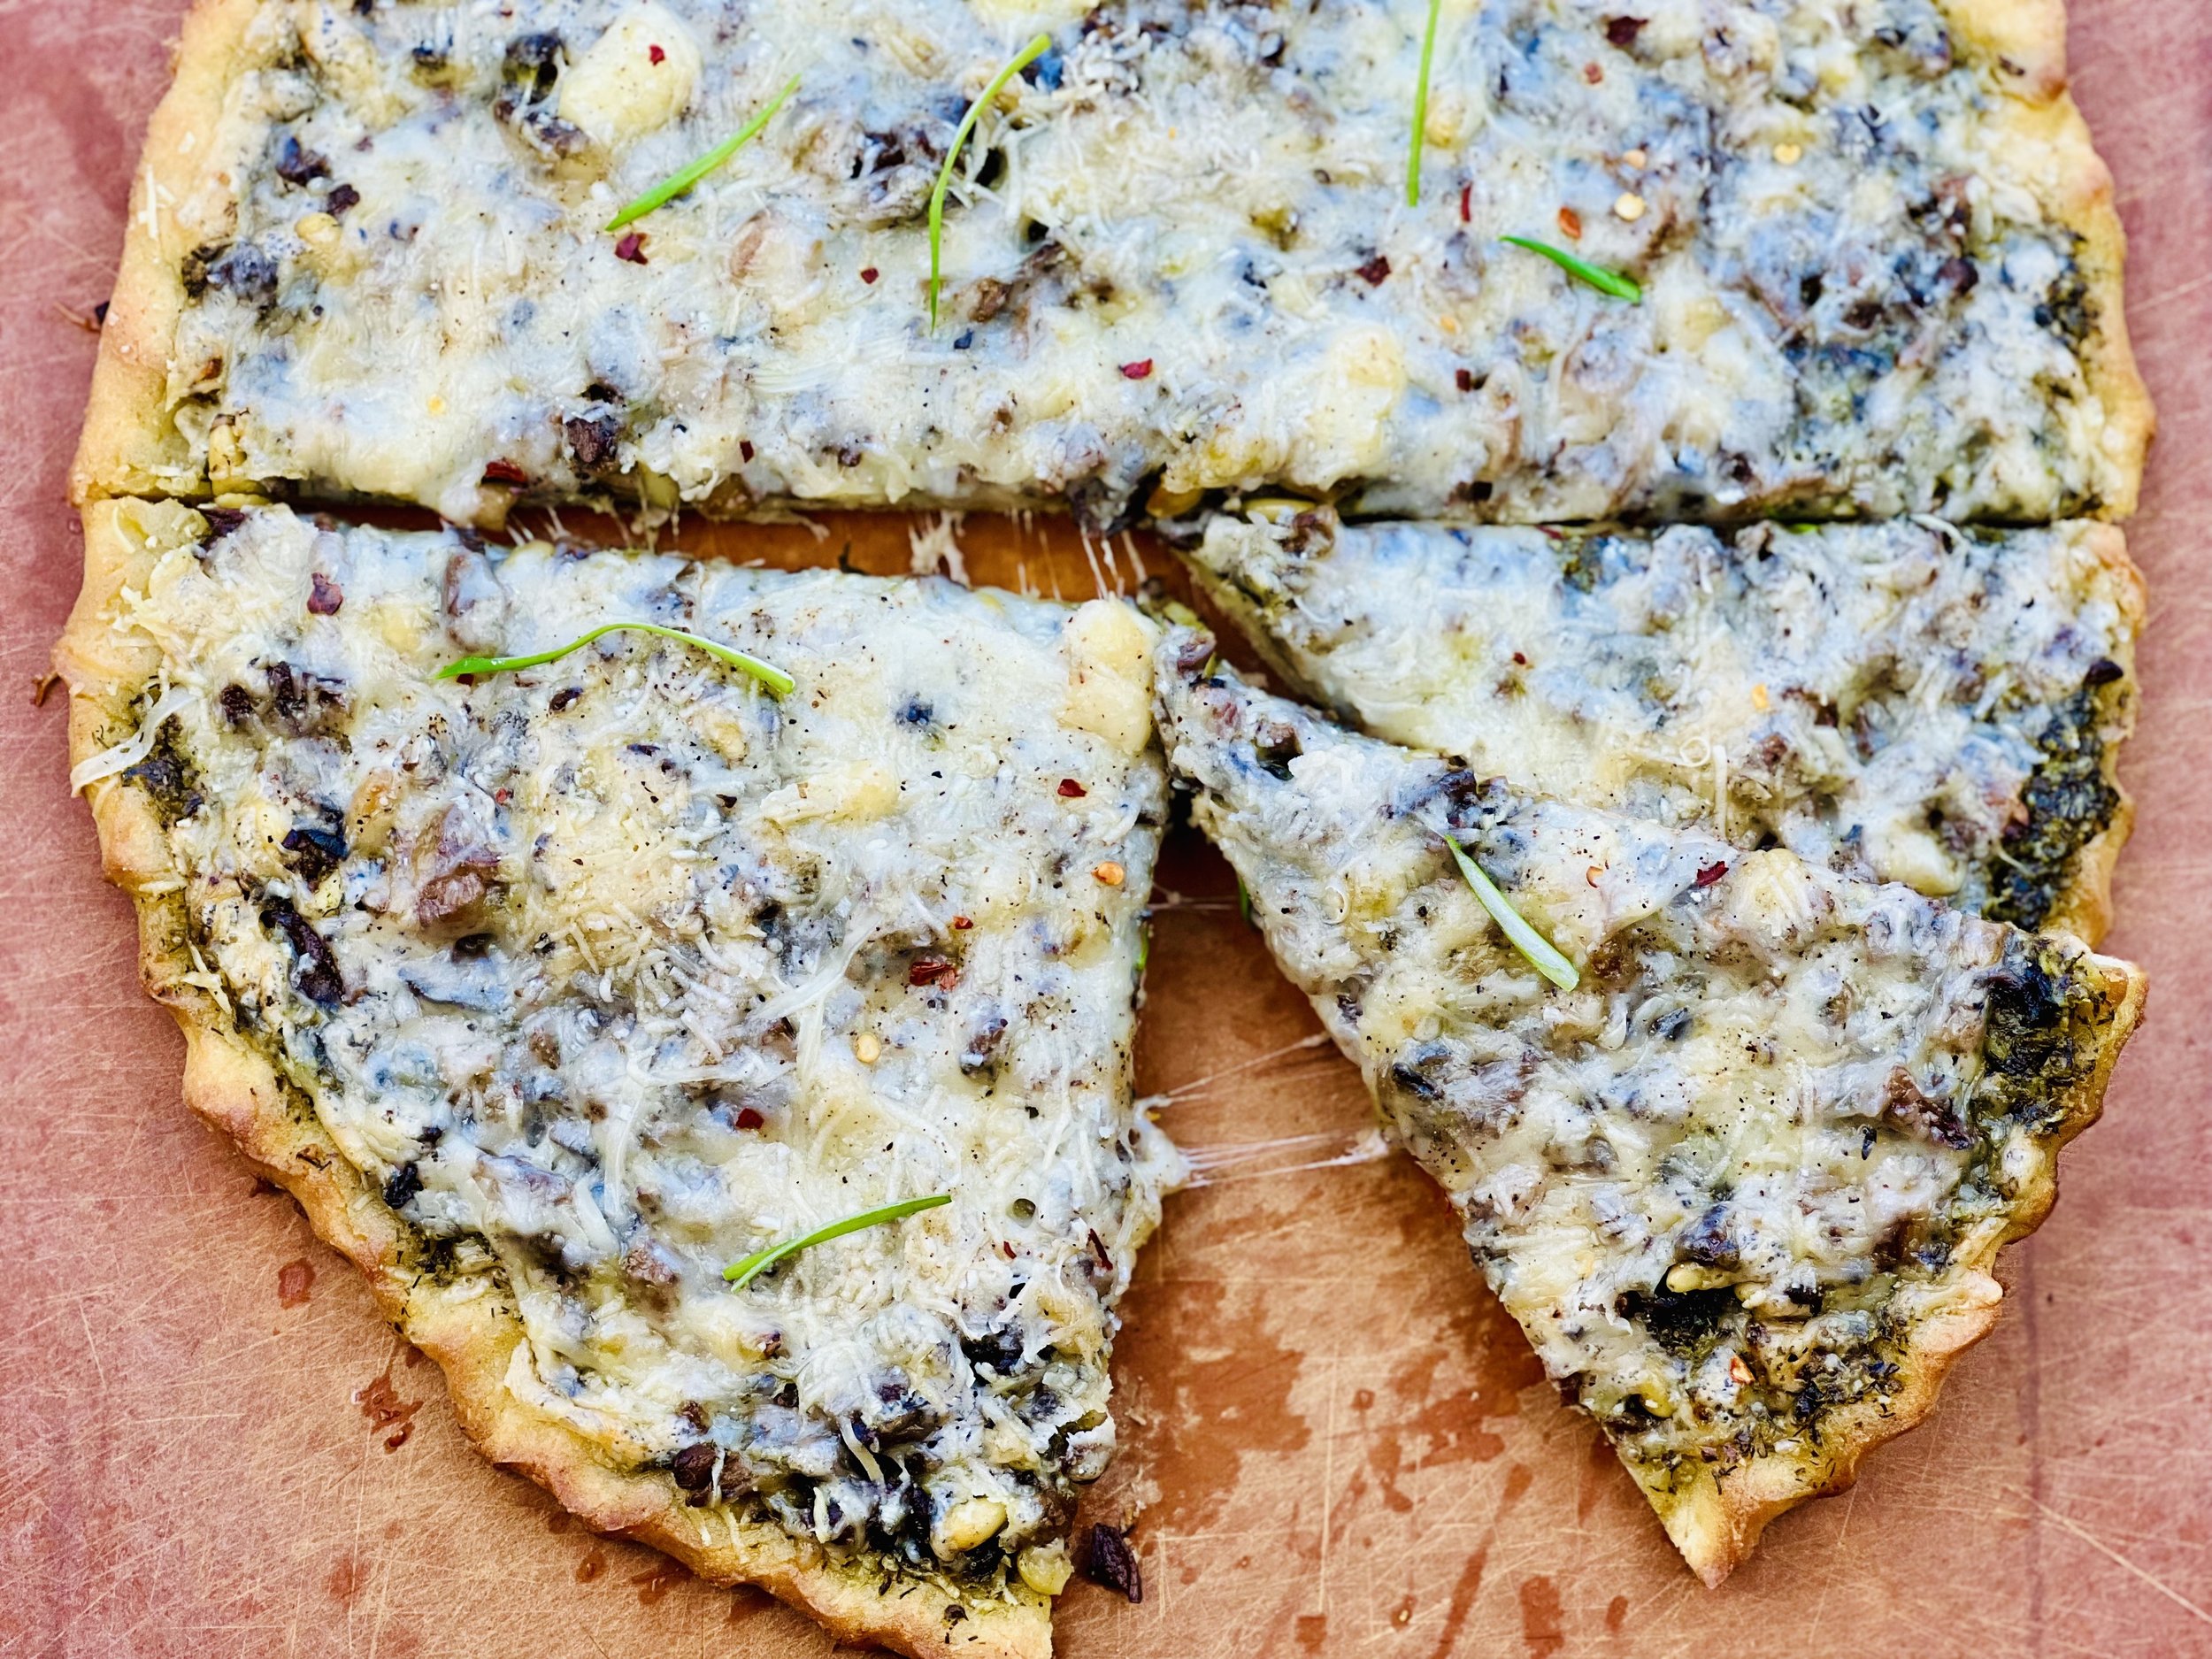
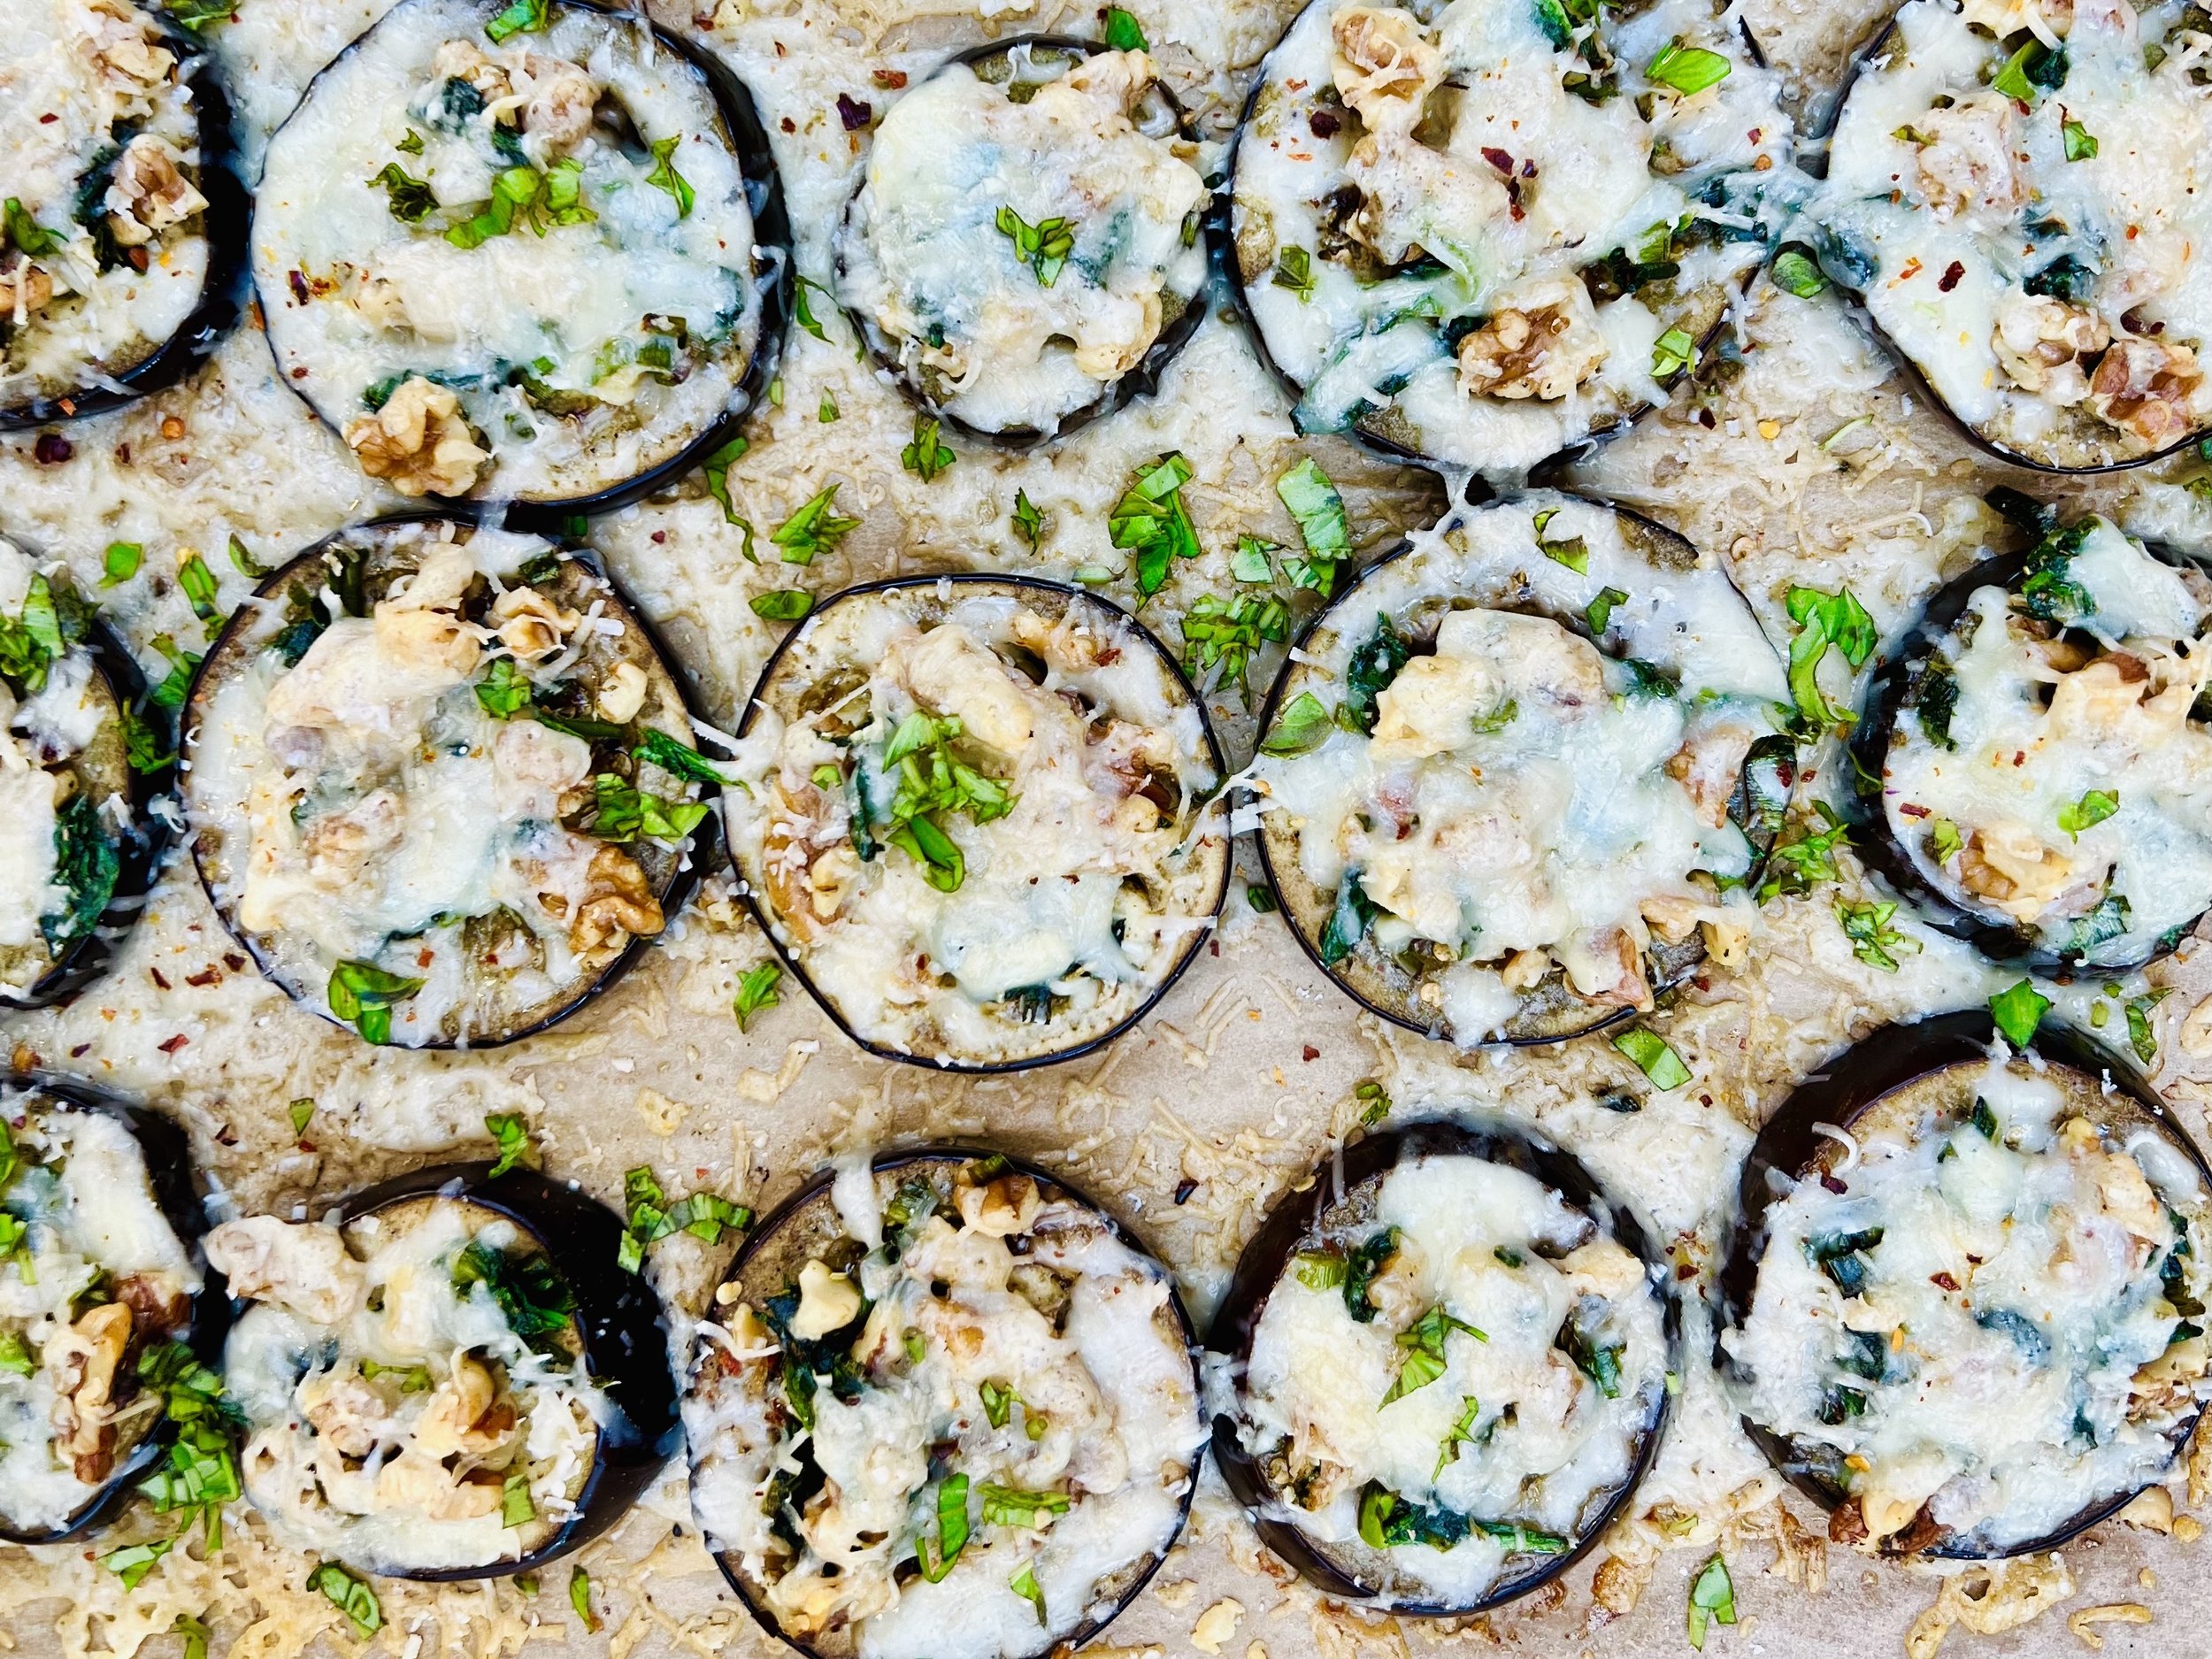
Roasted Mushroom and Pesto Pizza (low FODMAP)
20 Minutes prep • 15 Minutes cook • Low FODMAP • Gluten-Free • Vegetarian • Serves 4
20 Minutes prep • 15 Minutes cook • Low FODMAP • Gluten-Free • Vegetarian • Serves 4 • Ok to make-ahead: Steps 1 - 3
I have published a number of pizza recipes and each one I create is my new favorite. This one is no exception! Roasted mushrooms are full of flavor and, when paired with our lemon basil pesto and some really good cheese, they make this pizza really special. Serve it with one of our delicious salads and you’ll have a perfect meal.
Ingredients: Pizza
2 tablespoons garlic-infused olive oil
1 pound oyster mushrooms, chopped
1 teaspoon Gourmend Garlic Scape Powder (use code IBSGC15 for 15% discount)
1/2 teaspoon dry thyme
2 tablespoons pine nuts
3/4 cup warm water (105 – 110 degrees F)
1 packet active dry yeast (about 2 1/4 tsp)
1 tablespoon sugar
2 cups gluten-free flour (Bob’s Red Mill works well)
1 teaspoon Kosher salt
1 large egg
1 teaspoon dried basil
3 tablespoons garlic-infused olive oil plus additional for spreading out the dough
1 teaspoon apple cider vinegar (or white vinegar works too)
2 cups gruyere cheese, grated
Kosher salt and black pepper
Red pepper flakes (optional)
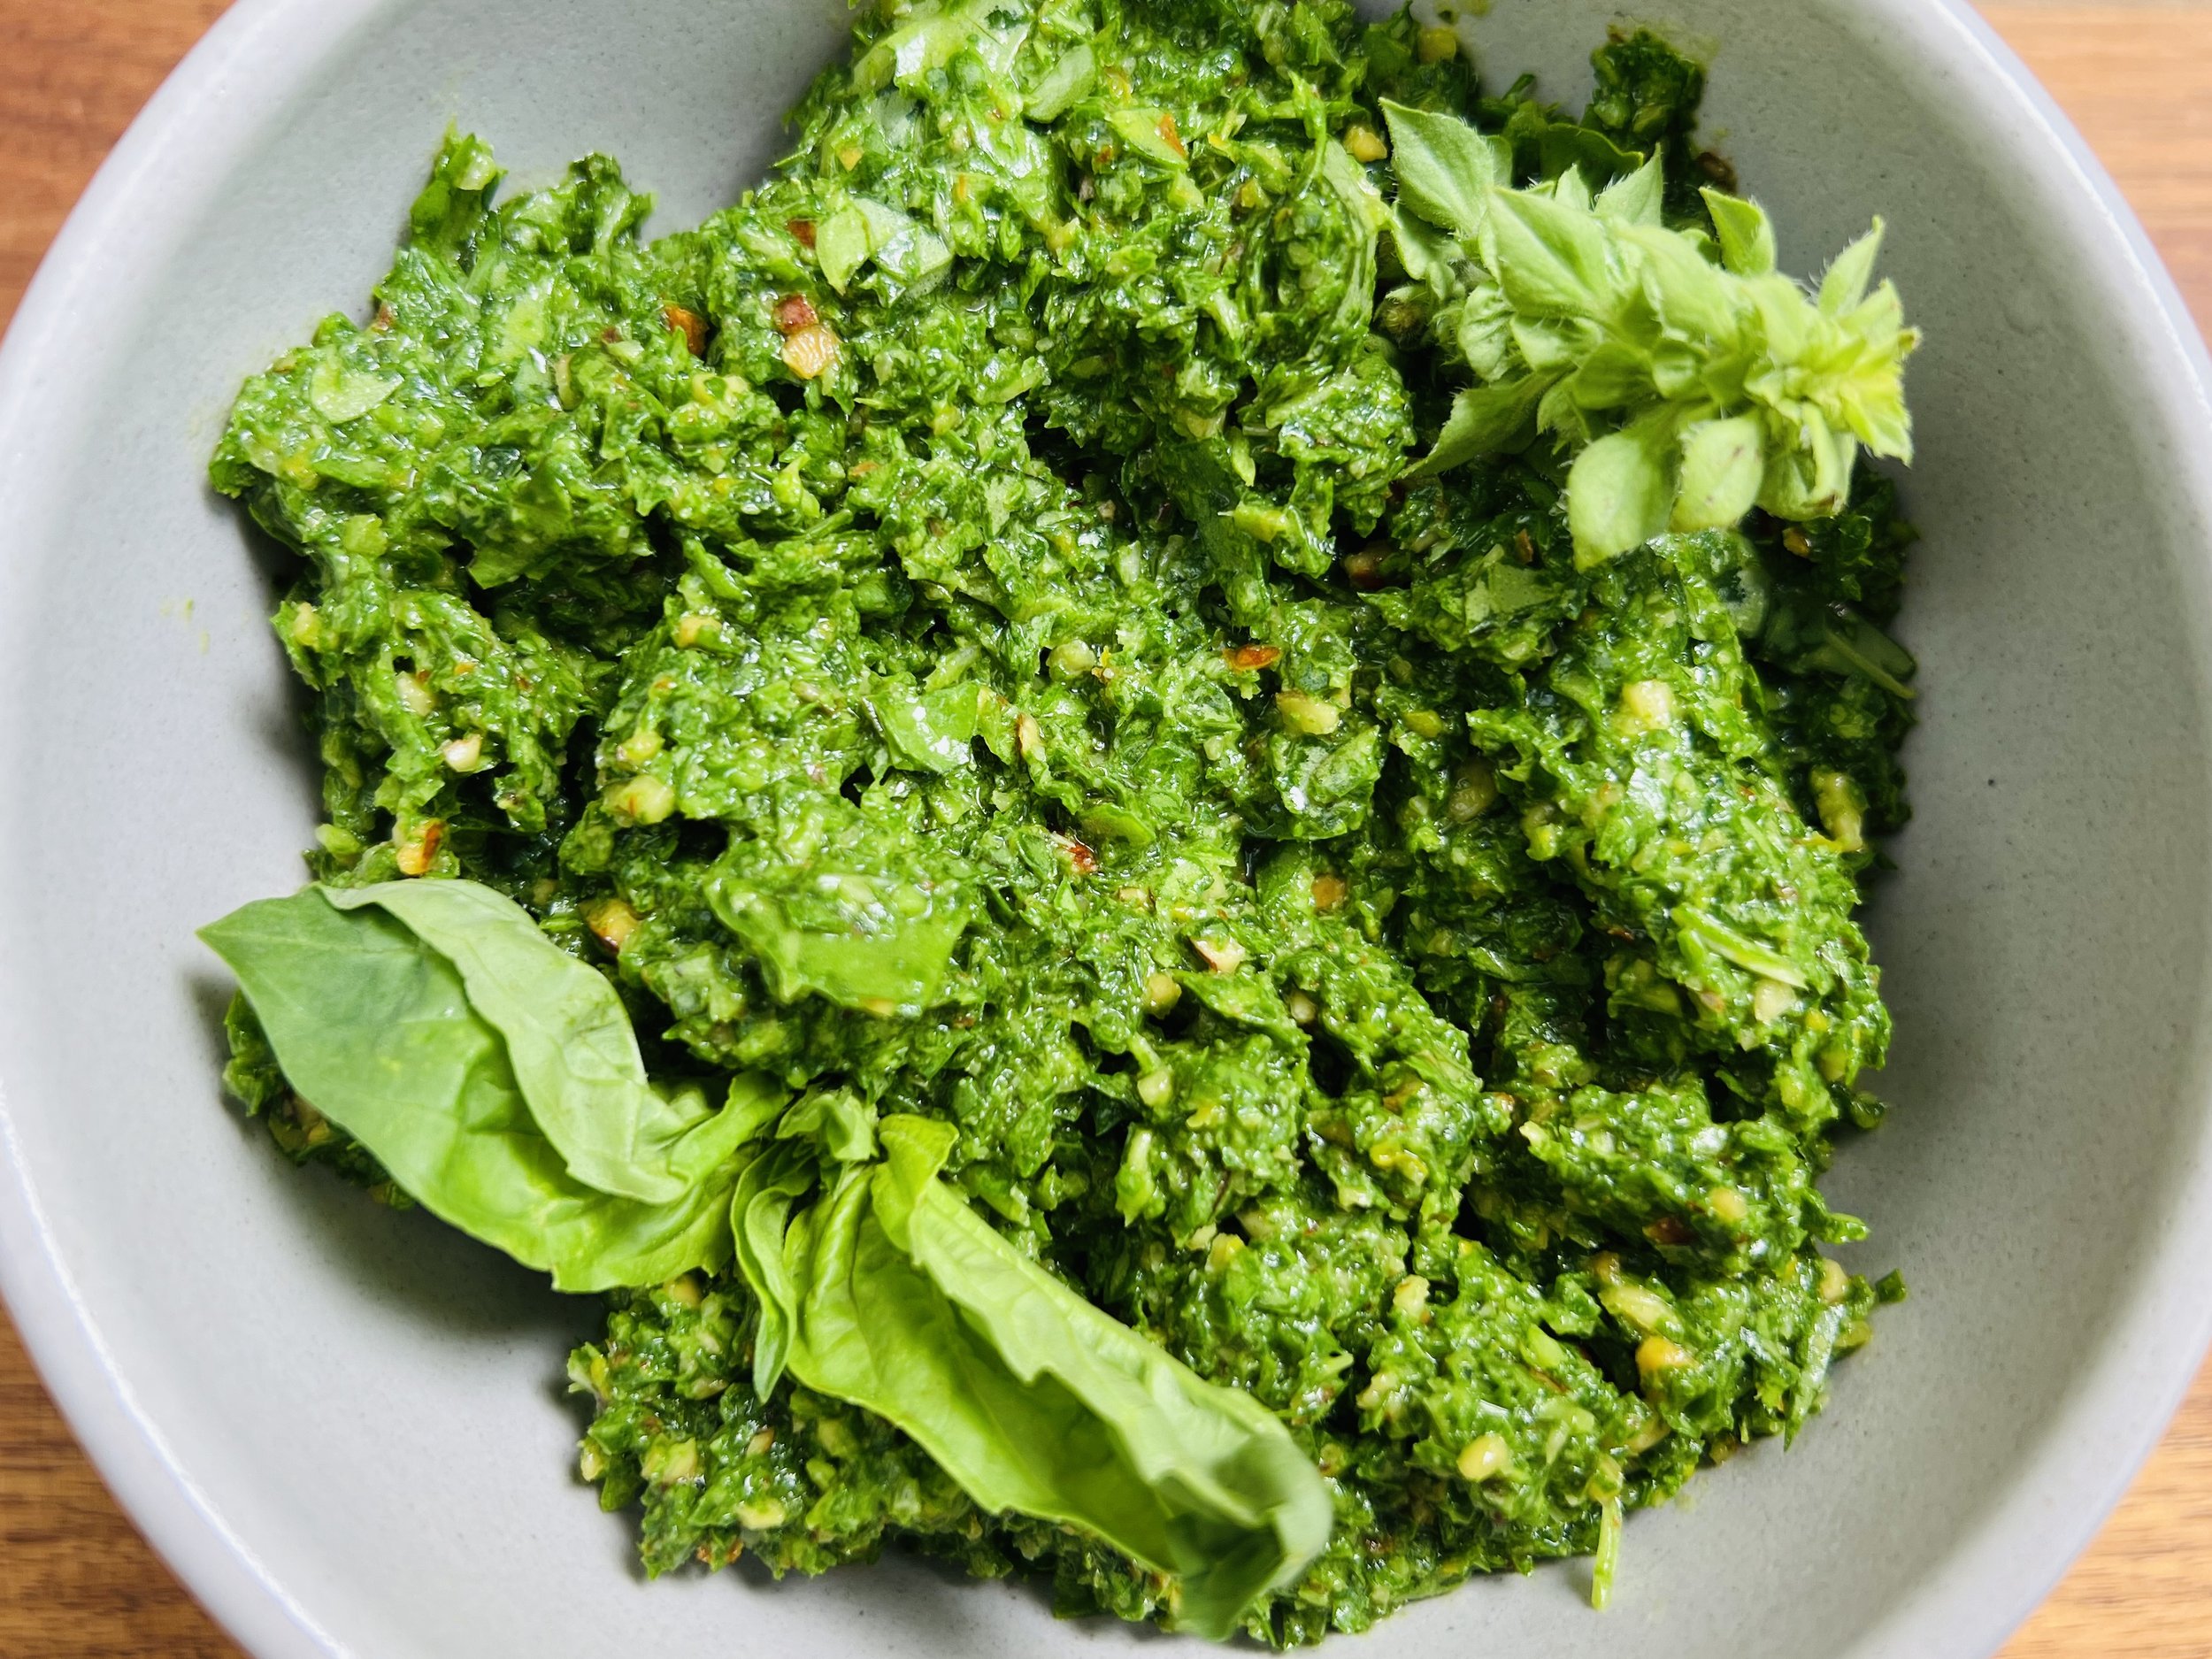
Ingredients: Pesto
2 cups fresh basil leaves - chopped
1/2 cup fresh dill - chopped
1/4 cup garlic-infused olive oil
1-2 tablespoon fresh-squeezed lemon juice
2 tablespoons pine nuts plus more for serving
1/4 - 1/2 cup fresh-grated parmesan cheese
Directions: Pesto
1) Prepare the ingredients: Wash and chop the basil and dill. Squeeze the lemon juice. Grate the parmesan.
(2) Blend the ingredients: Blend all ingredients except salt and pepper in either a blender or food processor until smooth.
(3) Finish: Taste and add salt and pepper to your liking.
Directions: Pizza
(1) Make the pesto: Directions above.
(2) Cook the mushrooms: In a large frying pan, heat 1 tablespoon of garlic-infused olive oil. When hot, add the chopped mushrooms, garlic scape powder, thyme, salt, and pepper. Stir and cook until the mushrooms start to turn golden brown and a bit crispy. Add the pinenuts in the last couple minutes of cooking. Taste and add salt and pepper if needed. Set aside.
(3) Grate the cheese: Grate the cheese and set aside.
Make-ahead note: At this point, you may set the pesto, mushrooms, and cheese aside (and refrigerate) until you’re ready to make the pizza.
(4) Preheat the oven: Set pizza stone or cookie sheet on the middle rack of the oven and preheat oven to 425 degrees F.
(5) Start the yeast: Combine water, sugar, and yeast in a mixing bowl and let it sit for 5 minutes until it begins to froth.
(6) Make the dough: Combine flour, salt, and dried basil in a large bowl. Add in the egg, olive oil, vinegar, and yeast mixture. Stir until the flour is combined and the dough comes away from the sides of the bowl. Don’t add more flour – the dough is supposed to be a bit sticky.
(7) “Roll” the dough: Turn the dough out in the middle of a piece of parchment on a flat surface and, using your fingers dipped in olive oil, gently press and push the dough out into a round or rectangle. It’s a bit sticky so keep dipping your fingers in olive oil and keep pressing it out until it’s all about the same thickness and in the shape you want. The surface of your crust doesn’t have to be smooth, your toppings will be covering it anyway. I like to spread it out fairly thin so I have more room to add toppings. You can roll or crimp around the outside edge of the crust if you like just to make it pretty.
(8) Pre-cook the pizza crust: Before adding any sauce or toppings, transfer the dough on the parchment to the hot pizza stone or cookie sheet in the oven and cook for 8 minutes.
(9) Add toppings: Remove from the oven and spread the pesto sauce on the hot pizza crust. Then, layer on the cooked mushrooms, and the cheese. Season with salt and pepper.
(10) Finish: Put the pizza back in the oven and cook for another 8-10 minutes until the edges of the crust are browning nicely and the cheese is melted and bubbly.
(11) Plate and serve: Remove from the oven to a cutting board. Sprinkle with the red pepper flakes and let stand for a couple of minutes, then slice and serve hot as it’s best that way!
Eat and enjoy every bite because you can!
This post contains links for you to easily purchase items listed on the page. In some cases, we have provided a special discount code for IBS Game Changers so be sure to use it when you purchase an item to get the discount that has been arranged just for you! As an Amazon Associate, I earn a commission from qualifying Amazon purchases.
More Deliciously Low FODMAP™ main course recipes
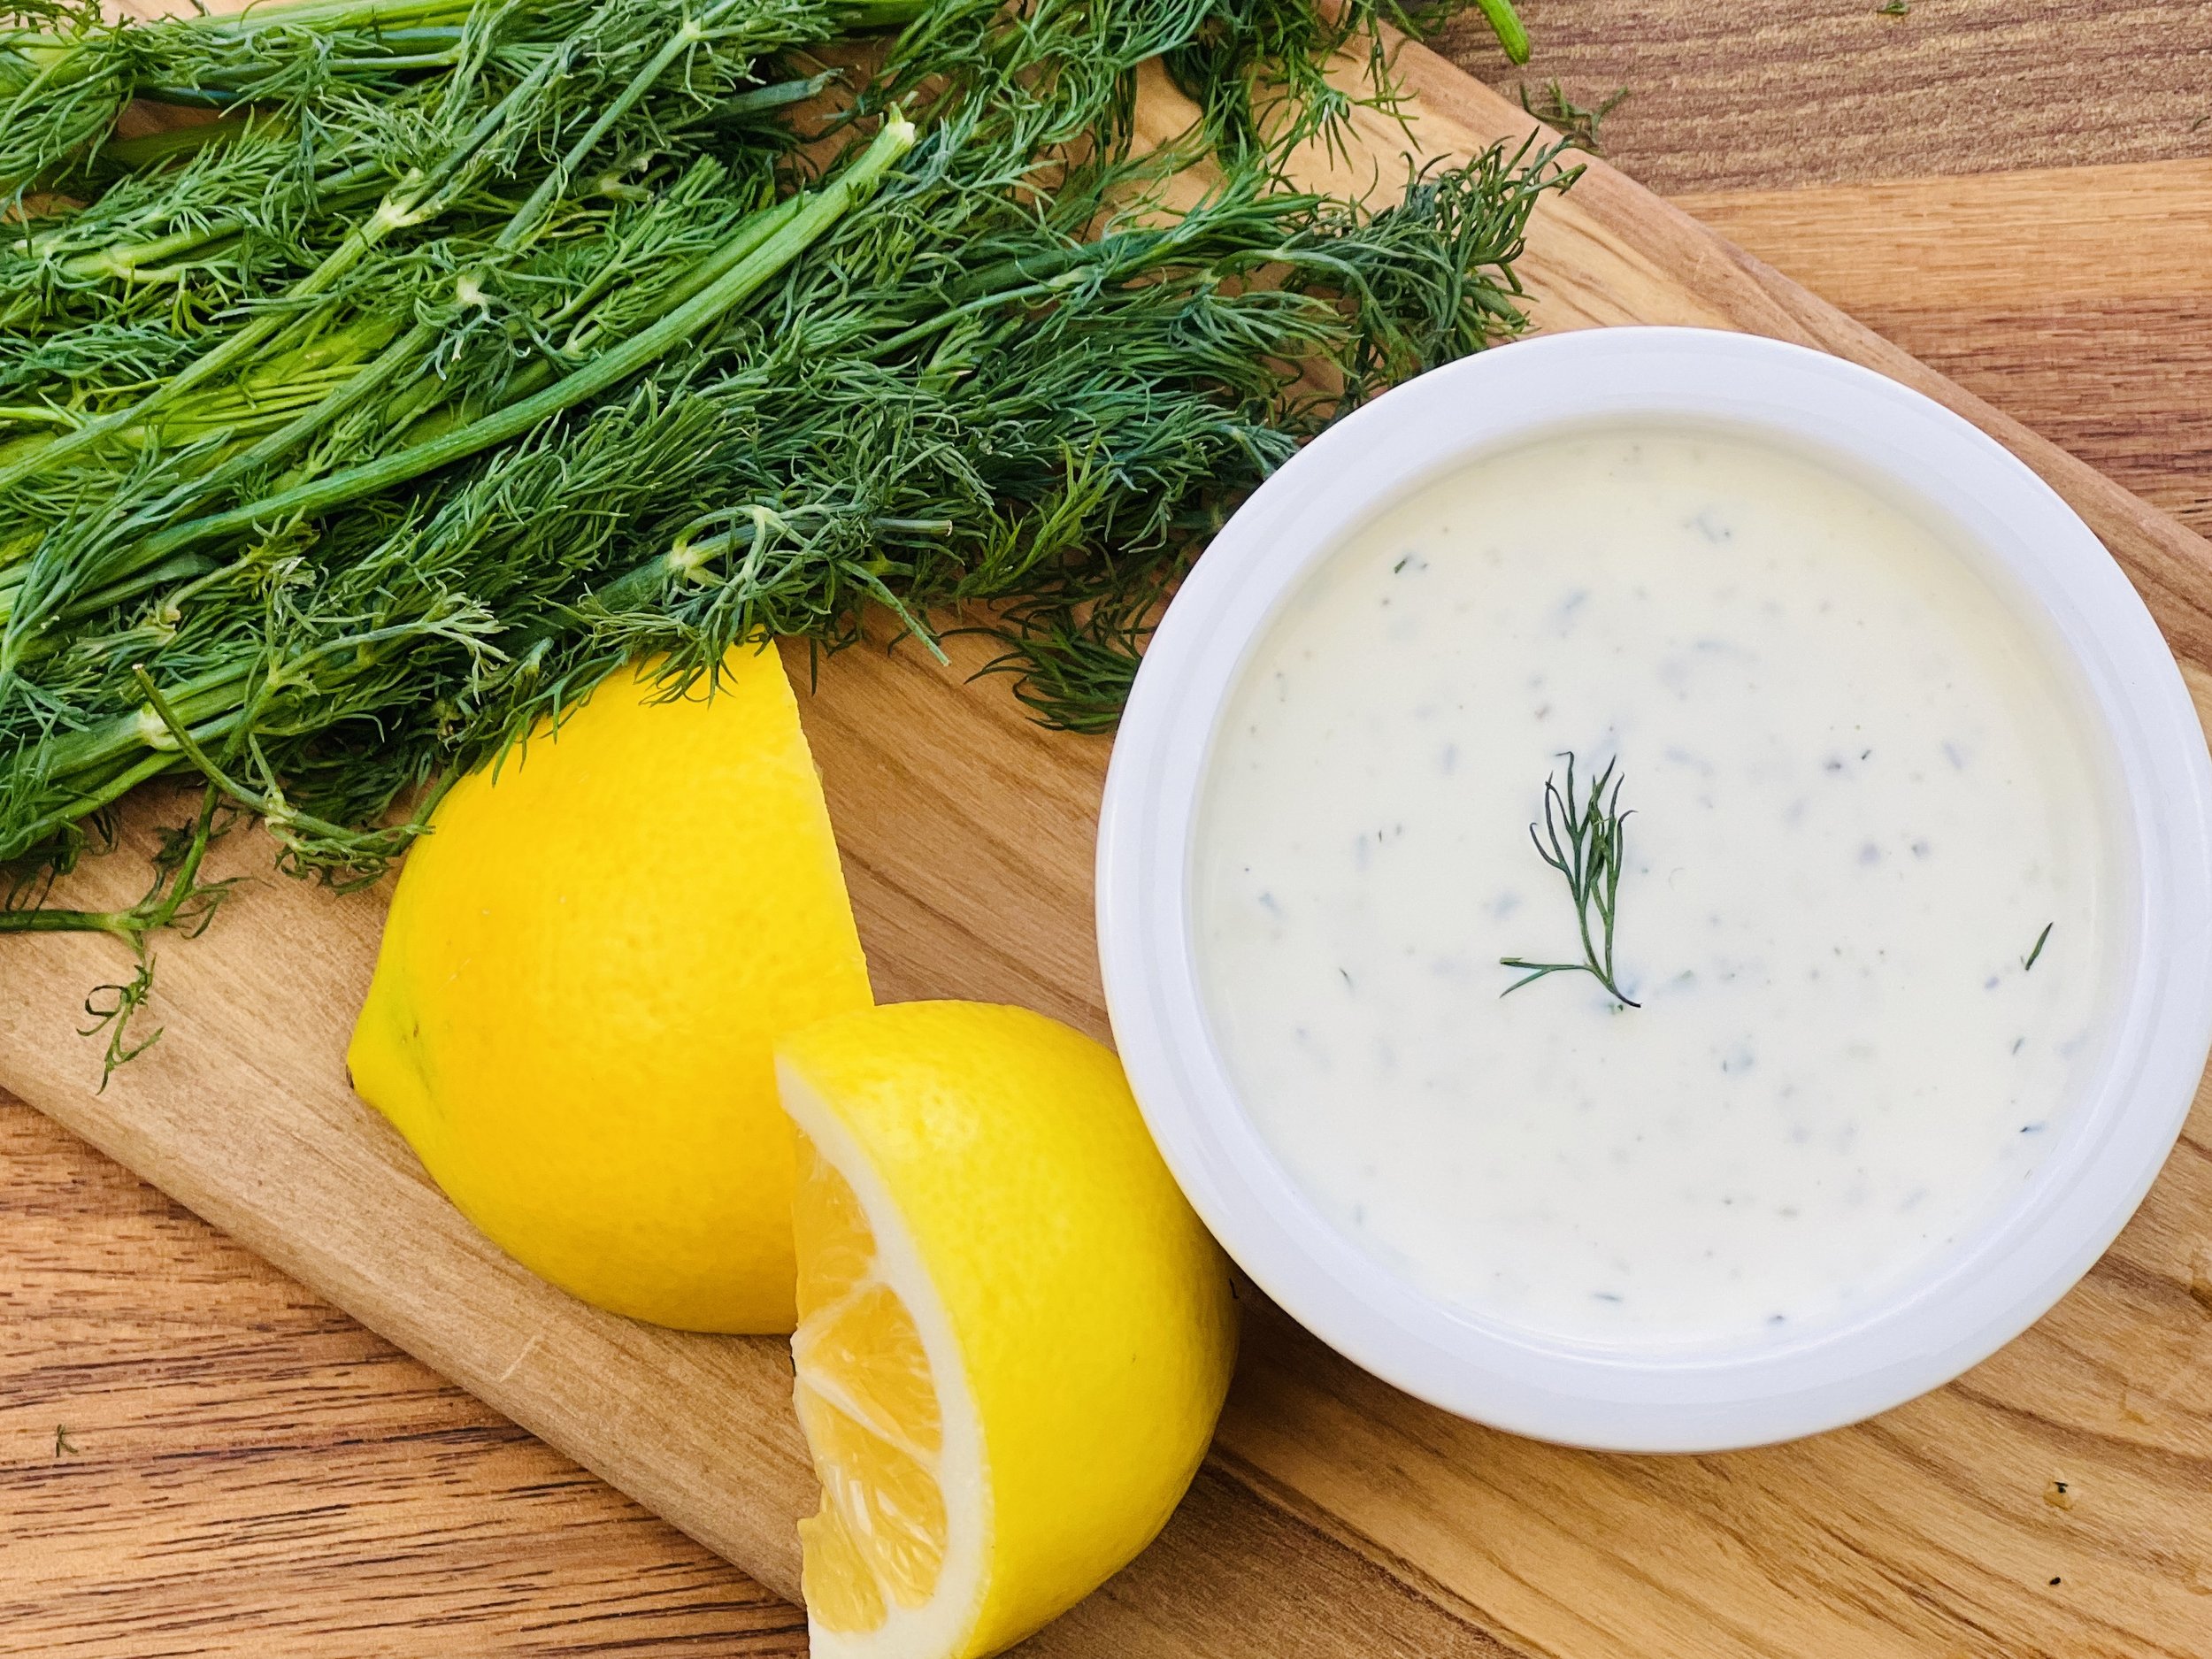
Really Good Ranch Dressing (low FODMAP)
10 Minutes prep • Low FODMAP • Gluten-free • Lactose-free • Vegetarian • Makes 1 1/2 cups
10 Minutes prep • Low FODMAP • Gluten-free • Lactose-free • Vegetarian • Makes 1 1/2 cups • Ok to make-ahead: Steps 1 - 3
I used to think I “didn’t like” Ranch dressing because it always upset my stomach. That’s before I created this recipe for Really Good Ranch Dressing! It’s thick, flavorful, and low FODMAP. Perfect for salads, it’s also a wonderful dip for your favorite low FODMAP vegetables, french fries, potato wedges, or chicken wings. The combination of fresh herbs and dry spices delivers excellent flavor without the traditional tummy twisters present in Ranch dressing!
This is an exclusive recipe just for recipe club members.
Each week I am creating and delivering one very special recipe just for my recipe club members. If you’re not yet a member, I encourage you to join! Membership in the club includes access to the complete archive of recipes with filters so it can become your virtual low FODMAP cookbook plus, I am creating and delivering one special NEW recipe every week ONLY for recipe club members. And, for my true fans, I’ll be sharing behind-the-scenes content, and updates on the progress of the new cookbook.
Your membership in the club helps me continue creating new, delicious, easy-to-make, low FODMAP recipes just for you.
As always, all recipes will emphasize simple ingredients, easy preparation, and delicious low FODMAP results. Recipes will be for everything from main courses, salads, soups, side dishes, appetizers, desserts, sauces, breakfast and lunch, and even mocktails and cocktails. Everything you need to prepare fantastic low FODMAP meals everyone will love.
Join the club. Become a Patron. Let’s keep making delicious Low FODMAP meals together.
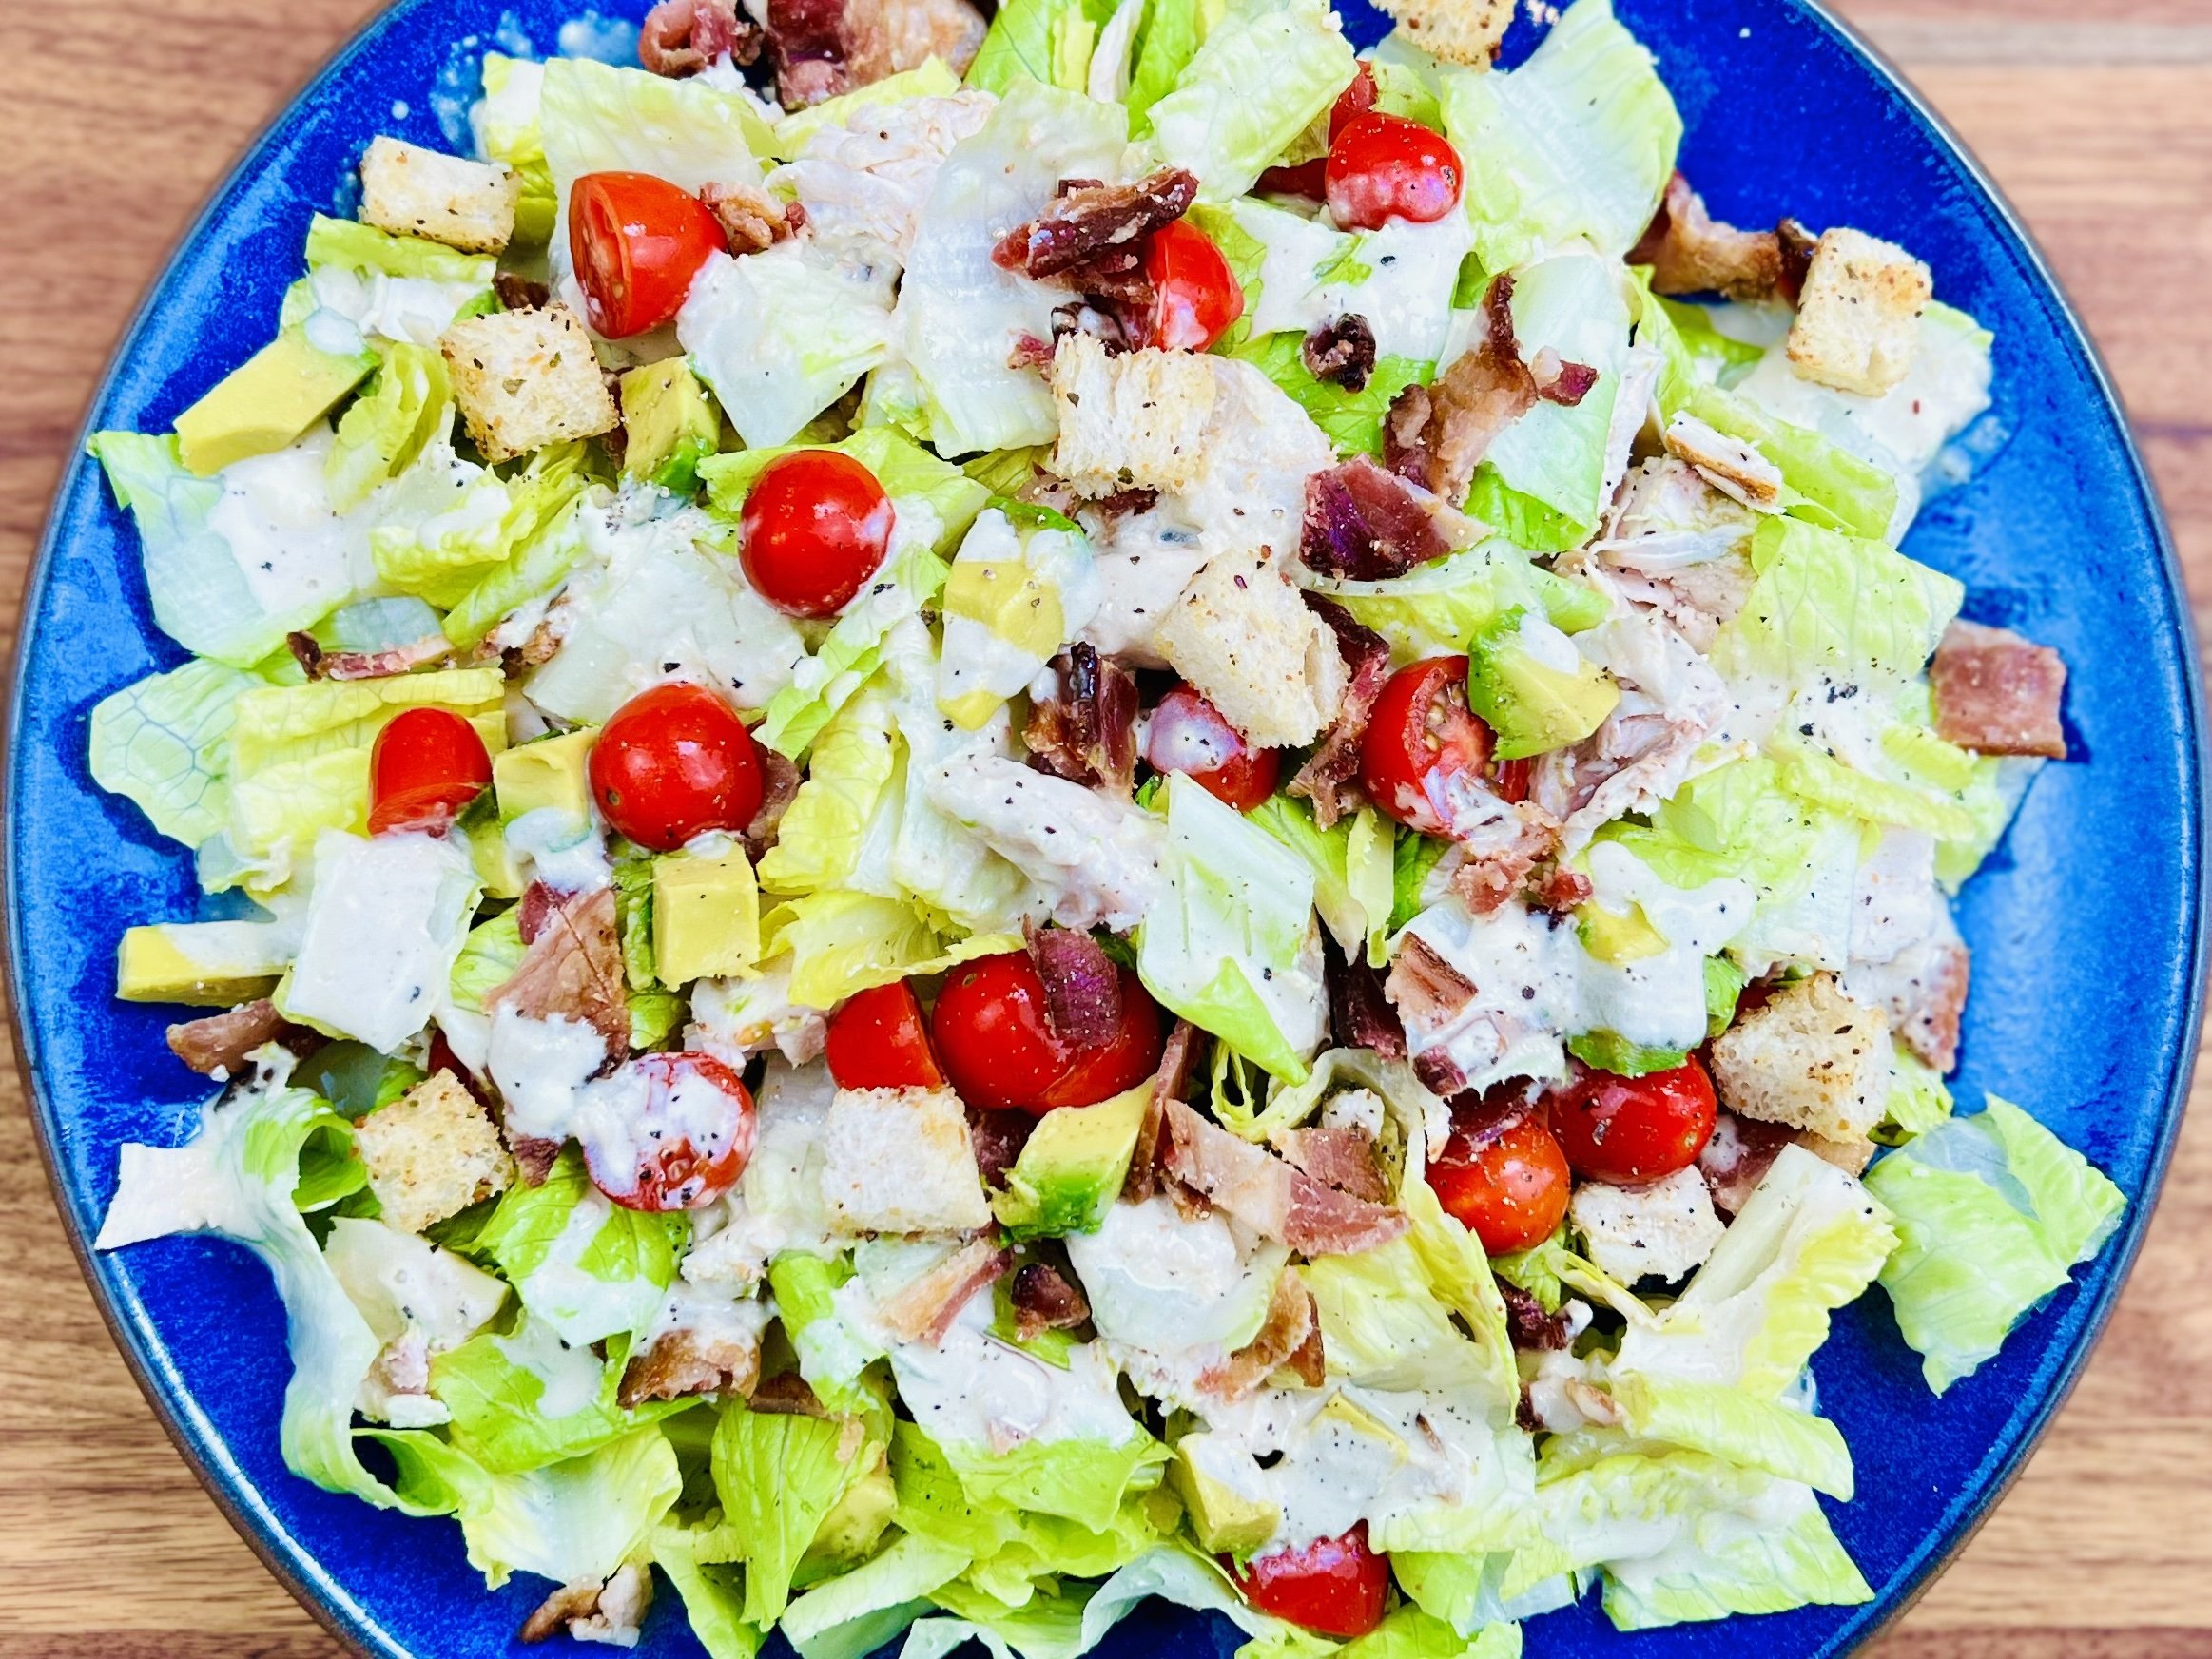
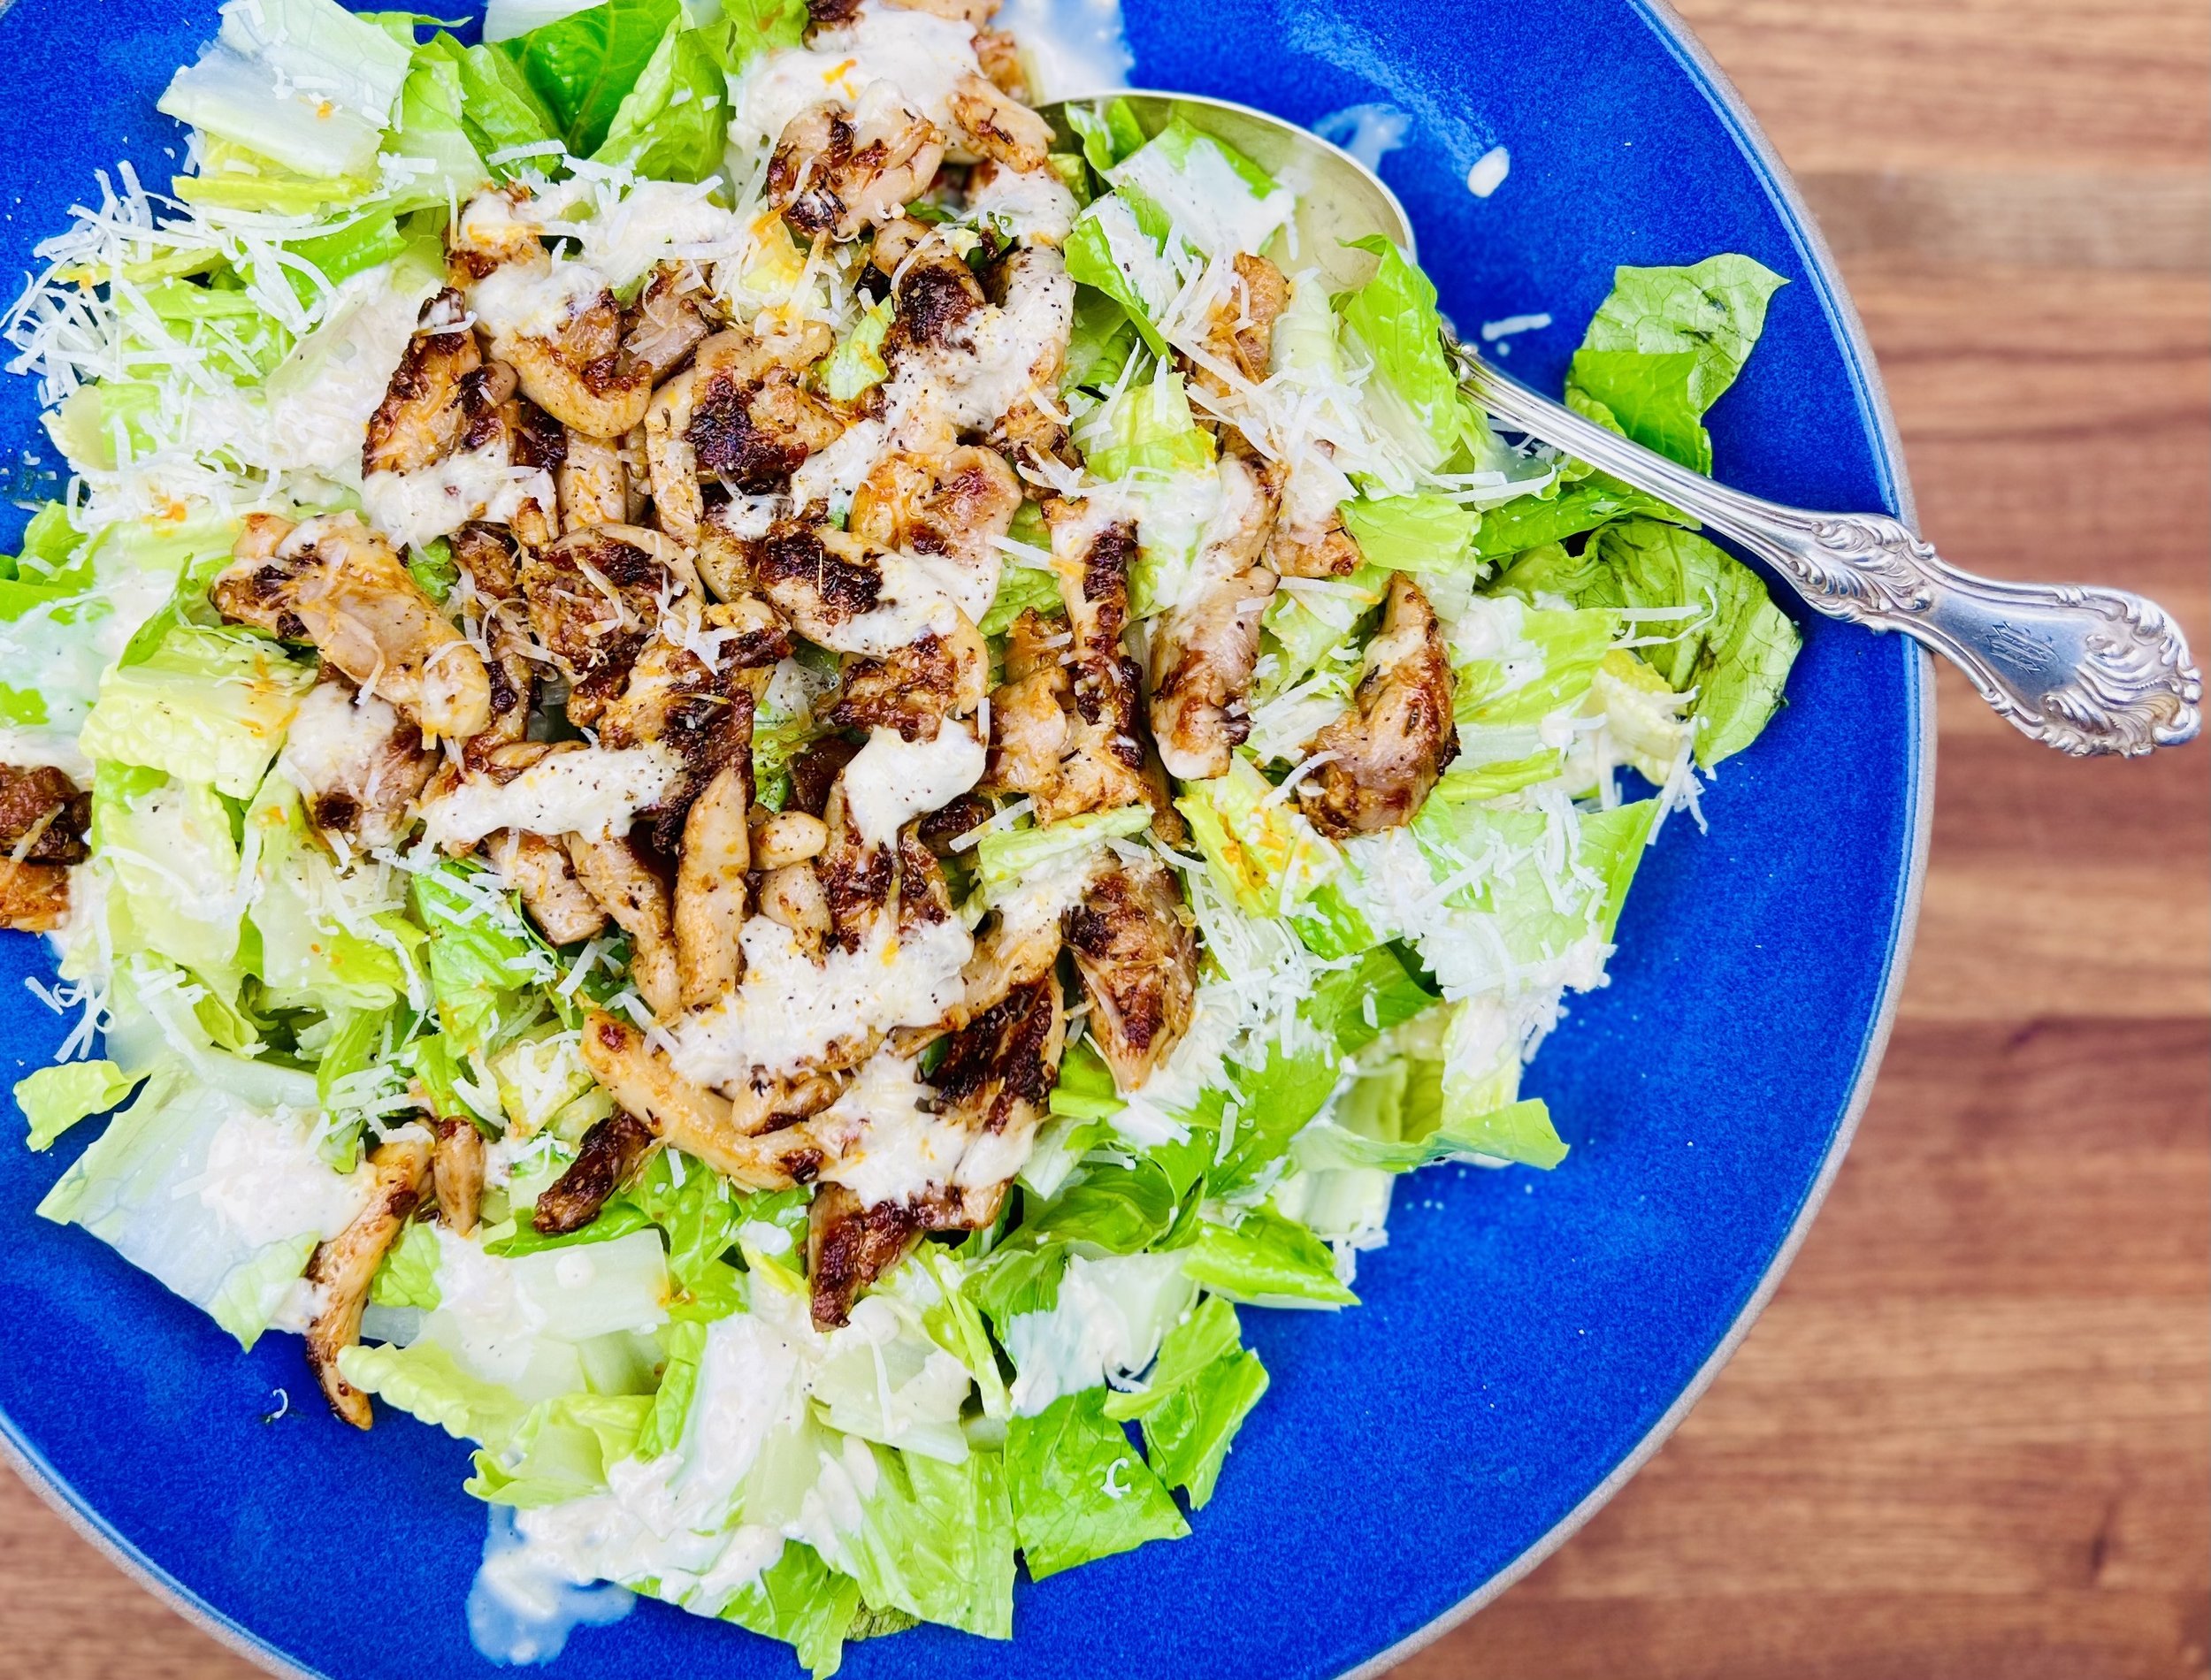
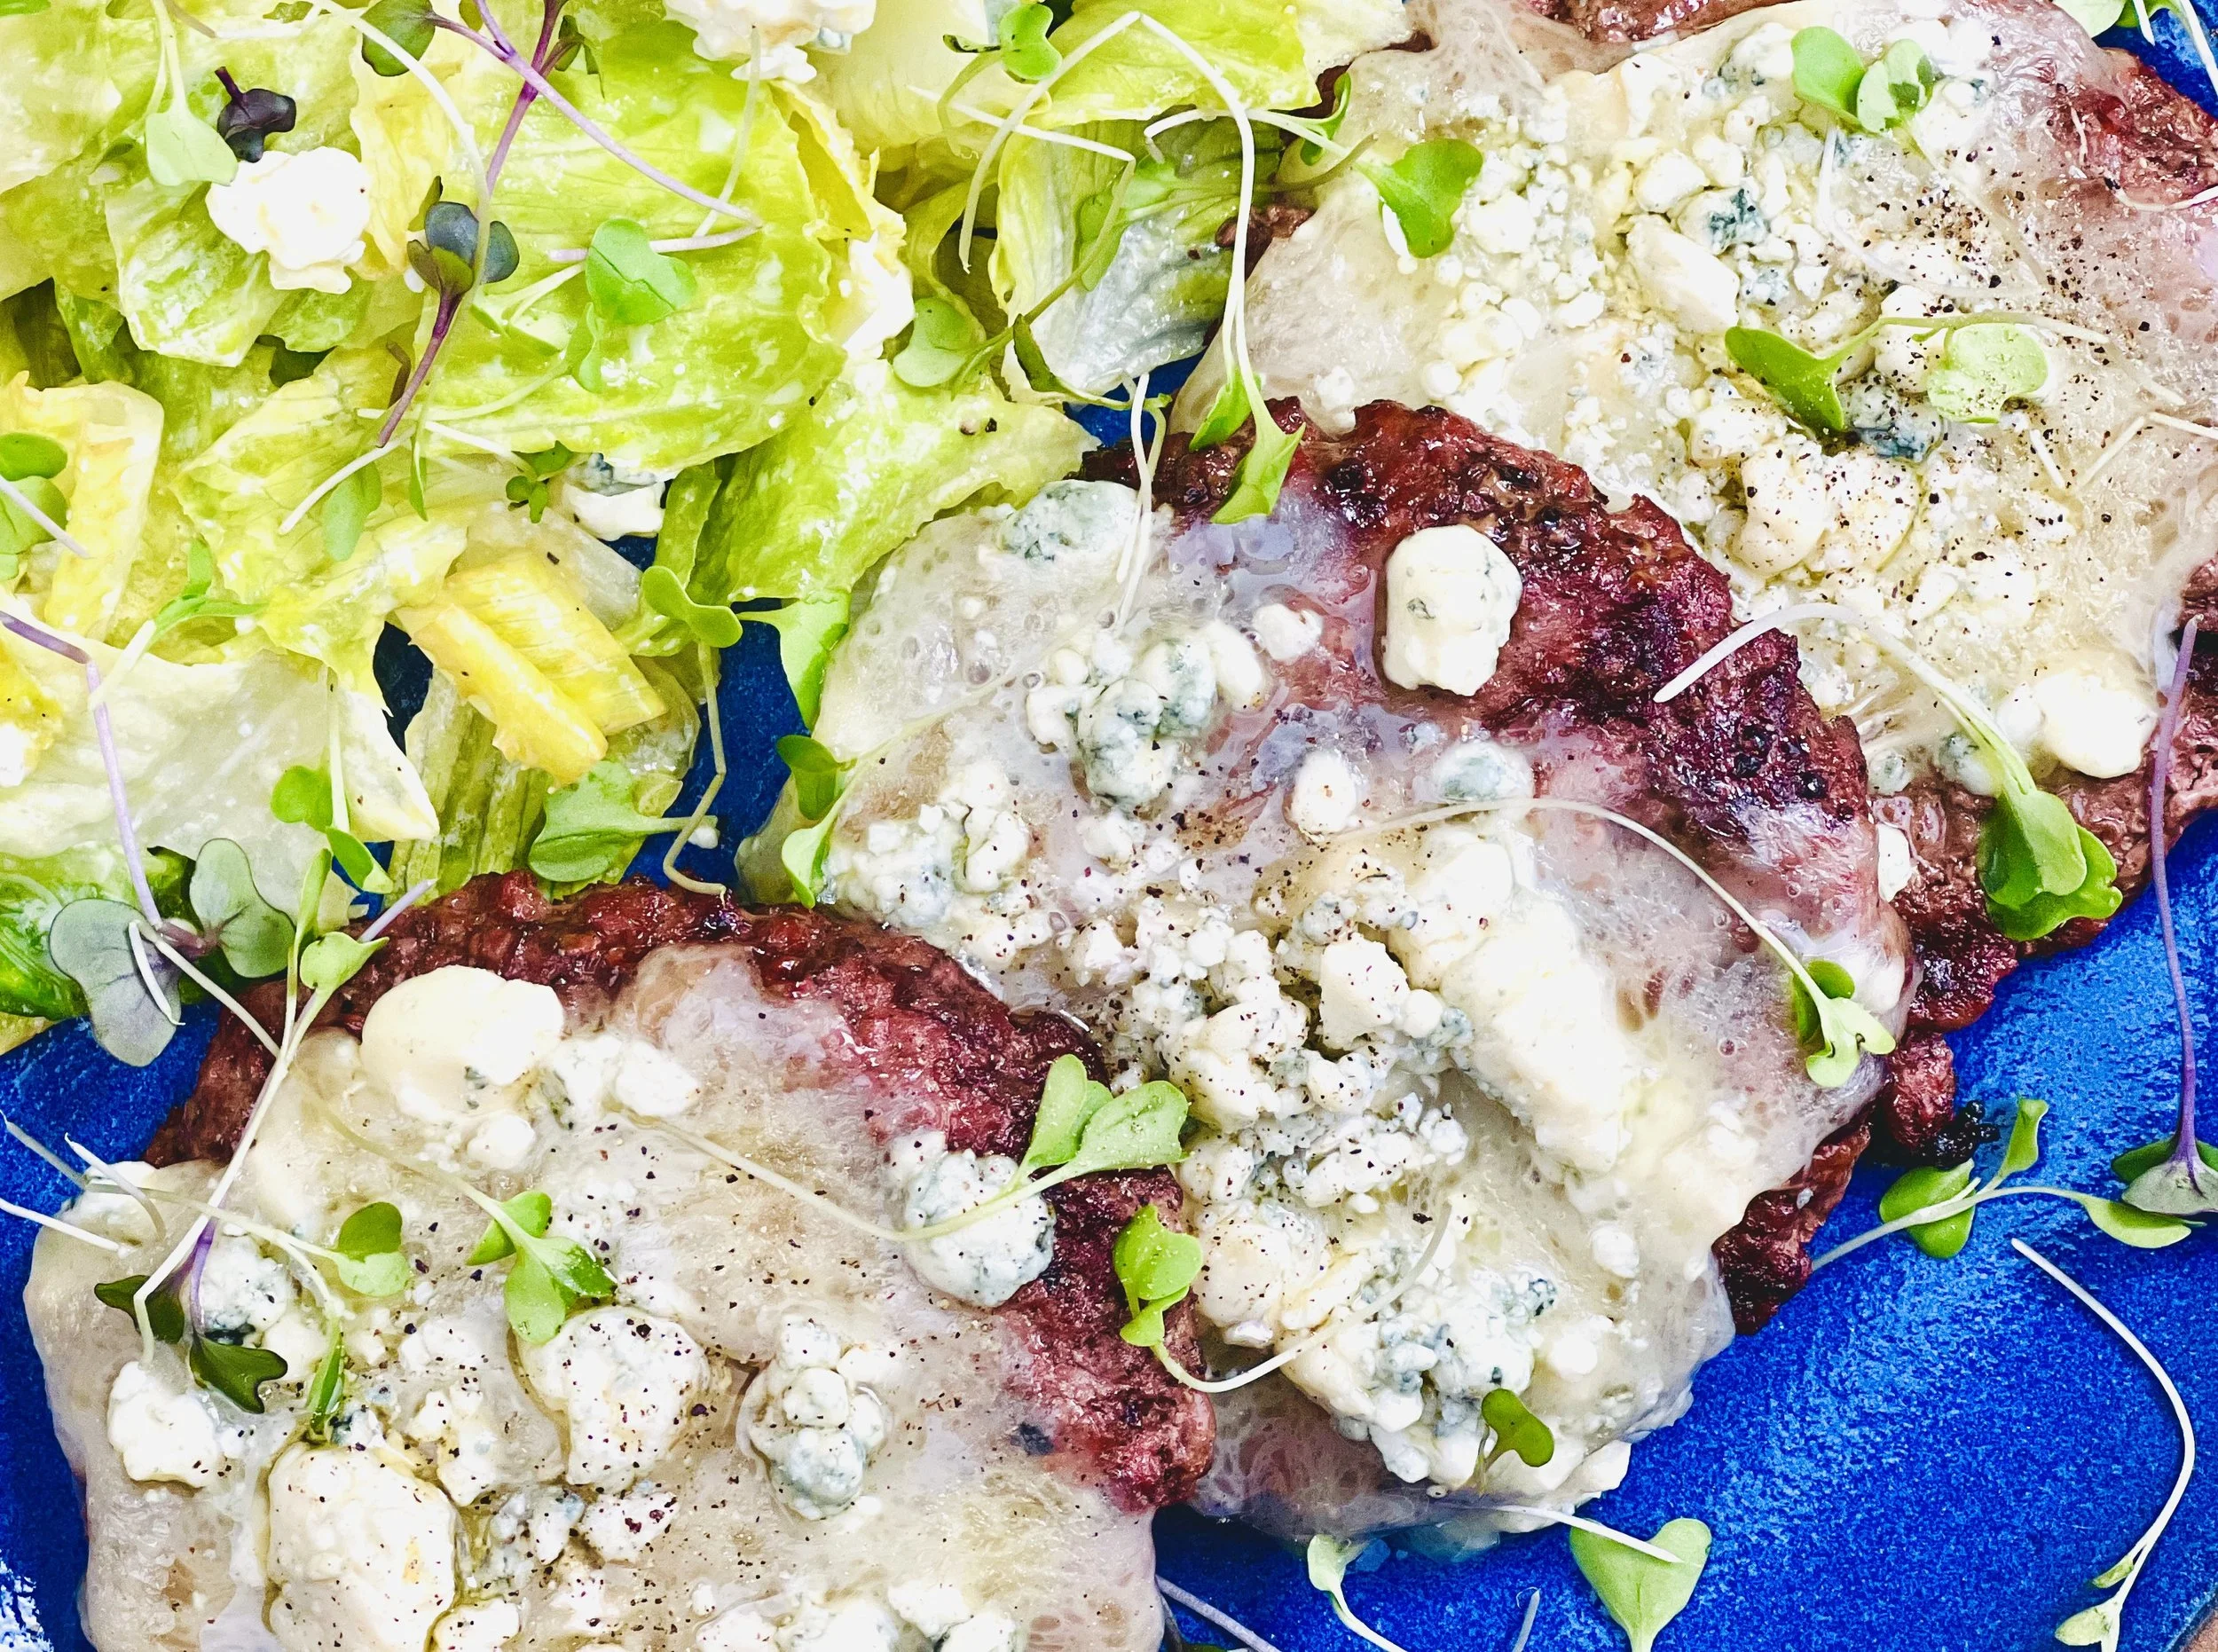
Classic Caesar Salad (low FODMAP)
20 Minutes prep • Low FODMAP • Vegetarian • Serves 4 - 6
20 Minutes prep • Low FODMAP • Vegetarian • Serves 4 - 6 • Ok to make-ahead: Steps 1 - 3
Caesar salad is very simple to make and it’s a classic flavor that can be enjoyed with all kinds of different meals. Our version of the classic Caesar salad is, of course, low FODMAP, and very delicious! This is a great salad to bring to a potluck because it’s robust and holds up well to travel and you can toss it all together in a moment and sprinkle the croutons and parmesan on the top for a perfect presentation. Making your own low FODMAP croutons is easy and it means they will be crisp, delicious, and tummy-friendly.
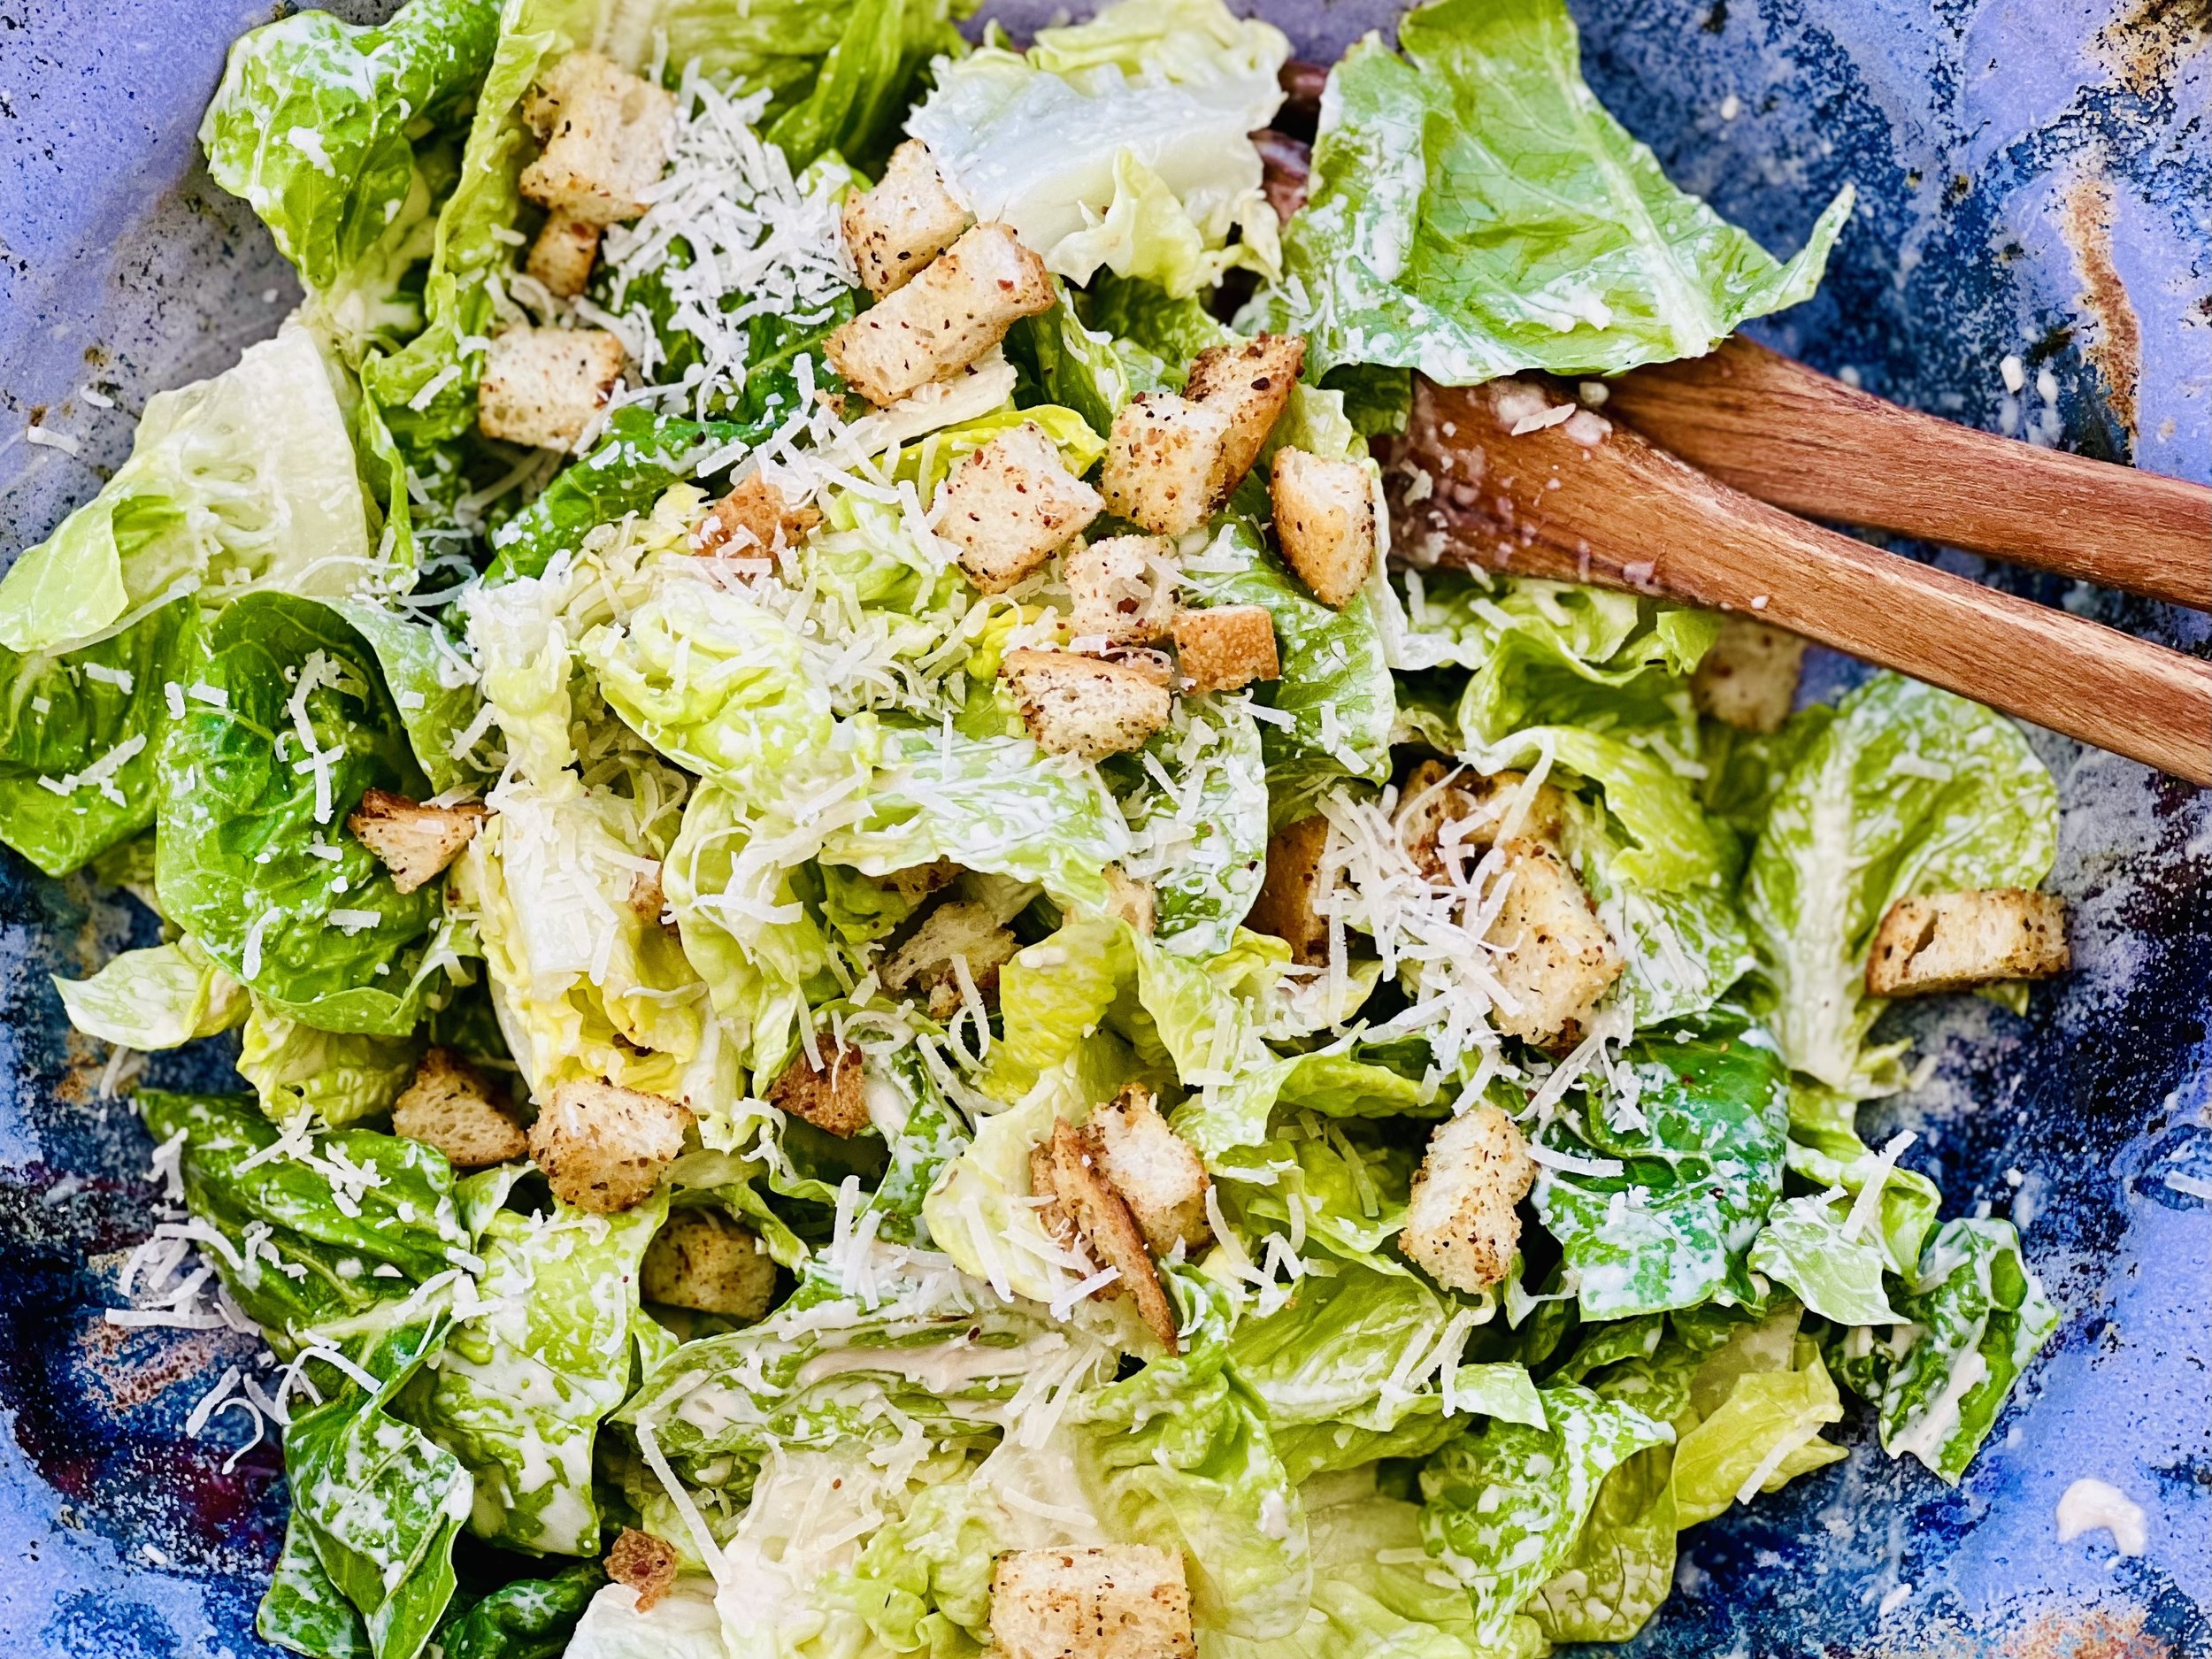
Ingredients: Salad
2 heads of romaine lettuce, chopped, washed, and spun dry
1/2 cup fresh grated parmesan cheese
2 slices of real sourdough bread, cut into crouton-size pieces (real sourdough will not have yeast or vinegar in the list of ingredients)
1 tablespoon garlic-infused olive oil
1 tablespoon Smoke N Sanity Garlic Parmesan Seasoning
Ingredients: Dressing
Juice of 1 lemon (about 2 tablespoons)
2 tablespoons lactose-free yogurt or sour cream
2 tablespoons mayonnaise
1 tablespoon garlic-infused olive oil
2 teaspoons dijon mustard
1 teaspoon gluten-free Worcestershire sauce
1/4 cup fresh grated parmesan cheese
Kosher salt and black pepper to taste
Directions
(1) Make the croutons: Preheat oven to 325 degrees F and line a rimmed baking sheet with parchment paper. Chop bread into crouton-size pieces and transfer to a mixing bowl. Drizzle with olive oil and toss. Sprinkle with Smoke N Sanity Garlic Parmesan and toss again. Spread on the prepared baking sheet and bake at 325 degrees for about 10 minutes, stirring half way through, or until golden brown and crisp. Remove from oven and let cool on the baking sheet. Taste, and add a sprinkle of salt if they need a little more zing. Set aside.
(2) Prepare the dressing: Combine all dressing ingredients except parmesan cheese, salt, and pepper in a small jar. Shake to combine. Add parmesan cheese and shake again. Taste on a lettuce leaf and add salt and pepper to taste. Set aside in the fridge.
(3) Prepare the lettuce: Chop or tear, wash, and spin dry the Romaine lettuce. If you’re not going to make your salad right away, after washing and spinning dry, put the lettuce in a plastic bag with a paper towel. Squeeze the air out of the bag and twist to seal. Then store in the fridge. Your lettuce will be super crisp and any extra water will be absorbed so your salad will taste its best.
Make-ahead note: At this point, you can keep the lettuce and the dressing in the refrigerator and store the cooled croutons in an air-tight container until you’re ready to assemble your salad. If the croutons lose their crunch, put them on a rimmed baking sheet and pop them back in a hot oven for a few minutes.
(4) Prepare salad: Put the lettuce in a large salad bowl. Add about half the dressing. Toss to combine. Add more dressing until it’s to your liking.
(5) Finish: Sprinkle the croutons and the parmesan cheese on top of the salad. This makes a nice presentation if you’re bringing the salad bowl to the table. If not, toss it all together. Plate and serve.
Eat and enjoy every bite because you can!
This post may contain affiliate links so you can easily purchase items listed on the page. In some cases, we have provided a special discount code for IBS Game Changers so be sure to use it when you purchase an item to get the discount that has been arranged just for you!
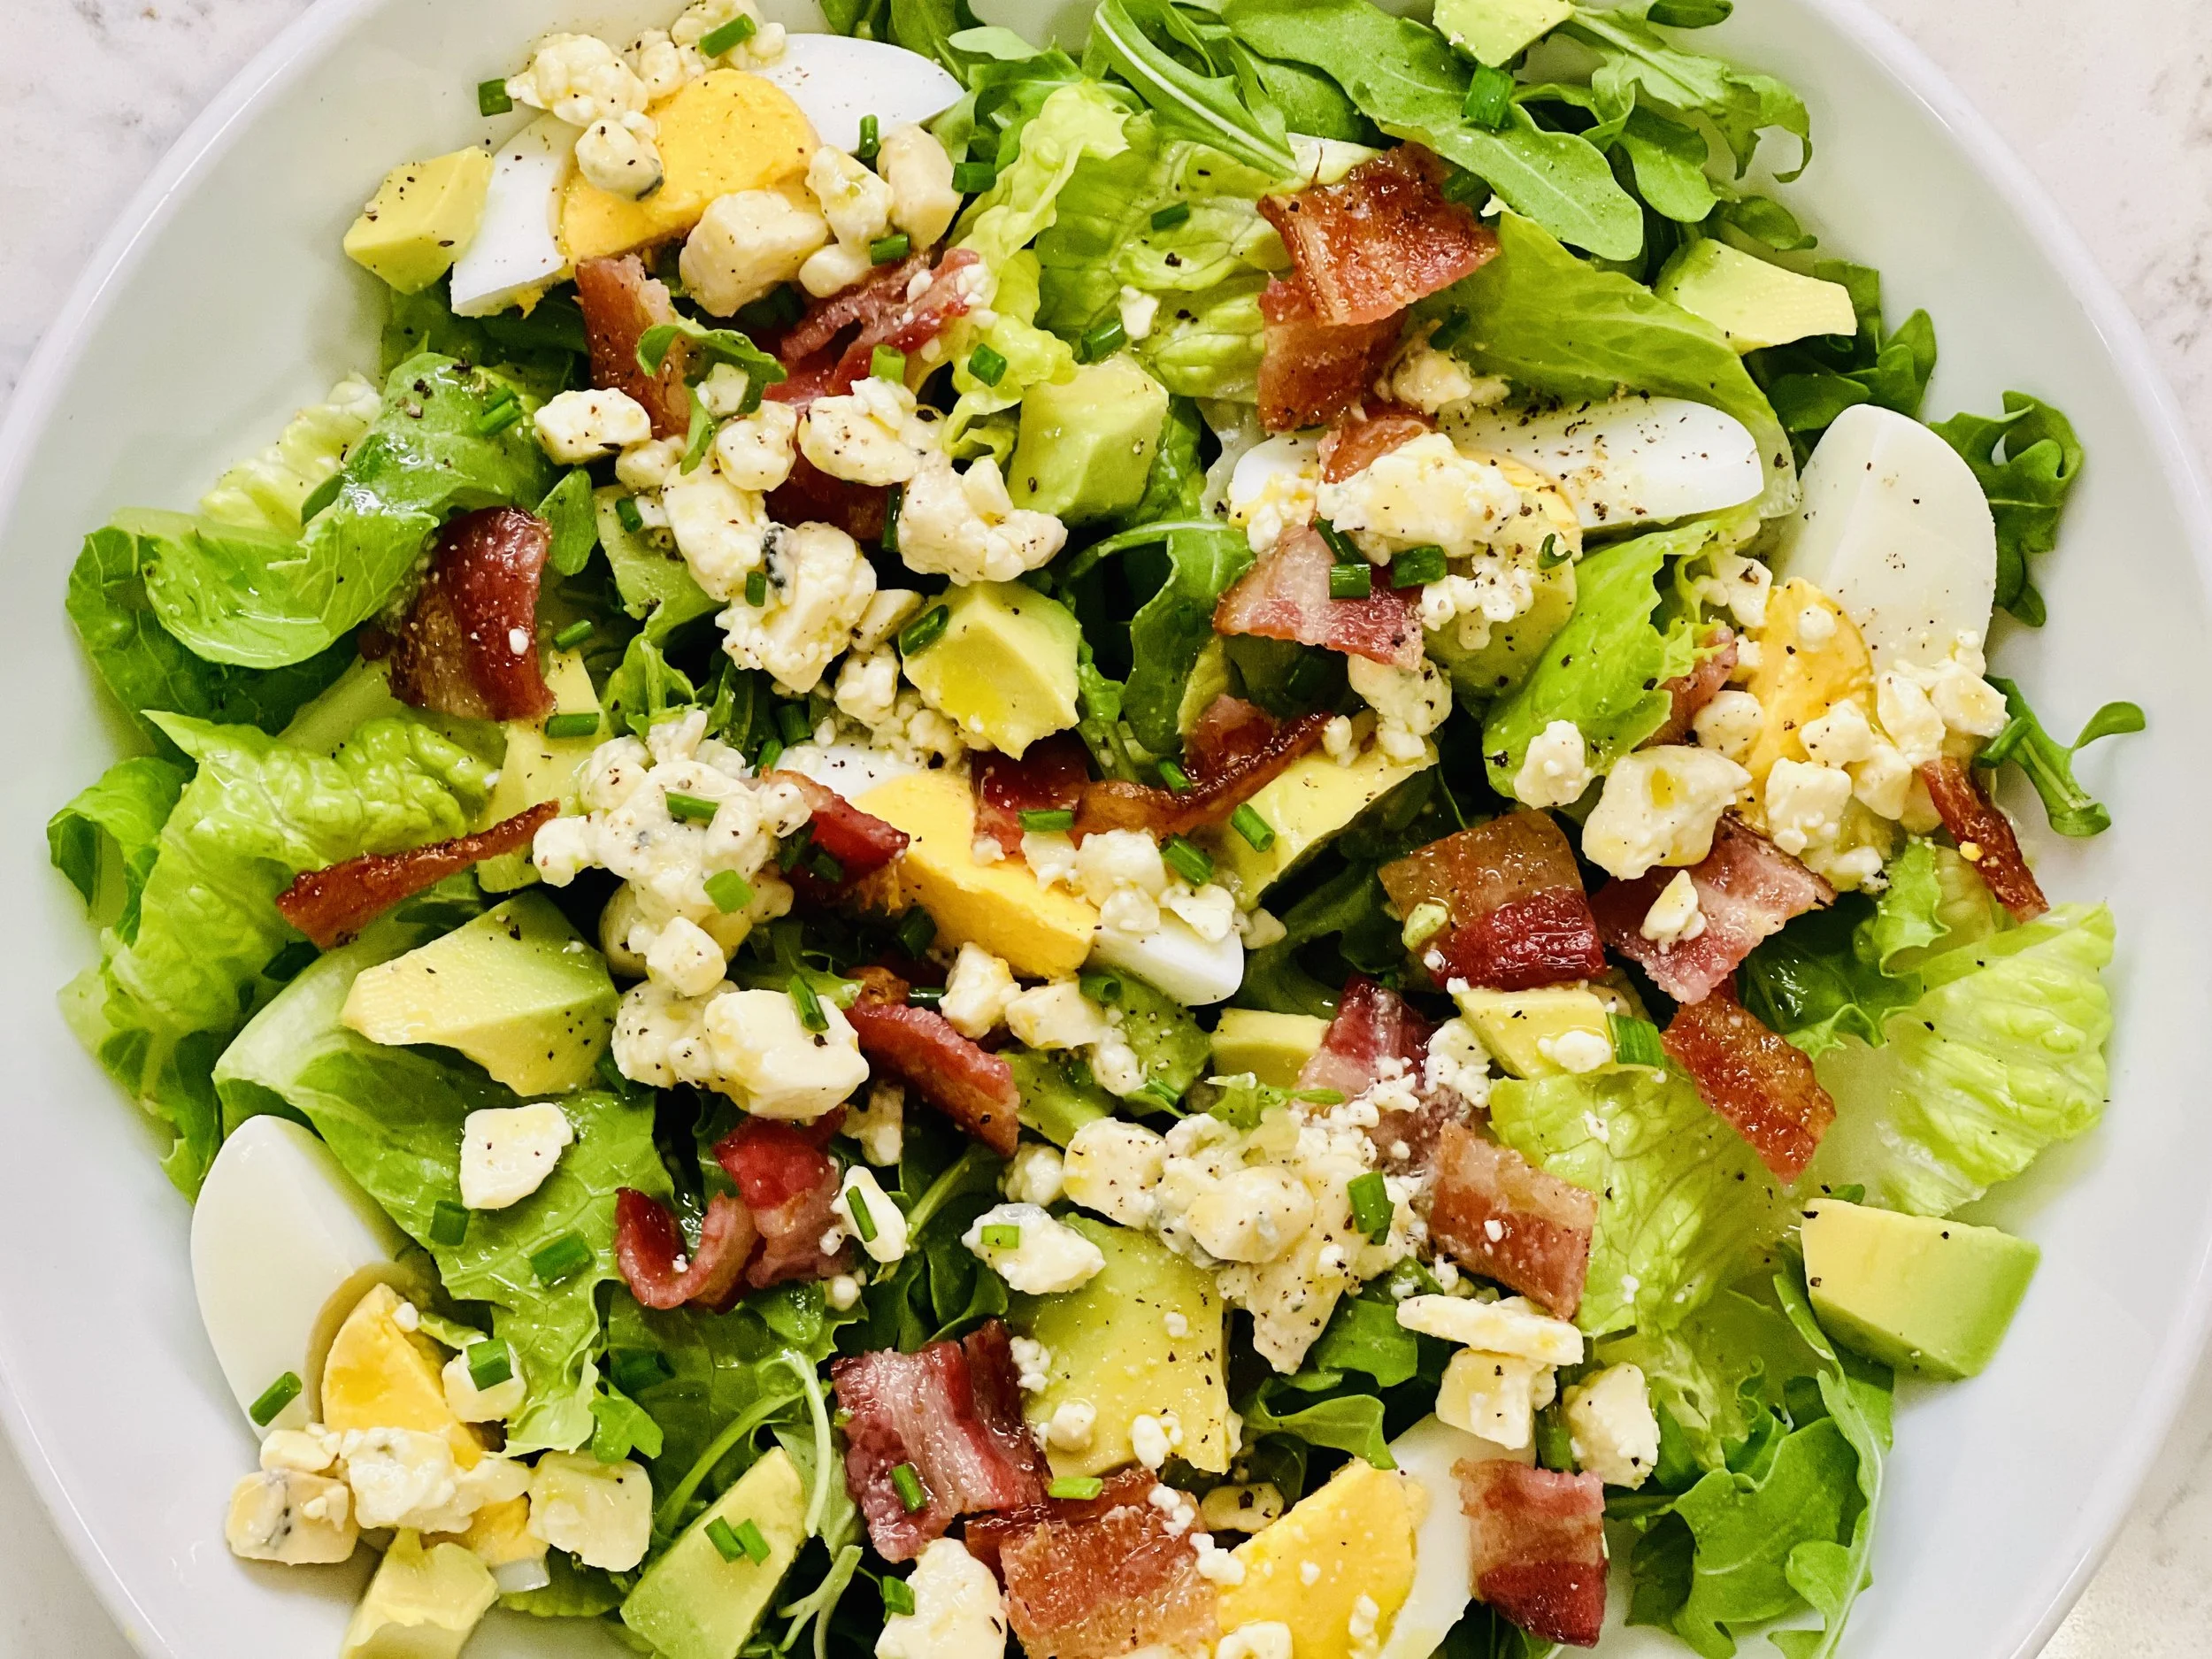
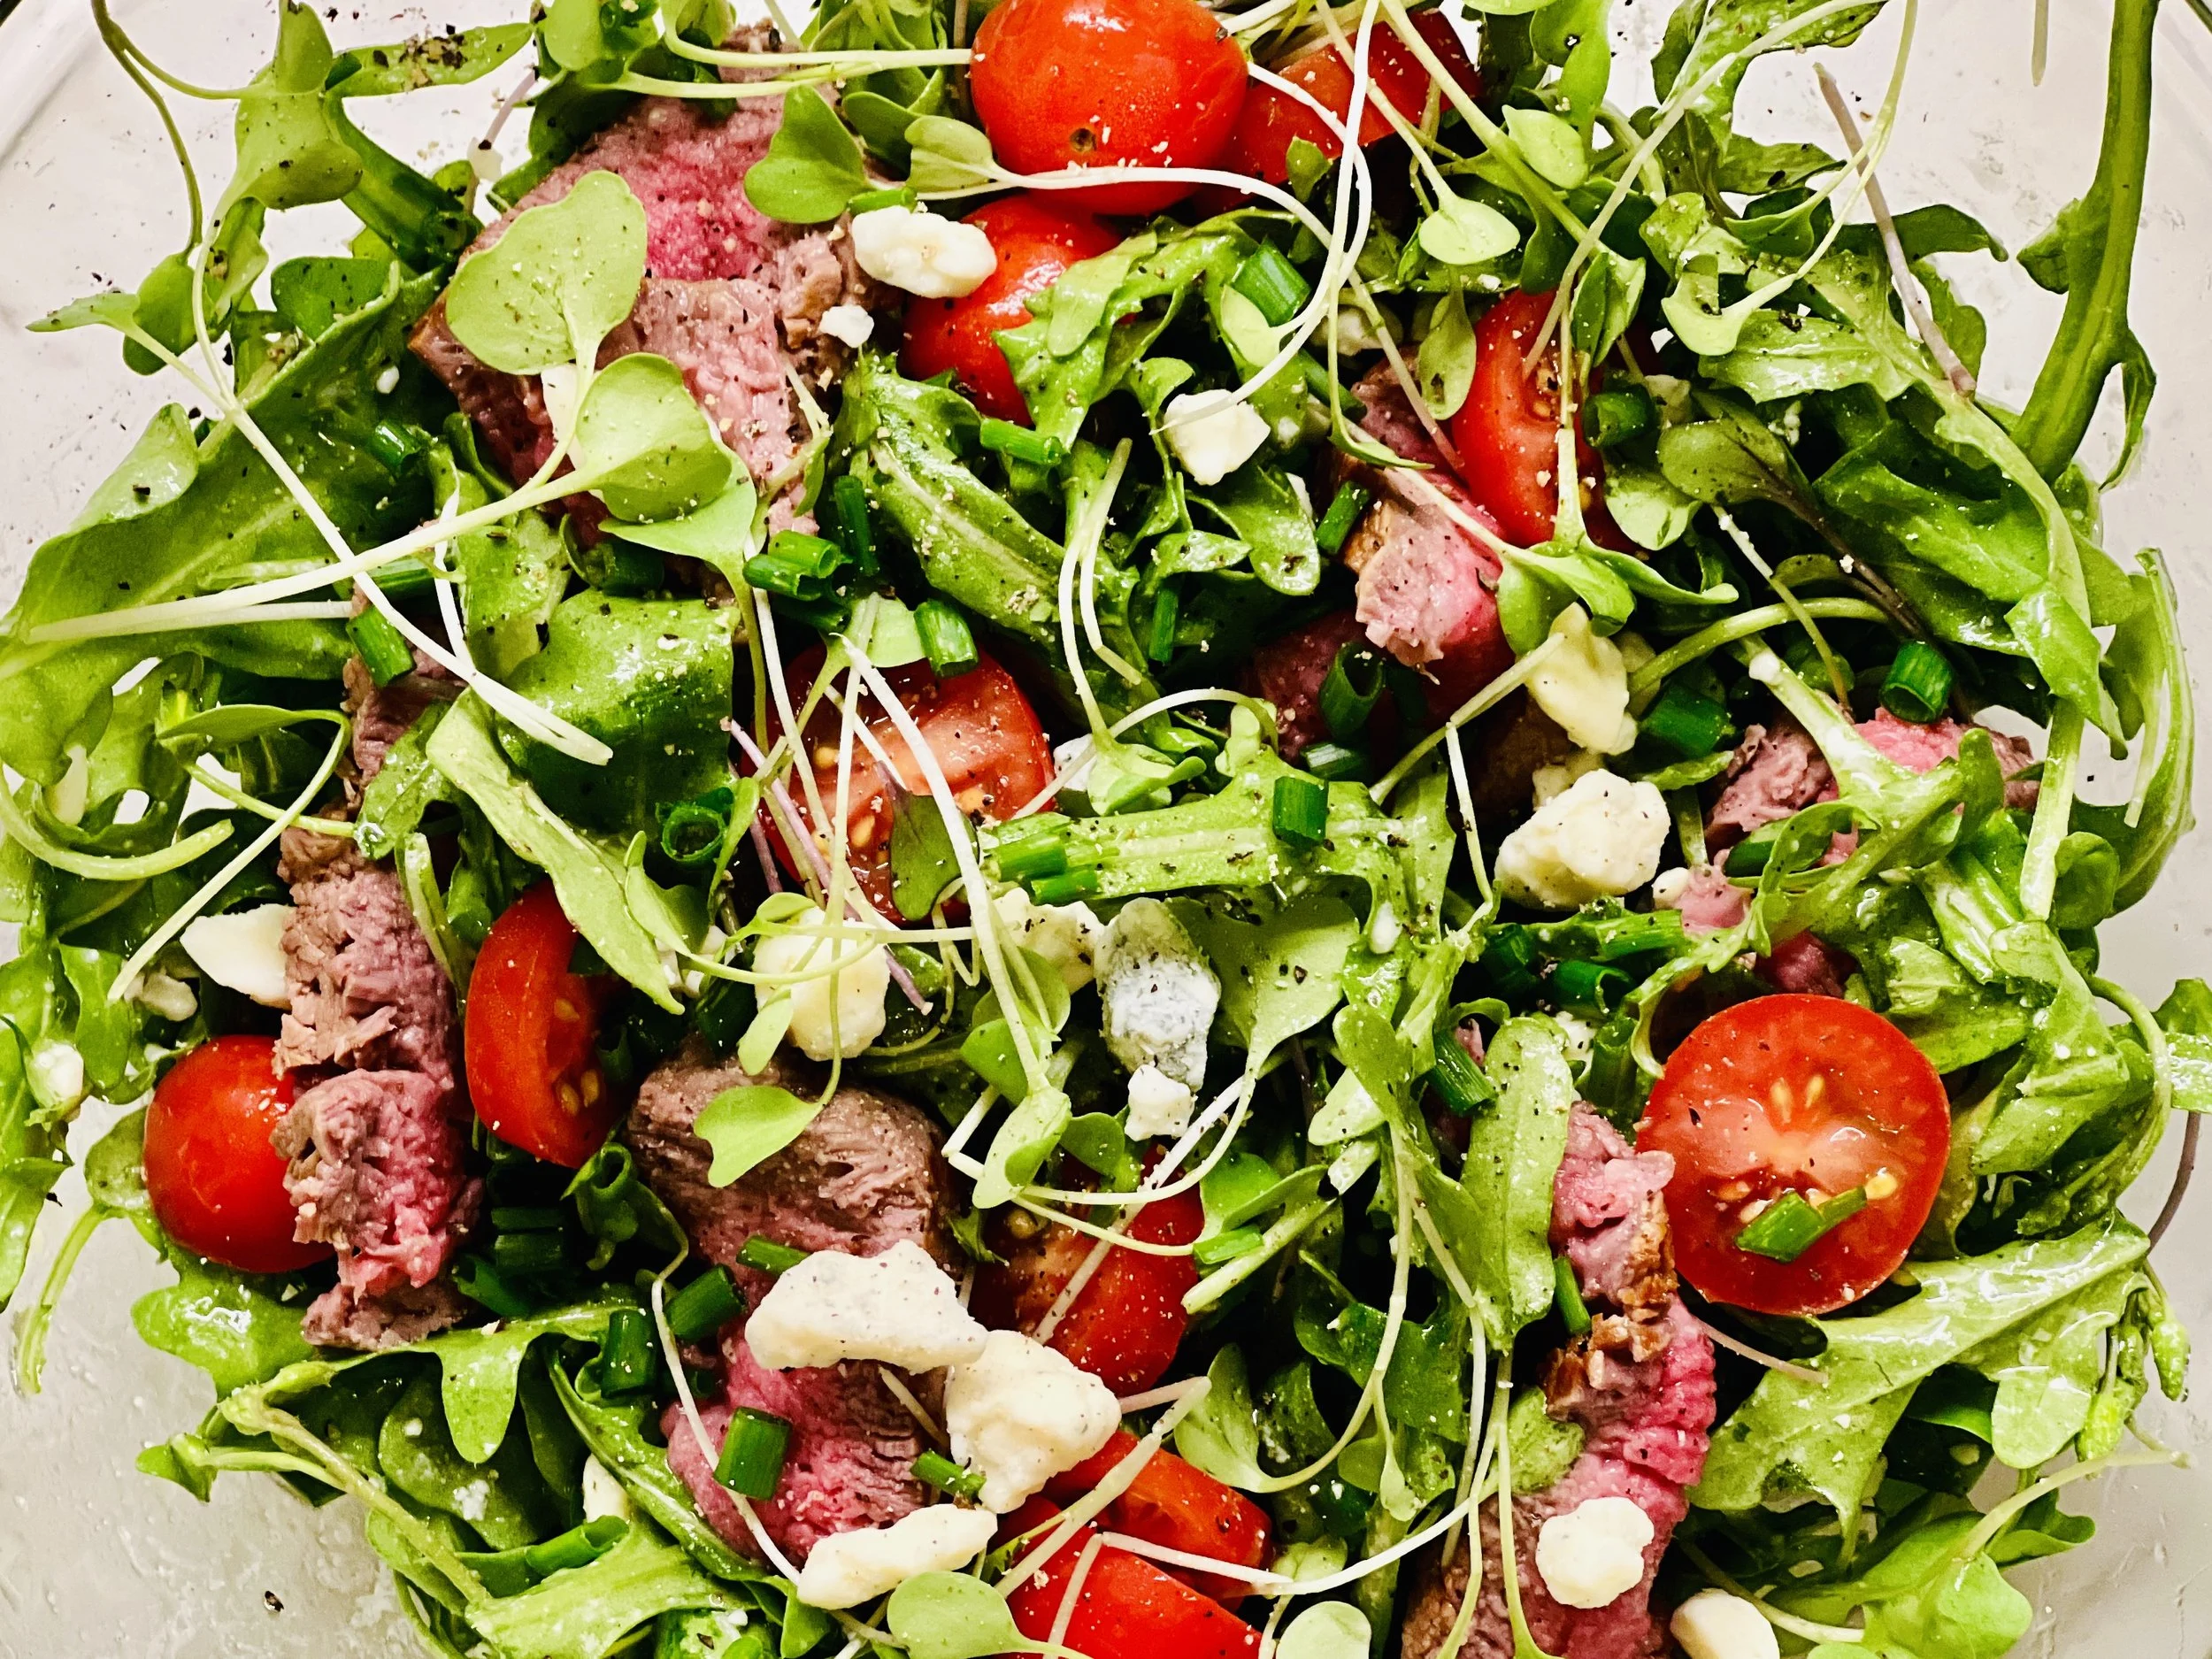
More Deliciously Low FODMAP™ salads you might enjoy
Spinach Madeline (low FODMAP)
30 Minutes prep • 15 Minutes cook • Low FODMAP • Gluten-Free • Vegetarian • Serves 6
30 Minutes prep • 15 Minutes cook • Low FODMAP • Gluten-Free • Vegetarian • Serves 6 • Ok to make-ahead: Steps 1 - 5
Spinach Madeline has been a holiday standard for decades. It's present at Christmas, Easter, New Years, and, of course, Thanksgiving. But why save it for the holidays? It’s a simple and delicious vegetable side dish that deserves a place at the table more than a few times a year! It could even serve as a wonderful vegetarian main course. Spinach Madeline improves with time so making it a day ahead is, not only a great time saver but a great way to have the best-tasting spinach Madeline.

Ingredients
2 packages frozen chopped spinach
4 tablespoons butter
2 tablespoons gluten-free flour
1 bunch green onions (green part only) chopped
1/2 cup lactose-free whole milk or half and half, or heavy cream
1/2 cup of the liquid reserved from cooking the spinach
1/2 teaspoon fresh ground pepper
3/4 teaspoon celery salt
3/4 teaspoon Smoke N Sanity Essence of Garlic Salt (use code IBSGC10 for 10% discount)
Kosher salt to taste
1 teaspoon gluten-free Worcestershire sauce
6 ounces pepper jack cheese, grated
2 slices real sourdough bread
2 tablespoons butter
1/2 cup freshly grated parmesan cheese
Directions
(1) Prepare: Preheat the oven to 350 degrees F and butter a 1 1/2 quart baking dish.
(2) Cook spinach: Cook according to the directions on the package. Remove from heat and drain, reserving 1/2 cup of the liquid from cooking the spinach.
(3) Make breadcrumbs: Cut the sourdough into chunks, then run it through the food processor to turn it into crumbs. Melt the butter and pour over the bread crumbs. Toss until well mixed. Add the parmesan cheese and toss again.
(4) Make cream sauce: Melt butter in a saucepan over low heat. Add flour, whisking until blended and smooth, but not brown. Add green onions, and cook until they start to soften. Add liquid slowly, stirring constantly to avoid lumps. Cook until smooth and thick; continue stirring. Add seasonings and grated cheese. Stir until the cheese is melted.
(5) Add spinach: Combine with cooked spinach. Pour into the prepared baking dish. If you’re going to cook and serve right away, top with buttered breadcrumbs. If not, leave those off for now.
Make-ahead note: At this point, you may put the bread crumbs in an airtight container and cover the spinach mixture and refrigerate or freeze until you’re ready to bake. The flavor is actually improved if you make it a day ahead so add this to your list of make-aheads for your next gathering.
(6) Finish: Add the buttered breadcrumbs to the top of the spinach mixture and bake at 350ºF until heated through and bubbly, about 15-20 minutes.
(7) Plate and serve: Serve as a wonderfully warm and comforting vegetarian side dish.
Eat and enjoy every bite because you can!
This post contains links for you to easily purchase items listed on the page. In some cases, we have provided a special discount code for IBS Game Changers so be sure to use it when you purchase an item to get the discount that has been arranged just for you! As an Amazon Associate, I earn a commission from qualifying Amazon purchases.
More Deliciously Low FODMAP™ vegetarian recipes you might enjoy

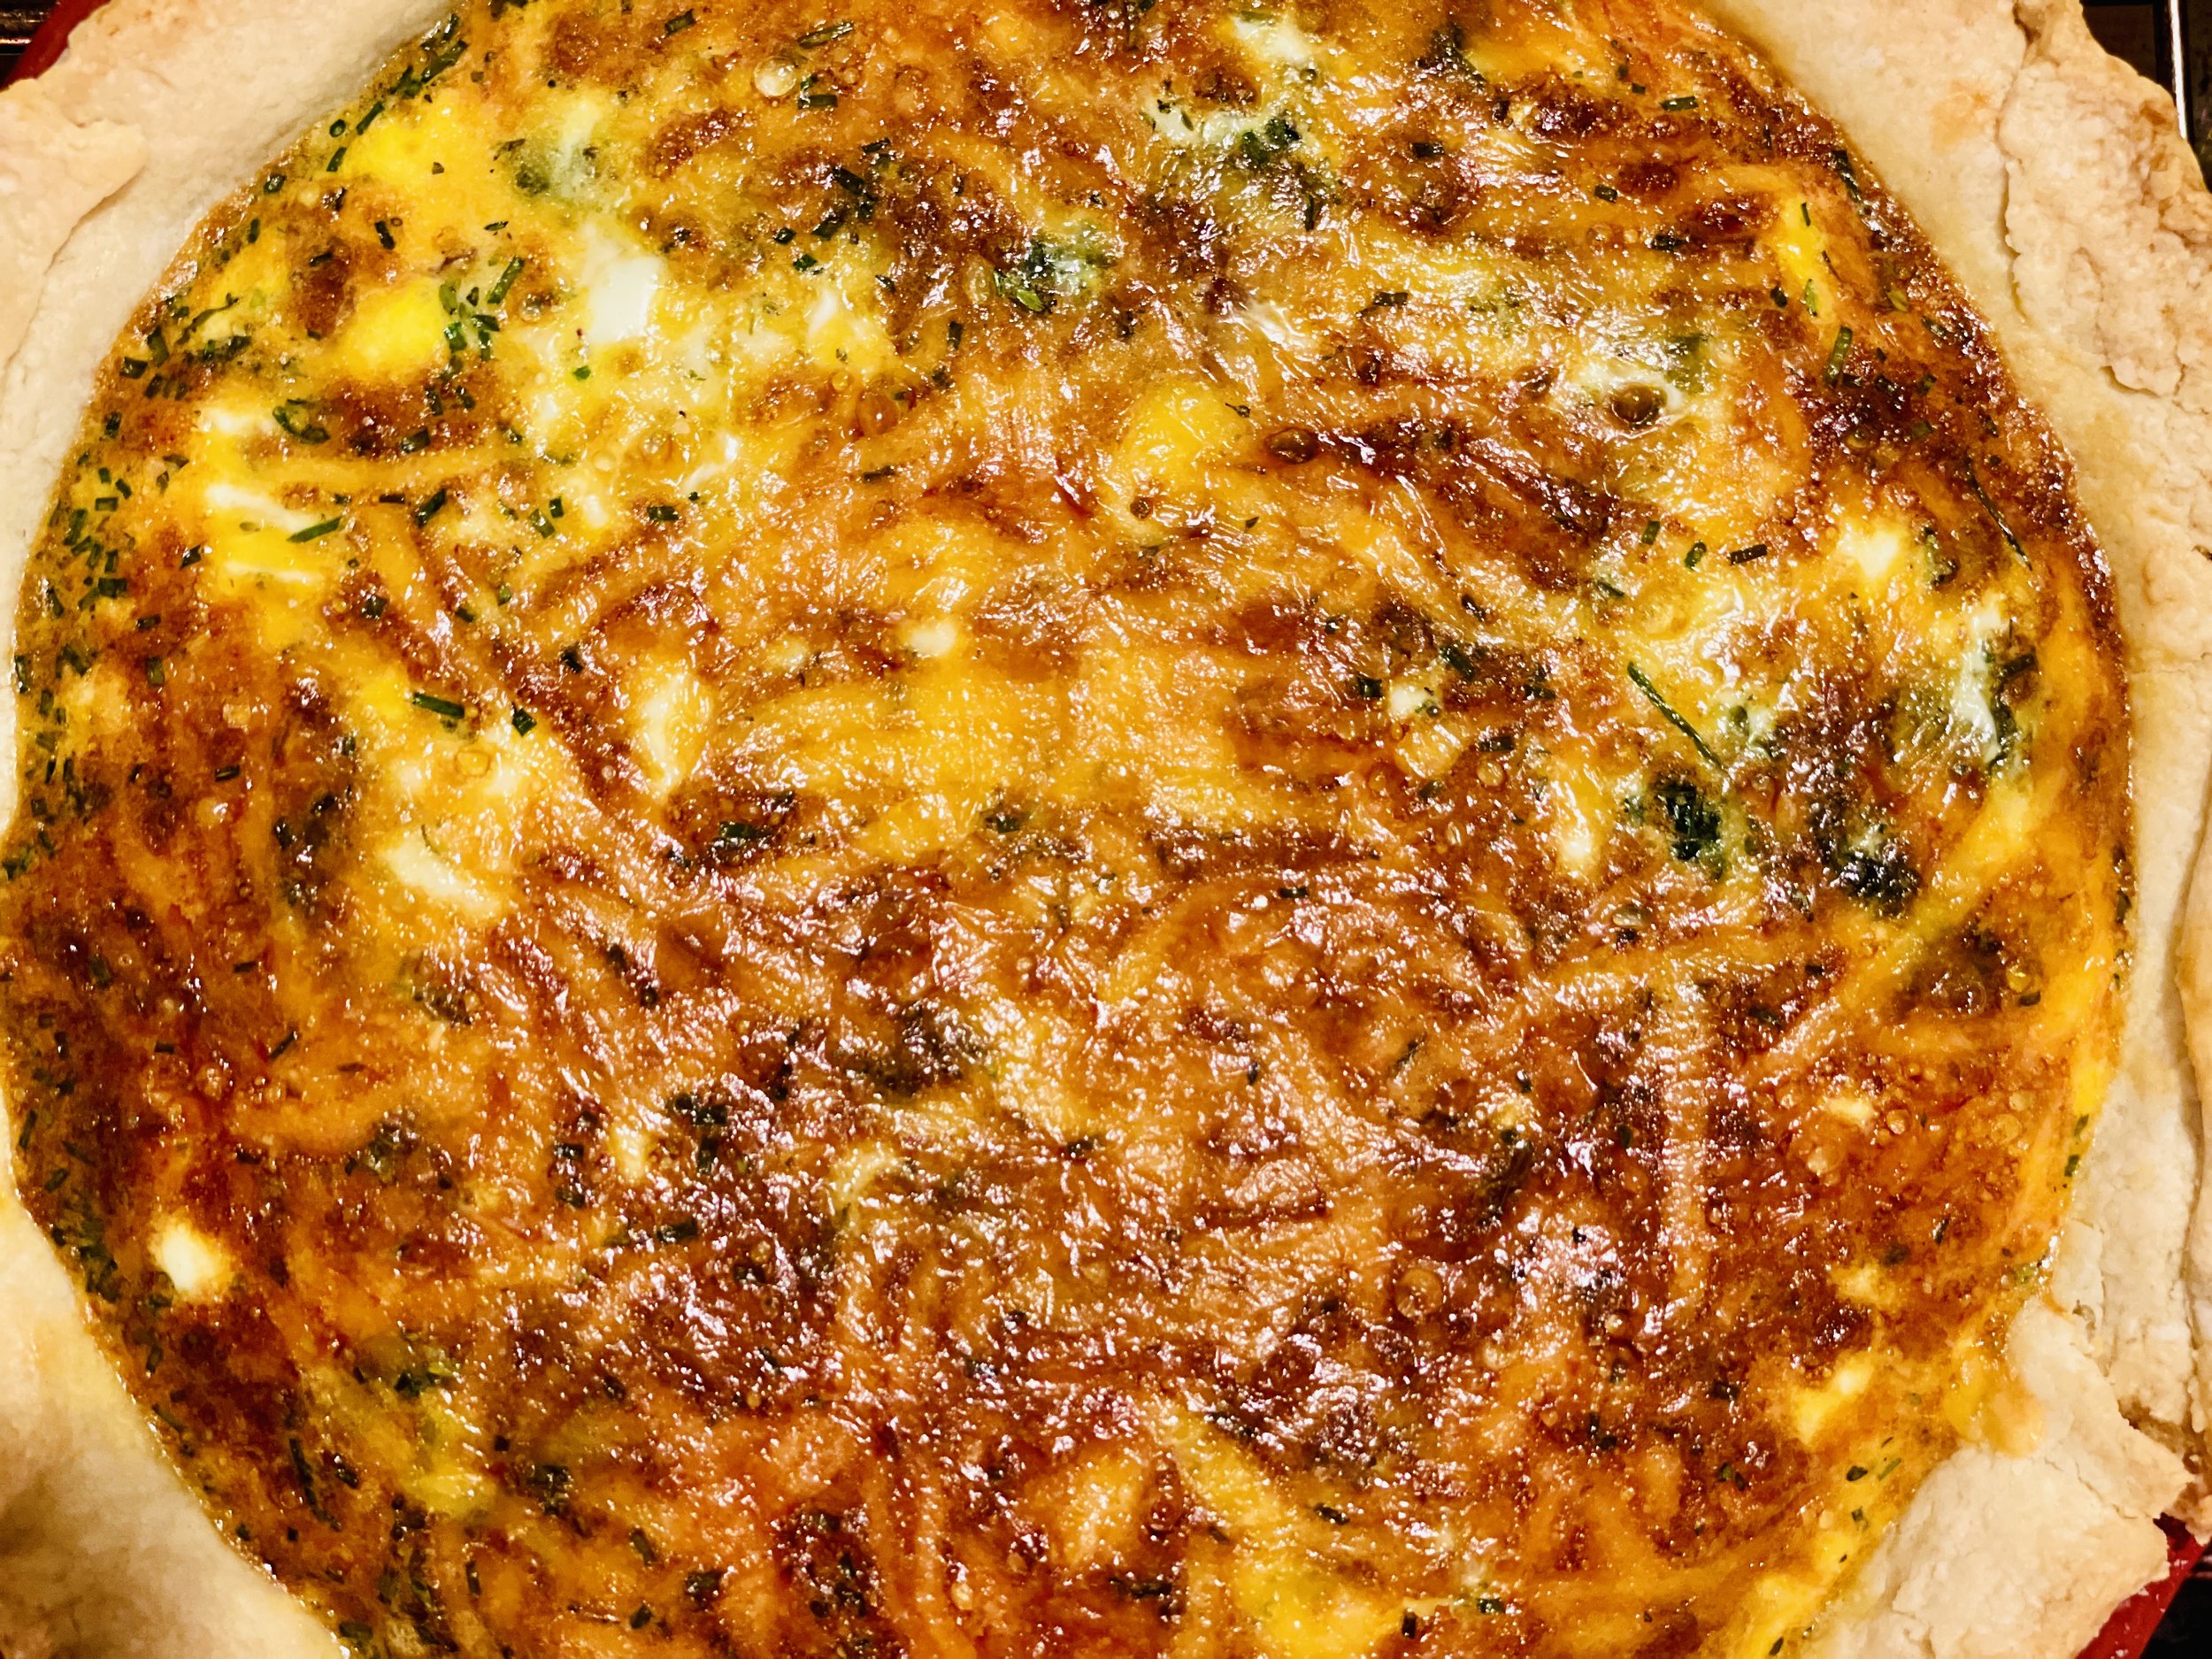
Cheddar, Spinach and Bacon Quiche (low FODMAP)
30 Minutes prep • 40 Minutes cook • Low FODMAP • Gluten-Free • Serves 8
30 Minutes prep • 40 Minutes cook • Low FODMAP • Gluten-Free • Serves 8 • Ok to make-ahead: Steps 1 - 2
Quiche that’s made with our perfect buttery pate brisee crust is simply delicious. And it’s so versatile, you can serve it for breakfast, lunch, dinner, or even an appetizer. You can make it ahead and serve it at room temperature, or you can serve it hot out of the oven or even cold out of the fridge. It’s a great way to use bits of cheese you may have left from a cheese board or appetizer tray, or leftover roasted or steamed vegetables. When I make my low FODMAP pate brisee pie crust, I always make an extra crust and keep it in the freezer. That way, I can whip up a quiche (or a pie!) at a moment’s notice.
Ingredients
1 deep dish gluten-free pie crust frozen (I recommend our perfect buttery pate brisee or you can buy a frozen gluten-free butter pie crust)
1 pound bacon, cooked and chopped
6 ounces (1 bag) baby spinach, washed and long stems removed
2 tablespoons garlic-infused olive oil
3 green onions (green part only) chopped
1 tablespoon chopped chives
1 tablespoon minced fresh thyme
Salt and freshly ground pepper
9 large eggs plus one egg white
1 cup lactose-free whole milk
2 cups extra-sharp cheddar cheese, grated (or other cheeses you may have on hand)
Directions
(1) Prepare the pie crust: Unless you have one already prepared and frozen, make the pie crust and put it in the freezer until you’re ready to use it. I recommend our perfect buttery pate brisee or you can use a purchased frozen gluten-free butter pie crust as long as it doesn’t have other FODMAP containing ingredients.
(2) Cook the bacon: Preheat oven to 400 degrees F and line a rimmed baking sheet with foil. Lay your bacon slices on the foil in one layer and put it in the oven. Bake for 10 minutes and check for doneness. If it’s not yet done, cook another 3-5 minutes. When bacon is cooked through, remove it from the oven and use a pair of tongs to remove the bacon slices and lay them in one layer on folded paper towels to drain and cool.
Make-ahead note: At this point you may keep the pie crust in the freezer and the bacon in the refrigerator until you’re ready to make the quiche.
(3) Prepare the other ingredients: Meanwhile, prepare the vegetables and herbs, grate the cheese and chop the cooled bacon.
(4) Cook the vegetables: Heat 2 tablespoons of garlic-infused olive oil in a medium frying pan. When the oil shimmers, add the green onions and sautee for about a minute. Add chopped chopped herbs and continue to sautee for about 5 minutes. While the vegetables are cooking, chop the cooked bacon and the spinach.
(5) Add bacon, spinach, and chives: Add the bacon, spinach, and chopped chives to the frying pan and season with salt and a good grinding of pepper. Continue cooking until bacon is heated through then set aside.
(6) Prepare the egg mixture: In a large mixing bowl combine 8 eggs (plus one egg yolk) and set the egg white aside in a small bowl. Add the milk and whisk together until light yellow and well blended.
(7) Prepare the crust: Remove pie crust from the freezer and brush with egg white.
(8) Fill the crust: Layer the grated cheese and the spinach and bacon mixture into the pie crust. Pour the egg mixture over the cheese and vegetables in the crust. Reduce oven temperature to 375 degrees F and put the quiche in the oven. If your pie pan is very full and the liquid is at risk of bubbling over, put a rimmed baking sheet on the shelf below to catch any drips so they don’t burn on the bottom of the oven.
(9) Bake: Bake for 30 minutes. If the edges of the pie crust are getting too brown, you can cover them with a strip of foil or silicon crust protector and cook for another 10 minutes until the center is set.
(10) Finish: Remove the quiche from the oven and let stand for 10 minutes before cutting and serving.
(11) Plate and serve: Quiche may be eaten warm or at room temperature so don’t hesitate to make this ahead.
Eat and enjoy every bite because you can!
This post contains links for you to easily purchase items listed on the page. In some cases, we have provided a special discount code for IBS Game Changers so be sure to use it when you purchase an item to get the discount that has been arranged just for you! As an Amazon Associate, I earn a commission from qualifying Amazon purchases.
More Deliciously Low FODMAP™ main course recipes you might enjoy
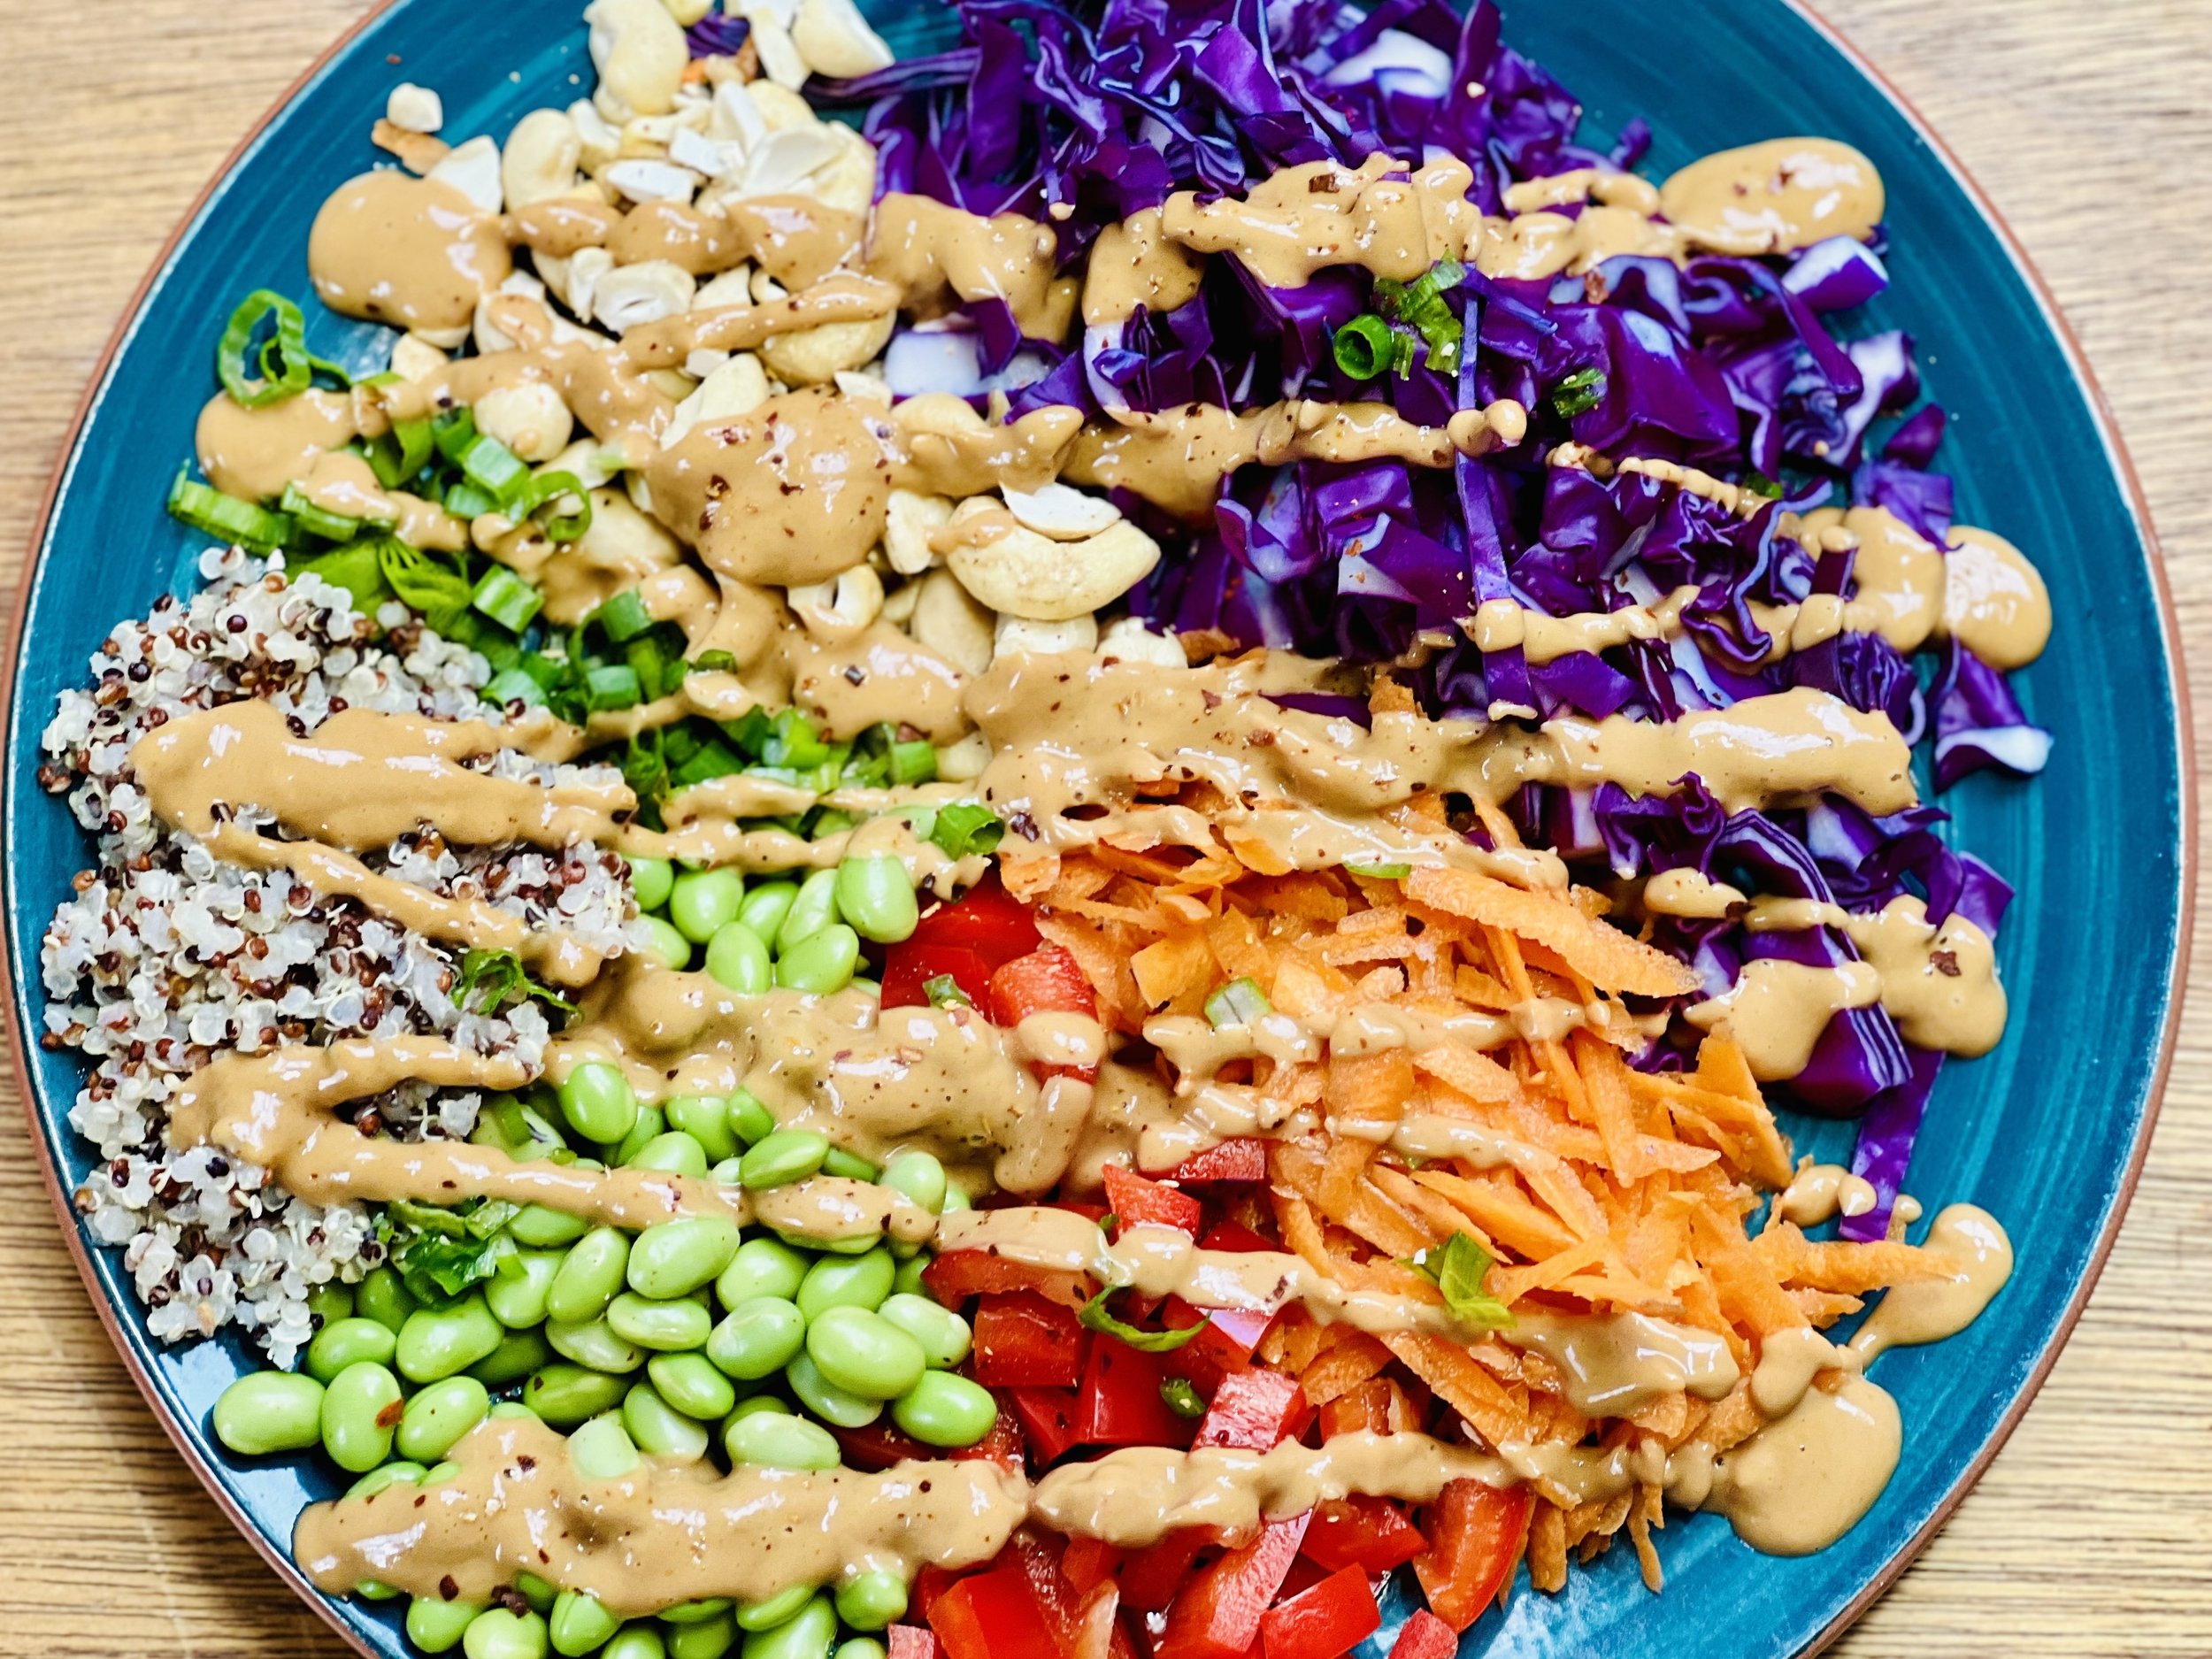
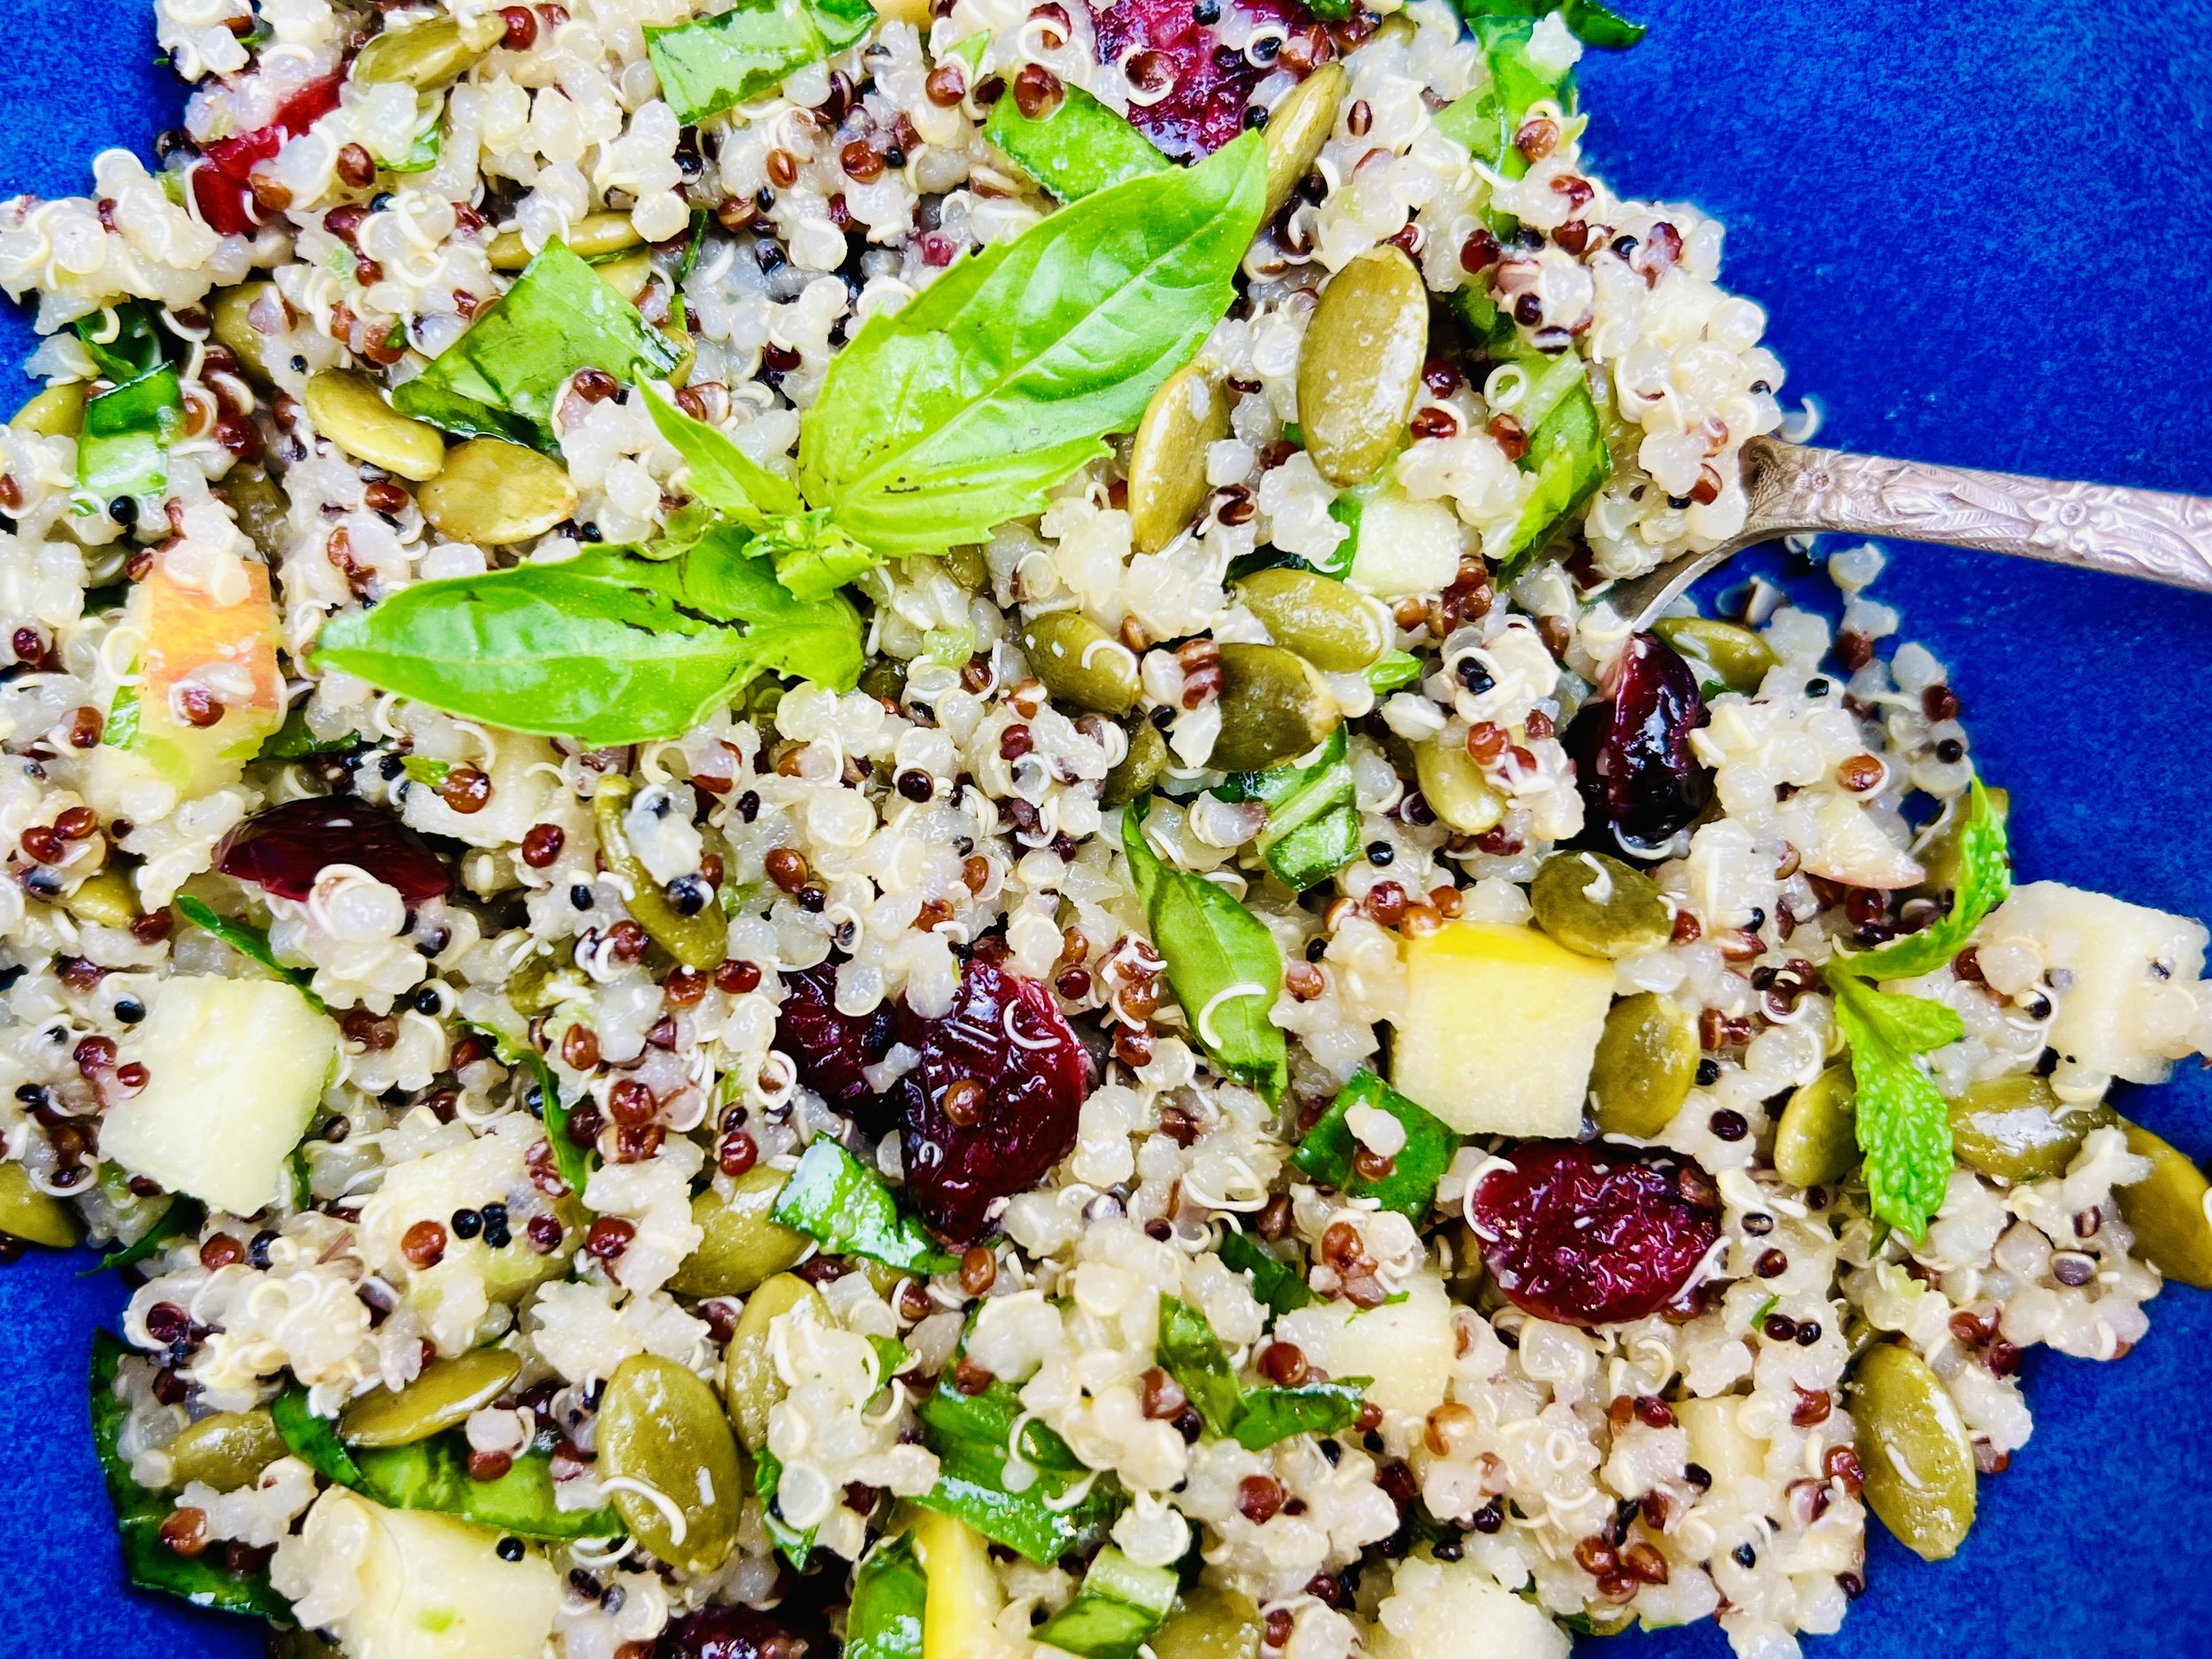
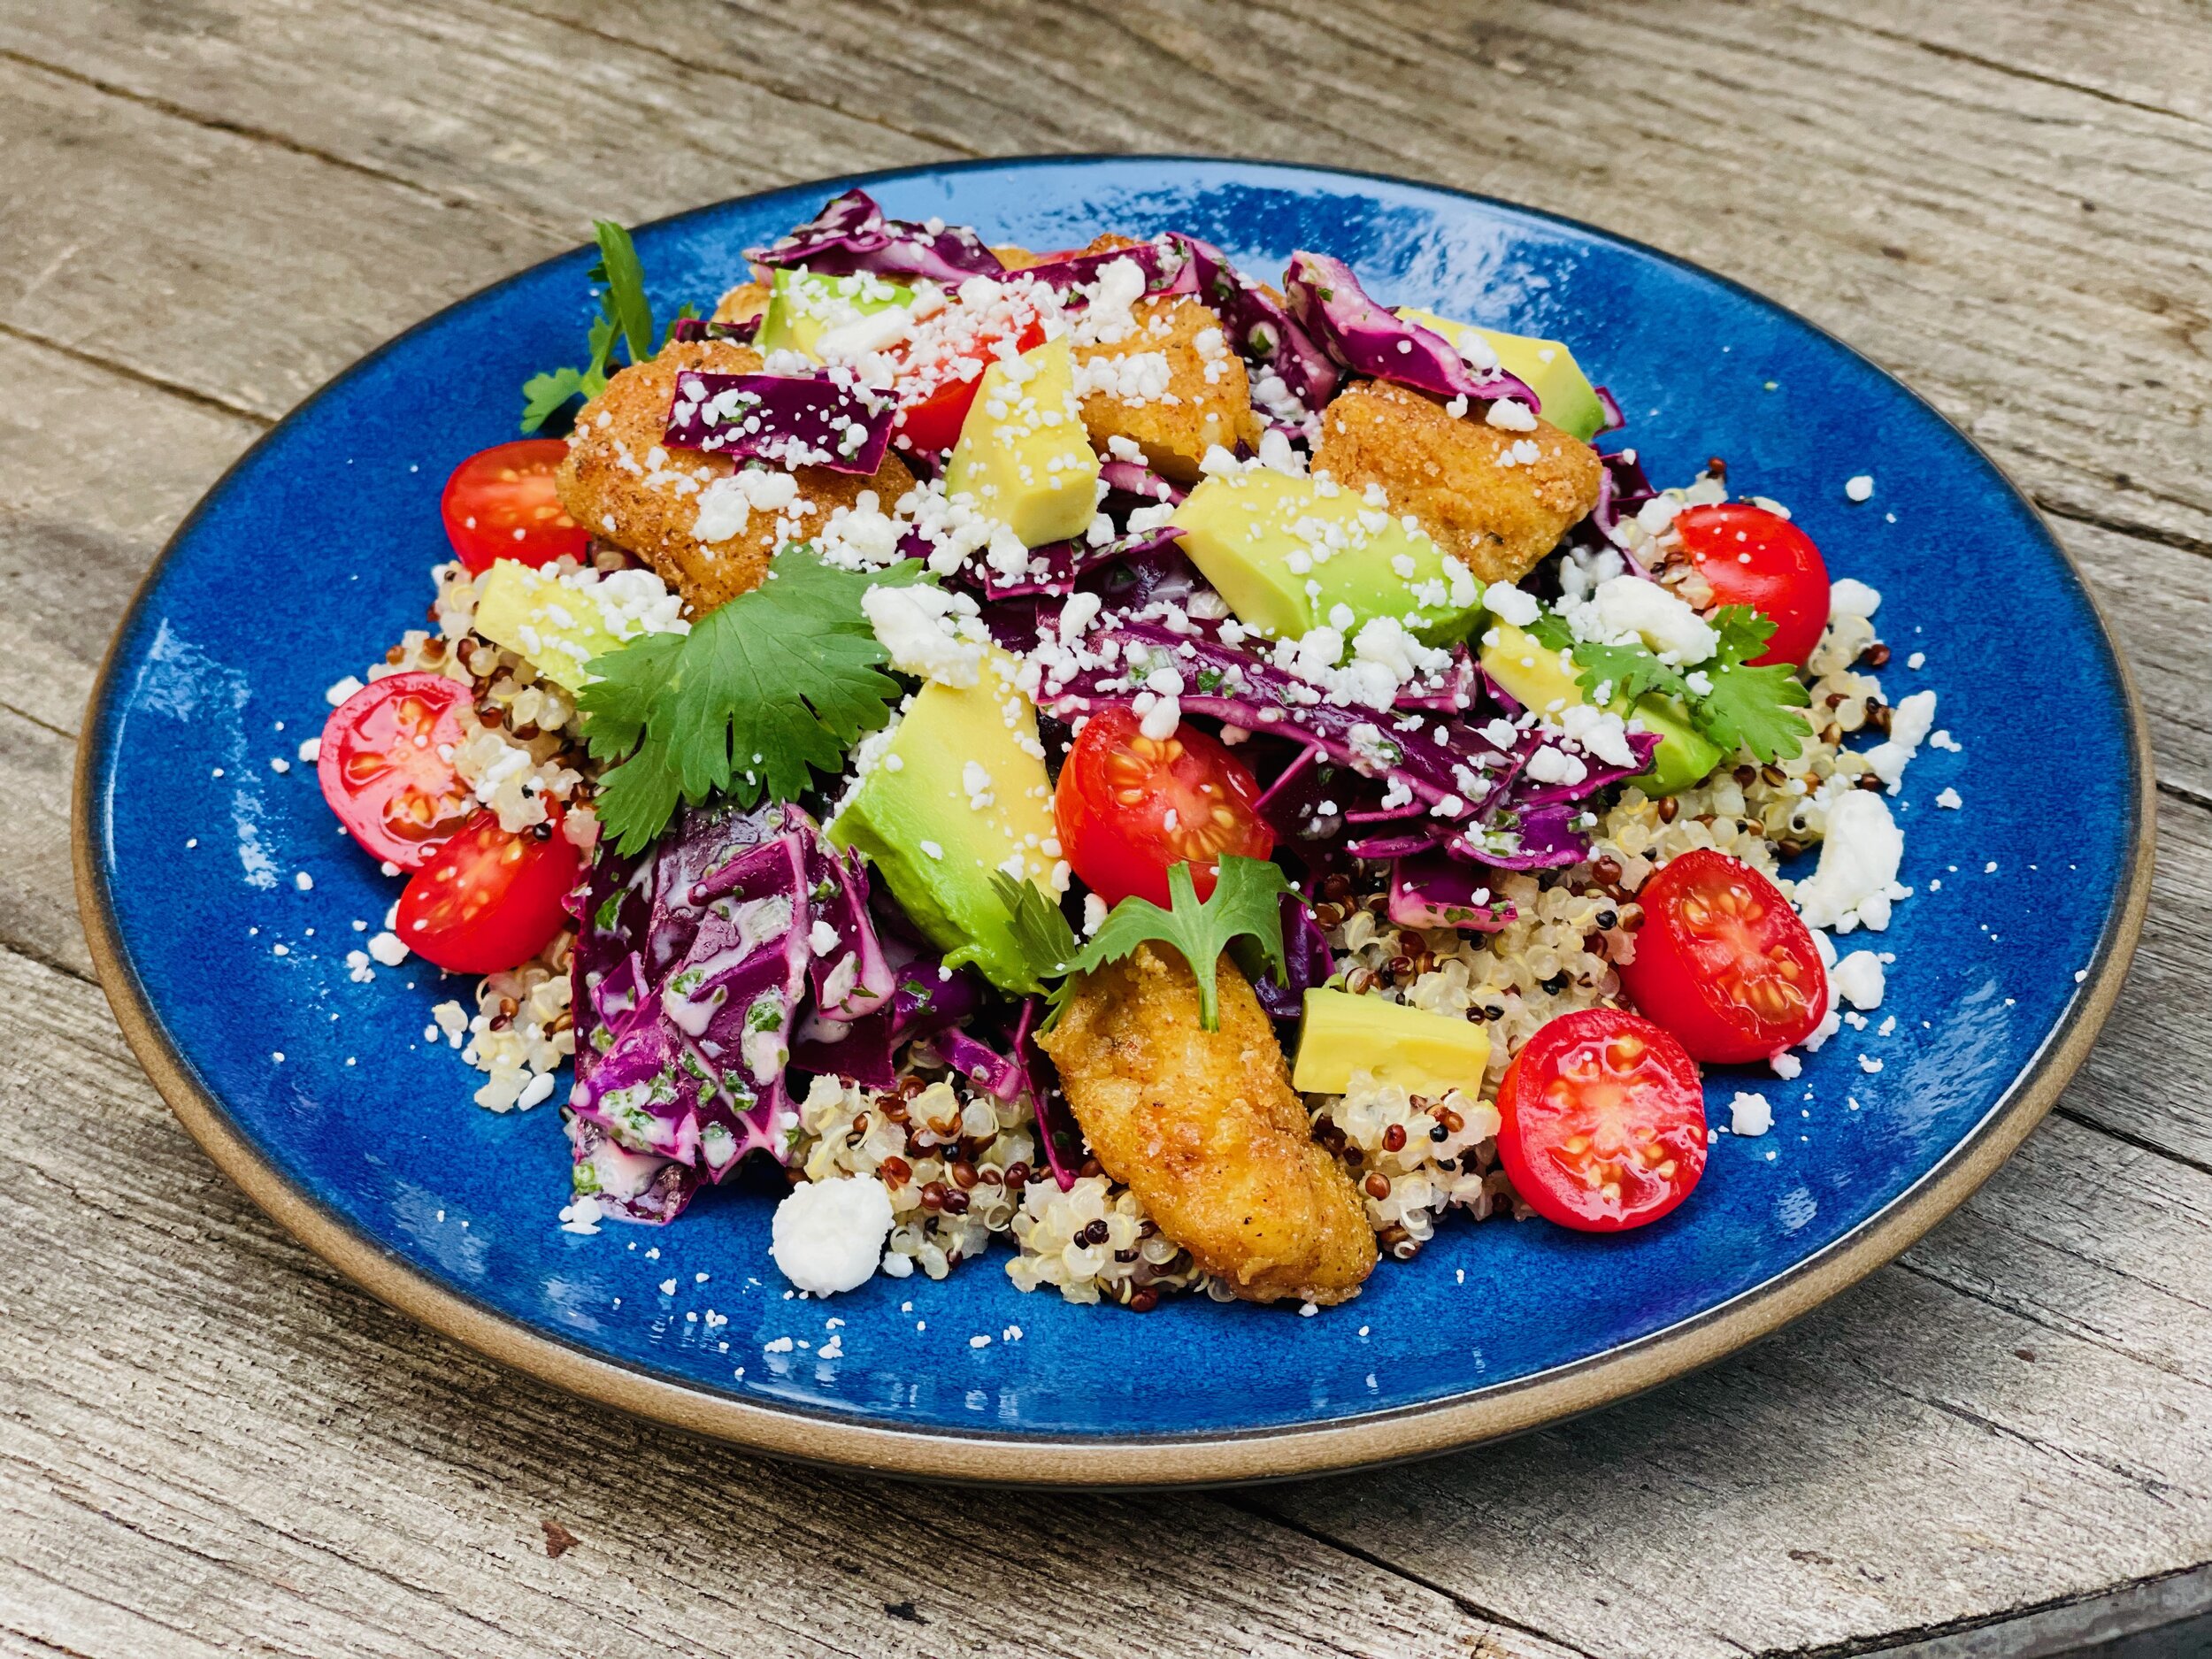
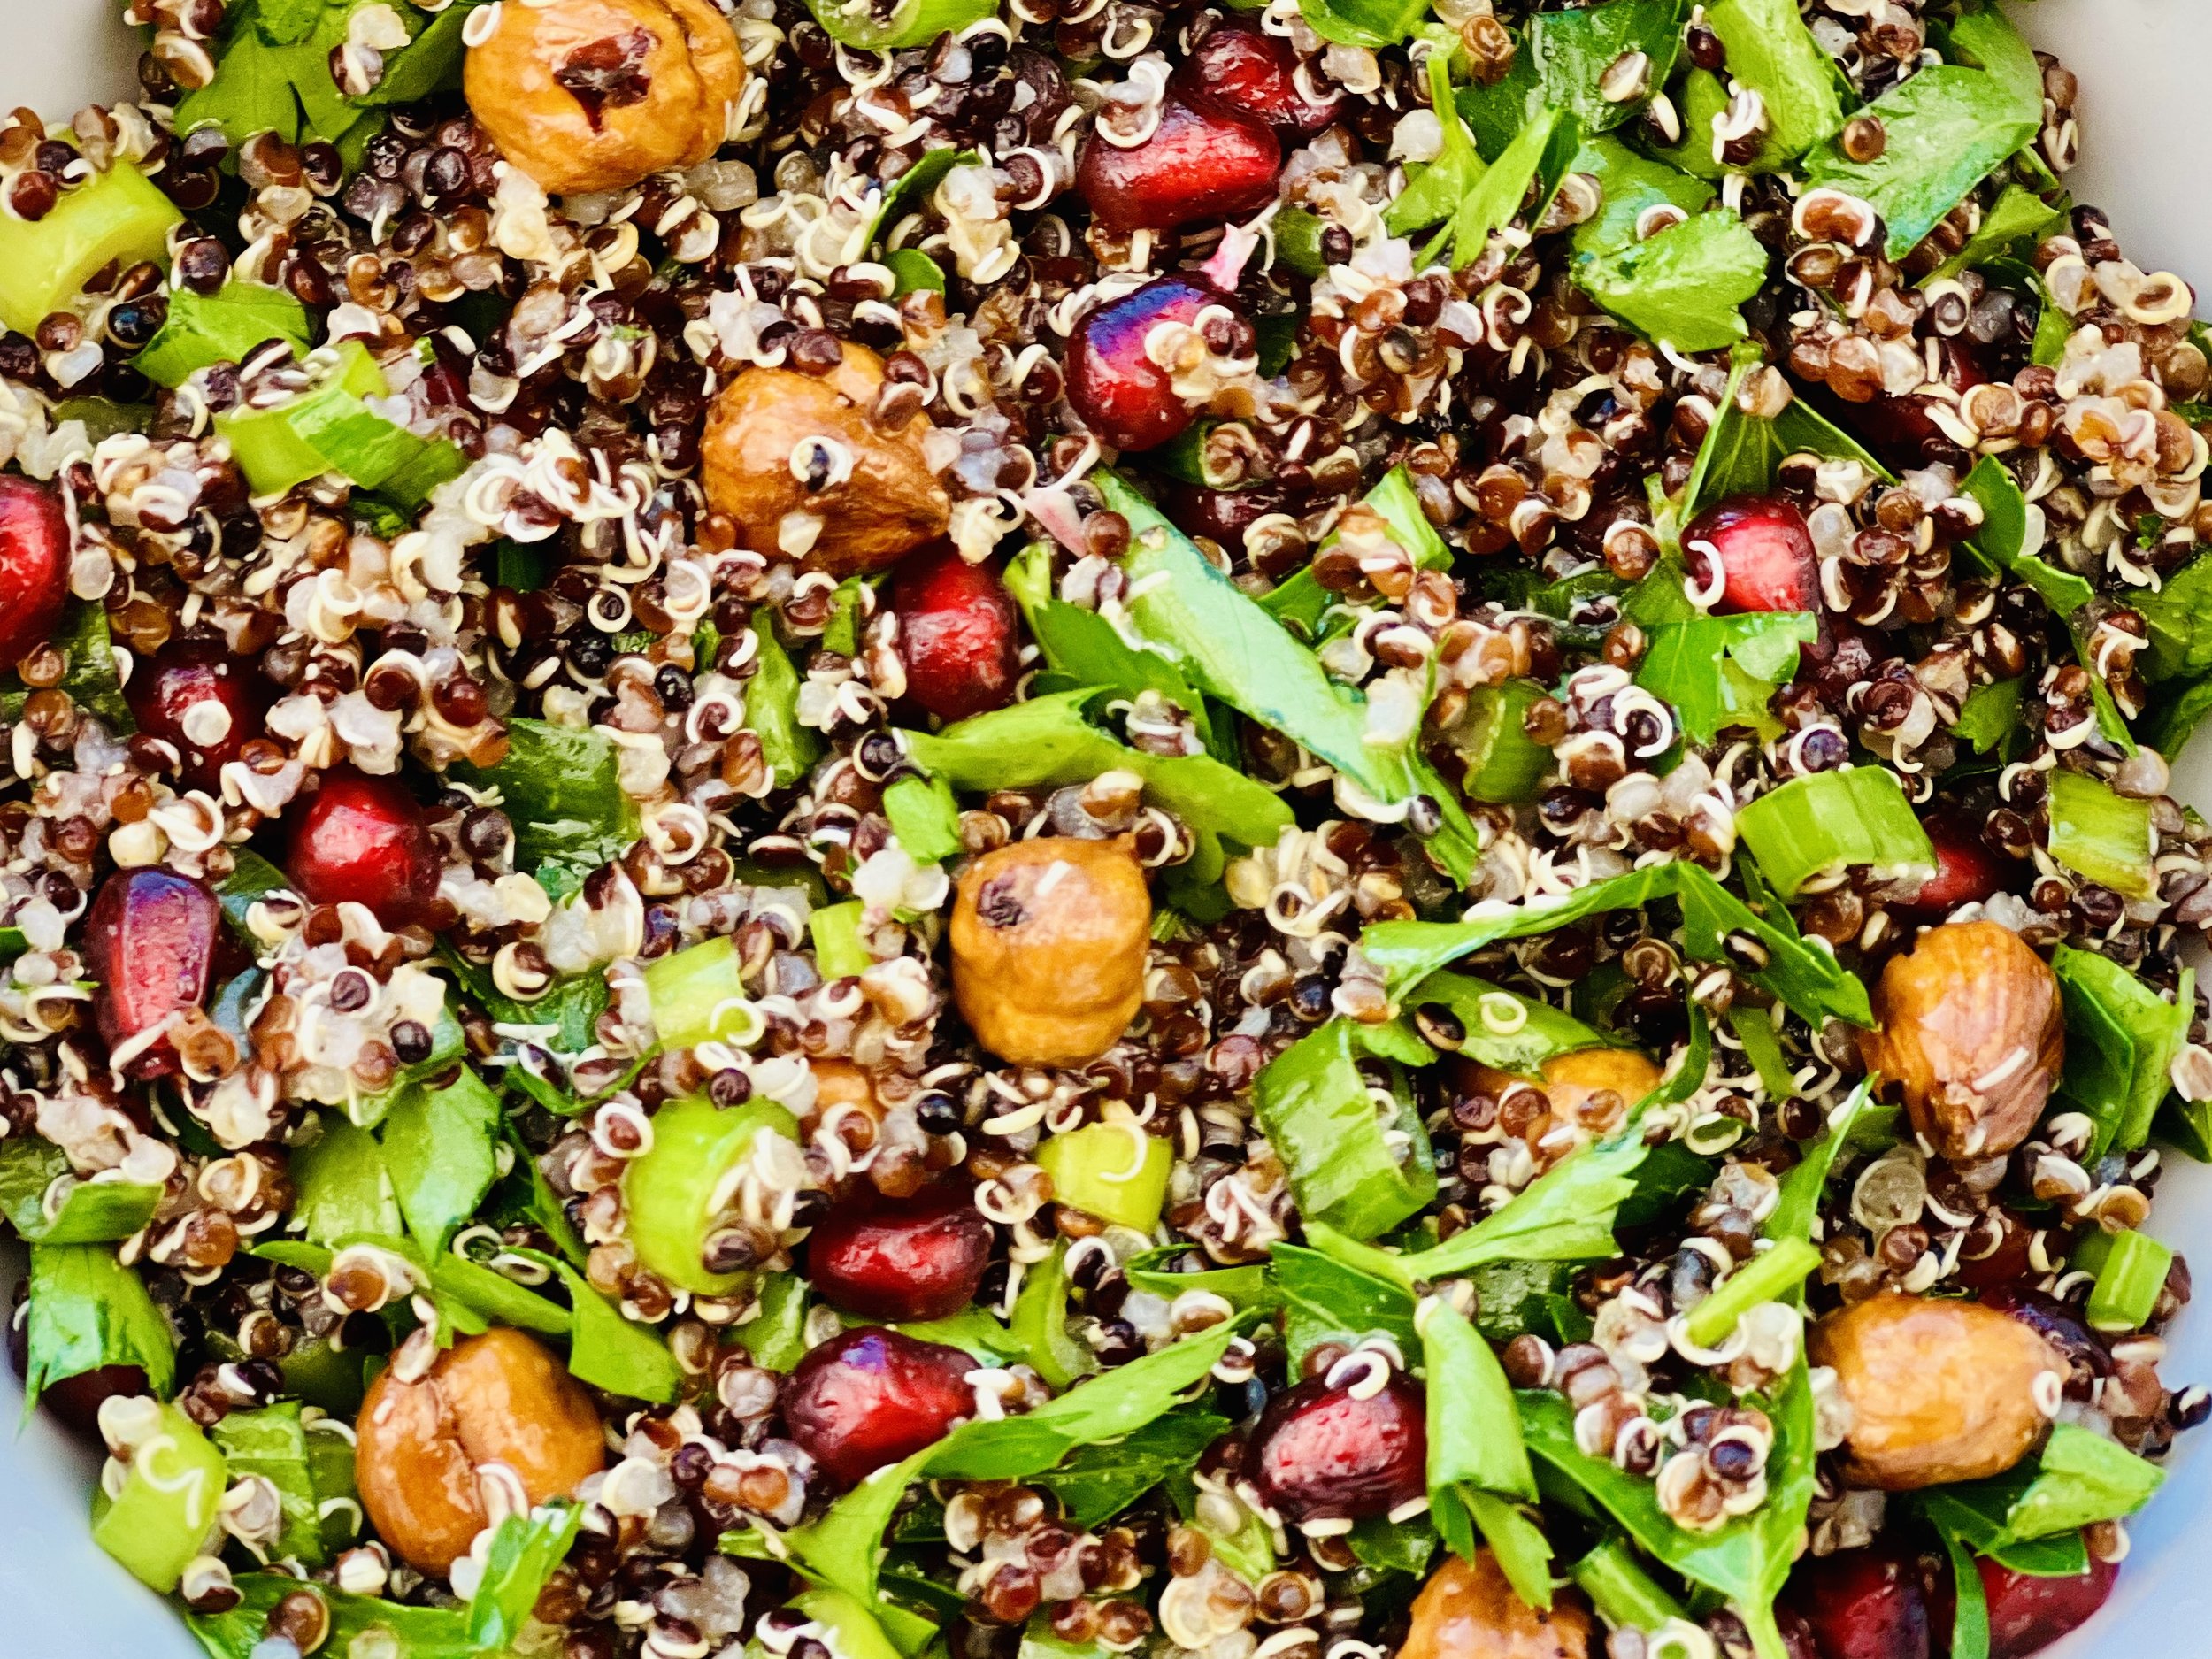
Quinoa Salad with Toasted Hazelnuts (low FODMAP)
30 Minutes prep • 20 Minutes cool • Low FODMAP • Gluten-Free • Lactose-Free • Vegetarian • Serves 8
30 Minutes prep • 20 Minutes cool • Low FODMAP • Gluten-Free • Lactose-Free • Vegetarian • Serves 8 • Ok to make-ahead: Steps 1 - 2
As delicious to eat as it is pretty to look at, this salad is hearty enough to be the main course and versatile enough to be a wonderful side. I love to keep this quinoa salad in the refrigerator for a quick and satisfying lunch. It’s delicious as a vegetarian salad, and you can add other proteins if you like, such as cooked chicken or turkey, to make it even more hearty.
This is an exclusive recipe just for recipe club members.
Each week I am creating and delivering one very special recipe just for my recipe club members. If you’re not yet a member, I encourage you to join! Membership in the club includes access to the complete archive of recipes with filters so it can become your virtual low FODMAP cookbook plus, I am creating and delivering one special NEW recipe every week ONLY for recipe club members. And, for my true fans, I’ll be sharing behind-the-scenes content, and updates on the progress of the new cookbook.
Your membership in the club helps me continue creating new, delicious, easy-to-make, low FODMAP recipes just for you.
As always, all recipes will emphasize simple ingredients, easy preparation, and delicious low FODMAP results. Recipes will be for everything from main courses, salads, soups, side dishes, appetizers, desserts, sauces, breakfast and lunch, and even mocktails and cocktails. Everything you need to prepare fantastic low FODMAP meals everyone will love.
Join the club. Become a Patron. Let’s keep making delicious Low FODMAP meals together.
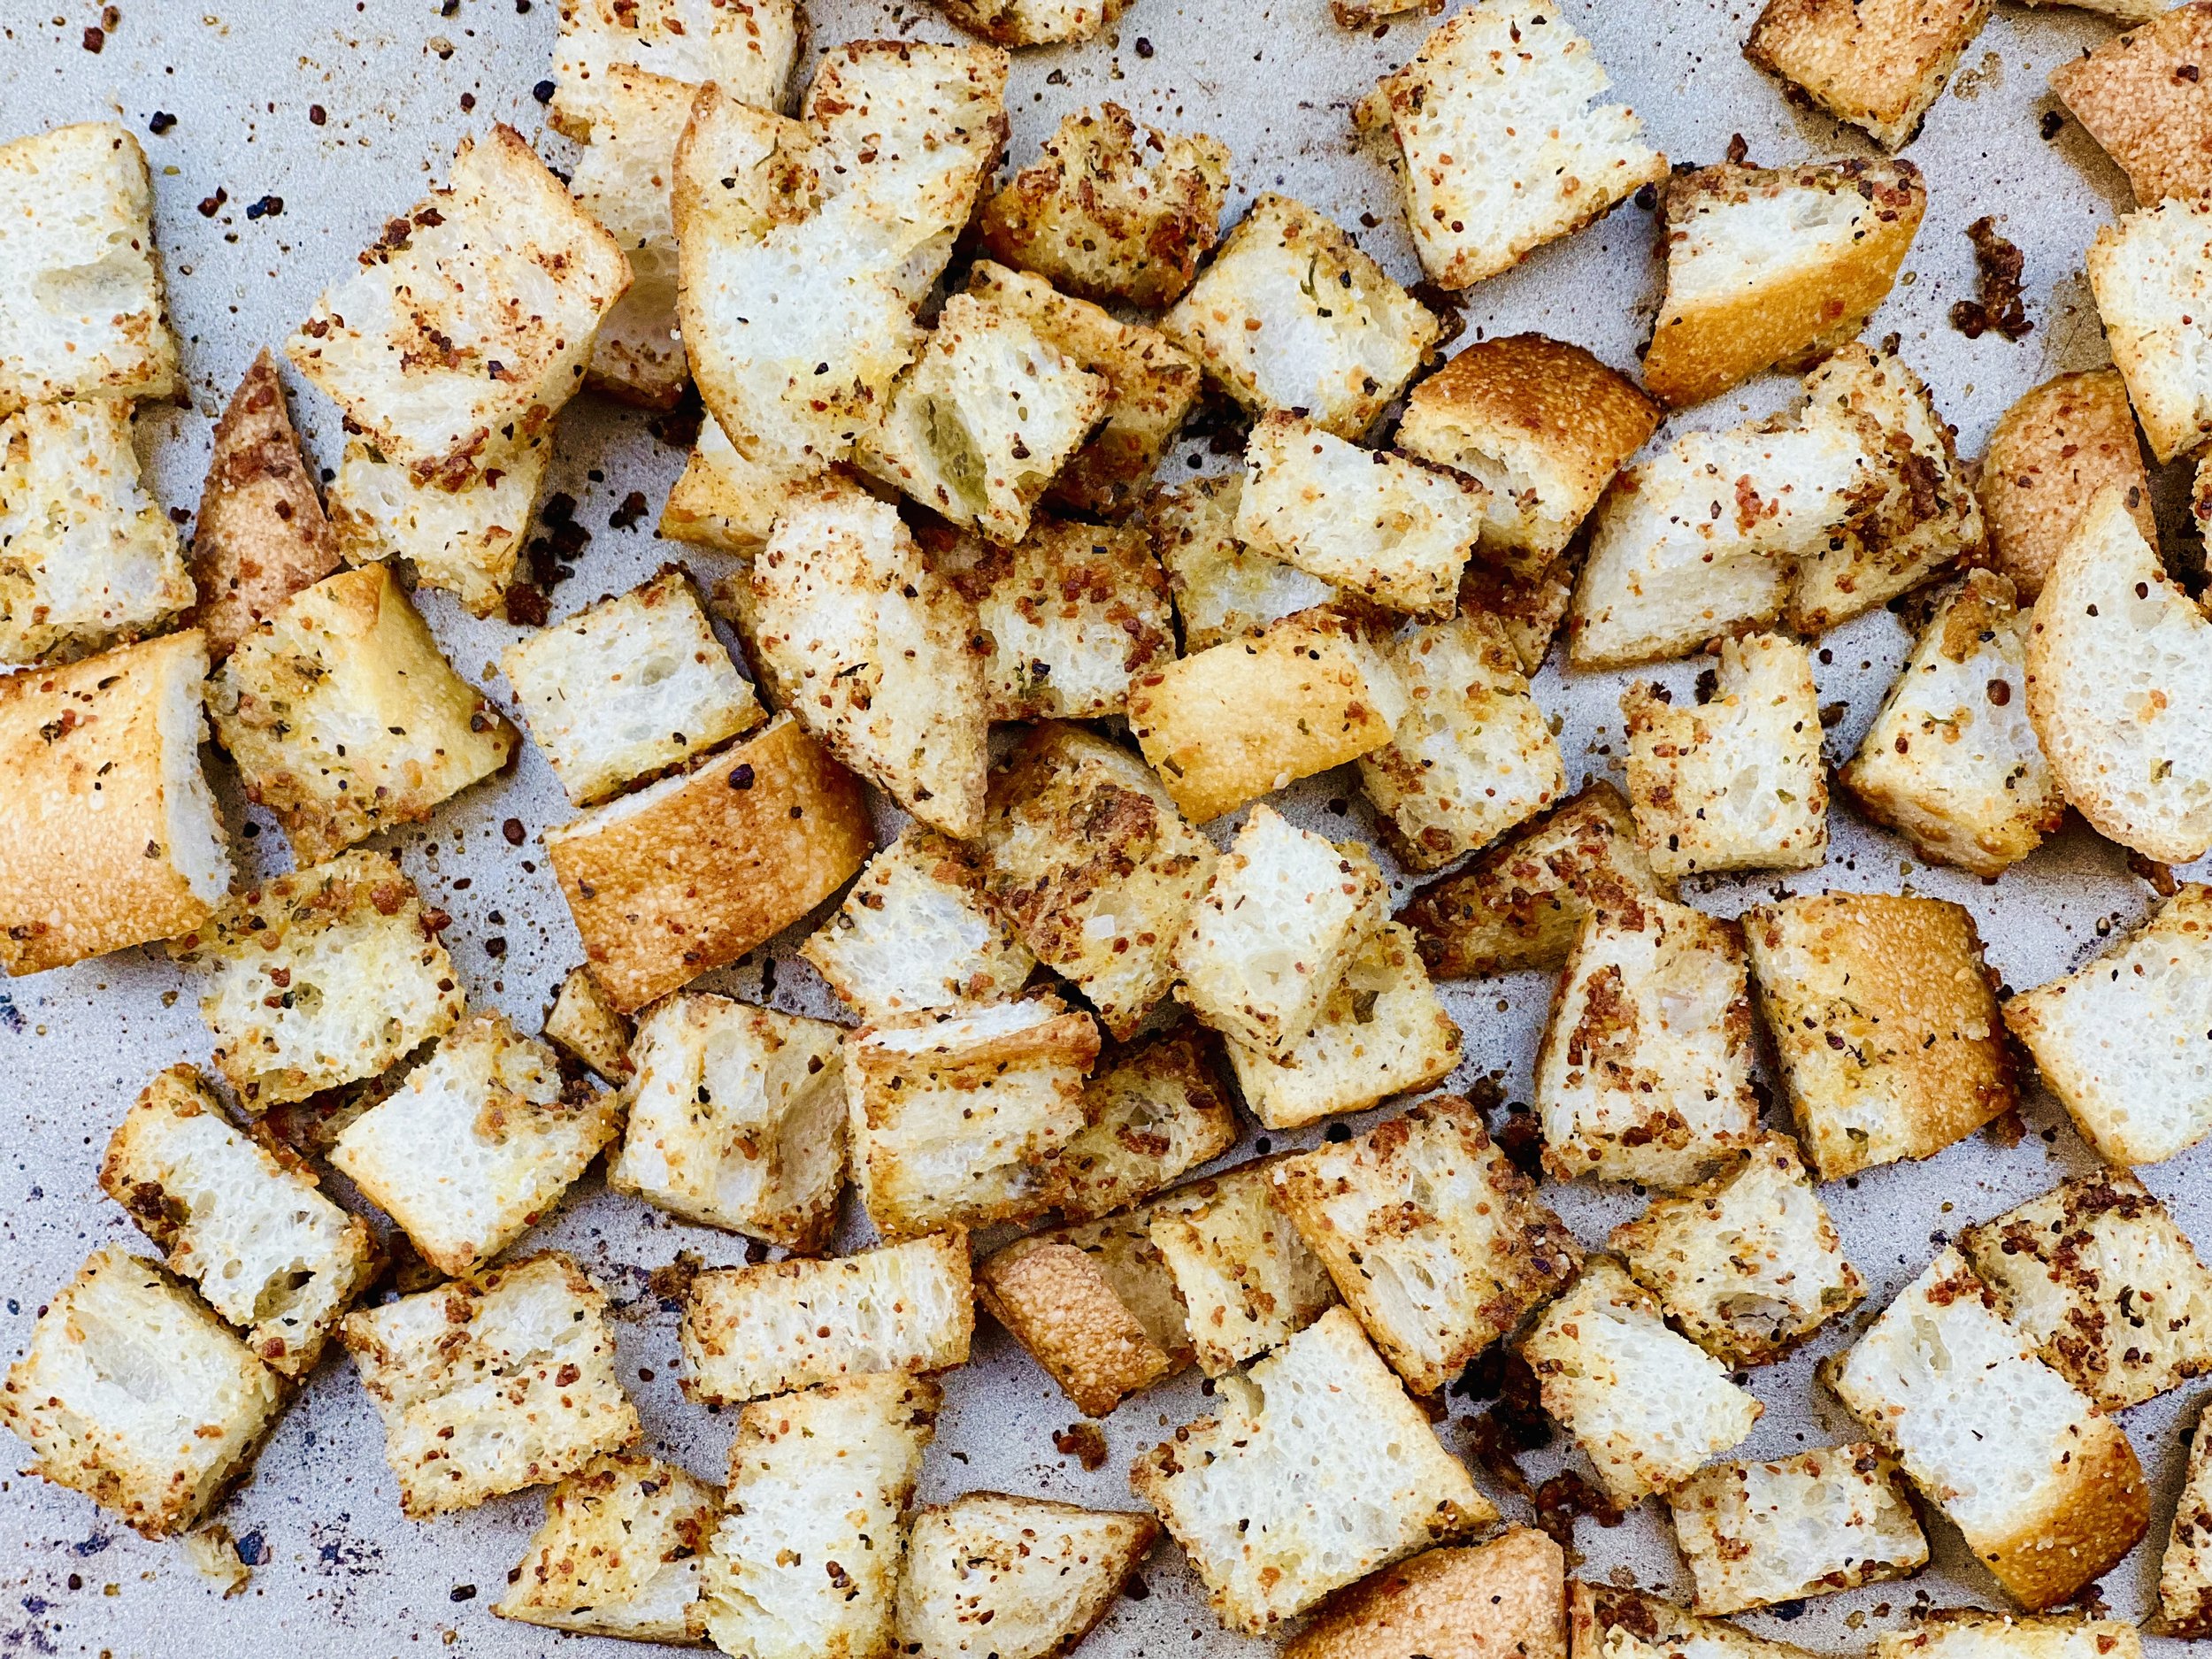
Garlic Parmesan Croutons (low FODMAP)
5 Minutes prep • 15 Minutes cook • Low FODMAP • Serves 4
5 Minutes prep • 15 Minutes cook • Low FODMAP • Serves 4 • Ok to make ahead: Steps 1 - 4
Sometimes the simplest thing can change a ho-hum salad into a crazy good salad. These garlic parmesan croutons do that for me. They are crisp, crunchy, garlicky, and best of all, super simple to make. That’s right. You heard me. Low FODMAP garlic parmesan croutons! They are delicious and oh so perfect with our Chicken Caesar Salad.
Ingredients
3 slices real sourdough bread, cubed
2 tablespoons garlic-infused olive oil
1 tablespoon Smoke N Sanity Garlic Parmesan (use code IBSGC10 for a 10% discount)
Directions
(1) Prepare: Preheat oven to 325 degrees F.
(2) Make the croutons: Cube the bread. Put it in a bowl and drizzle with the olive oil. Add the Garlic Parmesan seasoning and toss well to combine. Add about 1/2 teaspoon of salt and toss again.
(3) Bake: Spread in one layer on a rimmed baking sheet. Bake for 12 - 15 minutes tossing periodically to prevent burning.
(4) Finish: Remove from the oven and let cool. Serve immediately on your favorite salad or soup.
(5) Store: Store in an airtight container for up to several days. Freshen up by putting them on a baking sheet and back in a hot oven for a few minutes before serving again.
Eat and enjoy every bite because you can!
This post may contain links for you to easily purchase items listed on the page. In some cases, we have provided a special discount code for IBS Game Changers so be sure to use it when you purchase an item to get the discount that has been arranged just for you! As an Amazon Associate, I earn a commission from qualifying Amazon purchases.
More Deliciously Low FODMAP™ salad recipes you might enjoy
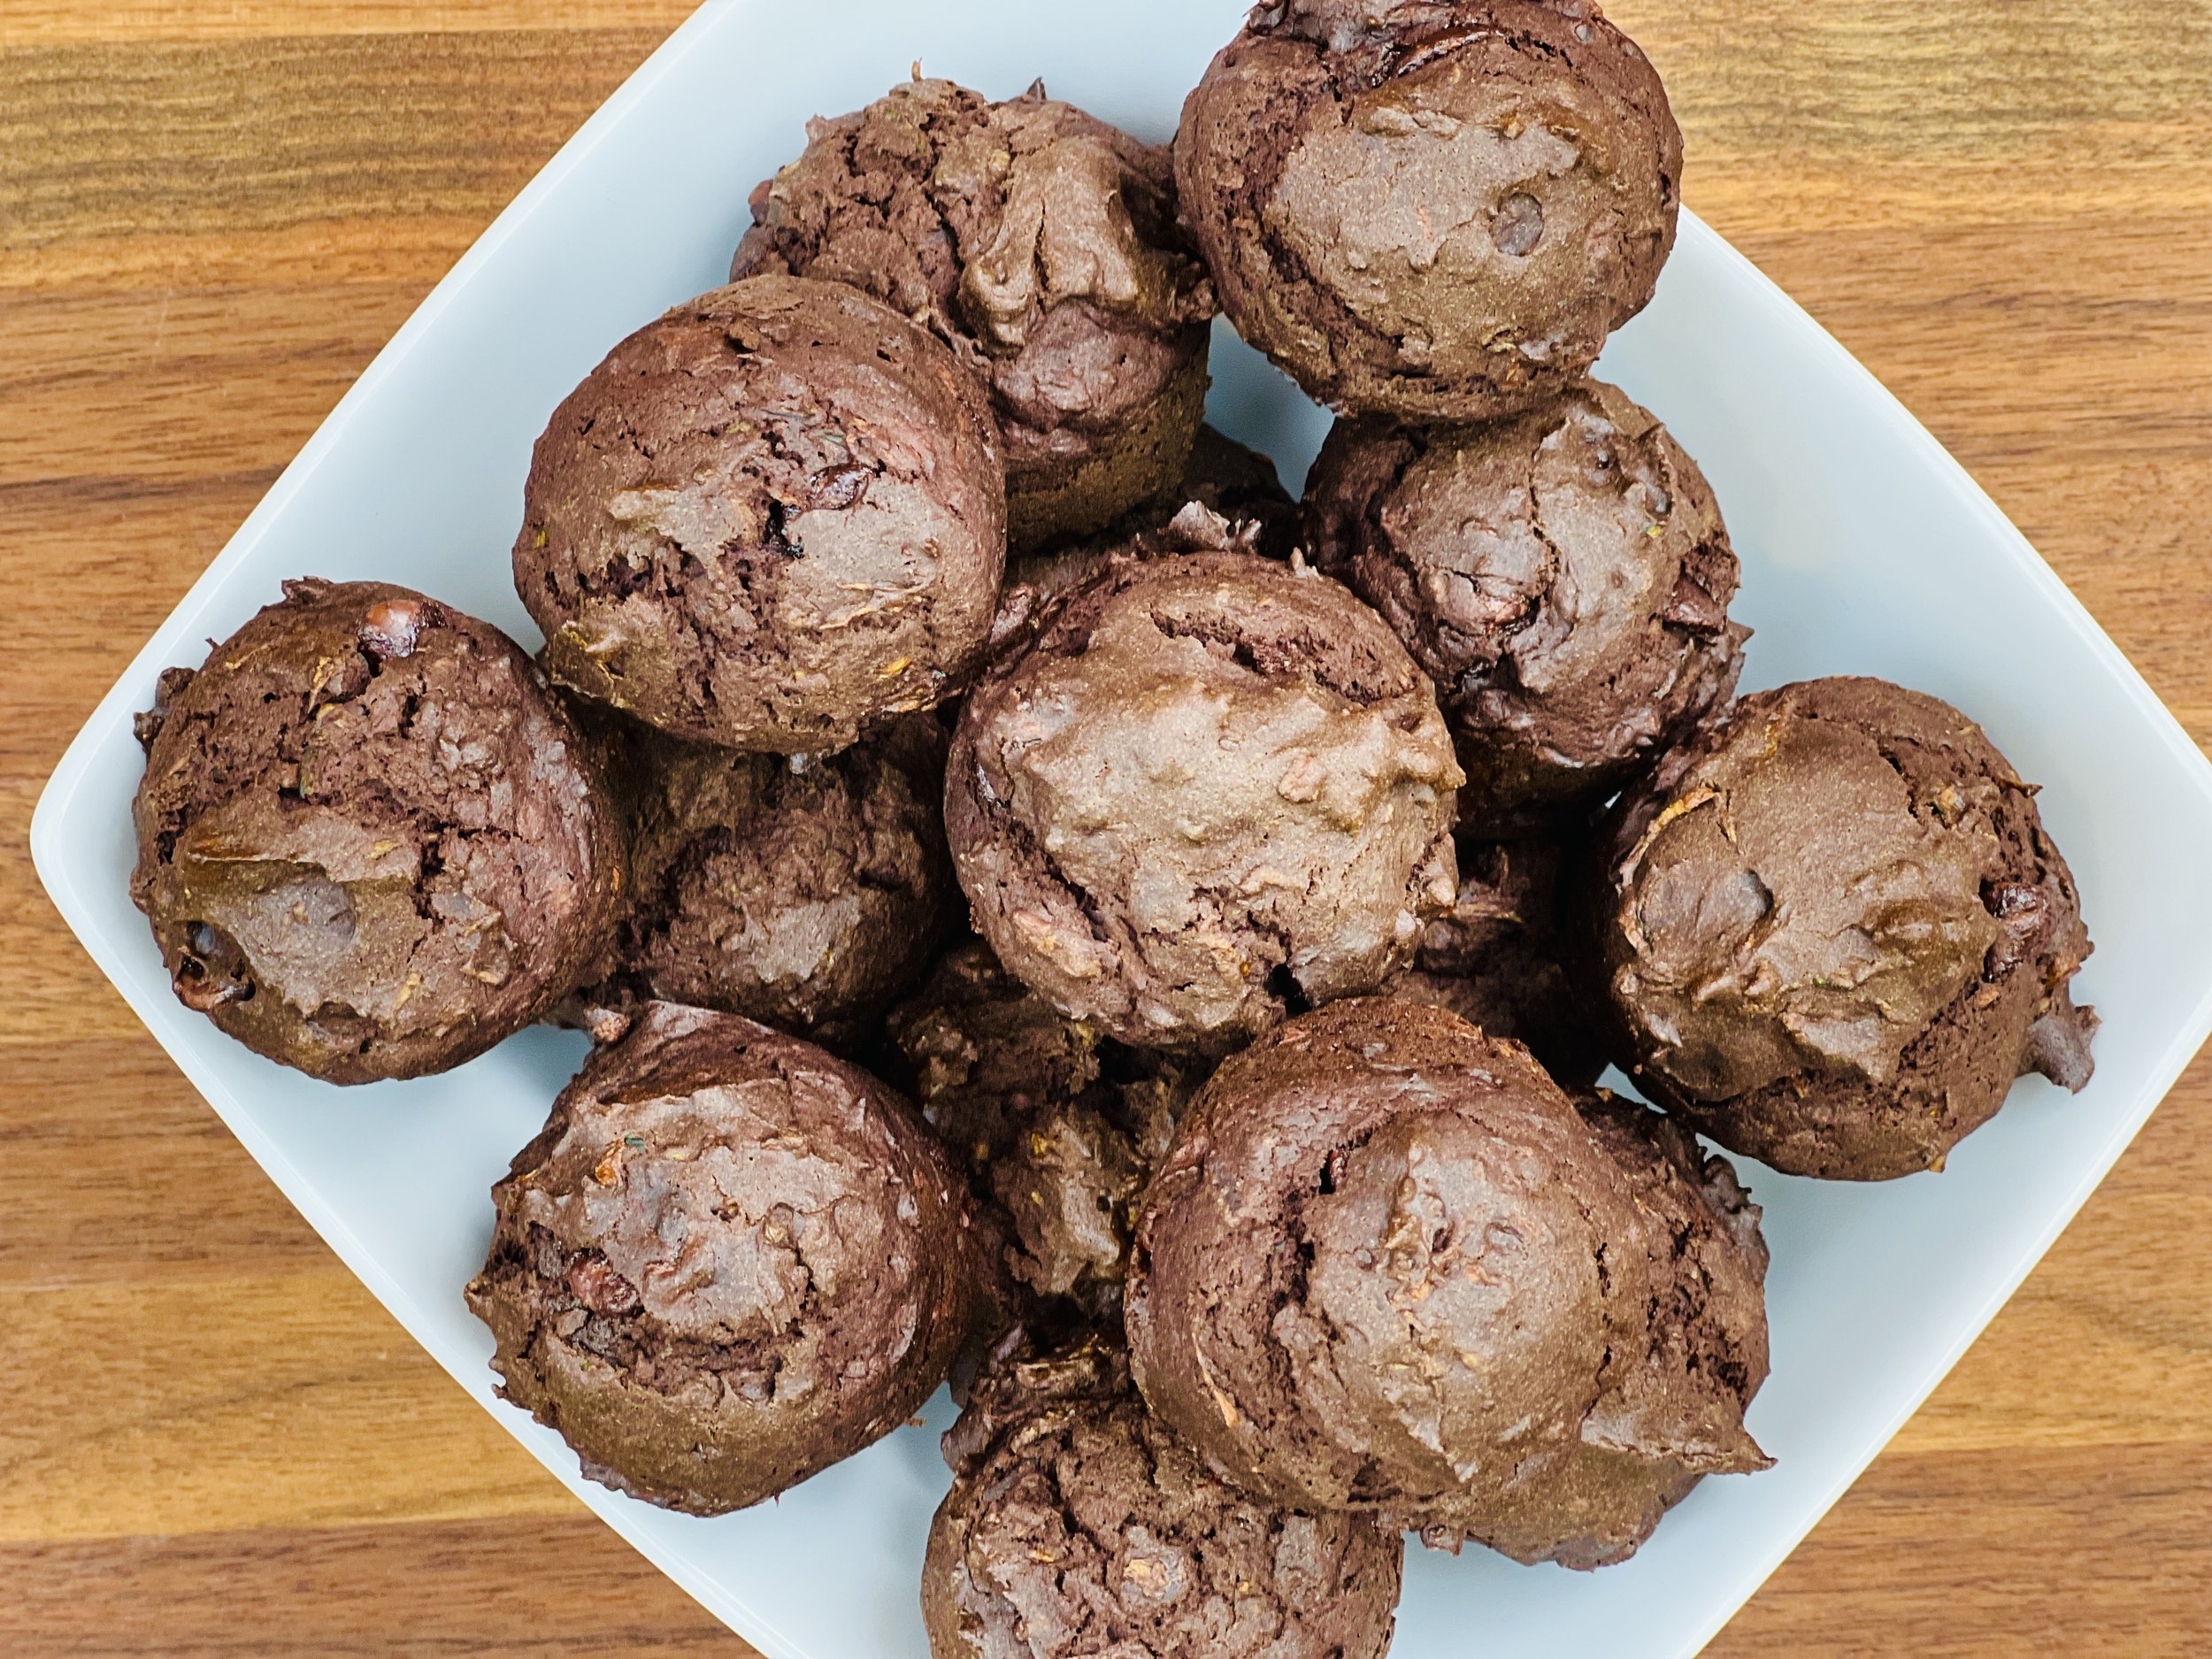
Chocolate sheet cake with peanut butter ganache (low FODMAP)
15 Minutes prep • 30 Minutes cook/finish • Gluten-free • Low FODMAP • Makes 12 pieces
15 Minutes Prep • 30 Minutes cook/finish • Gluten-free • Low FODMAP • Makes 12 pieces • Ok to make ahead: Steps 1 - 5
It’s National Peanut Butter Day, so of course, I couldn’t resist bringing this favorite recipe back to you! If you love chocolate and peanut butter, you’re really going to LOVE this cake! It’s the perfect combination of moist chocolate cake with creamy peanut buttery chocolate ganache. The peanut butter cup topping brings it all together. My mother-in-law tells me this is her all-time favorite cake and that’s saying something coming from her!

Ingredients: Cake
2 cups white sugar
2 cups gluten-free flour (I used 1 ½ cups King Arthur Measure for Measure and ½ cup gfJule’s All-Purpose Flour)
½ teaspoon salt
1 stick butter
½ cup vegetable oil (I used Canola oil)
1 cup Water
¼ cup unsweetened cocoa powder
½ cup lactose-free whole milk mixed with ½ tablespoon of white vinegar (to sour)
2 Eggs
1 teaspoon baking soda
1 teaspoon Vanilla
10 - 12 Justin’s mini dark chocolate mini peanut butter cups, chopped
Ingredients: Ganache
7 ounces semi-sweet chocolate chips (I used Guittard)
7 ounces milk chocolate chips (I used Guittard)
2/3 cup heavy cream (or lactose-free half and half)
2/3 cup creamy peanut butter
Directions: Cake
(1) Prepare: Preheat over to 350 degrees F and grease and flour an 11” x 17” rimmed baking sheet. Combine milk and vinegar and set aside.
(2) Combine dry ingredients: In a mixing bowl combine sugar, flour, and salt and set aside.
(3) Blend the cocoa butter: In a saucepan, melt the butter with the water, oil, and cocoa powder and heat just until it starts to boil.
Pour hot mixture over flour mixture and stir well to combine.
(4) Add the eggs and dry ingredients: Beat the eggs together with the soured milk and then stir into the chocolate mixture until well combined. Add baking soda, and vanilla and stir to combine.
(5) Bake: Pour into the prepared pan and bake for 20 minutes. Remove from oven and let cool.
Directions: Ganache
(1) Melt the chocolate: In a microwave-safe bowl, melt together the semi-sweet and milk chocolate chips with the cream or half and half until melted and smooth.
(2) Add the peanut butter: Swirl in the peanut butter and stir until smooth, cooled, and slightly thickened. Spread the ganache over the cooled cake reaching all the edges.
(3) Finish: Sprinkle with chopped peanut butter cups.
(4) Plate and serve: Allow the cake to set at least one hour in the fridge or two hours at room temperature. Then, slice and serve.
Eat and enjoy every bite because you can!
Pro Tip: Want to save time? Use a good gluten-free chocolate cake mix (such as Bob’s Red Mill Gluten-free chocolate cake or King Arthur gluten-free chocolate cake mix). But make the chocolate peanut butter ganache from scratch. It’s the game-changer here.
This post may contain links for you to easily purchase items listed on the page. In some cases, we have provided a special discount code for IBS Game Changers so be sure to use it when you purchase an item to get the discount that has been arranged just for you! As an Amazon Associate, I earn a commission from qualifying Amazon purchases.
More Deliciously Low FODMAP™ desserts you might enjoy
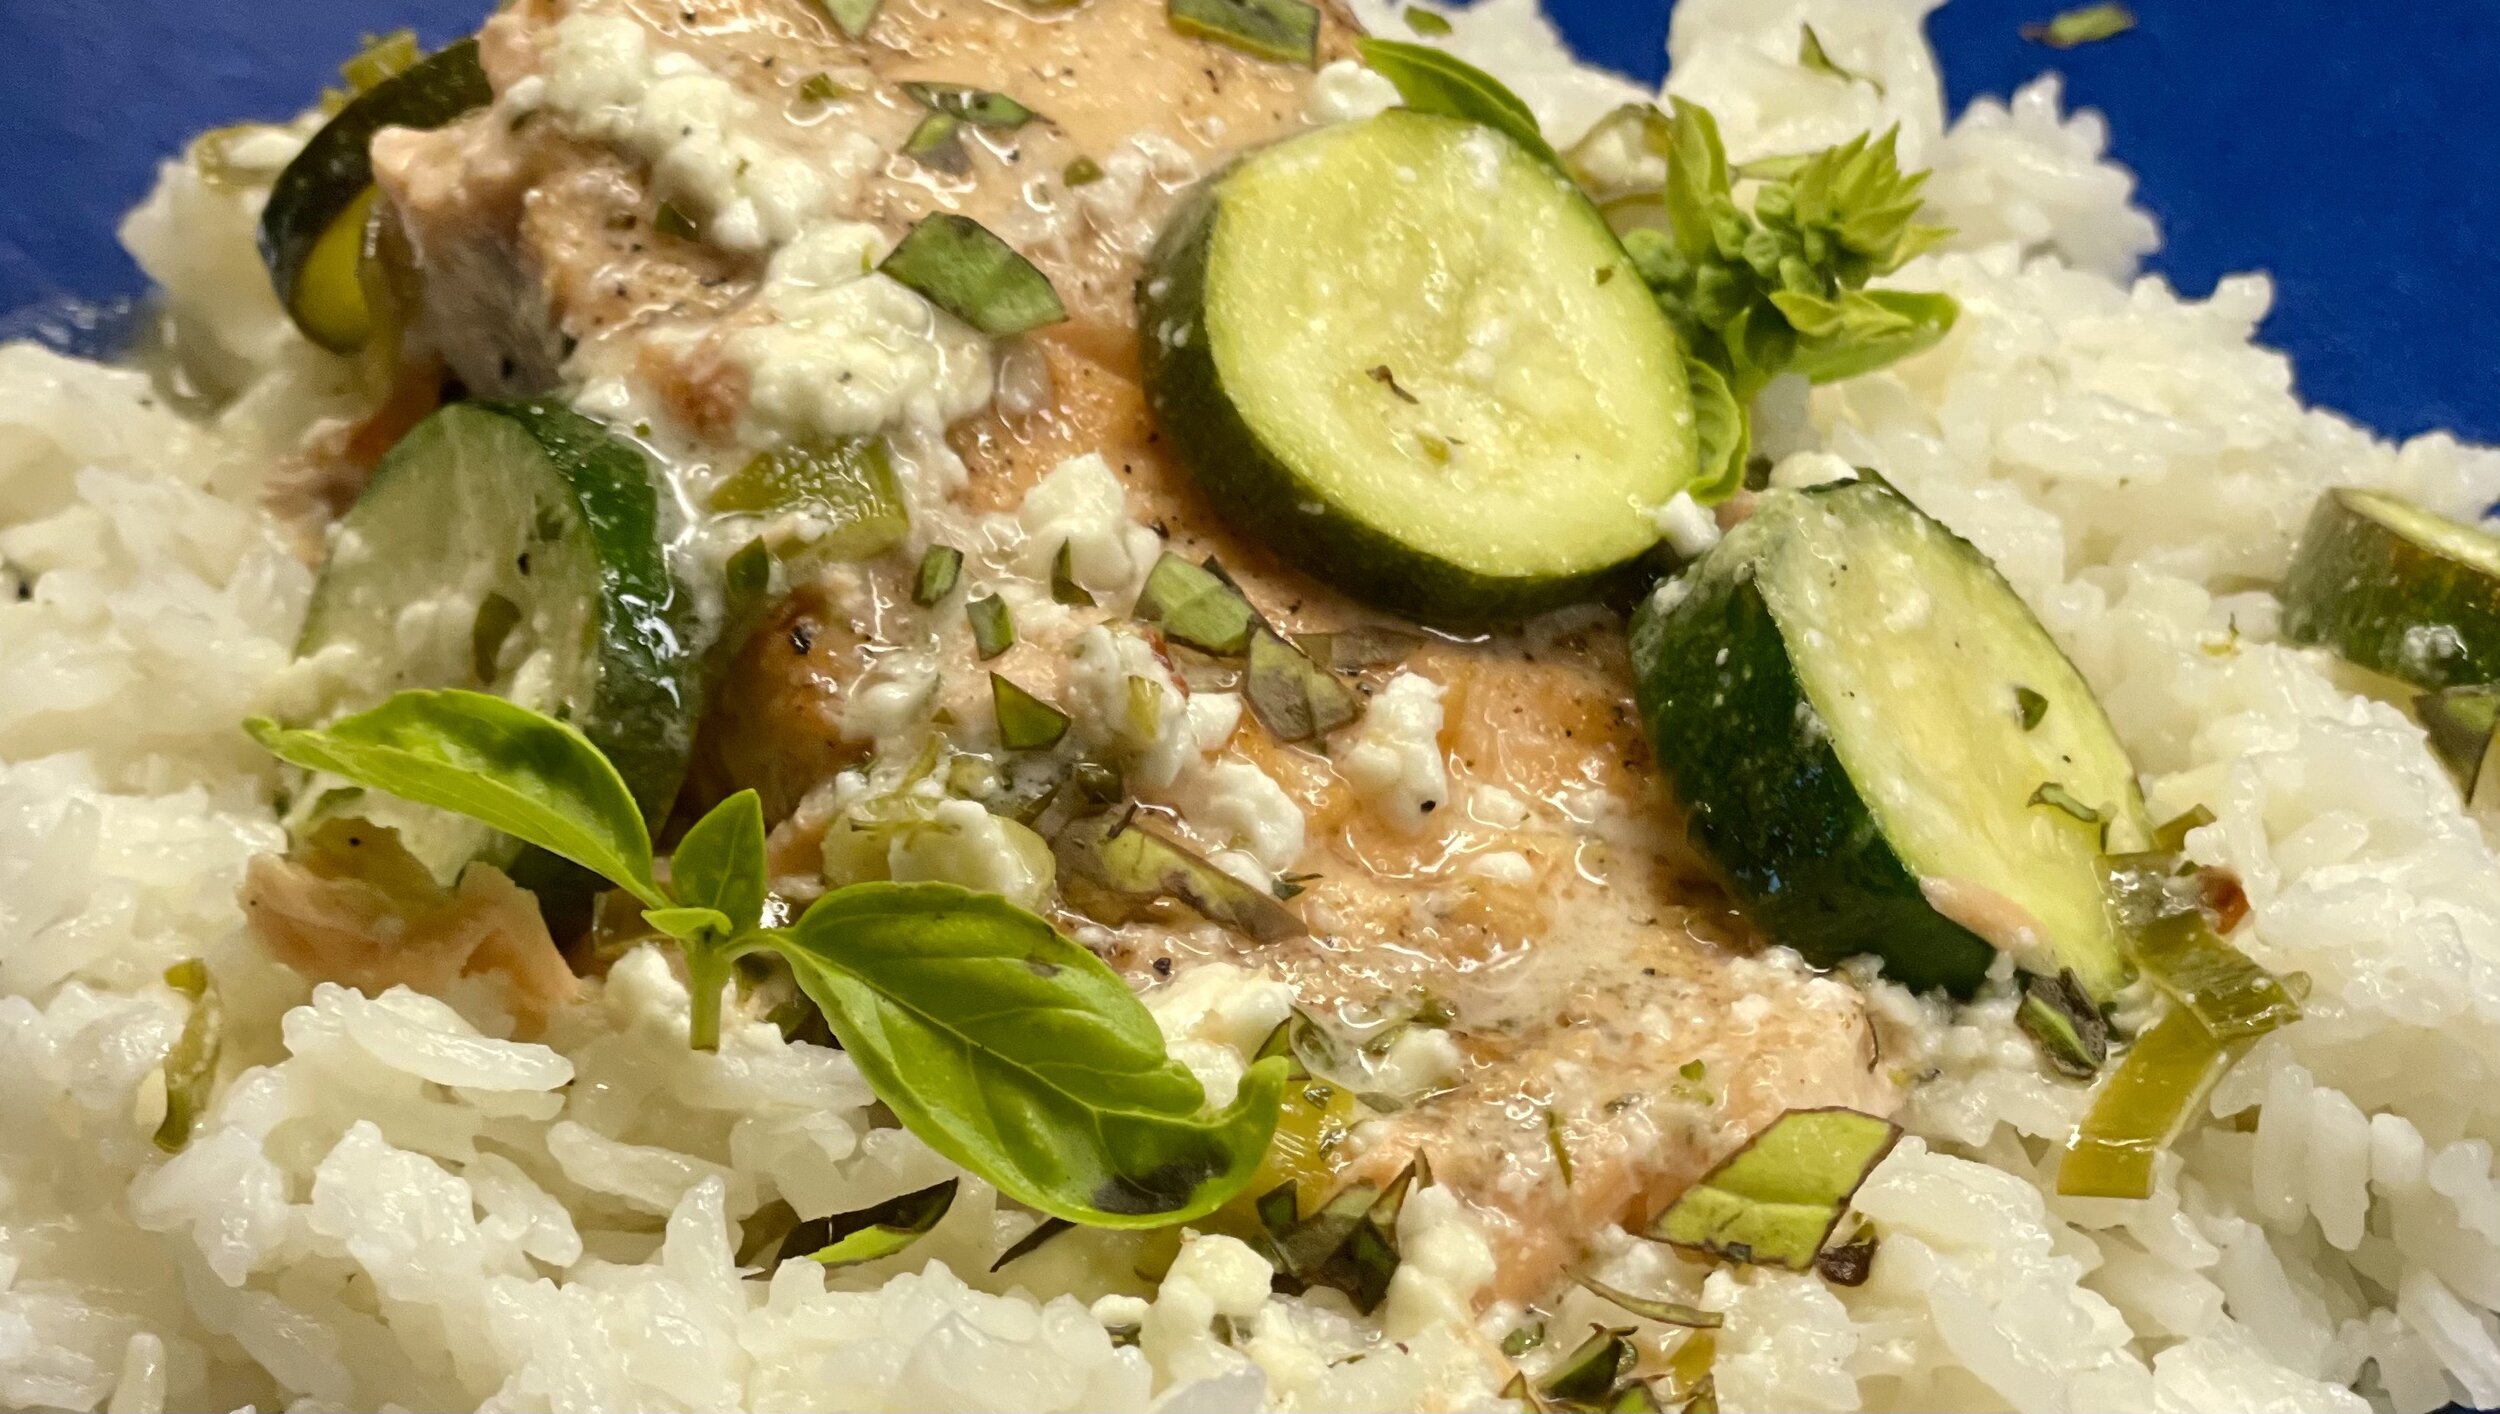
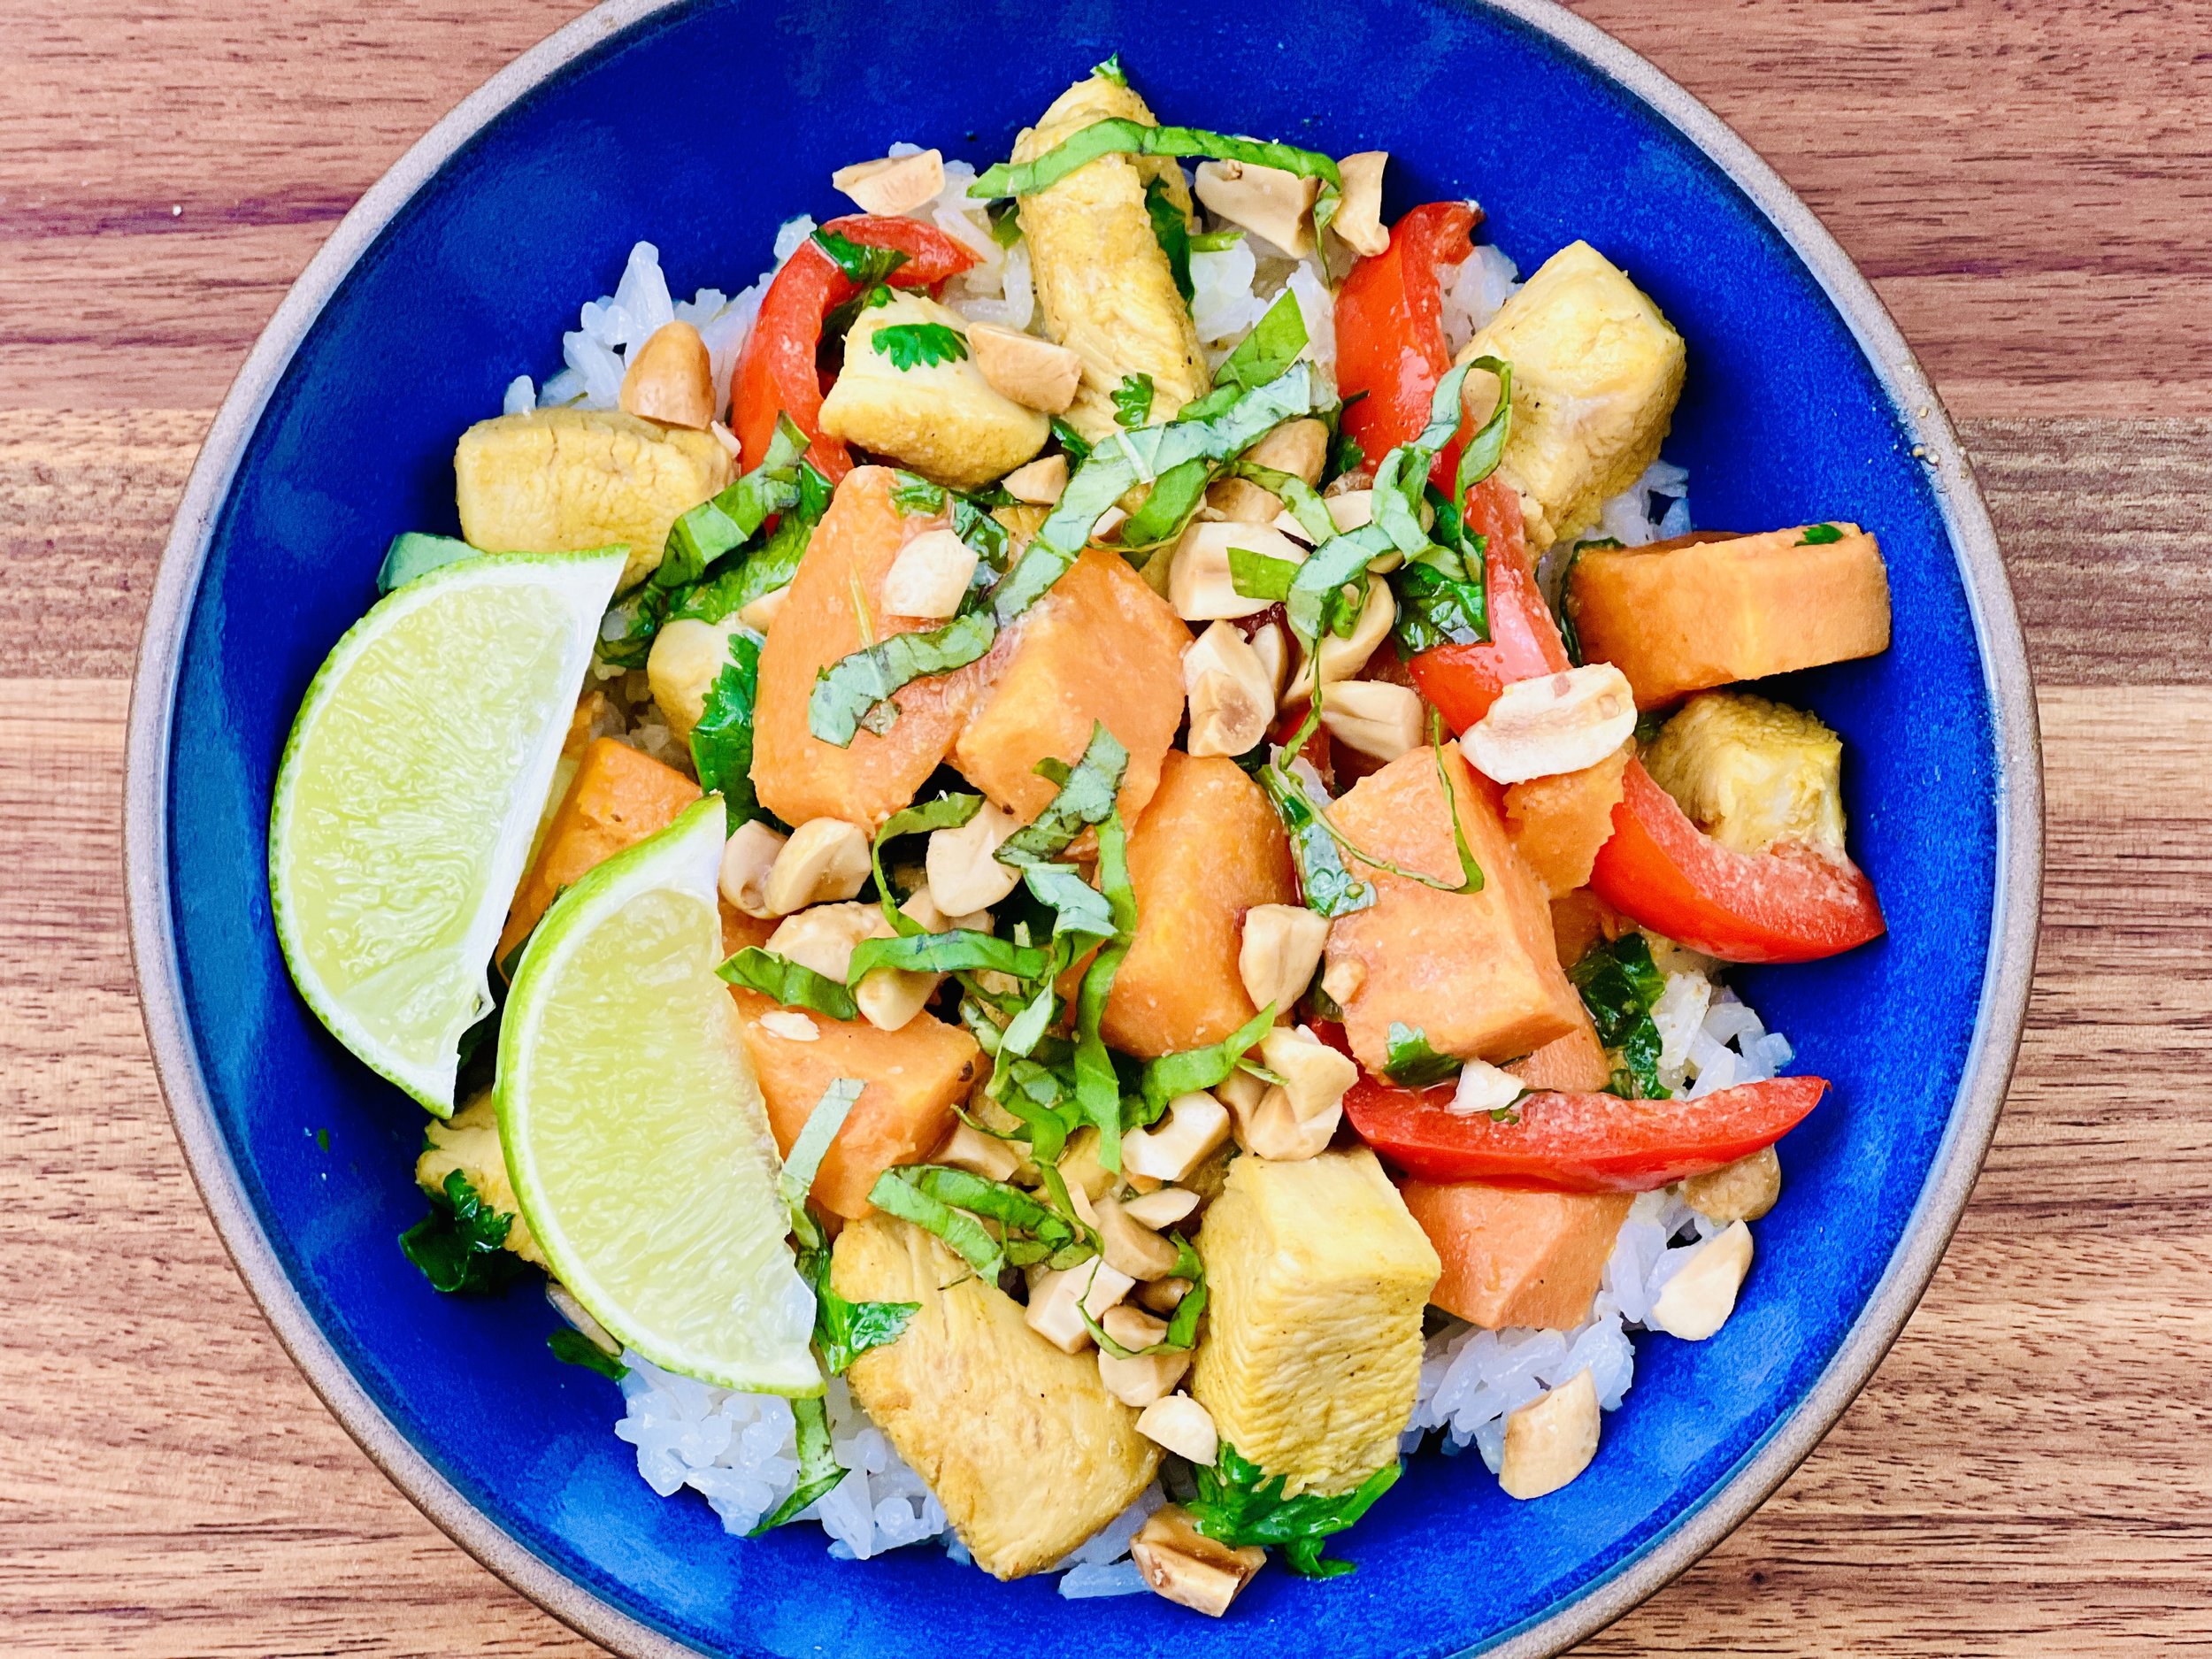
One Pot Coconut Turmeric Chicken and Sweet Potatoes (low FODMAP)
45 Minutes prep/marinate • 20 Minutes cook • Low FODMAP • Gluten-Free • Lactose-Free • Serves 4
45 Minutes prep/marinate • 20 Minutes cook • Low FODMAP • Gluten-Free • Lactose-Free • Serves 4 • Ok to make-ahead: Steps 1 - 2
Creamy coconut milk, tangy lime, tender sweet potatoes, and flavorful spices make this coconut turmeric chicken a delicious, and comforting, meal that’s wonderful for family, friends, and company. Cooking it all in one pot makes clean up a snap so it’s a perfect weeknight or any night dinner.
Ingredients
2 pounds boneless, skinless, chicken thighs or breasts, cut into 1-inch chunks
1 tablespoon ground turmeric
1 tablespoon ground ginger
1 teaspoon ground cumin
1 teaspoon black pepper
Kosher salt to taste
3 tablespoons garlic-infused olive oil
2 bell peppers, sliced
1/2 teaspoon red pepper flakes, or more
2 cups sweet potatoes, peeled and cubed
2 cans (14 ounce) full-fat coconut milk
2 tablespoons low sodium gluten-free soy sauce
2 teaspoons rice vinegar
1/2 cup fresh cilantro, chopped
1 1/2 cups Jasmine Rice, for serving (+ 1 can coconut milk if you like)
For serving: 2 limes cut into wedges, fresh basil leaves, chopped, roasted and salted peanuts.
Directions
(1) Prepare the chicken: This step is optional but adds to the flavor and texture of the meat. Remove chicken from packaging and season both sides of each piece of chicken lightly with Kosher salt. Put on a plate, cover with plastic wrap, and refrigerate overnight or at least 4 hours before cooking.
(2) Marinate the chicken: Remove any skin or fat, and cut the chicken into cubes. Toss the chicken with the turmeric, ginger, cumin, pepper, a pinch of salt, and 1 tablespoon of garlic-infused olive oil. Let sit at least 5 minutes or up to overnight in the fridge.
Make-ahead note: At this point, you can leave the chicken in the refrigerator overnight or until you’re ready to cook it.
(3) Sear the chicken: Heat 1 tablespoon oil in a large Dutch oven set over medium-high heat. Add the chicken and sear on both sides until browned, about 2 minutes. Remove the chicken from the pan and set it aside.
(4) Steam the rice: Meanwhile, rinse 1 1/2 cups of white rice and cook per package instructions or substitute coconut milk for some or all of the water when you cook the rice.
(5) Cook the sweet potatoes: To the same pot, add 1 tablespoon garlic-infused olive oil. When the oil is hot, add the peppers, and the chili flakes, cook 1 - 2 minutes, then toss in the sweet potatoes. Reduce the heat to low. Pour in the coconut milk, soy sauce and rice vinegar. Add the chicken and any juices on the plate into the coconut milk mixture. Cover and simmer for 20-30 minutes, or until the chicken is cooked through. If the sauce gets too thick, add a bit of water or chicken broth.
(6) Finish: Stir in the cilantro, taste, and season with salt if needed.
(7) Plate and serve: Divide rice between bowls, then spoon the chicken and sauce over the rice. Top with basil, peanuts, and a generous squeeze of lime juice. Keep any leftovers in the fridge and reheat on the stove (not the microwave!) for the best flavor.
Eat and enjoy every bite because you can!
This post may contain links for you to easily purchase items listed on the page. In some cases, we have provided a special discount code for IBS Game Changers so be sure to use it when you purchase an item to get the discount that has been arranged just for you! As an Amazon Associate, I earn a commission from qualifying Amazon purchases.
More Deliciously Low FODMAP™ main course recipes you might enjoy
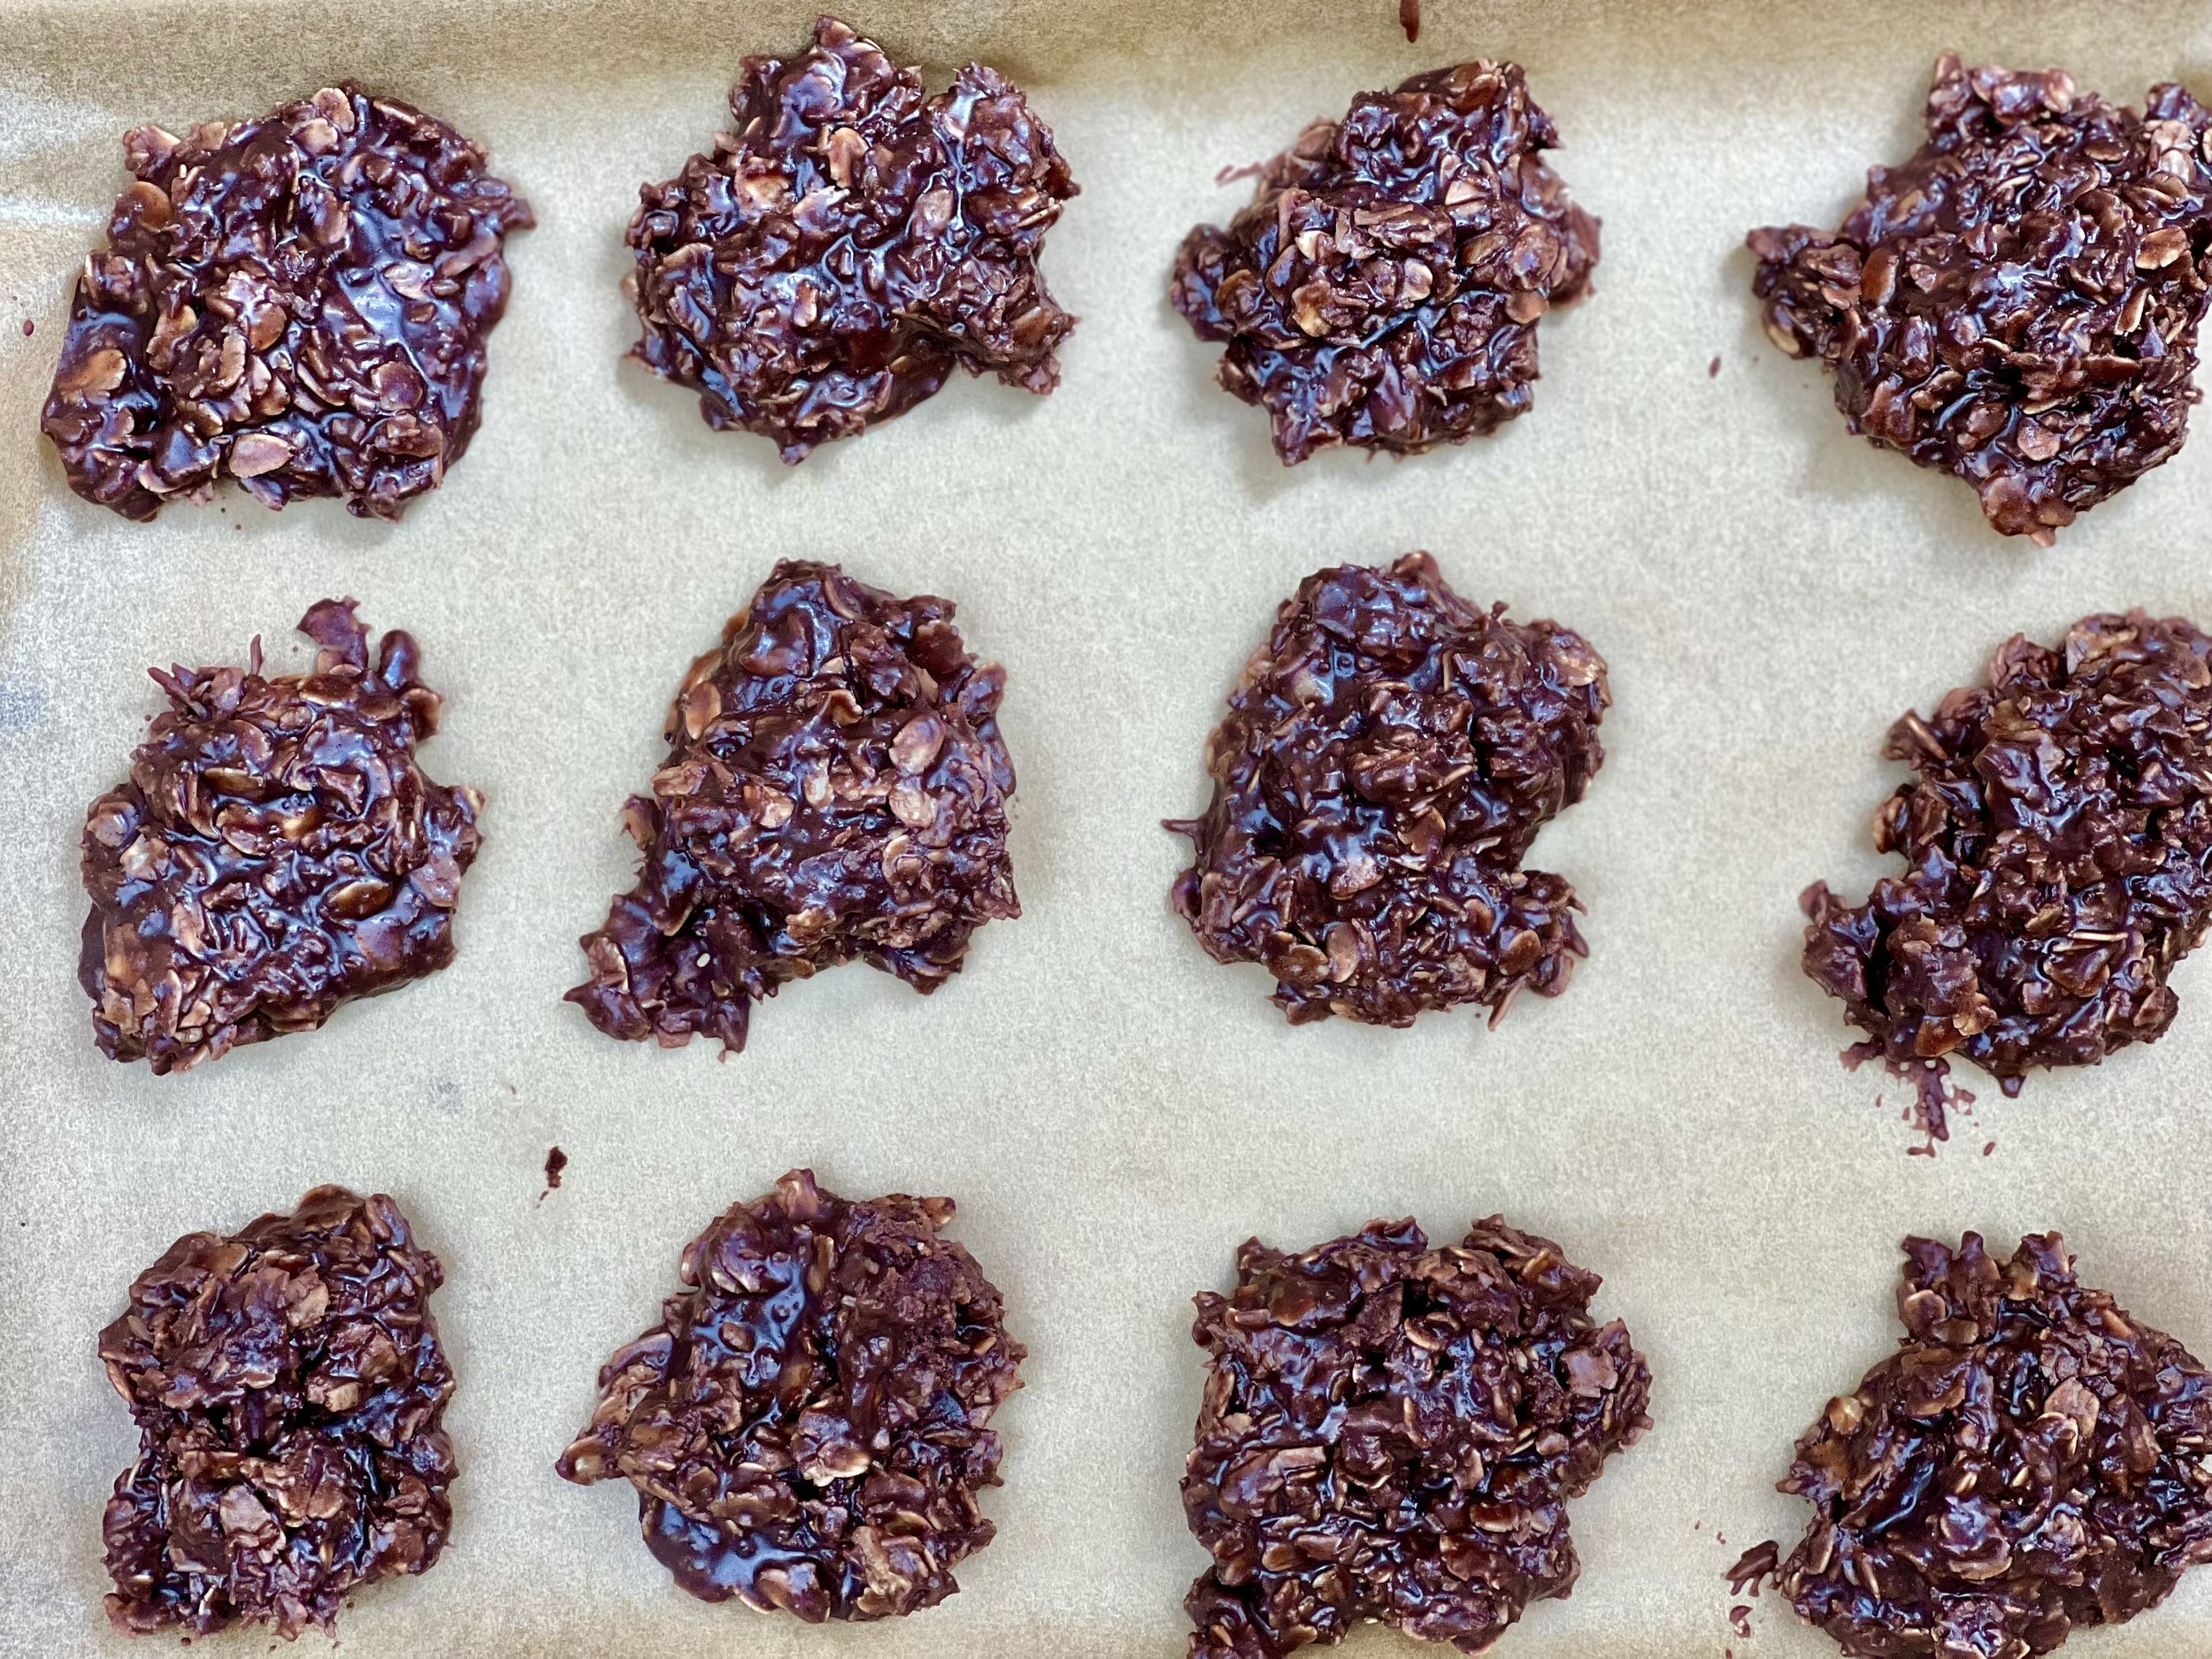
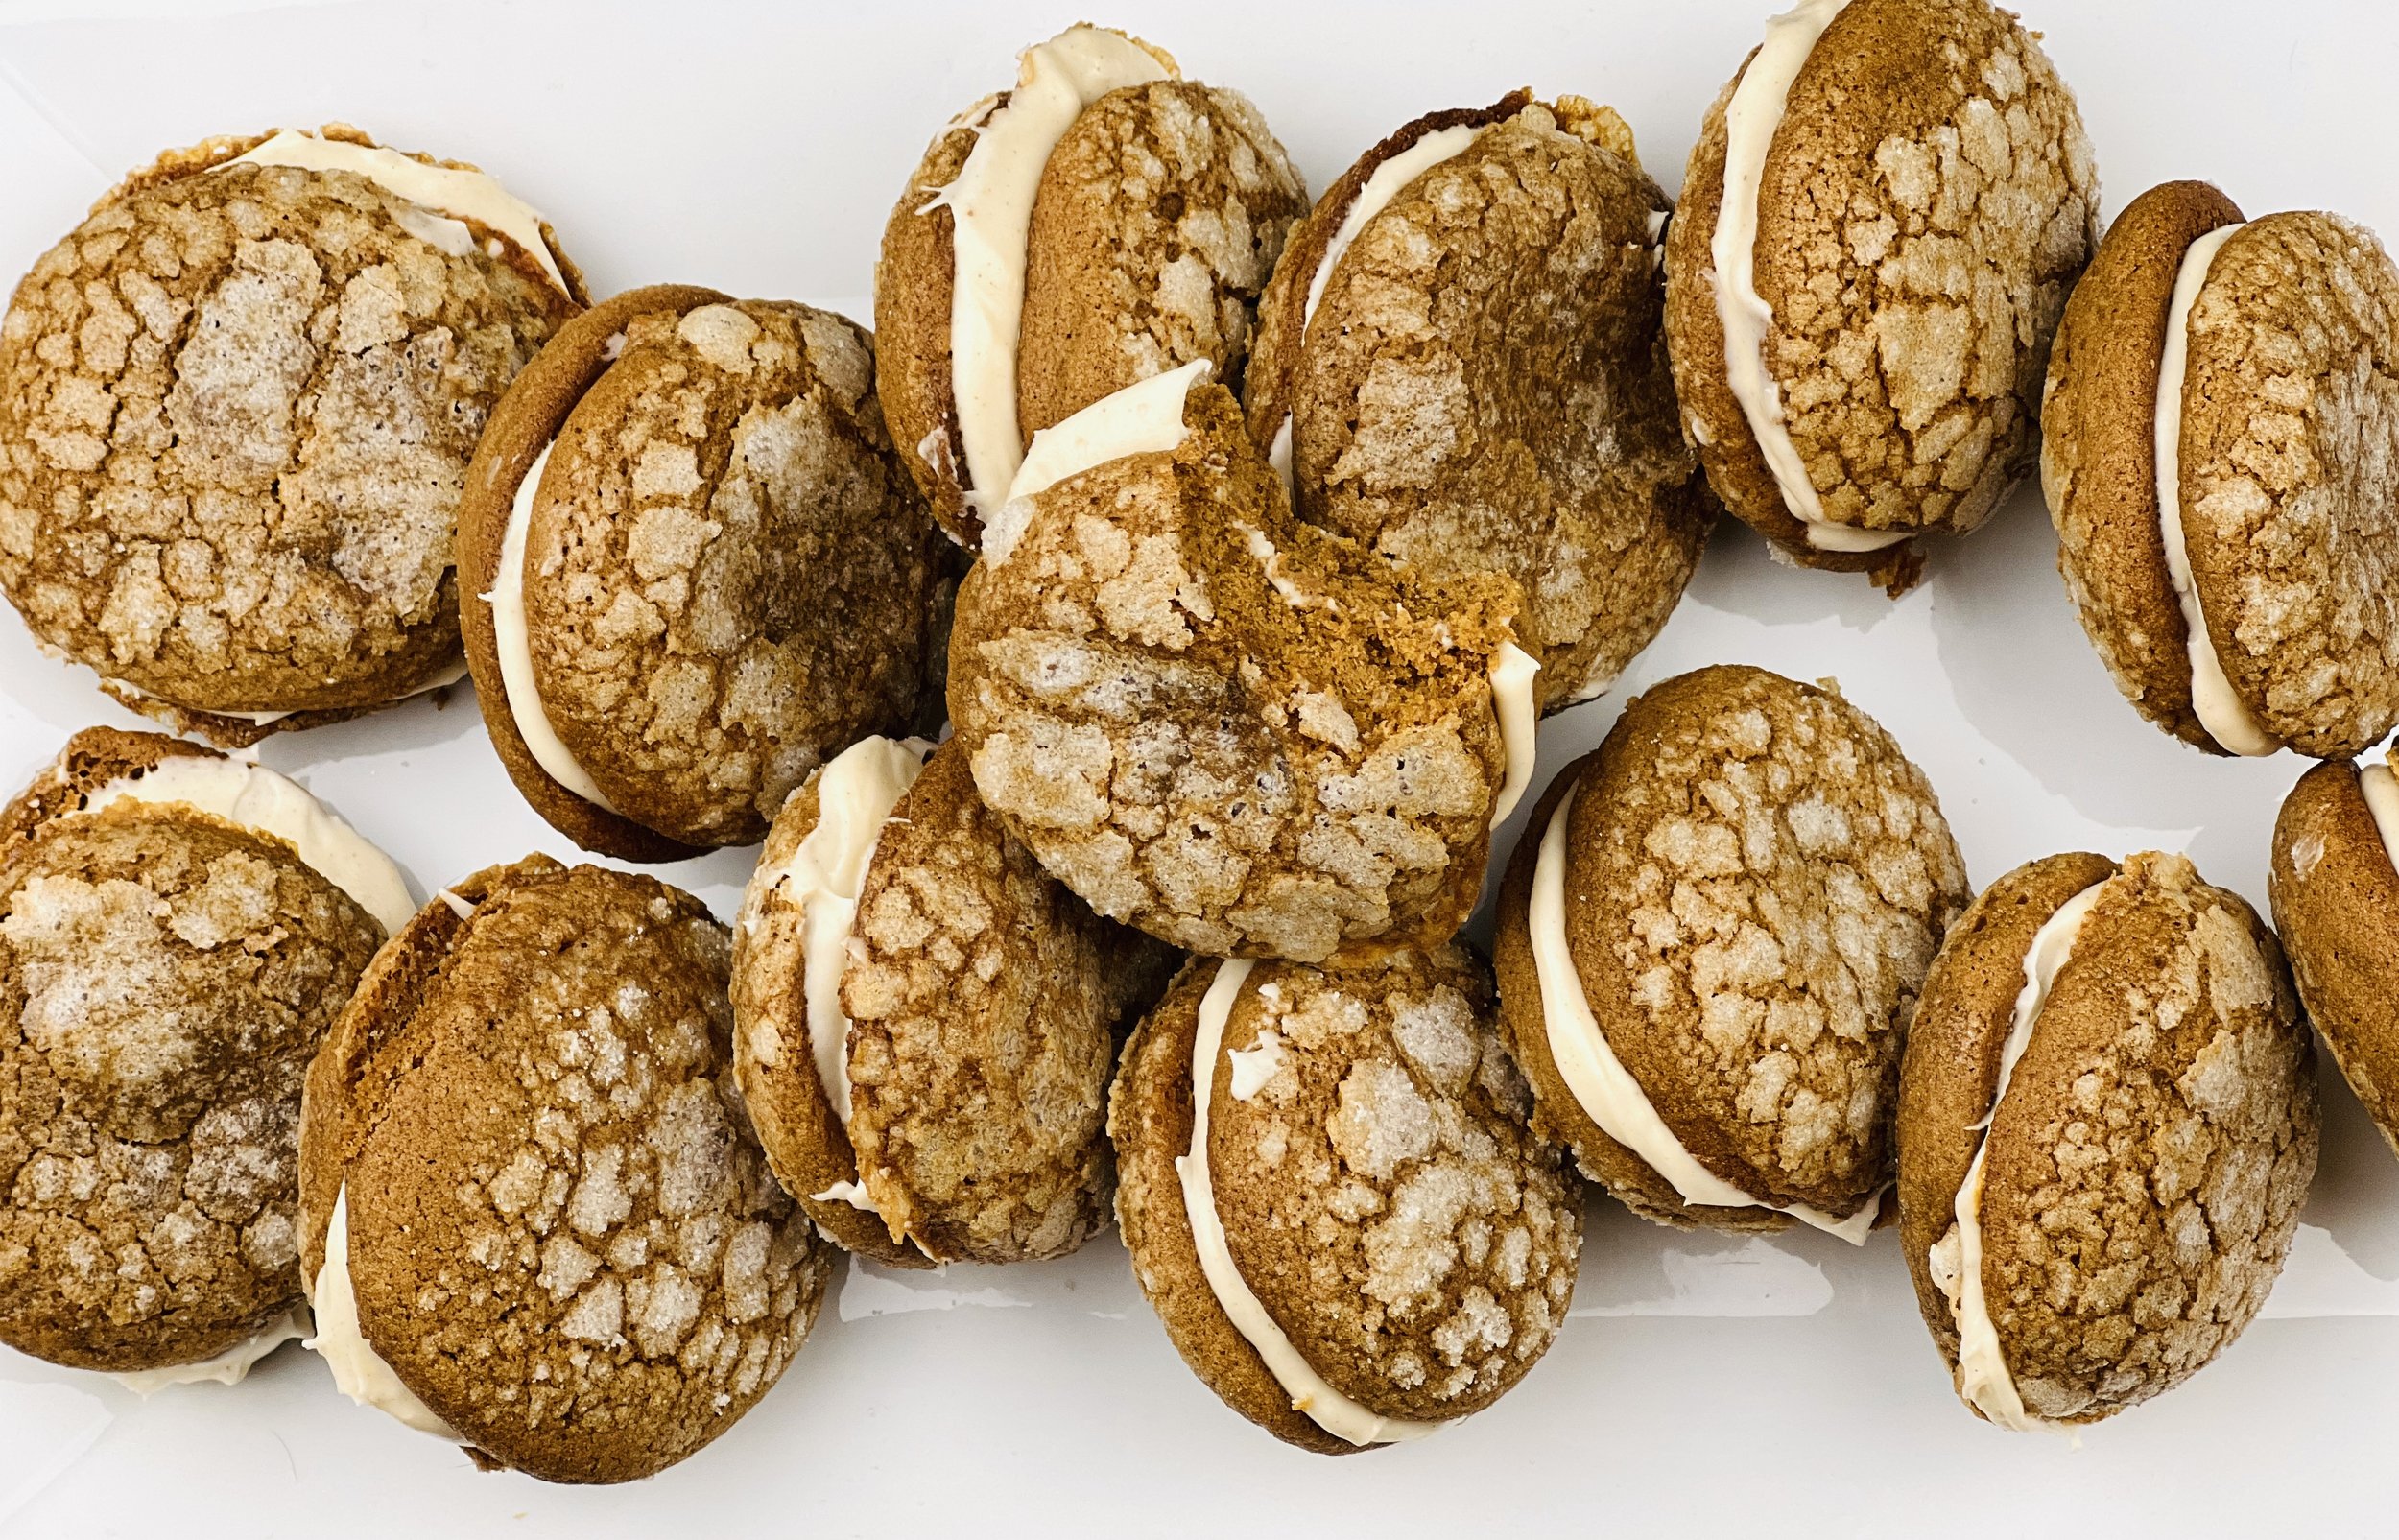
Spiced Ginger Whoopie Pies (low FODMAP)
45 Minutes prep/chill • 20 Minutes cook • Low FODMAP • Gluten-Free • Makes 3 dozen
45 Minutes prep/chill • 20 Minutes cook • Low FODMAP • Gluten-Free • Makes 3 dozen • Ok to make-ahead: Steps 1 - 3
Soft ginger molasses cookies with a crisp sugar top melded together with cinnamon-spiced cream cheese filling. What’s not to love? These low FODMAP whoopie pies are fun, delicious, and a bit addicting! You can make the cookies small for a two-bite version of the whoopie pie, or make them large for a real whoopie pie extravaganza! The combination of the cake-like cookies with the creamy filling is simply wonderful. Chilling the cookie dough before you bake is an important step so the cookies don’t spread out too much as they cook—so don’t skip this step!
Ingredients: Cookies
2 cups gluten-free flour (I used Bob’s Red Mill 1 to 1)
1 teaspoon baking soda
1 teaspoon cinnamon
1 teaspoon ground ginger
1/2 teaspoon ground cloves
1/4 teaspoon Kosher salt
3/4 cup salted butter, at room temperature
3/4 cup light brown sugar
1 egg, at room temperature
1/4 cup dark molasses*
1 teaspoon vanilla extract
1/2 cup cold water
1/2 cup granulated sugar, for dipping
Ingredients: Spiced Cream Cheese Filling
6 ounces lactose-free cream cheese, at room temperature (I used Green Valley Organics)
1/4 cup salted butter, softened at room temperature
1 and 1/2 cups confectioners’ sugar, sifted
1/2 teaspoon pure vanilla extract
1/4 teaspoon pumpkin pie spice (or 1/4 teaspoon of the combination of ground ginger, ground cinnamon, ground nutmeg, ground cloves—really just a pinch of each spice)
Directions: Cookies
(1) Combine dry ingredients: In a medium bowl, whisk flour, baking soda, cinnamon, ginger, cloves, and salt to combine. Set aside.
(2) Cream butter and sugar: Add softened butter and brown sugar to the bowl of your stand mixer and beat until light and fluffy. Scrape down the sides of the bowl then add the egg, molasses, and vanilla and beat until smooth.
(3) Add the dry ingredients: Scrape down the sides of the bowl then add dry ingredients in two batches, mixing until just combined before adding the second batch.
Make-ahead note: At this point, you should cover the dough and refrigerate until firm. This can be 30 minutes to overnight.
(4) Prepare: When ready to bake, preheat the oven to 375 degrees F, line a baking sheet with parchment paper, and remove the dough from the refrigerator. Put the granulated sugar in a small bowl. Put the cold water in a second small bowl.
(5) Scoop and roll: For each cookie, scoop out about 1 tablespoon of dough (less for smaller cookies, more for larger cookies), roll it into a ball then flatten the ball slightly so it won’t roll. Dip the top of the ball quickly in cold water, then in granulated sugar. Place sugar side up on the prepared baking sheet about 2 inches apart. (I cooked one dozen at a time.)
(6) Bake: For 8 minutes or until cookies are lightly browned around the edges and crackly on the top. Watch so you don’t overbake! 8 minutes was the perfect bake time in my oven.
(7) Finish: Remove the cookie sheet from the oven and let cookies cool on the sheet for 2 minutes before transferring them to a cooling rack to cool completely.
*A note about molasses: 1 teaspoon is considered low FODMAP so each cookie will have 1/2 teaspoon if you make 2 dozen.
Directions: Filling and Assembly
(1) Combine the cream cheese and butter: Make sure your ingredients are at room temperature. In the bowl of a stand mixer fitted with the paddle attachment, beat the cream cheese on high speed until completely smooth and creamy, about 1 minute. Add the butter and beat until smooth and combined.
(2) Add the powdered sugar: Scrape down the sides of the bowl and add the sifted powdered sugar, vanilla, and spices, then beat on medium speed until combined. Scrape down the sides of the bowl, then mix a bit more until fully combined and smooth. If the frosting is too soft to hold its shape, refrigerate for about 10 minutes before frosting the cookies.
(3) Fill the cookies: Match cookies of similar size, spread the filling onto the flat side of one cookie, and sandwich it together with a second cookie. Repeat with the remaining cookies and filling.
(4) Plate and serve: Serve right away or put your filled whoopie pies in an airtight container and store them in the refrigerator for up to 3 or 4 days.
Eat and enjoy every bite because you can!
This post may contain links for you to easily purchase items listed on the page. In some cases, we have provided a special discount code for IBS Game Changers so be sure to use it when you purchase an item to get the discount that has been arranged just for you! As an Amazon Associate, I earn a commission from qualifying Amazon purchases.
More Deliciously Low FODMAP™ dessert recipes you might enjoy
Sausage and Castelvetrano Olive Pizza (low FODMAP)
15 Minutes prep • 20 Minutes cook • Low FODMAP • Gluten-Free • Serves 4
15 Minutes prep • 20 Minutes cook • Low FODMAP • Gluten-Free • Serves 4 • Ok to make-ahead: Step 1
This delicious and hearty pizza is full of amazing flavors you probably thought were off your low FODMAP protocol. Sausage pizza? Yes! Because you make it yourself following my easy low FODMAP recipe, you know it will be delicious AND easy on your stomach. Don’t be afraid to use the peppers—just be sure to remove the seeds. Can’t get Castelvetrano olives? Feel free to substitute another type of olive in this recipe.

This is an exclusive recipe just for recipe club members.
Each week I am creating and delivering one very special recipe just for my recipe club members. If you’re not yet a member, I encourage you to join! Membership in the club includes access to the complete archive of recipes with filters so it can become your virtual low FODMAP cookbook plus, I am creating and delivering one special NEW recipe every week ONLY for recipe club members. And, for my true fans, I’ll be sharing behind-the-scenes content, and updates on the progress of the new cookbook.
Your membership in the club helps me continue creating new, delicious, easy-to-make, low FODMAP recipes just for you.
As always, all recipes will emphasize simple ingredients, easy preparation, and delicious low FODMAP results. Recipes will be for everything from main courses, salads, soups, side dishes, appetizers, desserts, sauces, breakfast and lunch, and even mocktails and cocktails. Everything you need to prepare fantastic low FODMAP meals everyone will love.
Join the club. Become a Patron. Let’s keep making delicious Low FODMAP meals together.
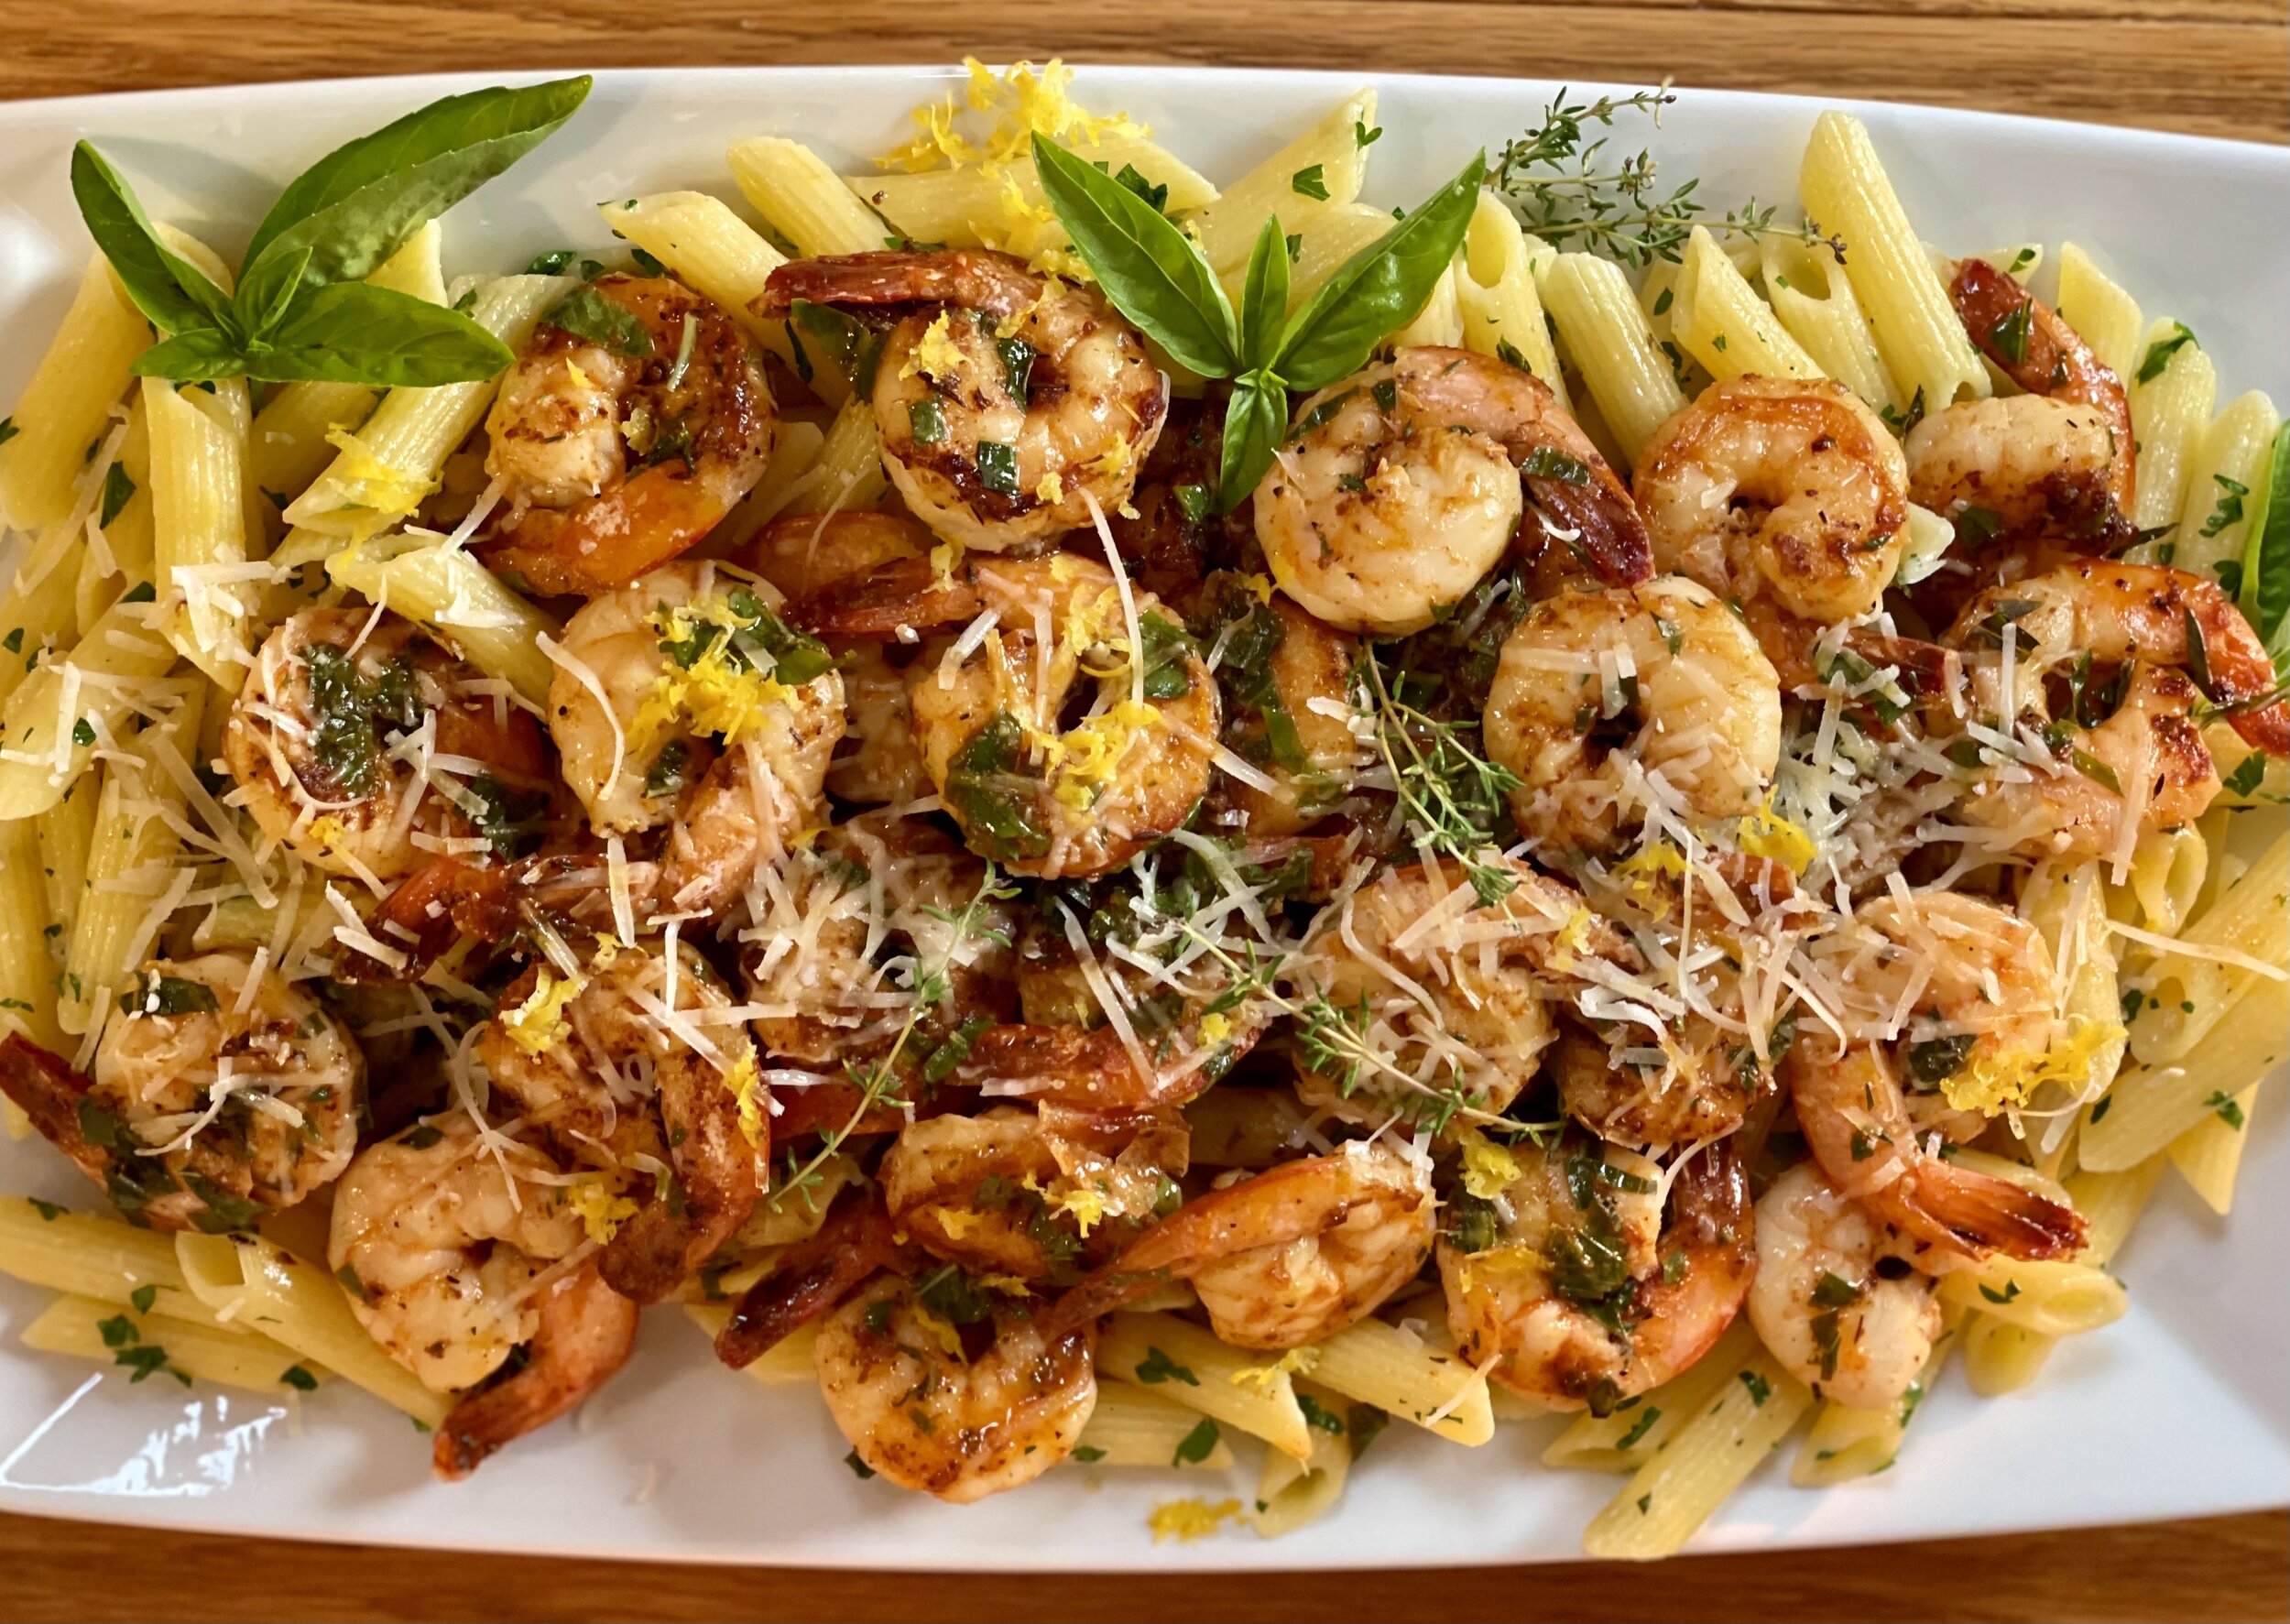
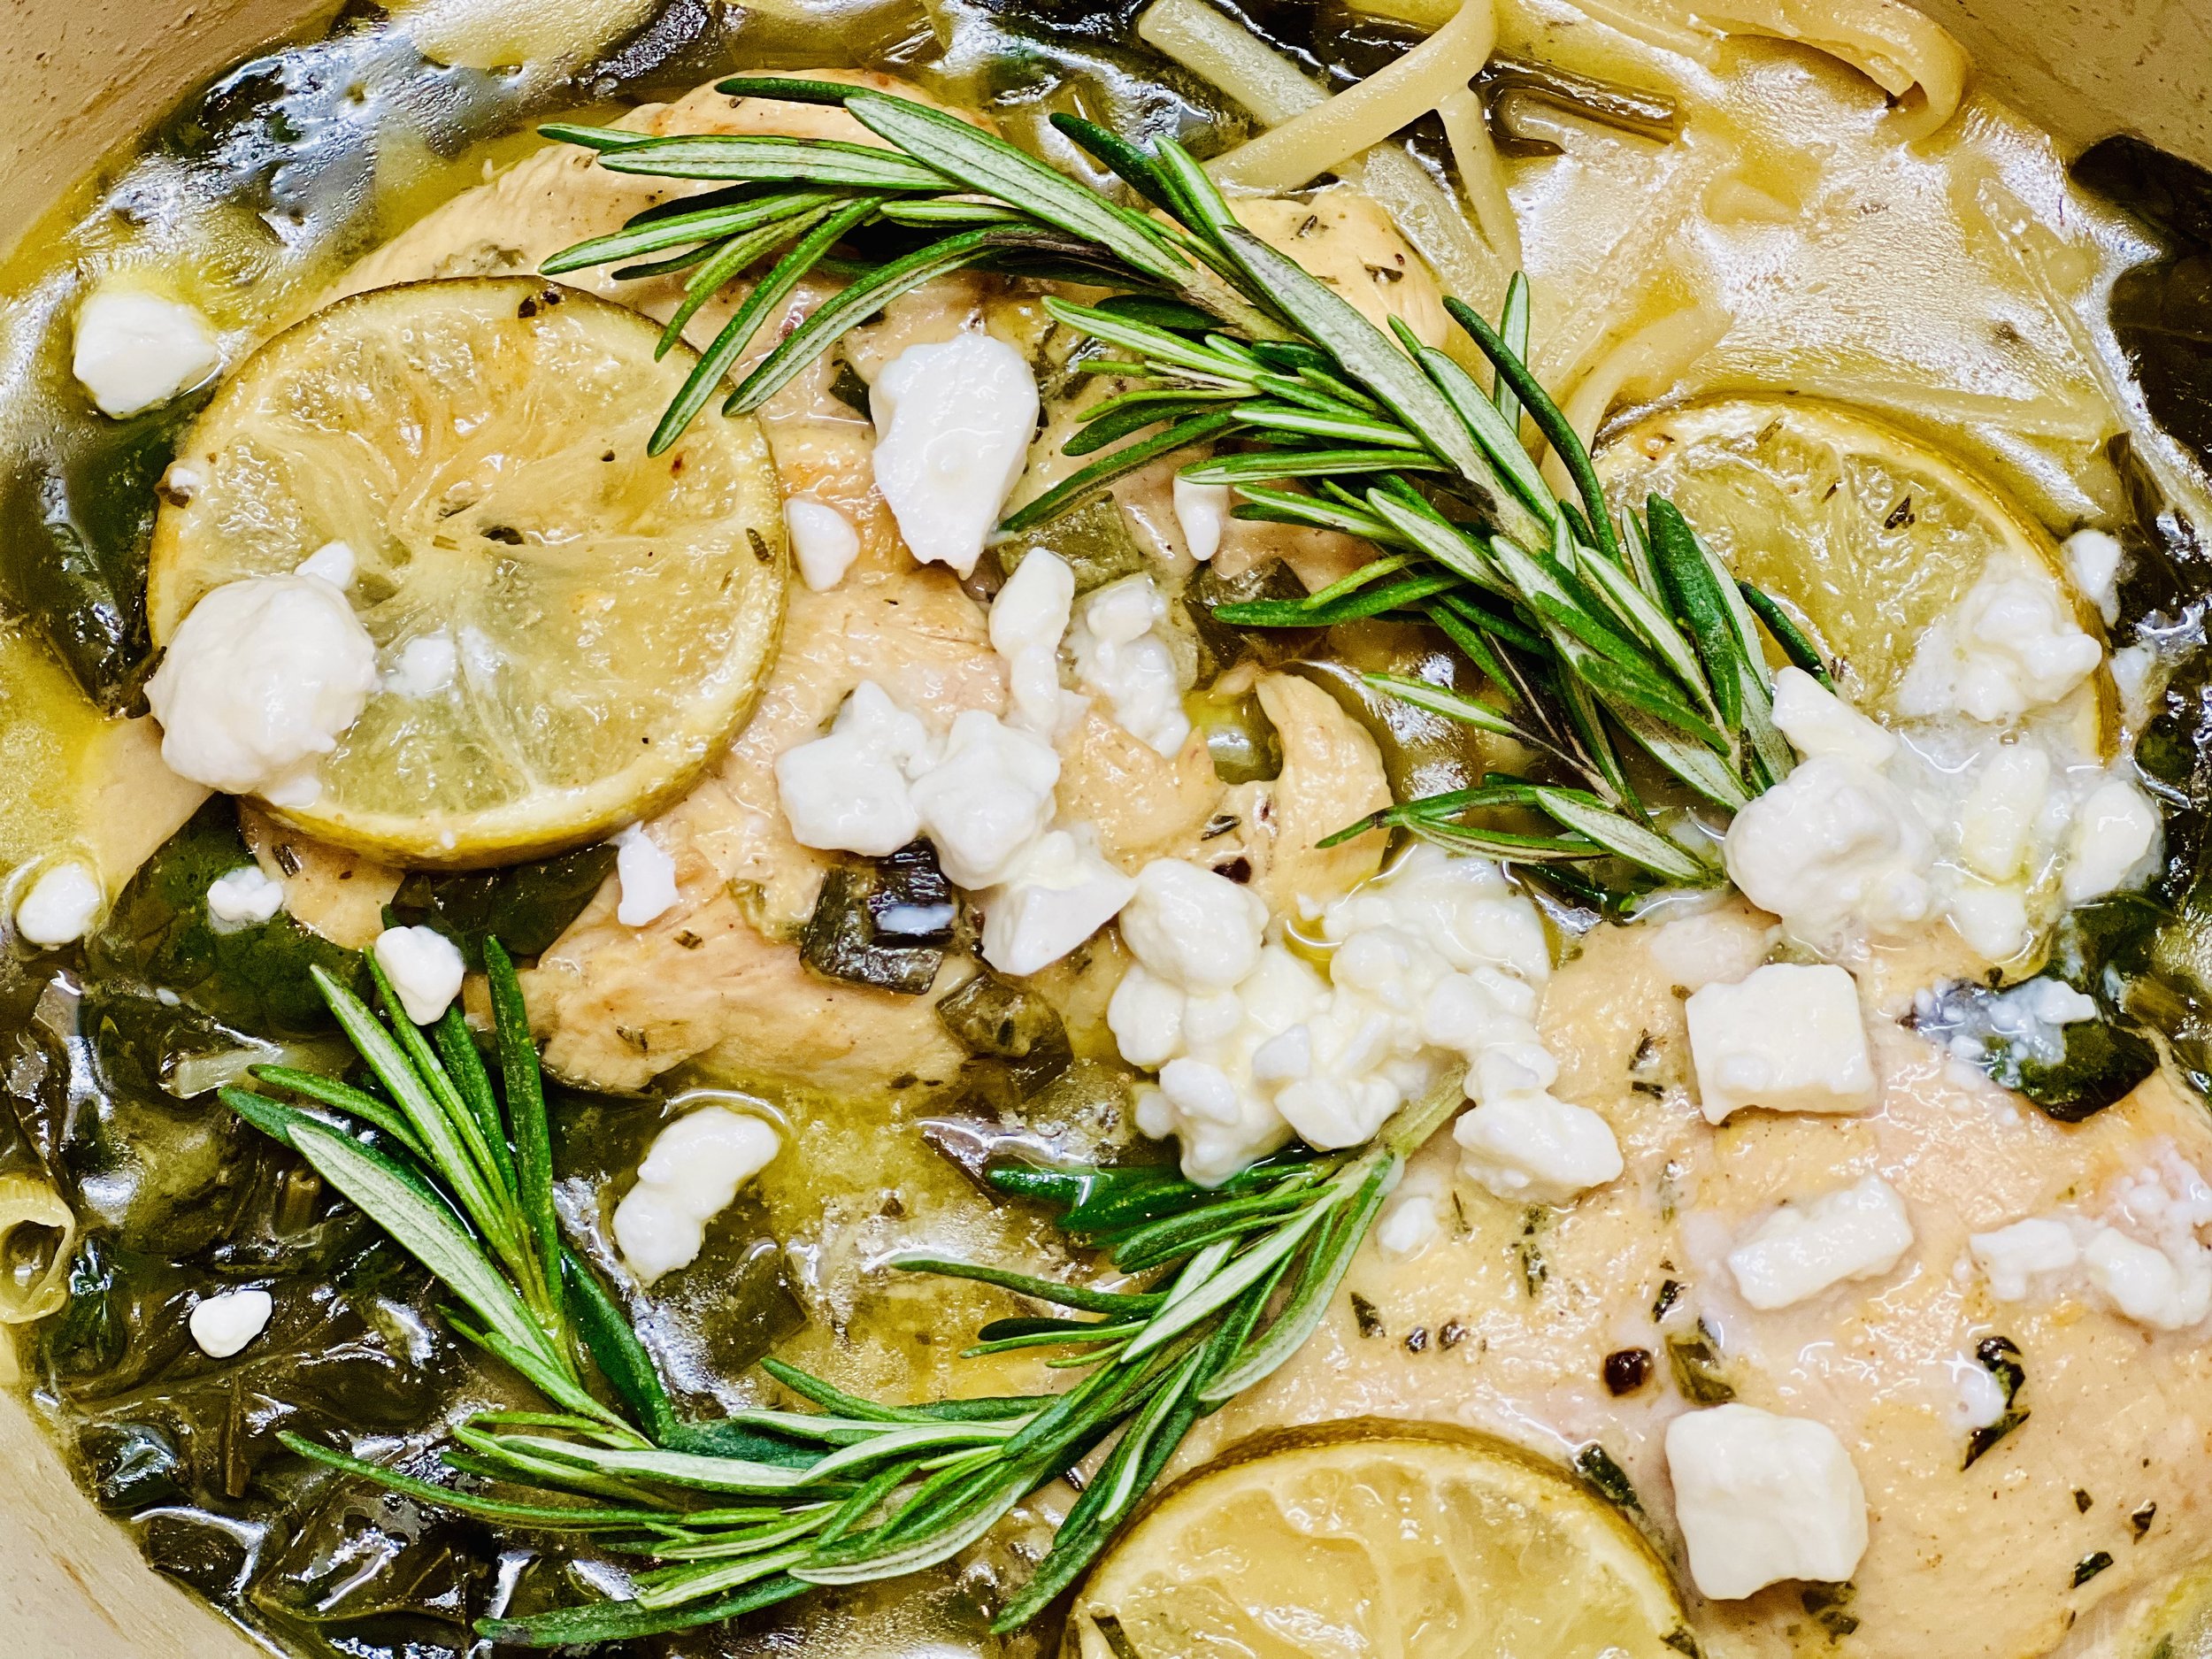
One Pan Lemon & Rosemary Butter Chicken and Pasta (low FODMAP)
30 Minutes prep • 25 Minutes cook • Low FODMAP • Gluten-Free • Serves 4
30 Minutes prep • 25 Minutes cook • Low FODMAP • Gluten-Free • Serves 4 • Ok to make-ahead: Steps 1 - 3
This delicious chicken and pasta dish is tangy, creamy, and incredibly flavorful. I was in Mexico when I developed the recipe, so I used Mexican limons but you can use Meyer or regular lemons as well. The rosemary, limon, Dijon, and garlic-infused olive oil make a truly delicious combination.
Ingredients
3 tablespoons garlic-infused olive oil
2 tablespoons Dijon mustard
2 spring onions or green onions (green part only), chopped
2 tablespoons chopped fresh rosemary
2 pounds boneless skinless chicken breasts or thighs
3 tablespoons salted butter
1 lemon or limon, sliced
1 1/2 cups gluten-free spaghetti or linguine broken into 2-inch pieces (I used Rummo Gluten-free linguine)
2 1/2 - 3 cups low FODMAP chicken broth (I used Gourmend Organic Chicken Broth, use code IBSGC15 for 15% discount)
2 cups chopped kale or spinach.
Juice of one lemon or limon
For serving:
1/2 cup crumbled Feta
Juice of 1 lemon or limon
Rosemary sprigs (optional)
Directions
(1) Prepare chicken: Trim any fat around the edges of the chicken and slice thick pieces of chicken in half horizontally. This next step is optional but adds to the flavor and texture of the meat. Season both sides of each piece of chicken lightly with Kosher salt. Put on a plate, cover with plastic wrap, and refrigerate overnight or at least 4 hours before cooking.
(2) Prepare: Preheat oven to 400 degrees F. Chop the spring onion greens and rosemary, and juice the limon or lemon.
(3) Make marinade: In a bowl large enough to hold the chicken, mix 2 tablespoons garlic-infused olive oil, Dijon mustard, chopped spring onion greens, chopped rosemary, and a sprinkle each of salt and pepper. Add the chicken to the bowl and spoon the marinade over the chicken to coat both sides of all pieces.
Make-ahead note: At this point, you can leave the chicken in the marinade, covered, in the refrigerator until you’re ready to cook it.
(4) Sear the chicken: Heat 1 tablespoon garlic-infused olive oil in a large oven-safe skillet or Dutch oven over medium-high heat. Add the chicken. Sear on both sides until golden, 3-5 minutes. During the last 2 minutes of cooking, add the butter and lemon slices to the pan. Remove the chicken and the lemon slices from the skillet and set them aside on a plate.
(5) Add remaining ingredients: Add the gluten-free pasta. Cook until the pasta, stirring intermittently until it is toasted, about 2 minutes. Add the broth, kale or spinach, and Limon or lemon juice. Season with salt and pepper. Bring to a boil over medium-high heat. Put the chicken, Limon or lemon slices, and any juices left on the plate back into the skillet.
(6) Finish: Bake, uncovered for 15 minutes or until the chicken is just cooked through. Remove from the oven and let cool for a few minutes before serving. Meanwhile, combine the feta and the lemon juice in a small bowl.
(7) Plate and serve: Spoon the pasta, spinach, and sauce into bowls. Layer on the chicken and Limon or lemon slices. Top with the feta and lemon juice and garnish with rosemary if you like.
Eat and enjoy every bite because you can!
*This post may contain links for you to easily purchase items listed on the page. In some cases, we have provided a special discount code for IBS Game Changers so be sure to use it when you purchase an item to get the discount that has been arranged just for you! As an Amazon Associate, I earn a commission from qualifying Amazon purchases.
More Deliciously Low FODMAP™ main course recipes you might enjoy
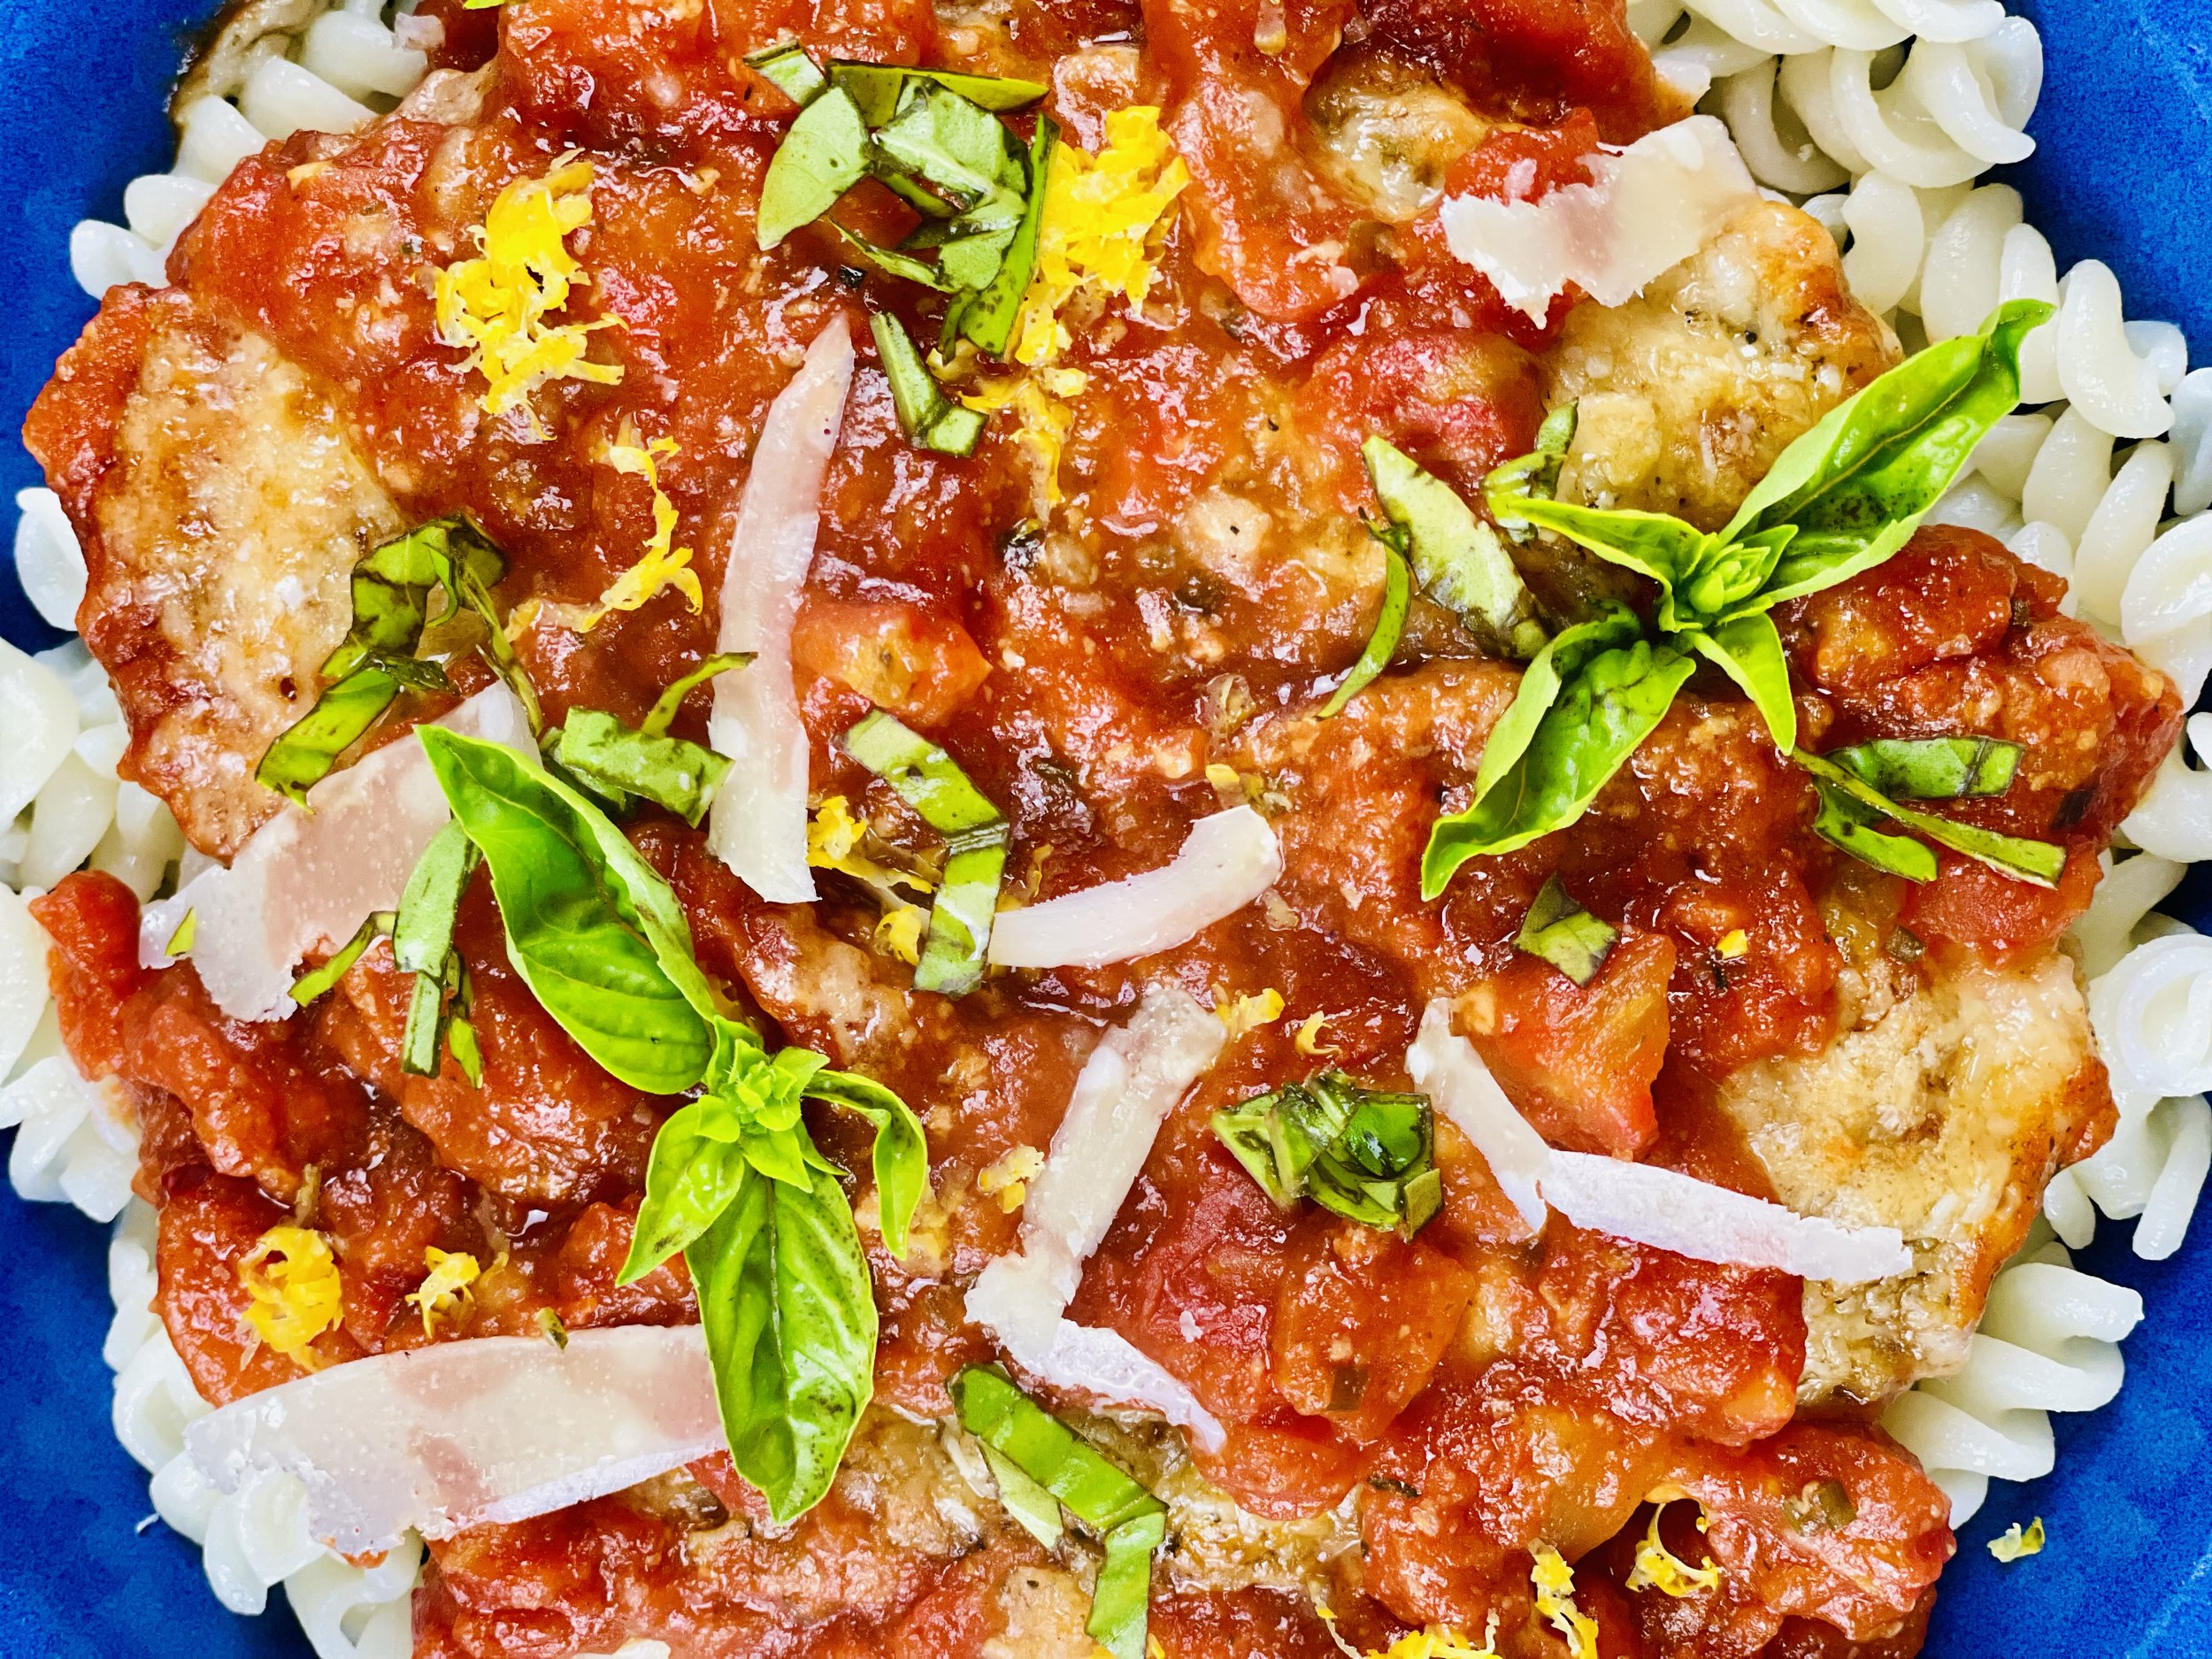
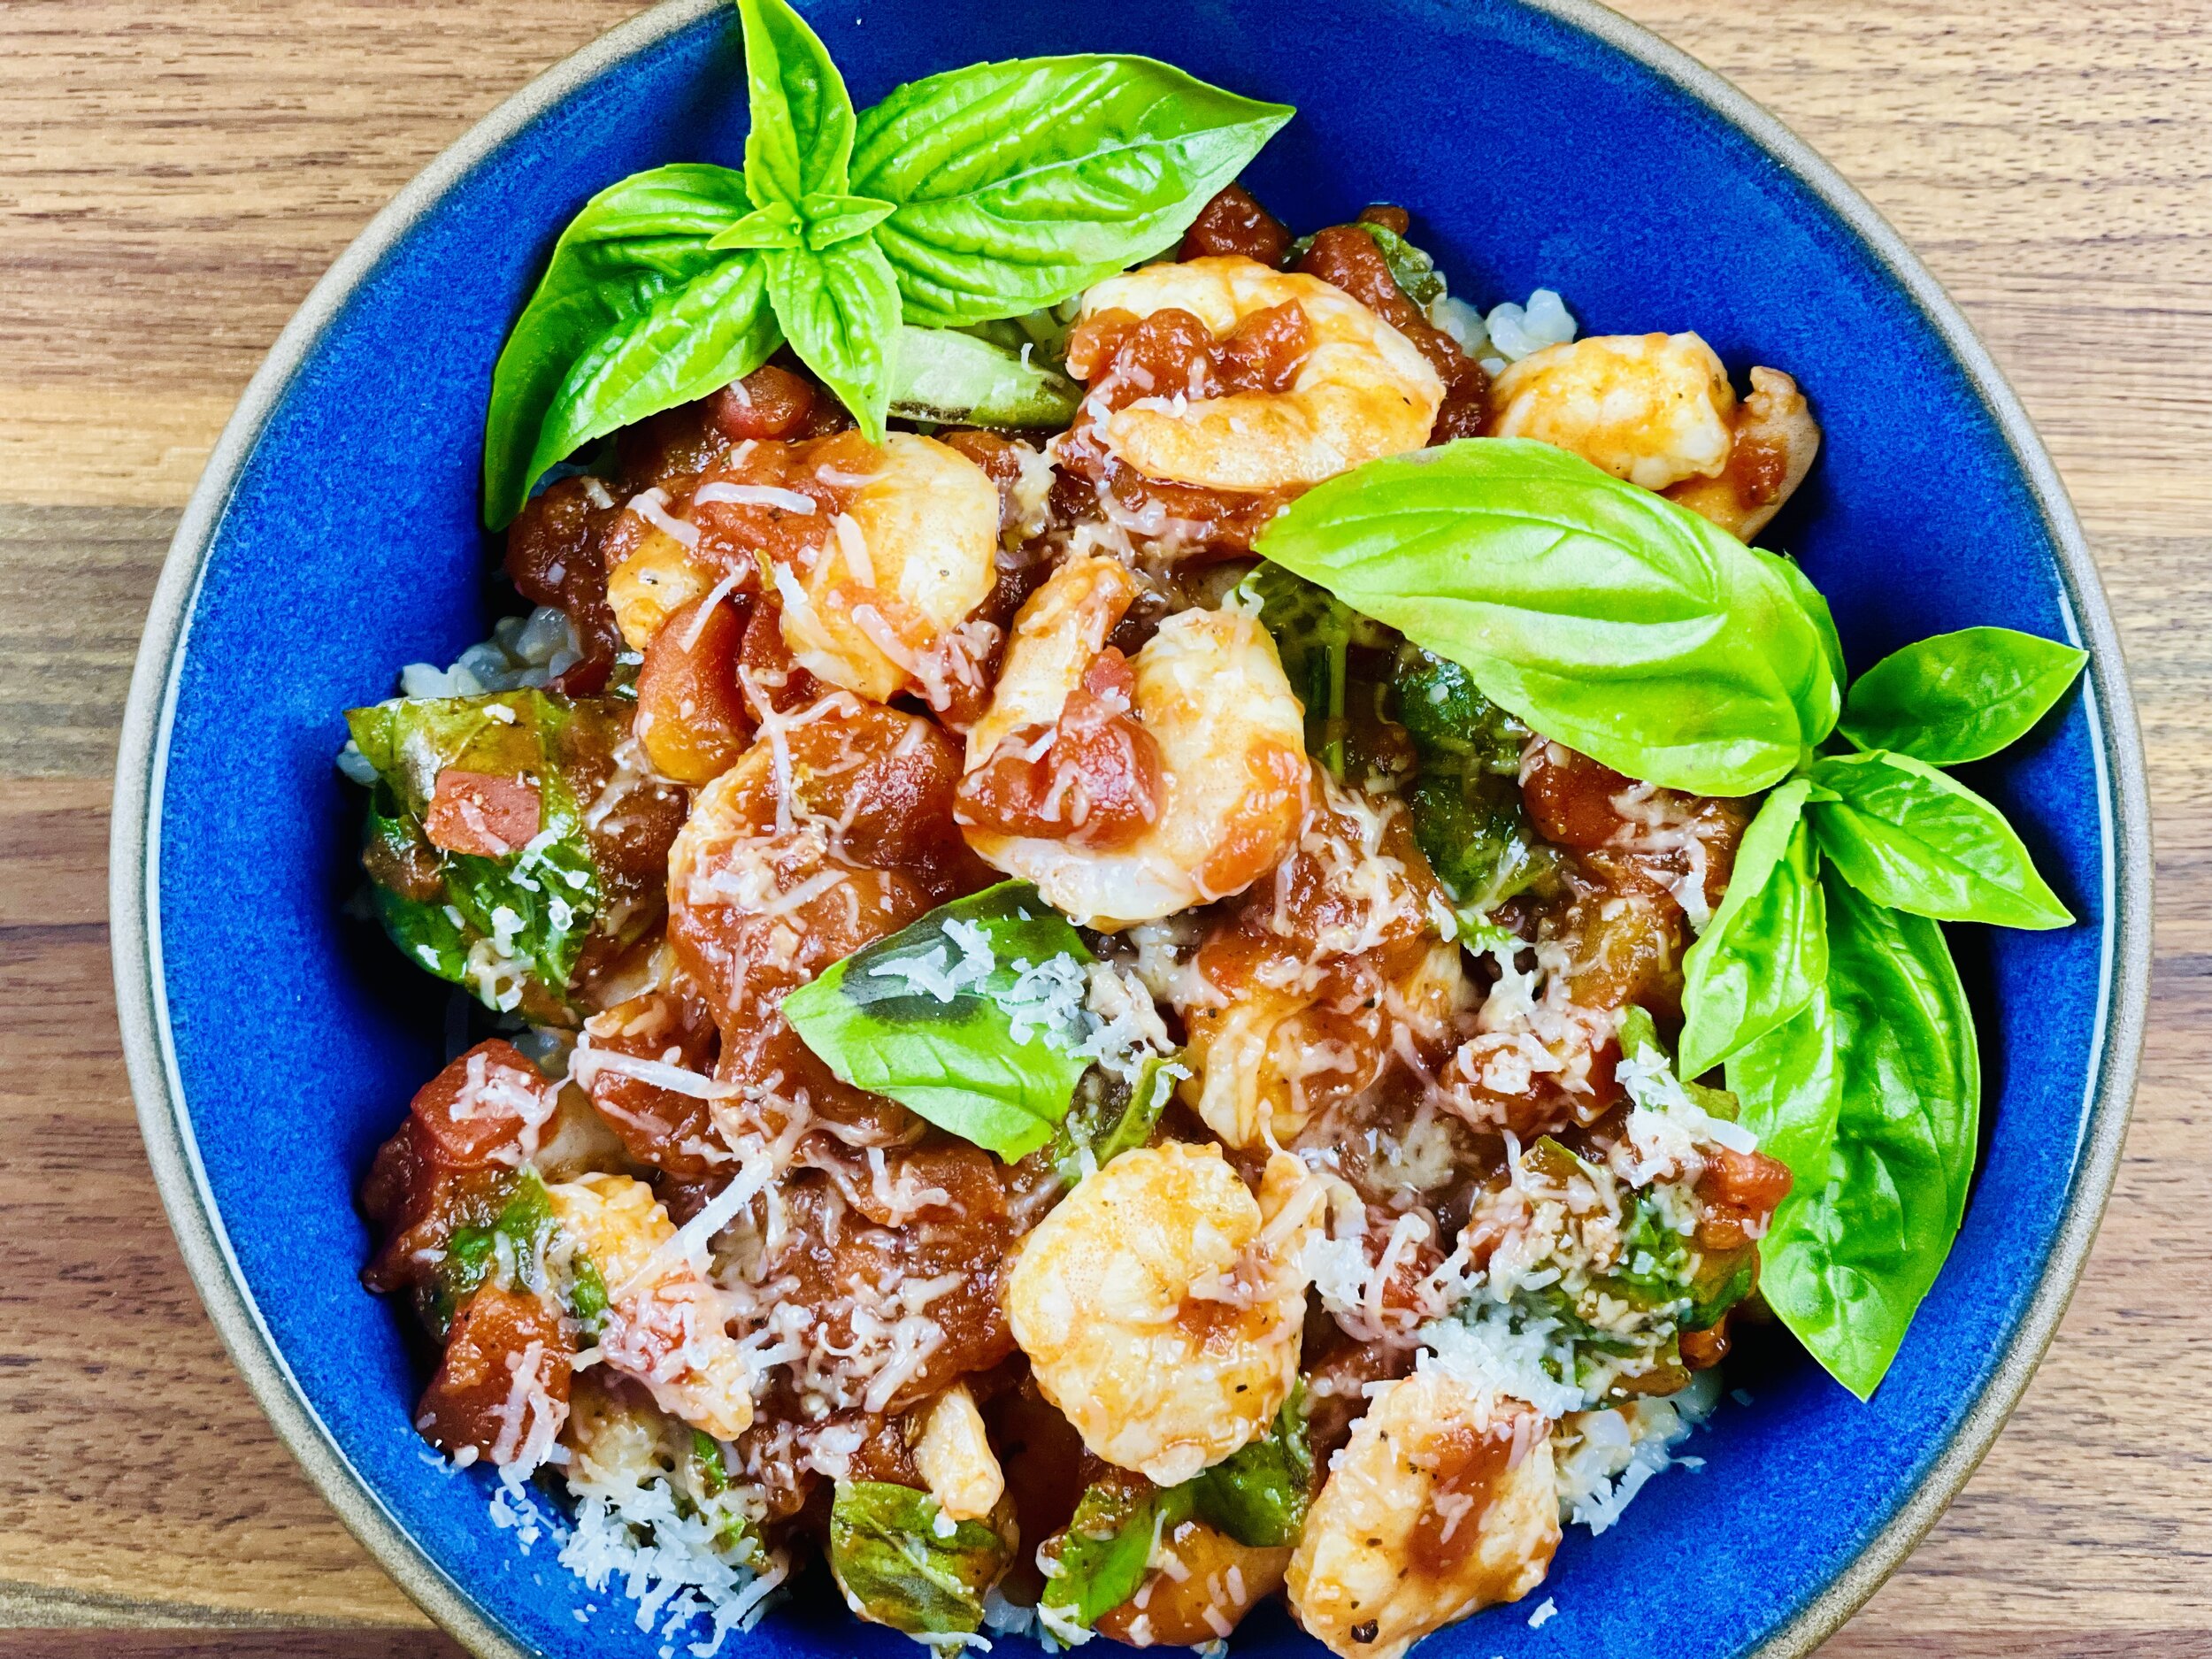
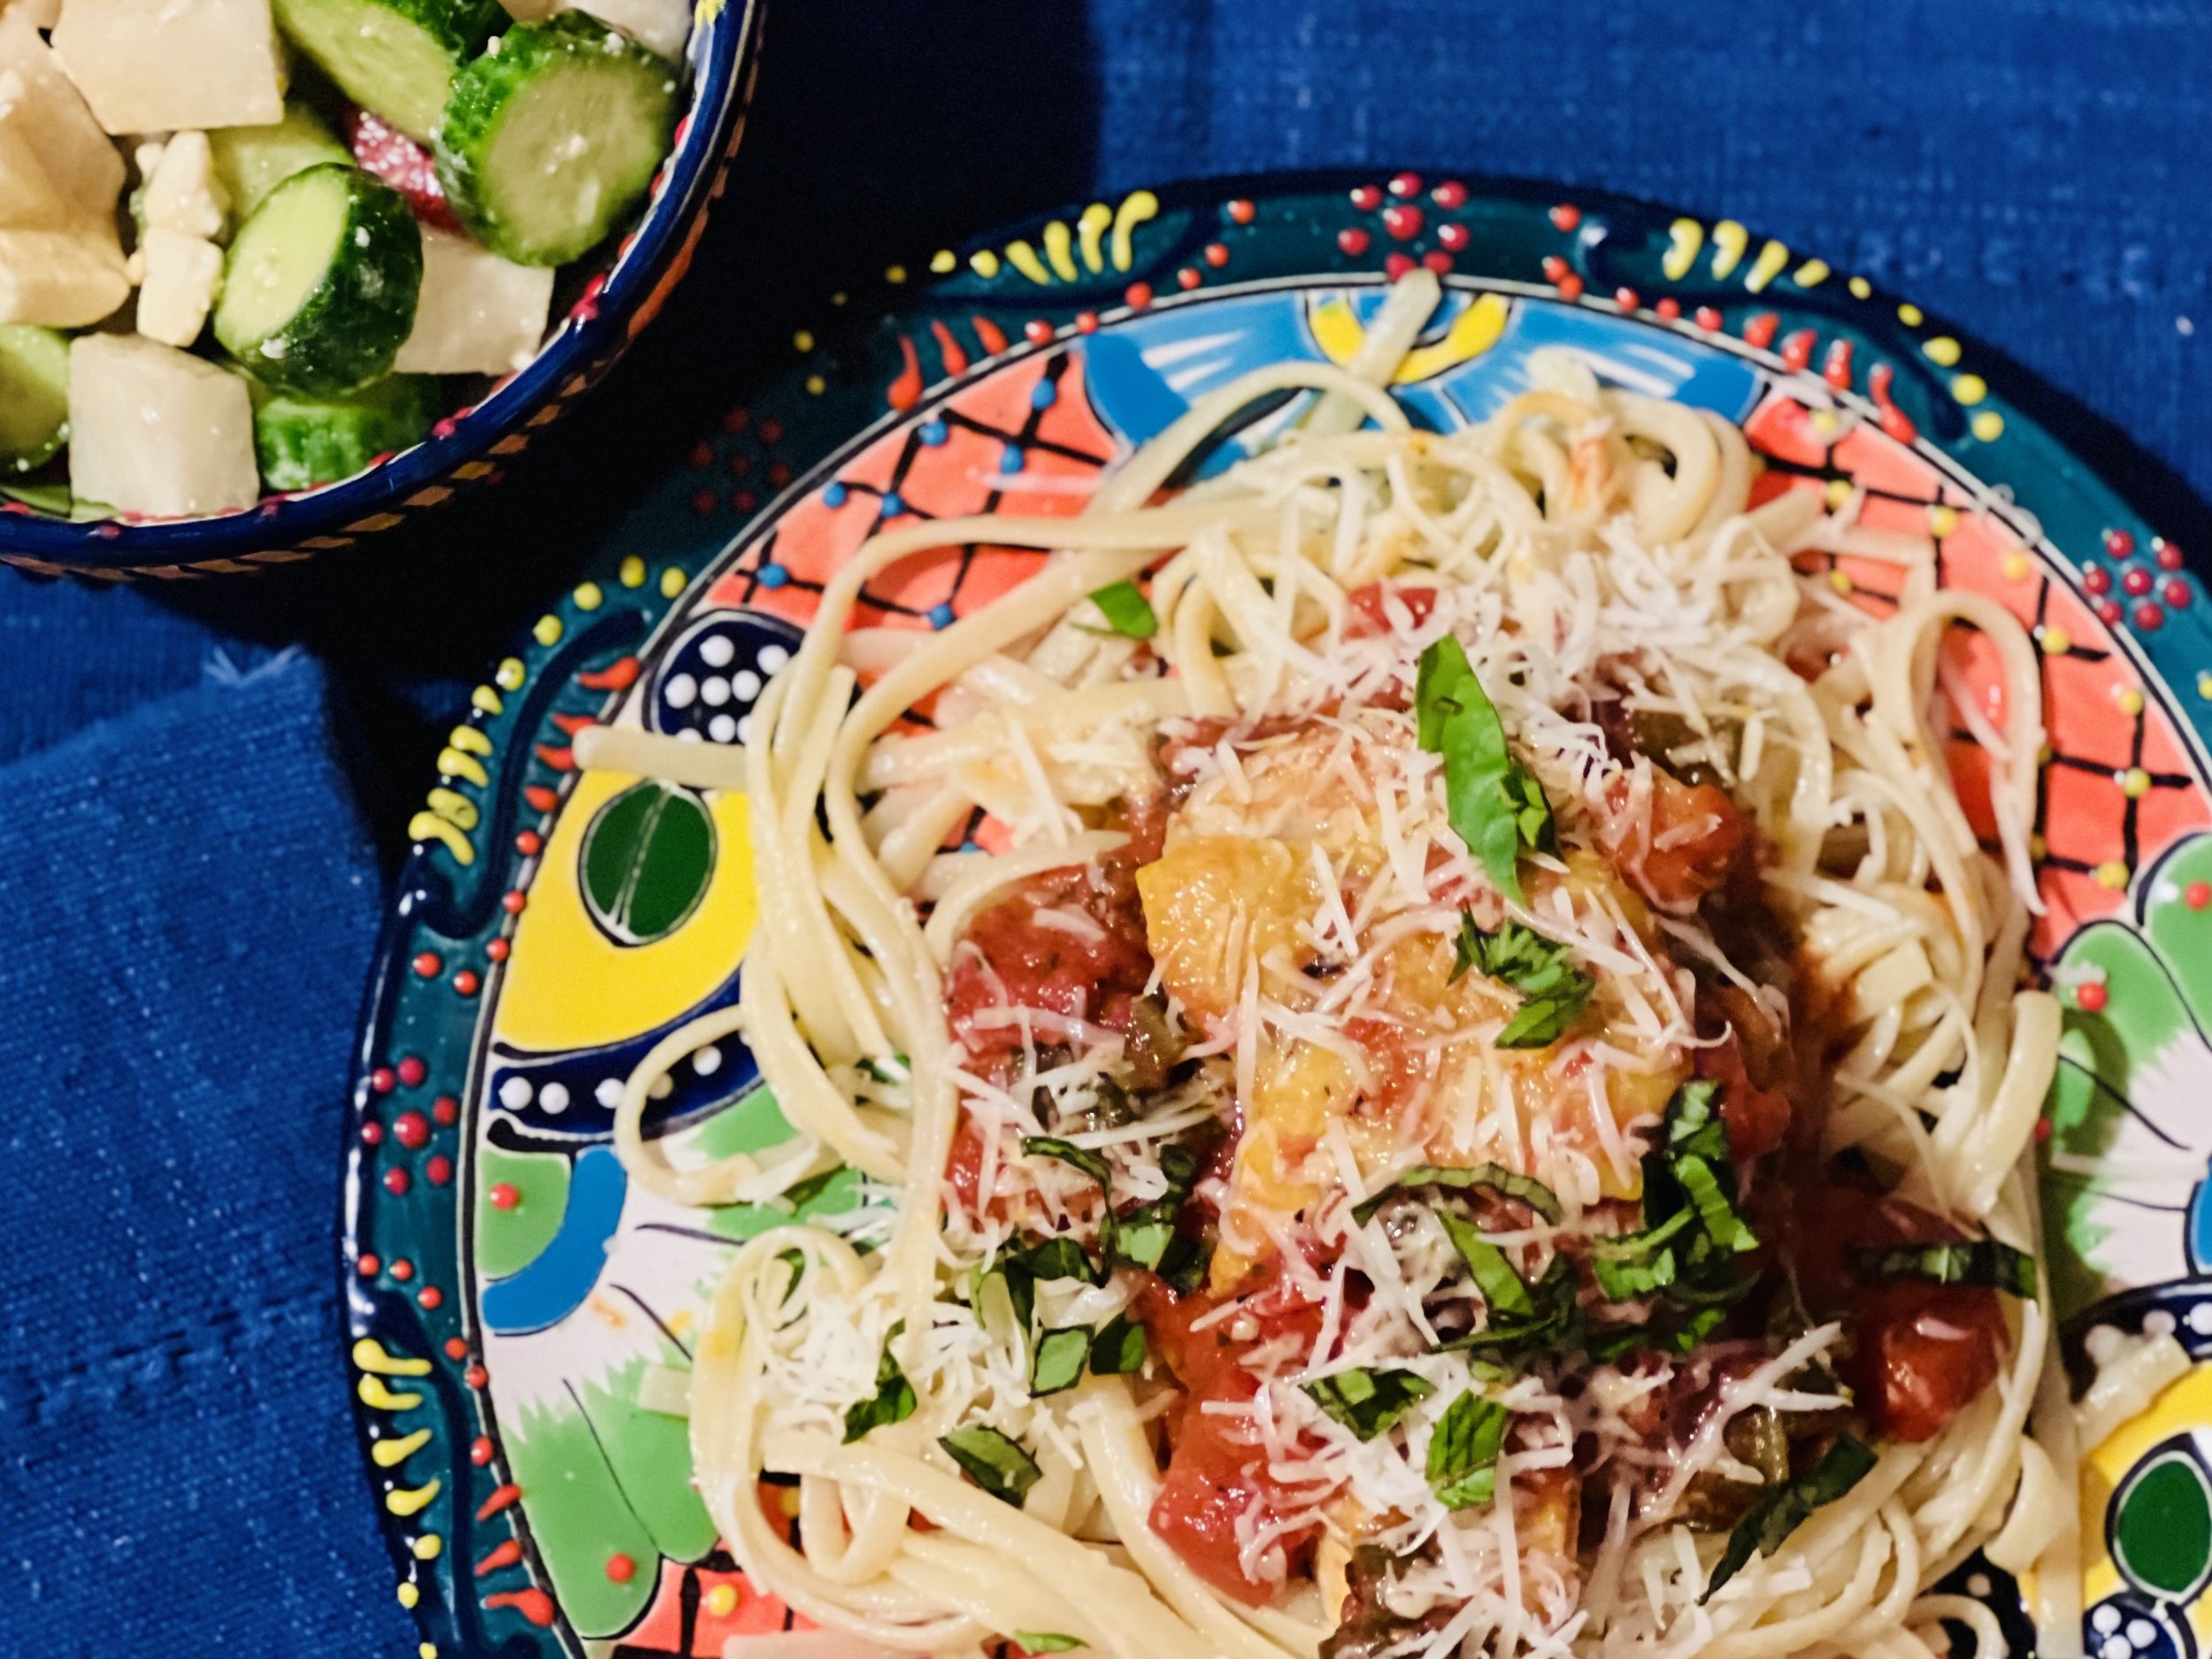
Chicken Linguini Marinara (low FODMAP)
15 Minutes prep • 30 Minutes cook • Low FODMAP • Gluten-Free • Lactose-free • Serves 4
15 Minutes prep • 30 Minutes cook • Low FODMAP • Gluten-Free • Lactose-free • Serves 4 • Ok to make-ahead: Step 1
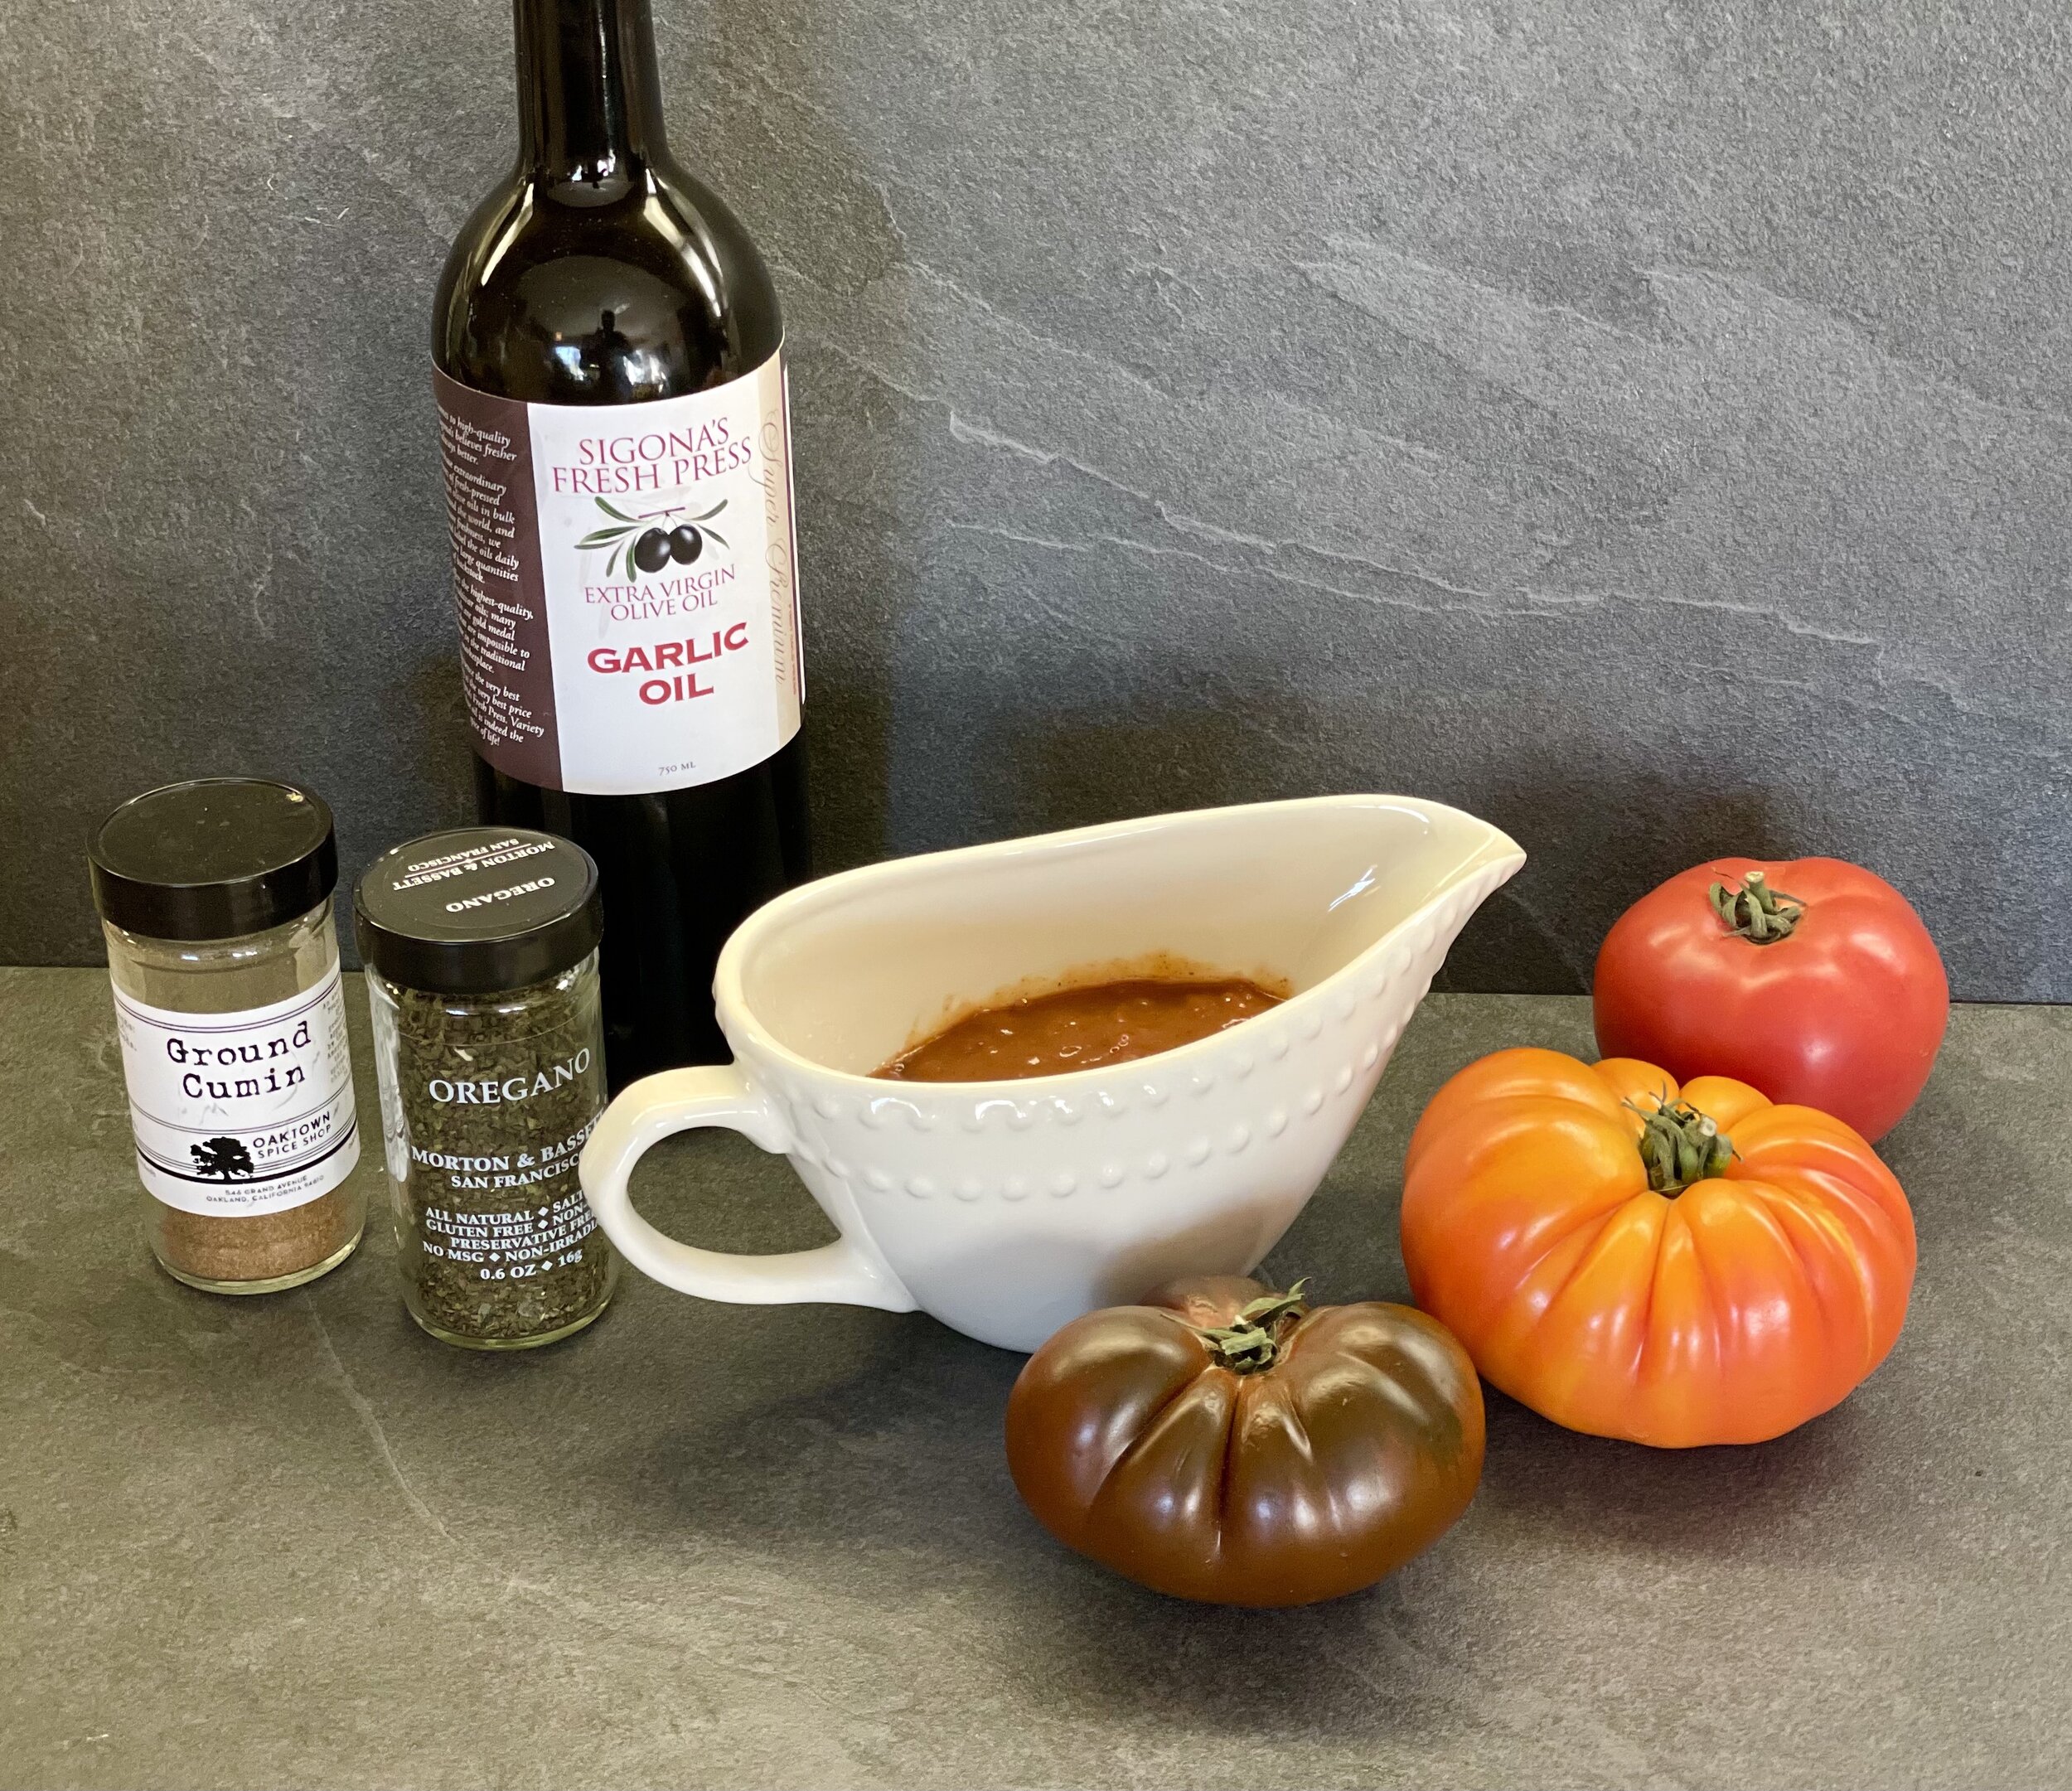
Chicken thighs cooked in a rich marinara sauce and served on a bed of pasta is a classic and memorable combination! This version of the classic is wonderfully flavorful, with tender chicken and delicious sauce and it’s low FODMAP of course! I used a combination of fresh tomatoes and finely chopped tomatoes from a carton to deliver a marinara that is robust and delicious. Using boneless chicken thighs keeps the cook-time down and makes it wonderfully easy to eat.
Ingredients
4 boneless chicken thighs or breasts (skin on)
4 tablespoons garlic-infused olive oil
1 bunch spring onions or green onions (green part only) chopped
3 - 4 Roma tomatoes, chopped
3 teaspoons Italian seasoning
14-ounce box finely chopped tomatoes (I used Pomi)
8 ounces gluten-free linguini (I used Rummo)
1 - 2 tablespoons butter or olive oil
Fresh-grated Parmesan cheese and fresh basil for serving (optional)
Directions
(1) Prepare chicken: This step is optional but adds to the flavor and texture of the meat. Remove chicken from packaging and season both sides of each piece of chicken lightly with Kosher salt. Put on a plate, cover with plastic wrap, and refrigerate overnight or at least 4 hours before cooking.
Make-ahead note: This chicken is delicious and easy to cook but the texture and flavor benefit from early salting. So, if you have time to salt your chicken and let it sit for at least 4 hours before you cook it, you will like the results.
(2) Prepare: Preheat oven to 375 degrees F. Chop the green onions and tomatoes.
(3) Brown the chicken: In an oven-proof skillet or Dutch oven, heat 2 tablespoons garlic-infused olive oil over medium-high heat. Add the chicken and brown on both sides (about 3 minutes on each side). Remove the chicken from the pan and set it aside.
(4) Make the marinara: Add another tablespoon of garlic-infused olive oil. Then add the chopped green onions, the chopped tomatoes, and the Italian seasoning. Cook for a few minutes so the seasoning releases its flavor. Add the carton of tomatoes and about 1/2 cup of water. Let the sauce simmer for about 15 minutes to blend the flavors. If it gets too thick add a bit of hot water (1/4 cup at a time) and stir to combine. Taste and add a bit of salt and pepper if needed.
(5) Cook the chicken: Add the chicken to the pan with the marinara sauce and put it, uncovered, in the oven. Cook just until the chicken is cooked through (about 15 minutes for boneless chicken—shorter for breast meat than for thighs).
(6) Prepare the pasta: Prepare the pasta per package instructions. When cooked to your liking, drain but do not rinse the pasta, put it back in the pan you cooked it in, toss with butter or olive oil, cover and keep warm until ready to serve.
(7) Plate and serve: Put the pasta on the plate, add a generous scoop of marinara and a piece of chicken. Finish with freshly grated parmesan and chopped basil if you like. Serve with a side salad and warm (real) sourdough bread if you like.
Eat and enjoy every bite because you can!
*This post may contain links for you to easily purchase items listed on the page. In some cases, we have provided a special discount code for IBS Game Changers so be sure to use it when you purchase an item to get the discount that has been arranged just for you! As an Amazon Associate, I earn a commission from qualifying Amazon purchases.
More Deliciously Low FODMAP™ main course recipes you might enjoy
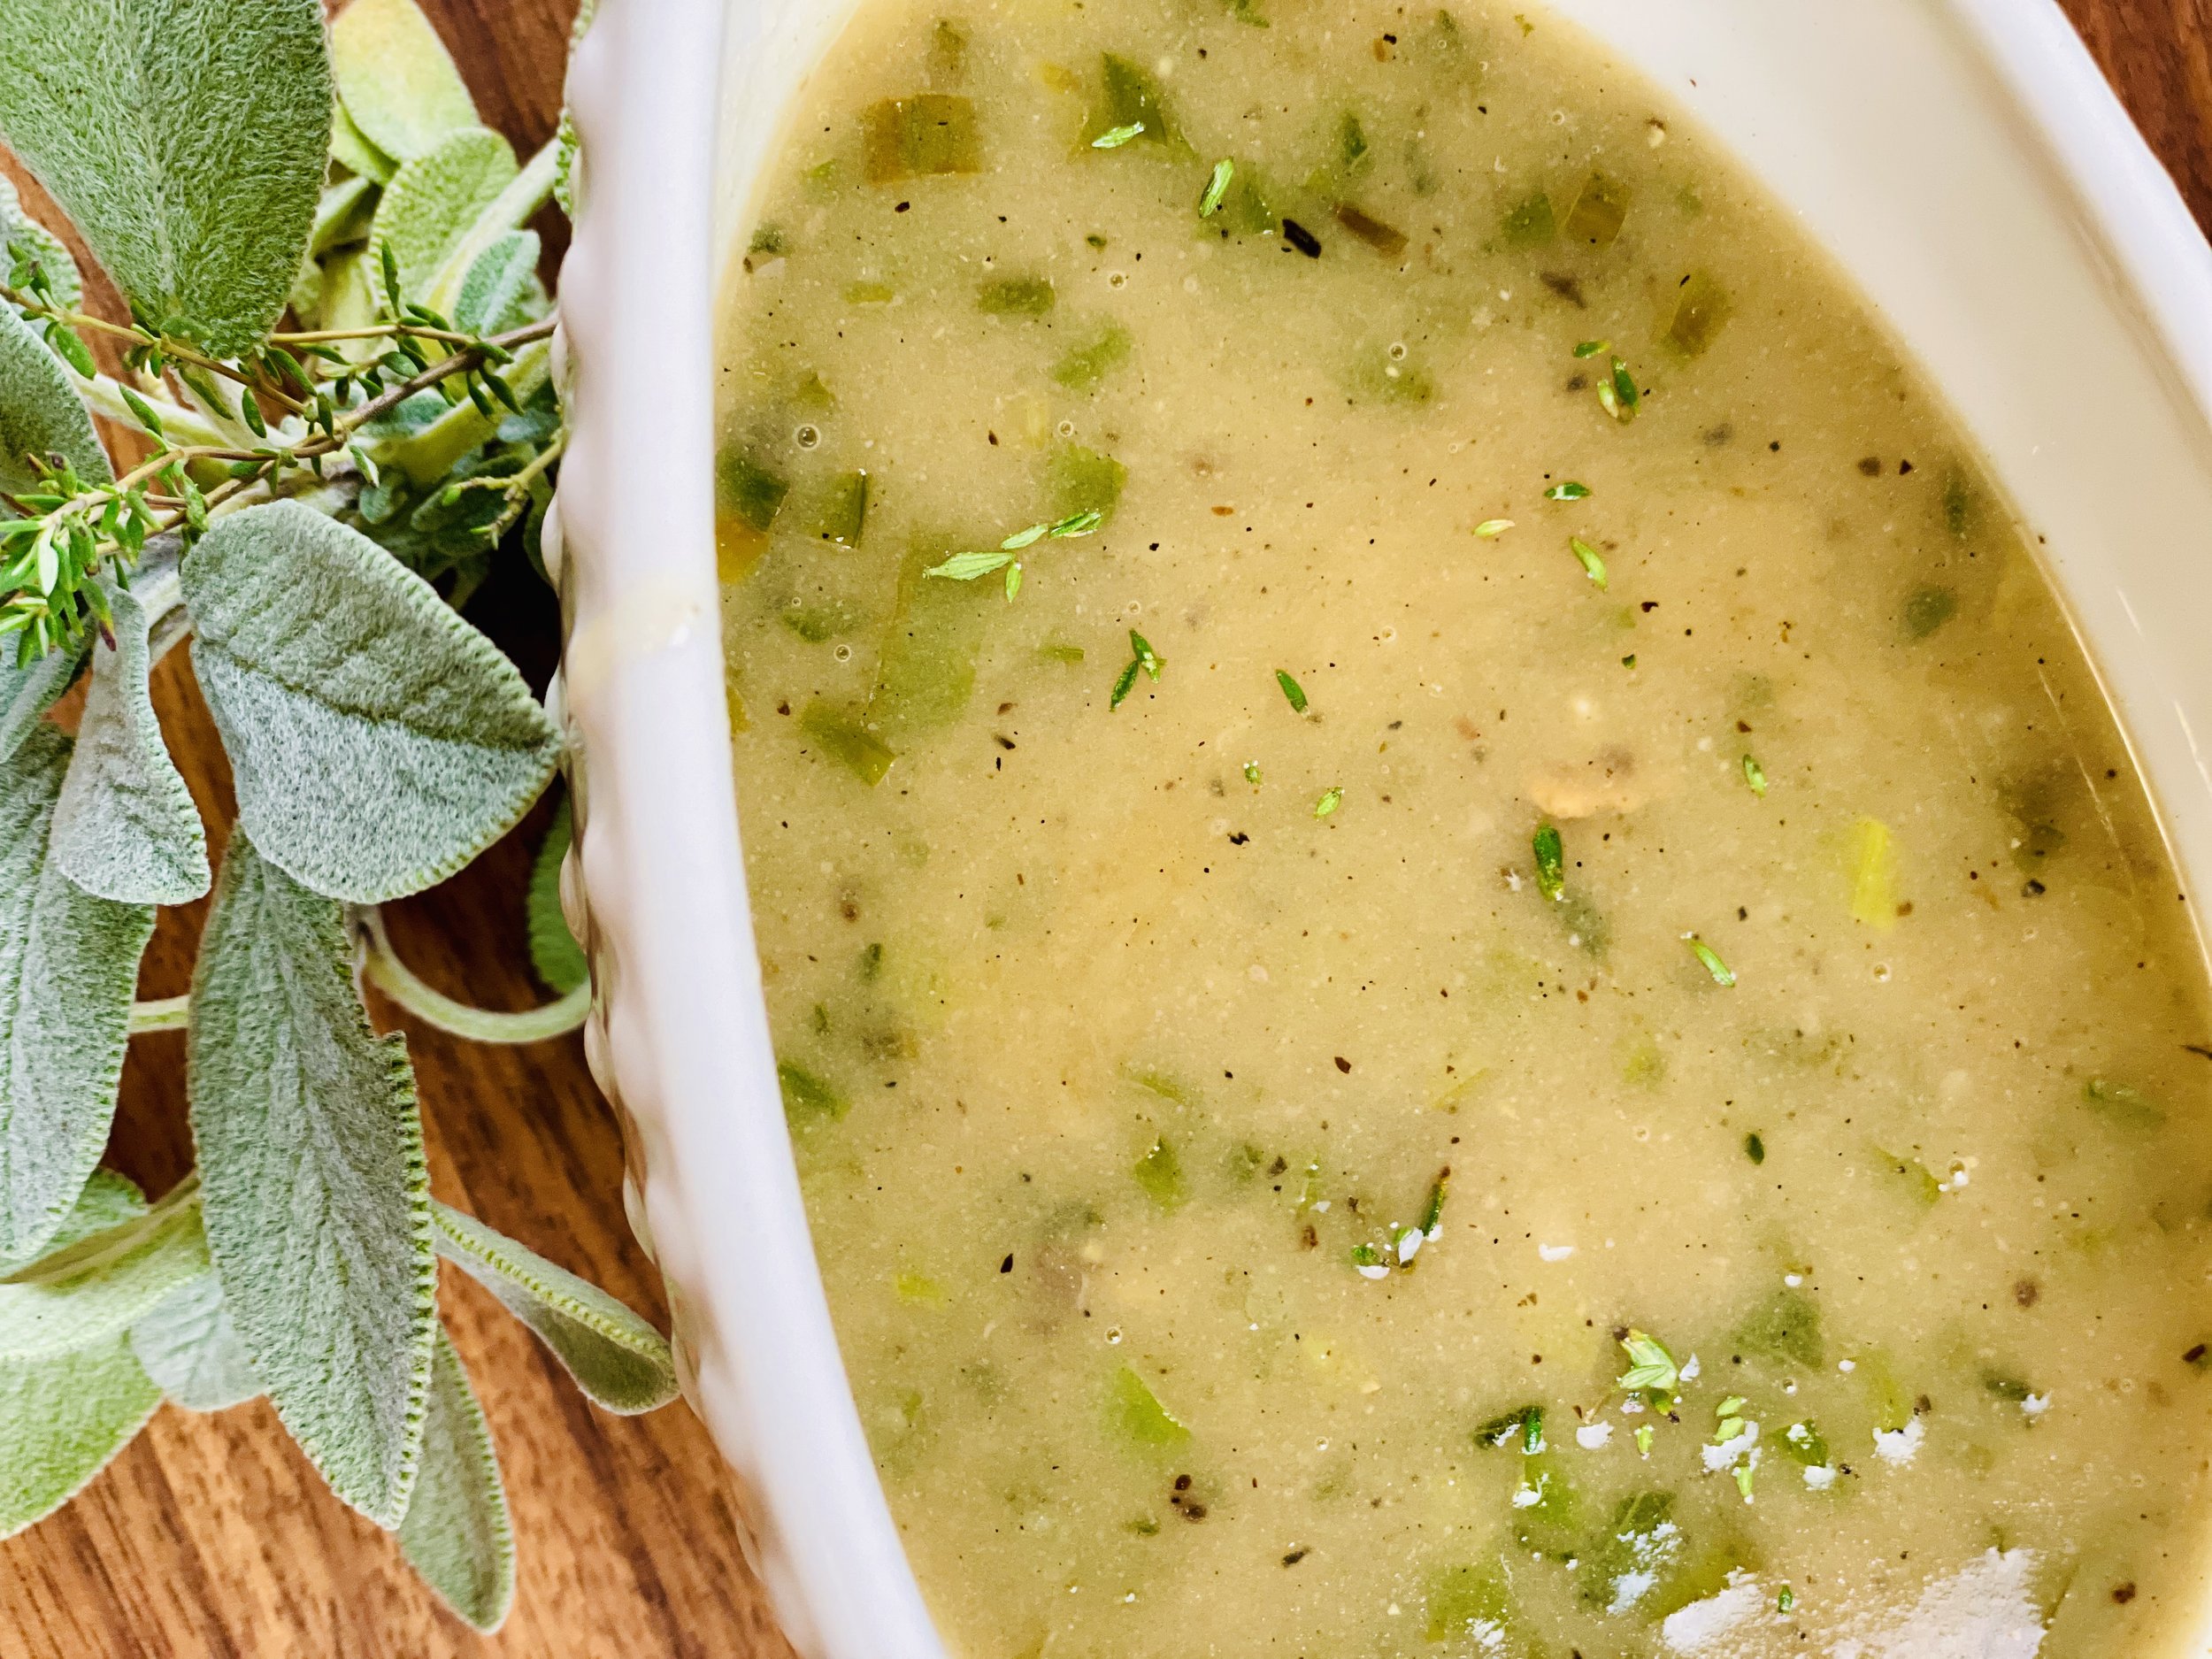
5 Minutes prep • 2 Hours simmer • Low FODMAP • Gluten-free • Lactose-free • Makes 2 cups