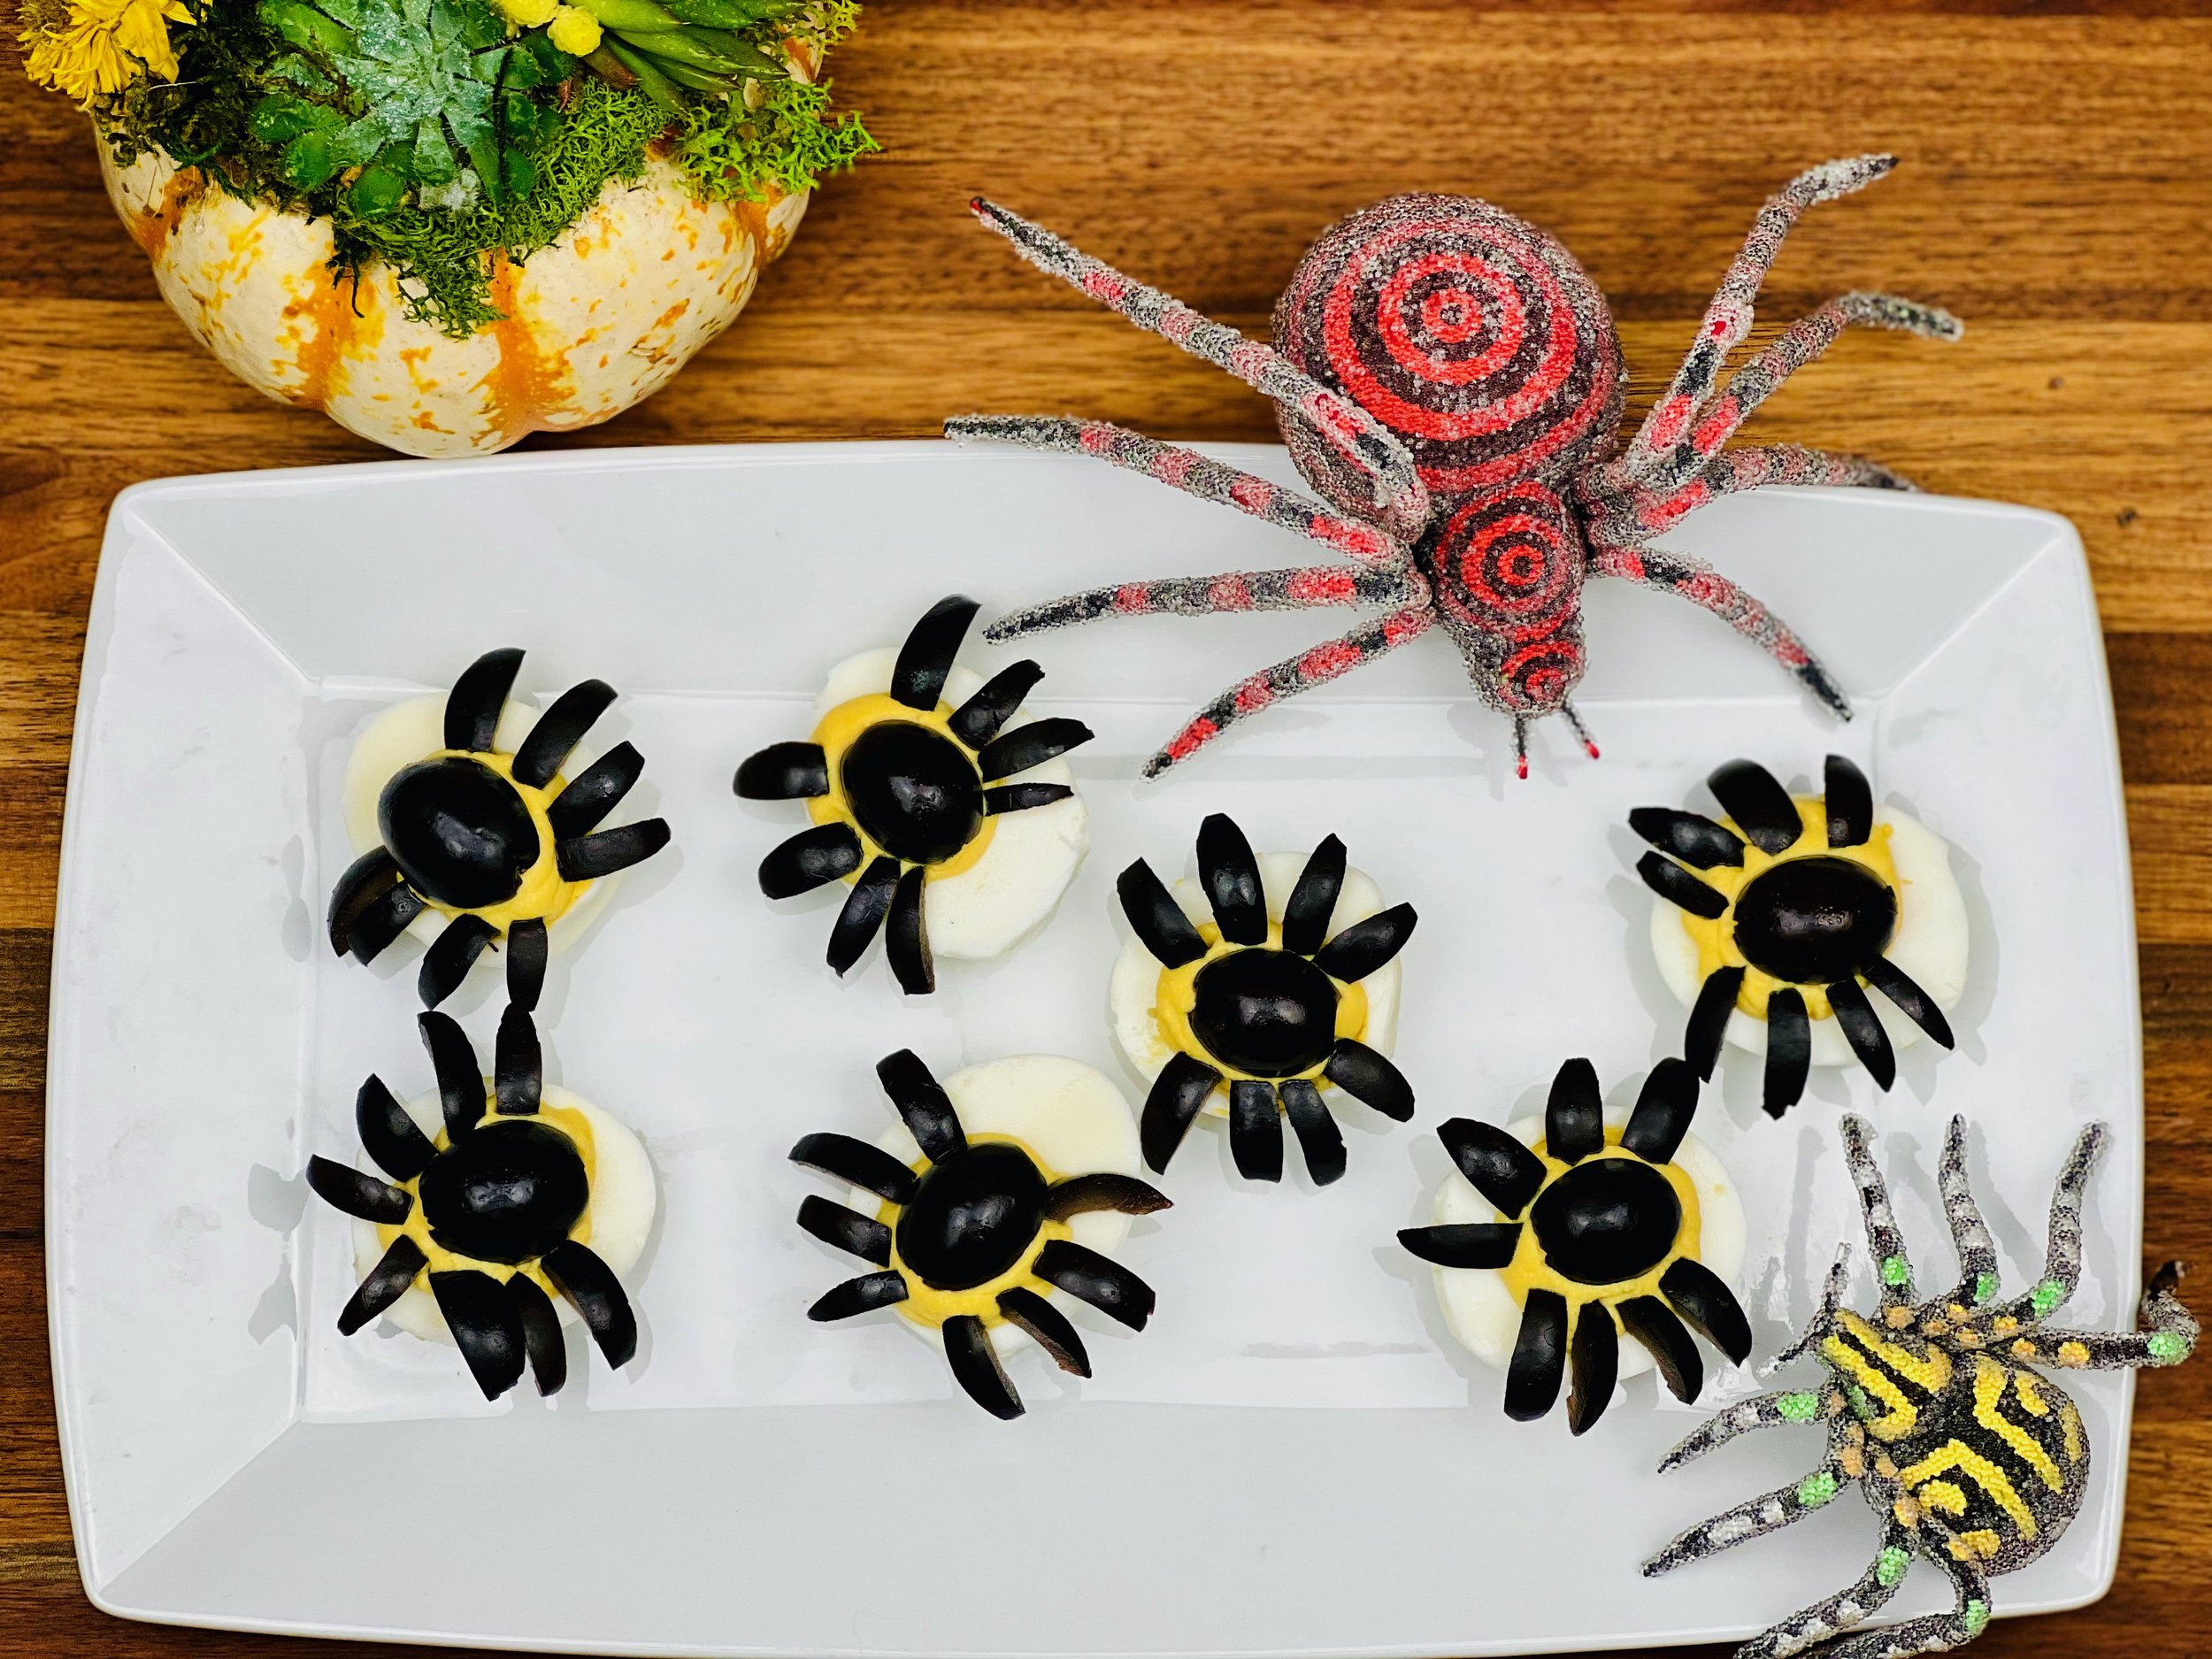
(Deviled) Spider Eggs (Low FODMAP)
15 Minutes prep • 15 Minutes cook • Low FODMAP • Gluten-free • Serves 4-6 • Ok to make ahead: Steps 1-2 or 1-3
These fun spider eggs are not only fun, but they’re delicious! I used my Angeled Eggs recipe and added the sliced black olives to dress them up for Halloween. Why Angeled eggs instead of Deviled eggs? Because these delicious appetizer or lunch eggs have a secret ingredient that elevates them above all others and makes them extra special. It’s butter! The addition of a bit of butter to the standard deviled egg mixture is a game changer. Add to that some fresh herbs and Dijon mustard and you’ve got the best darn deviled eggs ever: Angeled eggs! Perfect for a Halloween potluck or party. Or just for fun.
Ingredients
8 large eggs (about 1 week old if possible so they are easier to peel)
1/3 cup mayonnaise
2 tablespoons salted butter, at room temperature
1 tablespoon Dijon mustard
1 pinch cayenne pepper
2 tablespoons finely chopped tender herbs such as chives or dill plus additional leaves for garnish
1 pinch each Kosher salt and black pepper
10 Black Olives, 4 halved and the rest sliced lengthwise
Directions
(1) Cook the eggs: To hard-cook the eggs, in a large saucepan, cover the eggs with water by 1 inch. Bring to a boil, uncovered, over high heat. Remove from the heat, cover, and let stand for 12 minutes. Drain the eggs and rinse them under cold running water. Drain the water and put the eggs in the refrigerator to cool completely.
(2) Peel the eggs: To peel the eggs, remove the shells by tapping each egg gently on the counter or sink to crack the entire shell. Roll the egg gently between your hands to loosen the shell. Peel, starting at the large end, while holding the egg under a light stream of running cold water to help the shell come off cleanly.
Make-ahead note: Deviled eggs are not only make-ahead friendly, they are even better if you have time to do it this way. This is because giving the hard-cooked eggs a rest in the refrigerator after cooking and peeling them makes it easier to cut them in half cleanly so you’ll have a neater presentation.
(3) Prepare the filling: Once cooled, cut the peeled eggs in half lengthwise. Carefully remove the yolks into a small mixing bowl or the bowl of a mini food processor fitted with the metal blade. Set the whites aside. Mash the yolks with a fork or whirl them a few times in the food processor. Add the mayonnaise, butter, mustard, cayenne, and stir or blend until smooth; season very slightly with a pinch each of salt and pepper. Stir in the chives (or dill or other delicate herb of your choice).
(4) Fill the eggs: Use a spoon, or transfer the mixture to a Ziploc bag with the corner tip cut off, or a piping bag fitted with a large tip. To assemble the eggs, spoon or pipe the yolk mixture into the whites.
(5) Finish: Add the halved olives to the center of each egg. Then insert 4 olive slices into each side of the egg to make the “legs” of the spider.
(6) Plate and serve: Serve immediately or refrigerate for up to 2 hours before serving. Eggs will firm up in the refrigerator, so if you’re taking them to a potluck, it’s ideal to chill them before transporting them.
Eat and enjoy every bite because you can!
Recipe note: I use Diamond Crystal Kosher salt in all my recipes because it has a wonderful flat and crisp flake that tastes delicious. It is also the least salty salt available so you can use it more liberally as a seasoning than you can table salt or sea salt. If you use another type of salt, you may need to reduce the amount so it is not over-salted.
To make the eggs ahead of time: Unpeeled hard-cooked eggs can be refrigerated for up to 1 week ahead. Or prepare the eggs, but don’t assemble them, up to 8 hours ahead of serving; refrigerate the whites covered with a damp towel in an airtight plastic container. Store the egg-yolk mixture in the piping bag with the tip also covered in a damp paper towel. Knead the yolk mixture slightly to soften before filling the yolks. The eggs may also be assembled and stored covered in the refrigerator for up to 2 hours. Any longer and the yolk mixture starts to form a crust.
If not preparing ahead of time: be sure to let the boiled eggs cool completely before peeling and cutting them in half. Prepare the filling only up to a day in advance—any longer and the flavor and texture (especially if you’re including finely chopped acidic things) will go sour. Store the filling in a sealable container or reusable plastic bag; simply scoop, or snip and pipe when ready to serve.
Have a question you’d like to have answered? Email us at hello@ibsgamechanger.com
Link note: This post contains links for you to easily purchase items listed on the page. In some cases, we have provided a special discount code for IBS Game Changers so be sure to use it when you purchase an item to get the discount that has been arranged just for you! As an Amazon Associate, I earn a commission from qualifying Amazon purchases.
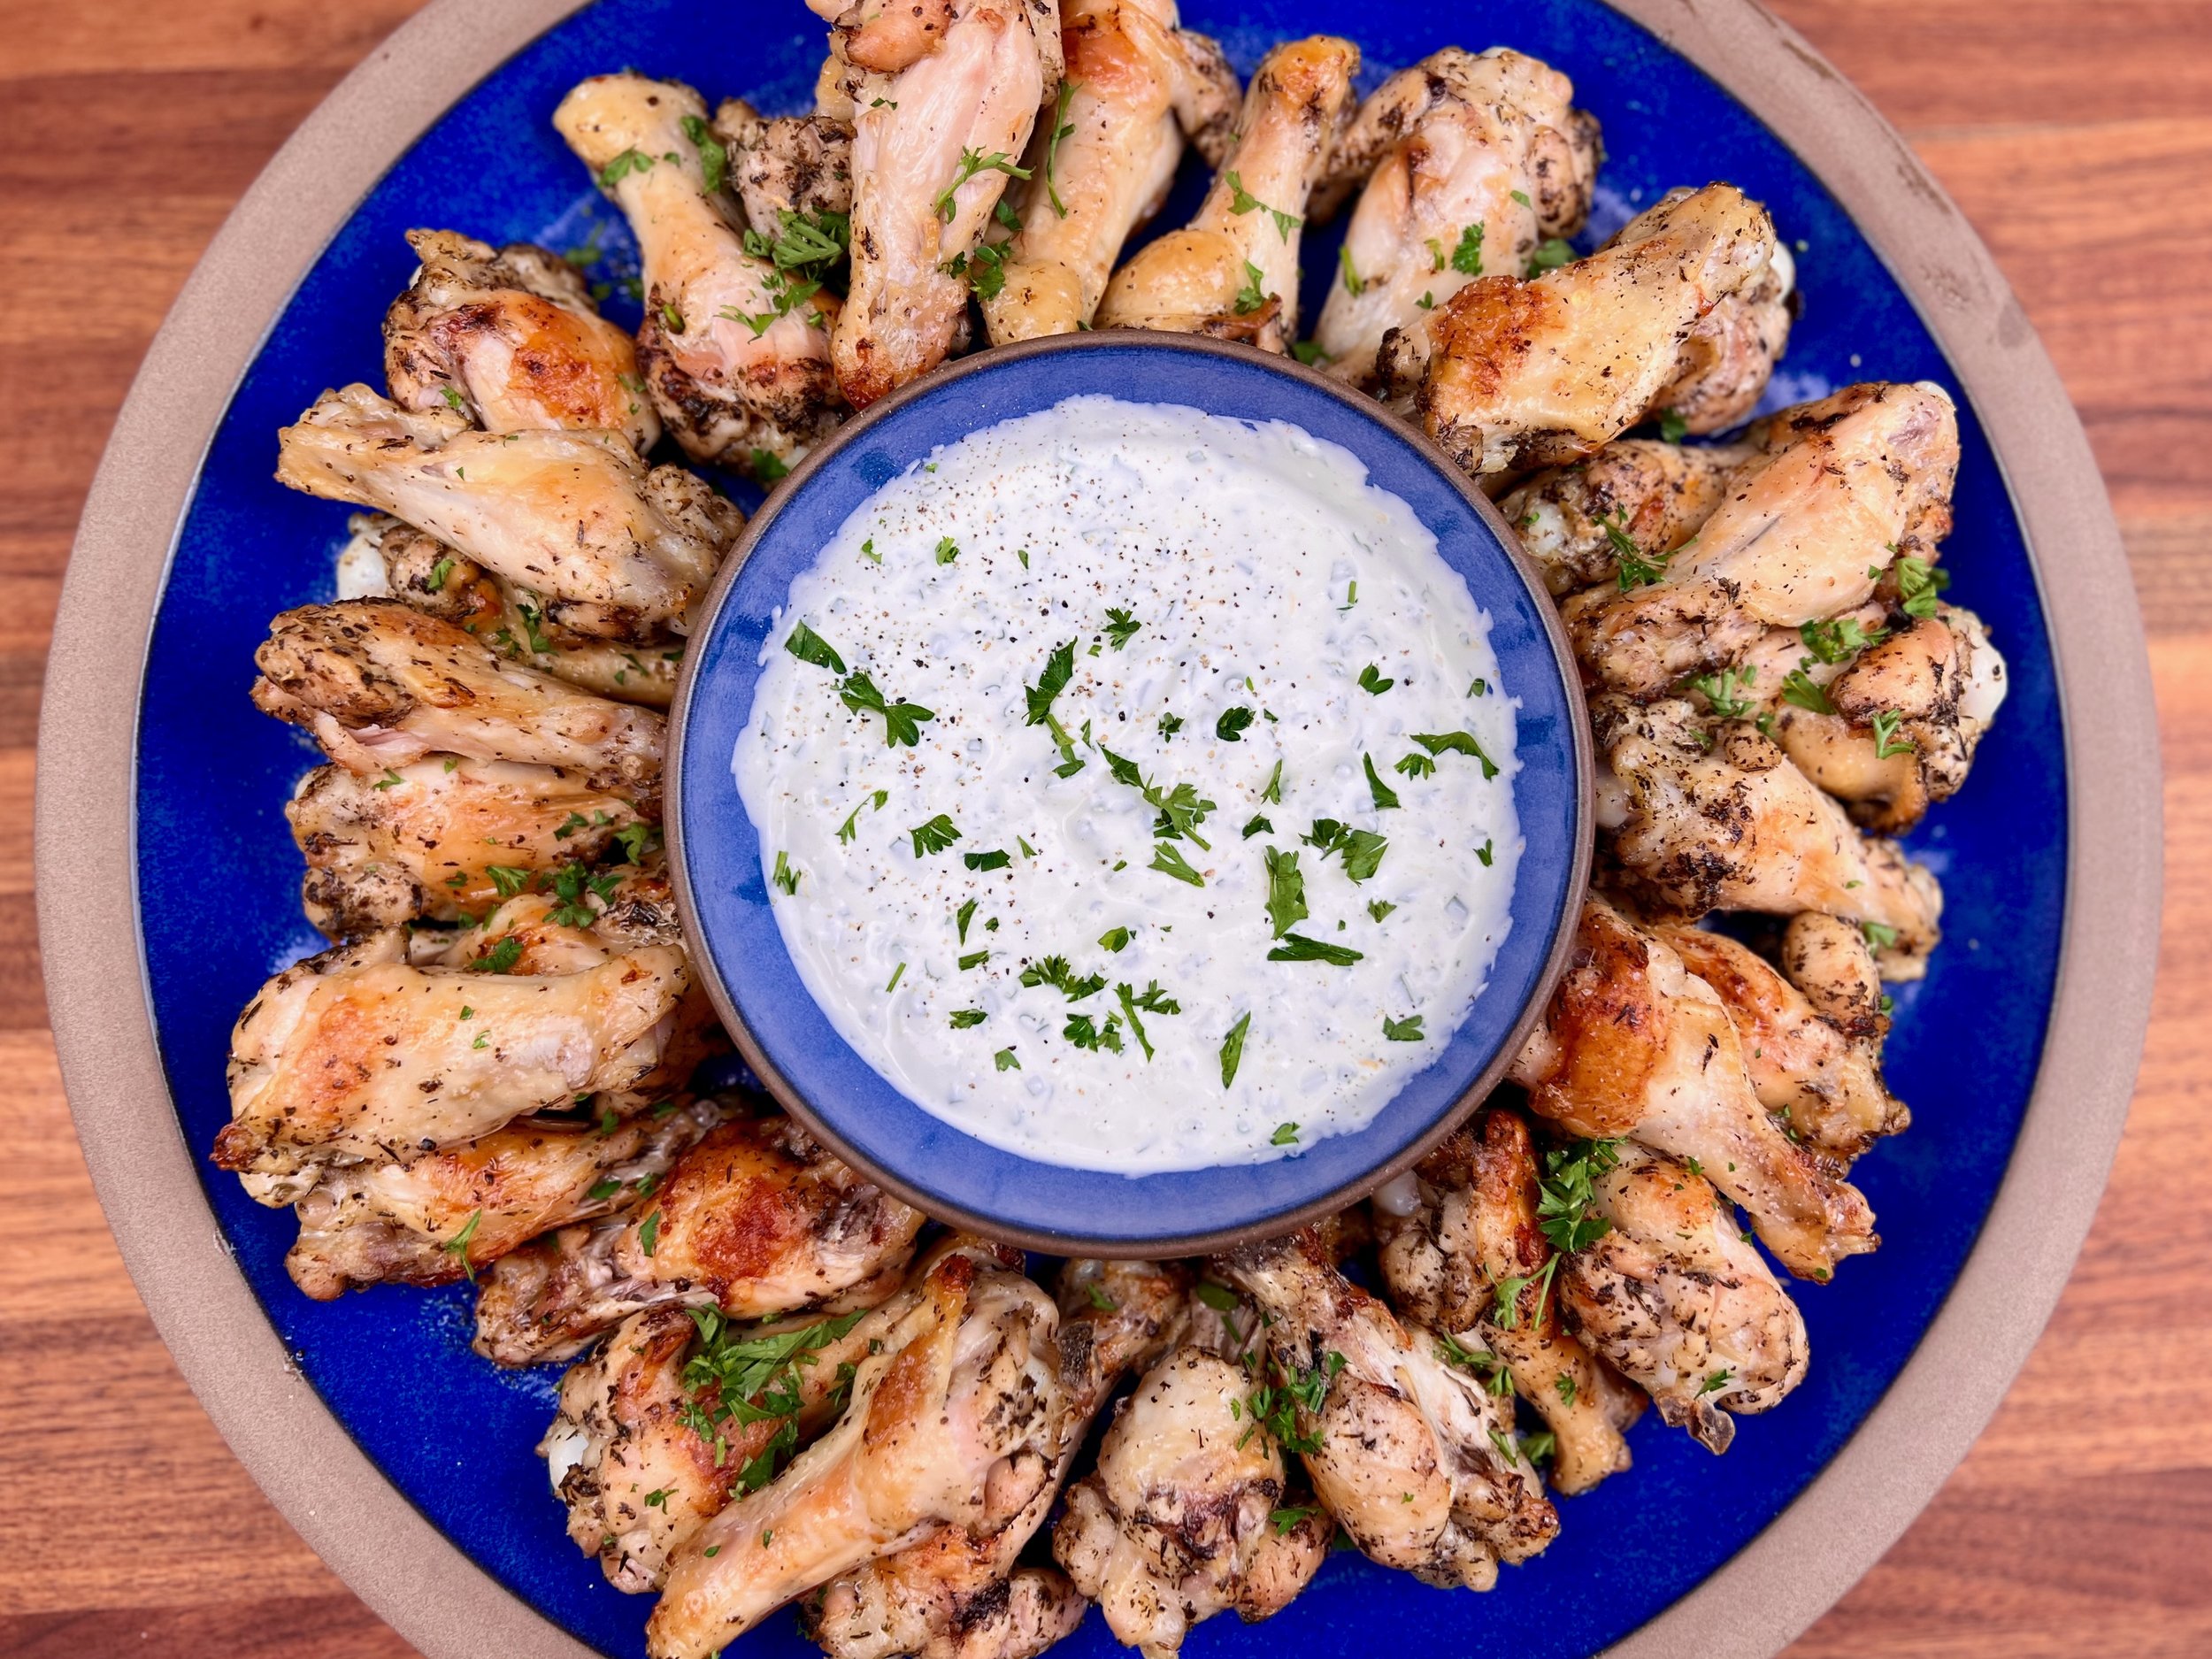
More Deliciously Low FODMAP™ appetizer recipes


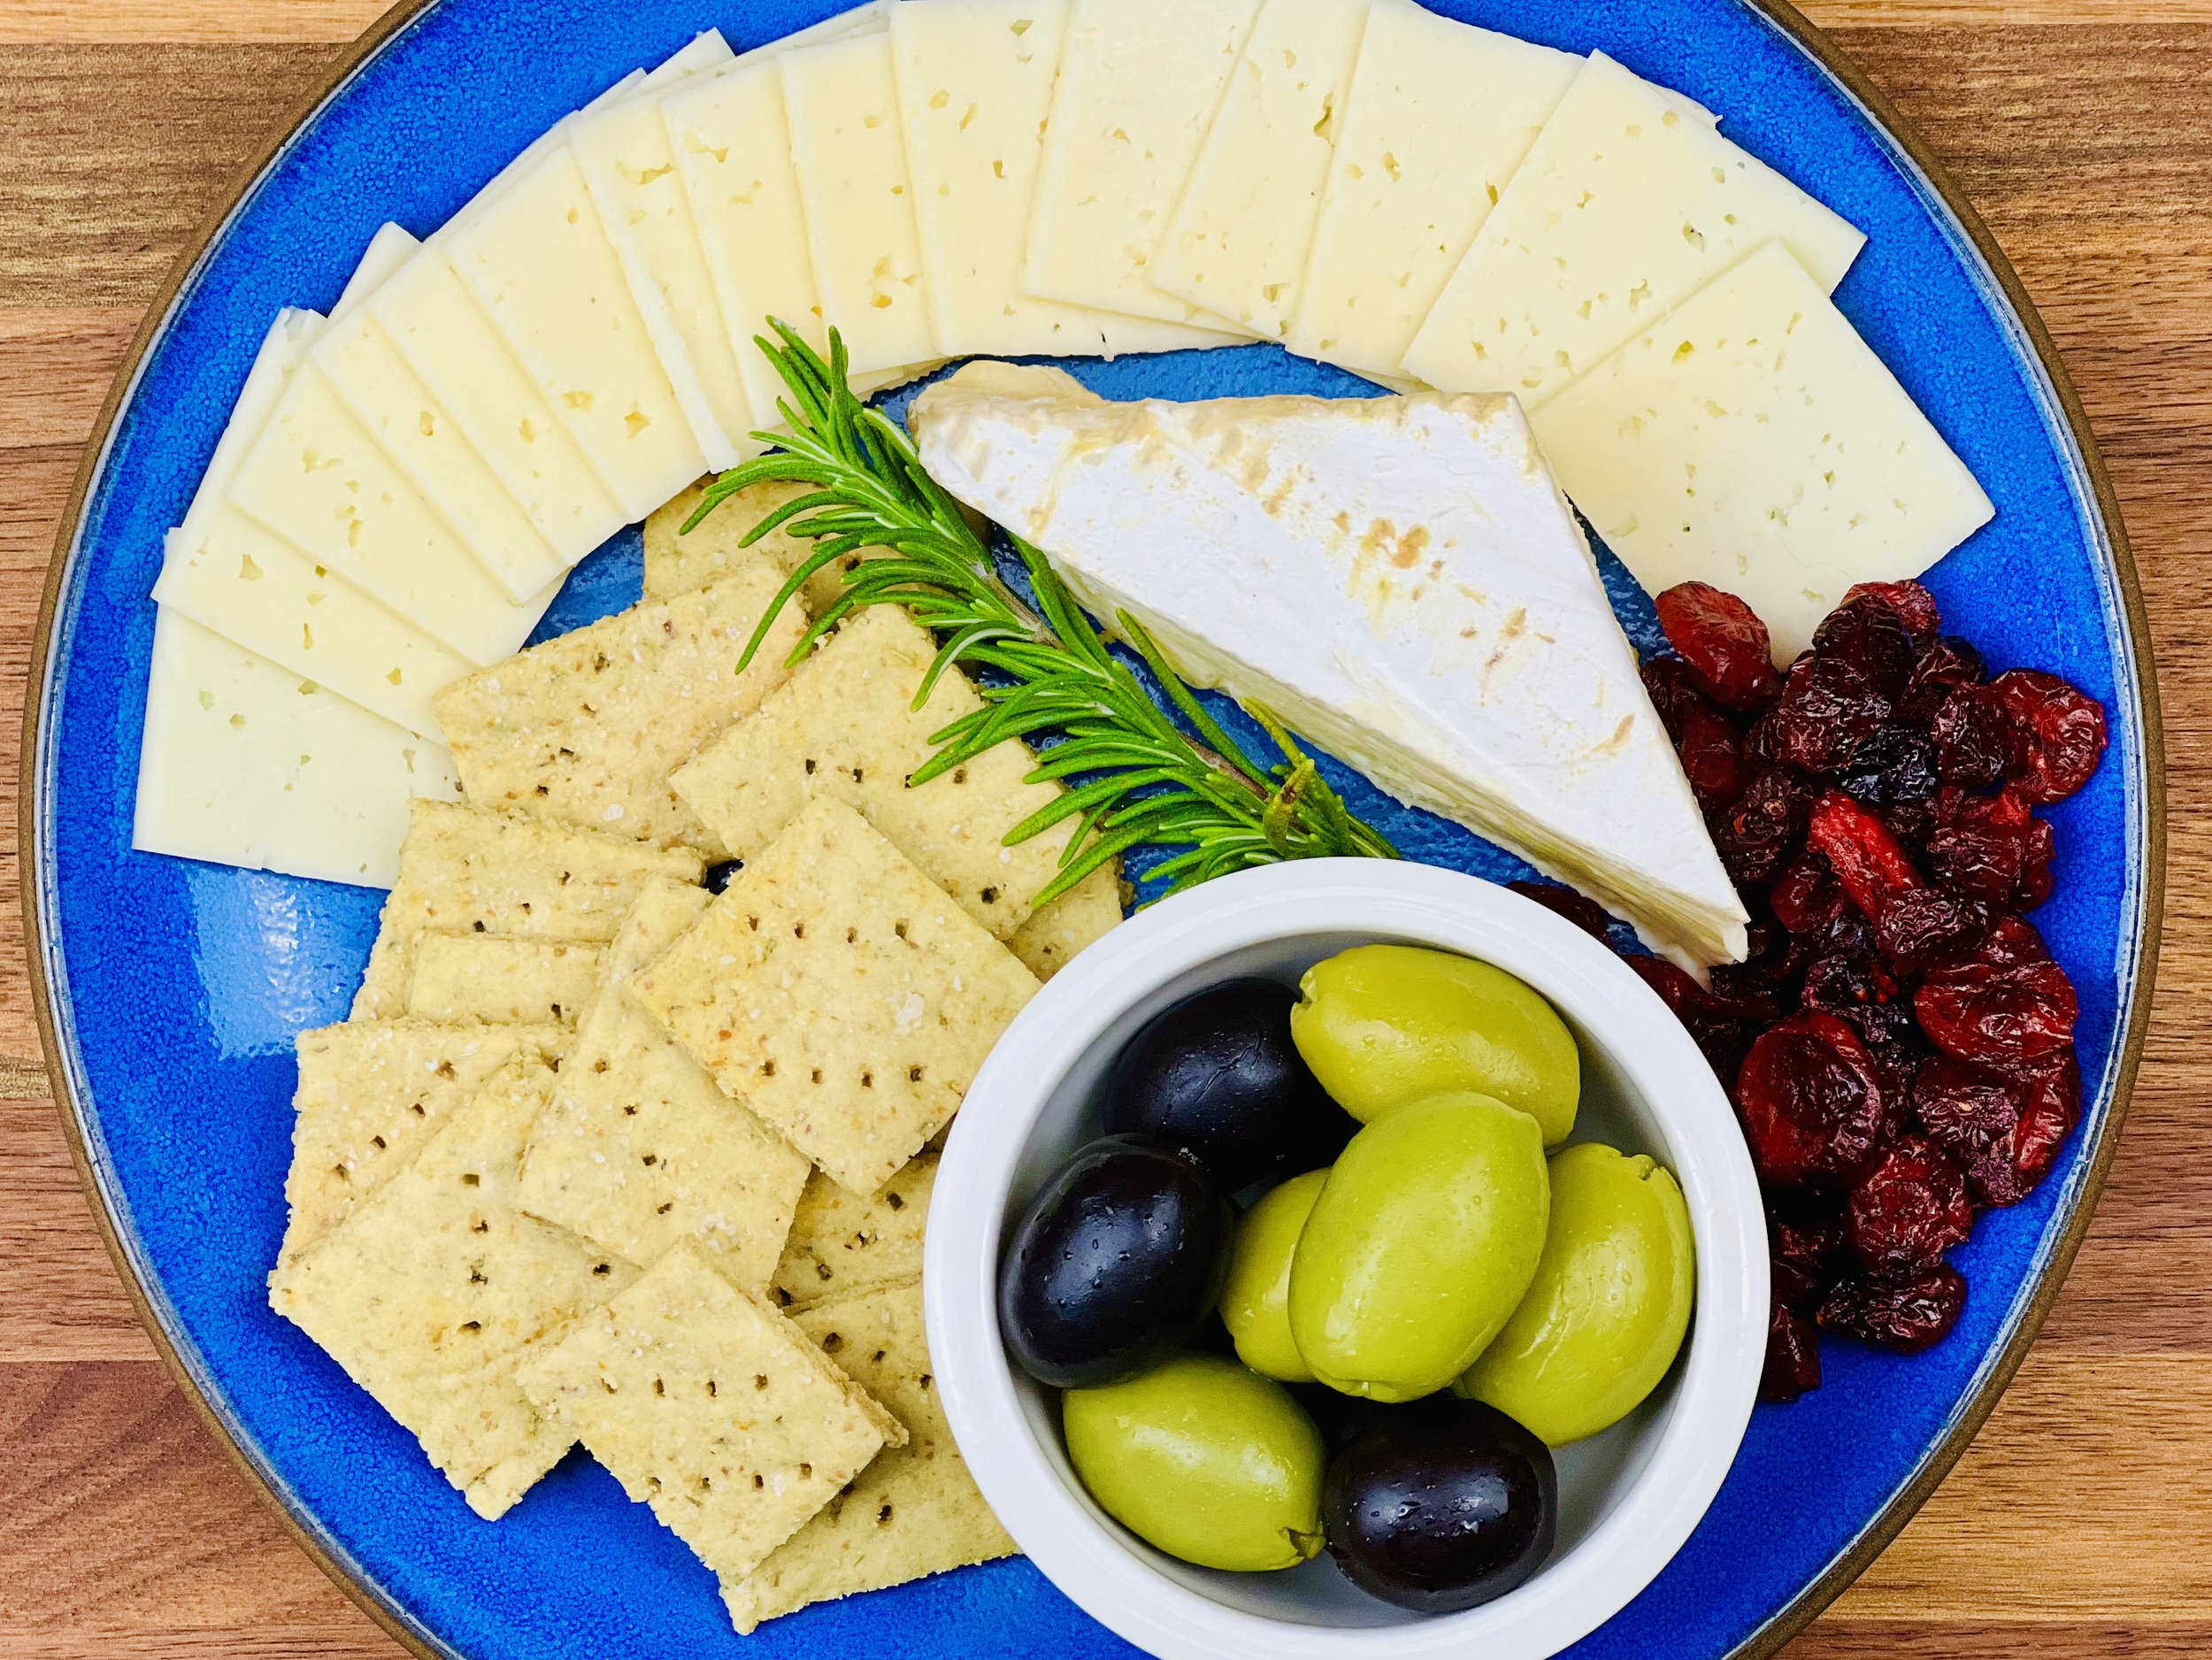
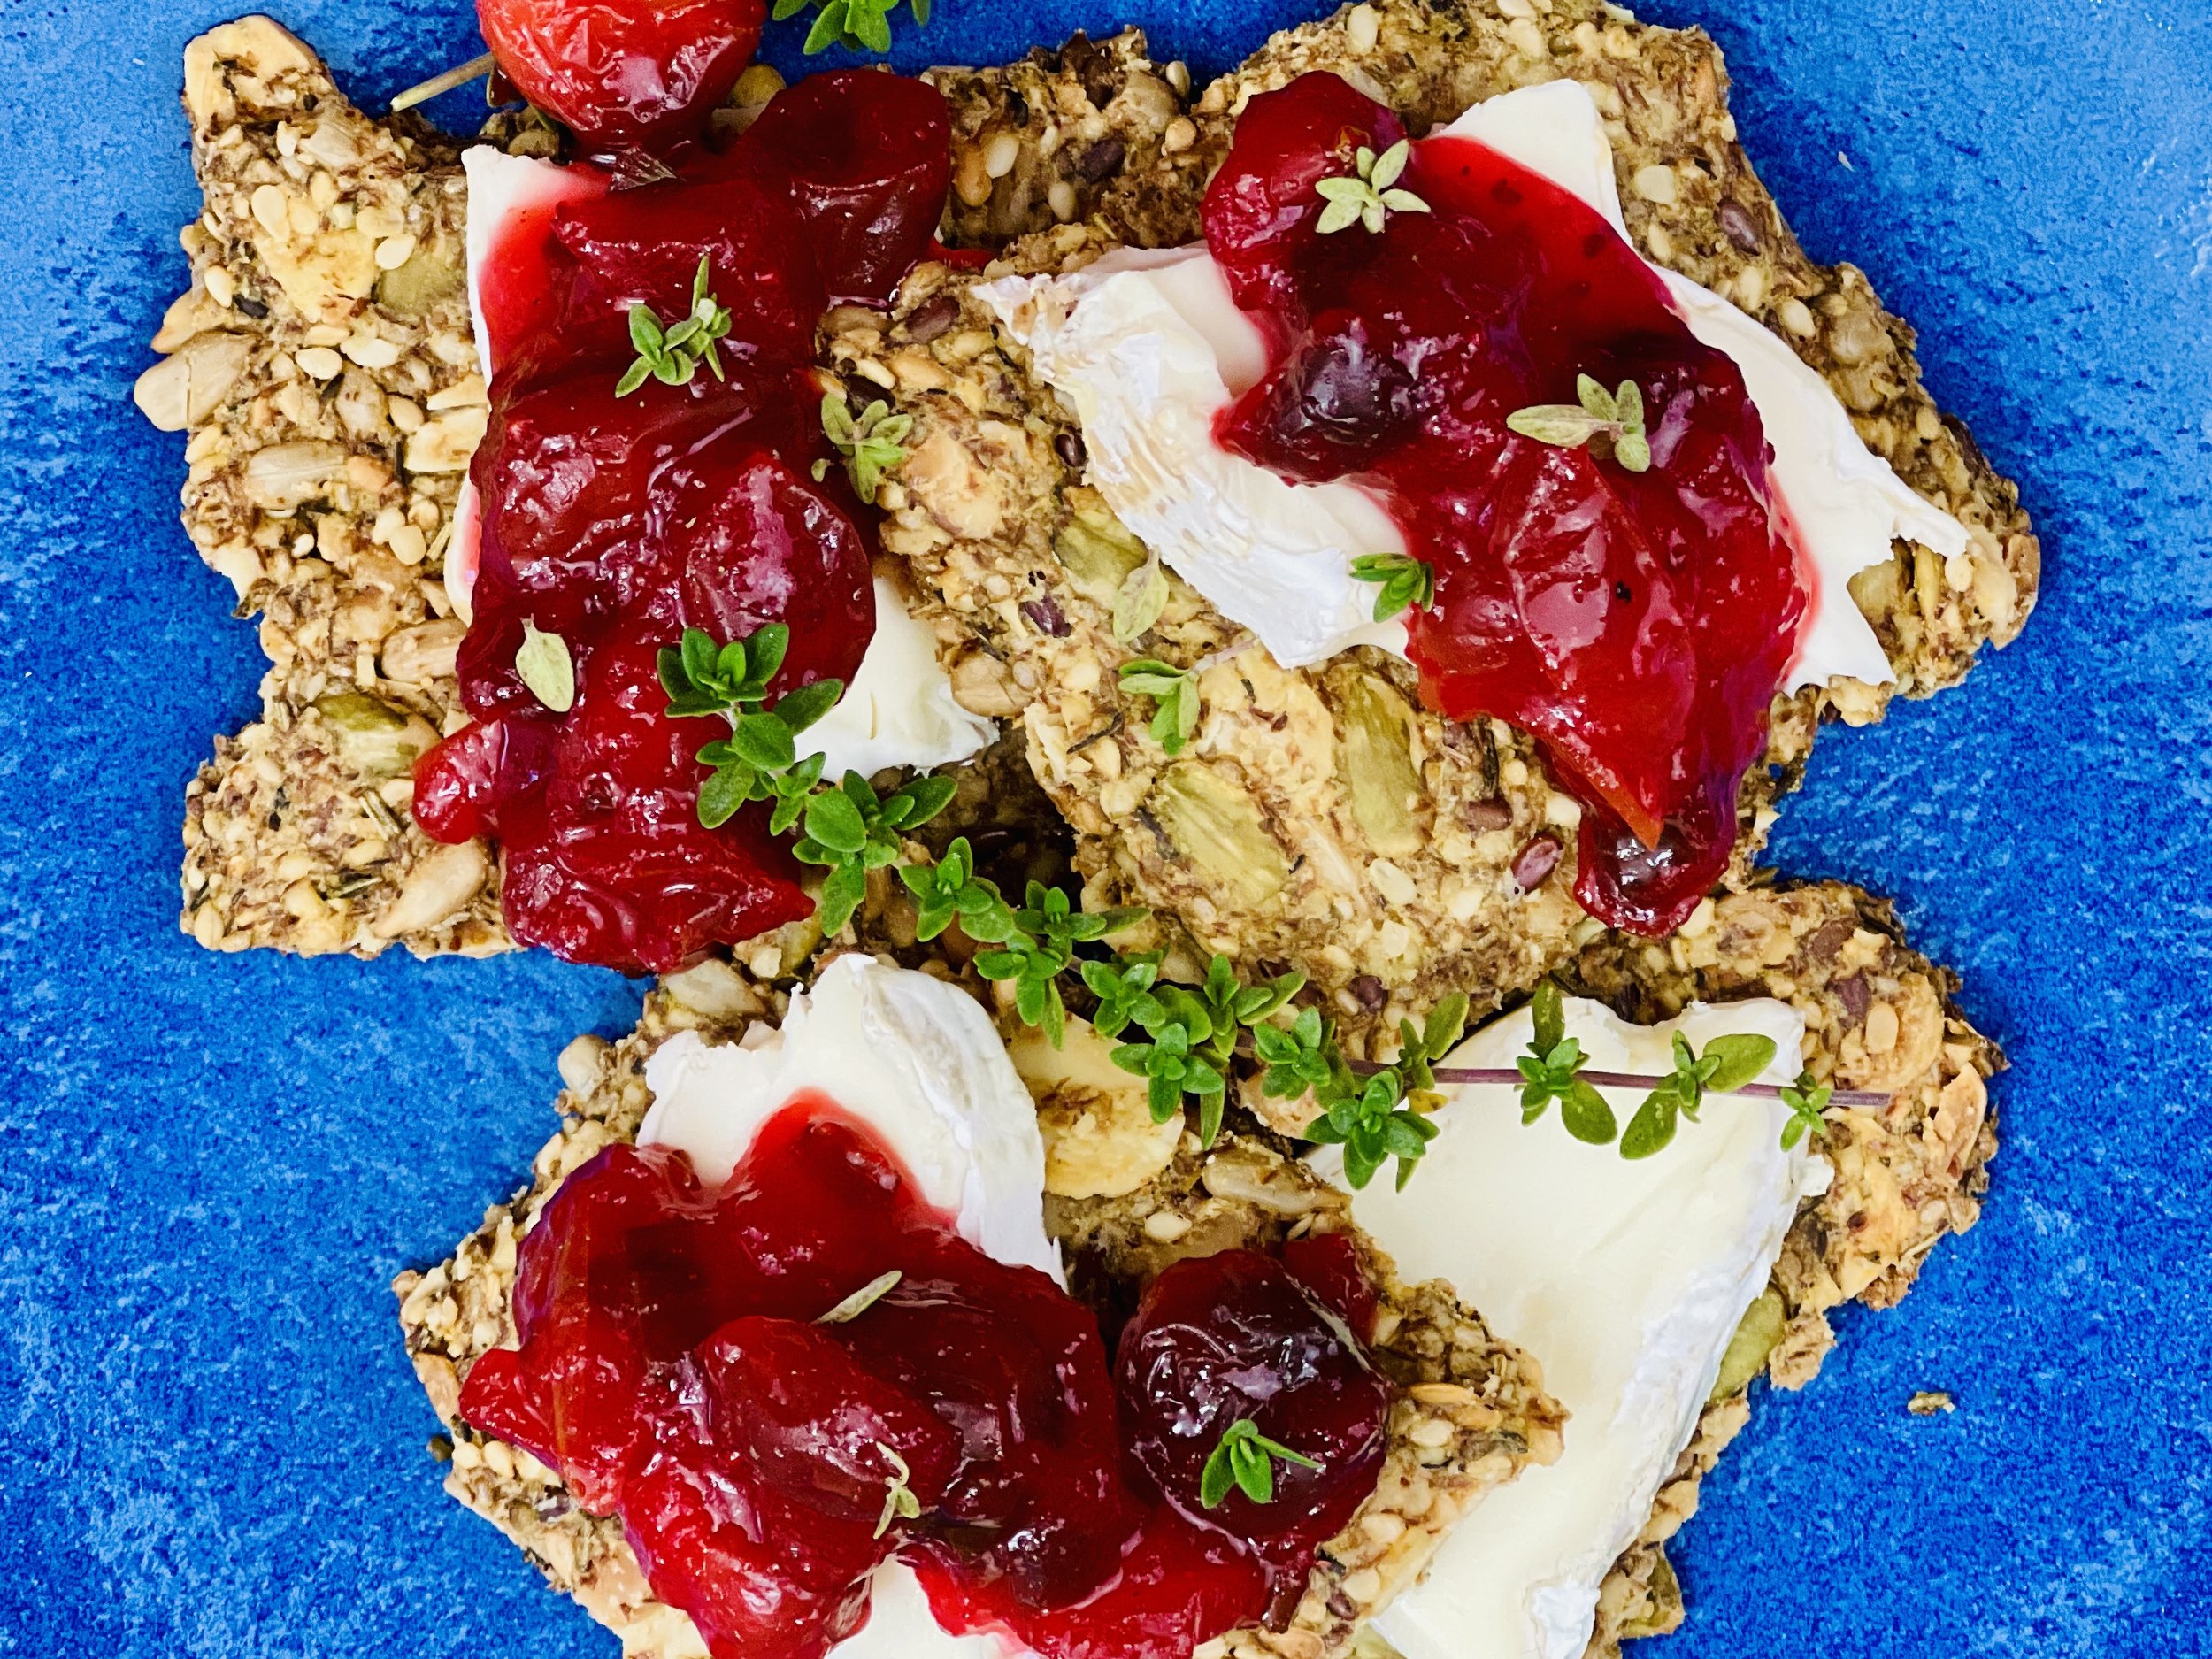
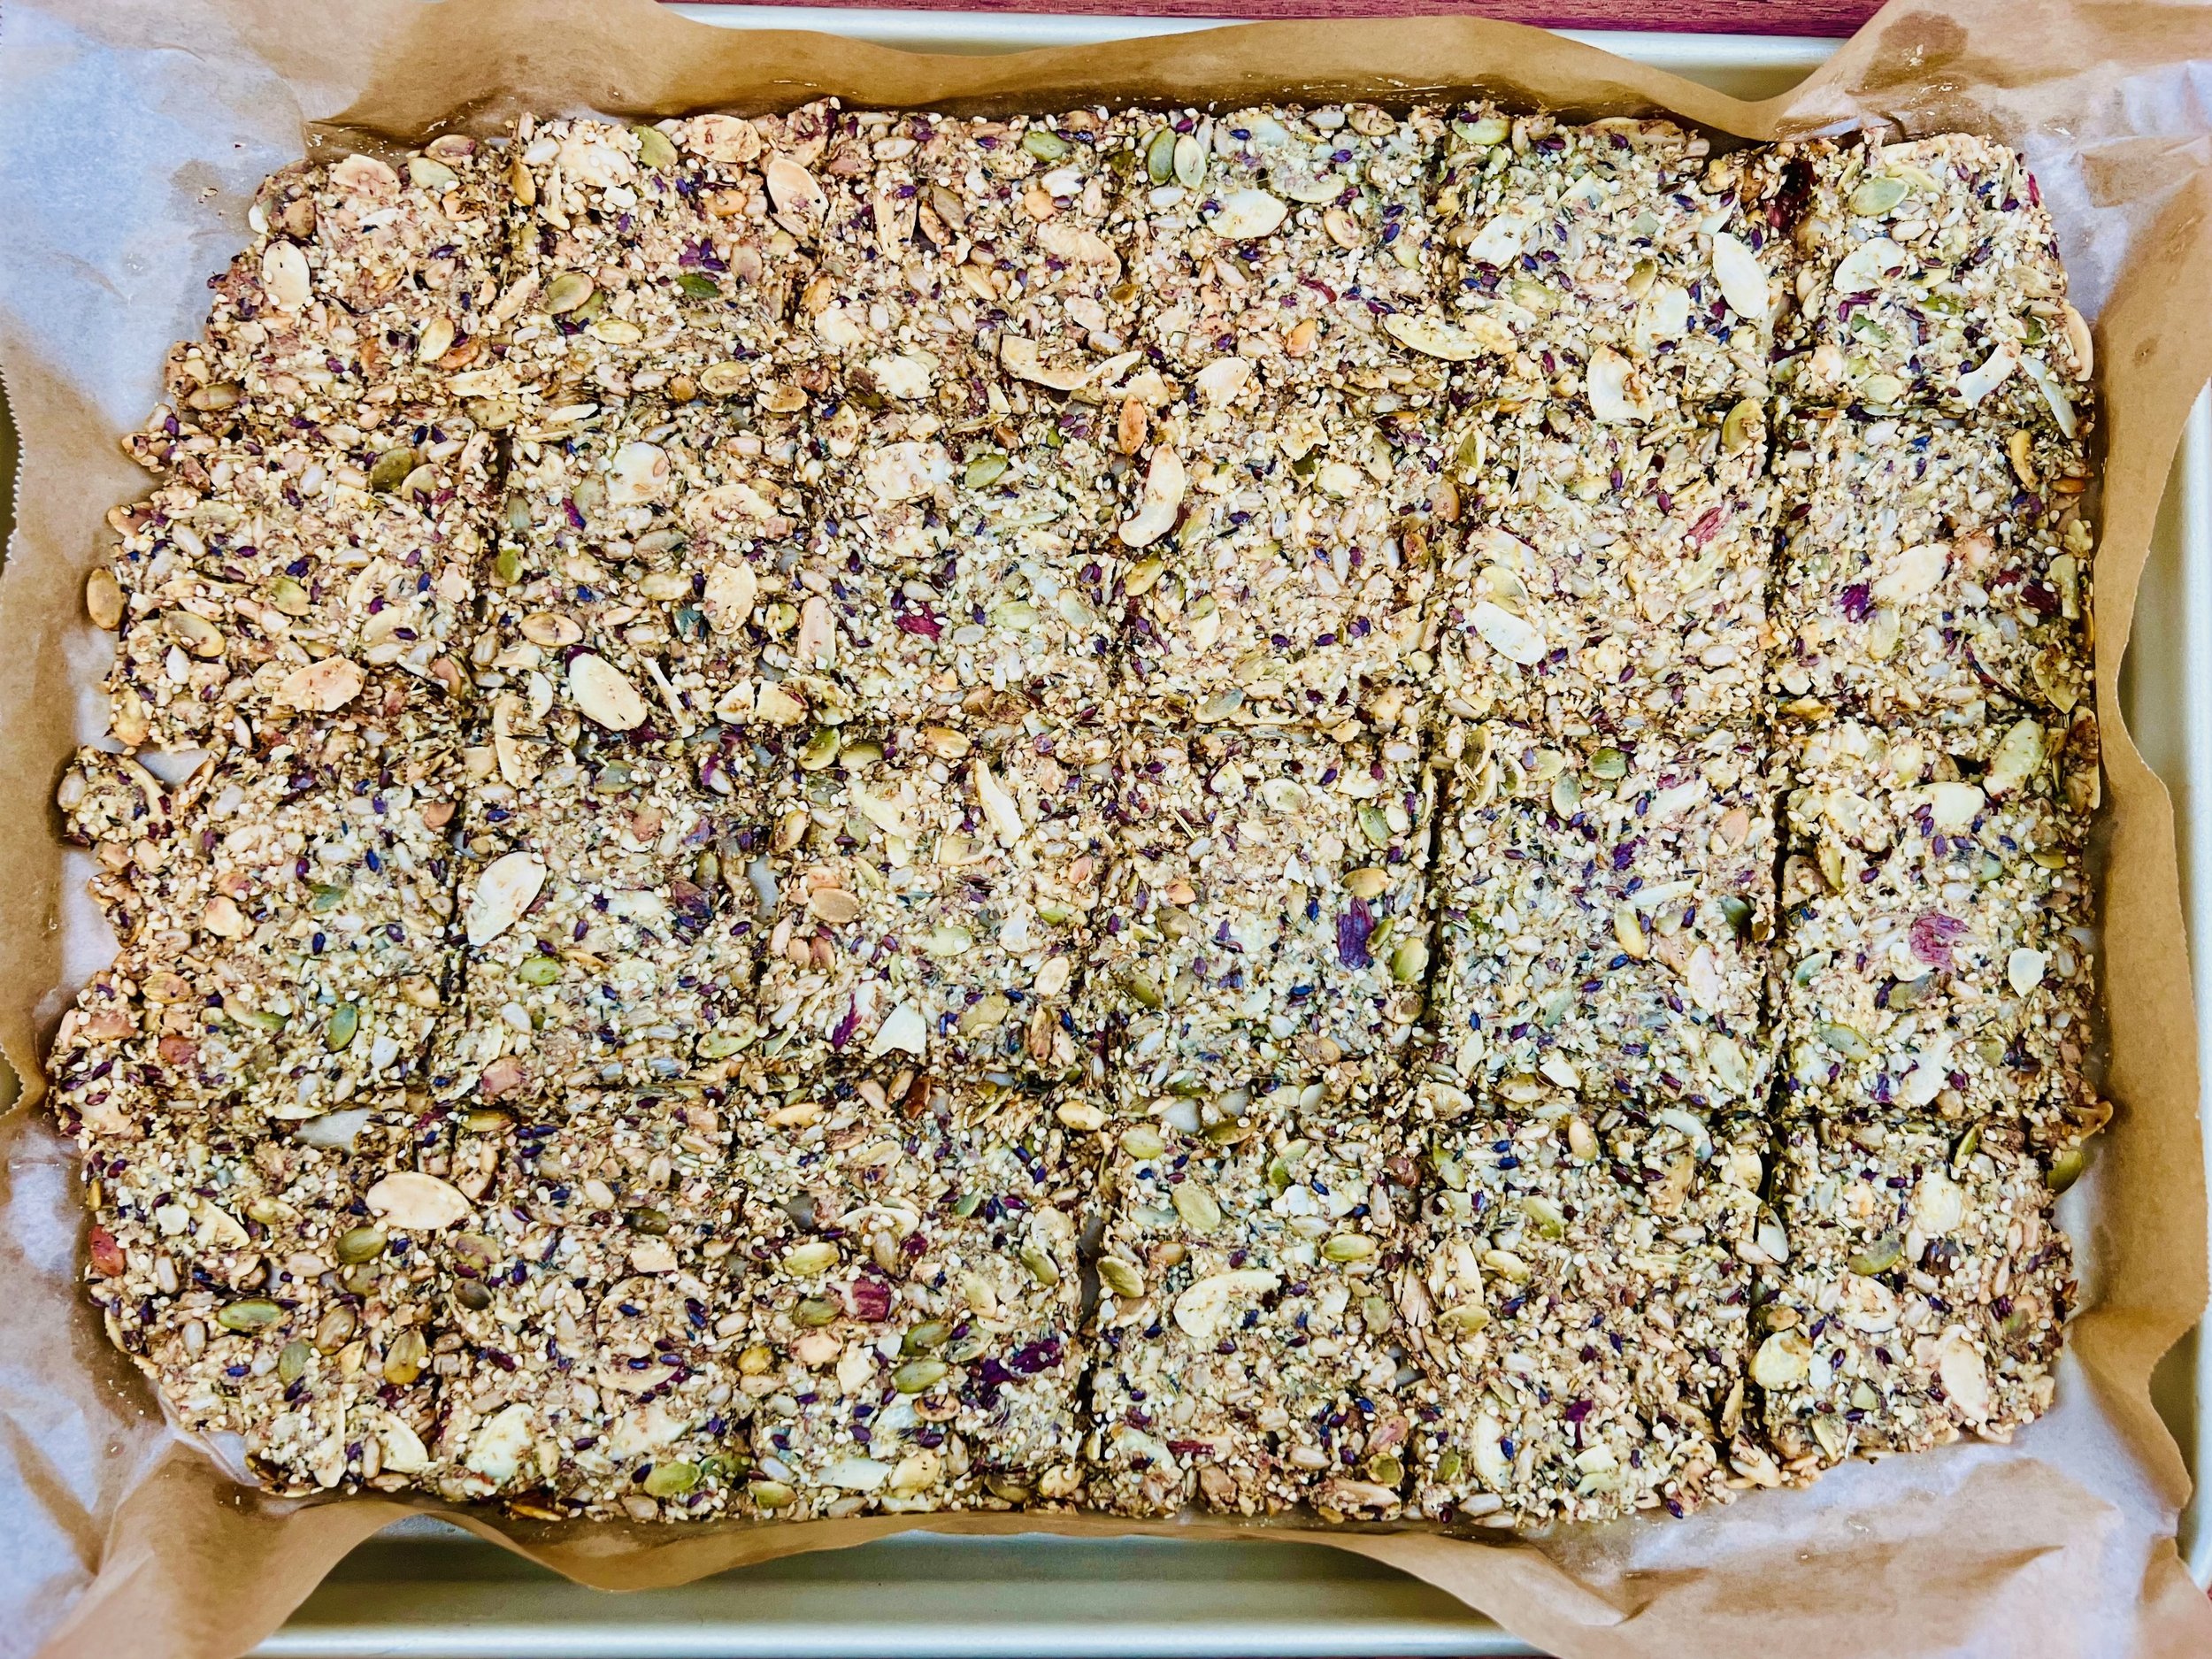


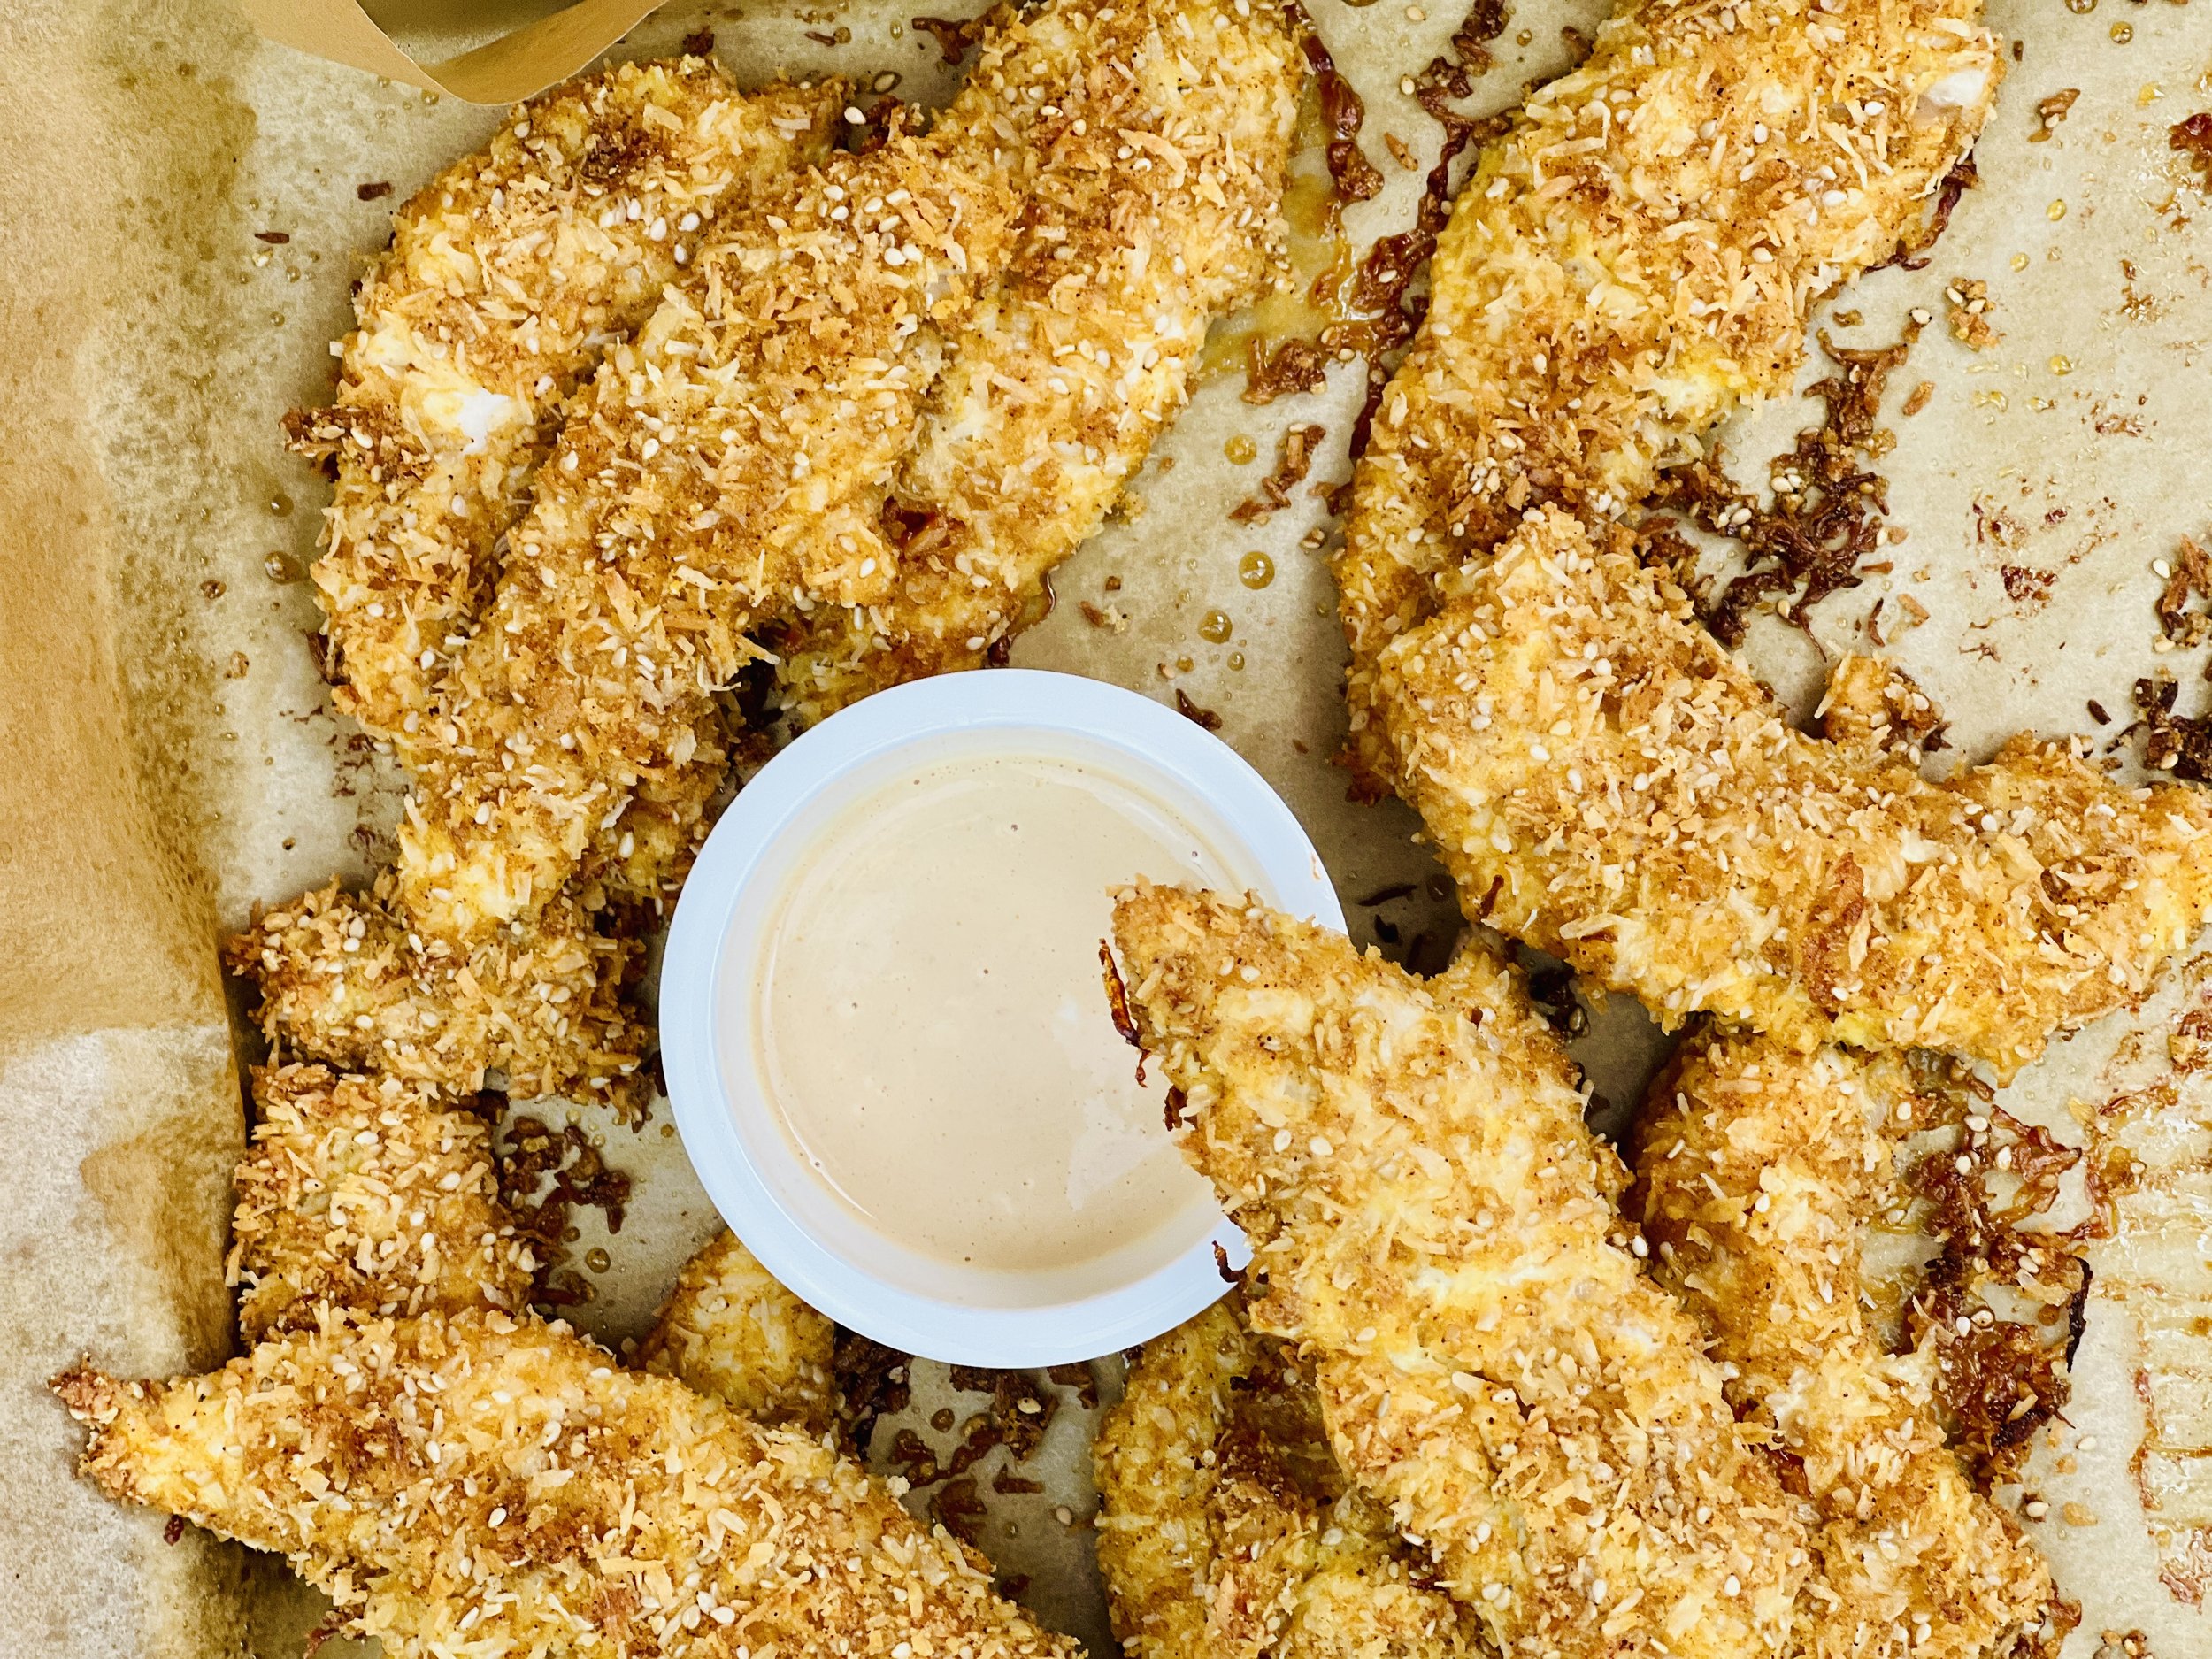

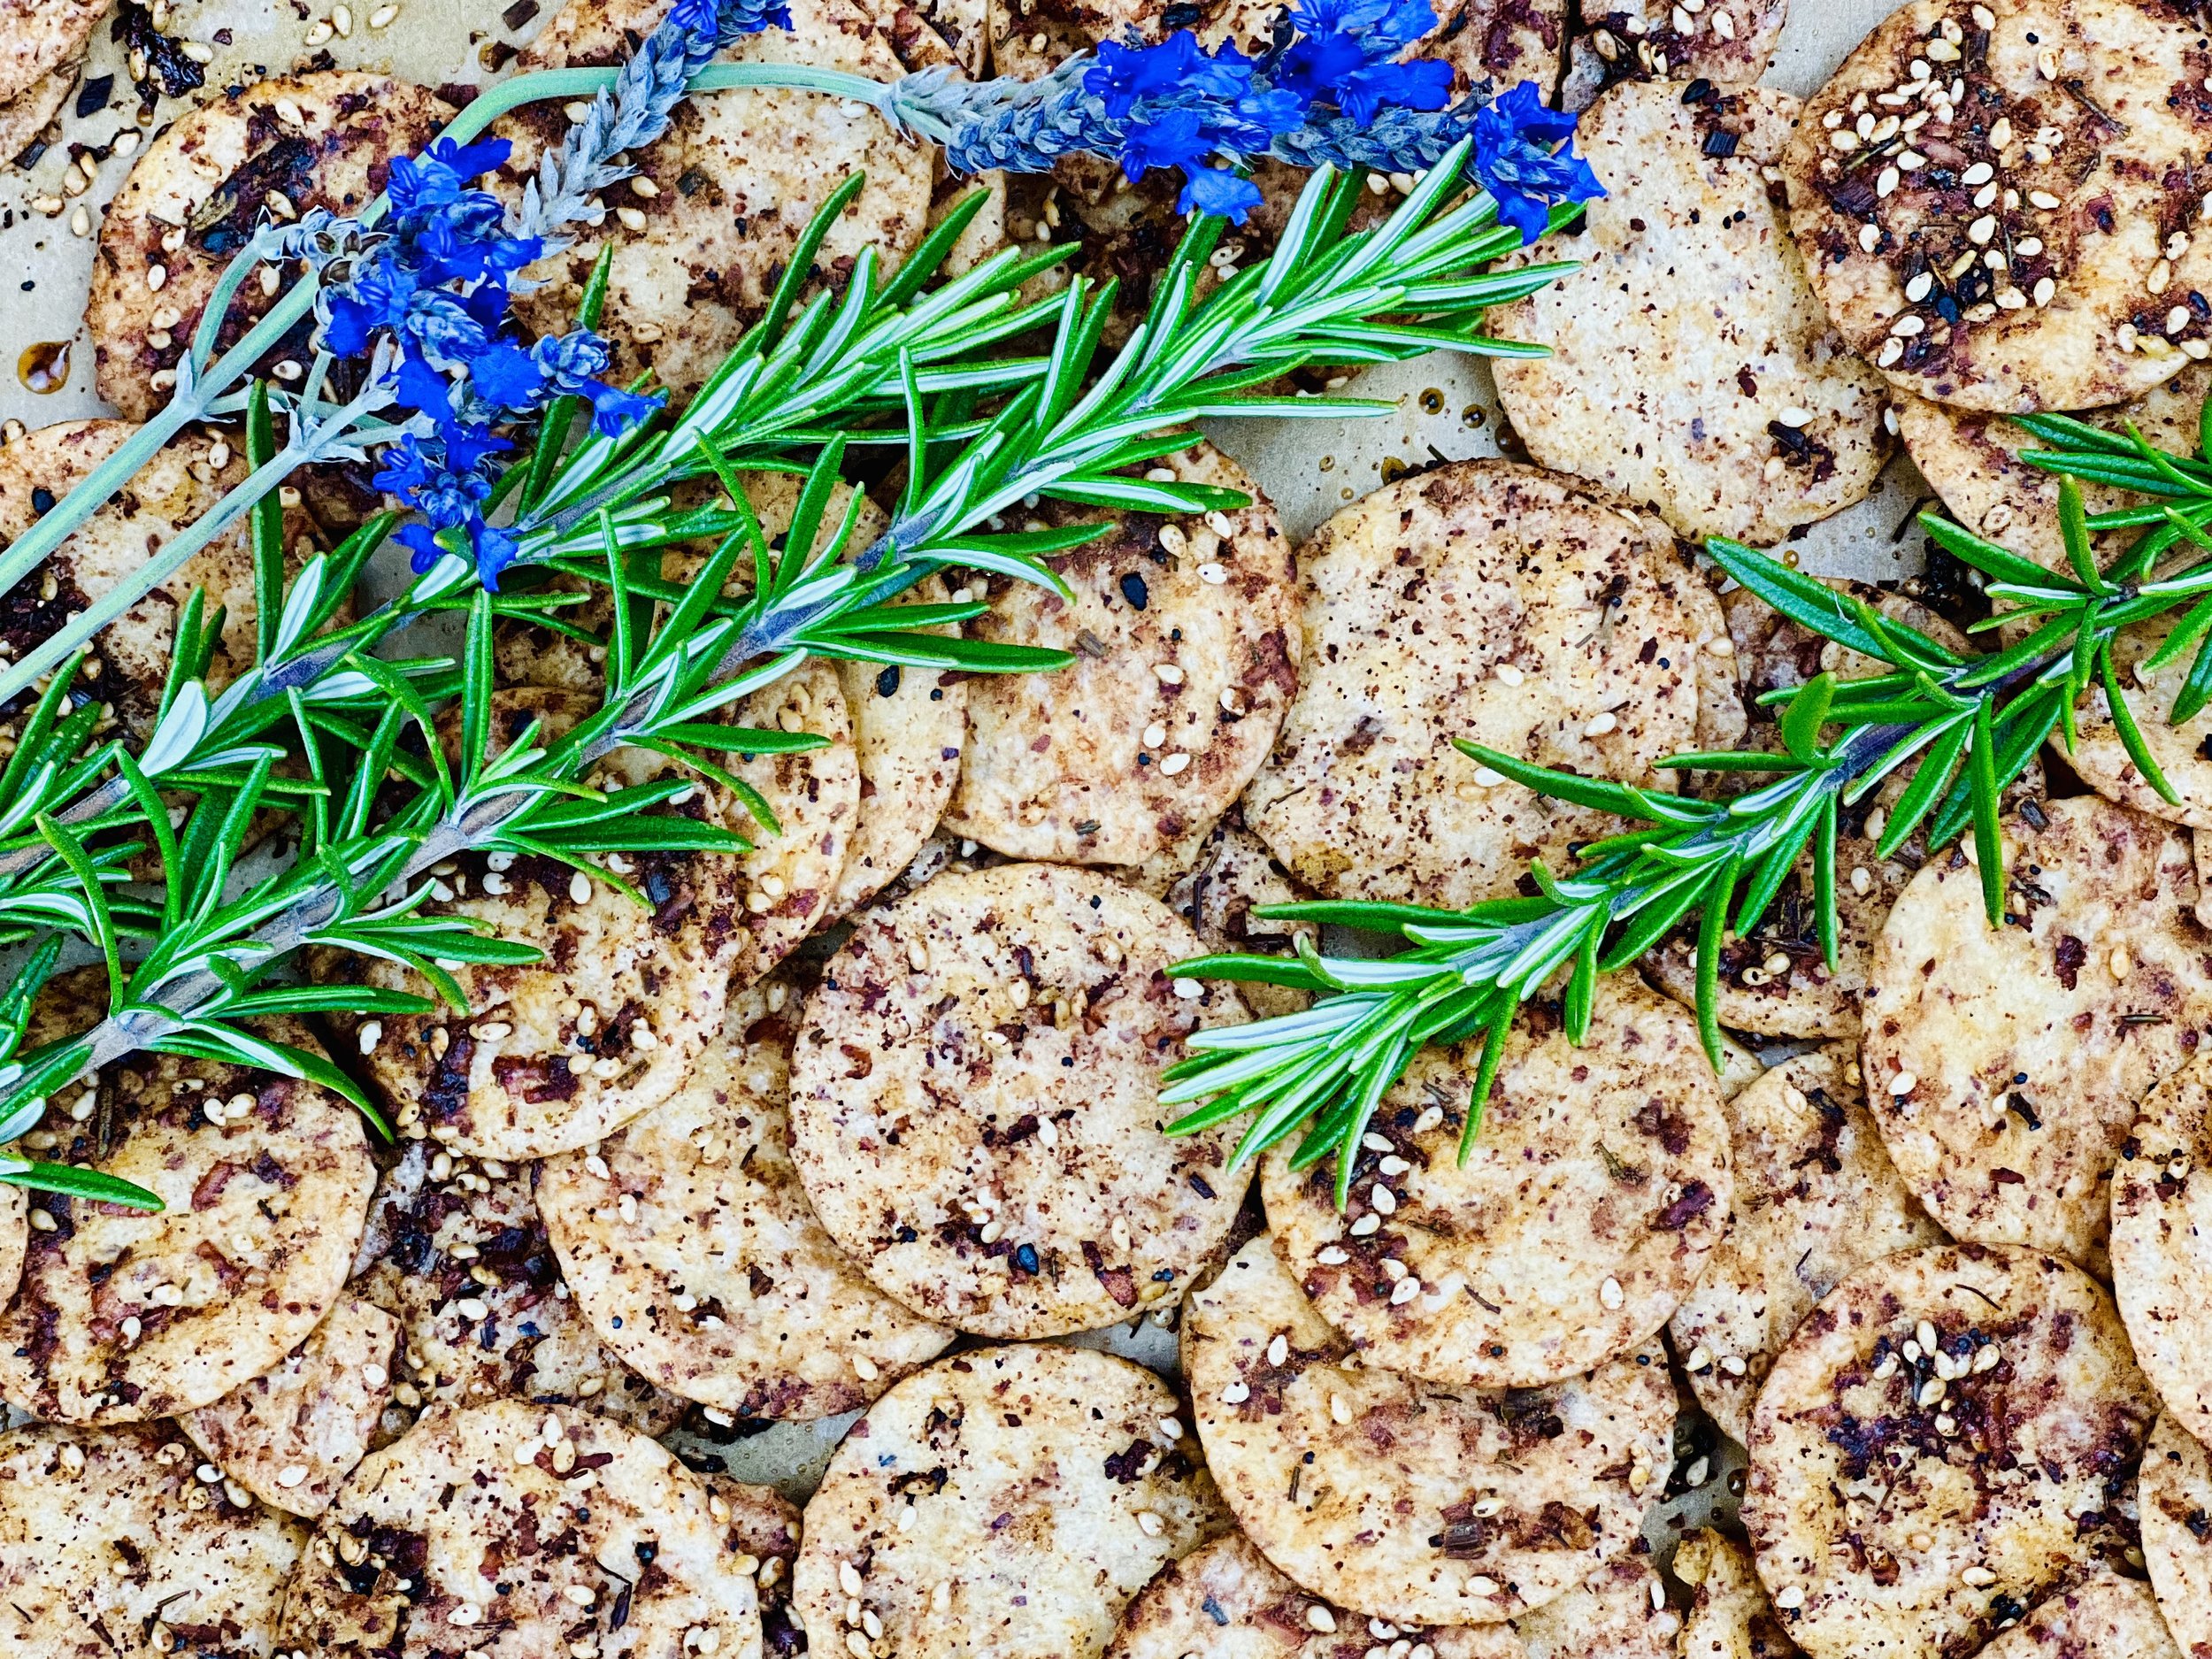
10 Minutes Prep • 50 Minutes Cook • Gluten-free • Dairy-free • Low FODMAP • Serving size 3-4 crackers